
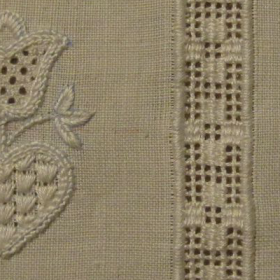
For the next section’s embellishment, I decided that an Openwork pattern band should be worked.
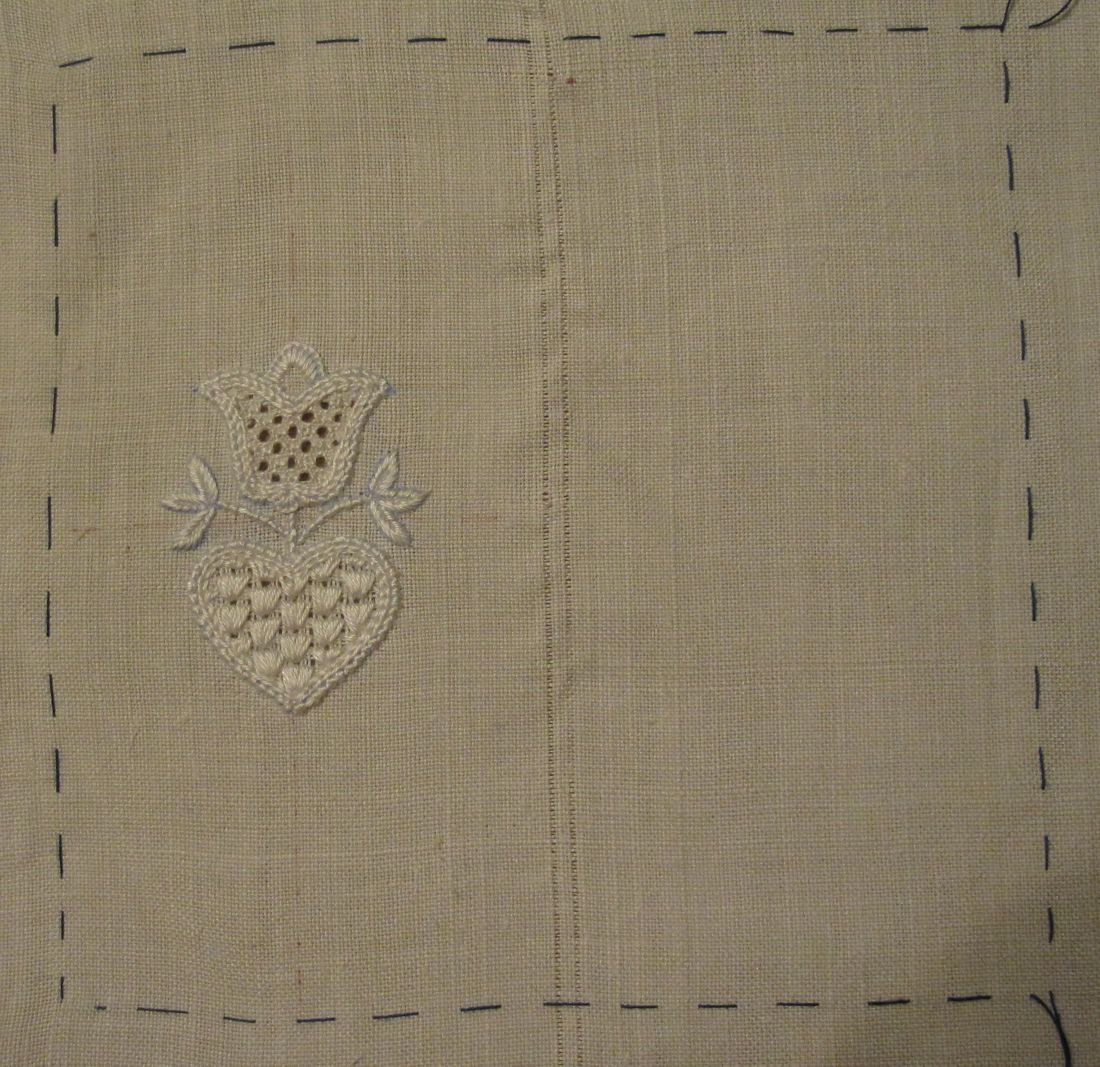
Therefore, one vertical thread is withdrawn. The motif just worked should be centered in its section, so the distance to the withdrawn thread line should equal the distance from the motif to the marked line on the left.
Please note: After finishing my pincushion, I realized that the motif should not be centered in its section. If it is centered, when the pincushion is stuffed the motif will look as though it is sliding off the left side of the pincushion. Either it is best to withdraw the first linen thread of the Openwork pattern band somewhat closer to the motif – it is a question of taste how close. Or, if the excess linen on the left allows, one can move the whole blue marked square 1 cm to the left to work a small border or an ornamental stitch on the left of the motif – similar to the original inspirational pincushion.
Over from this withdrawn thread line 4 threads are left and the next is withdrawn. One row of Satin stitches is worked over the 4 linen threads.

Next to the withdrawn thread on the right, another thread is withdrawn.
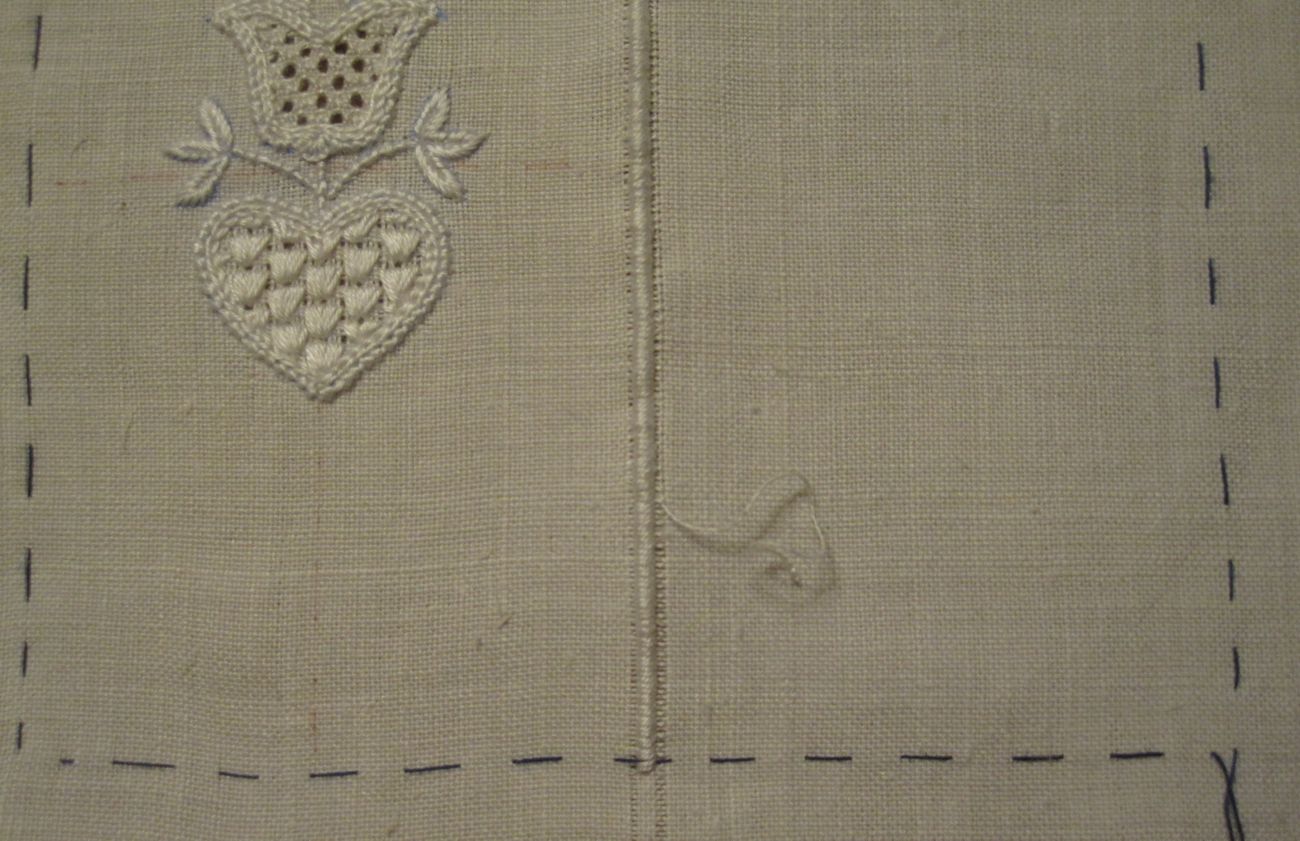
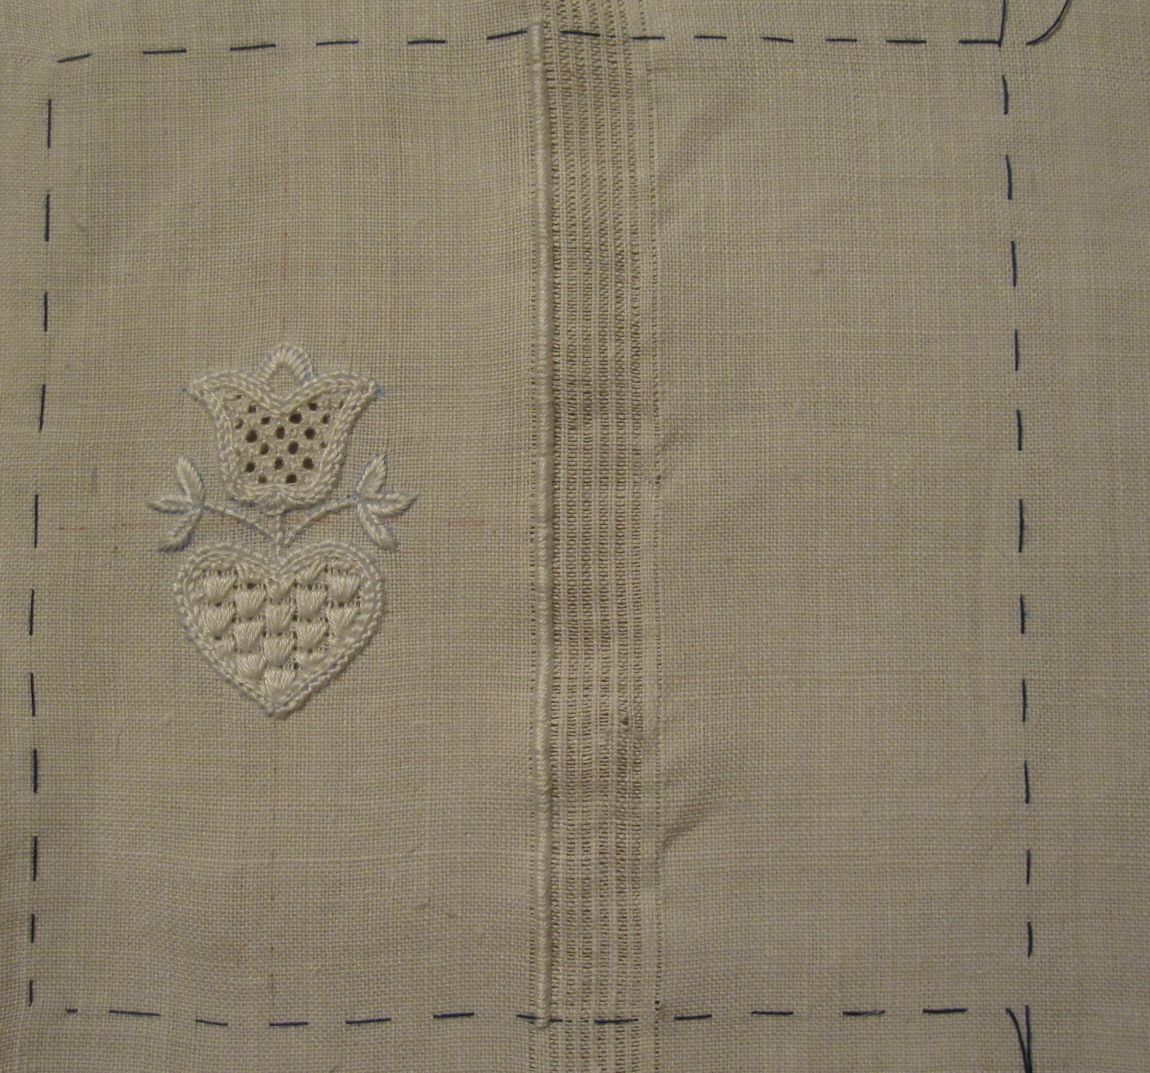
My Openwork pattern band is 6 squares wide. So, always alternating, 2 threads are left and 2 threads are withdrawn – 5 times in all. Then 4 threads remain and 1 more is withdrawn.
Over the 4 linen threads on the right, one row of Satin stitches is worked.
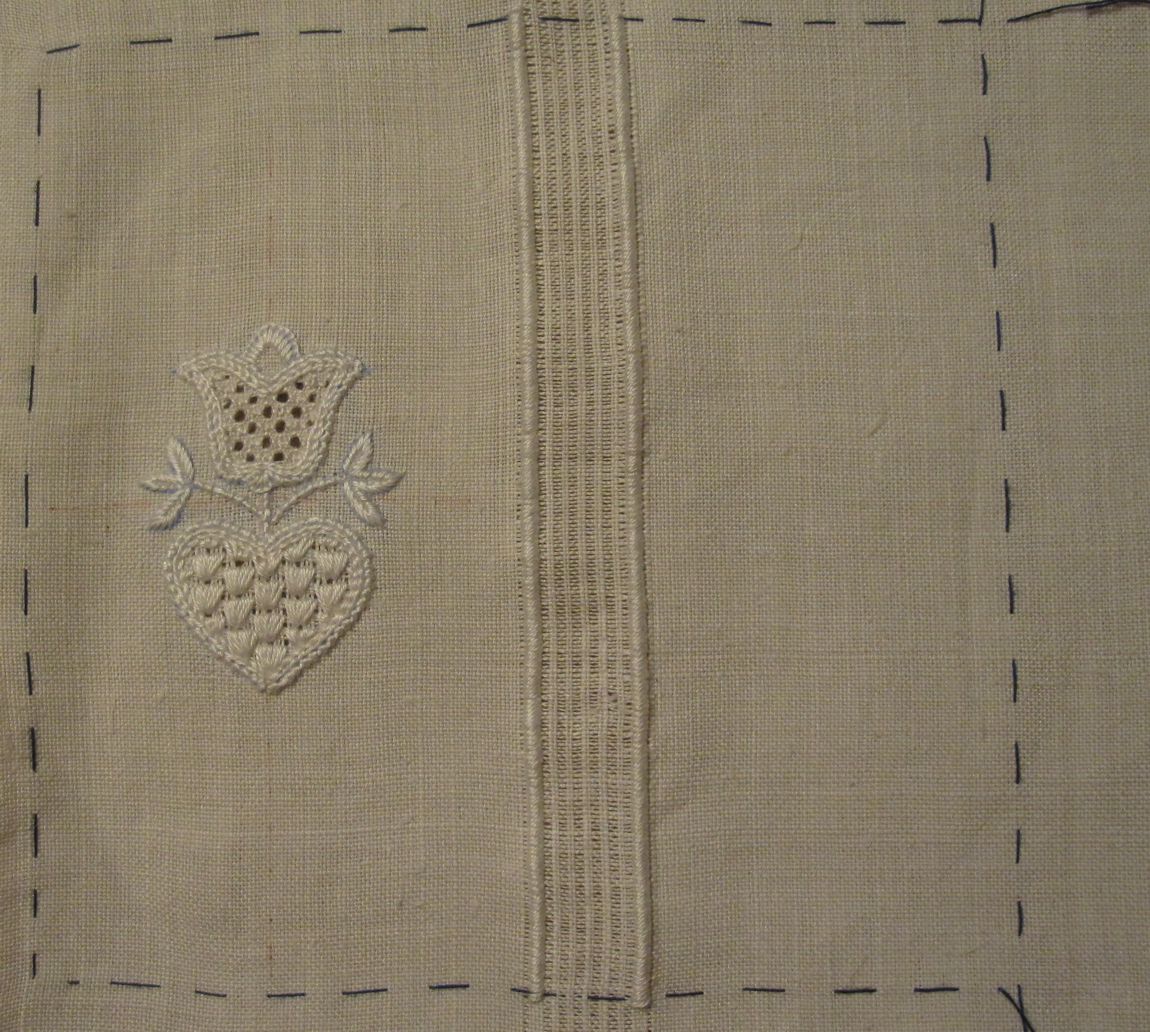
Then, to establish the Openwork grid (notice the section outlined in blue), the horizontal threads are withdrawn.
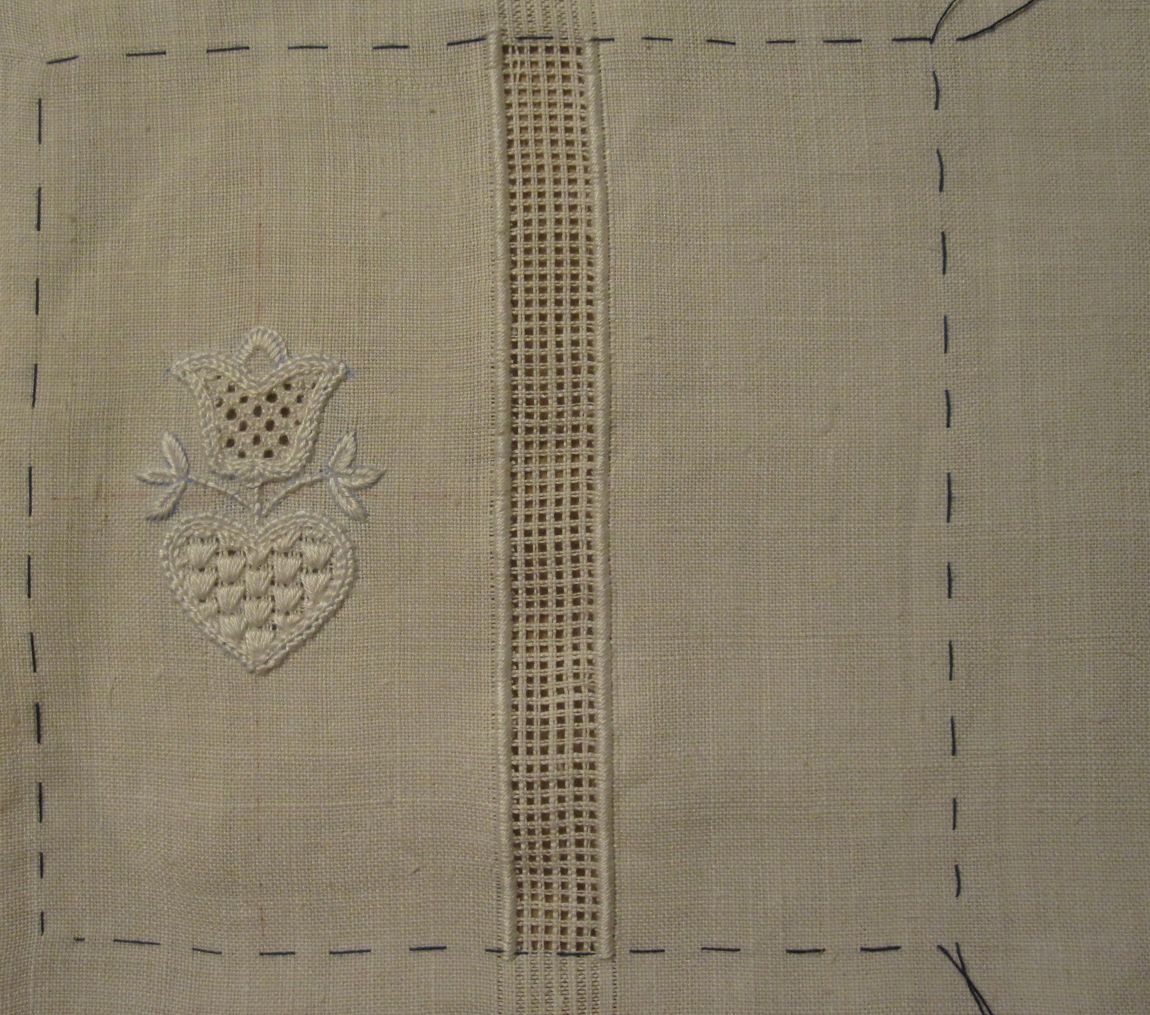
Next, the Openwork grid is secured with Cable stitch.
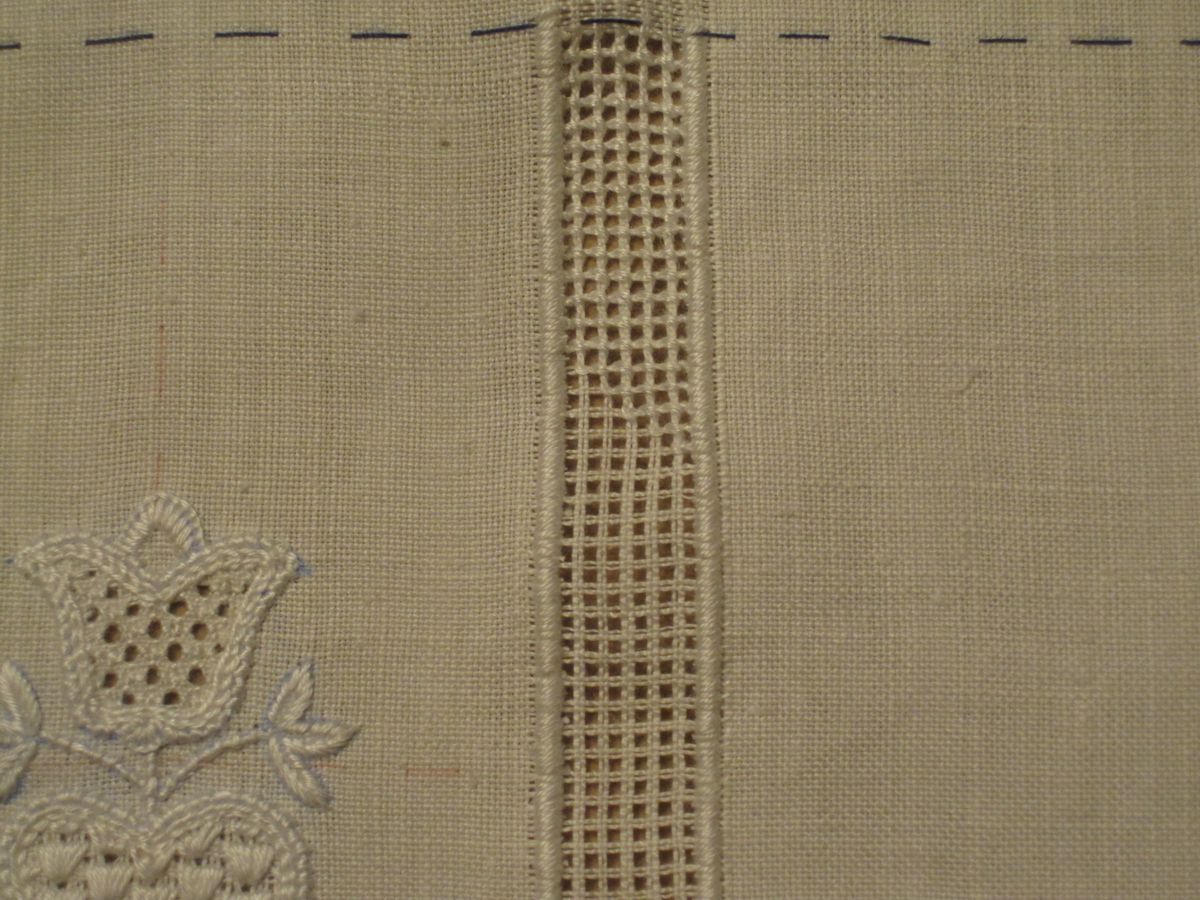
Into the established grid a Needleweaving pattern is worked. Suggestions for arranging such pattern bands can be found in Saumbaukasten or in Easter Eggs.

The second section is finished. The third section will be embroidered with small Schwalm borders and ornamental stitches. Can you envision how it will look?

Leave a Reply