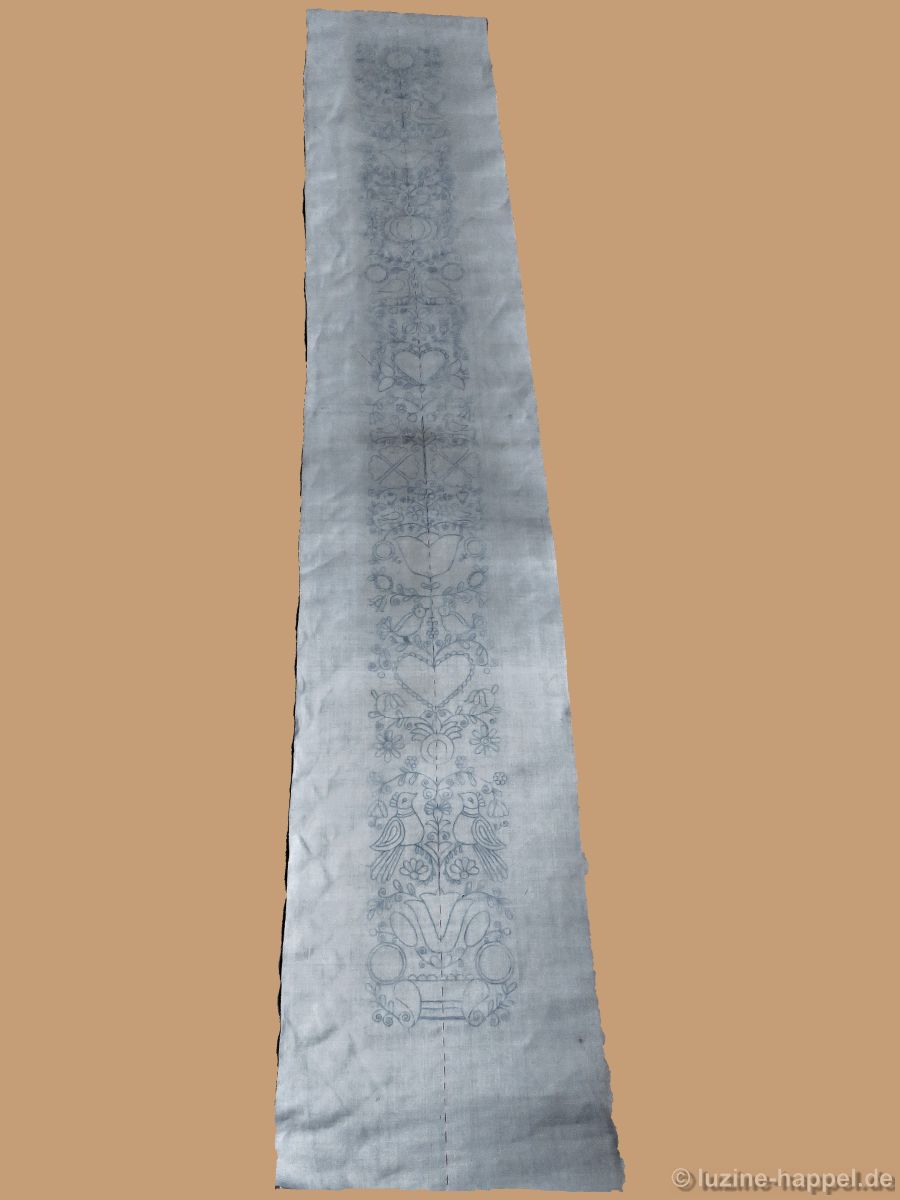
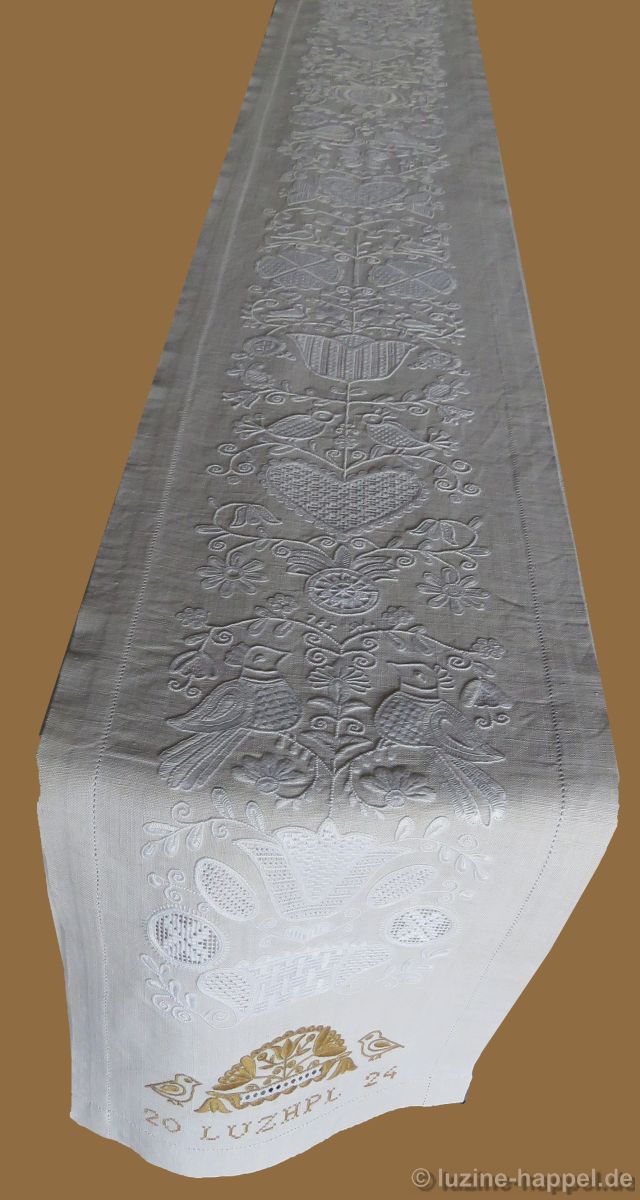
Schwalm Band (2)

Schwalm Band (2)
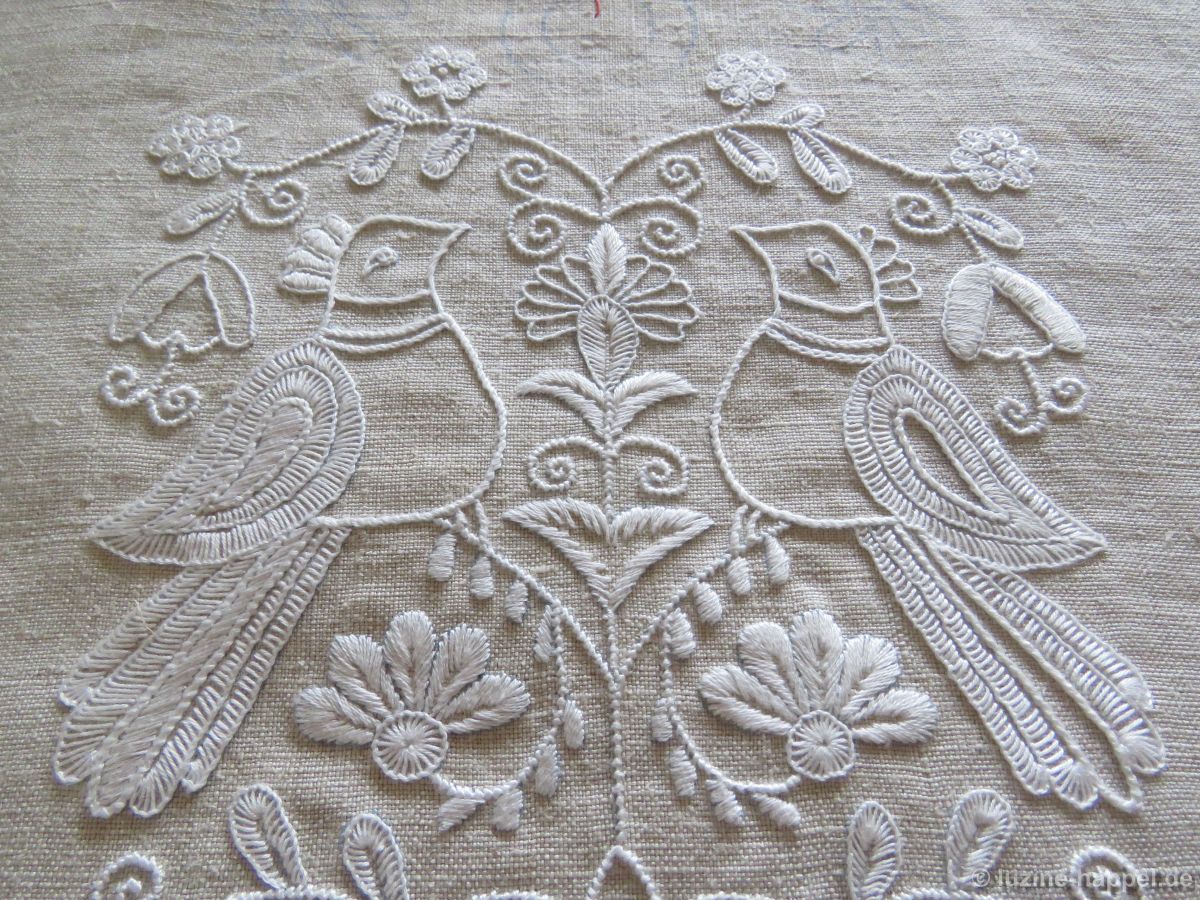
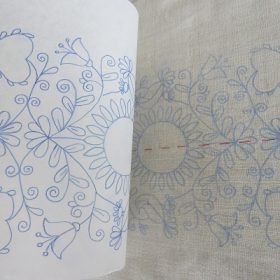
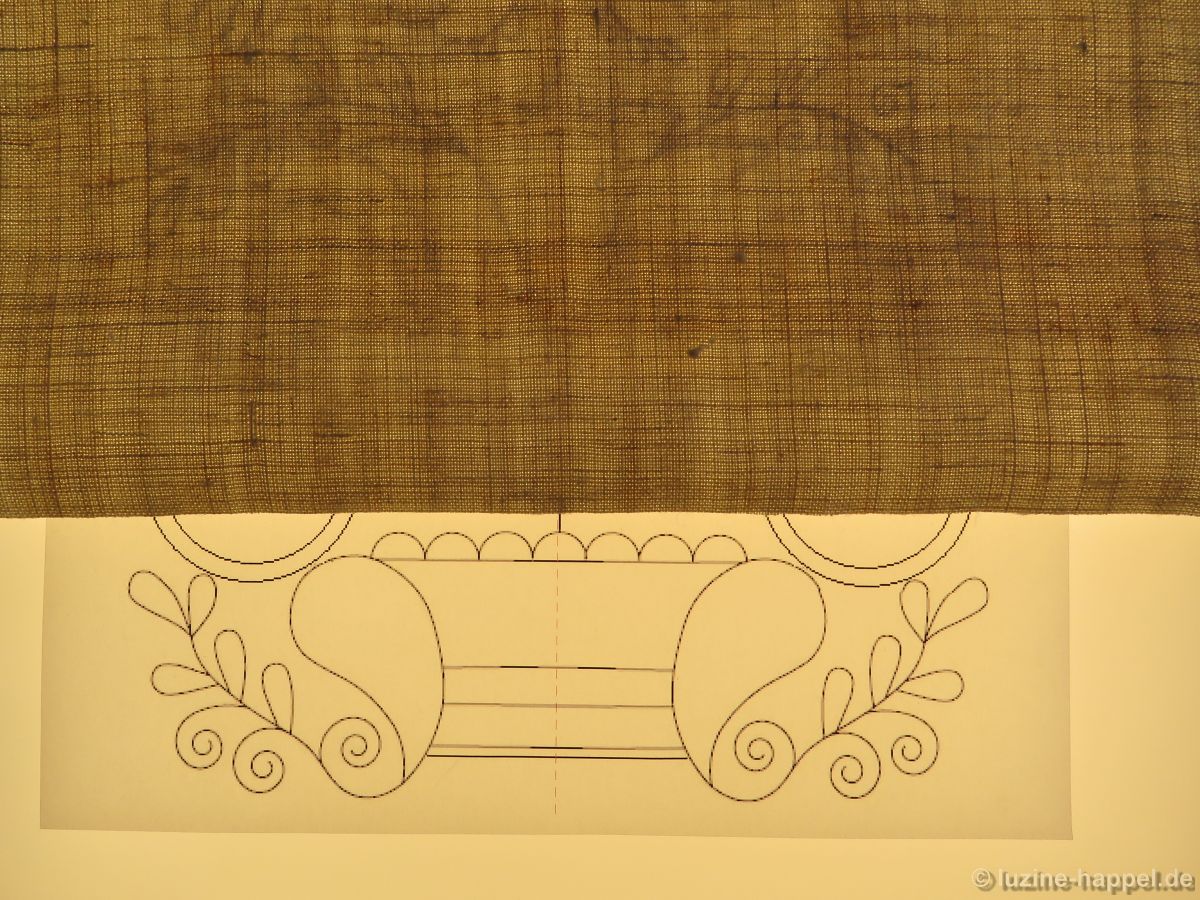
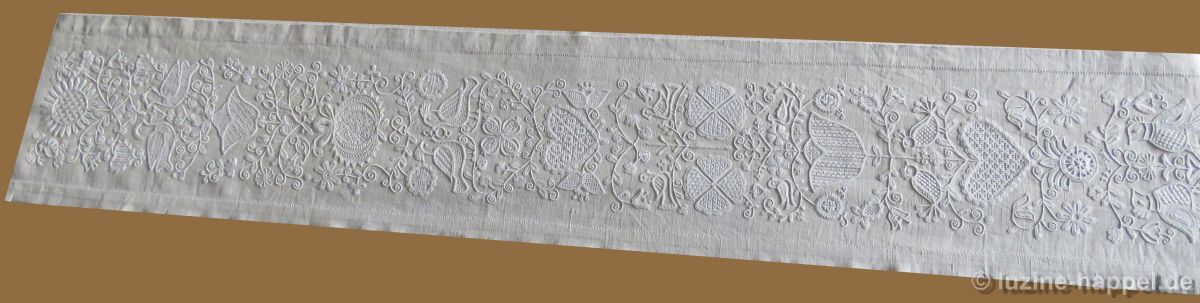
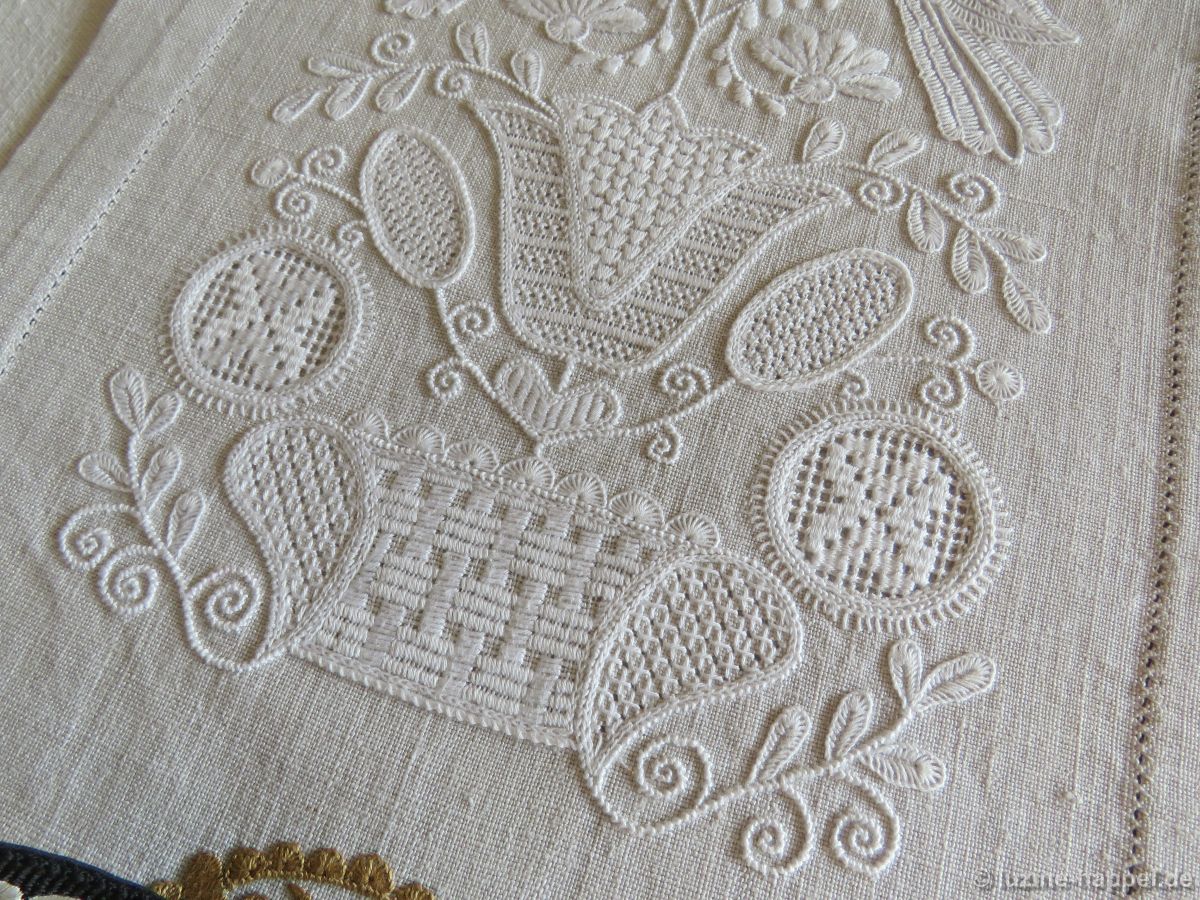
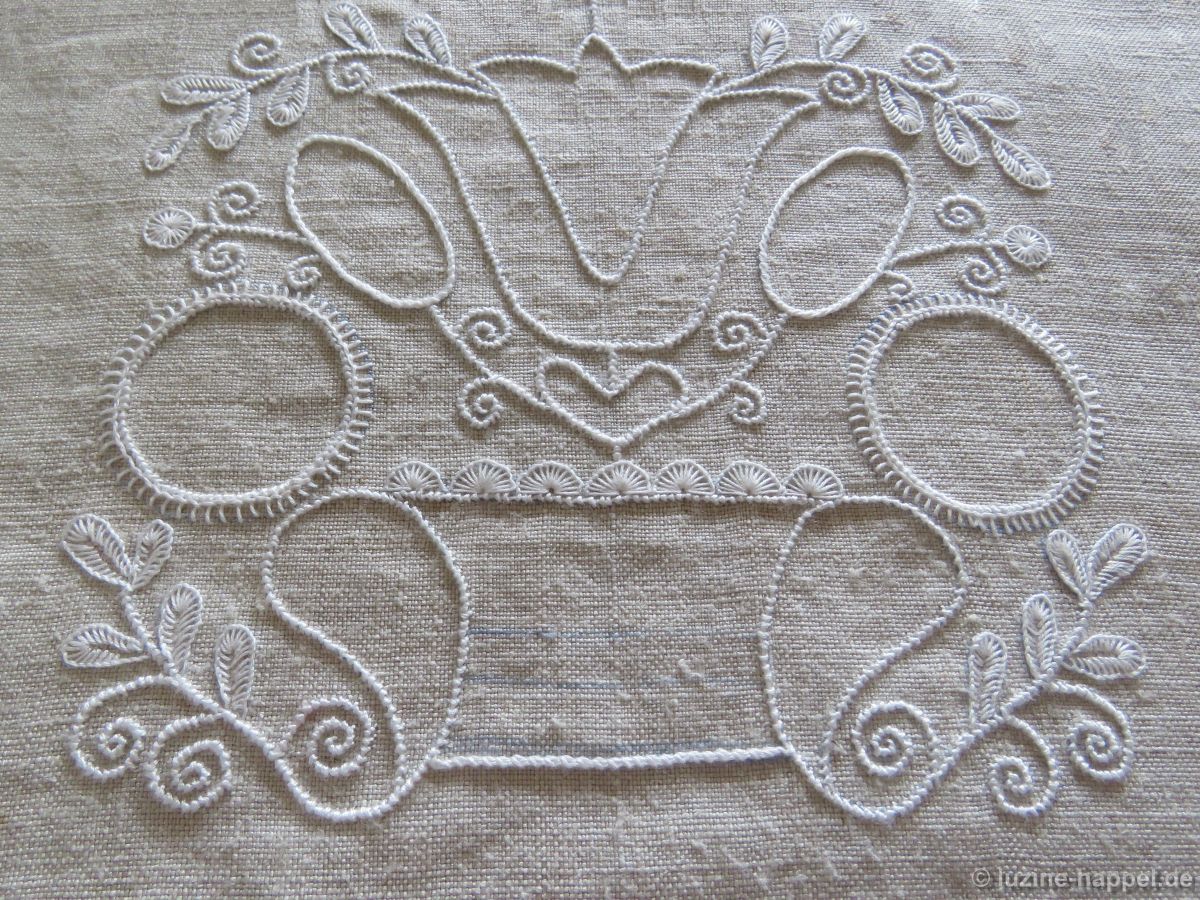
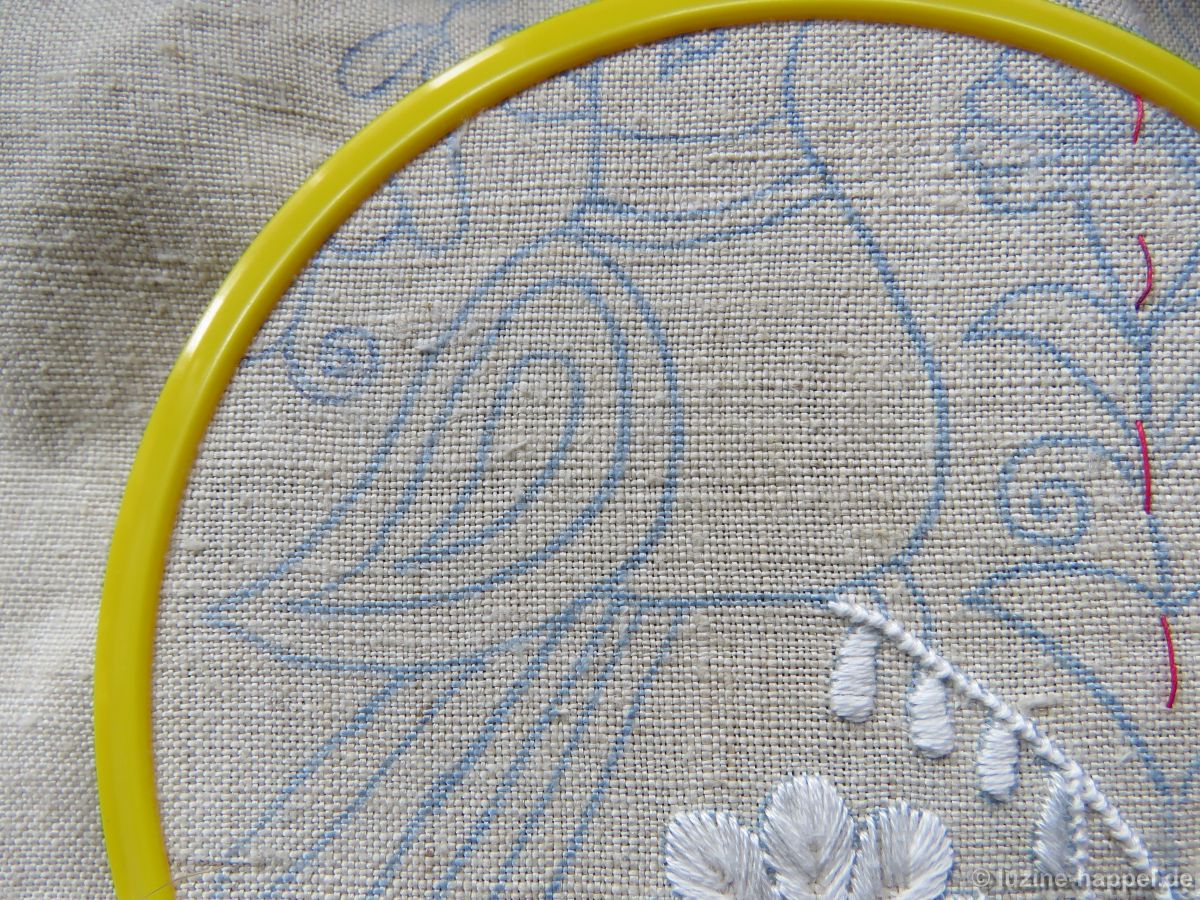
Preparatory work of section 5 of the outline design.

As you will notice, I experimented a bit with stitches and thread sizes as the project progressed. My descriptions are intended to serve as suggestions only. Of course you can work many things differently. I would be happy to see a few pictures of your creative work at the end.

So that the fabric is easier to handle when embroidering and the outlines are not too exposed to light, I roll up the upper part and secure the roll with two safety pins.

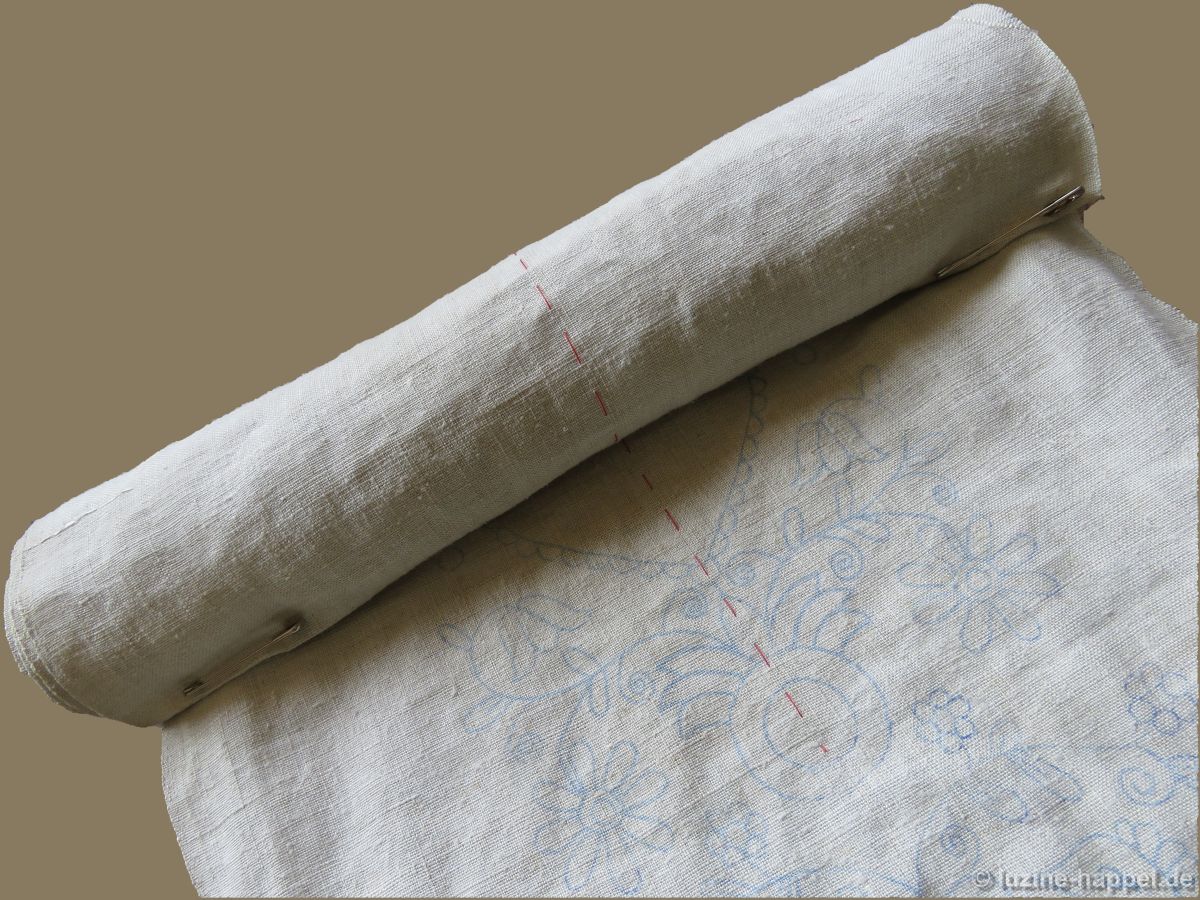
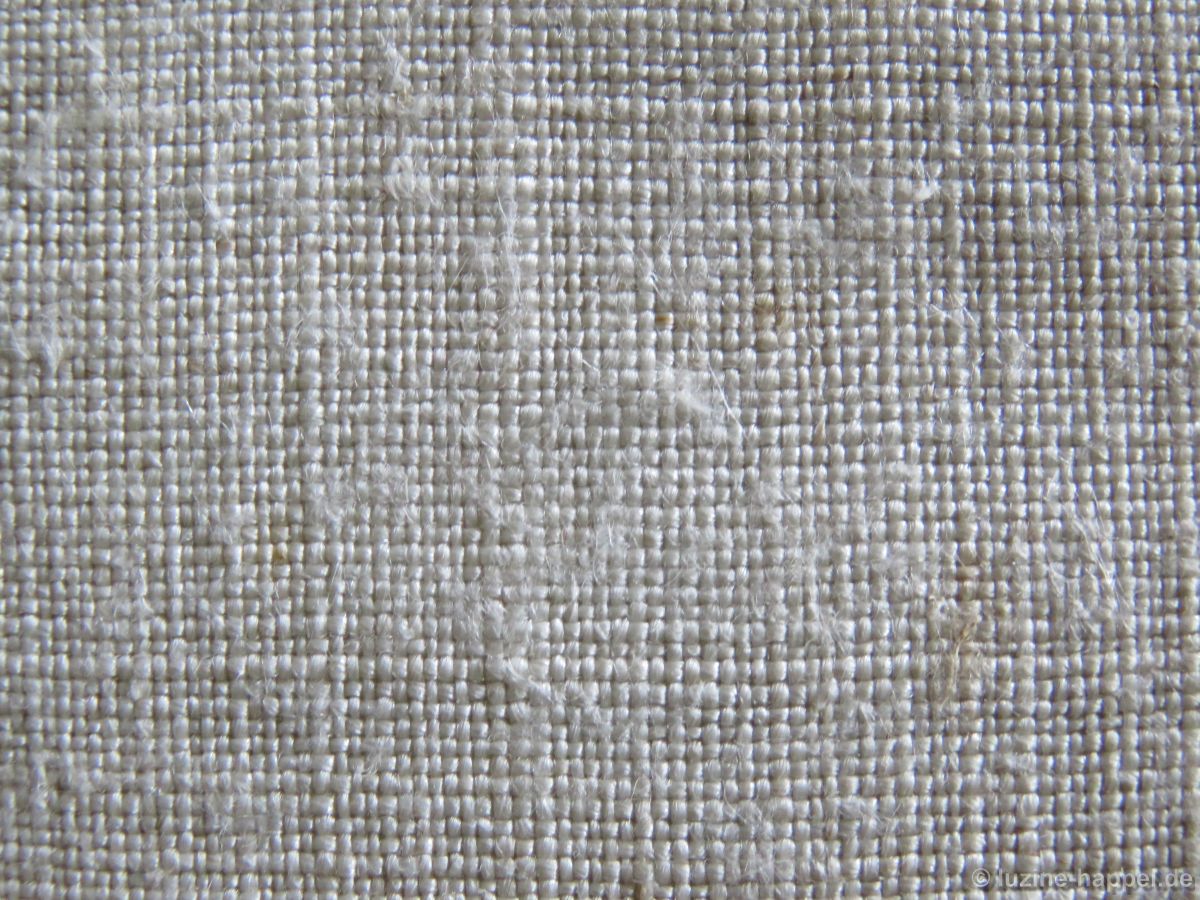
The heavy linen is initially quite stiff. Only after I had embroidered it in my hands for about ten hours did it become pleasantly soft.

As is common practice, all outlines are first embroidered to avoid fading as much as possible. I start at the bottom and embroider the Coral Knot stitches there. Since I want this to be distinctive, I use coton à broder thread No. 16. You could also choose coton à broder No. 20.

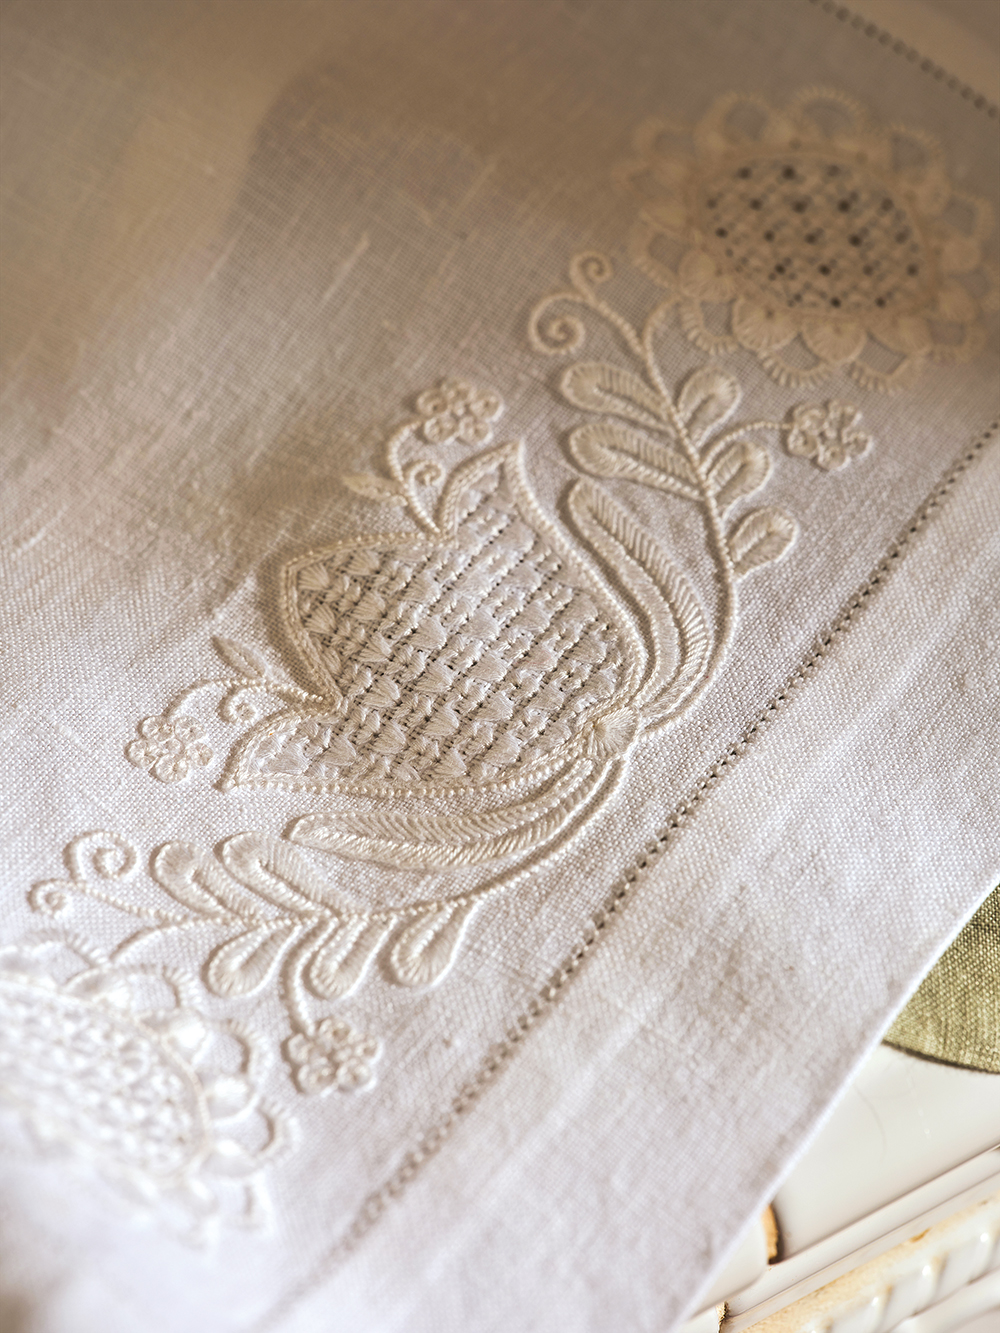
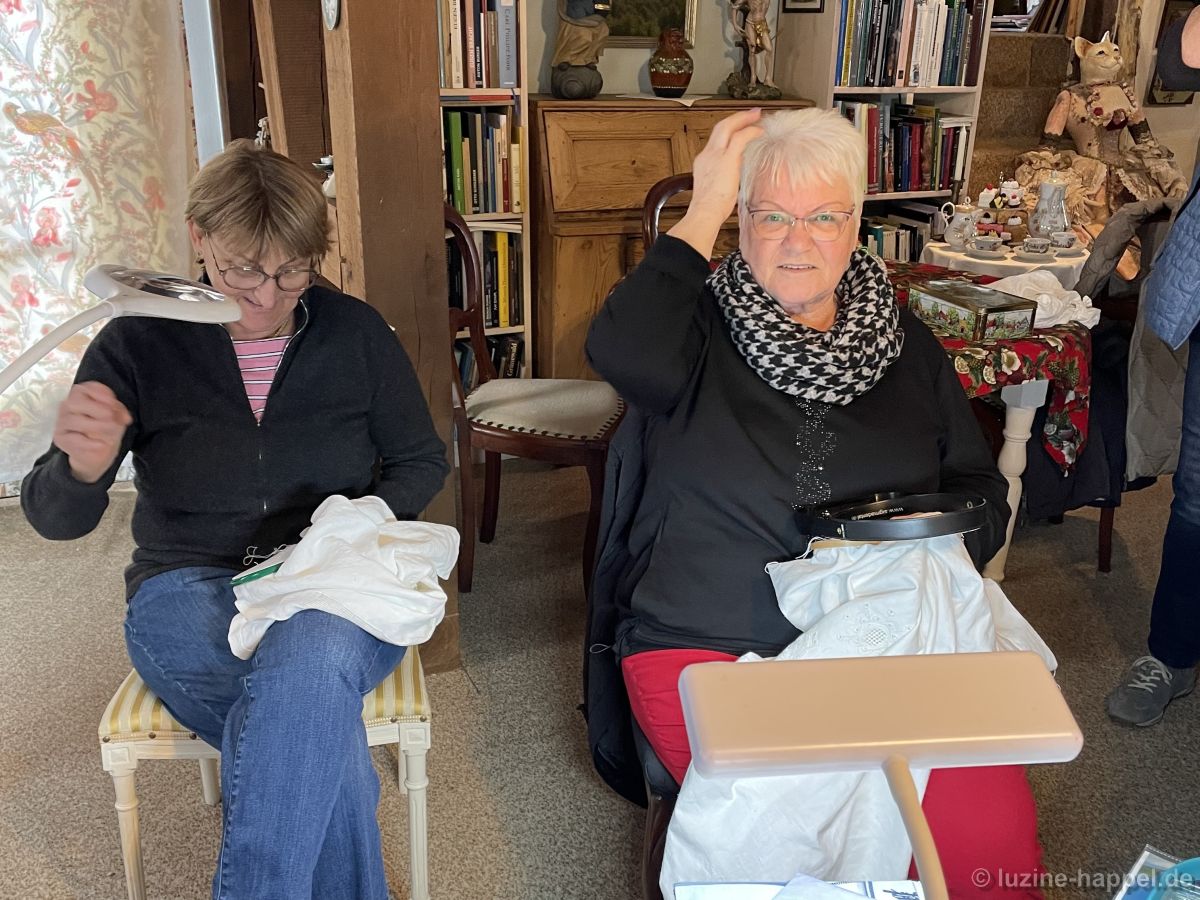
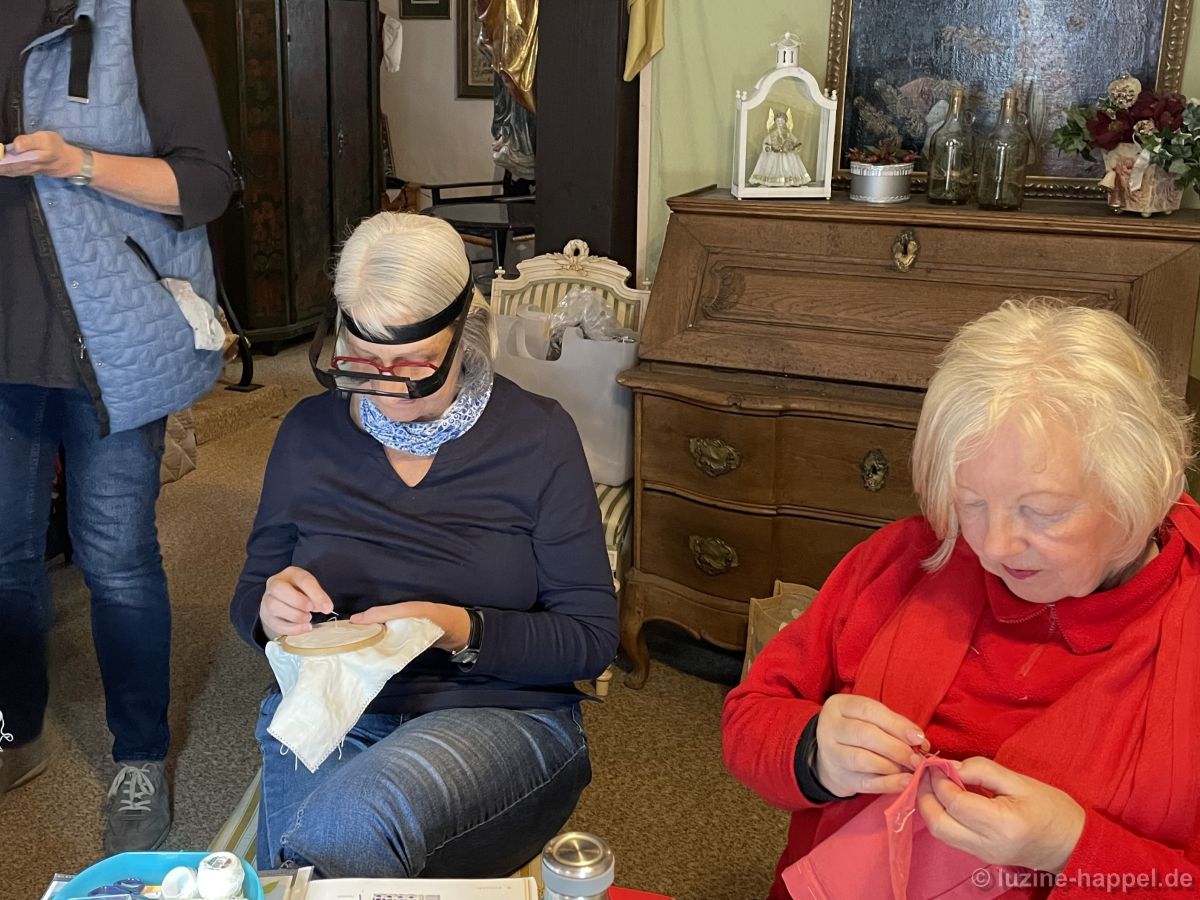
Due to age and also because of the heavy and stiff linen, my stitches no longer turn out evenly. The strong magnifications make this mercilessly clear. Nevertheless, I show the pictures. Not all embroiderers are perfect, and they should be encouraged not to give up.

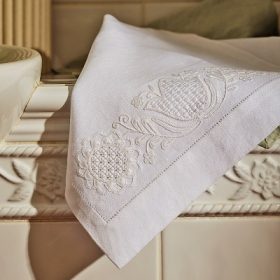
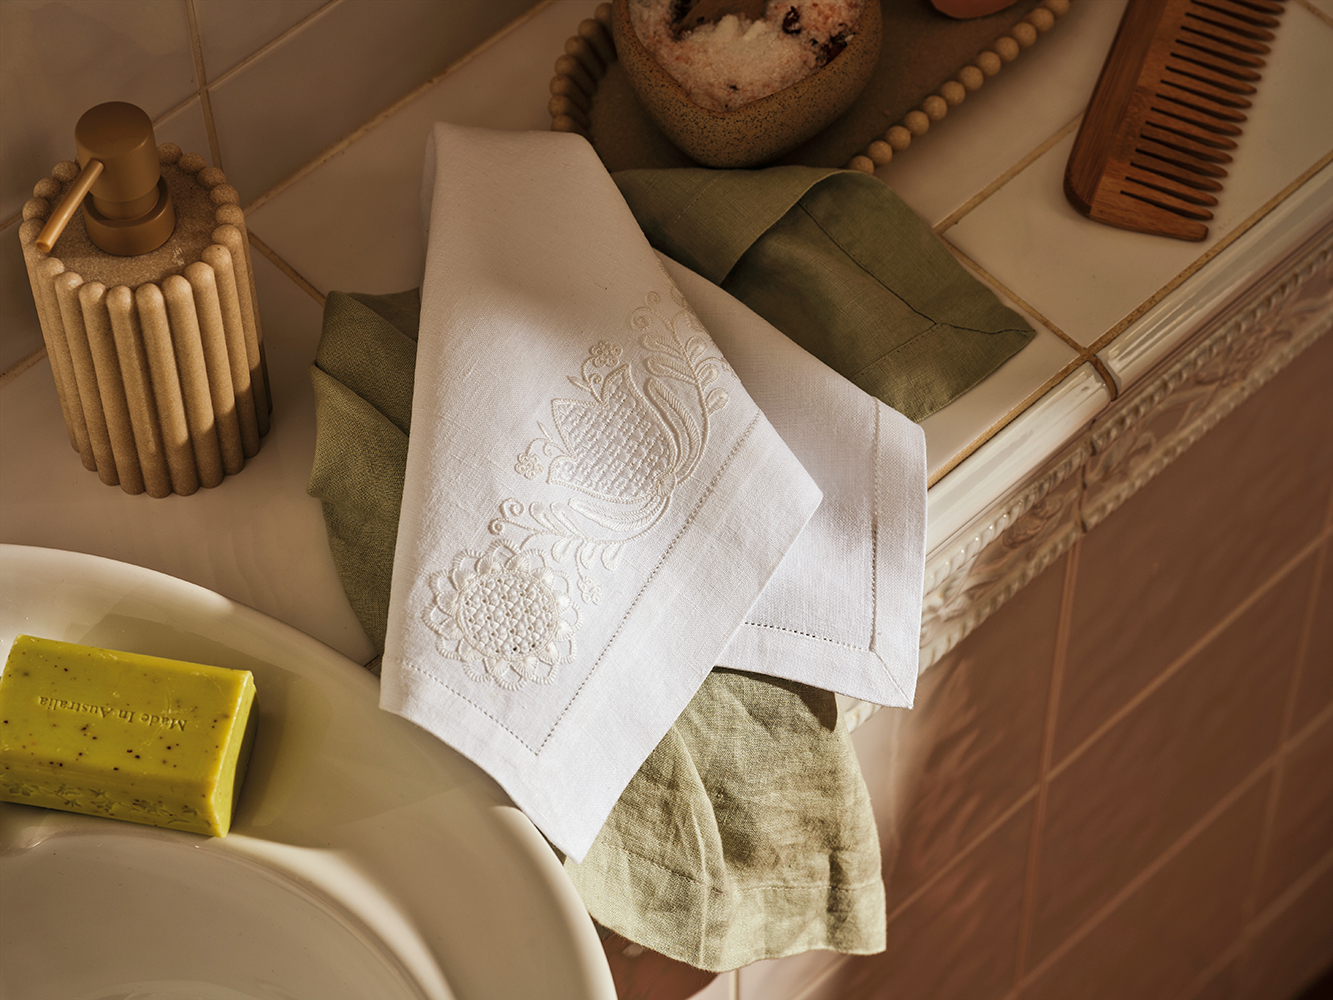
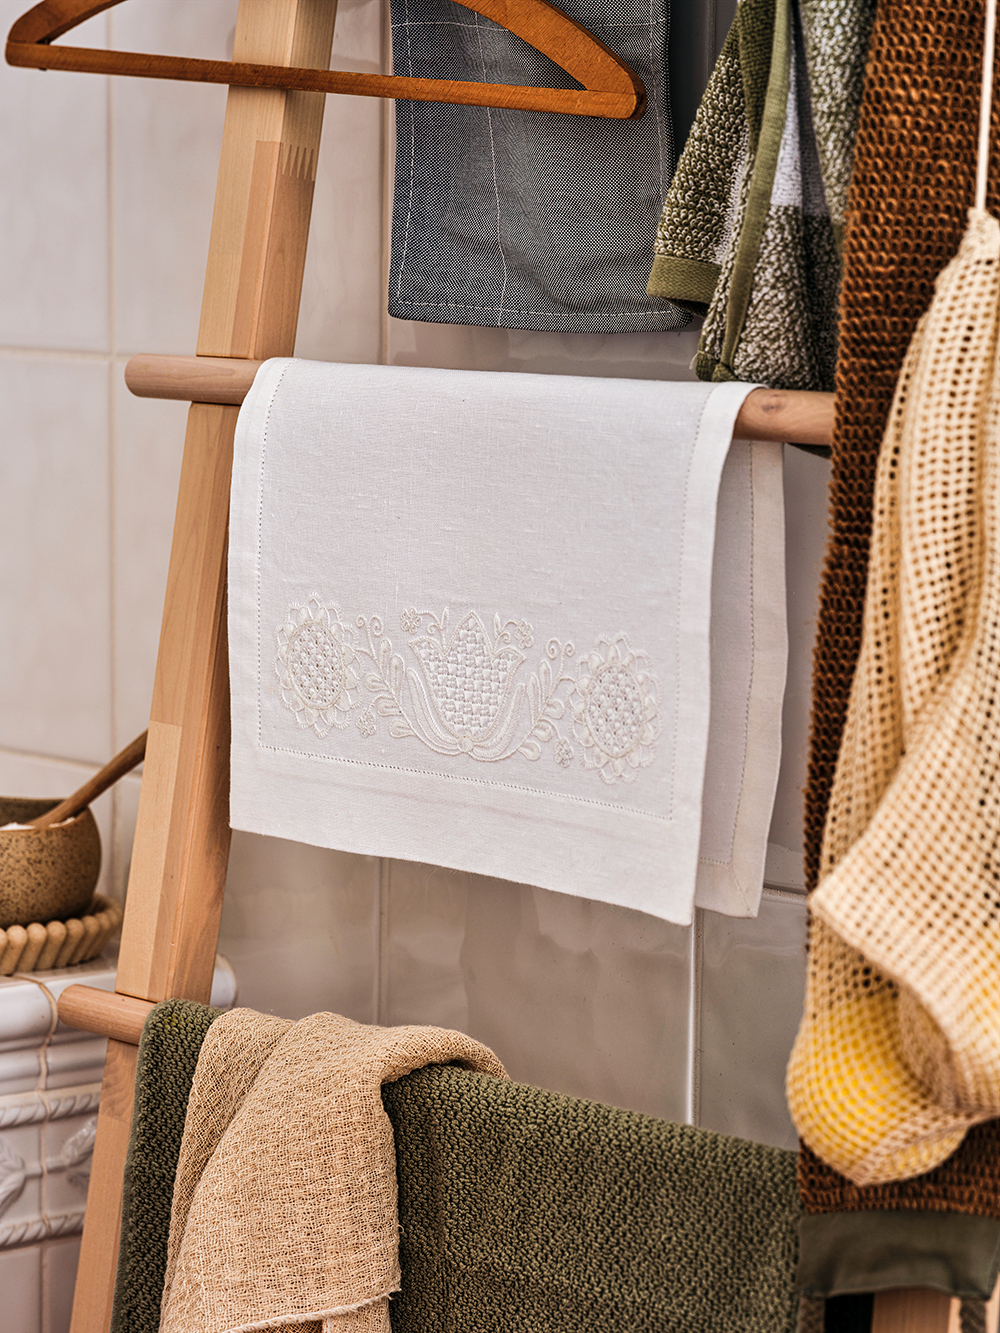
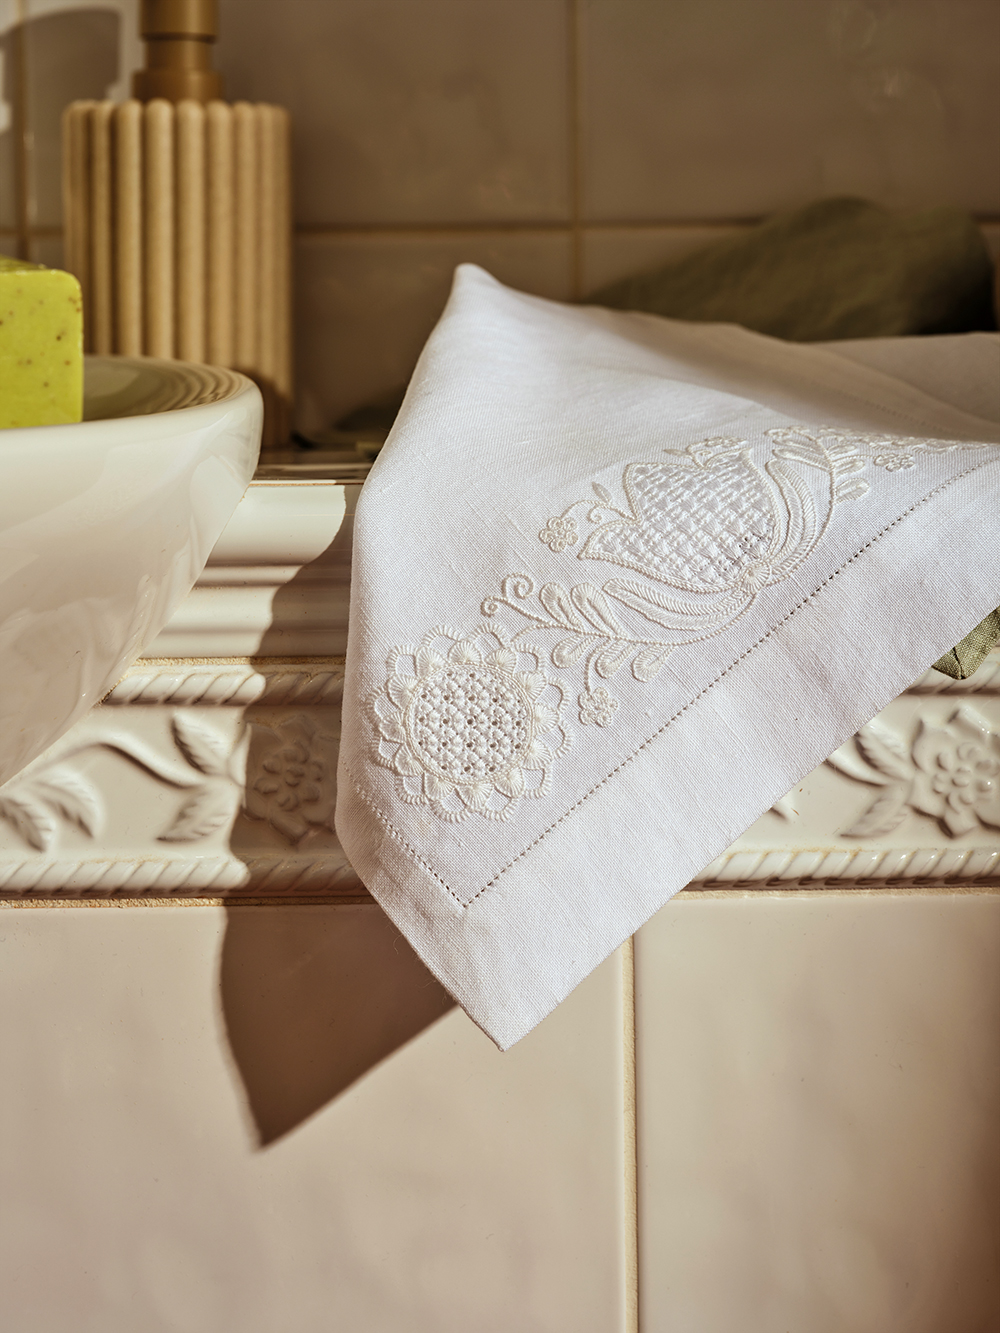
In addition, the finished embroidery looks completely different after washing, as a “look through the keyhole” shows.

During many hours of past embroidery, I have found that it takes my hands about half an hour to “warm up” and allow even stitches. So during this time I try to place stitches where they will later be bordered by other stitches, like at the top of the basket. Surrounding stitches soften the irregularities of the Coral Knot stitches.

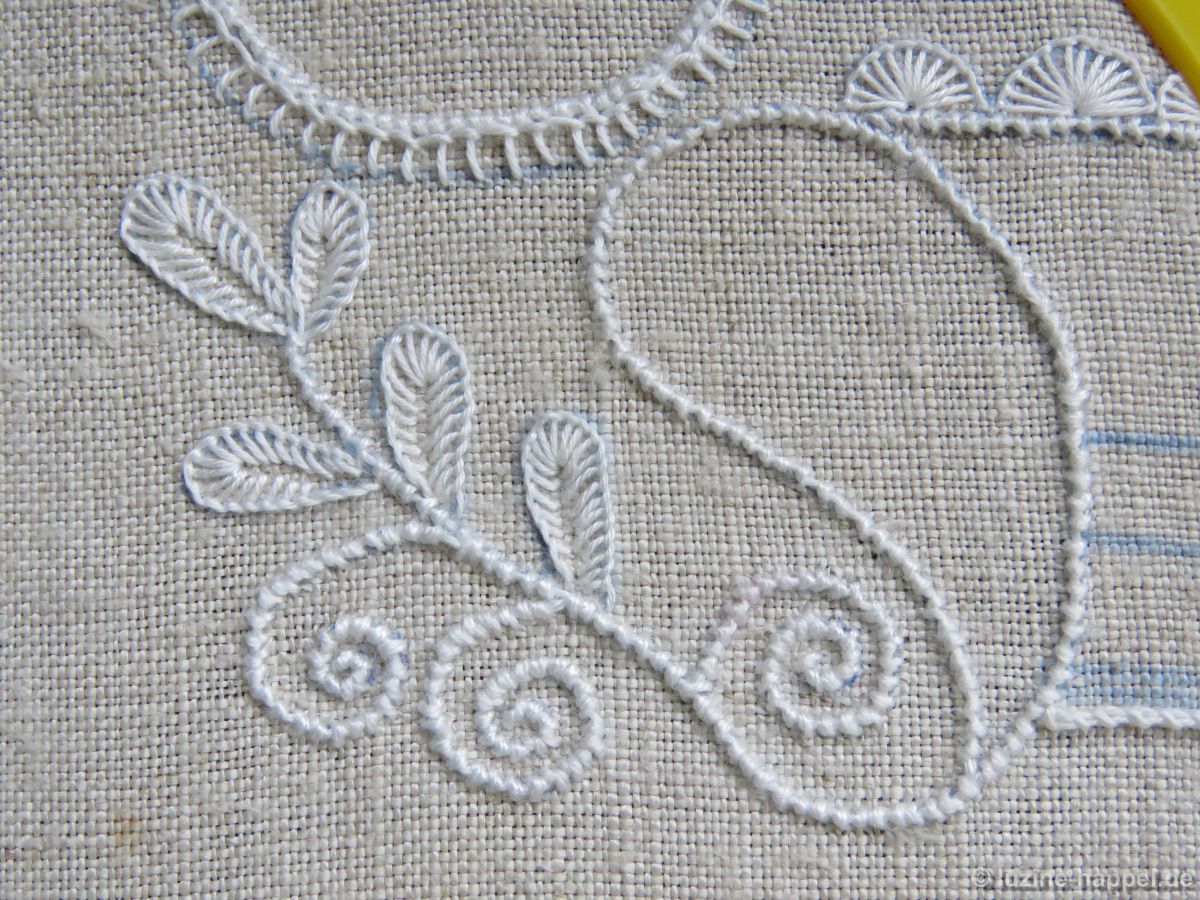
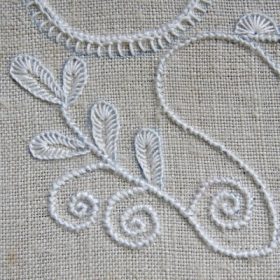
My tip: Always start larger tendrils with a new thread so that you don’t have to secure inside the tendril and start again . Short thread ends can be used for short stems etc.
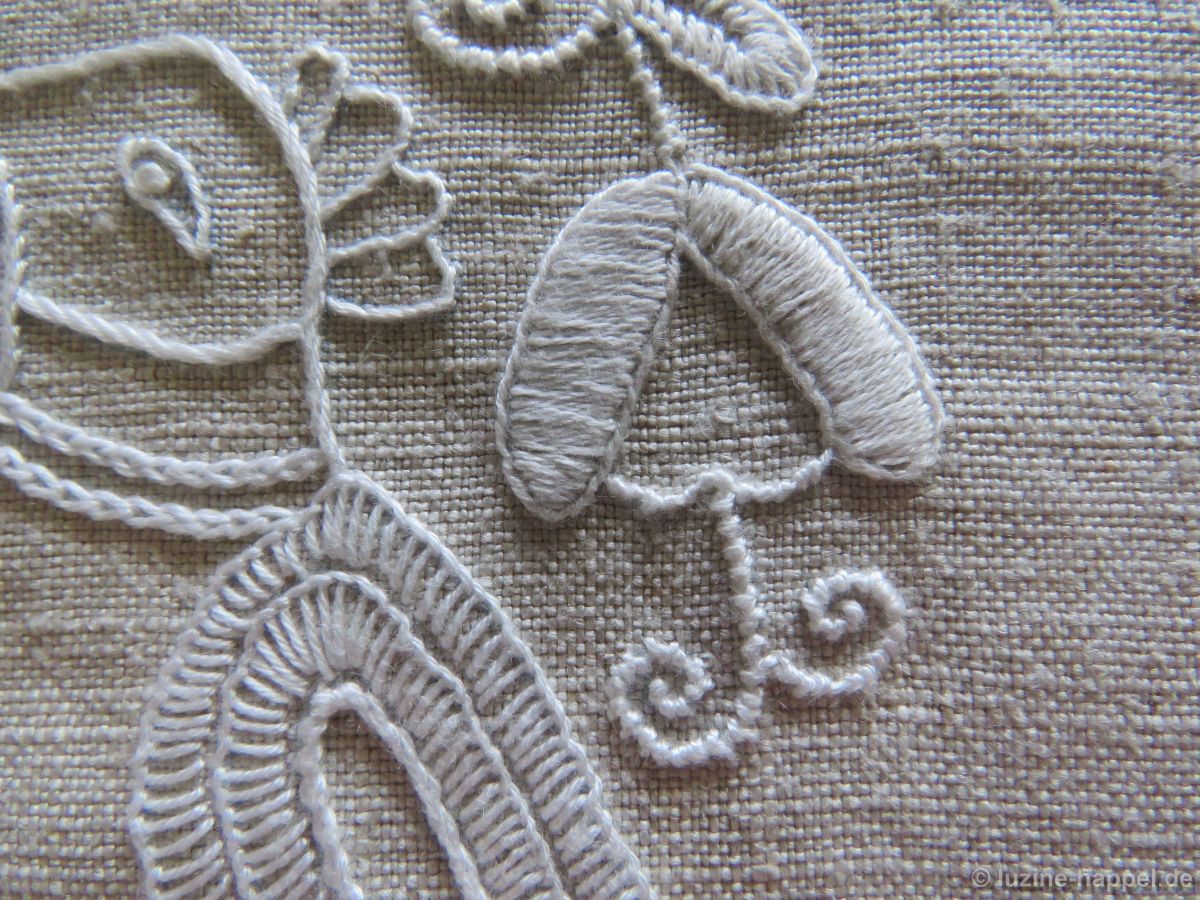
I embroider the rounded leaves and the half-eyelet scallops on the upper edge of the basket with coton à broder No. 25 – you could also choose No. 20.

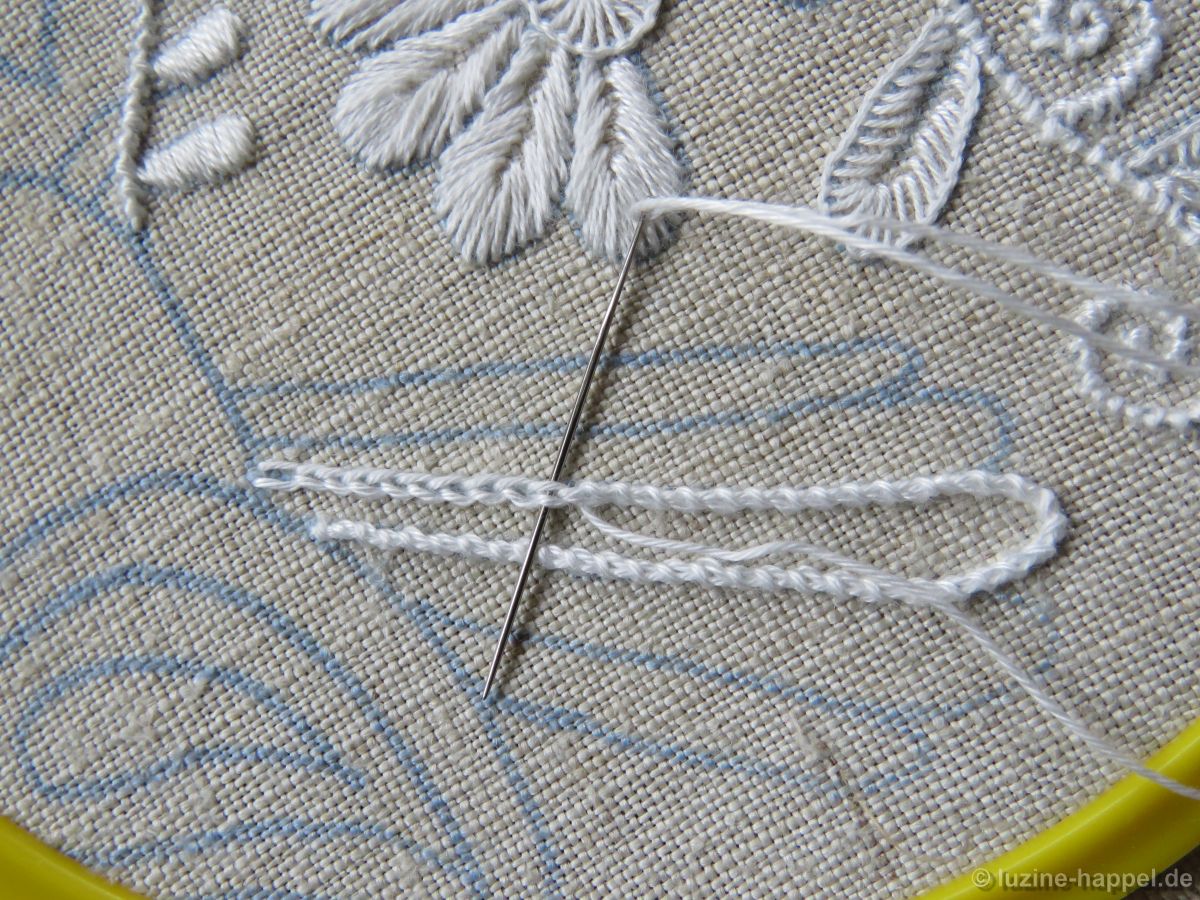
I embroider the bottom edge of the basket with wrapped Chain stitches using coton à broder No. 20. I leave the division lines of the basket ignored for now – you can still embroider them if you know how you want the pattern to be designed.

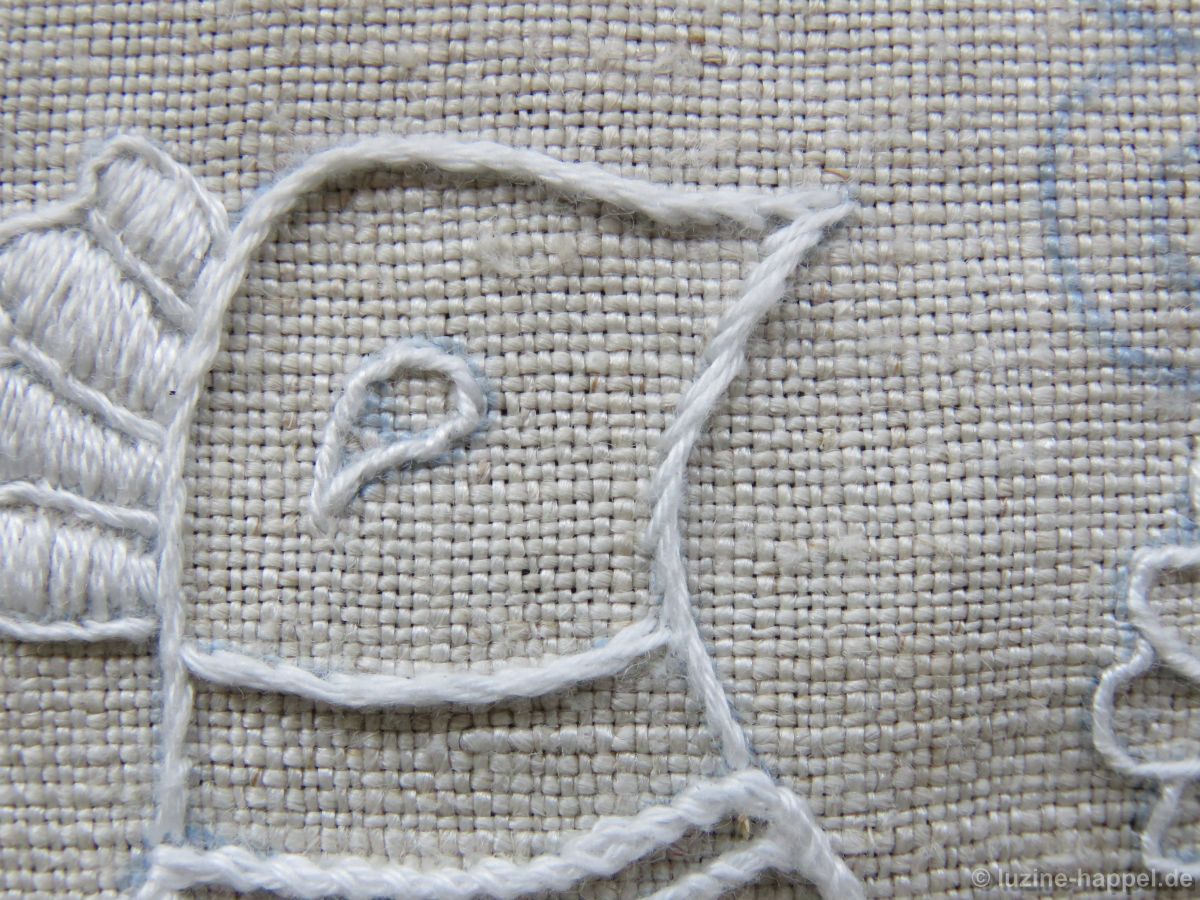
I actually wanted to surround the circle with 2short-2long, but there wasn’t enough space. So I chose eyelash stitches and embroidered with coton à broder No. 20.

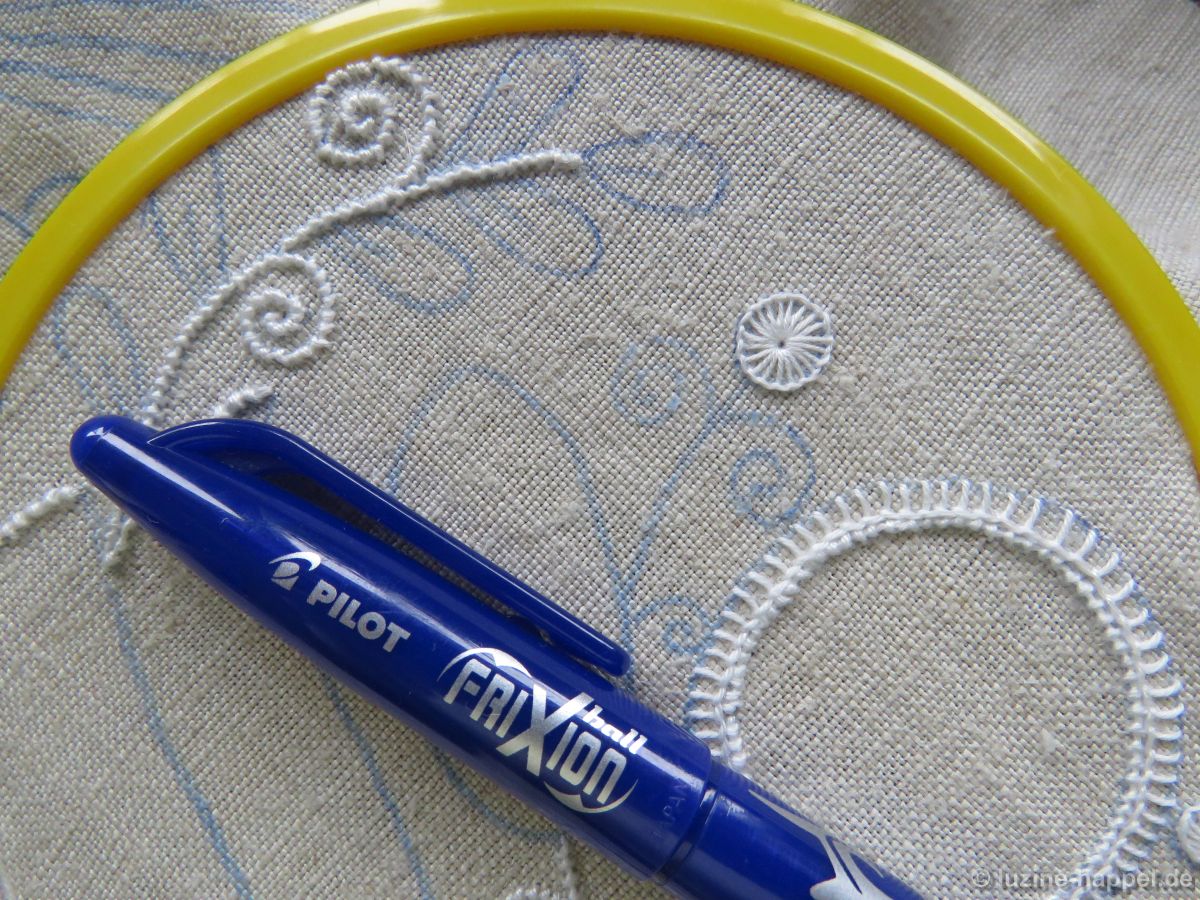
If it happens that an outline fades too much, I have the Pilot Frixion pen on hand to trace. I have now observed the reaction of the pens on the linen over several years and have not noticed any discoloration. Some of my blog readers who use the pen frequently also didn’t notice any negative effects.

For the single Blanket stitch eyelets I also use coton à broder No. 20.

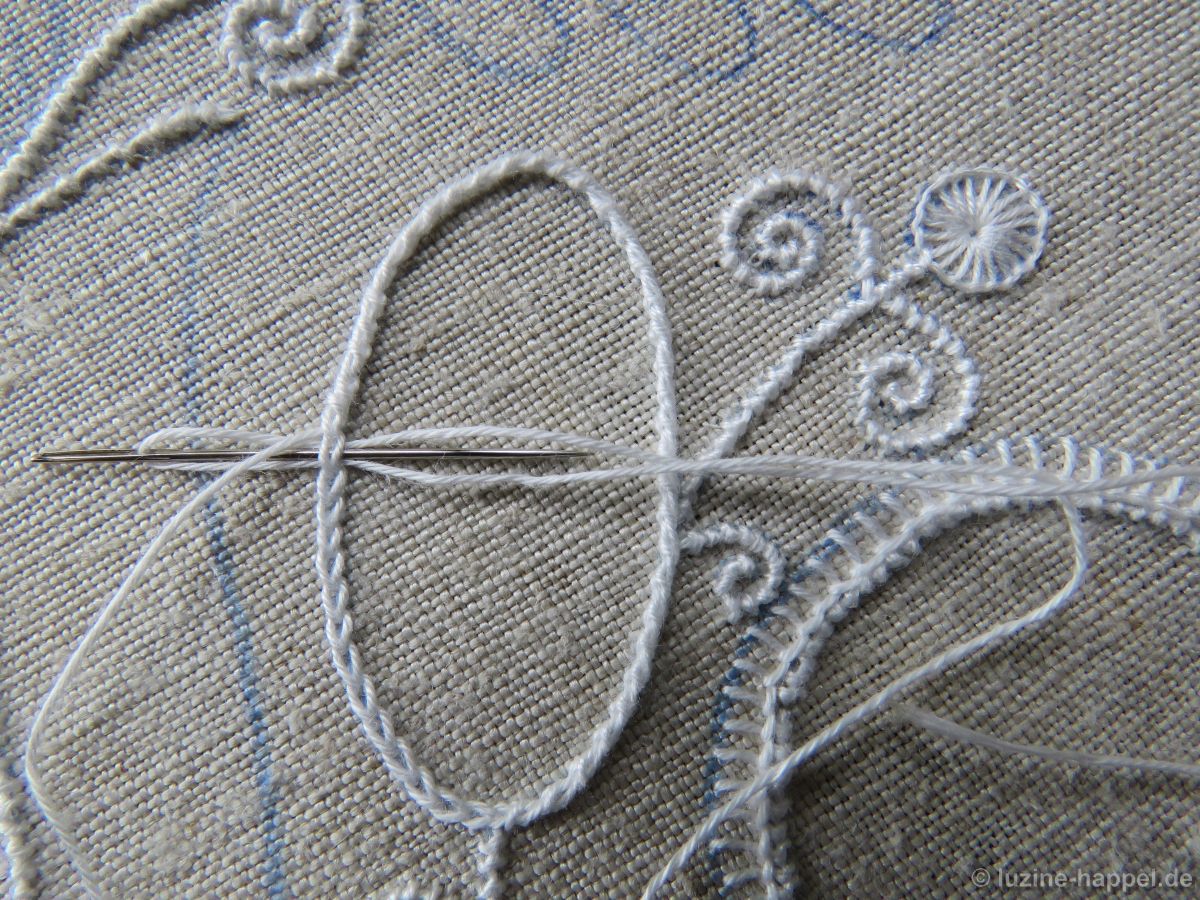
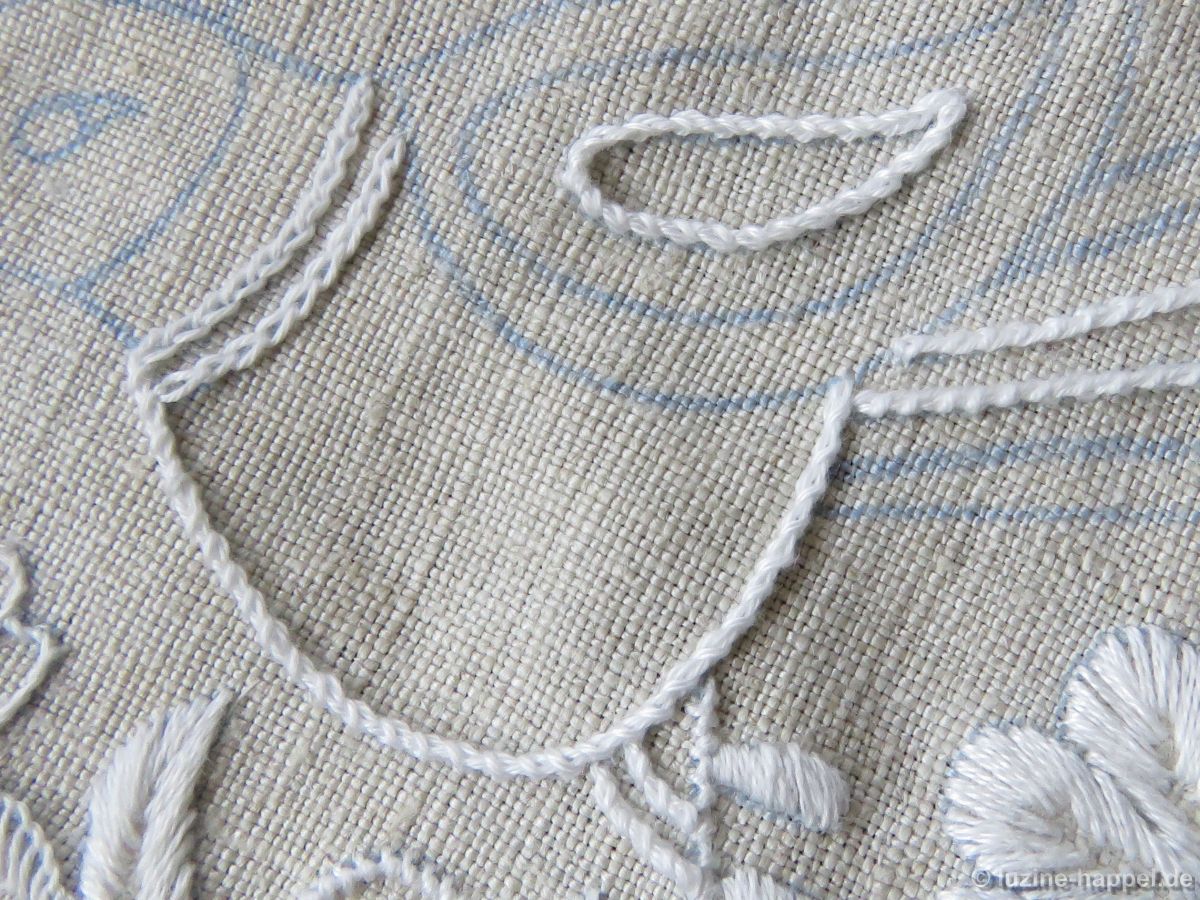
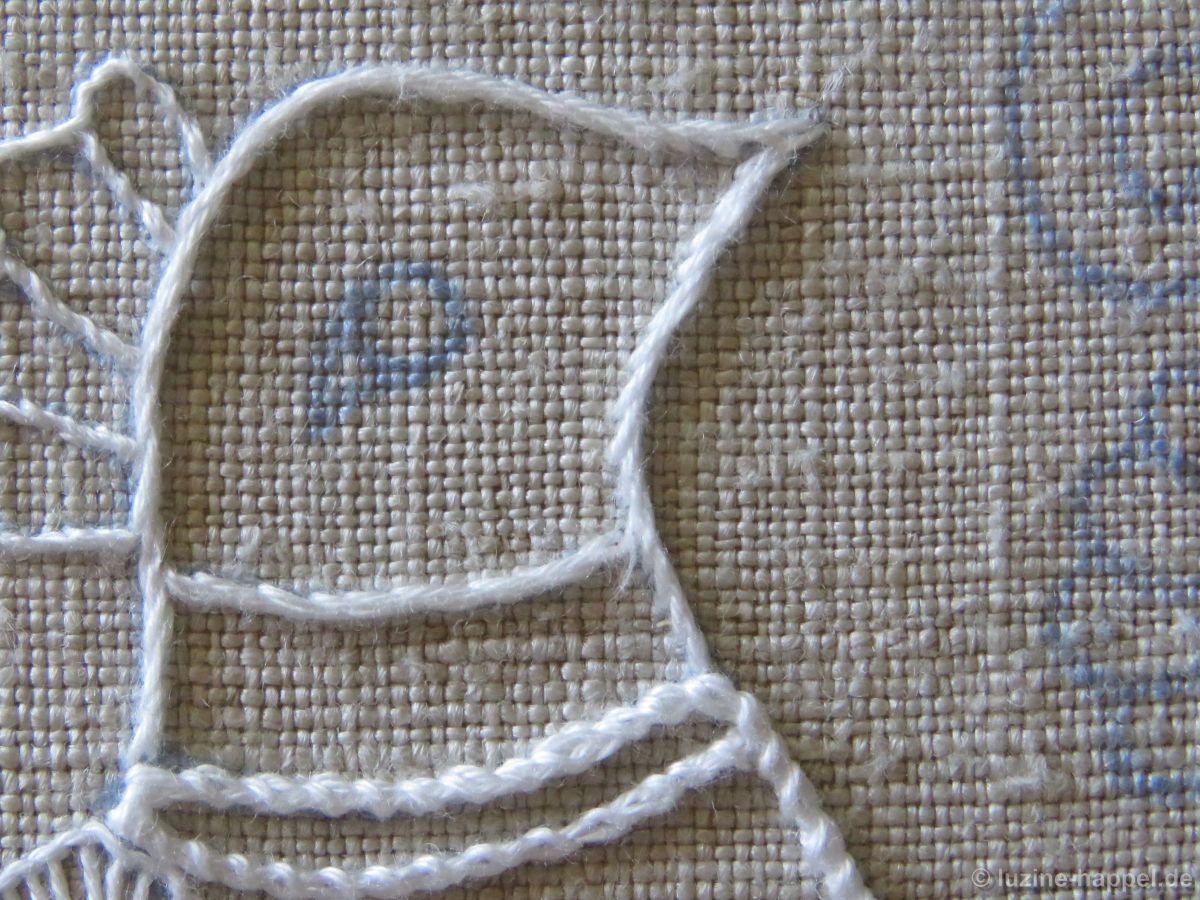
The oval should have a distinctive border that is as even as possible. Therefore, I create the outline with coton à broder No. 20 and wrapped Chain stitches. The bottom of the basket is also embroidered in this way.
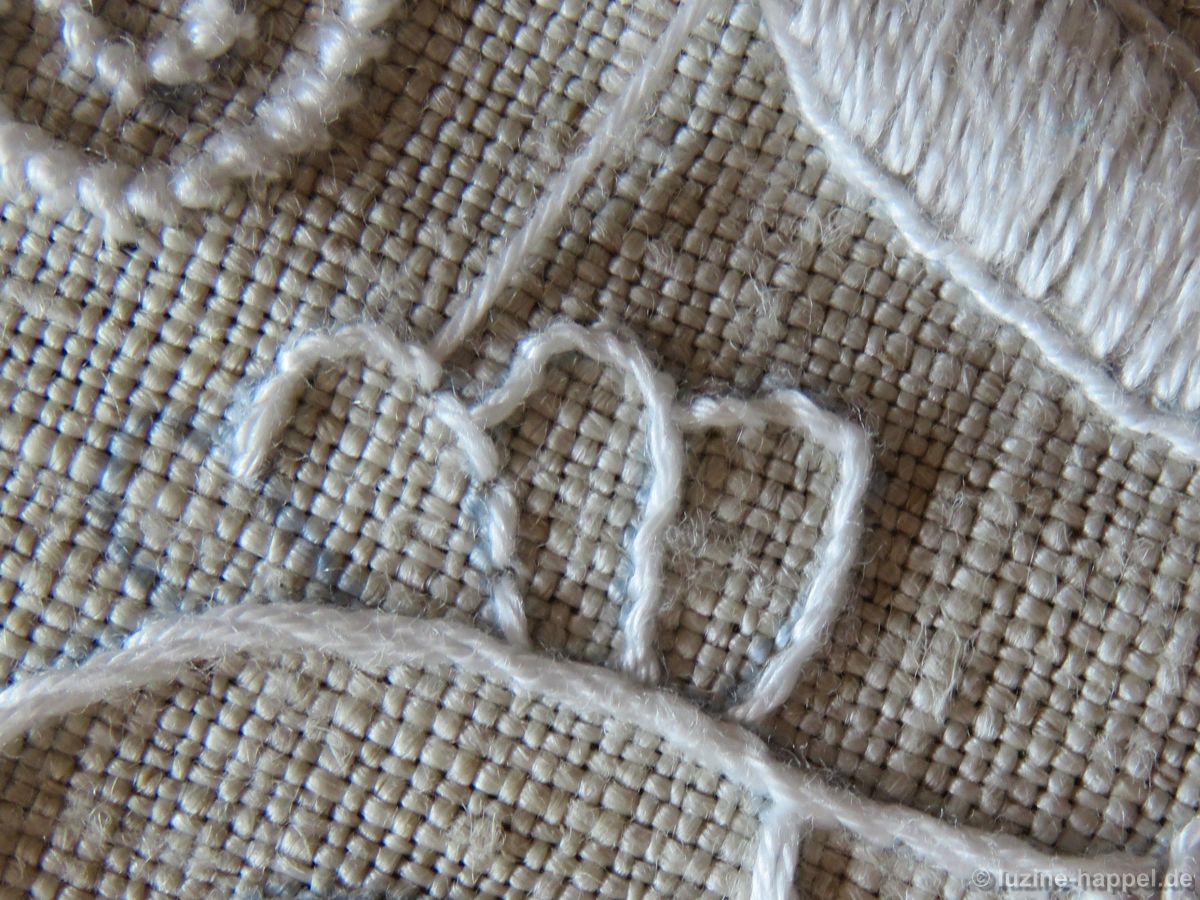
The small heart and the tulip are given an outline using Coral Knot stitches.

This means that – after approx. 6 hours – all the preparatory embroidery in Section 5 II has been completed.

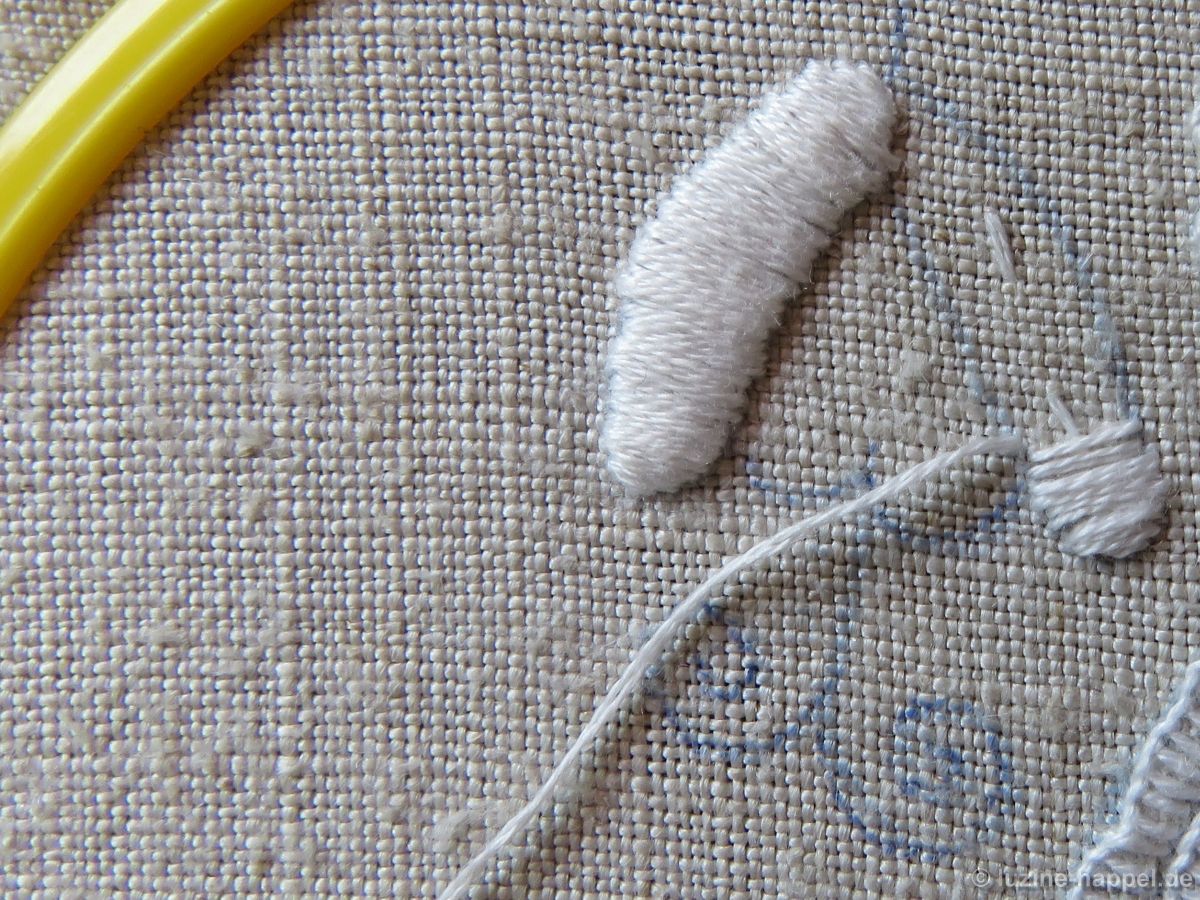
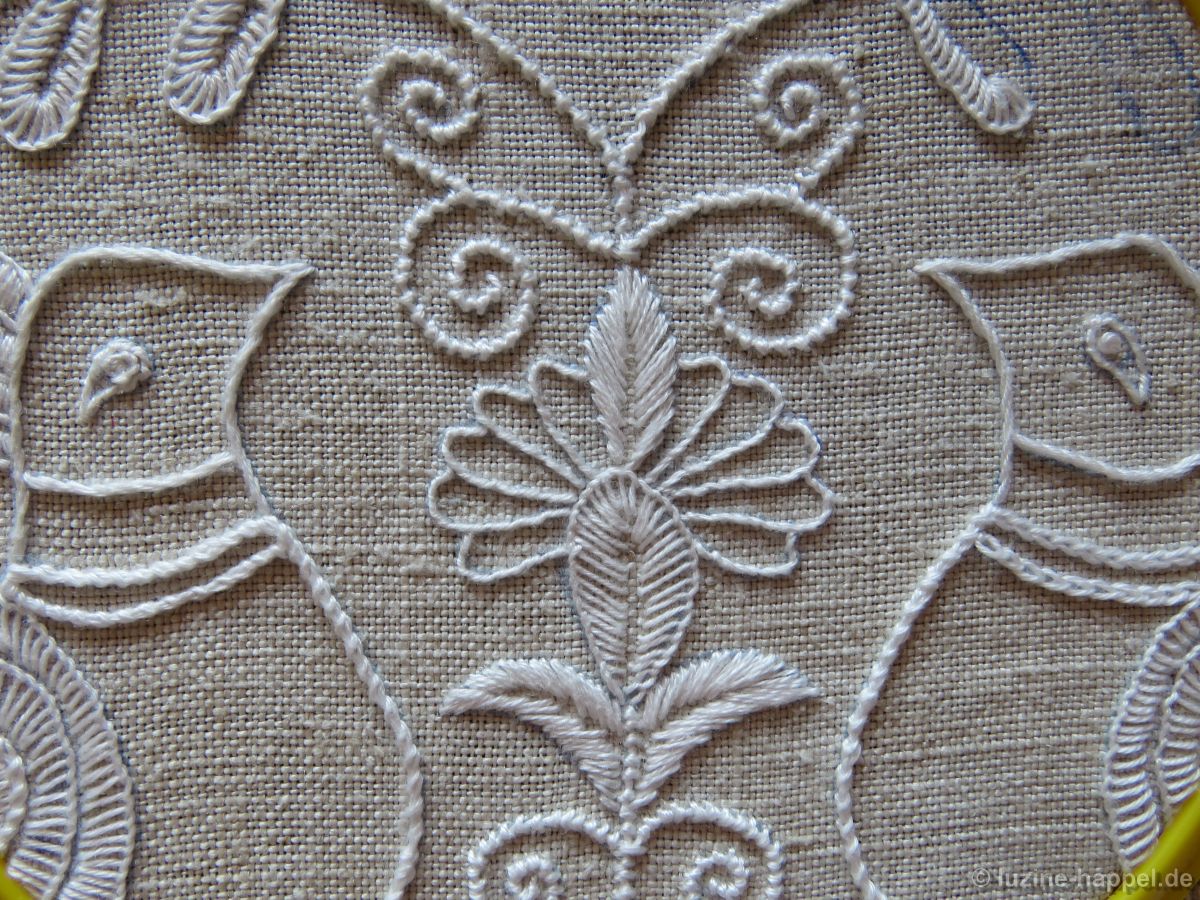
I provide the wide petals of the flowers with an imaginary center line and embroider them with satin stitches using 2 strands of 6-ply stranded cotton.

The corresponding small circle is embroidered as Blanket stitch eyelet with coton à broder No. 20.

The smaller leaves were worked undivided with 2 strands of 6-ply stranded cotton.

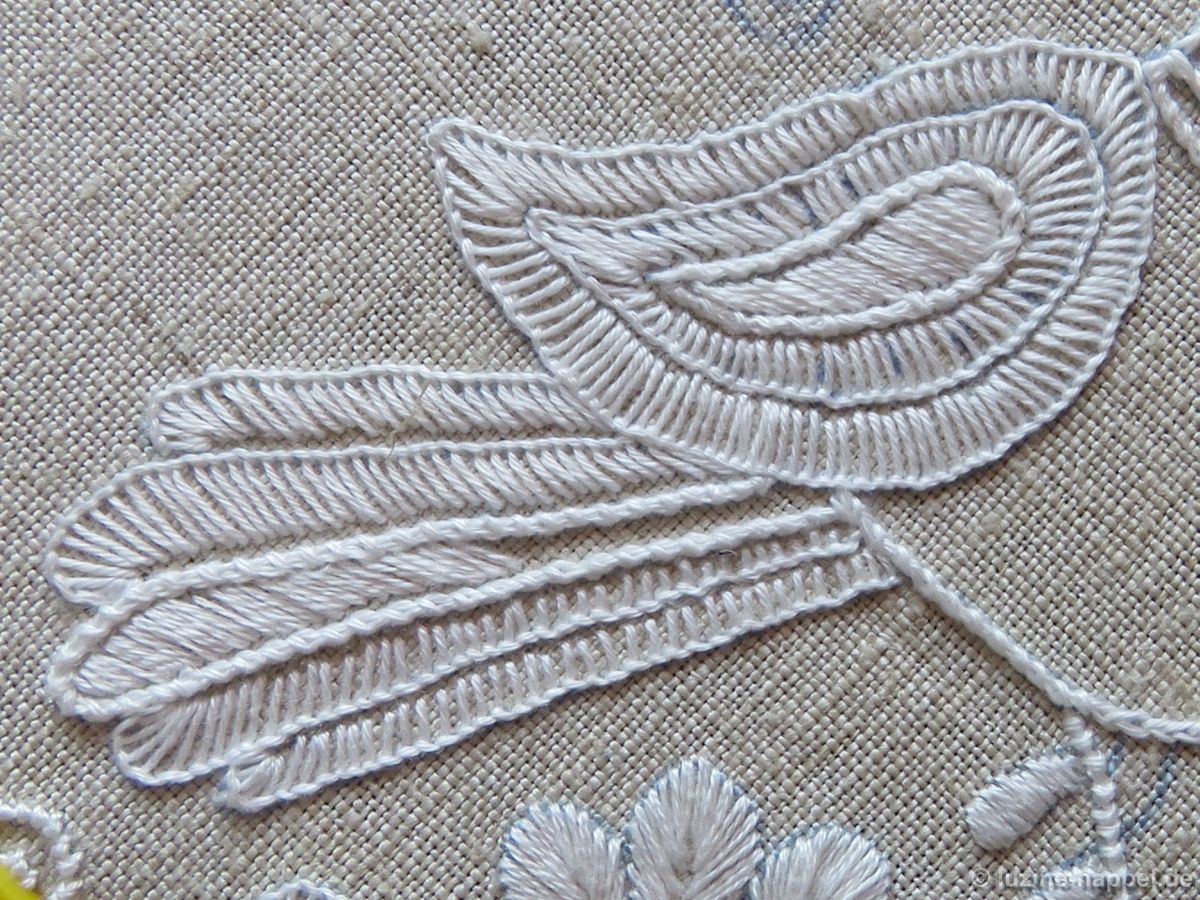
How should the bird be embroidered, how should the tail feathers be designed? For example, you could leave out the dividing lines in the wings, making room for a filling pattern.

But I choose a different version. To create a few distinctive lines, I use wrapped Chain stitches using coton à broder No. 20.

I use this to create the middle tail feather

and embroider the inner wing part, the legs, the belly outline and the ruff. Depending on your taste, you can also leave out the wrappings on the neck brace.

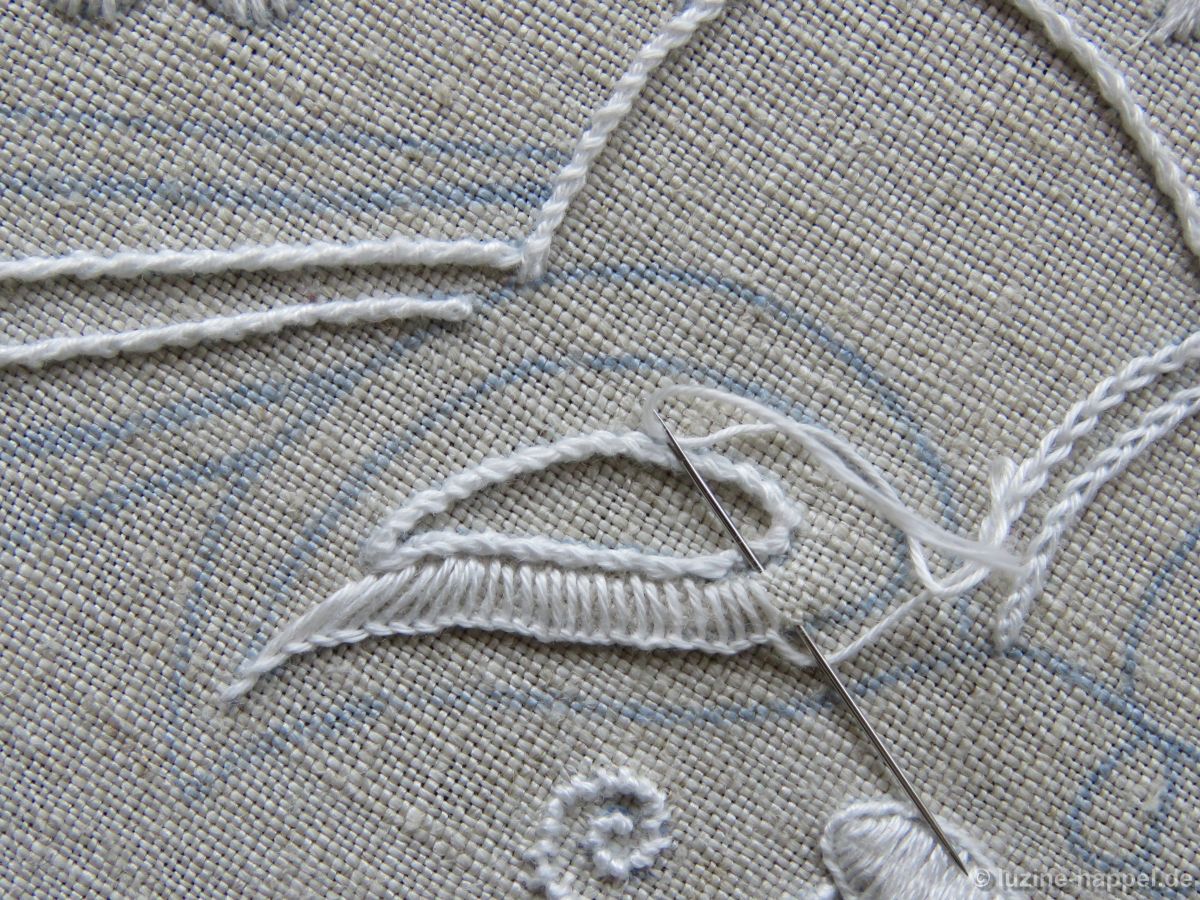
Starting at the tip of the wing, Blanket stitches (coton à broder No. 20) are embroidered around the line of wrapped Chain stitches. The inclination of the stitches is adjusted to the curve. Then the outer wing edge and the remaining tail feathers are embroidered in the same way. The middle tail feather and the inner part of the wing are filled with Satin stitches (2 strands of 6-ply stranded cotton).

In the close-up, the patterning done looks a bit rough. But I think that the type of embroidery will fit well into the overall picture.

Coton à broder No. 25 and wide Stem stitches surround the bird’s head, wrapped Back stitches around the comb.

If you finish embroidering the comb arches individually and start at the bottom, you can clearly separate them from each other.

The comb parts are filled with satin stitches using 2 strands of 6-ply stranded cotton.

The eye also initially receives a border made of wrapped Back stitches. I’m thinking about putting a small Blanket stitch eyelet or a Satin stitch point as the inside eye.

For the outer petals of the flower next to the bird I want to use one-piece Satin stitch. To do this, I first surrounded the outline with Backstitches and filled the inside with Chain stitches. With this underlay, I embroidered the petal. It seems too massive to me. On the next attempt I embroidered Satin stitches without underlay, but they didn’t turn out very neatly at the edge.

So I ended up embroidering a border with wrapped Back stitches (coton à broder No. 25) and filling the inside surfaces with Satin stitches (2 strands of 6-ply stranded cotton). This way the edges were even and the filling didn’t look too bulky.
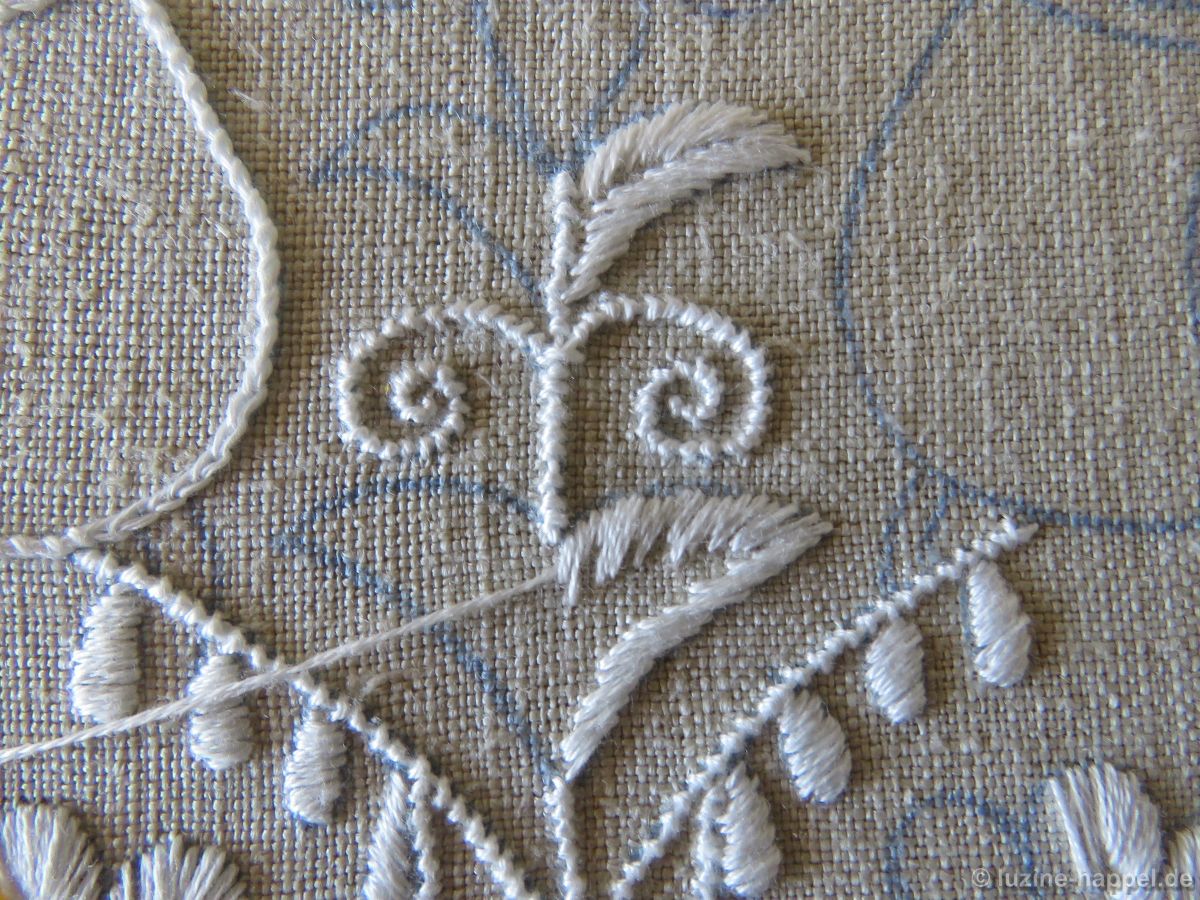
For short lines that need to be embroidered exactly with Coral knot stitches, like the arches of the heart shape here, I use coton à broder No. 20. This makes the lines finer and more precise.


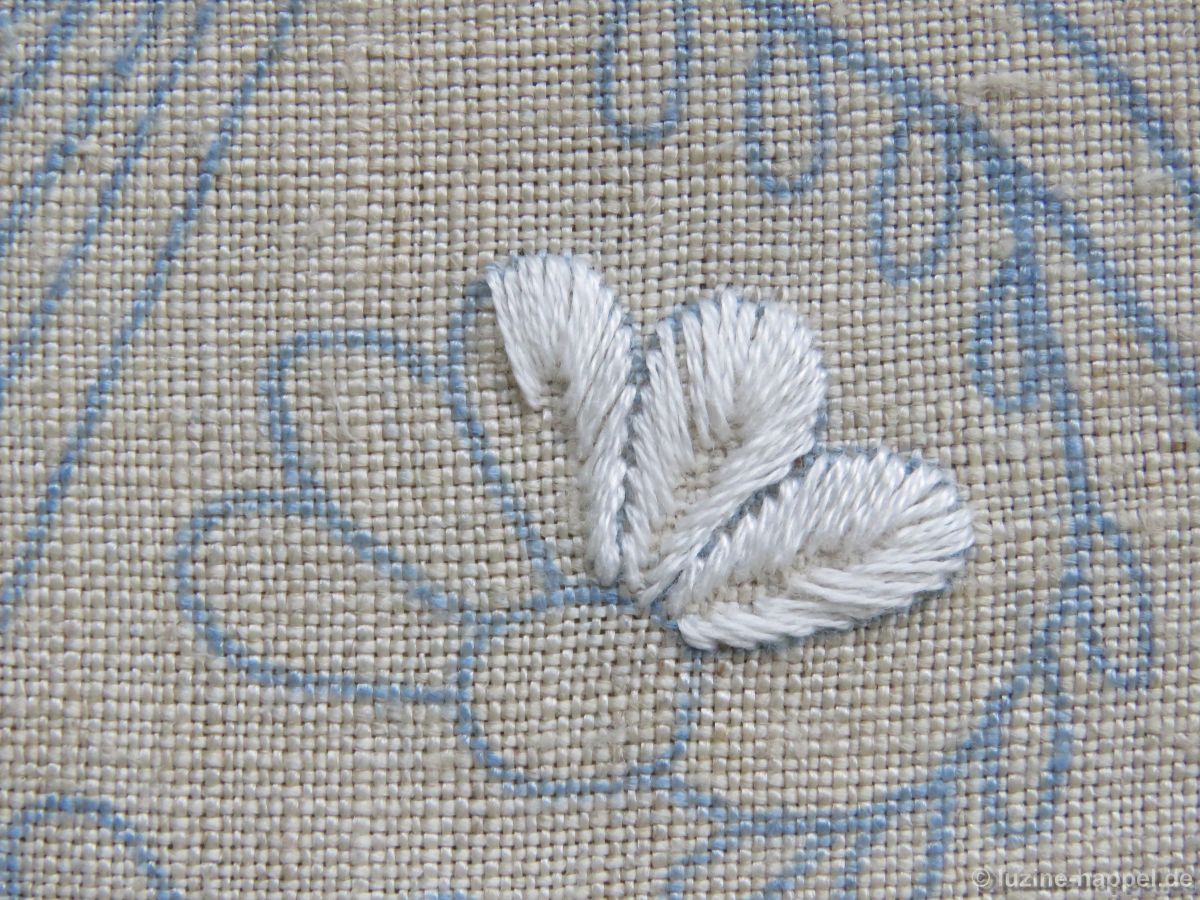
I embroidered the similar leaf elements between the bird bellies once with and once without a center line. Using 2 strands of 6-ply stranded cotton, long-and-short stitches were embroidered with a wide free leaf center for the larger leaves and with a narrow center leaf axis for the smaller leaves.

The calyx of the carnation was designed like a rounded leaf, the narrow petals similar to the bird’s comb with wrapped Back stitches (coton à broder No. 25). They should remain unfilled.

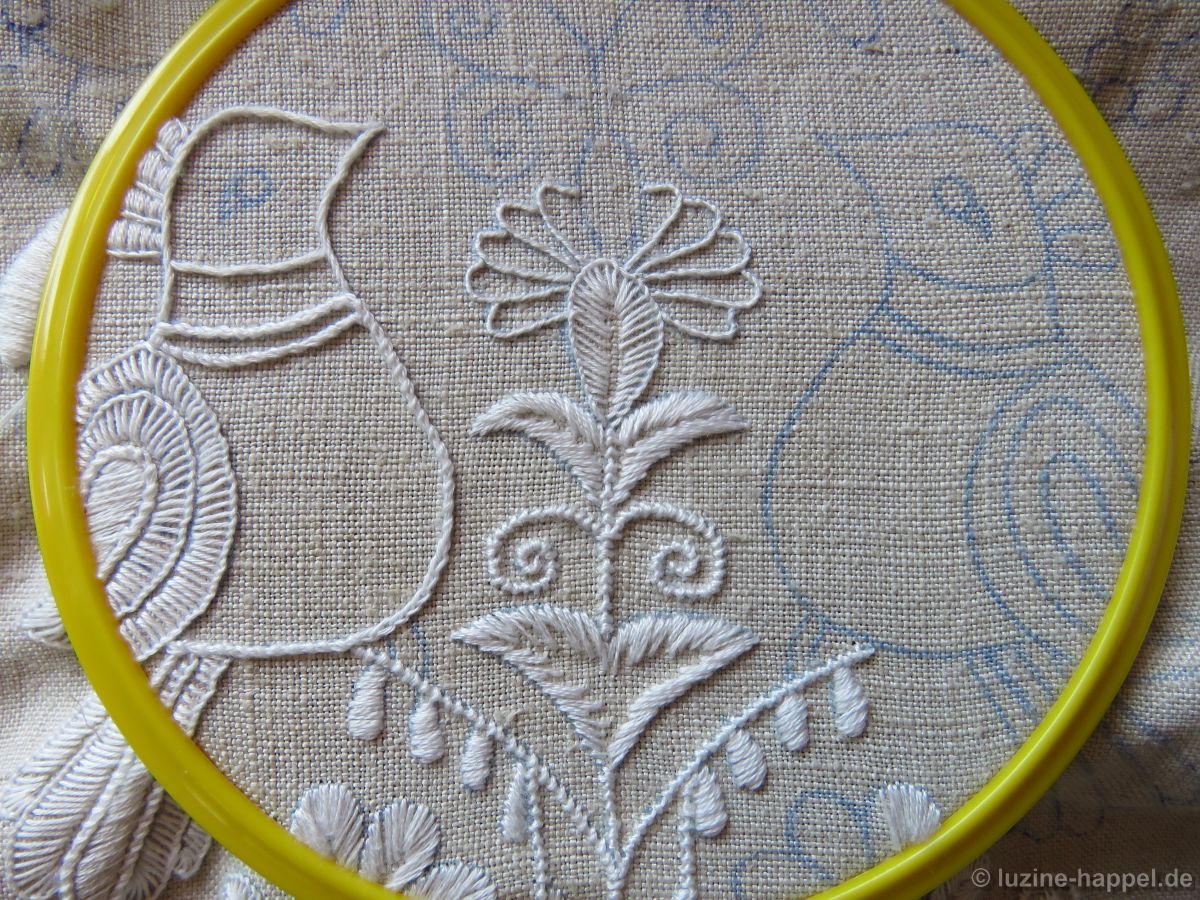
The middle petal was decorated as a divided leaf with Satin stitches.
I embroidered a small Blanket stitch eyelet in the left bird’s eye and a Boullion knot with 3 wraps in the right one. I like this version better.

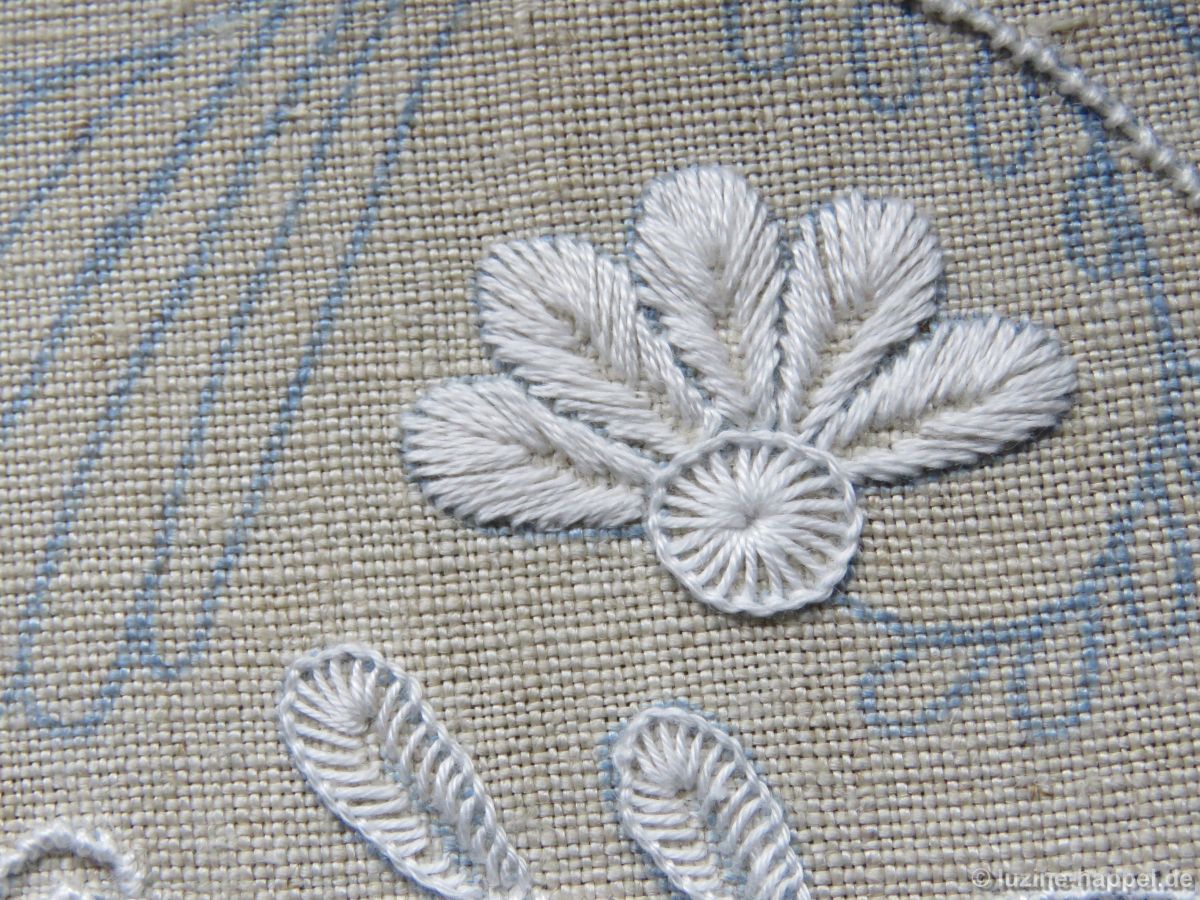
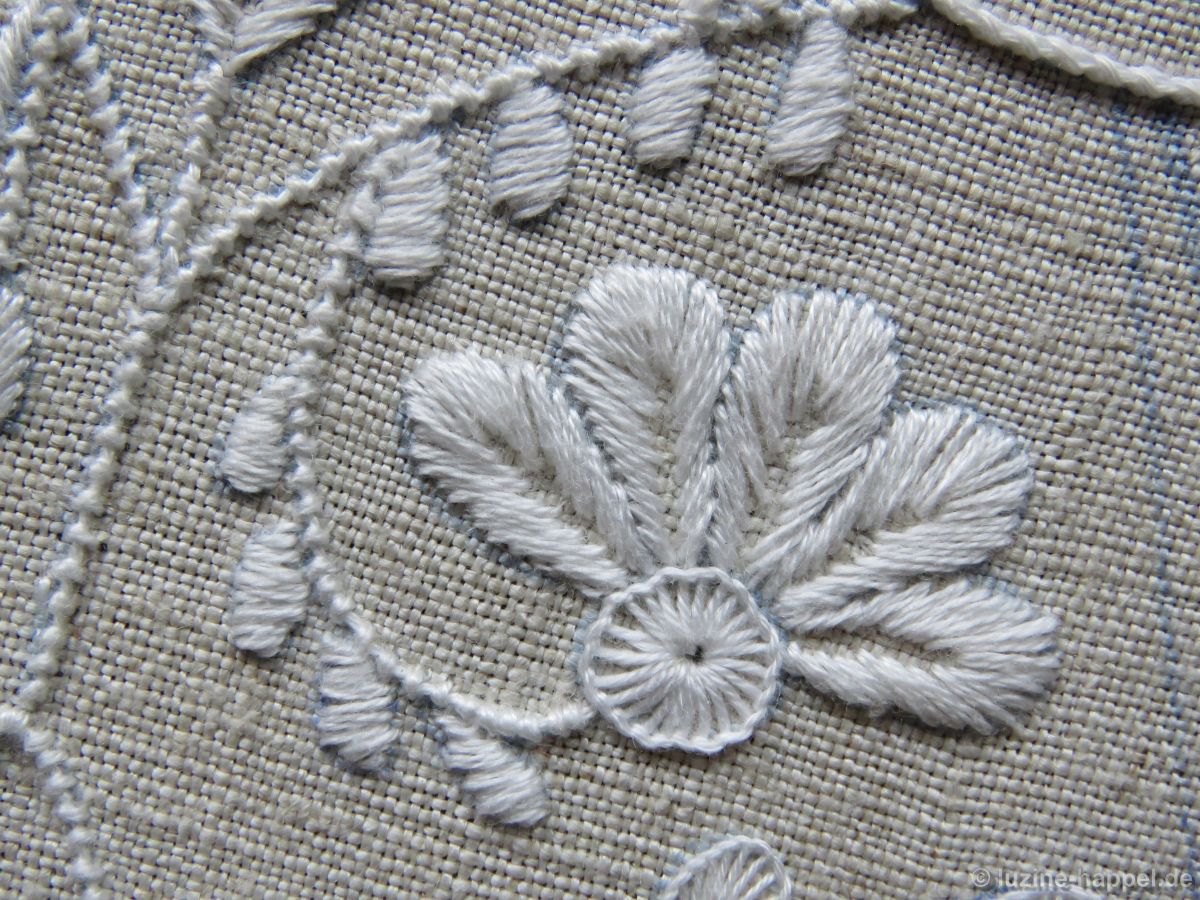
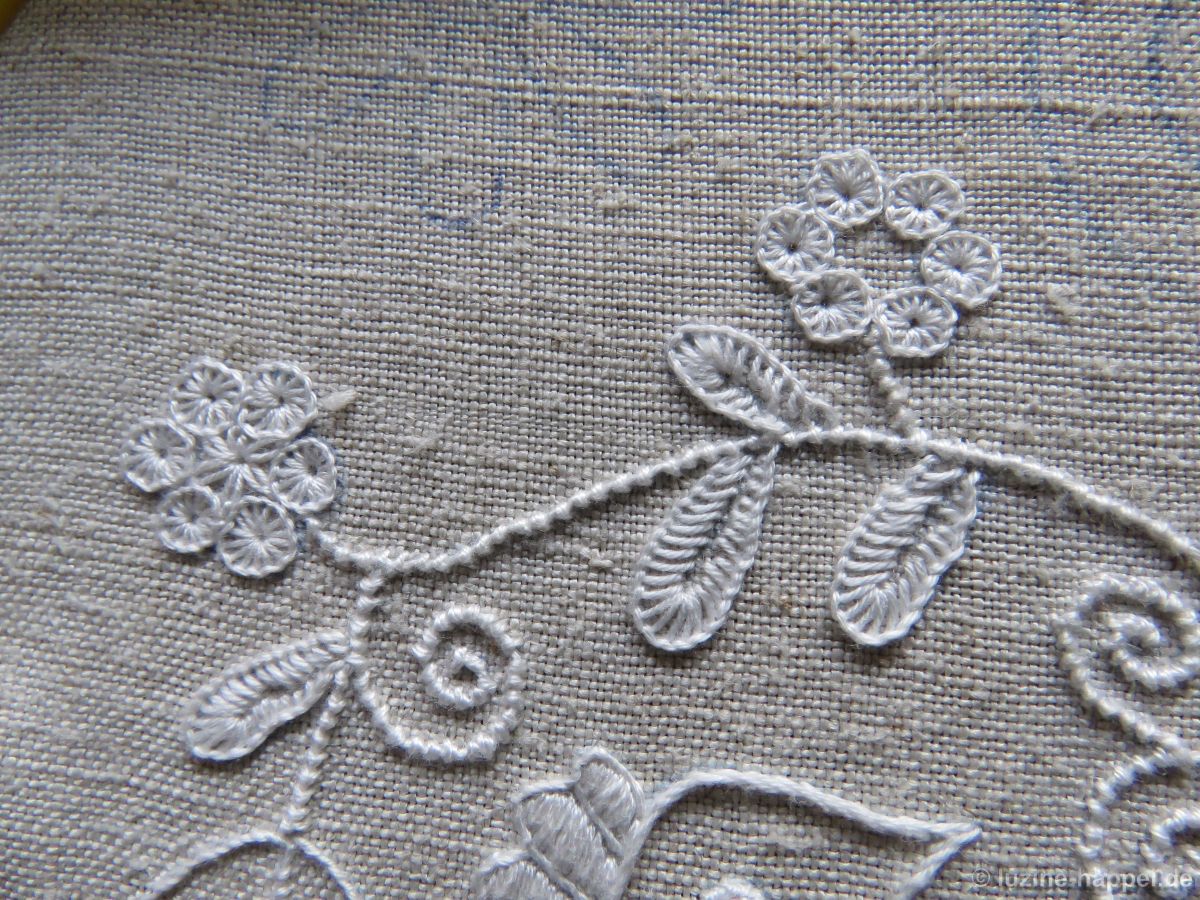
The final consideration for completing the preliminary work of the second section belongs to the centers of the small flowers. Blanket stitch eyelets (coton à broder No. 25) decorate the surrounding petals; another Blanket stitch eyelet in the middle would be conceivable.

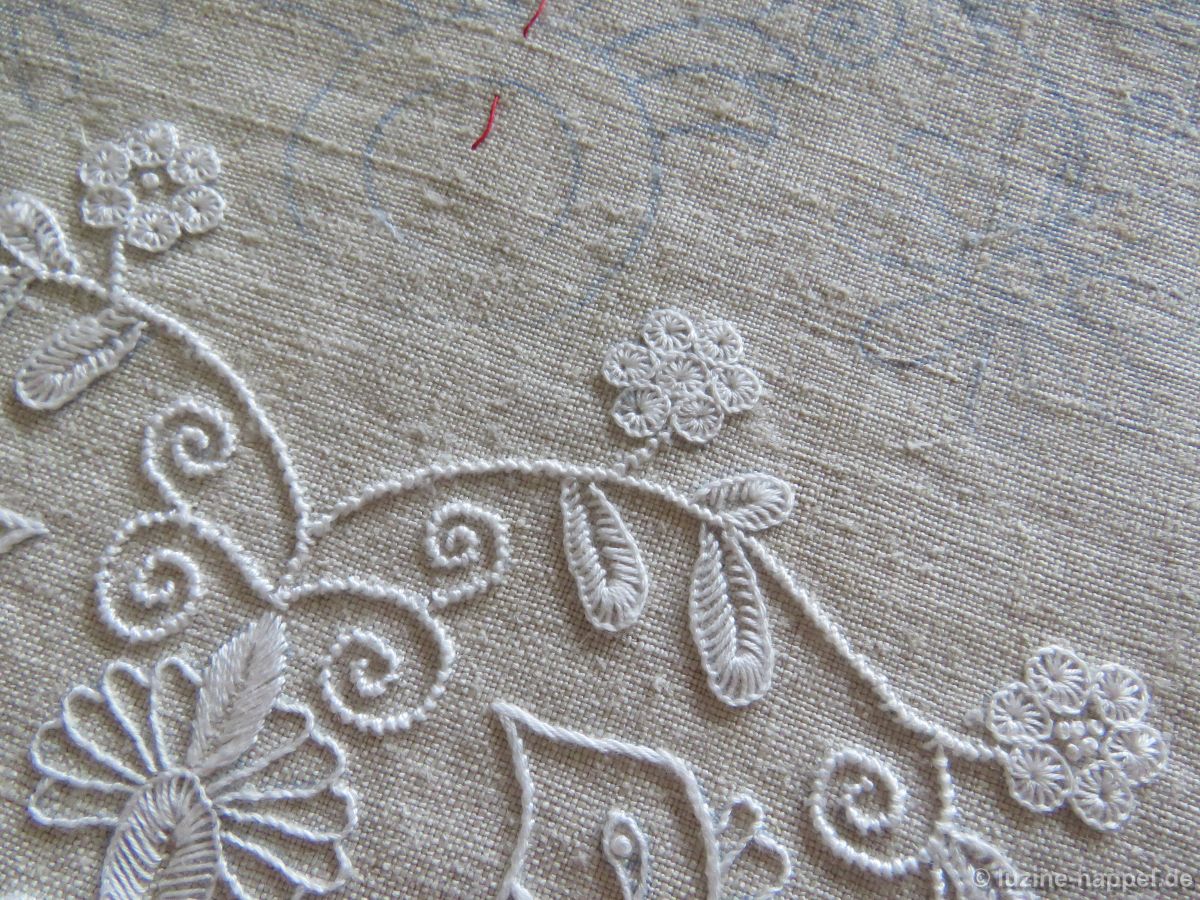
I tried a version – on the left in the picture below – with Daisy stitches. One or more Boullion knots – on the left and on the right in the picture above – would probably look best.

With the design of the little flowers, the preparatory work for Section 5 I has already been completed – another nine hours were spent with embroidery fun.

Tulip & Sunflowers

I am happy to announce that another one of my Schwalm whitework projects has made it into the world-class magazine Inspirations – the world´s most beautiful needlework.

This time they wanted me to work a small Schwalm typical border with tulip and sunflower motifs on a hand towel. So I created a matching design, embroidered it on white linen and finished it as hand towel.

I was looking for special filling patterns that reflect the shape of the respective motif and chose Limet withdrawn-thread patterns. A couple of different leaves, stems, tendrils and small flowers completed the embroidery.

Inspirations named it Tulip & Sunflowers. The professions brought the small project beautifully to life on the pages of the magazin.

Detailed instructions can be found in the magazine.

Best of all, Inspirations has put together a kit. With the right materials, one can easily start embroidering such a project.

Schwalm Band (1) – Design Transfer

Schwalm Band (1) – Design Transfer

I gave up my original plan to embroider on industrially woven striped linen. Instead I used 17/16-15 count handwoven linen

and cut it to a size of 200 cm x 35 cm. The central longitudinal axis was marked along a fabric thread using short Running stitches with coloured sewing thread.

Now there are different types of design transfer – using an iron-on pen, tracing using blue paper, pricking with the help of blue paper, on a light pad with heat- or water-soluble pens (they are also available from companies other than those mentioned here). I have now worked a lot with the last-mentioned pens and have given up my initial reservations about them.

Each version has advantages and disadvantages. What’s nice about the last-mentioned pens is that they don’t fade while you’re working and are easy to wash out later. However, you have to draw directly on the linen. The pin jumps a little due to the unevenness between the threads and the spaces between the threads.

But since the old, hand-woven, very heavy linen was not translucent enough for a light print – the template was clear and significant, but the light was not bright enough –

I decided to iron on the pattern and used my DEKA pen. With previous, smaller iron-on design transfers I had noticed that the colour was difficult to separate from the paper and was therefore only transferred weakly to the linen. So I first carried out tests with different papers. The cheapest, thin greaseproof paper worked best,

The colour stuck to the architect’s paper too tightly. It is also important to have a very hot iron. For such purposes I have an old iron that heats up to high heat.

I found the greaseproof paper in roll form with a width of 25 cm – ideal for my project. The pattern was then transferred in different sections that were not too long.

If the ironing patterns are short, you don’t need a special base, the positioning is easier and it is much easier to check whether the patterns have been completely transferred.
In order not to let the lines become too wide, the iron-on pattern pencil often had to be sharpened. With the right sharpener it worked perfectly. The mine didn’t even break off. Nevertheless, the new pen lost approximately 5 cm of its initial length of 17.5 cm during the drawing of the elaborate pattern.

In order to be able to transfer the pattern on the ironing board, I always just flattened the part of the linen that was supposed to receive the design. The remaining piece was rolled up.

The crucial step began with the iron heated to the highest setting, the ironing board well preheated, the linen straightened and ironed over to preheat, the pattern positioned correctly and secured with a few pins. I started ironing on the right side. The iron must never be lifted during the process, only moved. After some time of ironing, I moved the iron slightly to the left, removed the right pins and lifted the paper slightly and carefully to check that all the lines were transferred clearly. If this was not the case, the iron was pushed back into its previous position and the paper with the coöour was heated for longer. At times I felt like the linen was scorching, but it only turned slightly brown. So I worked my way to the left little by little until the prepared section of the pattern was completely transferred. The finished part was rolled up and the next section was prepared.

This way the entire motif border was ironed on piece by piece until the long ribbon was in front of me in all its beauty. The scorched areas are hardly noticeable anymore, the pattern is clear but not excessively applied.

Thereby I invested the first four hours in the project – my careful work was worth it.

Weber Group from Otzberg-Lengfeld

Weber Group from 64853 Otzberg-Lengfeld – Germany

Marion Weber from Ober-Ramstadt is one of my supporters and co-signer of the application for the admission of Schwalm whitework (“Hesse embroidery”) in the nationwide register of intangible cultural heritage.

After the previous course leader left, she took over the management of a group with currently 18 participants. Twice a year – in spring and autumn – courses “Hessian whitework, an ancient art, reinterpreted” are offered on four Saturdays each under the title “Short thread, hard-working girl”. These are aimed at participants who have previous knowledge as well as beginners.

The courses are held in the Museum für Odenwälder Volkskultur.
The respective events are advertised via the Gersprenztaler Anzeigeblatt (page 2). This feeds the attraction of other interested embroiderers.

The Alte Zollhaus, which the museum uses, offers an unusual atmosphere in which the embroiderers visibly feel comfortable.

Even if the lighting there is sometimes not optimal, the embroiderers help themselves with headlamps, magnifying lamps and the like.

Often not only small but also complex work is created, which is continued at home during the course-free period.

When they see each other again, there is great anticipation of experiencing and marveling at what has been created in the meantime. This motivates, exhilarates and encourages passionate creation.

The embroiderers used to take place on the Veste Otzberg in the museum´s cafe. There, other museum visitors actively took advantage of the opportunity to look over the shoulders of the embroiderers and learn something about the technique. This option was no longer possible due to the closure of the fortress. There are plans to hold similar events at village markets.

The lively group is happy to welcome additional participants at any time. Even if someone would like to spontaneously take a look or “sniff”, they are welcome – perhaps this Saturday (March 23, 2024 – 10 a.m. – 4 p.m.)

The Old Customs House is located at Bismarckstrasse 4 in 64853 Otzberg-Lengfeld
Ms. Weber can be reached by telephone at: 06154/53323

My heartfelt thanks go to Ms. Weber for helping to prevent me from giving up during a difficult phase and for being willing to sign as a co-signer. Her work is entirely in the spirit of intangible cultural heritage: passing on and preserving Schwalm whitework (“Hesse embroidery”).

Schwalm Band – Outline Designs

I recently embroidered a long band border with traditional Schwalm motifs.

Because I believe that such a project will be of great interest, I would like to share it with you. Here comes the design first. In later blog posts I will walk you through the entire project.

This outline design can be used very flexibly.

It actually consists of 5 separate sections of different heights, which can be placed on top of each other as required or separated into many smaller sections – this creates more than 20 different outline patterns. They can be used as individual patterns or combined as desired.

You can place all the sections together in the order of the printed sheets and at their full length, or you can shorten the band pattern section by section to achieve the desired length.
You can also combine the sections in a different order or mirror them.

The template sheets offer unimagined possibilities – give it a try!

The original design was based on a 16 cm wide band.

I gave up my initial plan to embroider on industrially woven striped linen. Therefore it was also possible to make the band wider than 16 cm. The patterns were expanded to 18 cm wide. This made my embroidery 165 cm long.

So that you too can embroider a project with these outline patterns, I offer them for purchase. The document contains 35 reduced size design suggestions on three pages, and then the 5 original size design sections – both 16cm and 18cm wide.

You can either download this document

Schwalm Band
with traditional motifs
line drawings
22 pages
Text: English
7.51 MB file size
€19
(incl. 7% sales tax)
(€17,76 for customers outside the EU.)
Shop

or order as a print version.

In the print version, the line drawings are printed on high-quality tracing paper. This makes putting the sections together very easy.

Schwalm Band
with traditional motifs
line drawings
22 pages
Text: English
€25
(incl. 7% sales tax)
(€ 23,36for customers outside the EU.)
Shop