Filling Pattern – No. 576

category: Limet filling pattern
linen used: 13.5/cm thread count
threads used: coton à broder No. 30
stitches used: Crossing Straight and Rose stitches
center: intersection of withdrawn thread lines
one pattern segment: = 6 threads

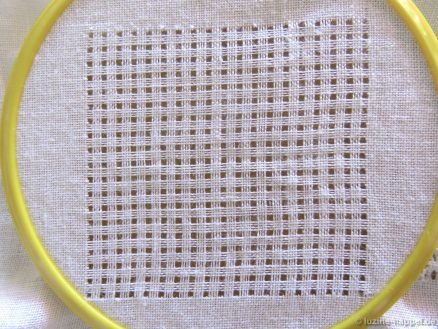
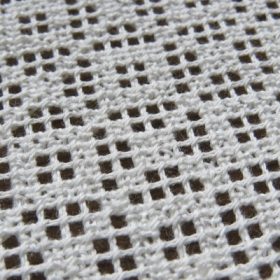
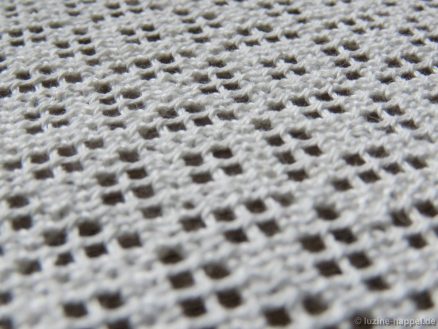
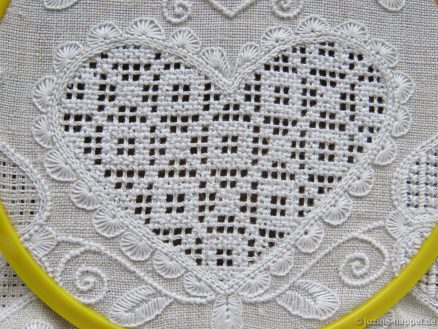
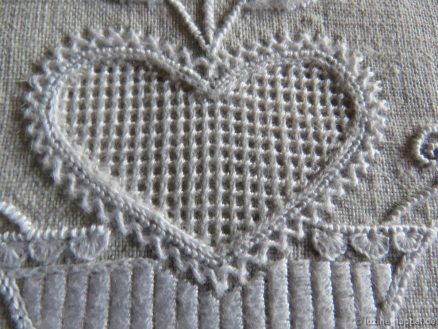
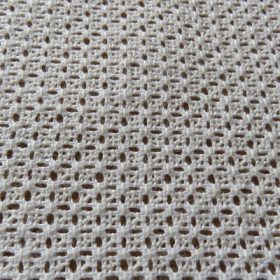
After I presented with No. 576 a filling pattern for large motifs, I will now show a pattern for small areas. If one pattern segment of No. 576 had a width of 40 fabric threads, this pattern only has a segment of 6 fabric threads.

Since more threads are left than are withdrawn, I call it a Limet pattern, even though it is not a typical Limet pattern.

The filling pattern shown here is a practice exercise only.

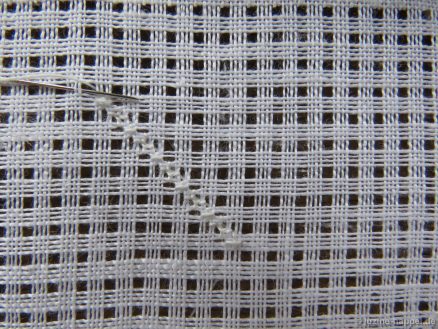
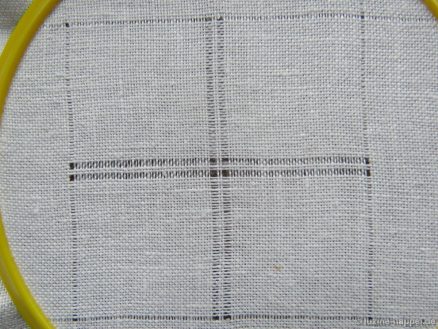
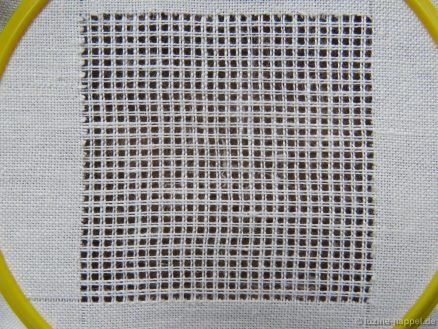
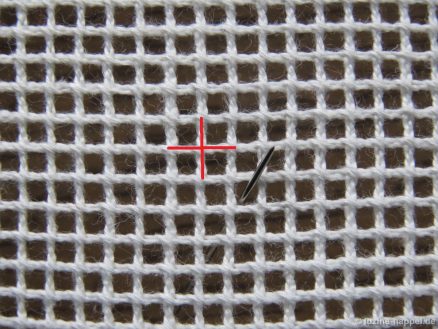
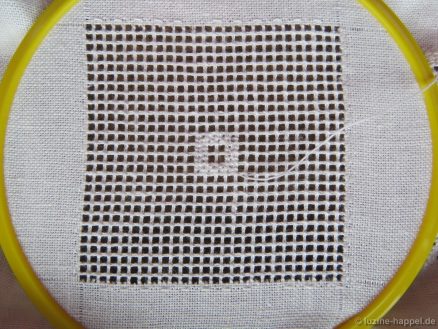
First create a grid with an intersection of withdrawn thread lines in the center,

by alternately withdrawing 2 and leaving 4 threads both horizontally and vertically.

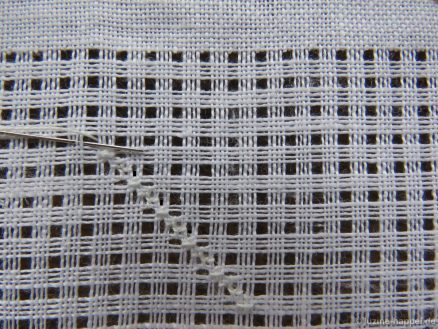
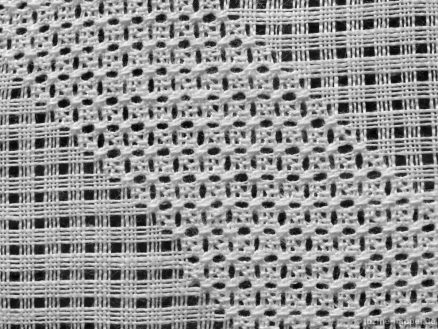
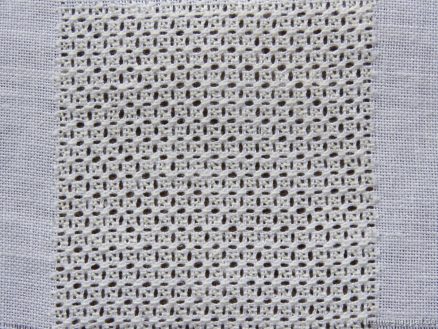
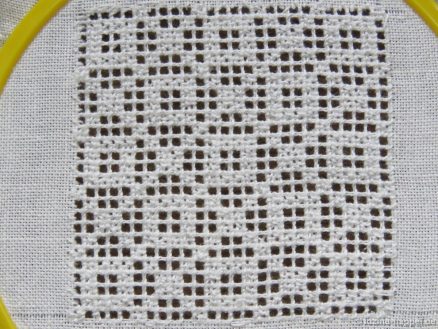
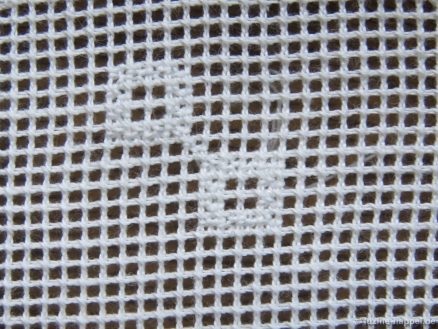
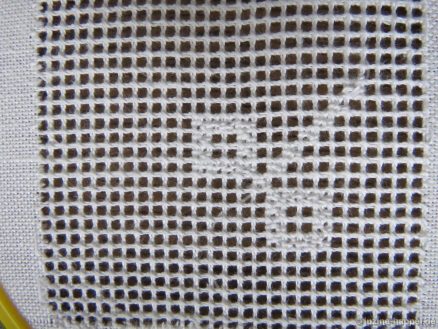
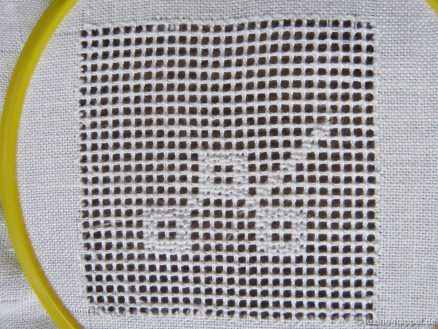
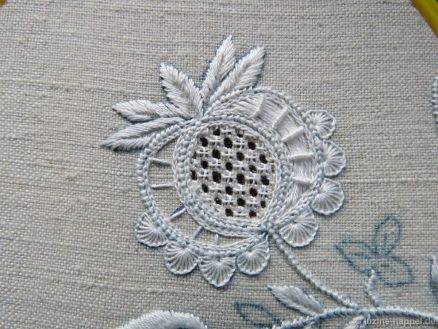
The pattern is formed from diagonal rows of alternating Straight stitches that run vertically and horizontally across the 4-thread squares of fabric,

and Rose stitches, the centers of which lie in the free squares and which pick up 2 fabric threads on each side.

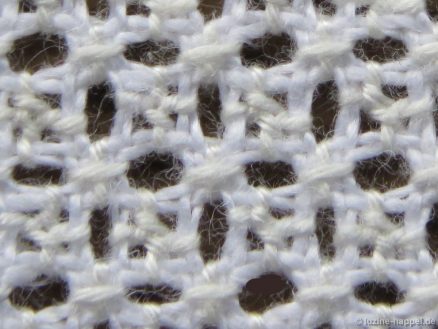
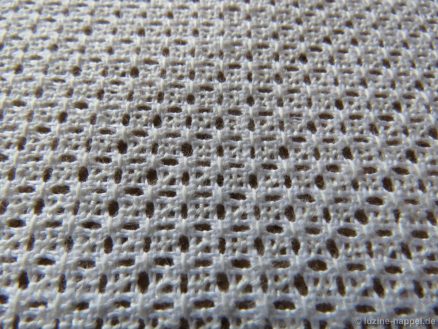
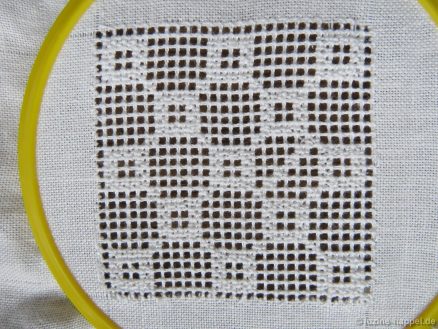
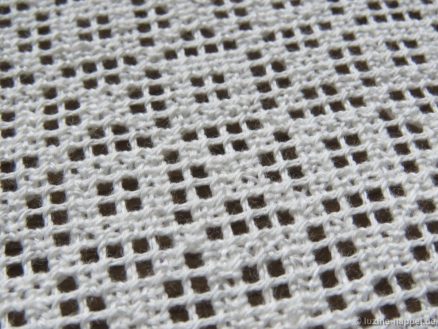
This changes the position of the fabric threads. Small oval gaps are created that make up the pattern at the end.

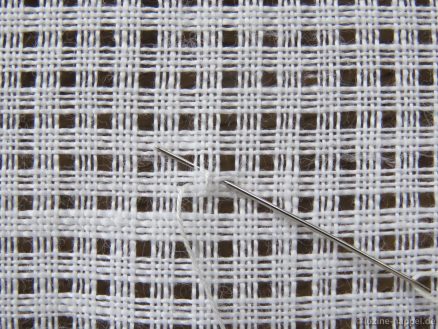
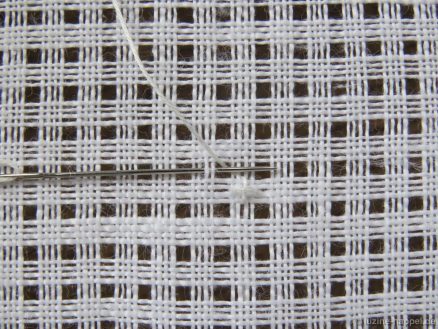
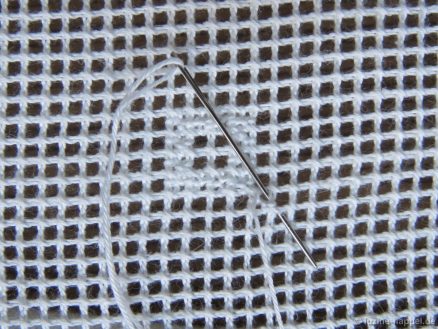
Bring needle up in the middle of the upper edge of a square of 4 fabric threads,

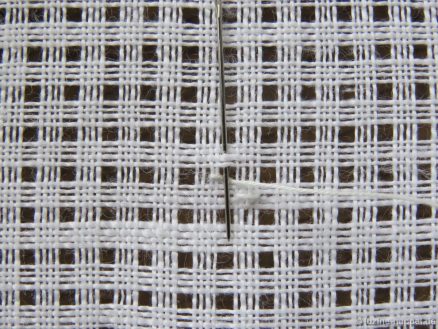
*move the needle vertically downwards, insert there and bring needle up two fabric threads diagonally to the top left.

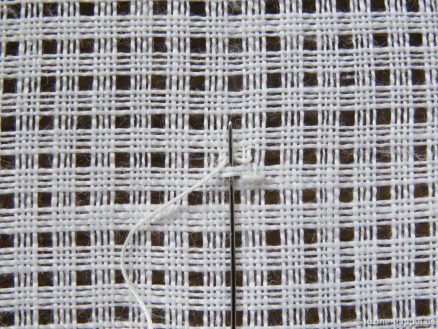
Move the needle horizontally to the right, insert it and bring it up in the free square on the left above the square of 4 fabric threads.

This is the center of the first Rose stitch, which started with a stitch to the left

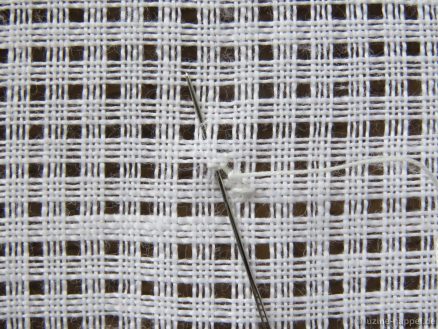
and continues counterclockwise.

With the fourth stitch – unfortunately not visible here in the picture – you also have to pick up the sliding thread on the back so that the newly created holes remain open and clearly defined.

From the end of the Rose stitch, move the needle diagonally to the left to the middle of the upper edge of the next 4-thread square.*

Always repeat the steps (*)

and embroiders row after row,

until the entire area is filled.

Only after washing does the pattern developes its full effect.
Filling Pattern – No. 575

category: openwork filling pattern with Cable stitch grid
linen used: 13.5/cm thread count
threads used: coton à broder No. 30 for the Cable stitches and No. 20 for the Rose stitches
stitches used: Cable and Rose stitches
center: intersection of pairs of fabric threads
one pattern segment: = 40 threads

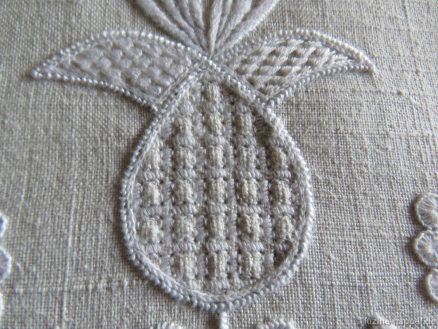
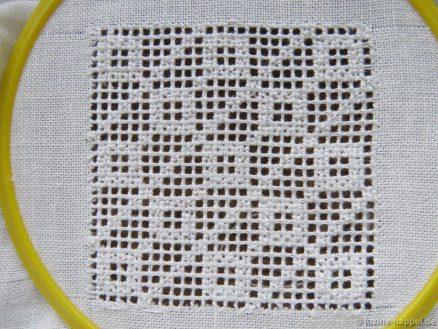
The filling pattern shown here is a practice exercise only. You can see it used in a shape at the end of this article.

First, establish an openwork grid with an intersection of pairs of threads in the center by cutting 2, leaving 2 both vertically and horizontally.

Stabilize the established grid with Single Faggot stitches worked from the back side of the fabric. Please remember that Single Faggot stitch worked on the back side will look like Cable stitch viewed from the front.

Then the desired pattern – made up of Rose stitches in squares of 4 x 4 stitches in a grid of intersecting diagonal rows of rose stitches – is embroidered into the grid.

Therefore bring needle up in the second square diagonally from the center

and embroider a square of 4 x 4 Rose stitches around the center square of 2 x 2 remaining free squares.

From one corner of the resulting square, embroider one Rose stitch diagonally outwards.

The next Tose stitch on this diagonal is the corner point of the next 4 x 4 Rose stitch square.

If the working thread is still long enough after completing the square, you could work a diagonal row of Rose stitches starting from the single Rose stitch.

However, you can get a better overview of the pattern run if you connect one Rose stitch diagonally outwards from the 4 x 4 Rose stitch squares at each corner point and then work the next 4 x 4 Rose stitch square. This is the best way to avoid mistakes.

If the Rose stitch squares are embroidered like a checkerboard over the entire area,

The diagonal rows of Rose stitches – marked by the individual Rose stitches – are worked, initially in one diagonal direction

then also in the crossing.

An attractive filling pattern for larger areas has been created, which can be used very well in motifs in the straight of grain as well as those on the bias.

Fault in the Linen – what to do? (1)

Hand-woven linens often have a number of small defects. Most of them can be ignored.

However, if it is a fault that would spoil the overall impression, you should find a way to cover it up.

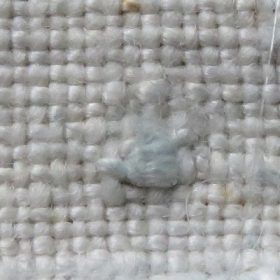
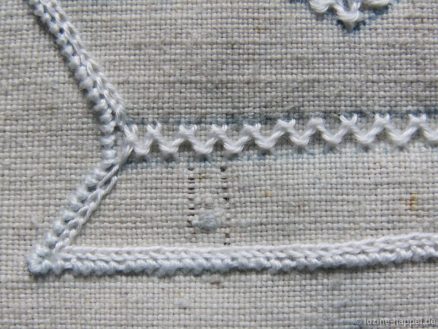
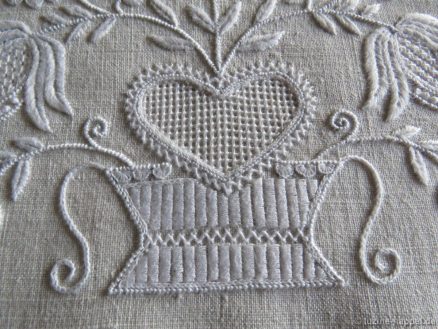
I found a clear fault in the form of a strong thread thickening – albeit without a knot – in the lower area of ​​the basket motif of the Sofa Cushion 3 .

First of all, I tried to pull some of the fibers to the back using the tip of a needle and pluck them off from there.

However, this was only possible to a limited extent; the thread thickening was still so strong that it would have had a disruptive effect on the uniformity of many filling patterns. So a filling pattern had to be found that covered the defect.

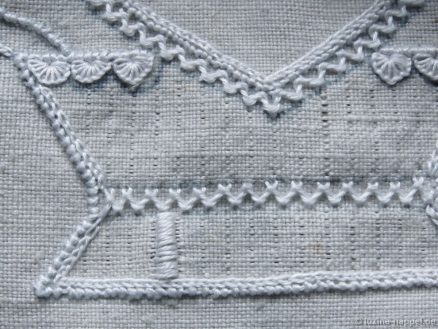
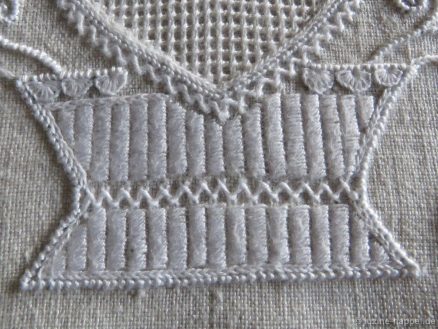
I decided to use wide Satin stitch bars, counted the vertical fabric threads starting from the center longitudinal axis (24 threads to the fault) and then set the width of the Satin stitches to 5 fabric threads. As a precaution, I did not start pulling out the thread in the middle of the motif, but rather to the left and right of the fault area.

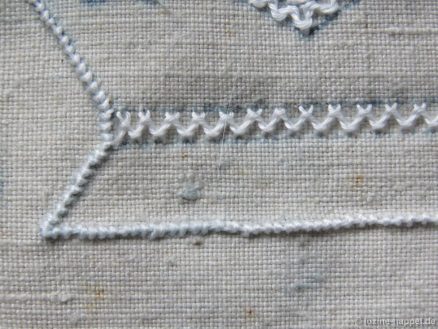
From there, further thread withdrawing was madet for a simple 5:1 withdrawn thread pattern. The thread withdrawing was continued above the row of interlaced Herringbone stitches.

The damaged area was embroidered over

and after washing it is only visible to those who know where the fault was.

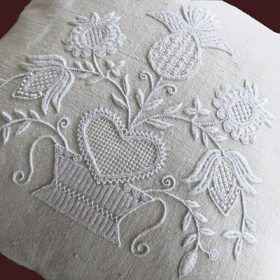
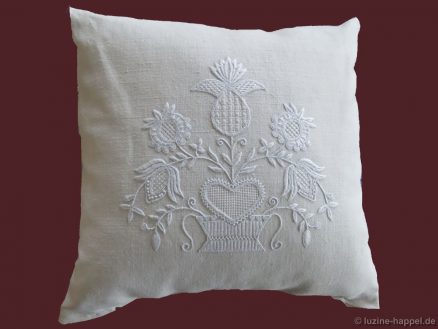
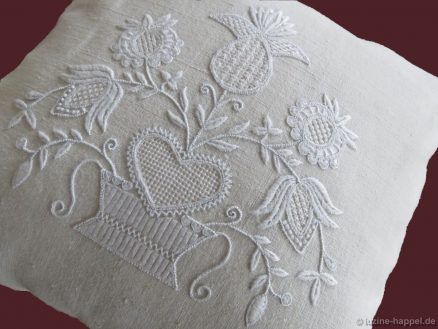
Sofa Cushion Cover 3

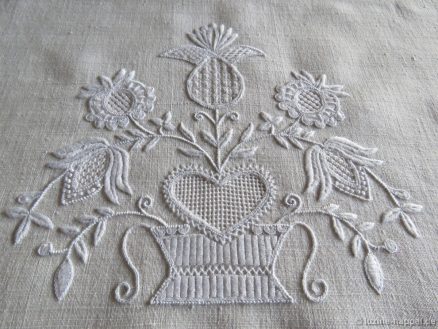
As already announced in the article “Selling handwoven linen”, I am now showing a pillowcase made from this linen.

44 cm was cut off from the 92 cm wide linen to end up with a pillow measuring 40cm X 40cm.

A matching motif was printed.
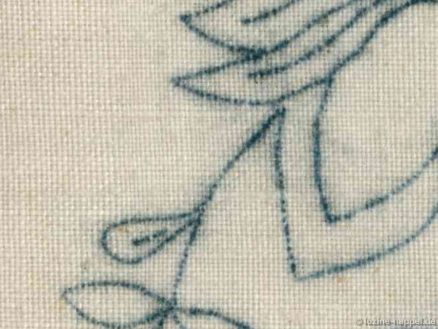
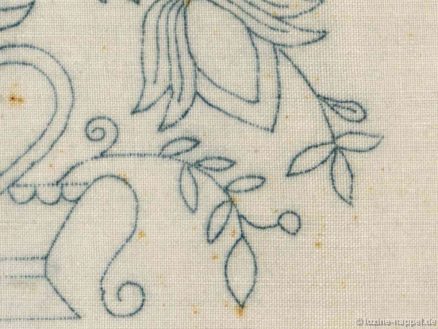
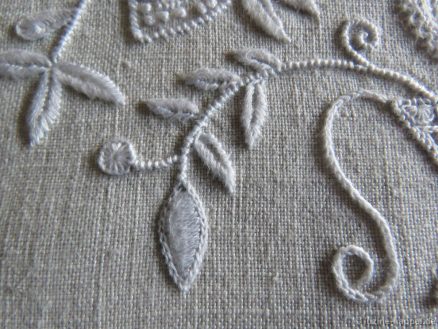
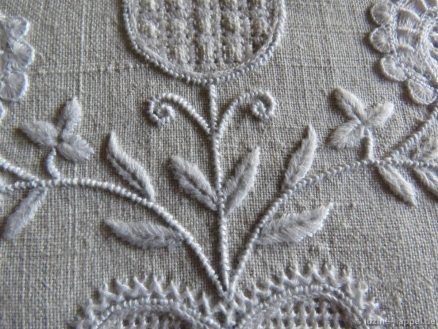
In the enlargements you can clearly see the faults of the linen: passages with thicker threads alternate with those with thinner threads;

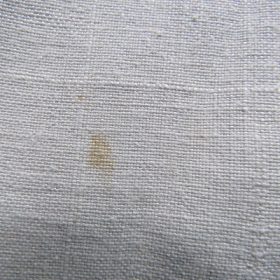
many small and large stains are spread over the entire area;

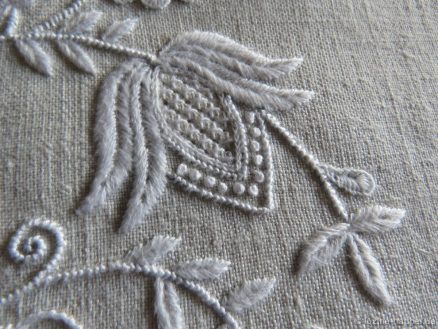
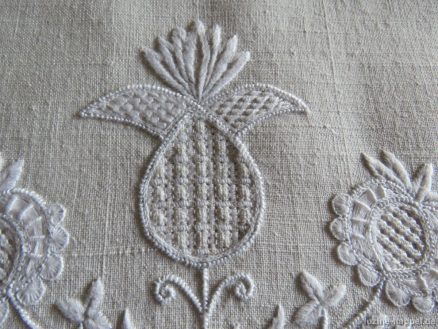
a clear fault can be seen in the lower area of ​​the basket motif. I’ll show how the fault was dealt with in the next blog post.

The linen has been embroidered, washed/boiled and ironed. Afterwards the piece measured 92 cm x 43 cm – so it only shrunk very slightly.

Since the linen is relatively thick and very tightly woven, you have to get used to it. A little more effort is required to pull the needle through the fabric. But you can place the stitches very precisely,

which creates beautiful small leaves and tendrils.

Despite the density of the threads, the thread withdrawing is quite acceptable – the threads hardly break in both the warp and the weft – even over longer distances.

Both simple withdrawn thread patterns

as well as openwork

and Limetpatterns

have a good effect. This only comes into its own after boiling, as the pictures before
and after the wash clearly show.

Decorative stitches can also be positioned precisely,

which leads to a very positive overall impression.

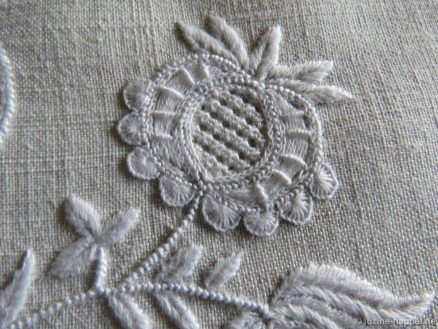
In the pictures you can clearly see the thread thickening of the linen, small knots and small faults in weaving. They do not have a negative effect on the overall impression. The stains disappeared without residue after washing.

Selling Handwoven Linen (1)

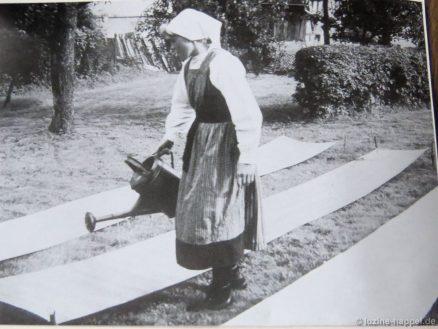
Initially, Schwalm whitework was only done on hand-woven linen because that was the fabric that was produced in the region. The hand-spun threads used for this are often more uneven in thickness and twist than machine-spun threads. This makes the fabric made from it appear more structured and interesting.

Such linen has the advantage that it does not wrinkle as easily as machine-woven linen. It is usually very tightly woven and therefore heavier. Projects made from it are easy to iron, and blankets and runners sit well on tables.

But as with all handmade products, there are big differences. There are also many hand-woven linens that are not suitable for embroidery. The threads are too uneven in warp and weft, which does not allow for a pleasing pattern. Or they are only very slightly spun so that the threads fall apart when pulled out. Or they have thickenings that are too thick, making it almost impossible to pull out the thread. Some of the fabrics, which are now more than a hundred years old, have been stored incorrectly, causing the fabric to fall apart. The linen rolls have often become stained over the years. Not all stains can be washed out.

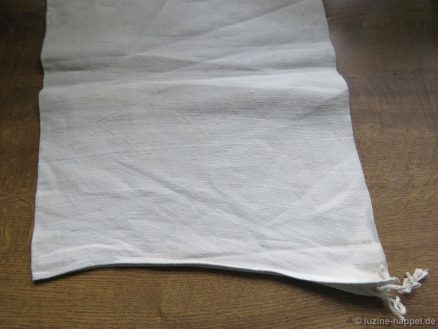
Most linen was woven with a width between 60cm and 75cm. Wider linen is difficult to find and is therefore much more expensive. Often the first and last meter of the role is warped due to the tautening,

so that these sections can no longer be used for embroidery.

(I found an interesting article with informative images about the production of hand-woven linen, but unfortunately only with German text.)

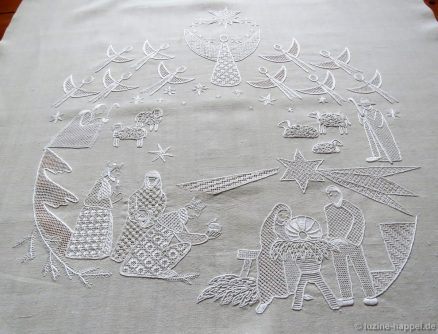
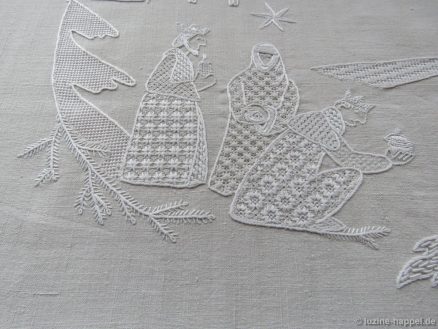
I bought a role of linen with a width of 92 cm and have already done some embroidery on it, like this large wall hanging.

In my next blog post I will show a pillowcase made from this linen.

You have to get used to embroidering on hand-woven linen. You usually find it more difficult at first. I’ve also had linen that almost required pliers to get the needle through the fabric. It’s too tiring and not fun.

The linen presented here can be embroidered quite well. The threads are easy to withdraw and the embroidered patterns have an impressive effect.

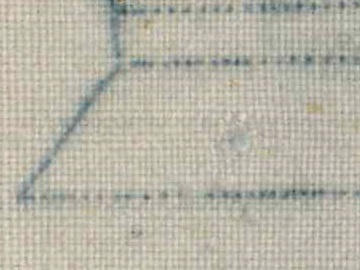
The number of threads varies 13/16

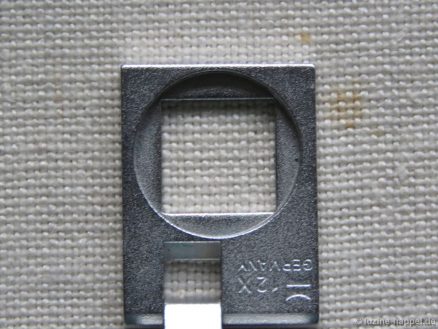
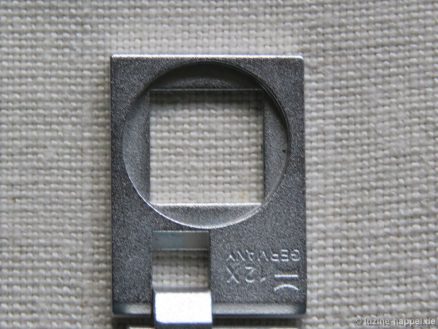
or in other areas also 15/17, as you can easily count in the 1cm² magnifications.

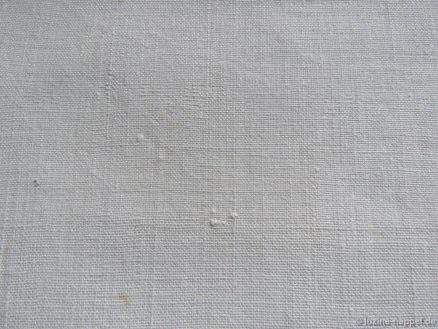
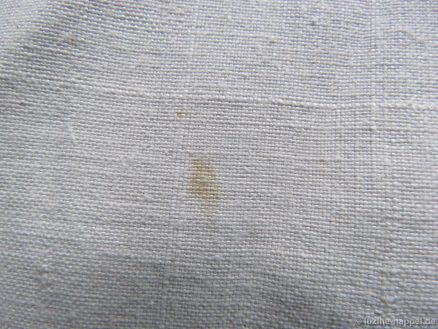
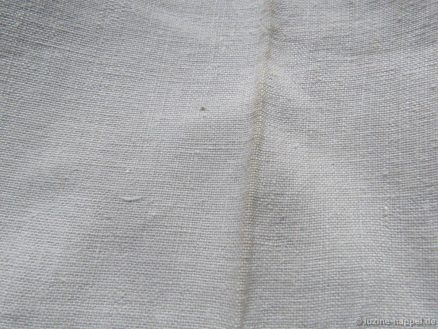
The fabric has irregularities

and light stains, which disappeared without difficulty when washed.

Even the dirt in the fold from lying for so long was gone after washing.

In Germany and the surrounding countries, everyone can go looking for hand-woven linen themselves. In many other countries or parts of the world this is not possible. So I received inquiries as to whether I could offer old, hand-woven linen. I hesitated about it for a long time. But now I have decided to test old, hand-woven linen by embroidering it and then offer it for sale.

This particularly wide linen is ideal for sofa cushion covers in sizes from 40cm X 40cm to 45cm X 45cm, as the linen only shrinks minimally.

Good linen has its price, the meter costs €41.65 (including 19% VAT) This is €35 for people out of the EU. In return you get a material that will probably no longer be available very soon and you don’t even need half a meter for a pillowcase.