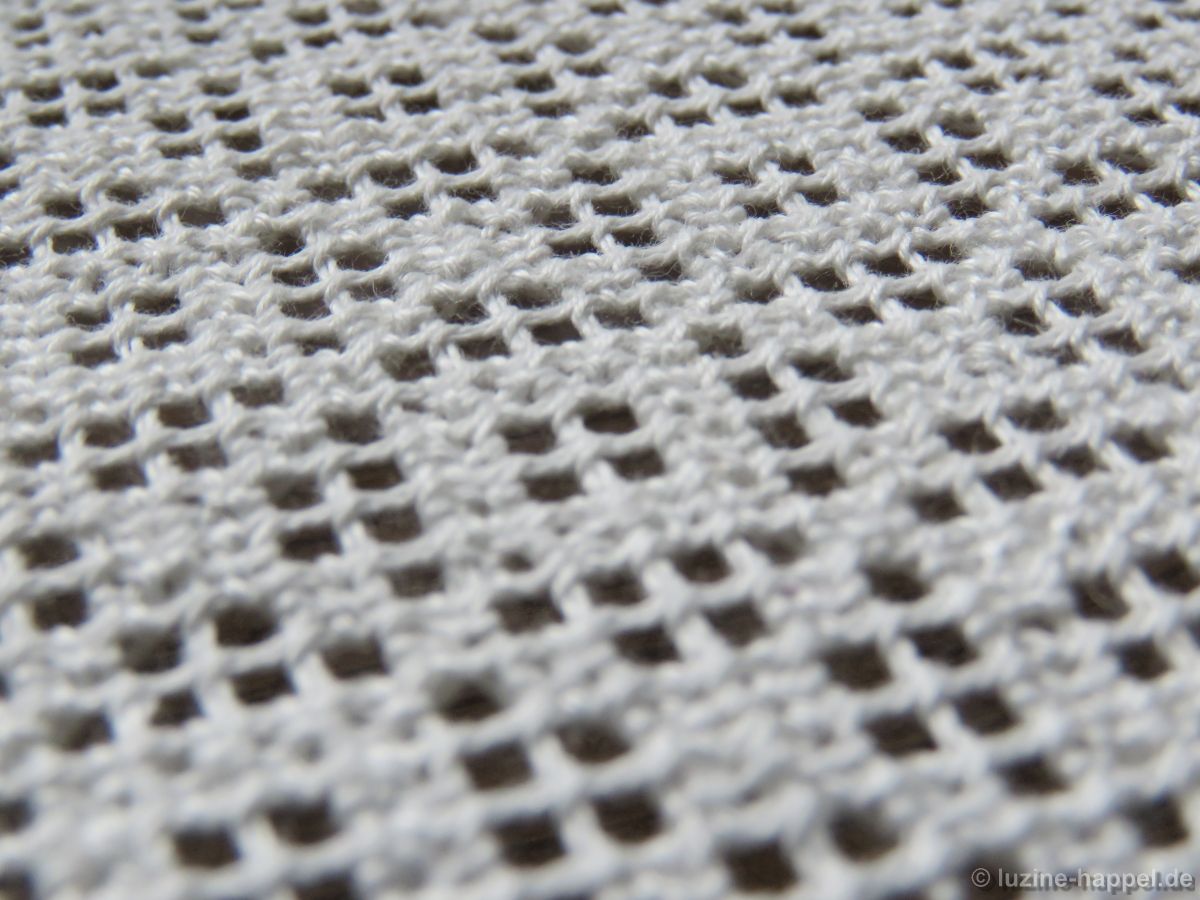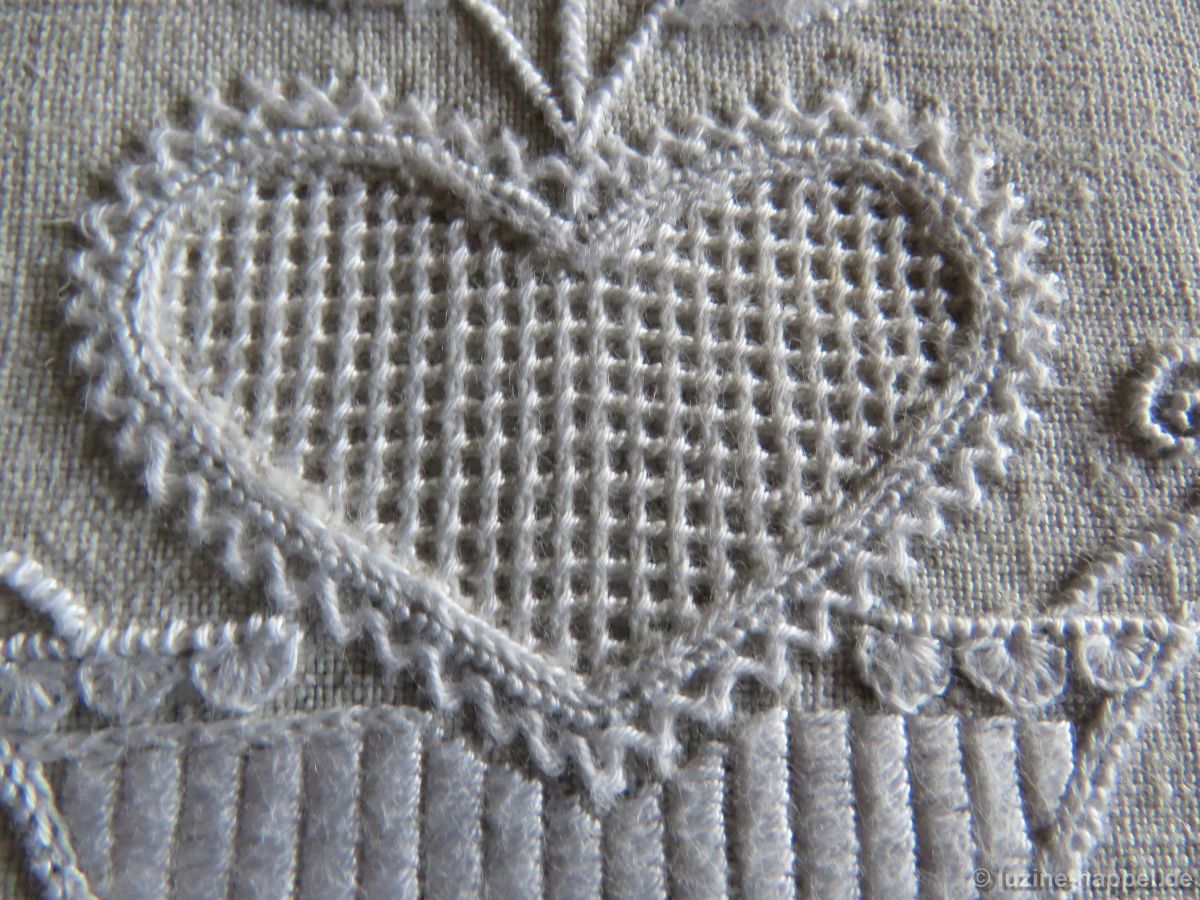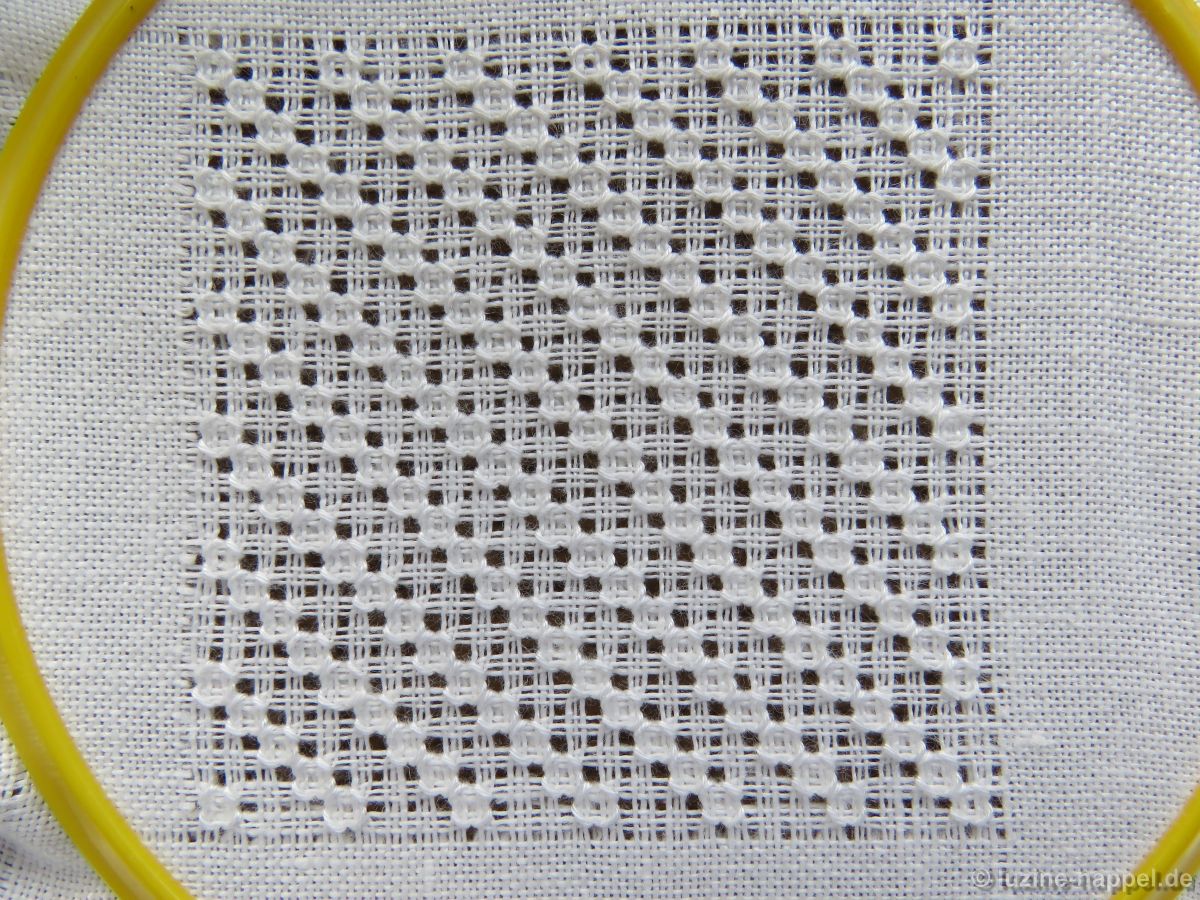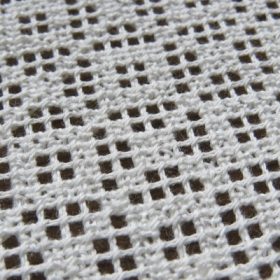
category: openwork filling pattern with Cable stitch grid
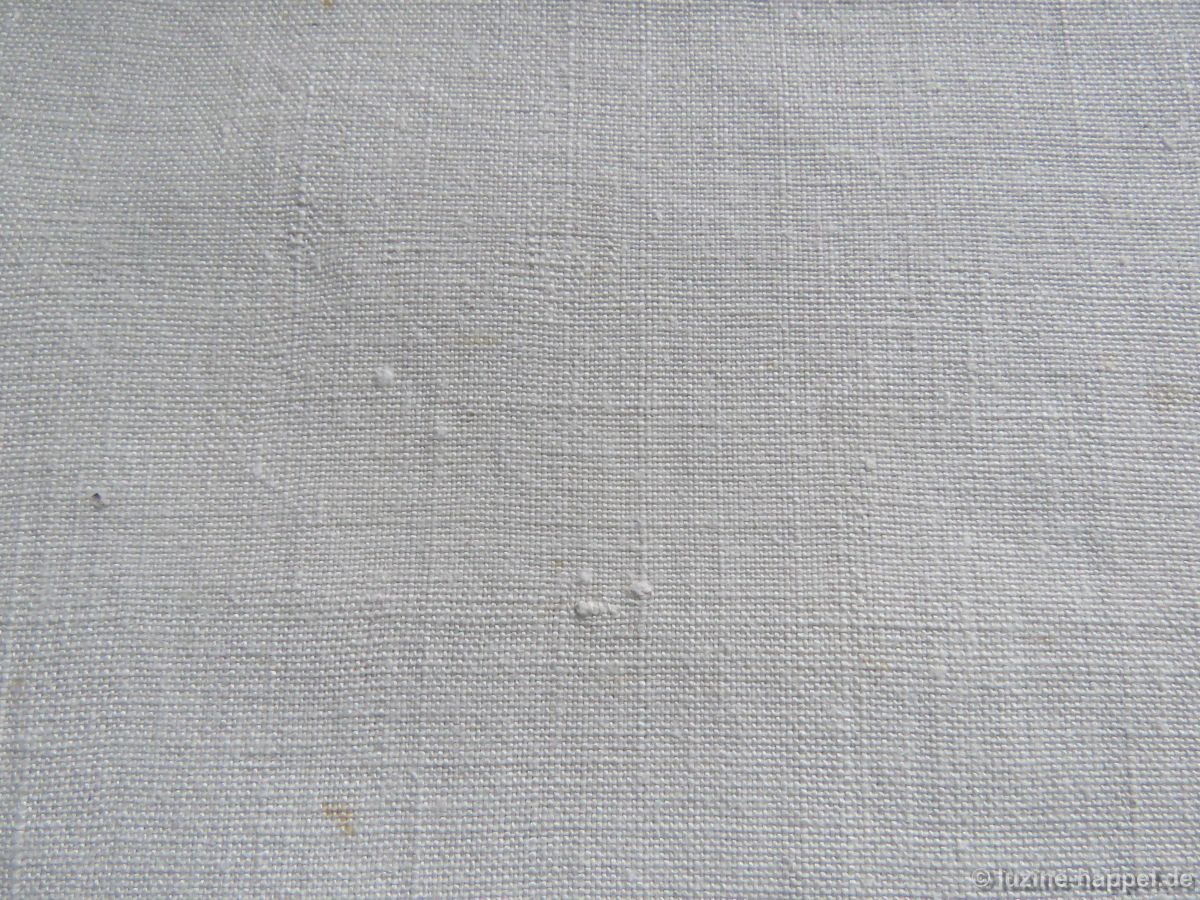
linen used: 13.5/cm thread count
threads used: coton à broder No. 30 for the Cable stitches and No. 20 for the Rose stitches
stitches used: Cable and Rose stitches
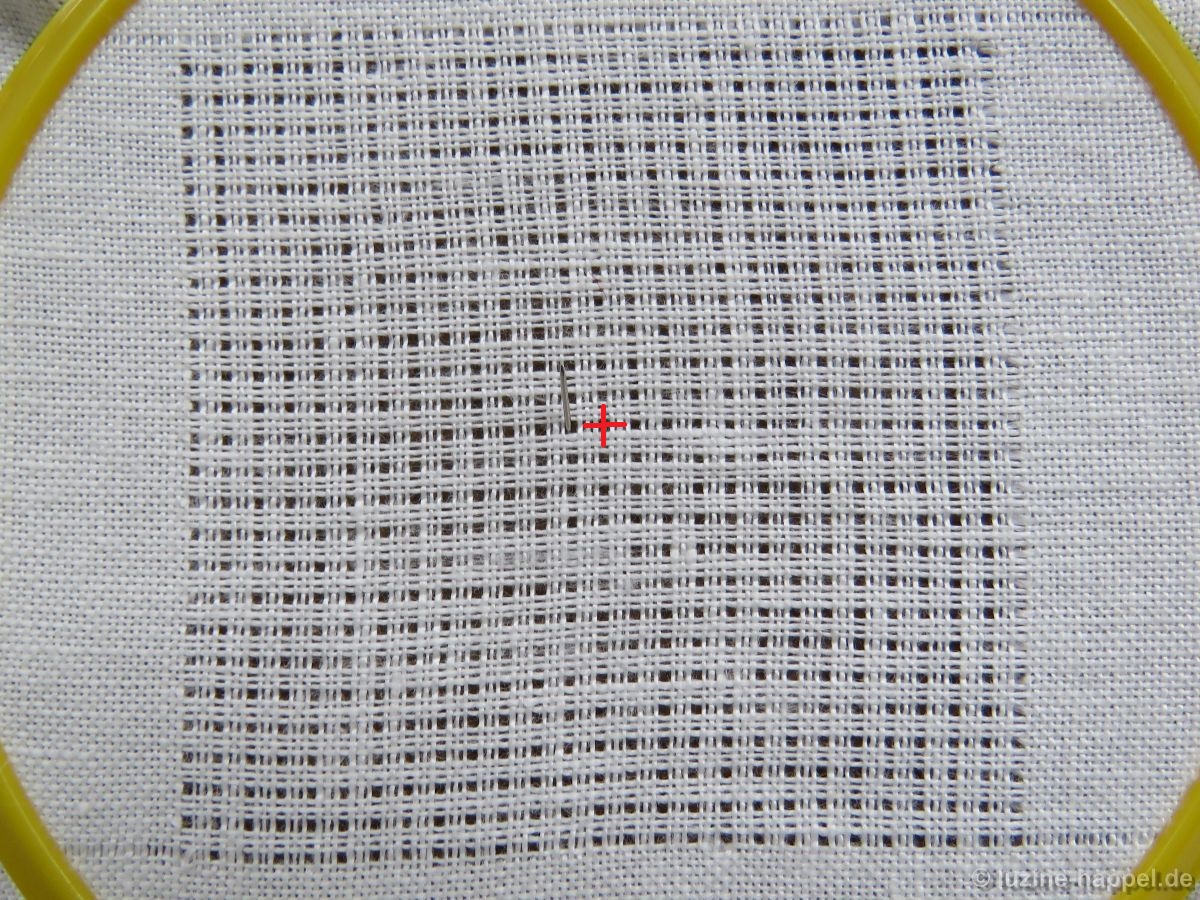
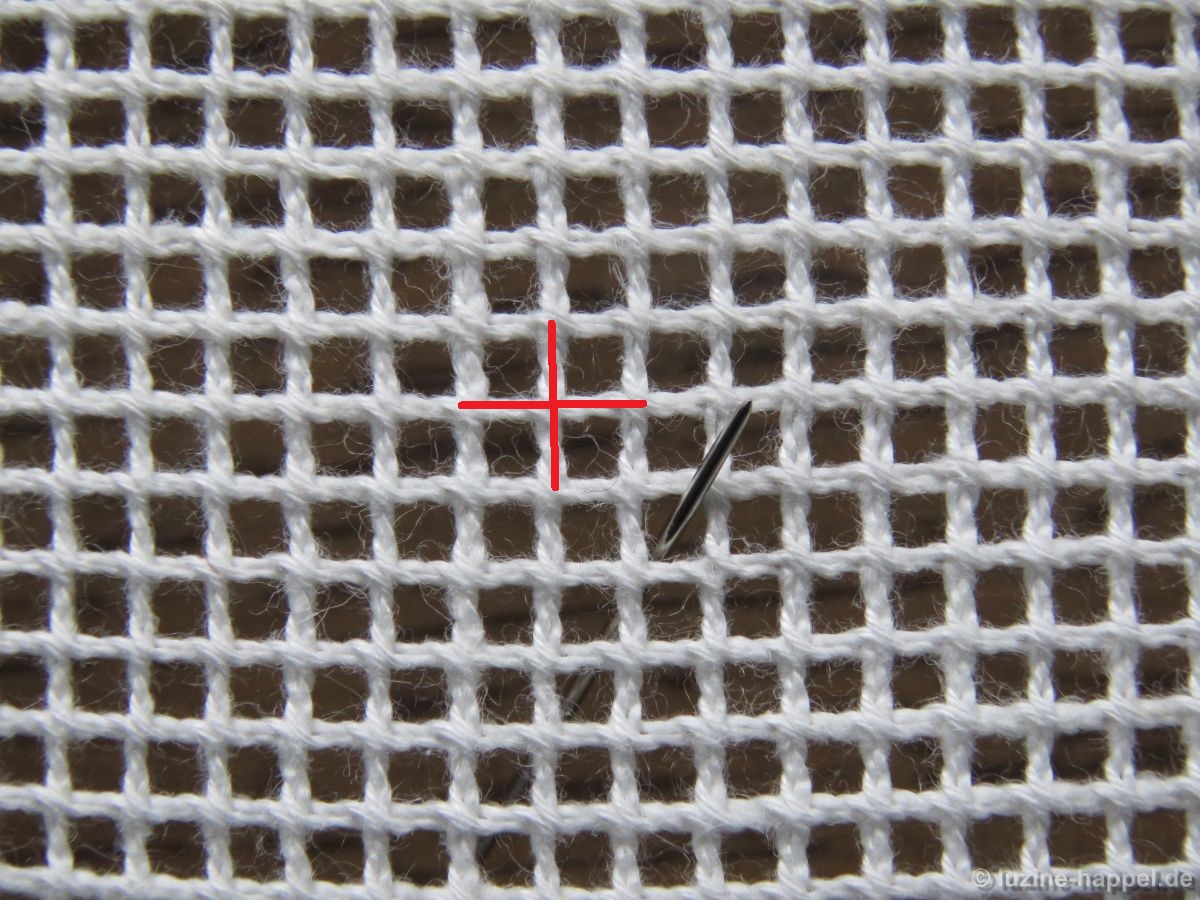
center: intersection of pairs of fabric threads
one pattern segment: = 40 threads
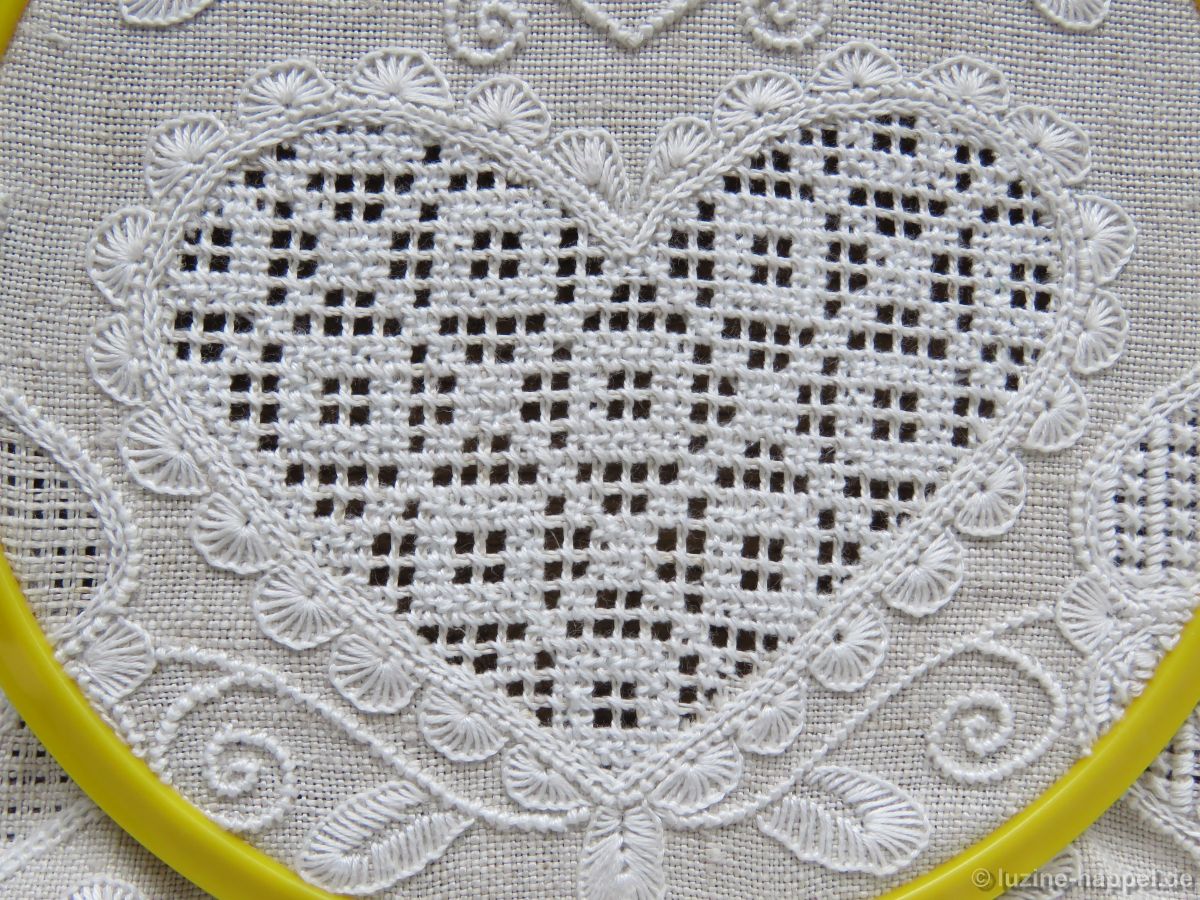
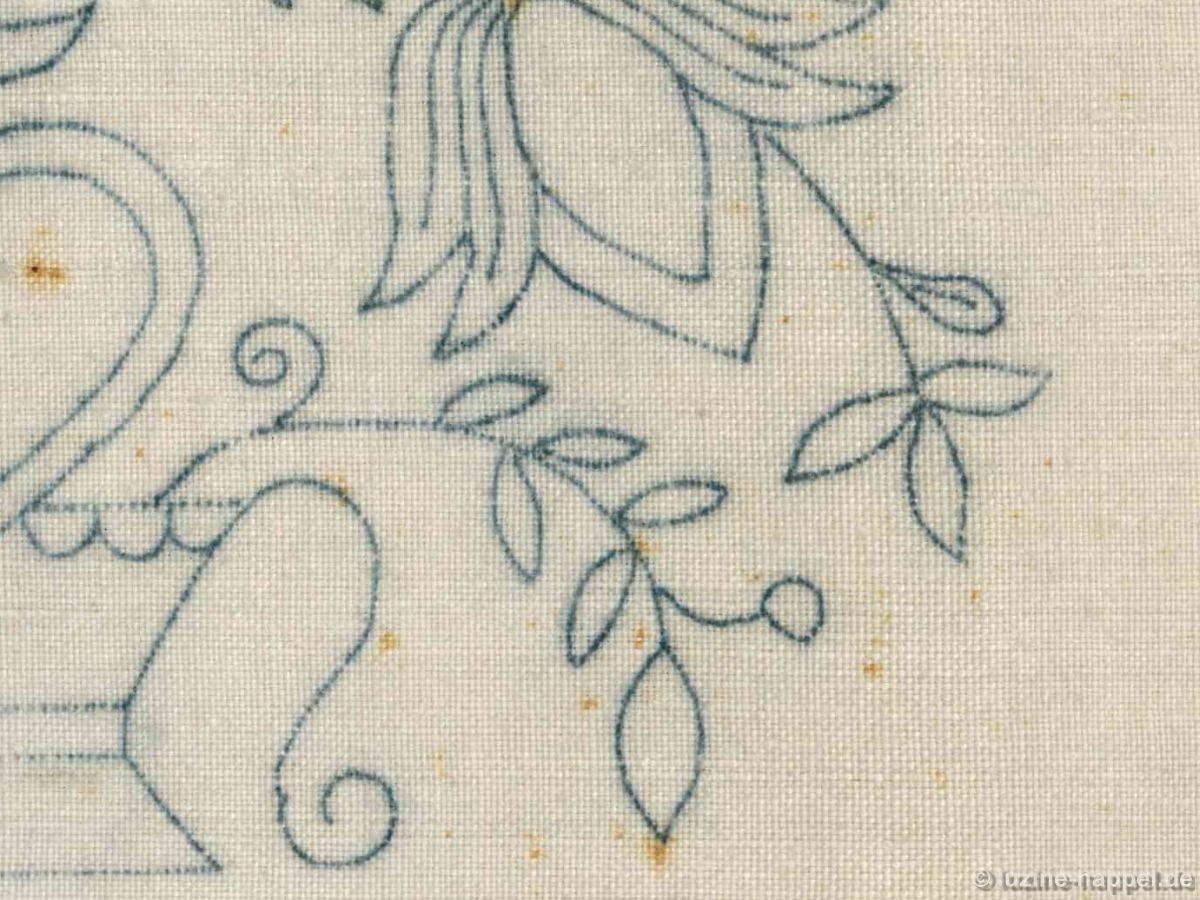
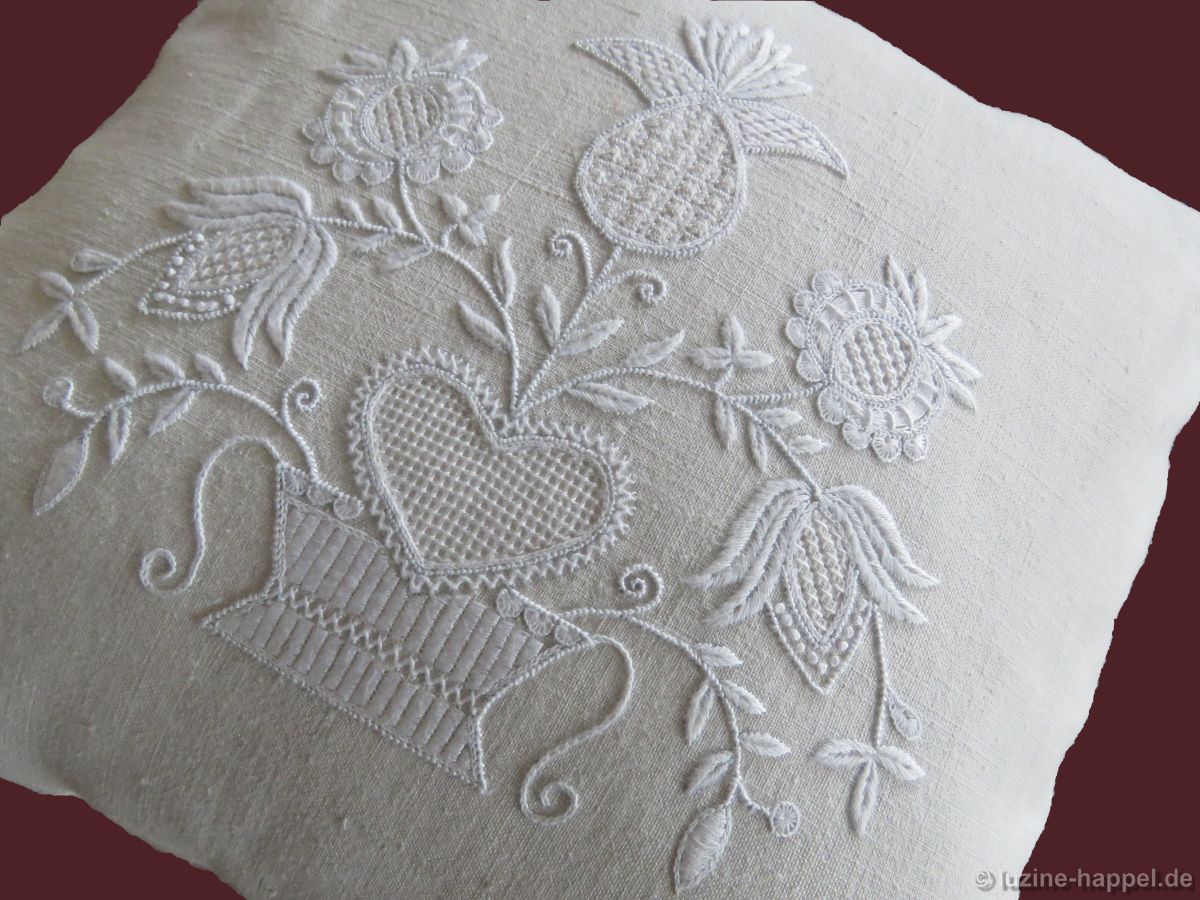
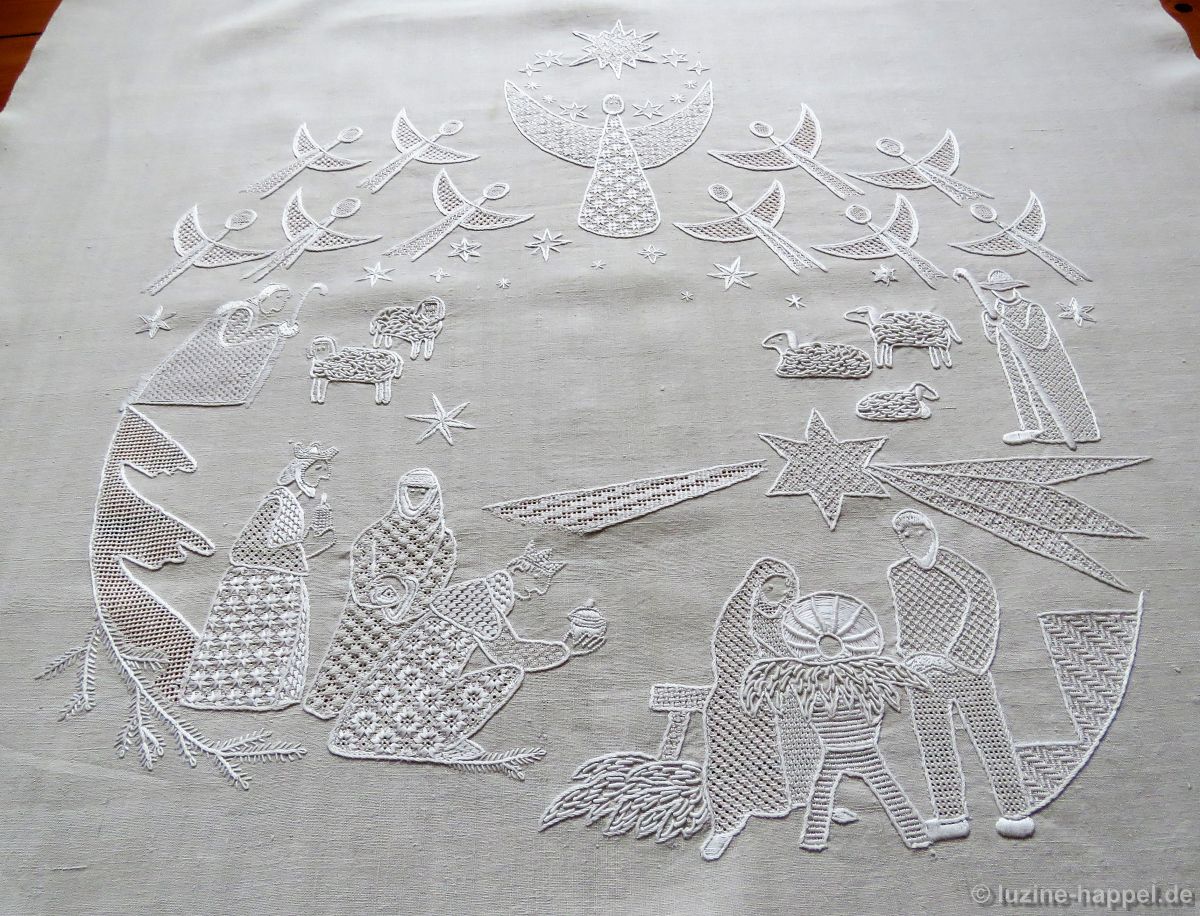
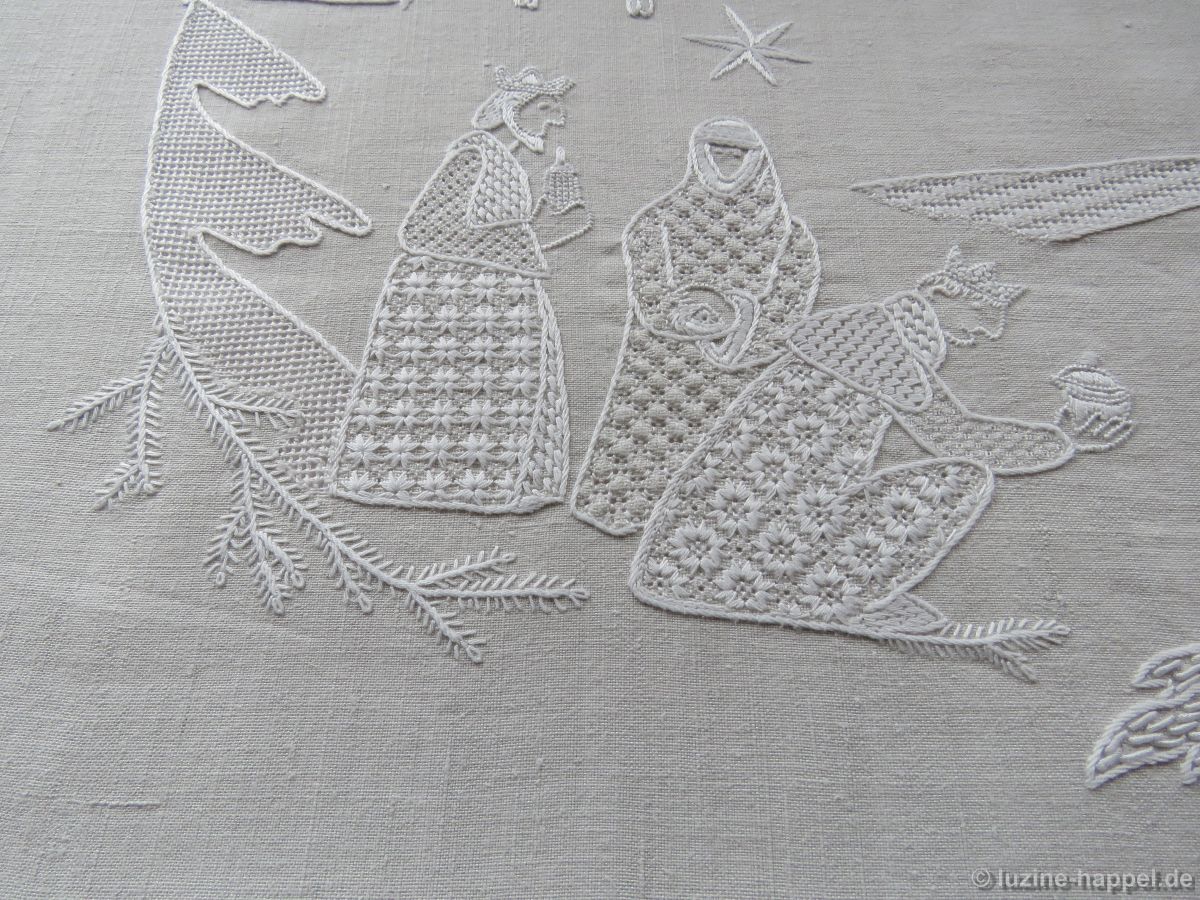
The filling pattern shown here is a practice exercise only. You can see it used in a shape at the end of this article.
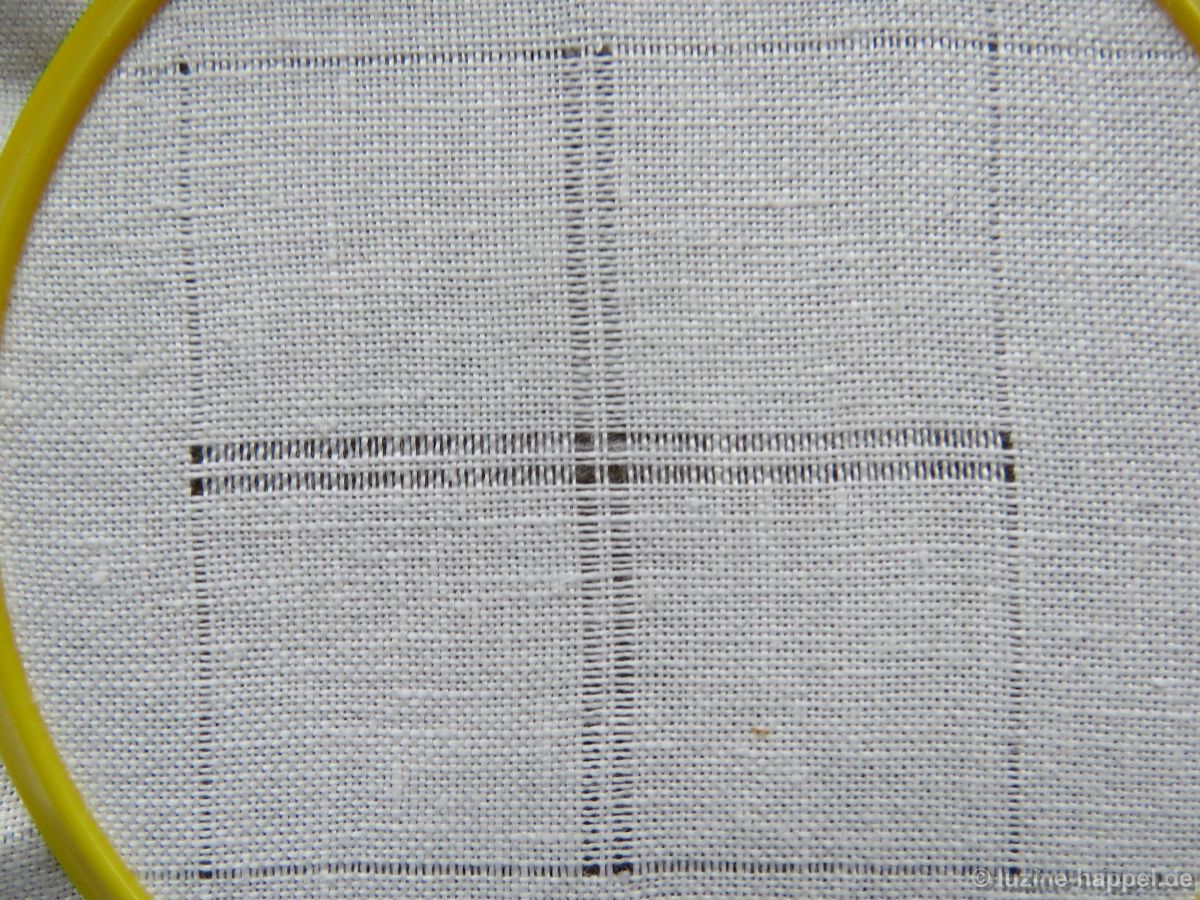
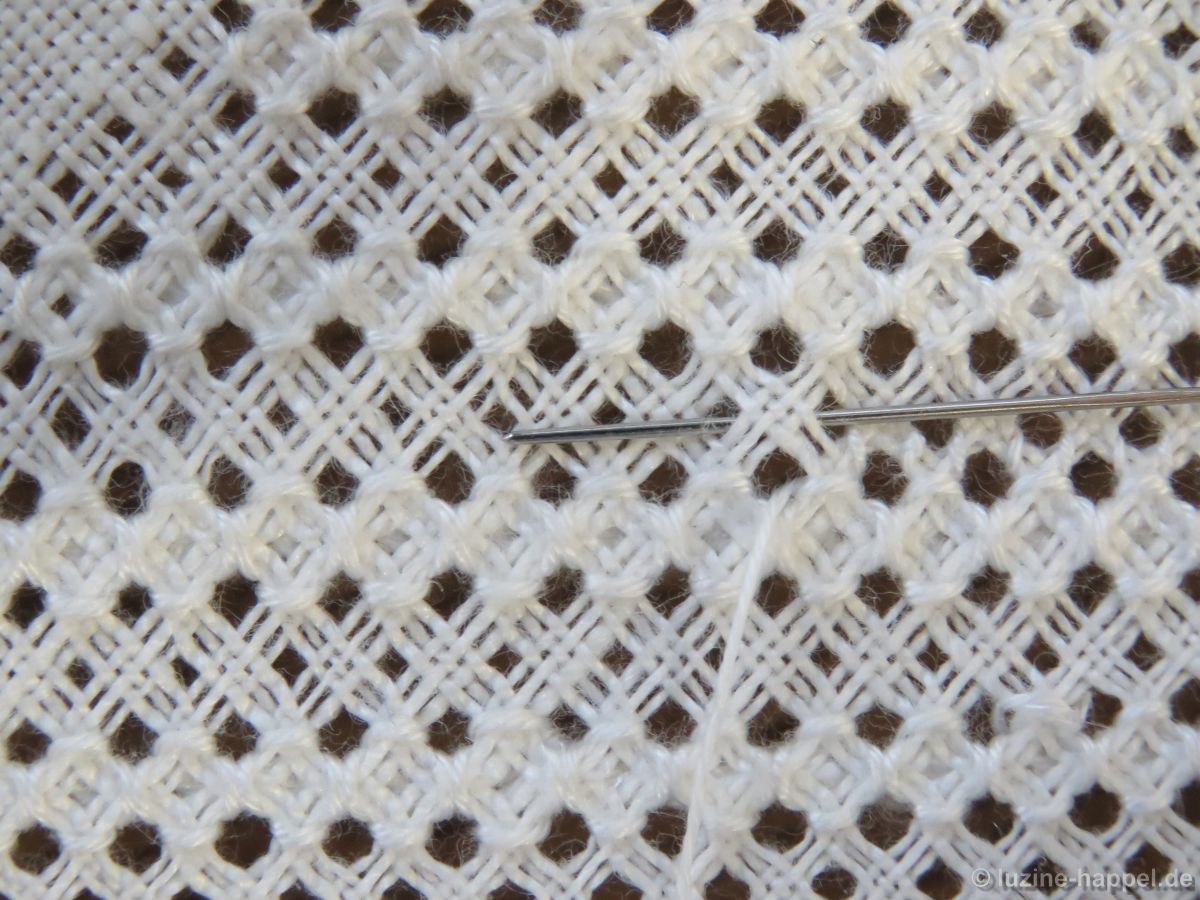
First, establish an openwork grid with an intersection of pairs of threads in the center by cutting 2, leaving 2 both vertically and horizontally.

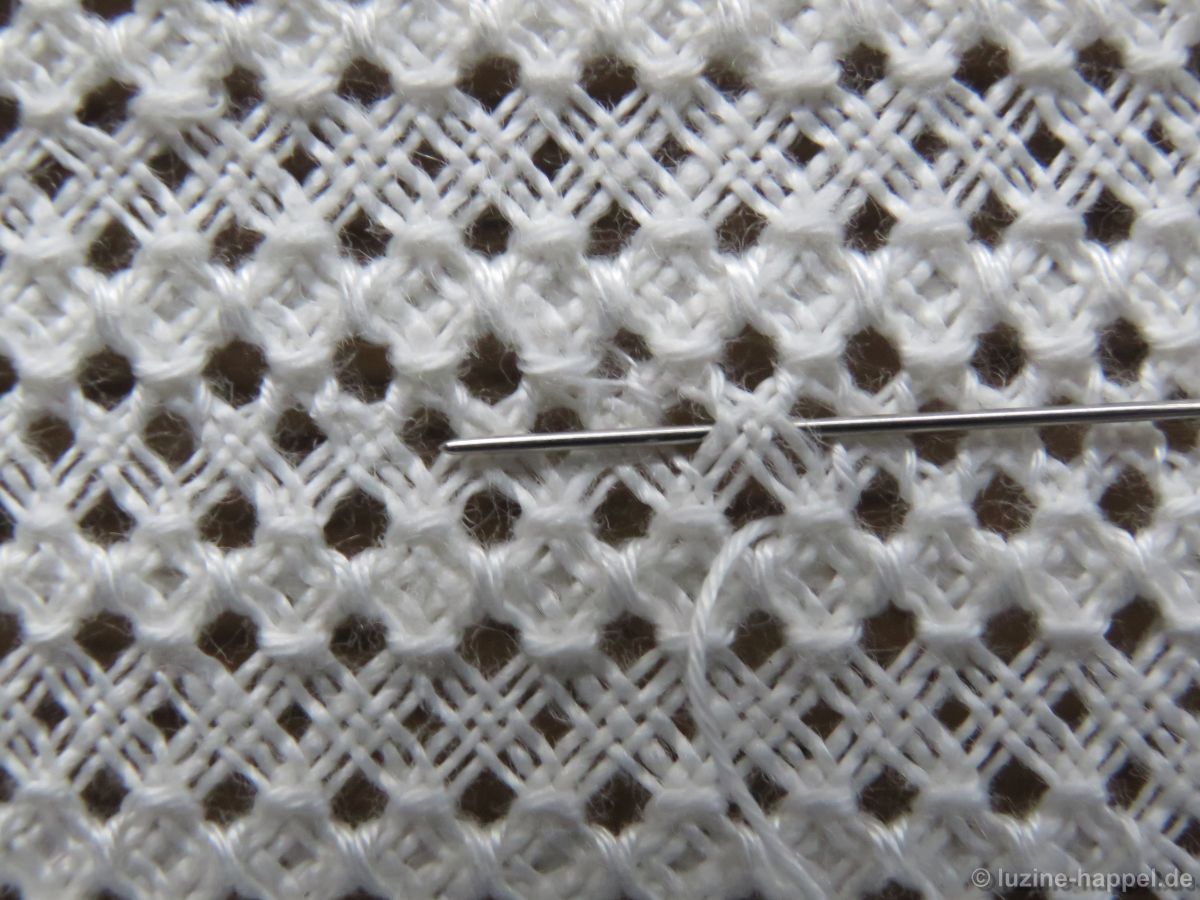
Stabilize the established grid with Single Faggot stitches worked from the back side of the fabric. Please remember that Single Faggot stitch worked on the back side will look like Cable stitch viewed from the front.
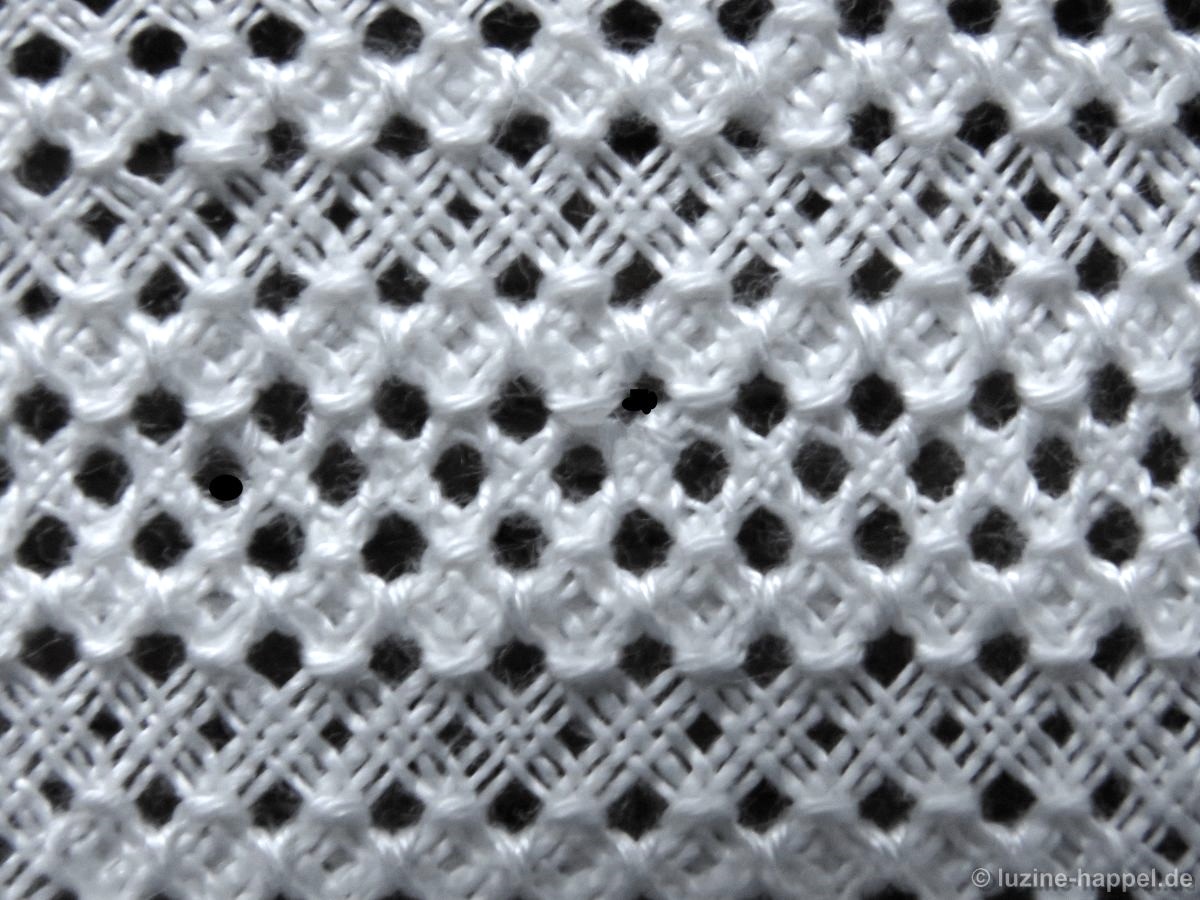
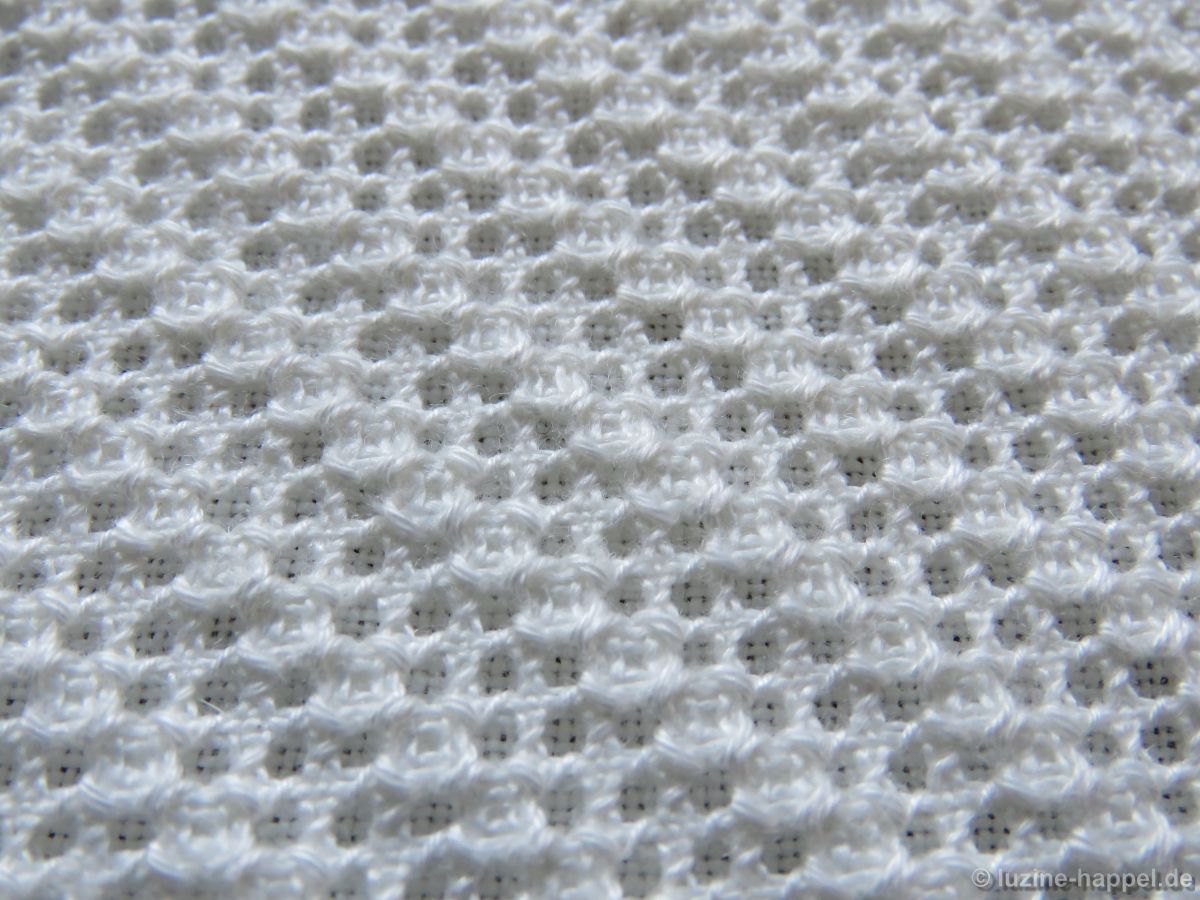
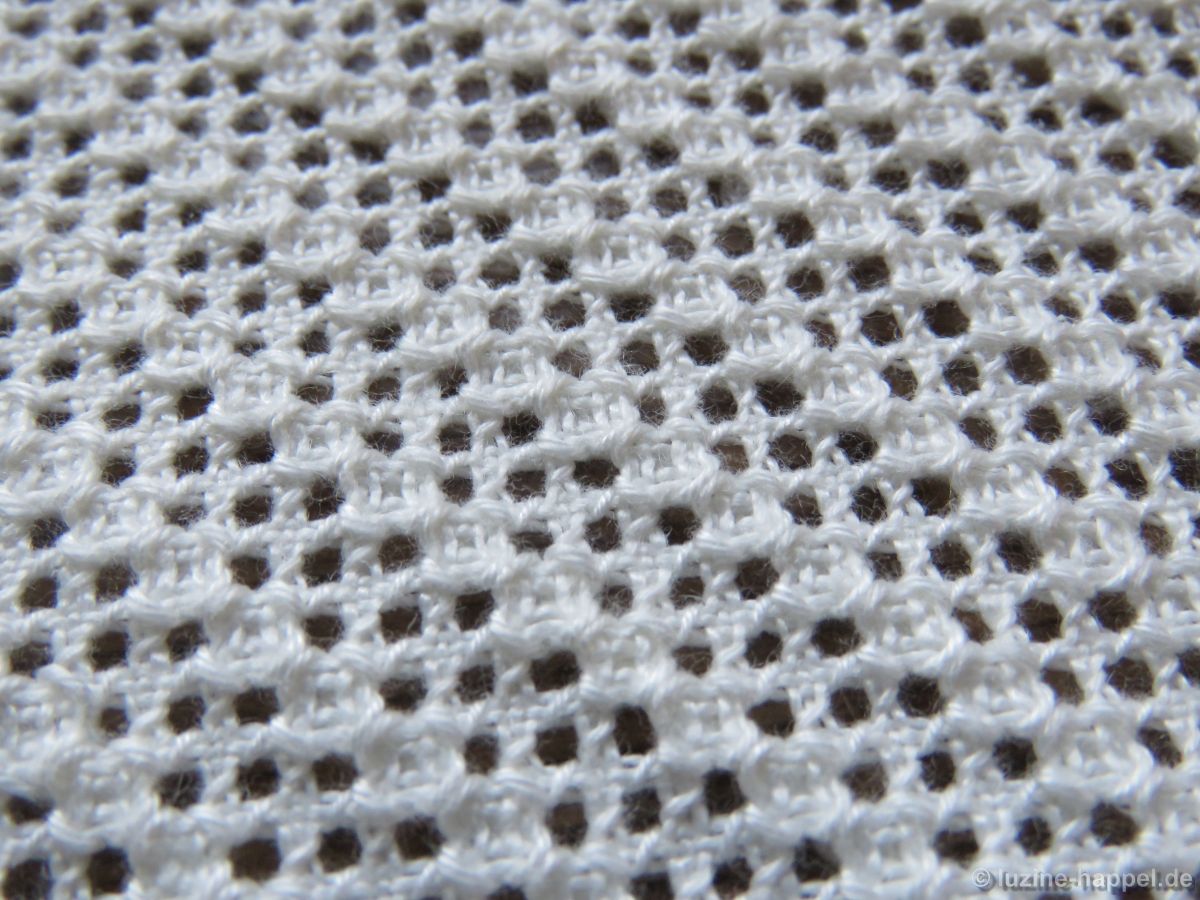
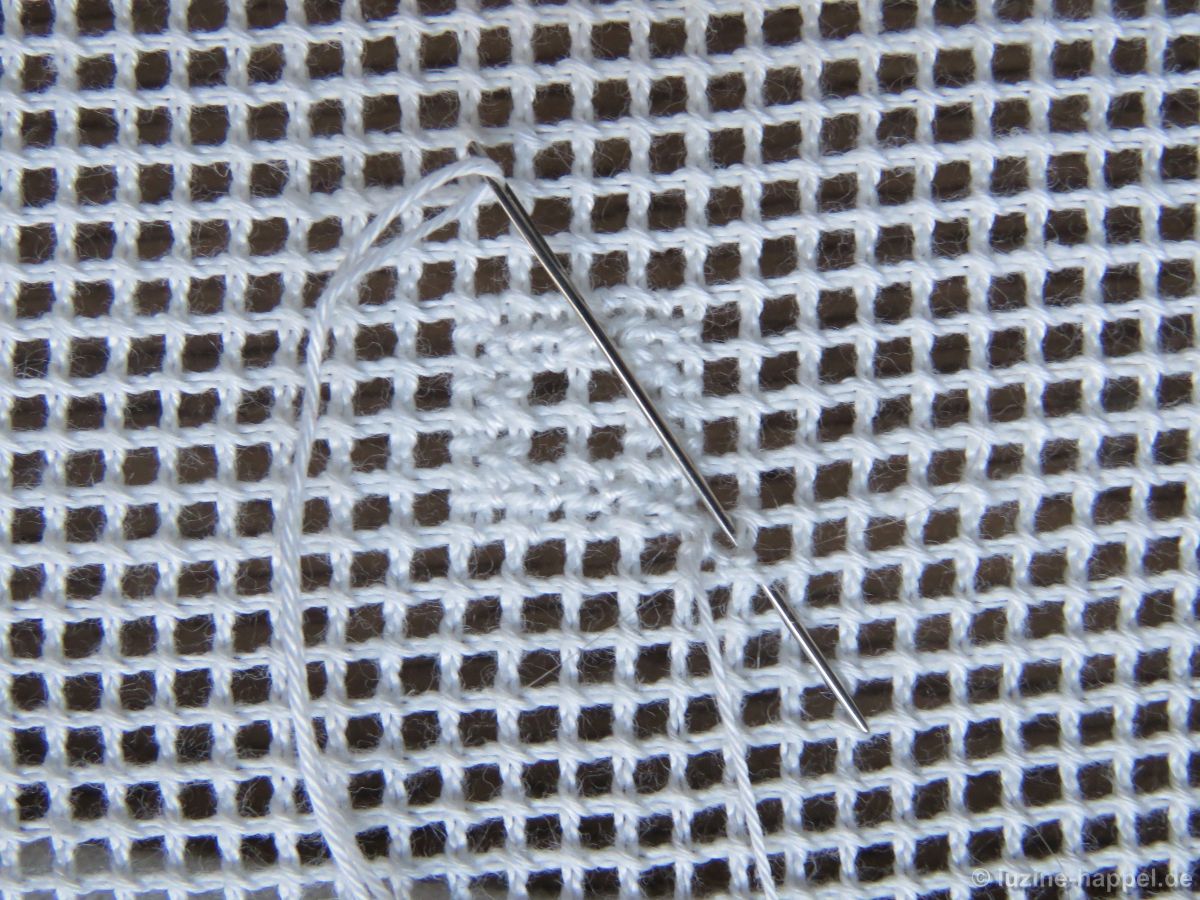
Then the desired pattern – made up of Rose stitches in squares of 4 x 4 stitches in a grid of intersecting diagonal rows of rose stitches – is embroidered into the grid.

Therefore bring needle up in the second square diagonally from the center
and embroider a square of 4 x 4 Rose stitches around the center square of 2 x 2 remaining free squares.

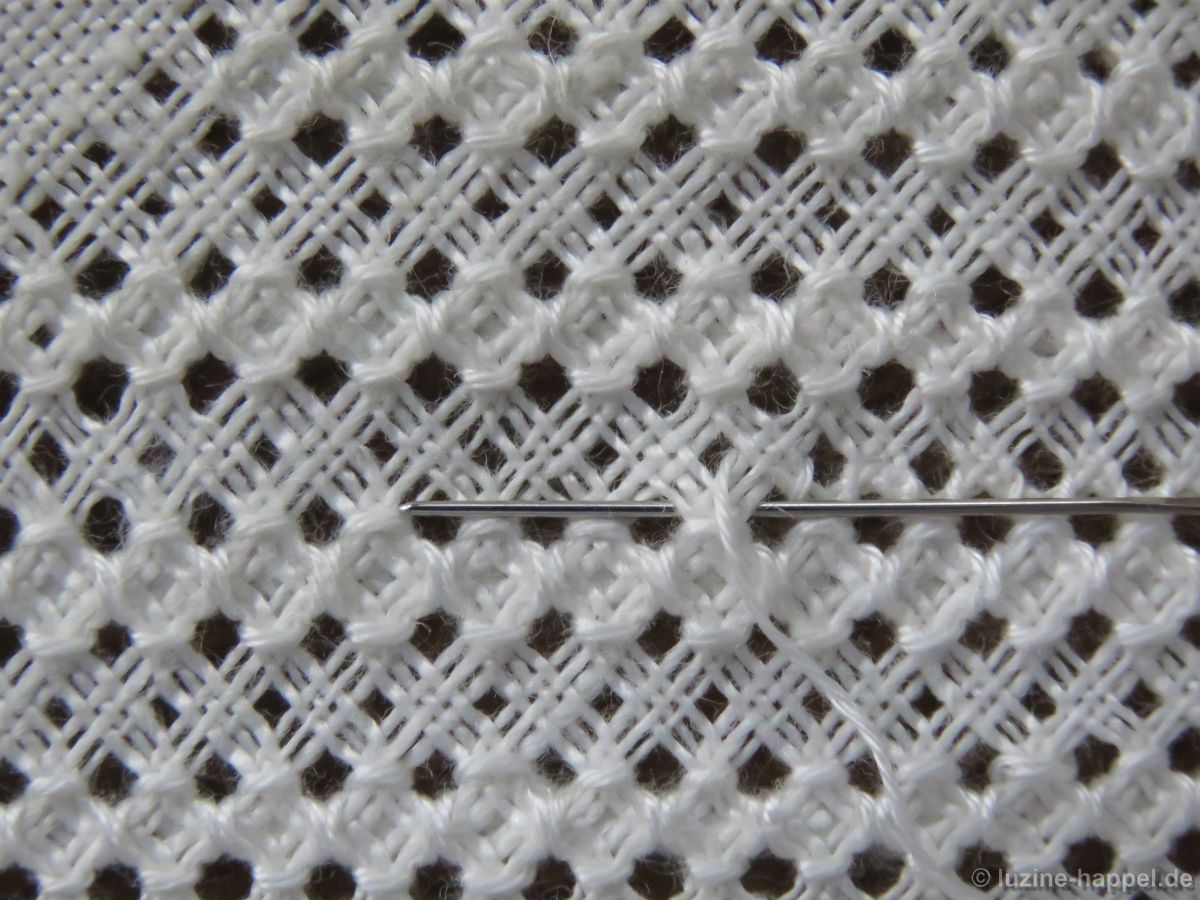
From one corner of the resulting square, embroider one Rose stitch diagonally outwards.
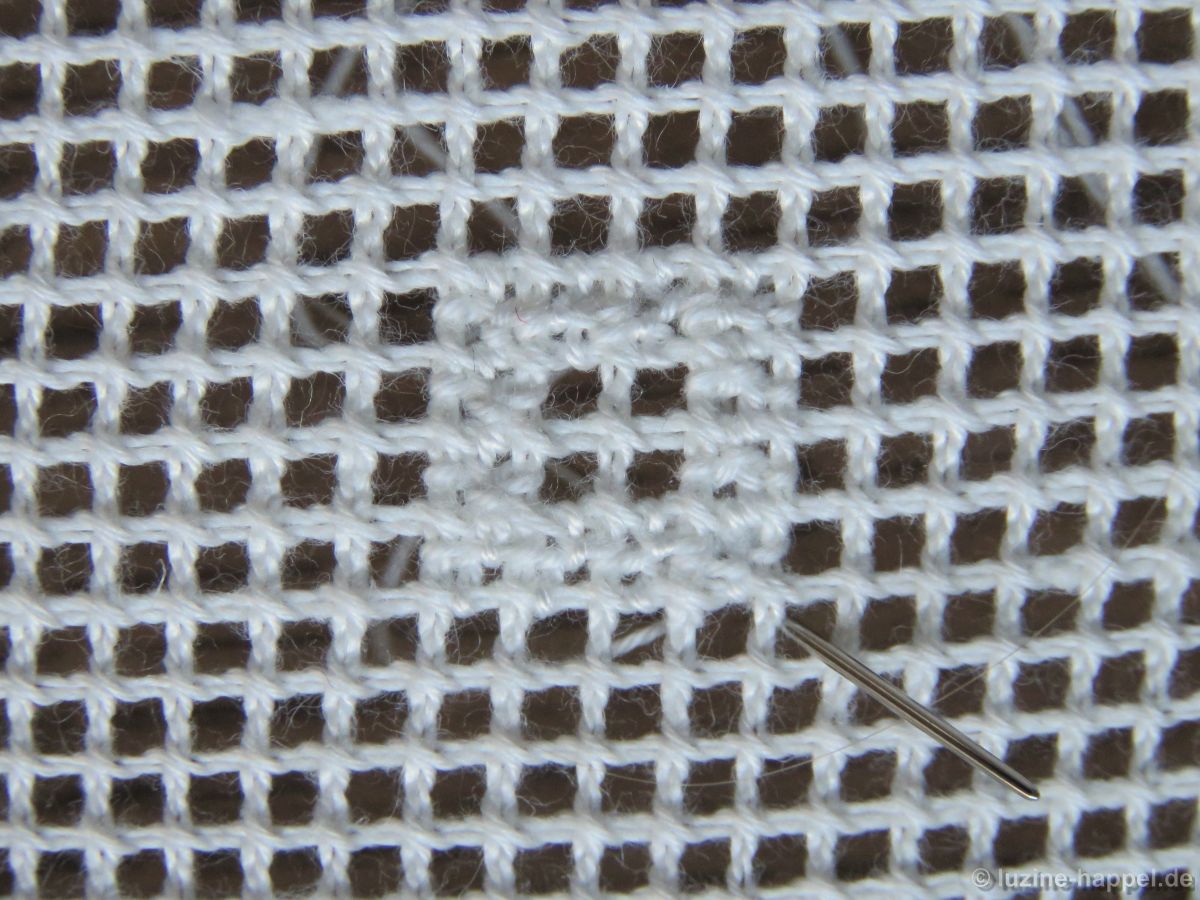
The next Tose stitch on this diagonal is the corner point of the next 4 x 4 Rose stitch square.

If the working thread is still long enough after completing the square, you could work a diagonal row of Rose stitches starting from the single Rose stitch.
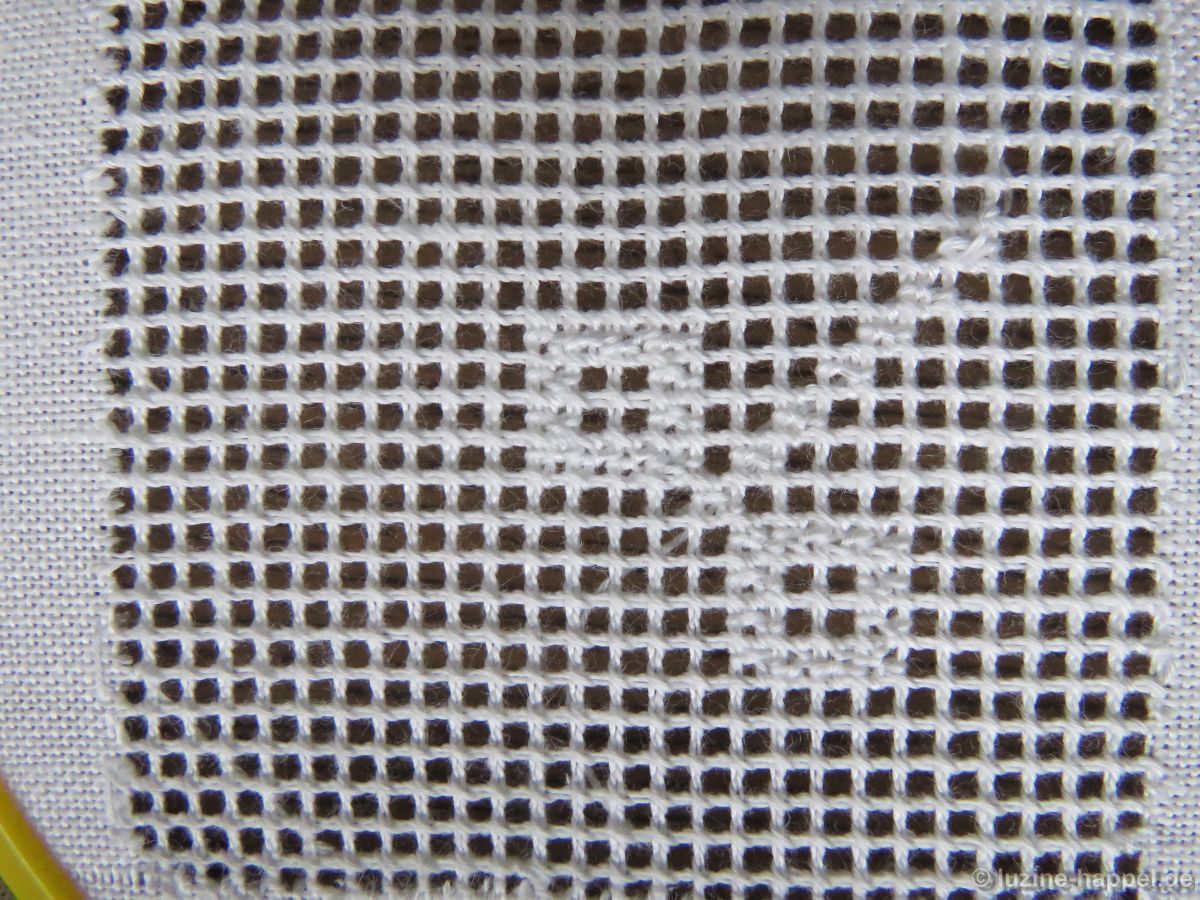
However, you can get a better overview of the pattern run if you connect one Rose stitch diagonally outwards from the 4 x 4 Rose stitch squares at each corner point and then work the next 4 x 4 Rose stitch square. This is the best way to avoid mistakes.
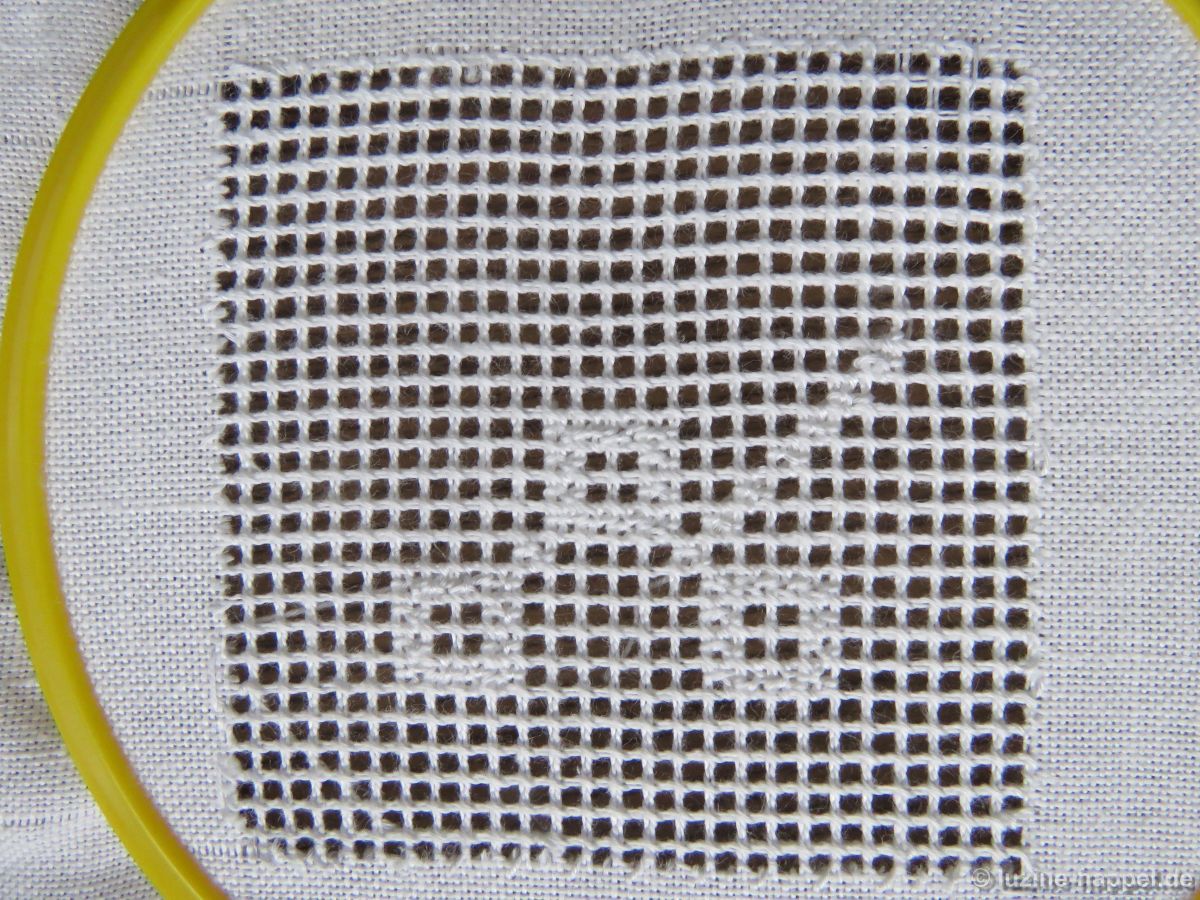
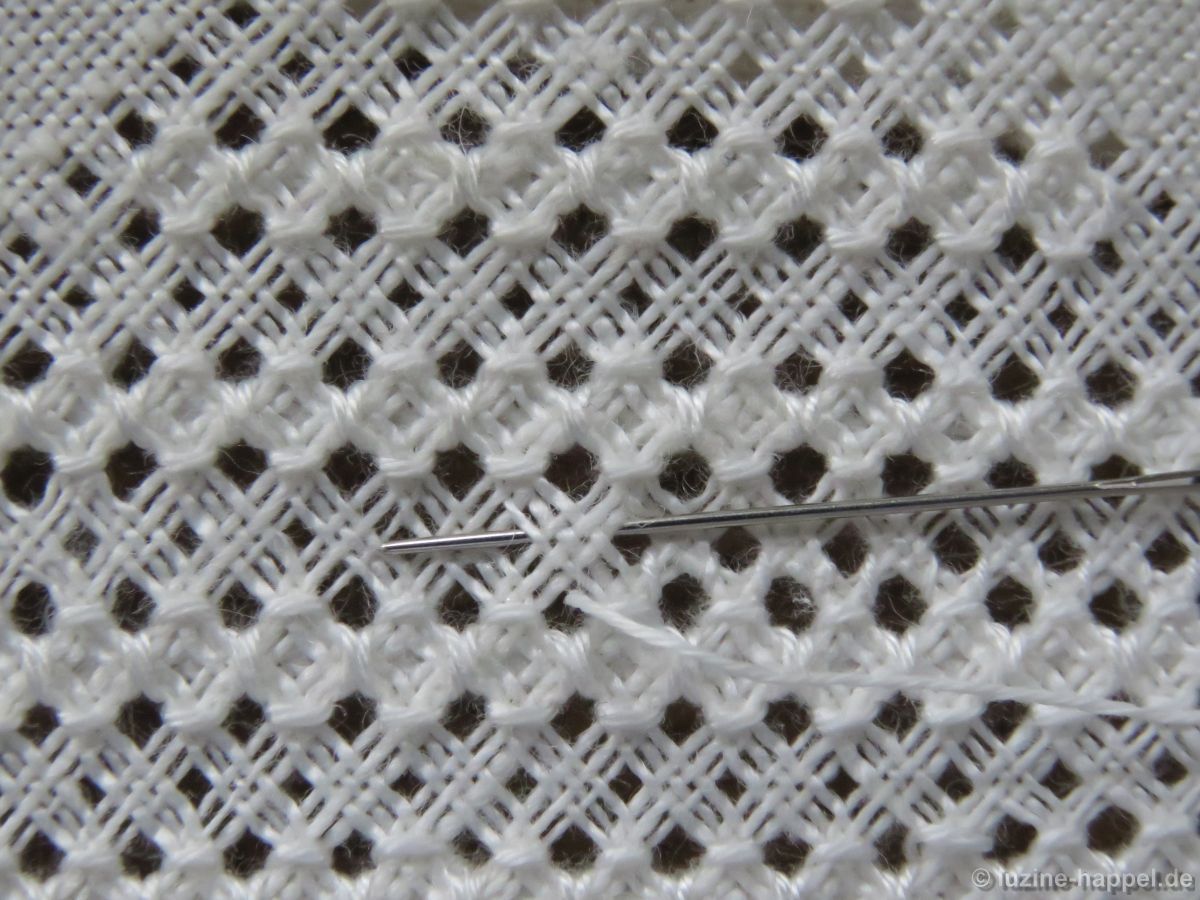
If the Rose stitch squares are embroidered like a checkerboard over the entire area,
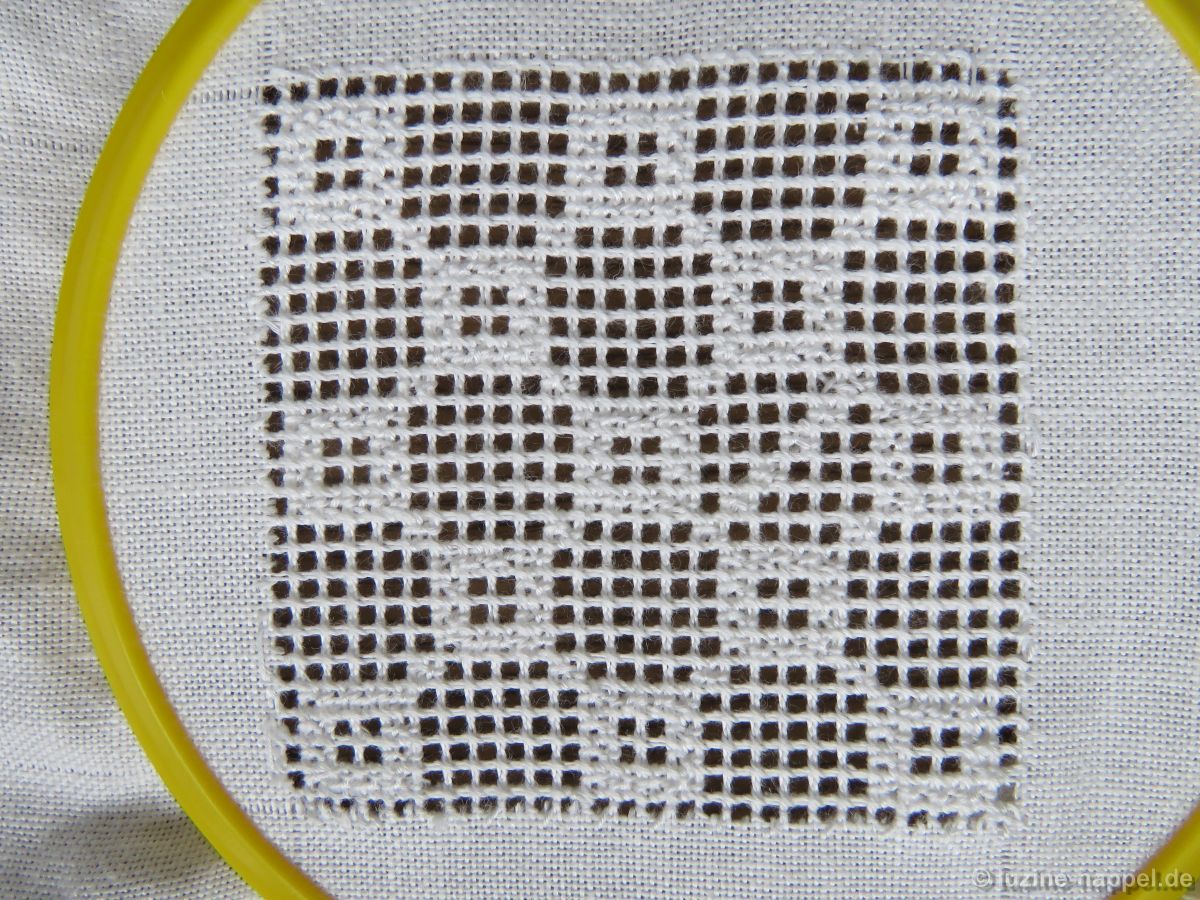
The diagonal rows of Rose stitches – marked by the individual Rose stitches – are worked, initially in one diagonal direction
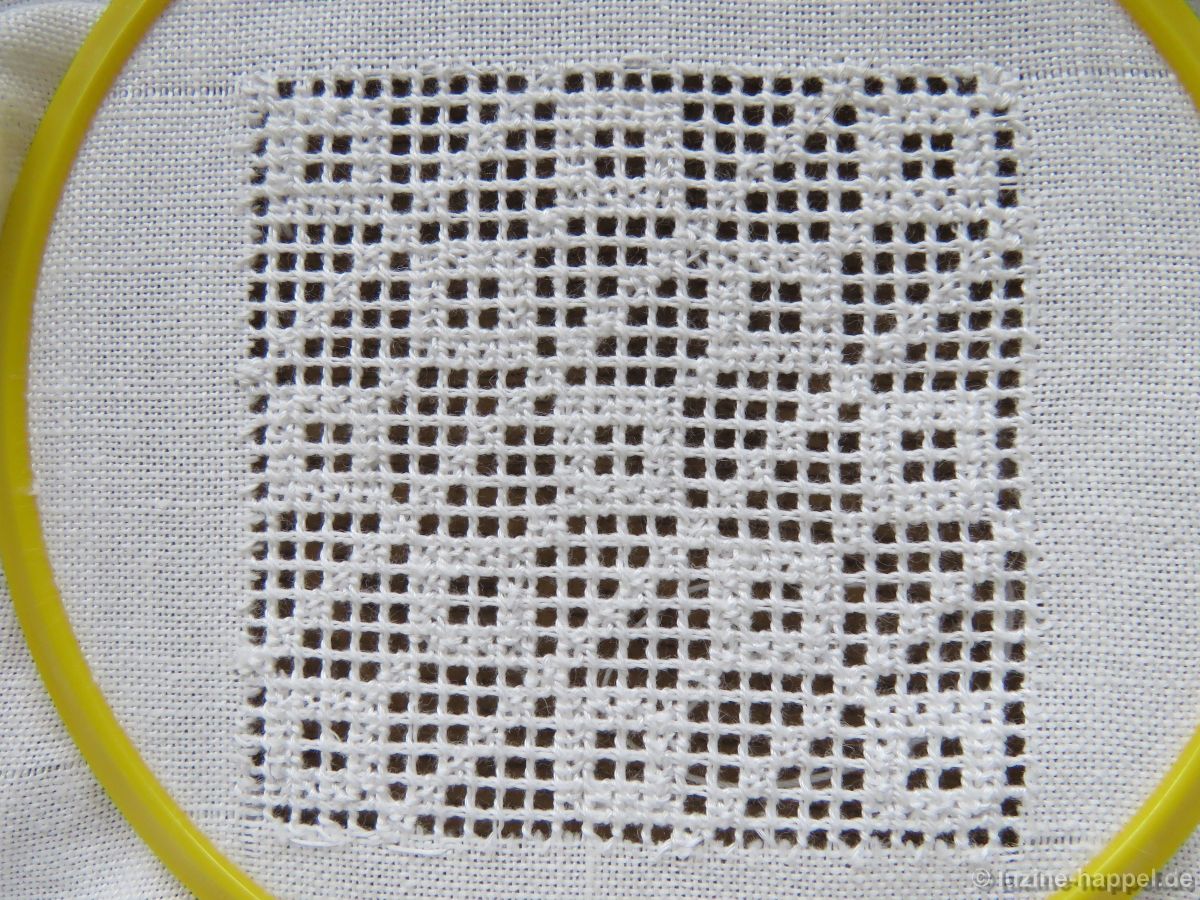
then also in the crossing.
An attractive filling pattern for larger areas has been created, which can be used very well in motifs in the straight of grain as well as those on the bias.