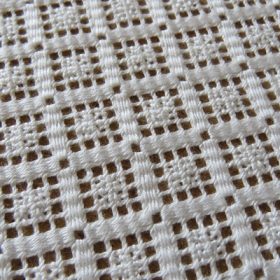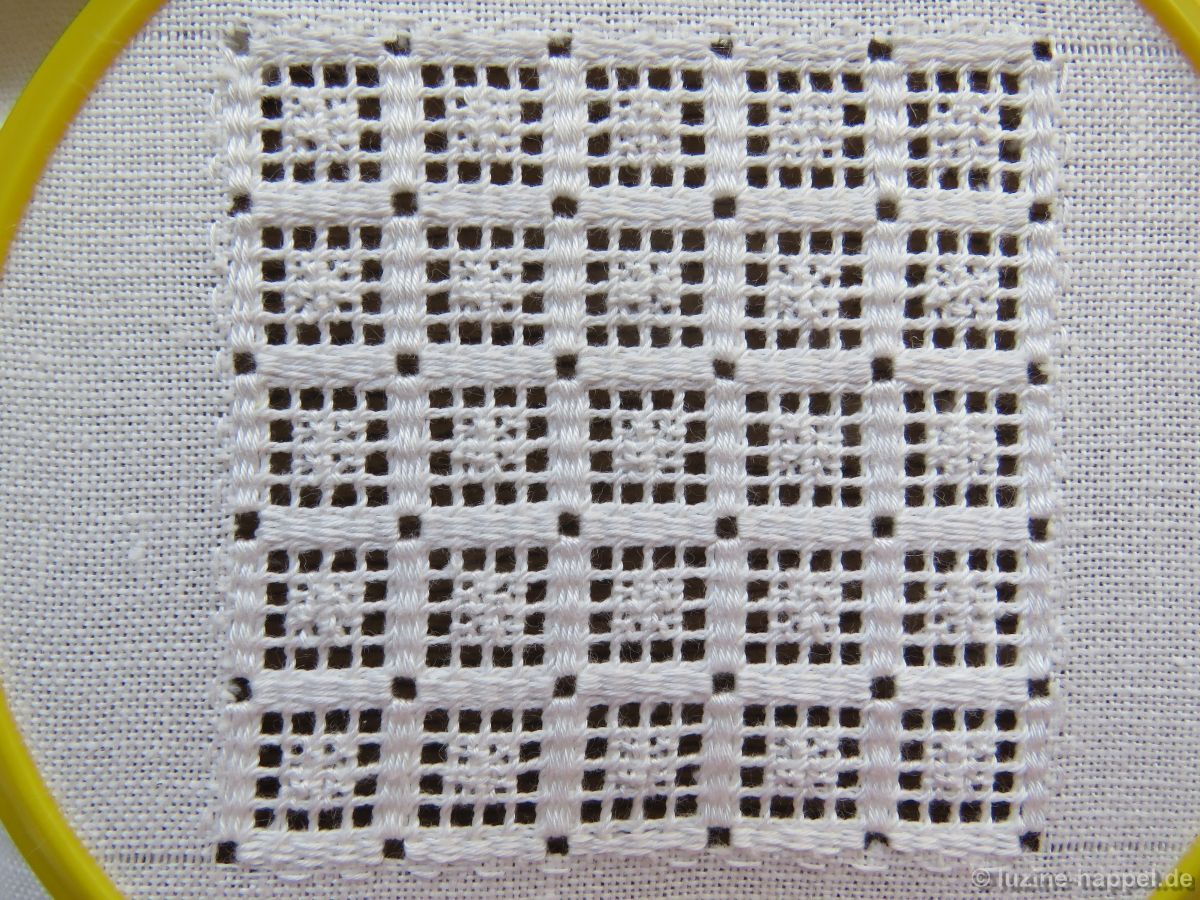
Filling Pattern – No. 559
category: openwork filling pattern without Cable stitch grid
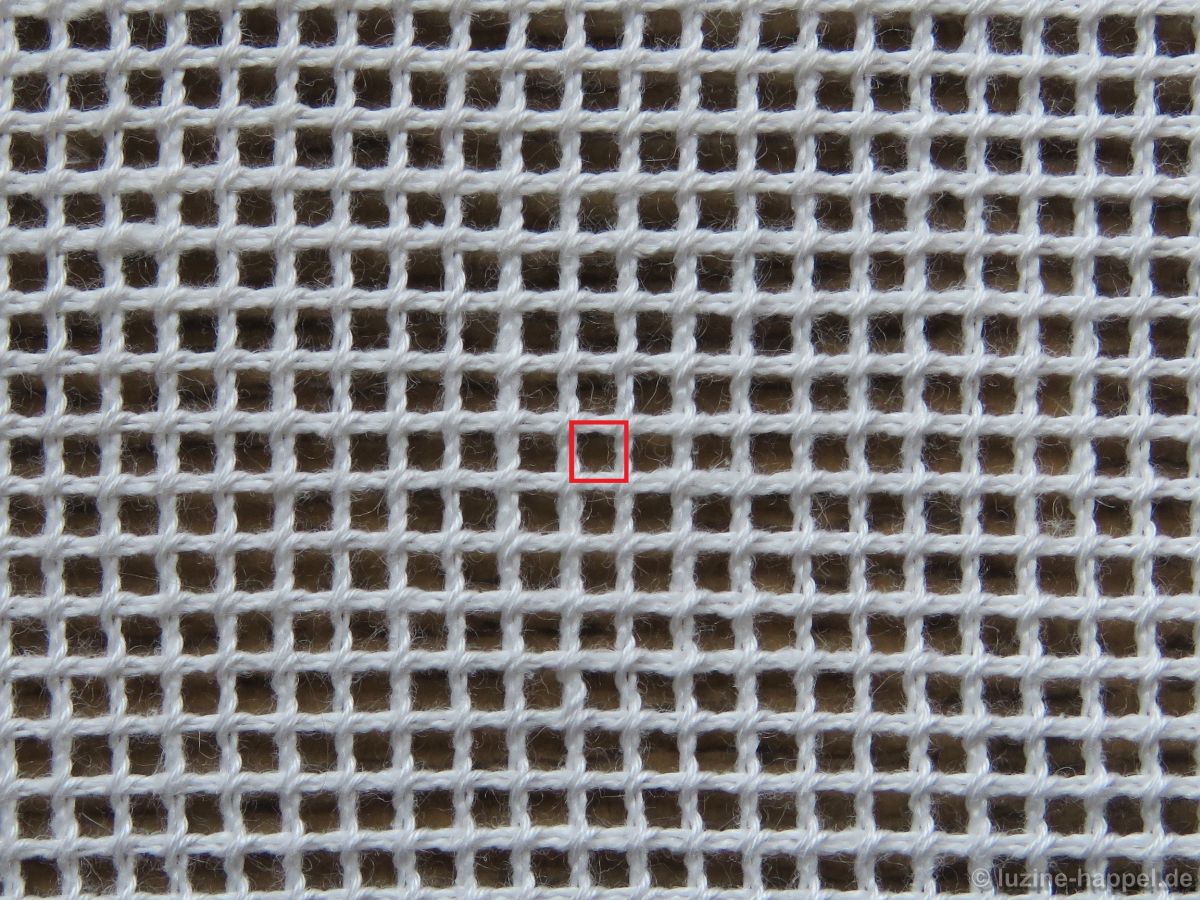
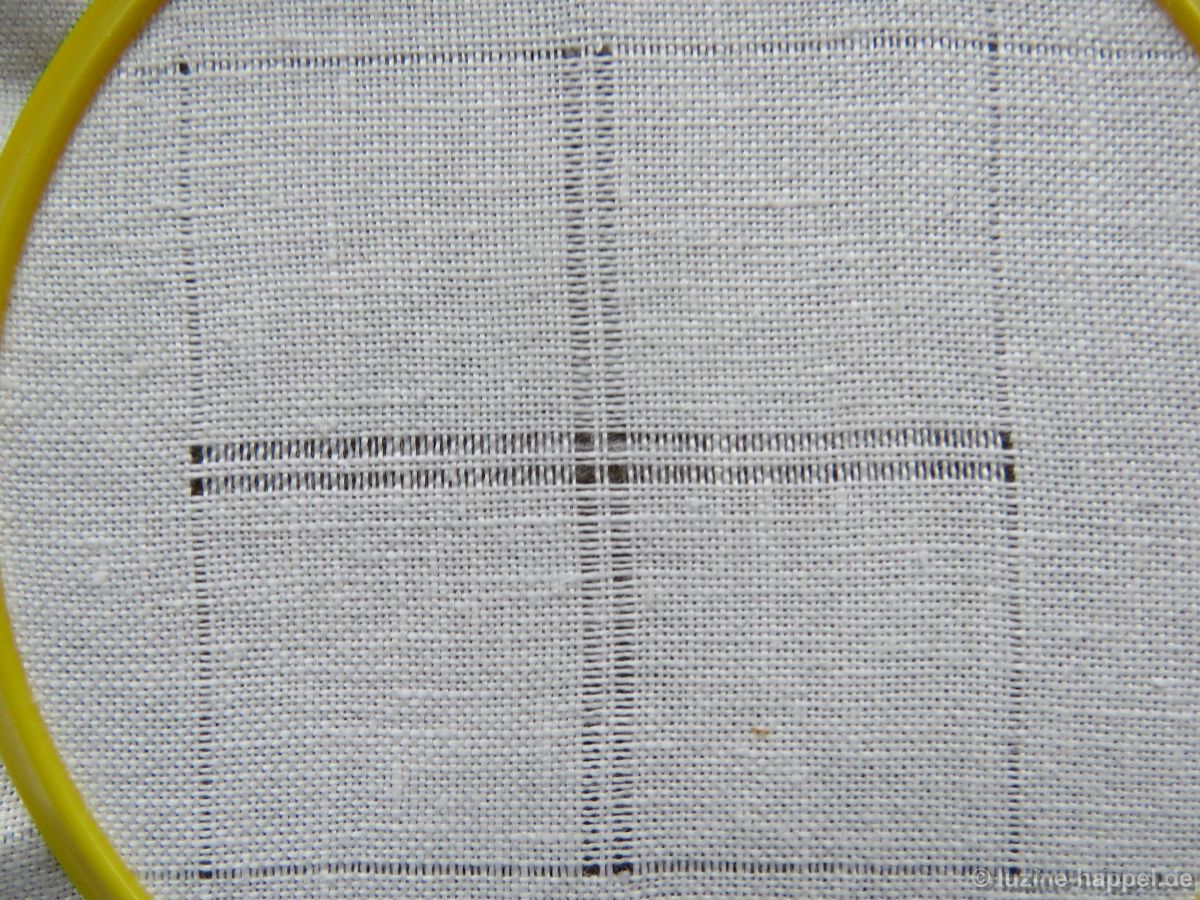
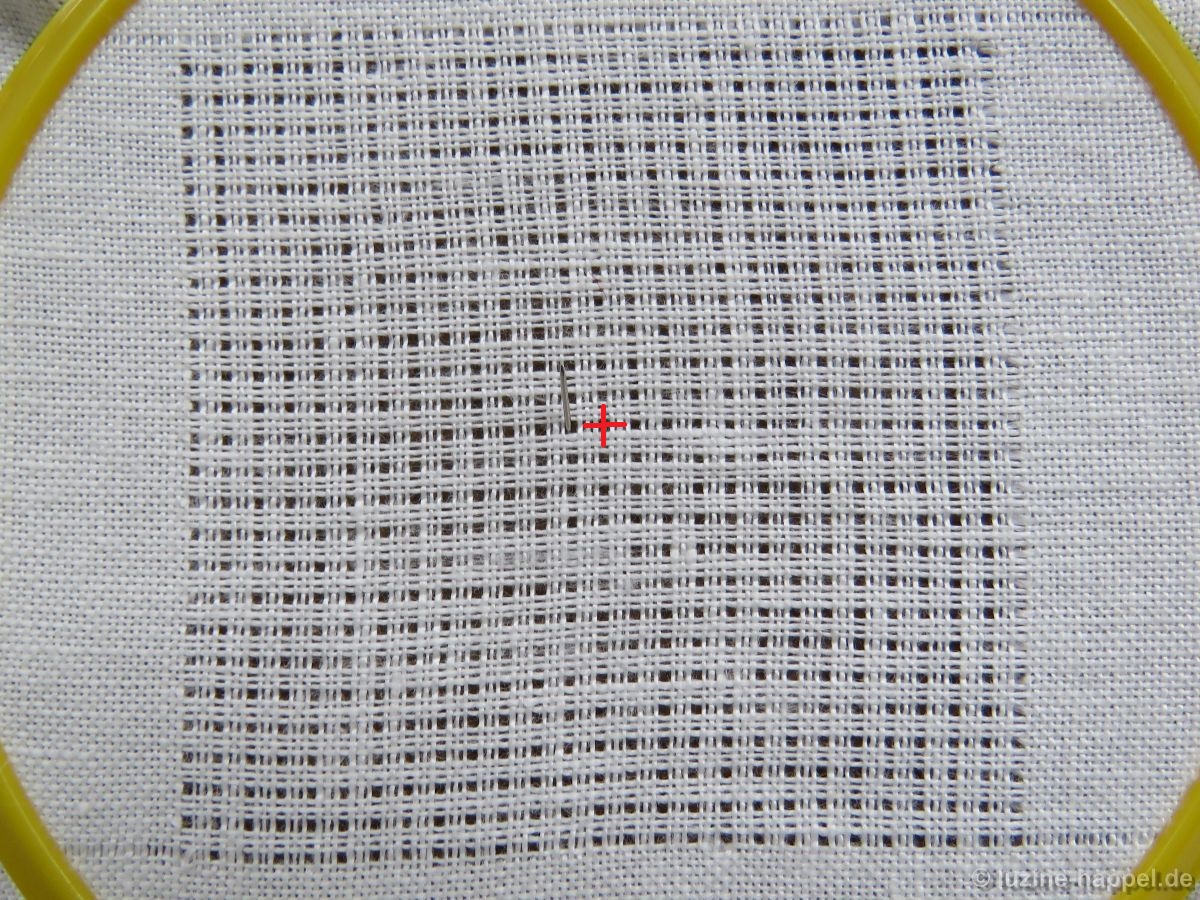
linen used: 13.5/cm thread count
threads used: coton à broder No. 20
stitches used: Rose and Double Back stitches
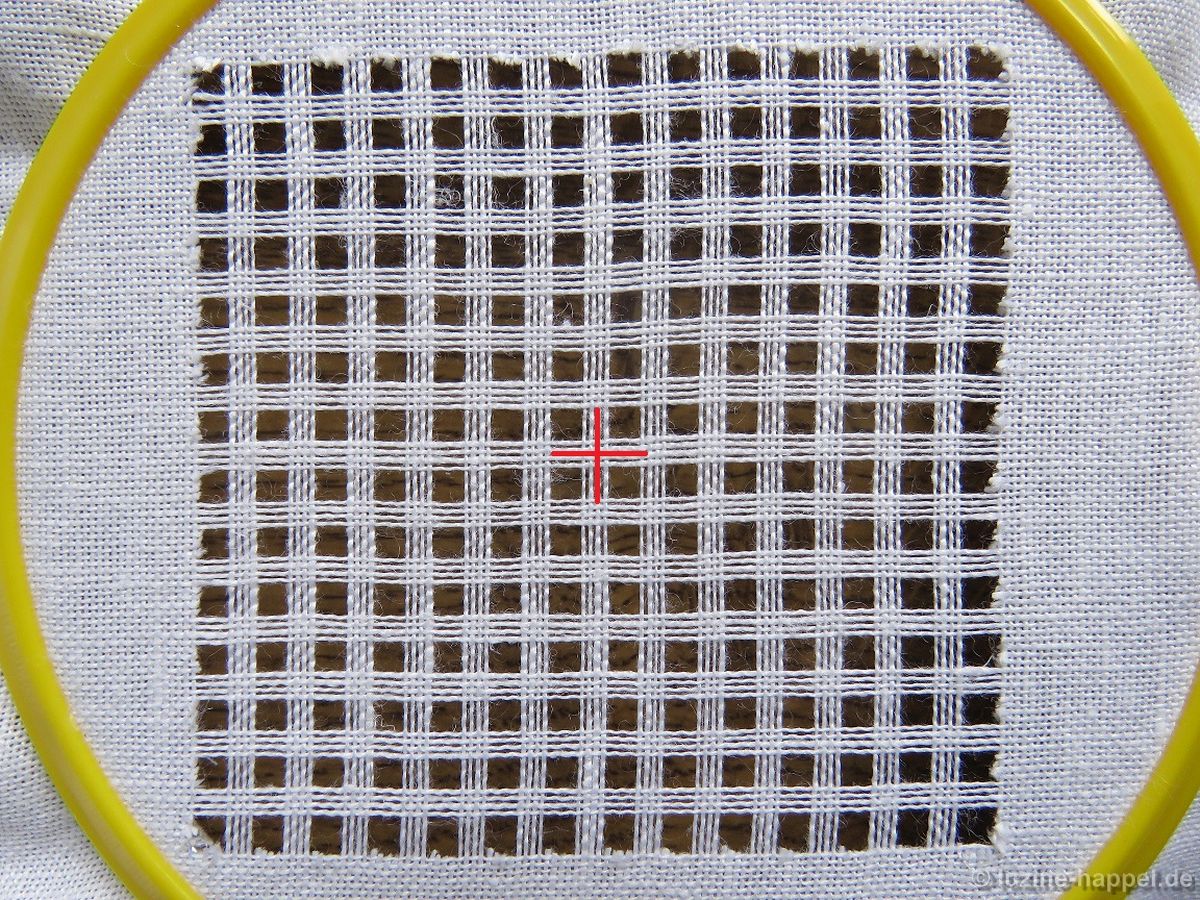
center: intersection of four fabric threads
one pattern segment = 8 threads
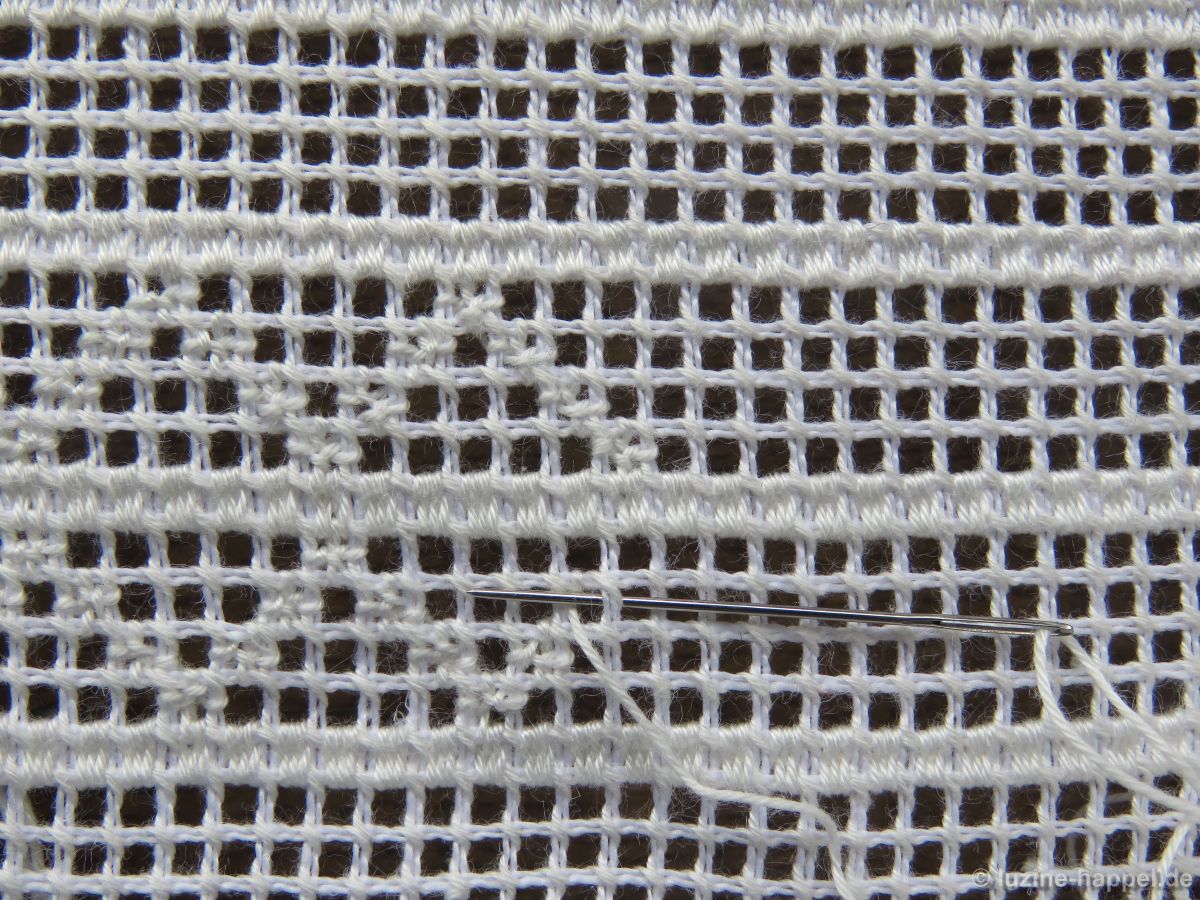
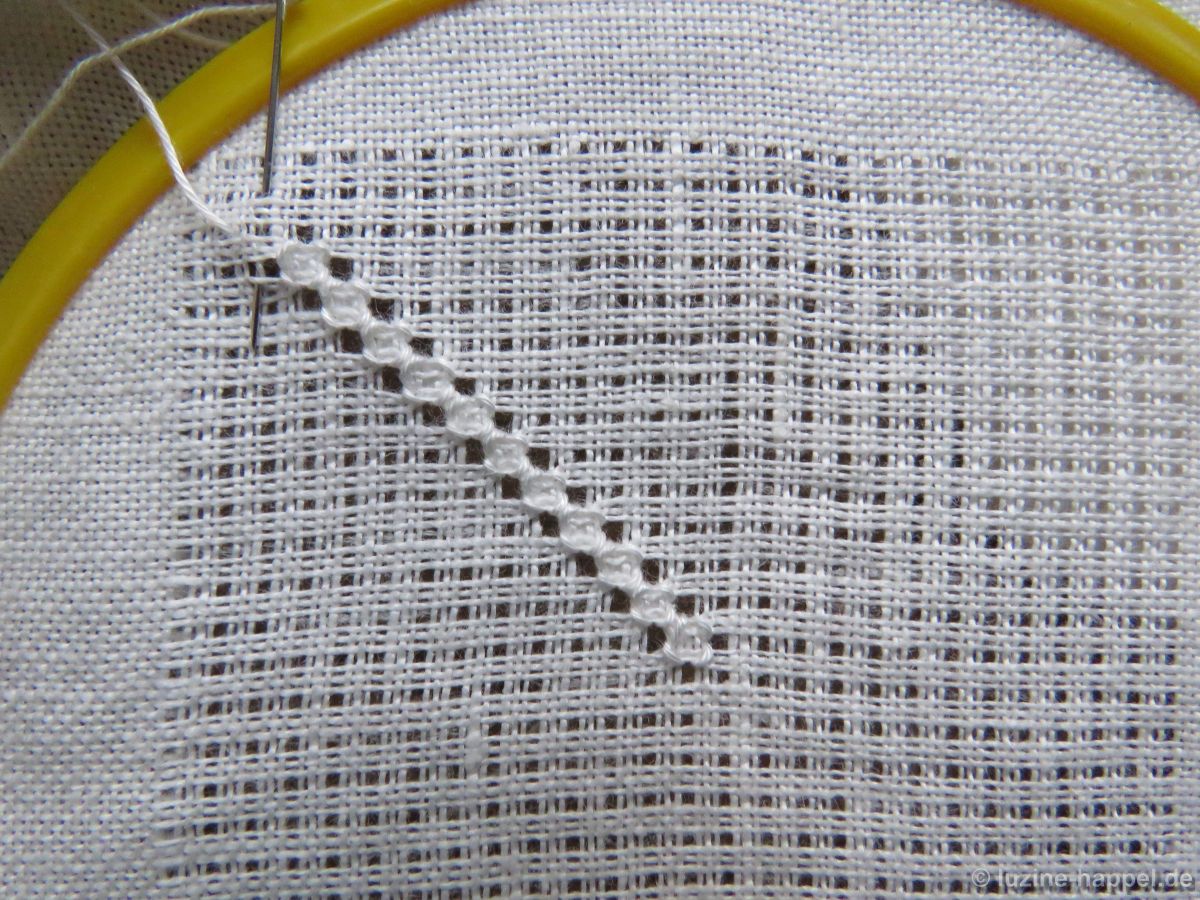
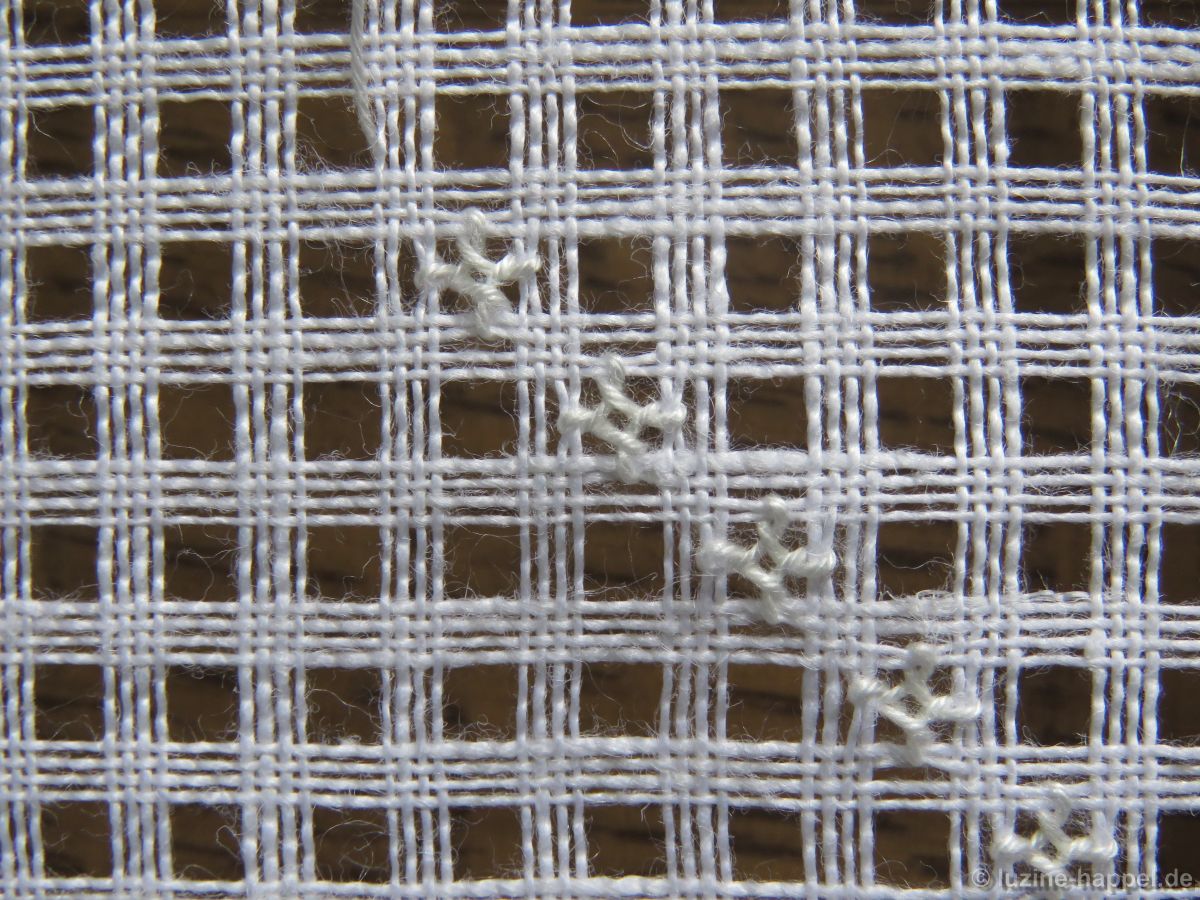
In Vivian Kwok’s contribution #85 to the Global Schwalm Sampler, I discovered a filling pattern that I found interesting because of the slit-like holes that were created by tightening the Rose stitches.
This pattern is not necessarily typical for Schwalm whitework. It seems to come from Hardanger embroidery. However, since Schwalm whitework often deviated from the thread extraction sequence that is common today, I am also showing this pattern for Schwalm border motifs.
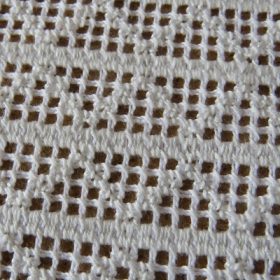
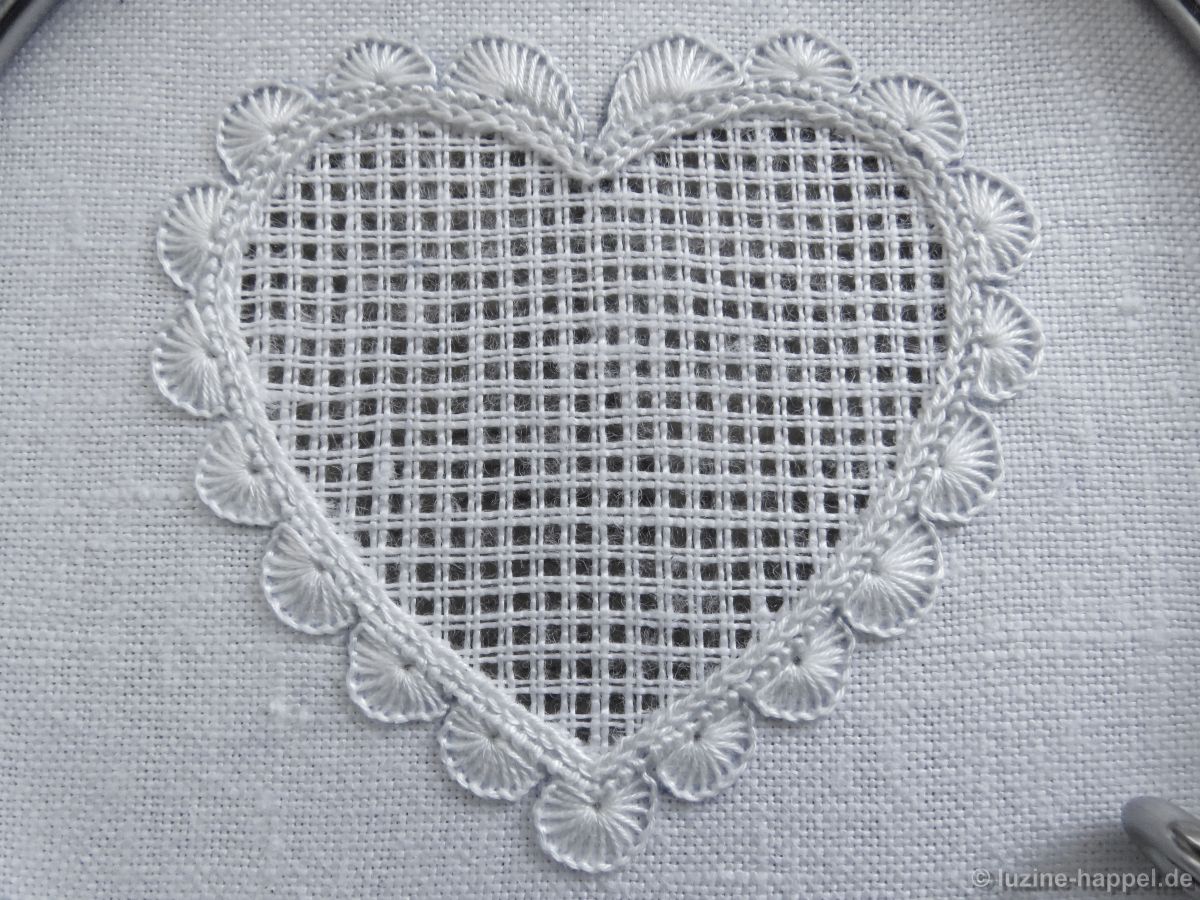
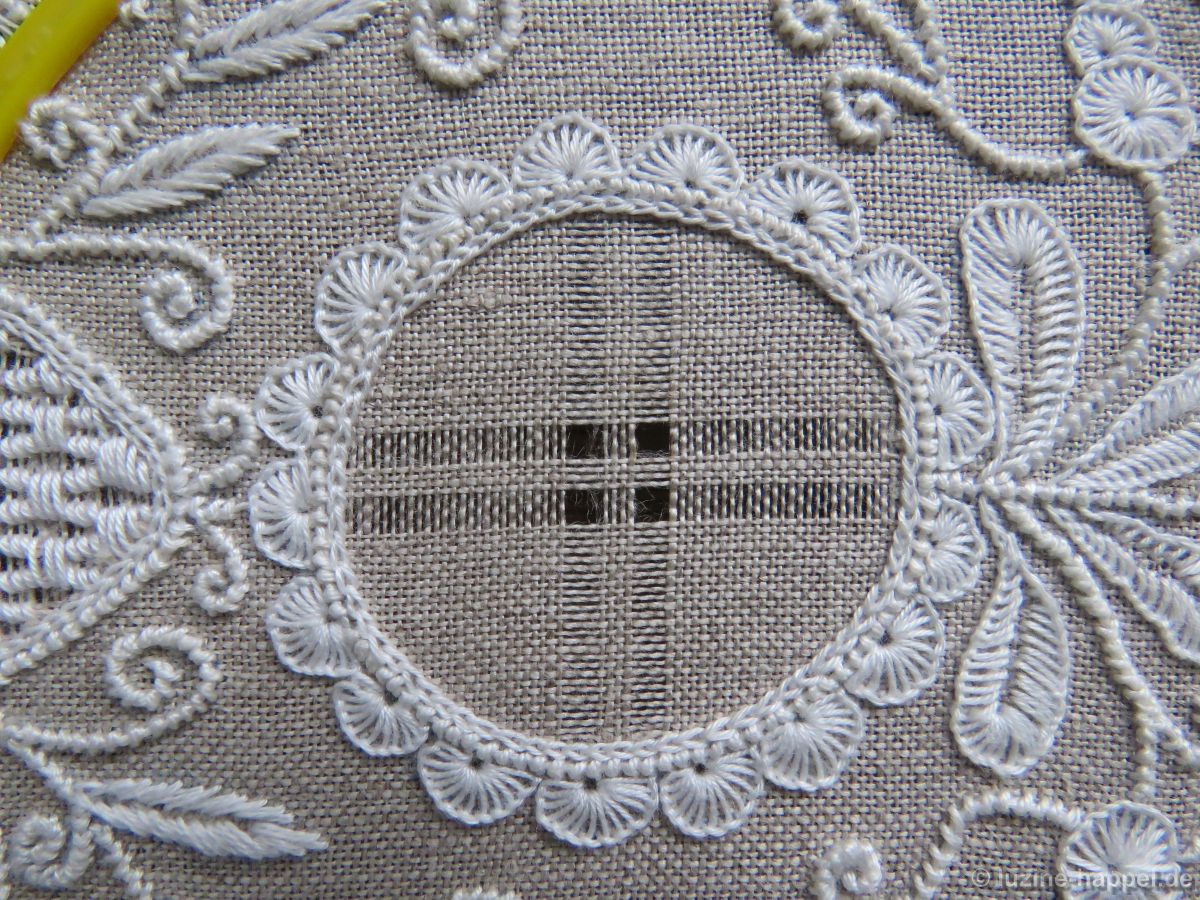
The filling pattern shown here is a practice exercise only. You can see it used in a shape at the end of this article.
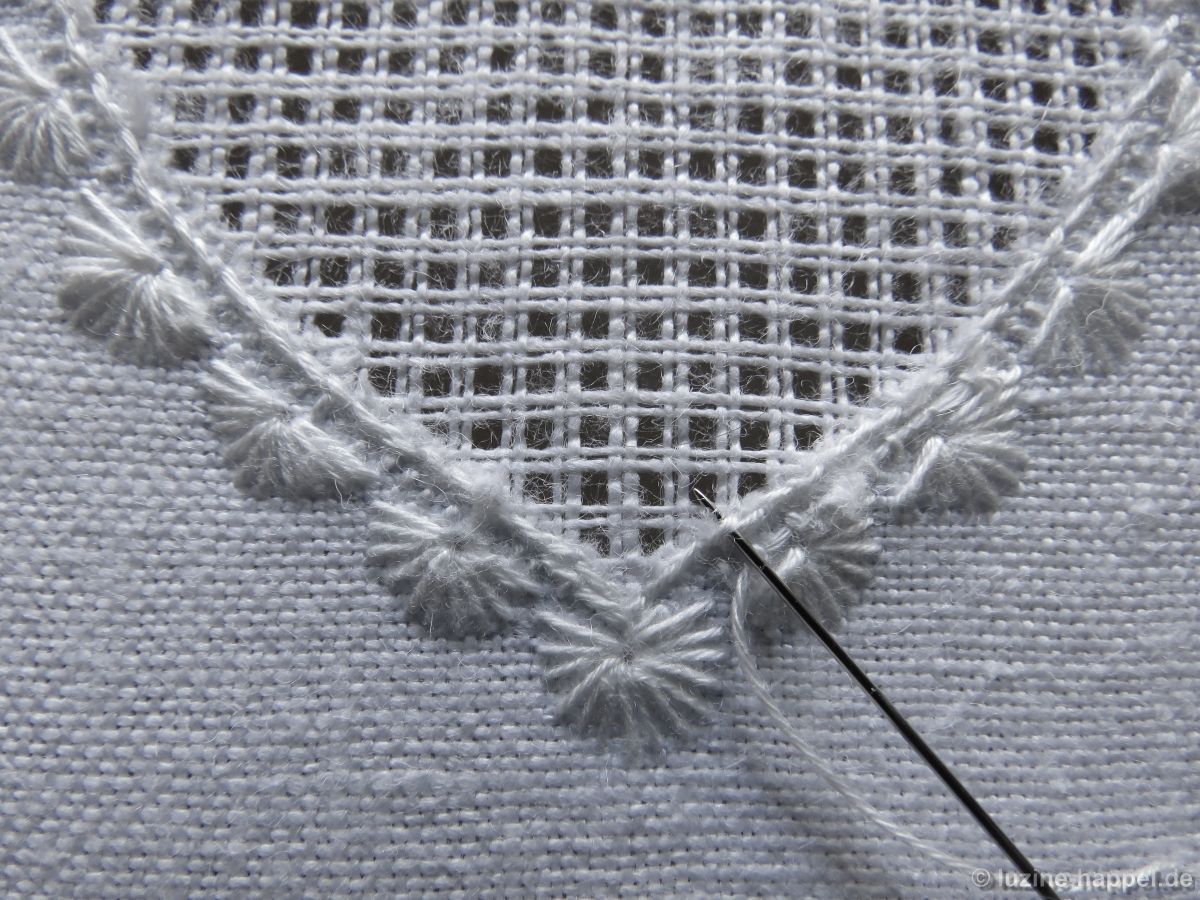
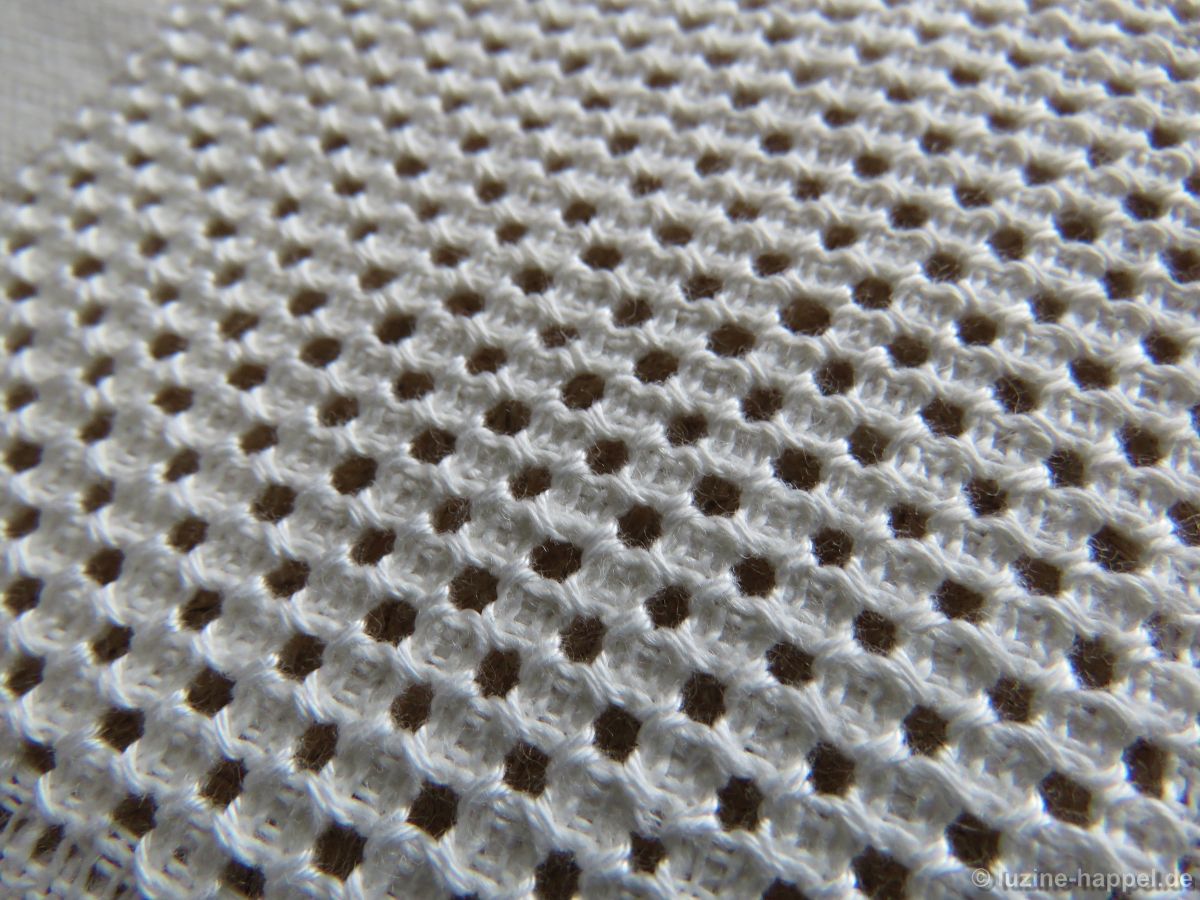
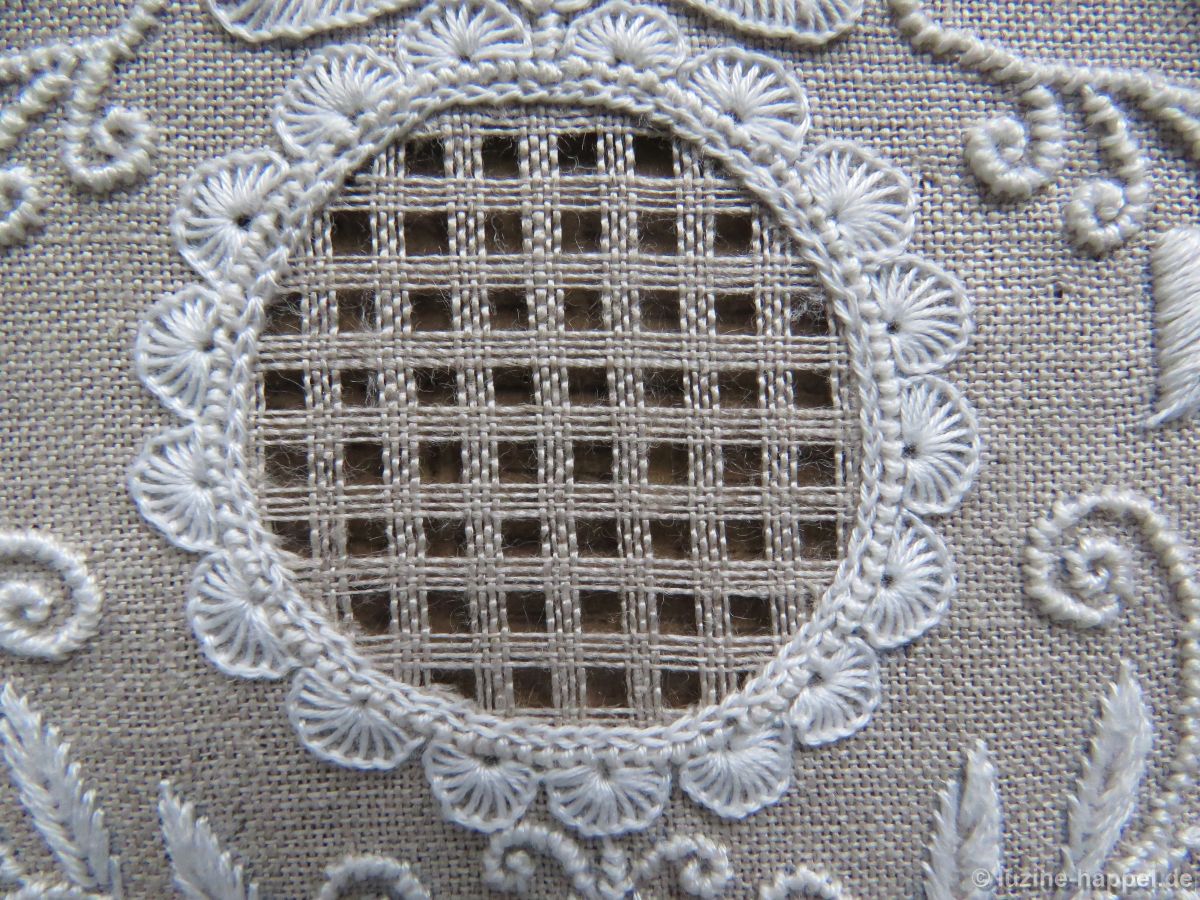
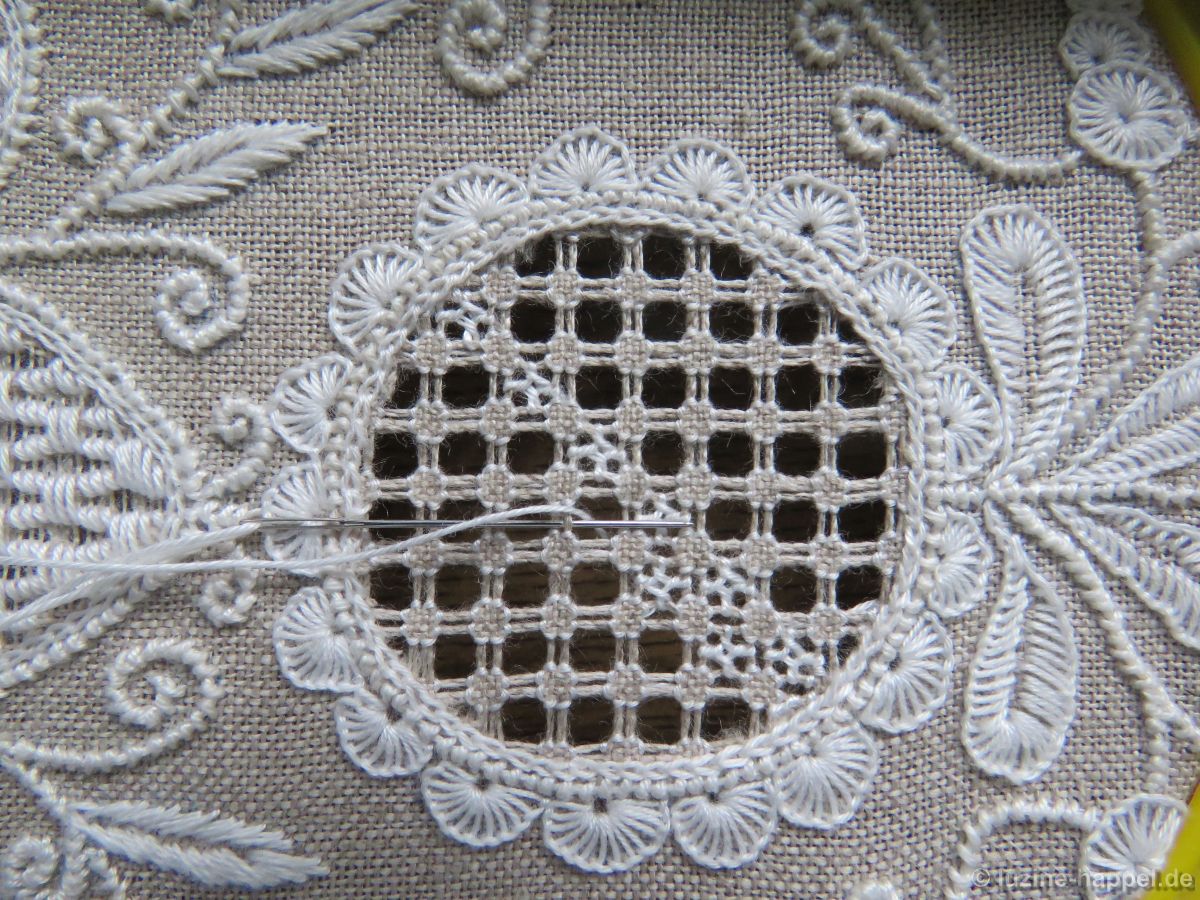
First, establish an openwork grid with an intersection of four threads in the center by cutting 4, leaving 4 both vertically and horizontally.
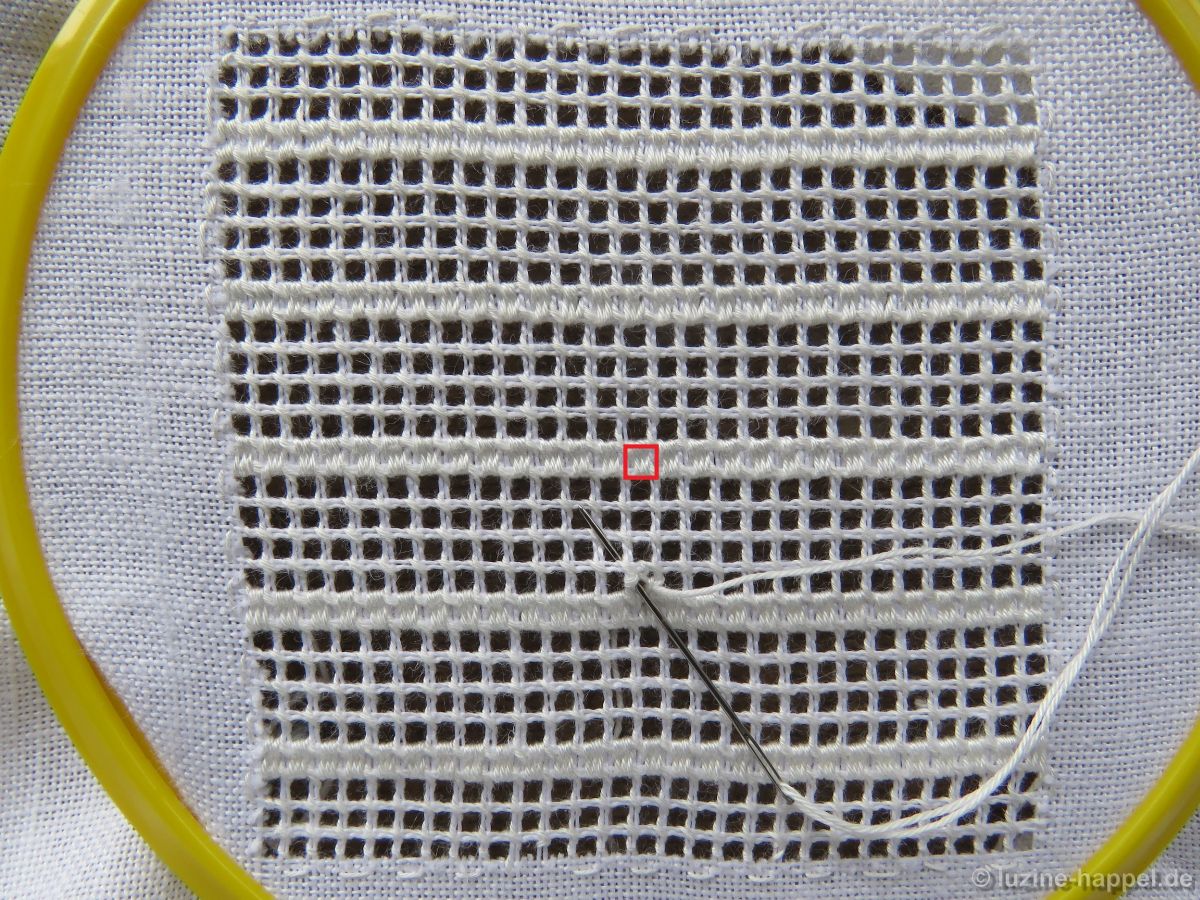
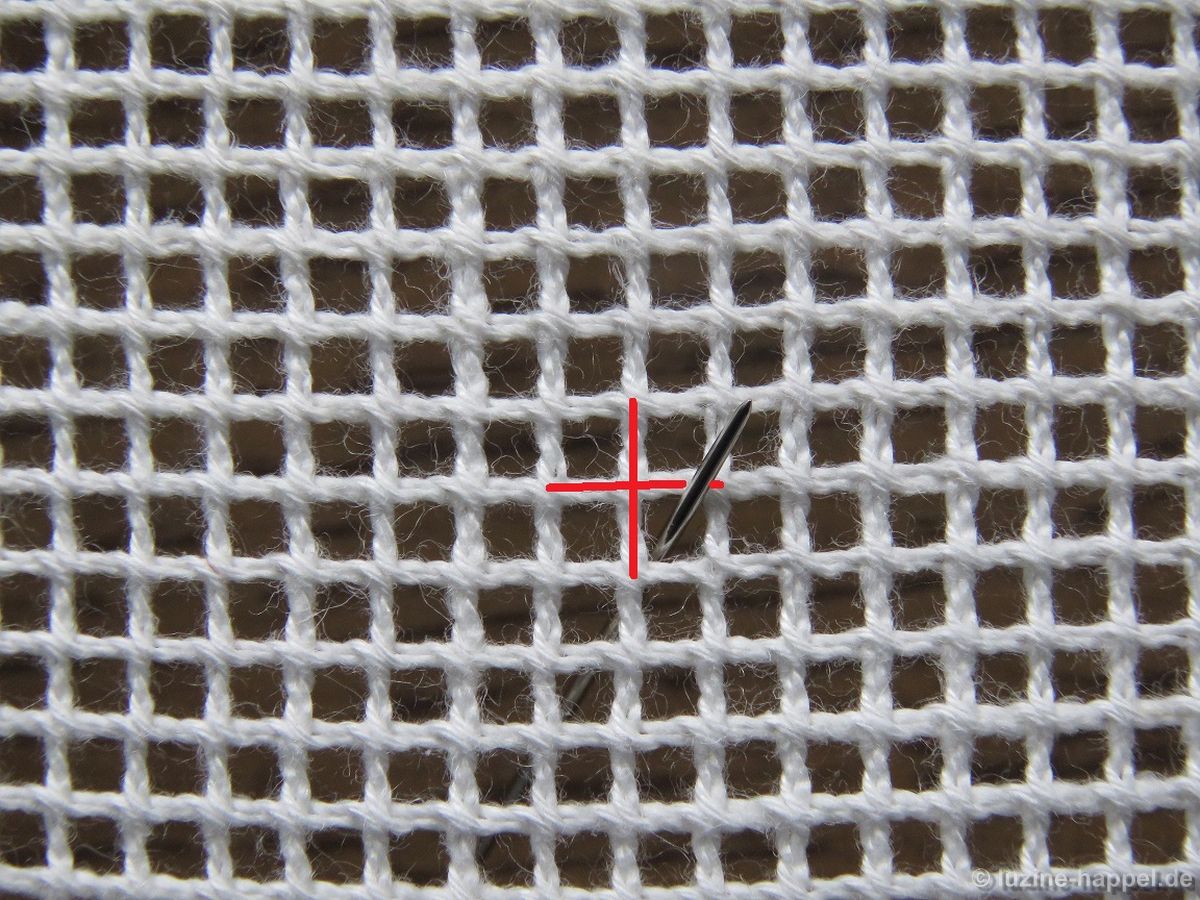
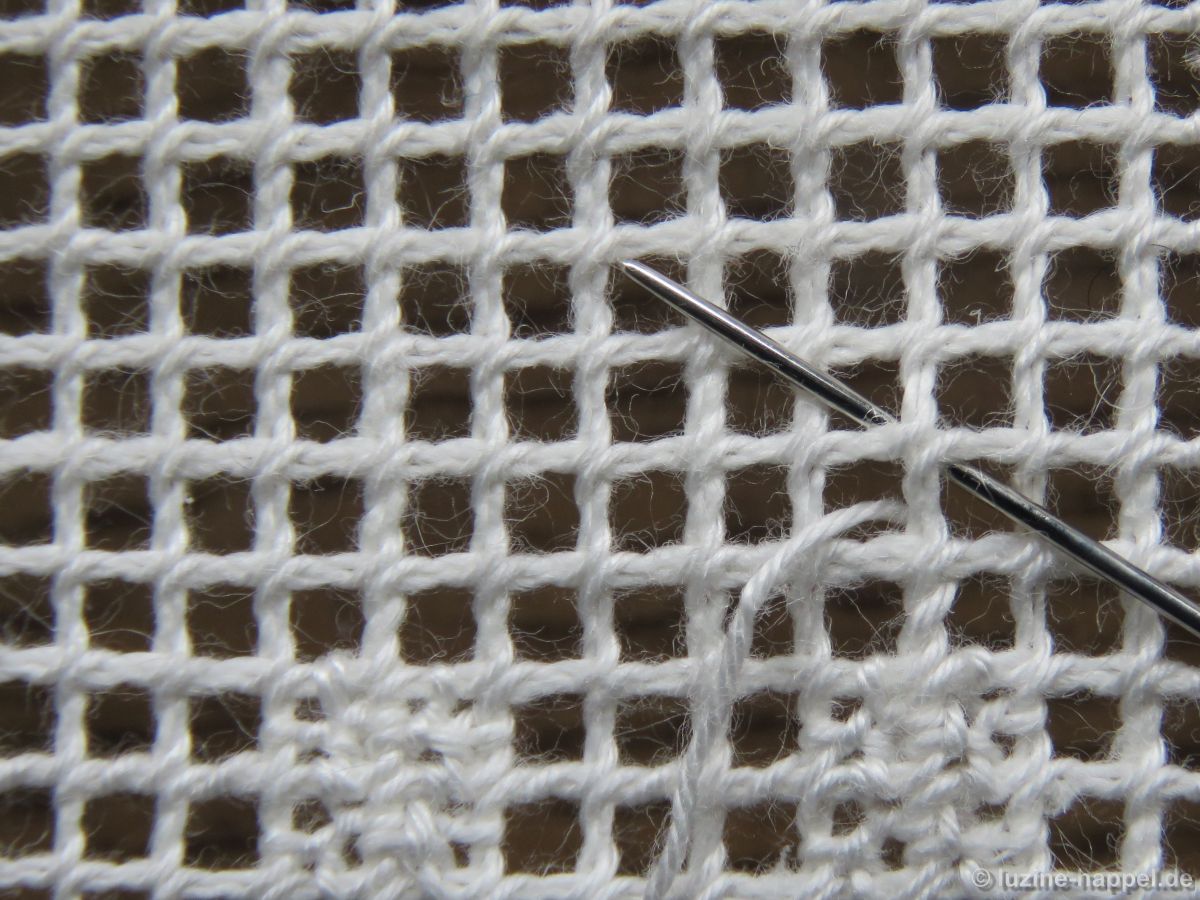
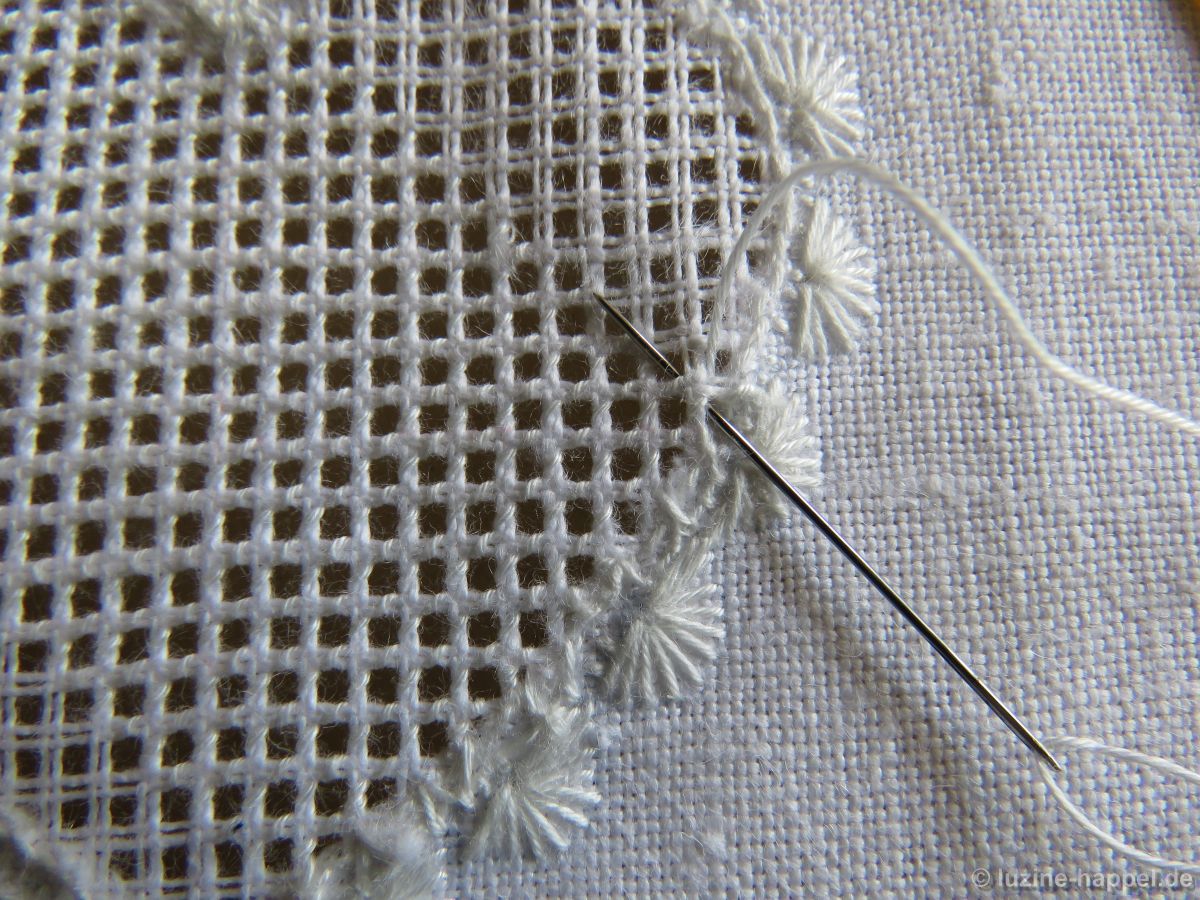
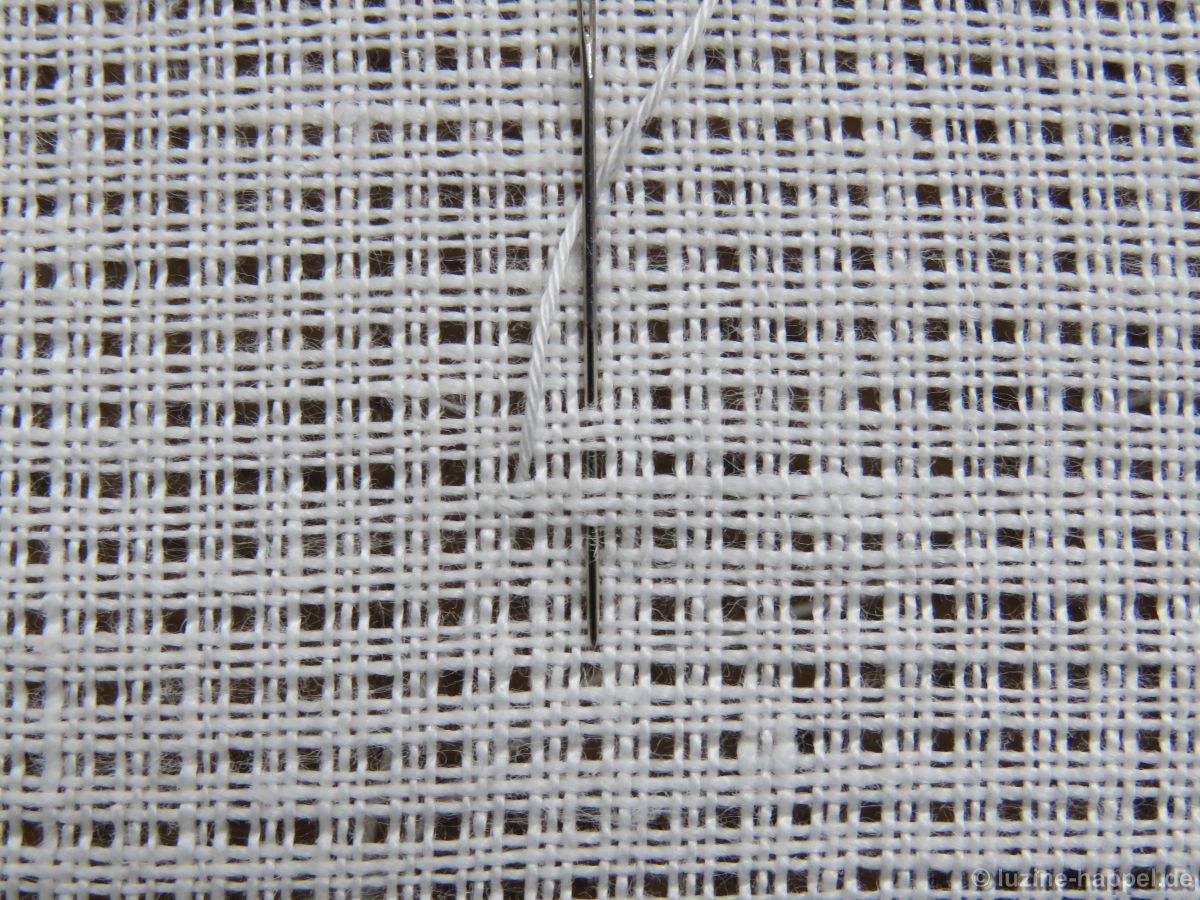
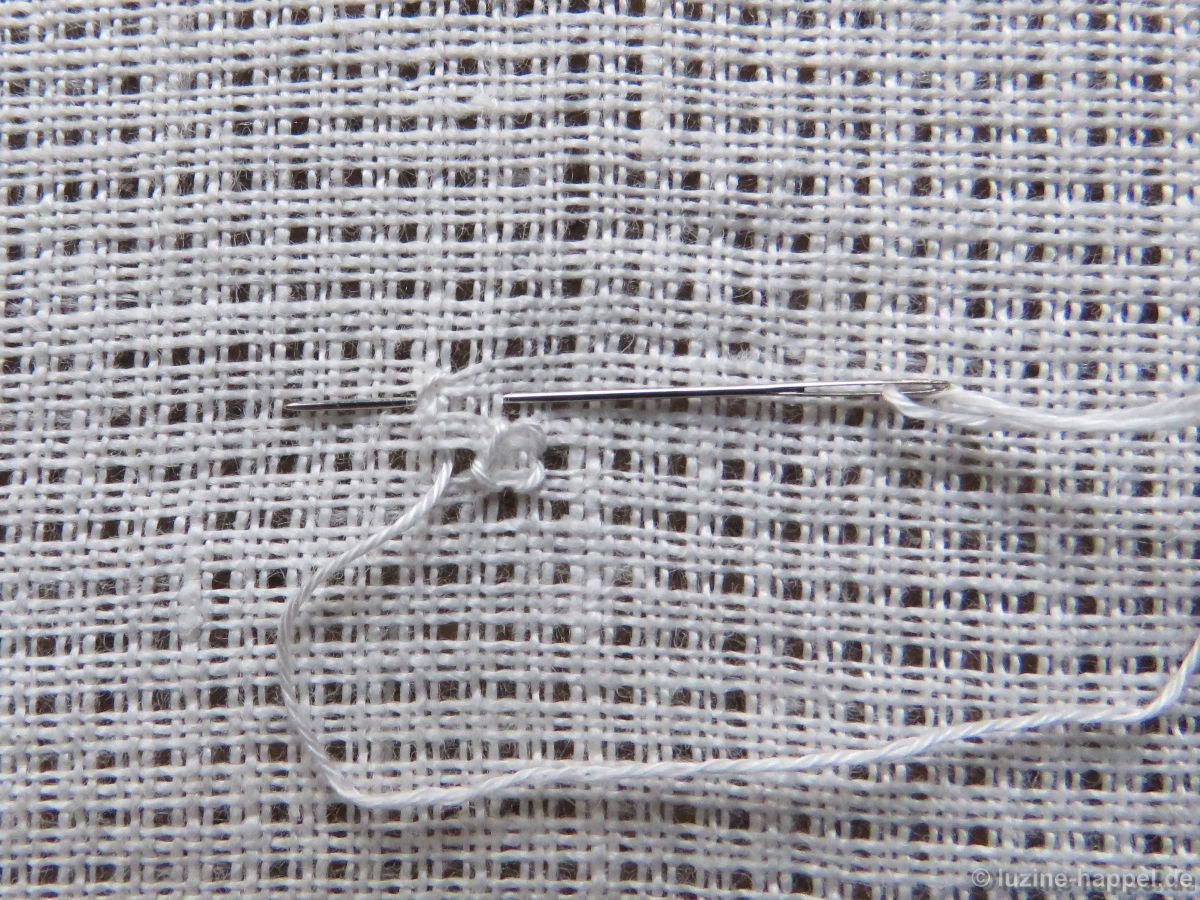
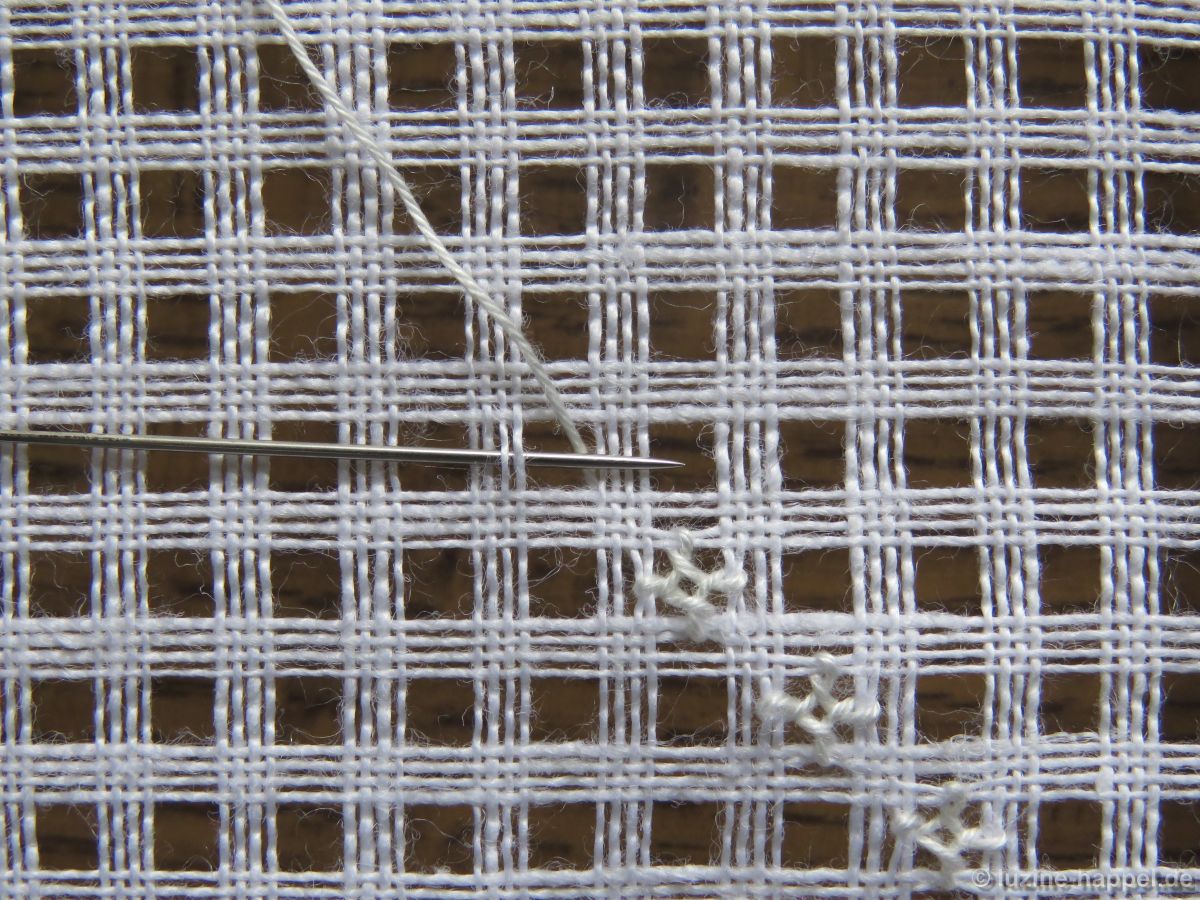
Rose stitches are worked into the holes created. Each single “leg” of a Rose stitch takes up only two of the four Fabric threads. Work is done in diagonal rows from bottom right to top left.
*Bring the needle up (point where the needle emerges = center of the stitch) in an empty square, loop the thread up and to the left, cross over two threads to the left, insert the needle and bring it up in the center again with the looped thread beneath the needle. Tighten thread, but not too much so.
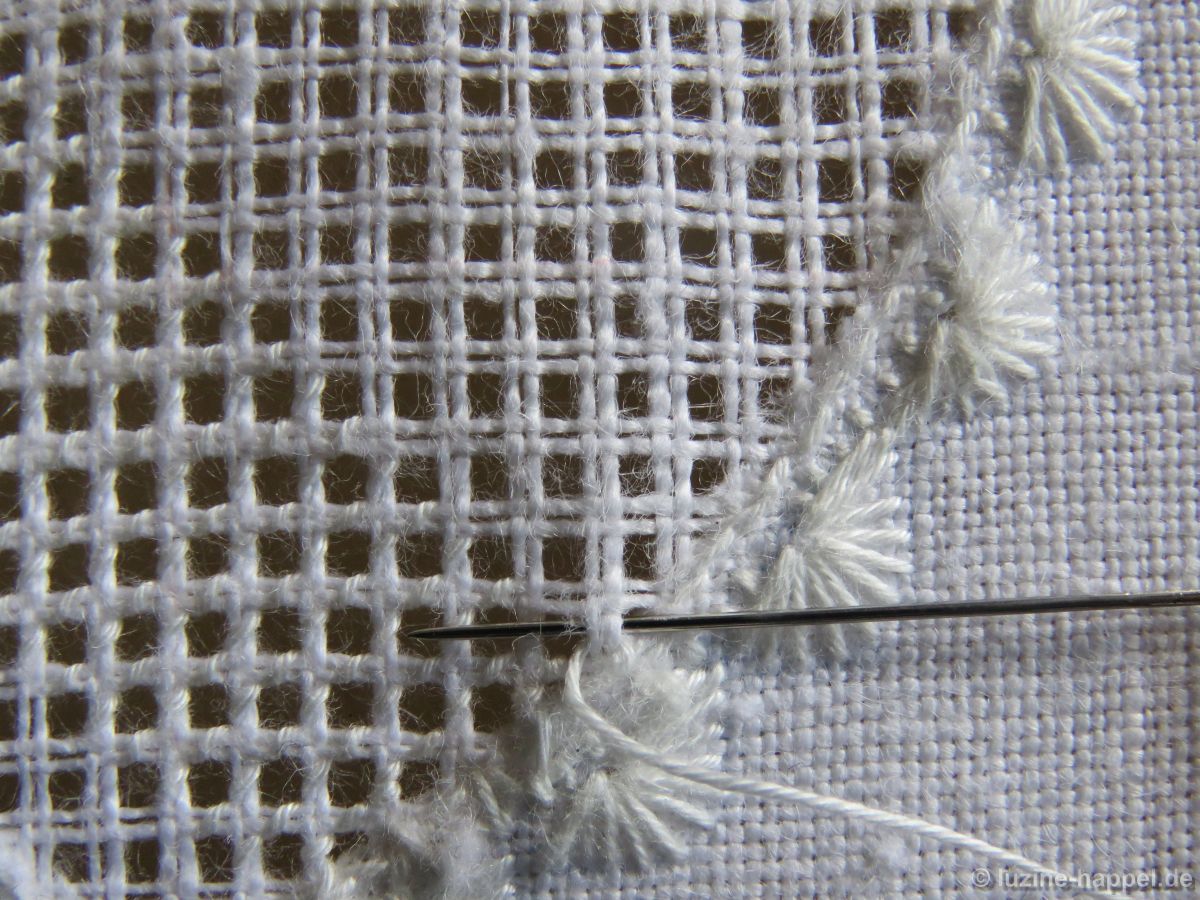
Loop the thread to the right and up, cross over two threads up, insert the needle and bring it up in the center hole again. Notice that the looped thread is beneath the needle. Tighten thread.

Loop the thread downward and to the right, cross over two threads to the right, insert the needle and bring it up in the center again with the thread beneath the needle. Tighten thread.
Loop the thread down and to the left, cross over two threads at the bottom, insert the needle and bring it up in the center again with the looped thread beneath the needle. Tighten thread.

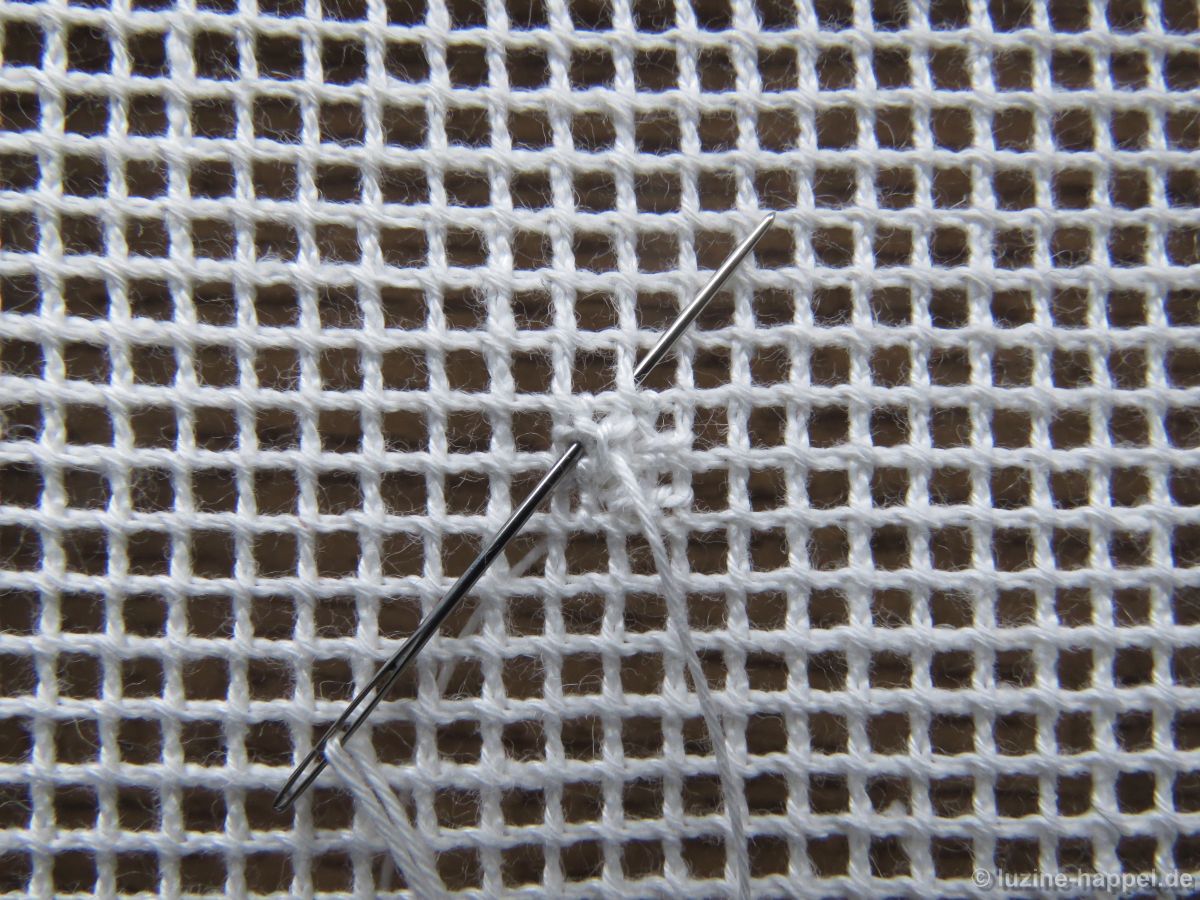
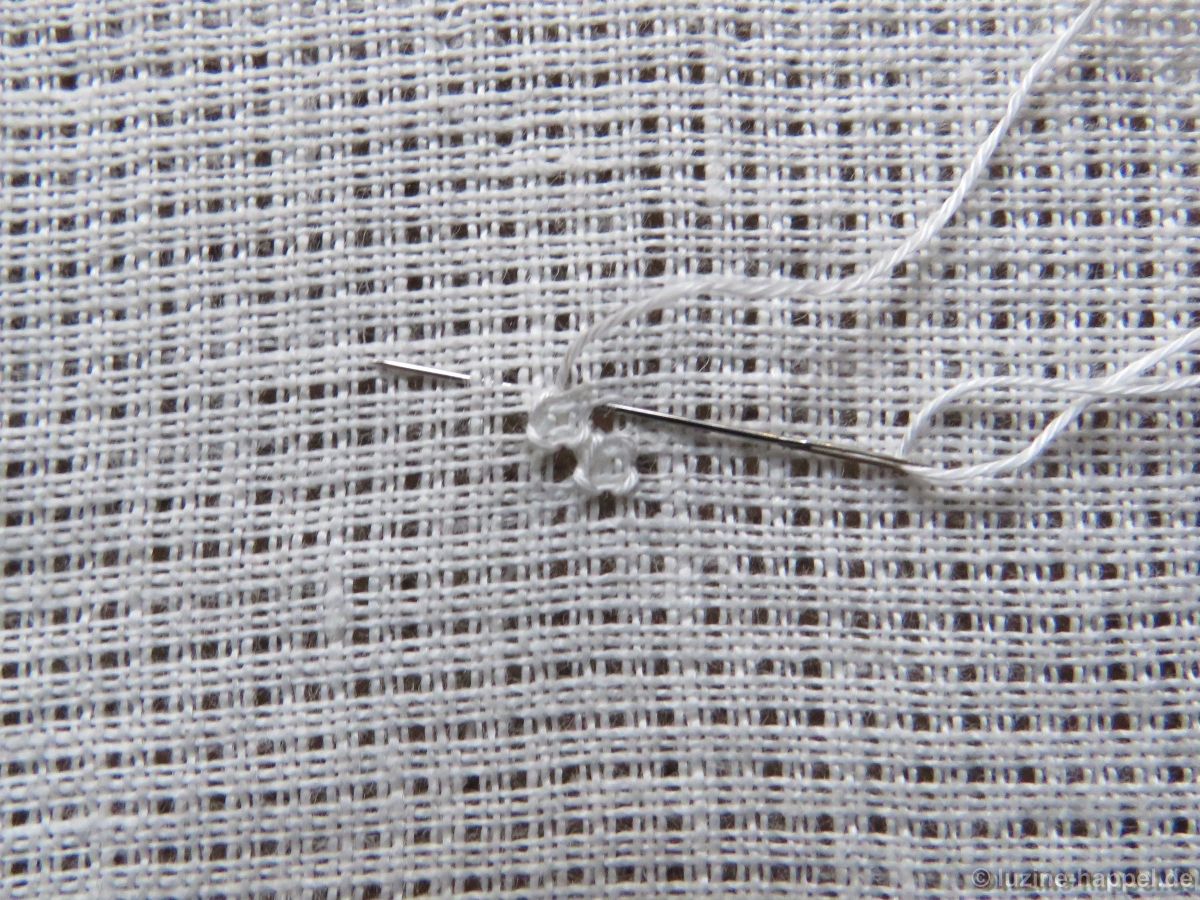
After working the fourth stitch, the working thread comes up to the right of the fourth stitch. Cross over the fourth stitch to the left and insert the needle at the bottom of the center hole.*
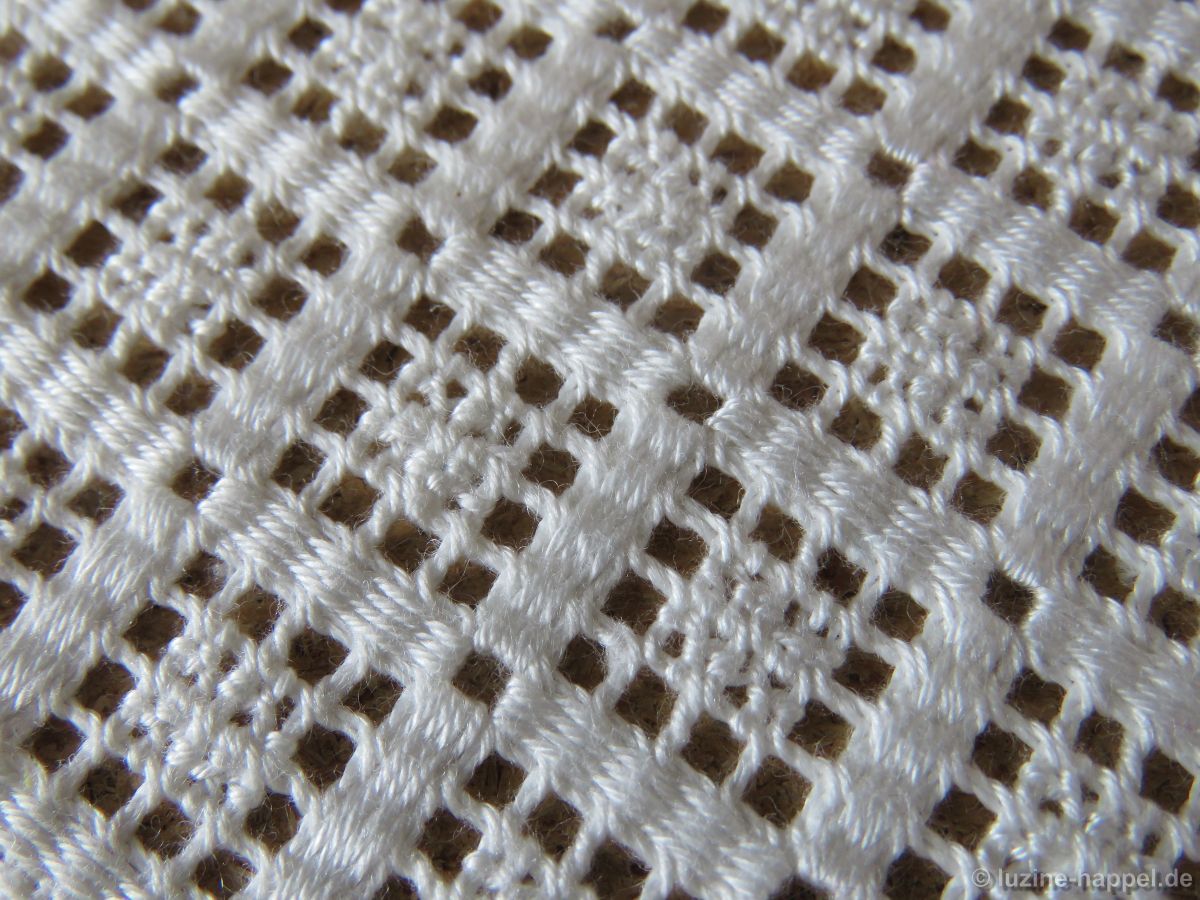
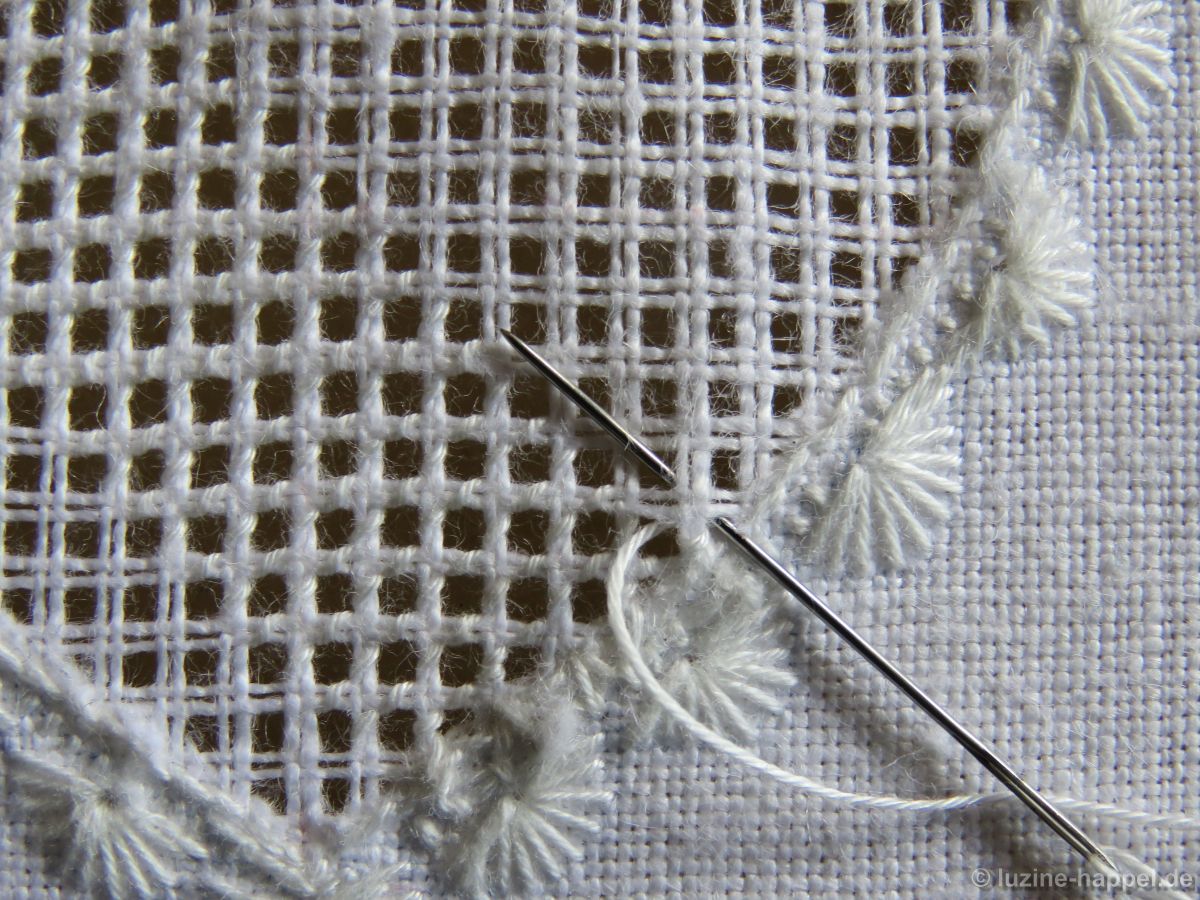
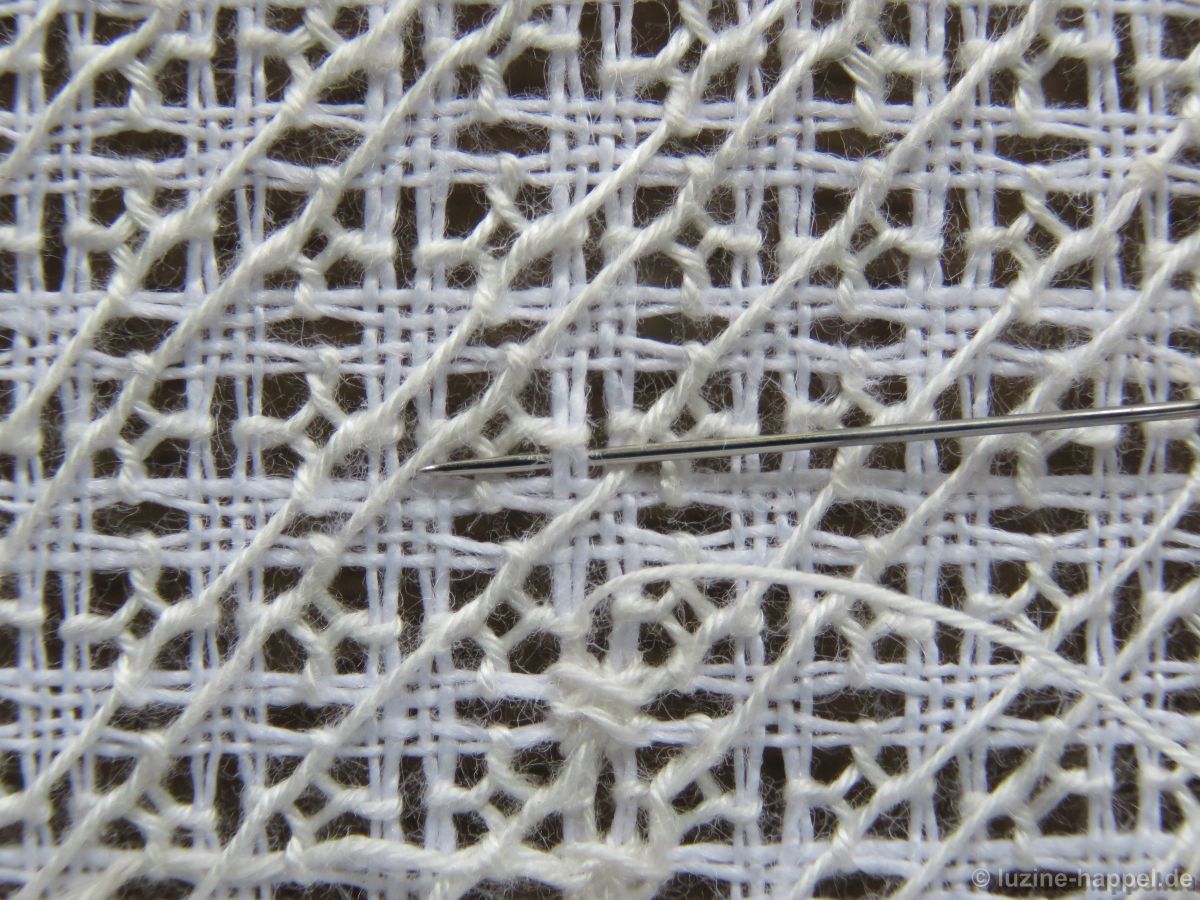
In this way, the working thread traveling from Rose stitch to Rose stitch is nearly invisible from the front.
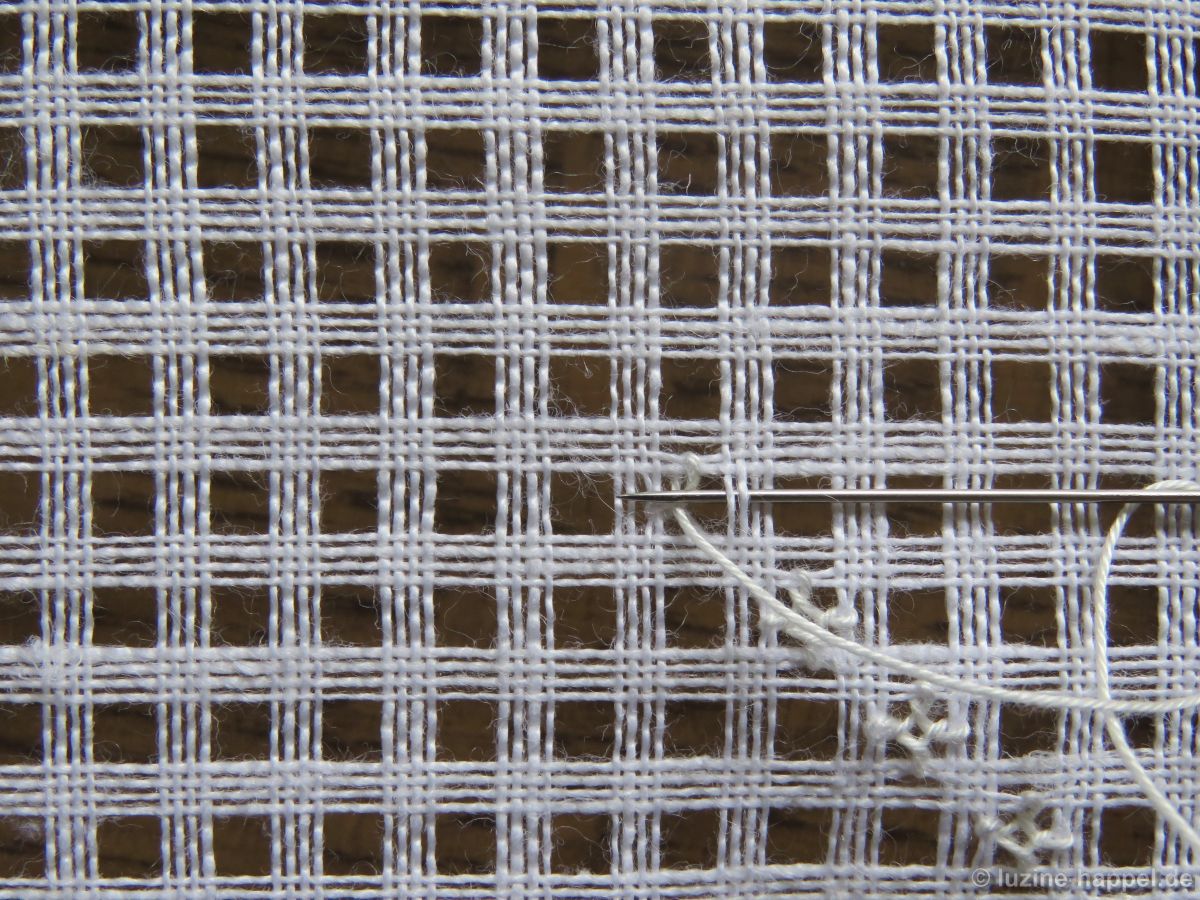
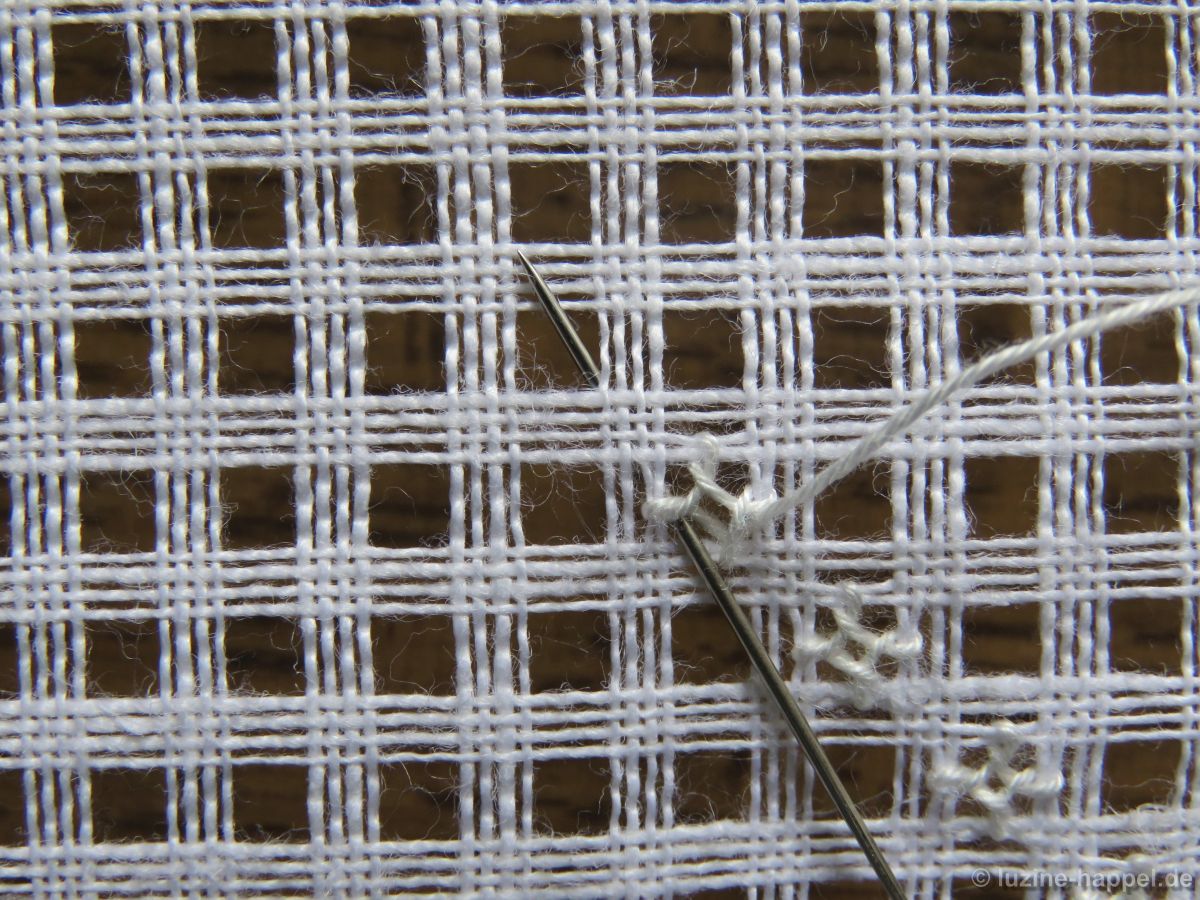
Bring the needle up in the next center, one square diagonally left up. Continue working Rose stitches in the established way.
With the help of the needle, the single stitches of a Rose stitch can be shifted a little bit so that they lie in the middle of a square side.
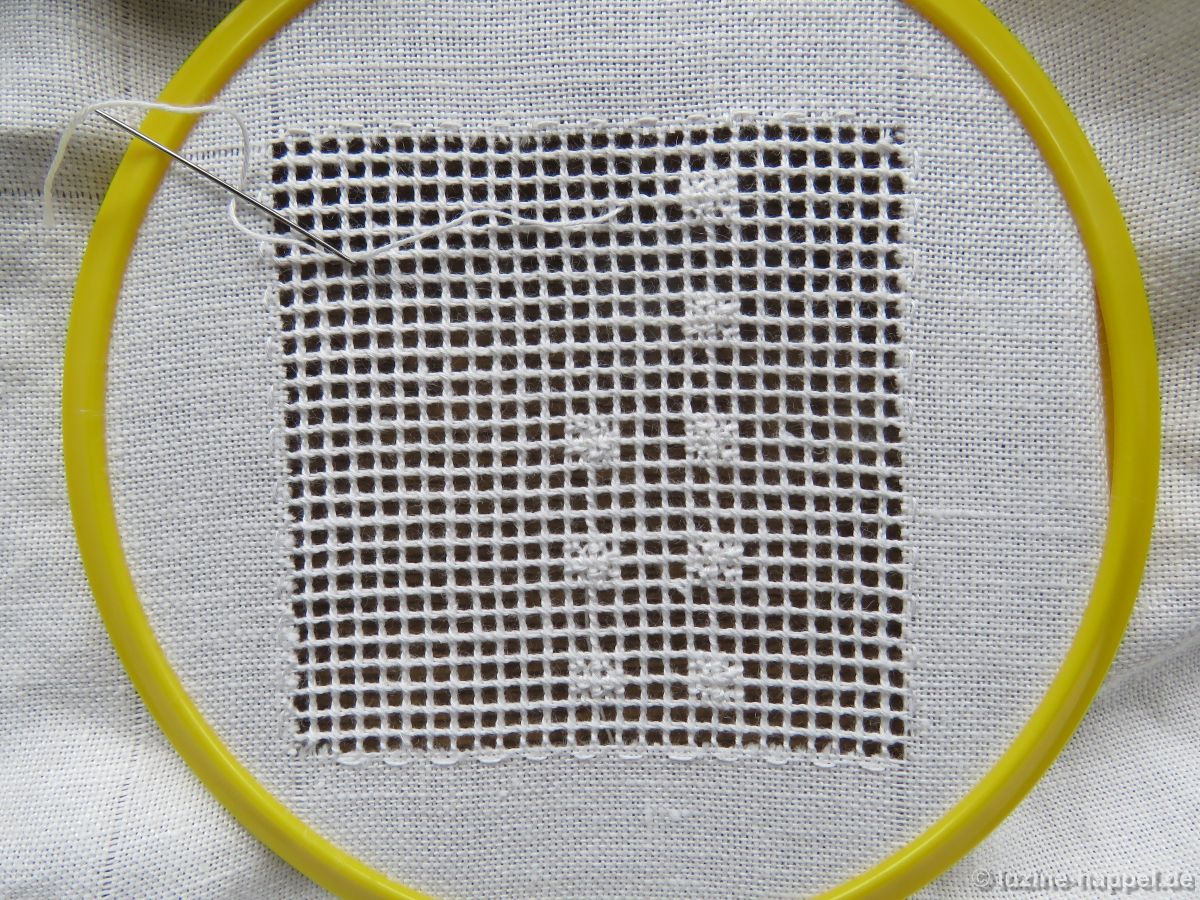
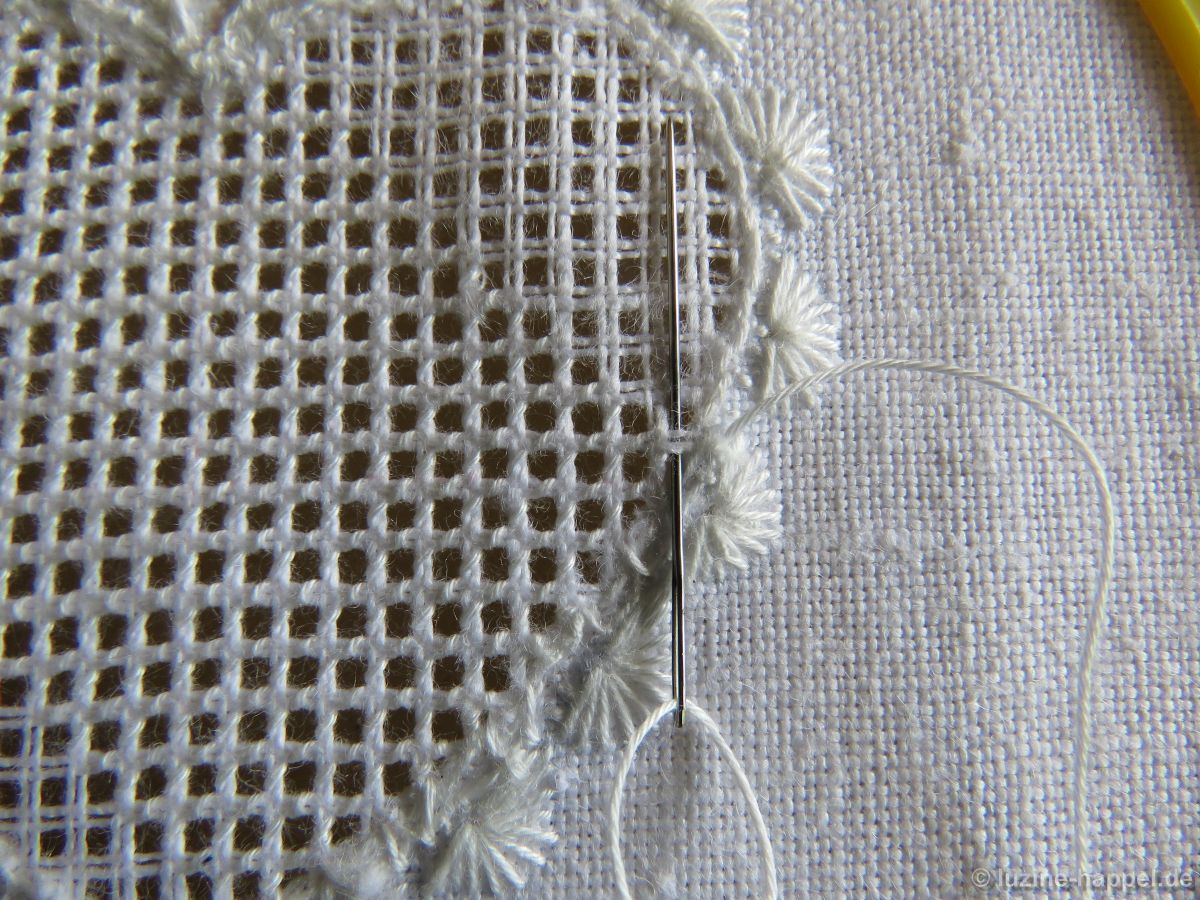
Continue working in the same way, until the entire shape is filled.
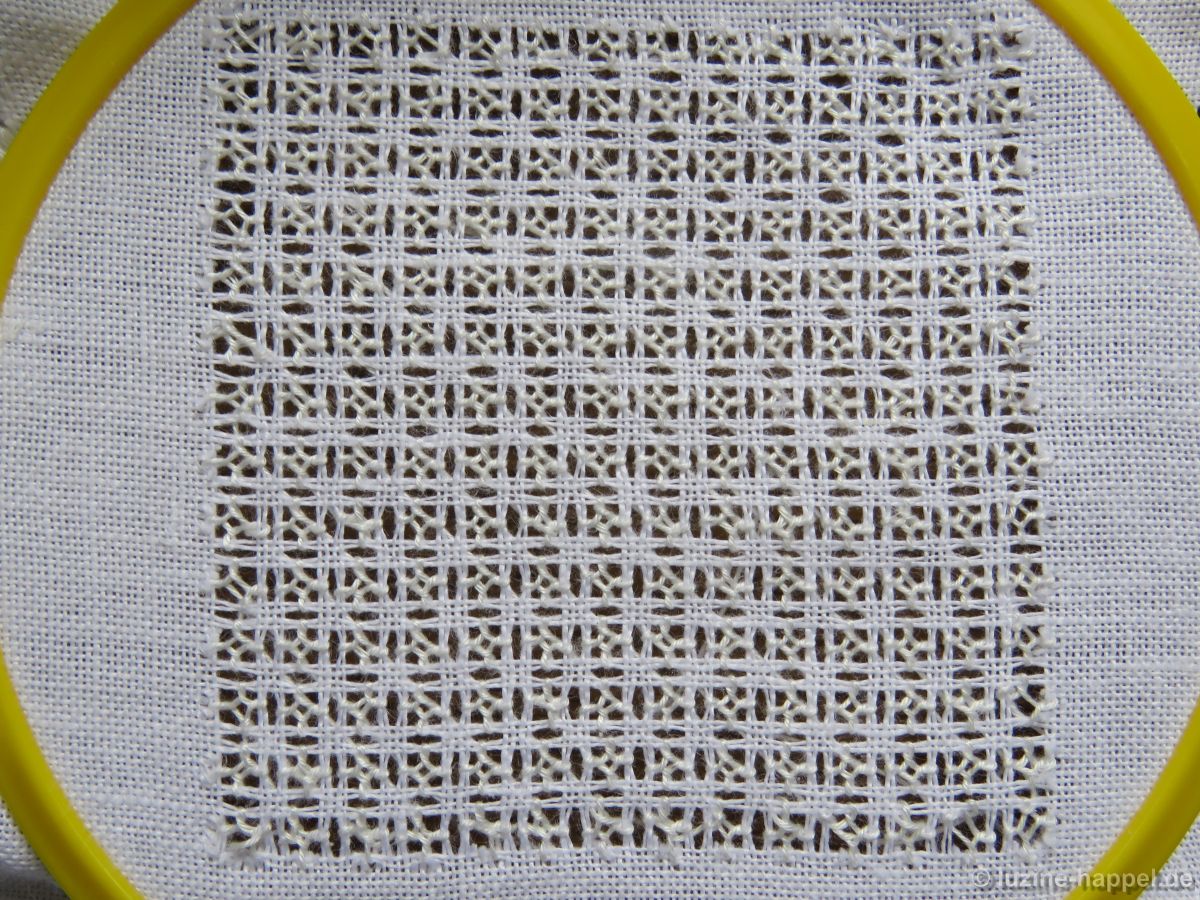
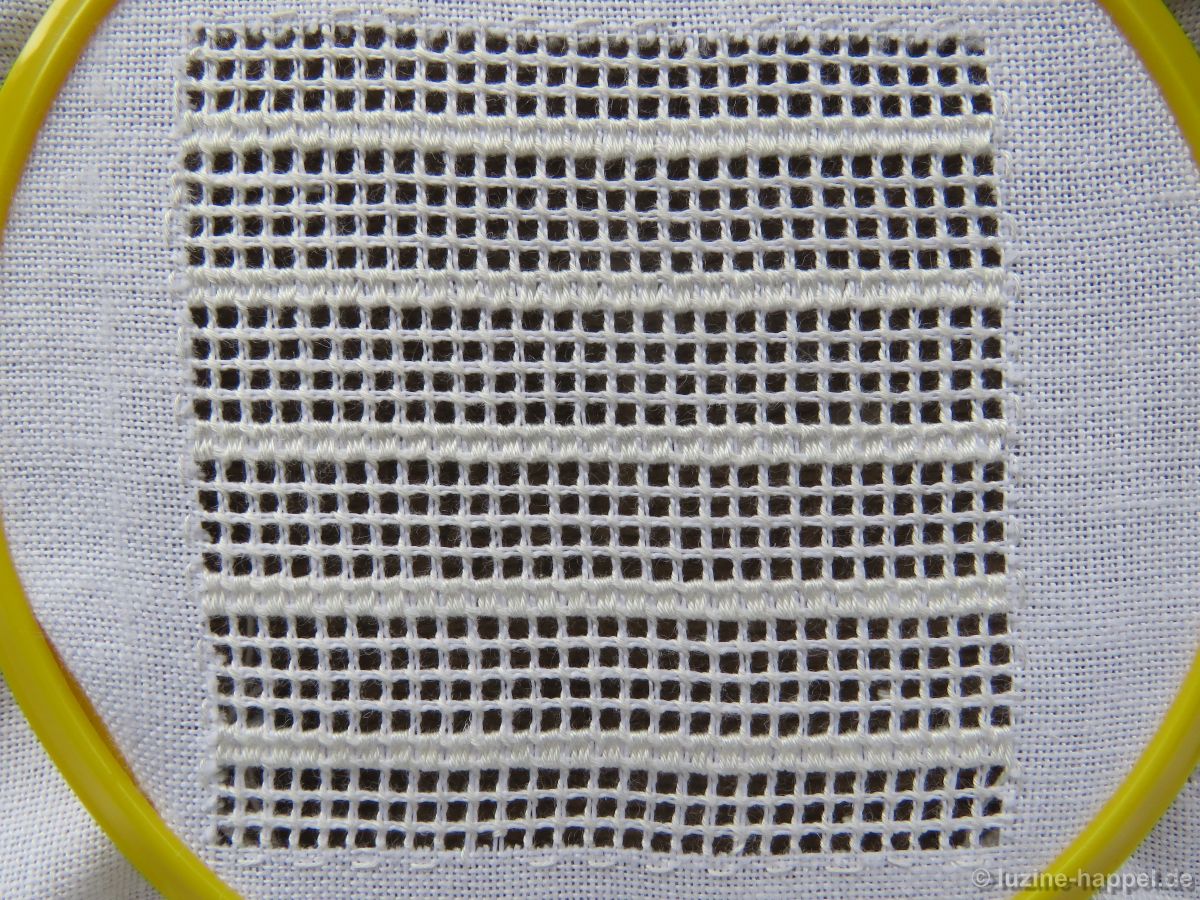
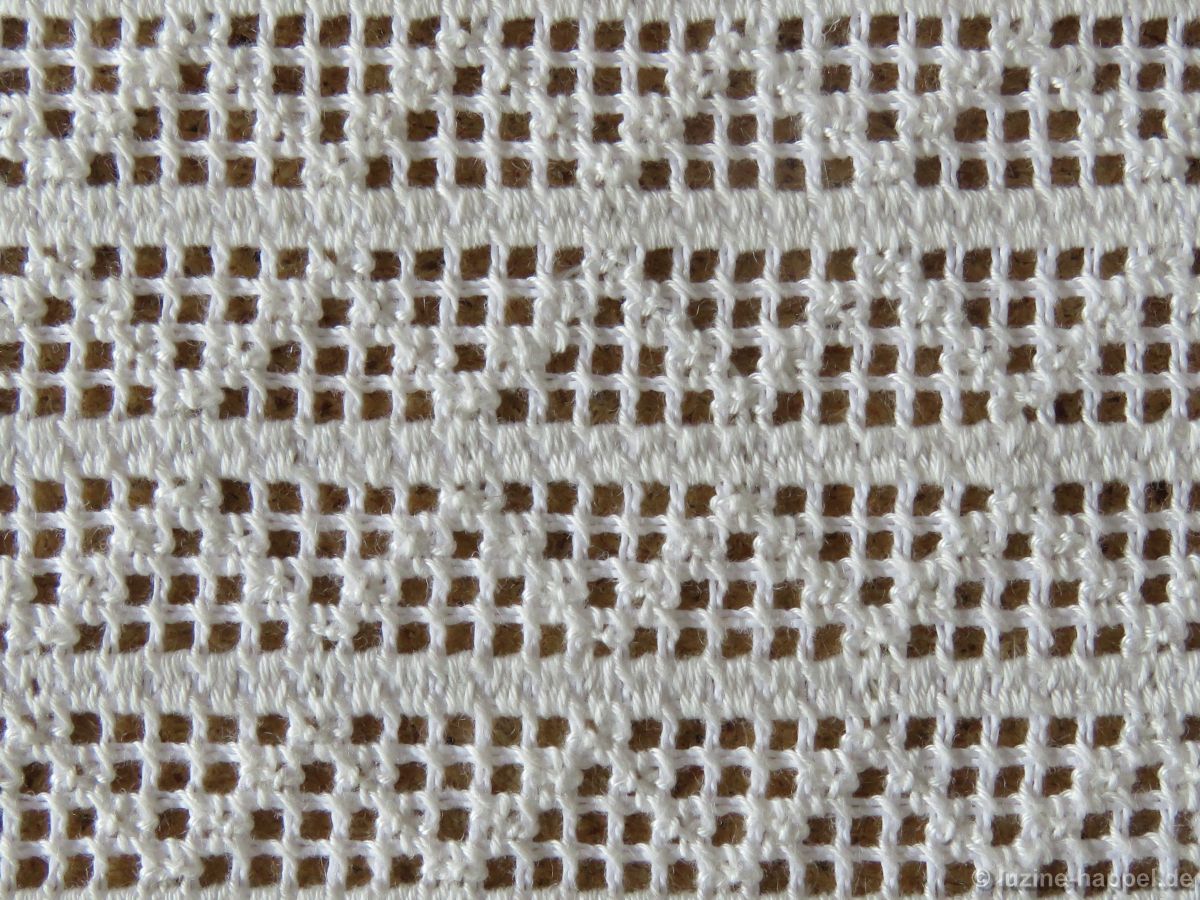
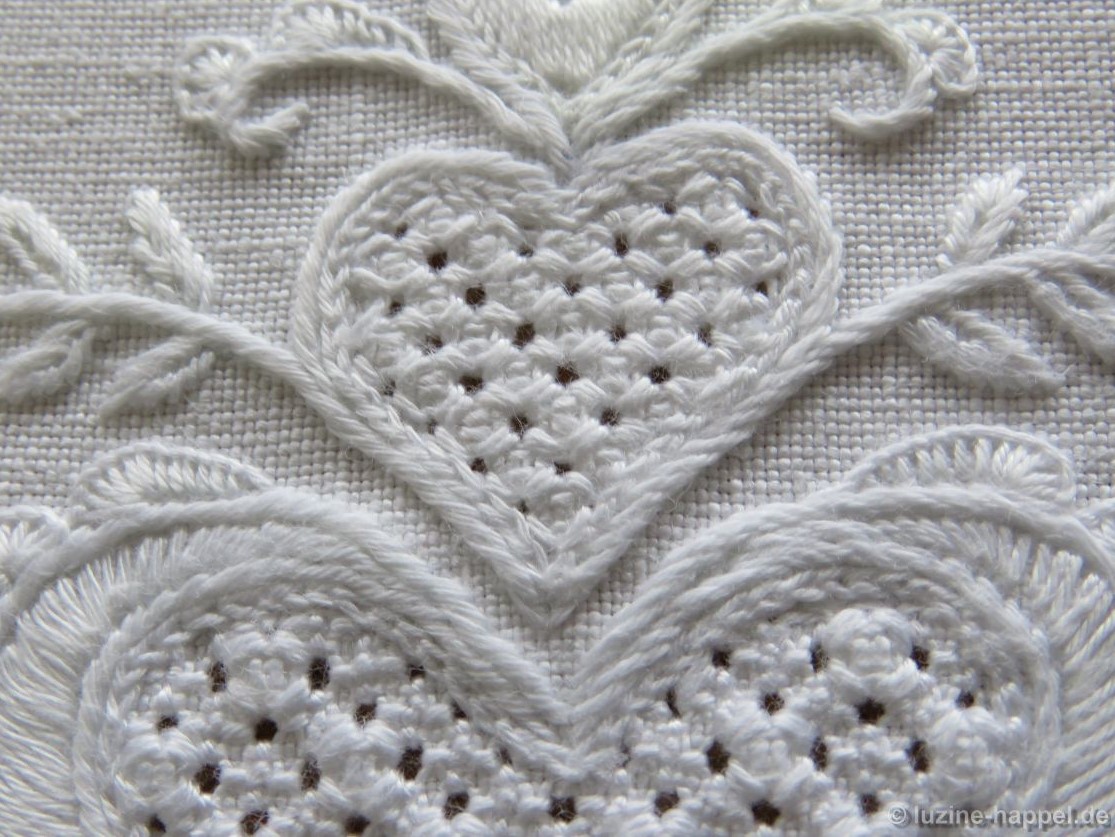
I was not fully satisfied with my first attempt.
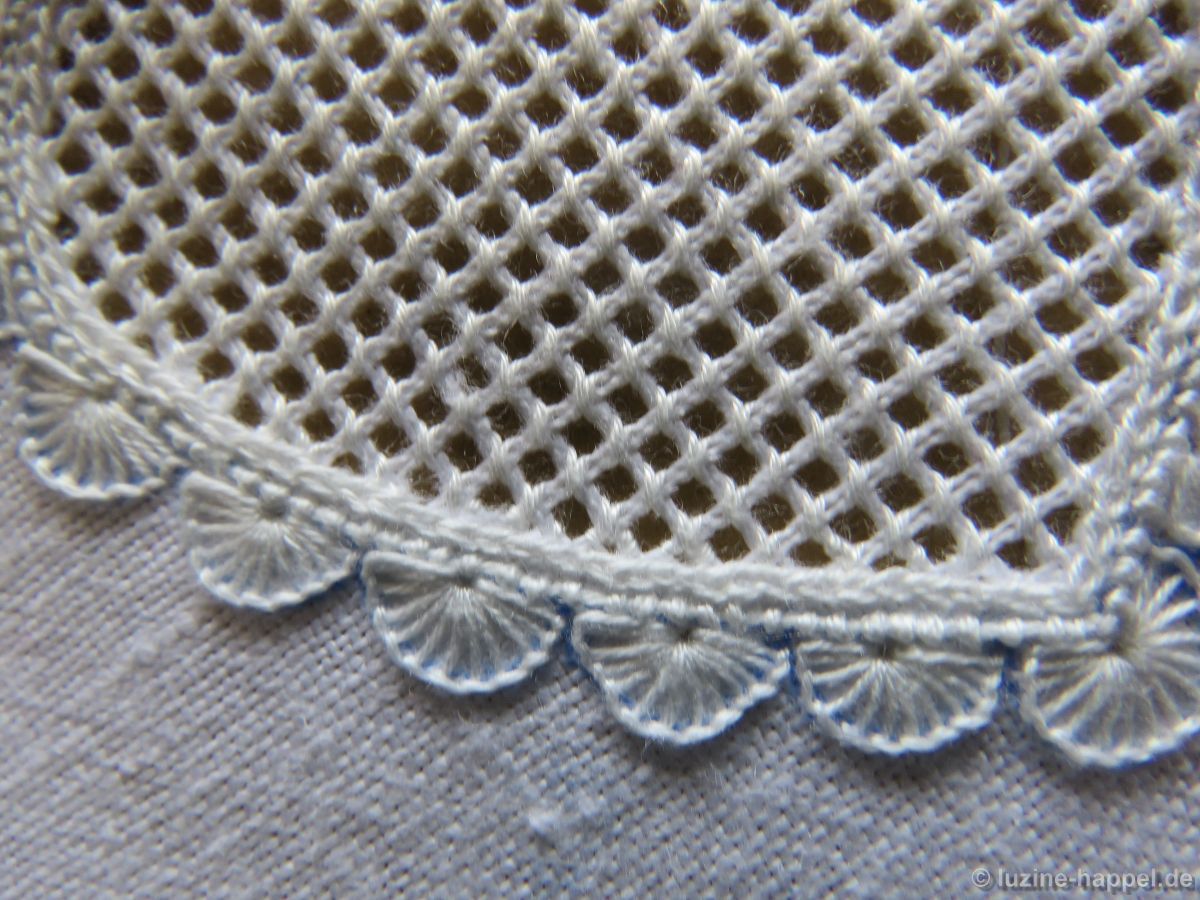
In order to give the pattern more stability, Double Back stitches are now worked – from the back and over the fabric thread intersections (Please see detailed steps further down.)
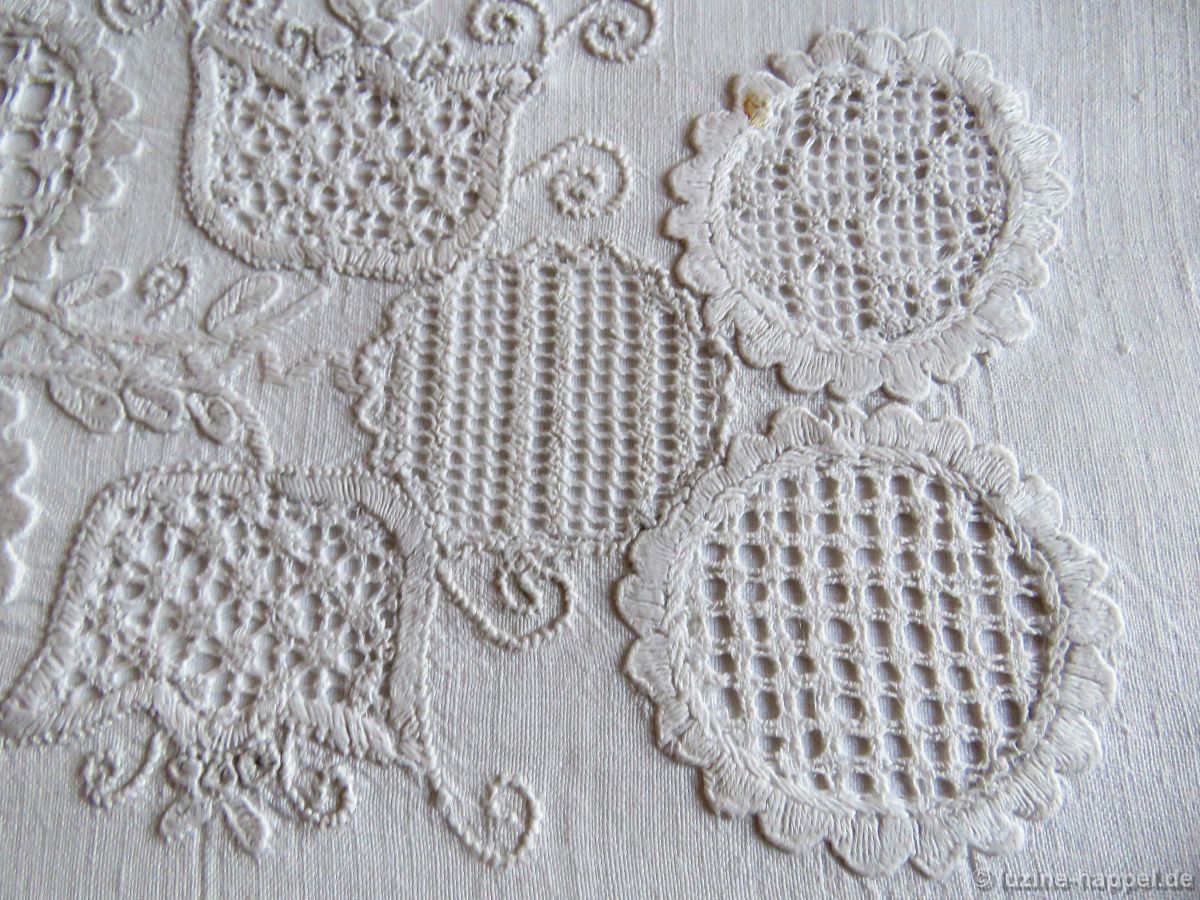
A comparison between the area with added Double Back stitches (see picture below, right side) and the area without shows that Double Back stitches helped to improve the pattern’s appearance.
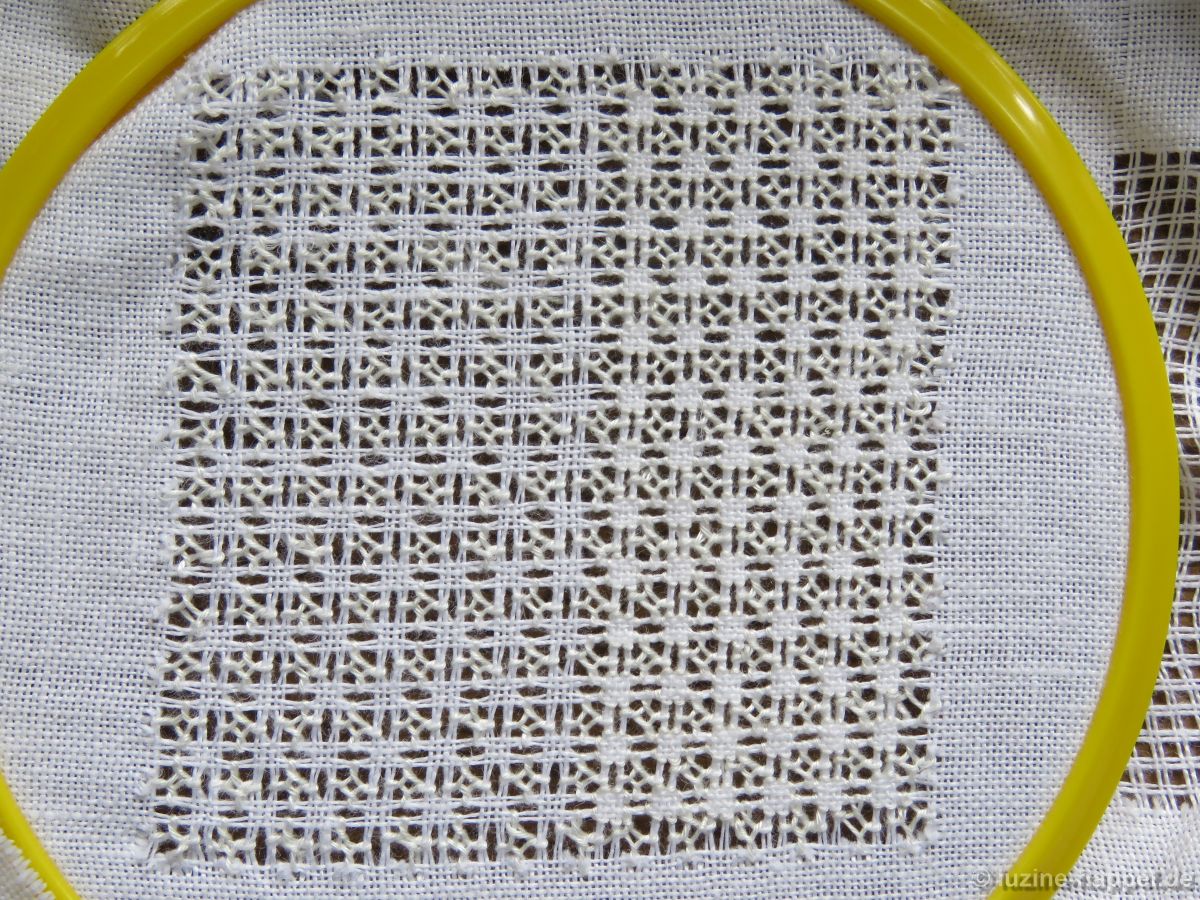
Nevertheless, I was not satisfied and started a new attempt.
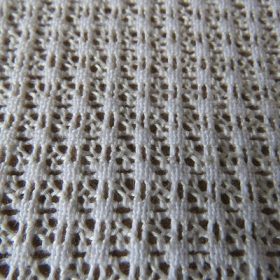
Again, first is to establish an openwork grid with an intersection of four threads in the center by cutting 4, leaving 4 both vertically and horizontally.
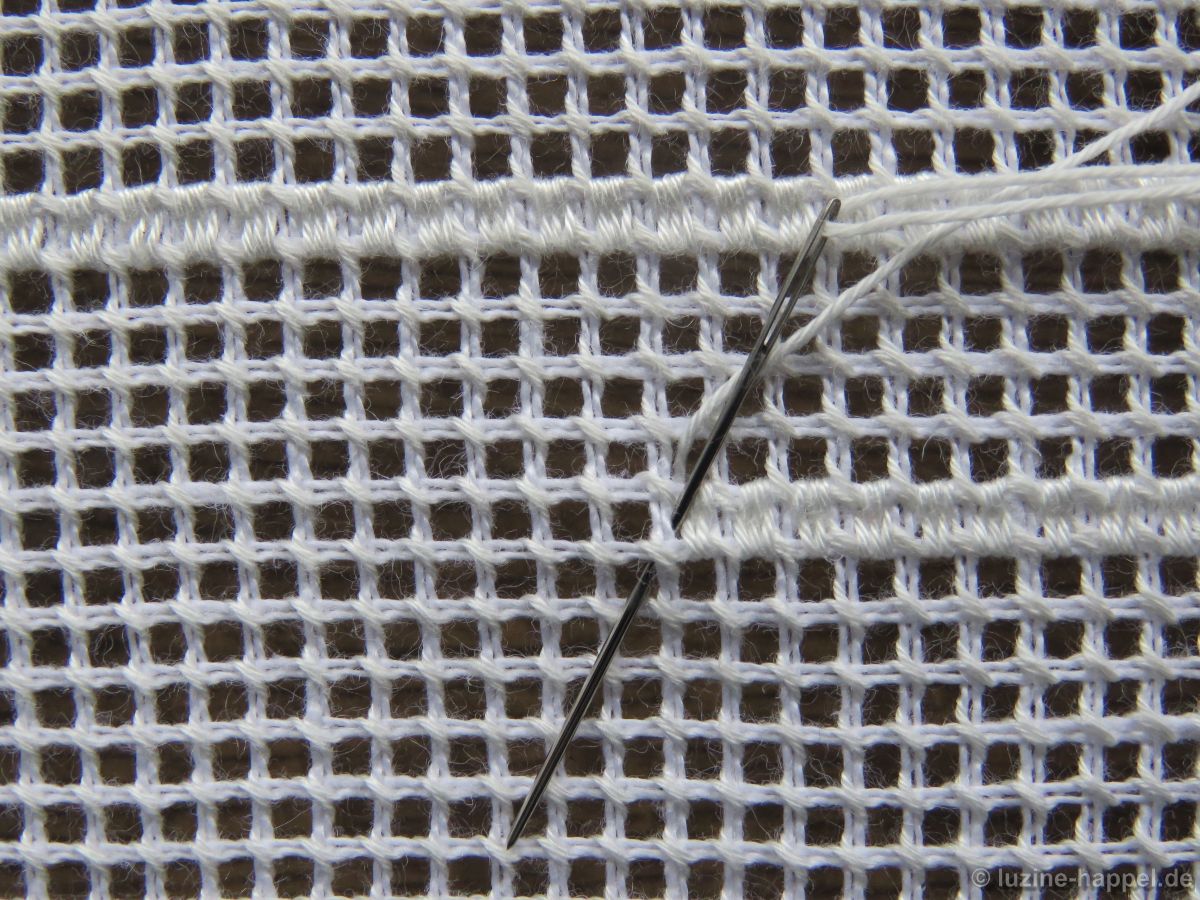
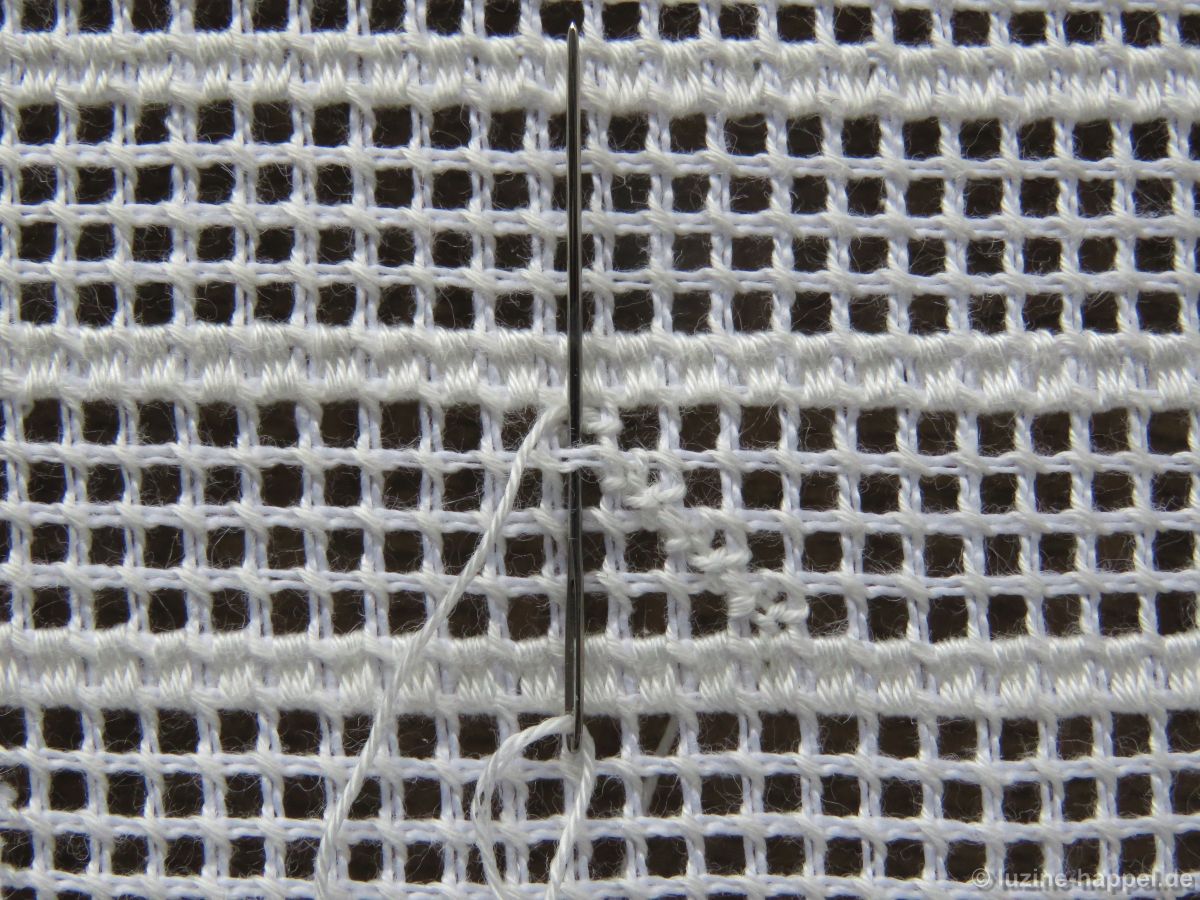
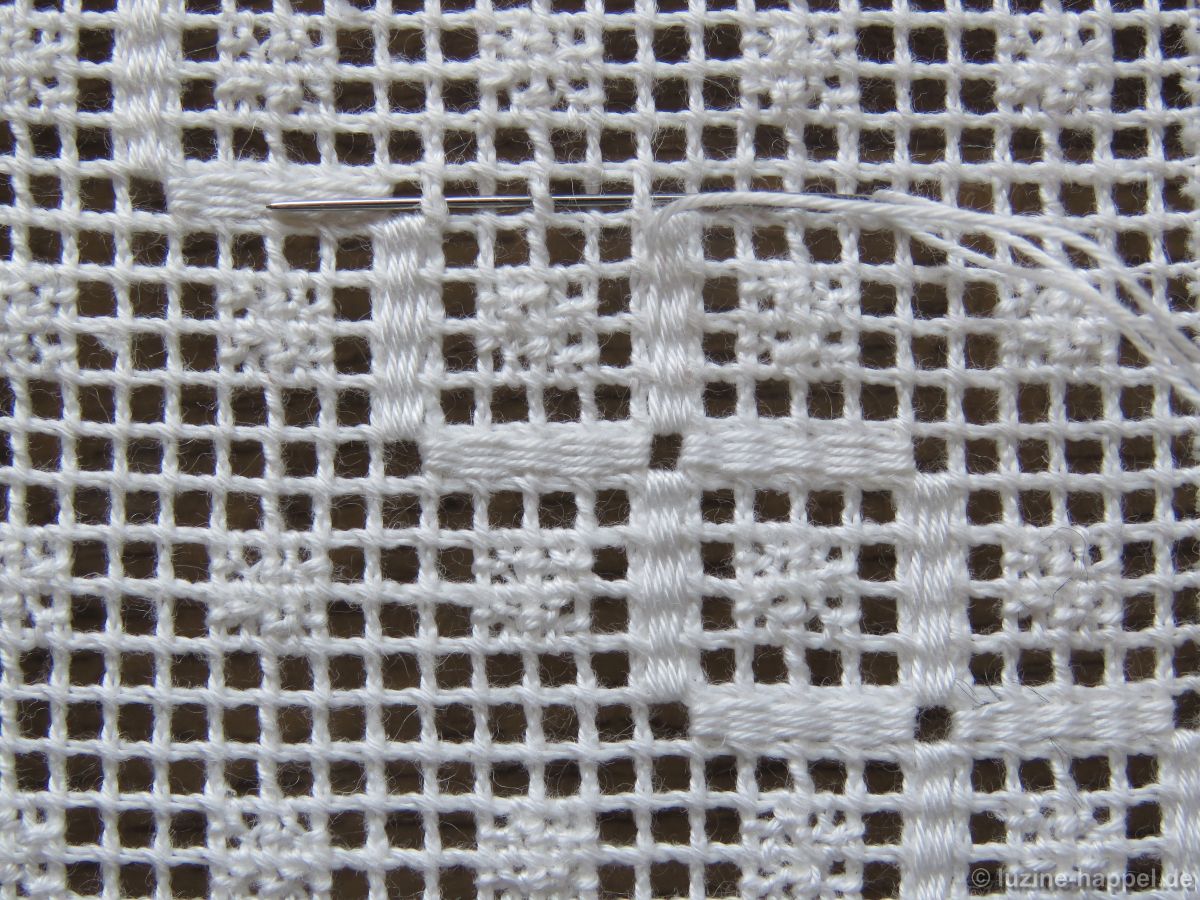
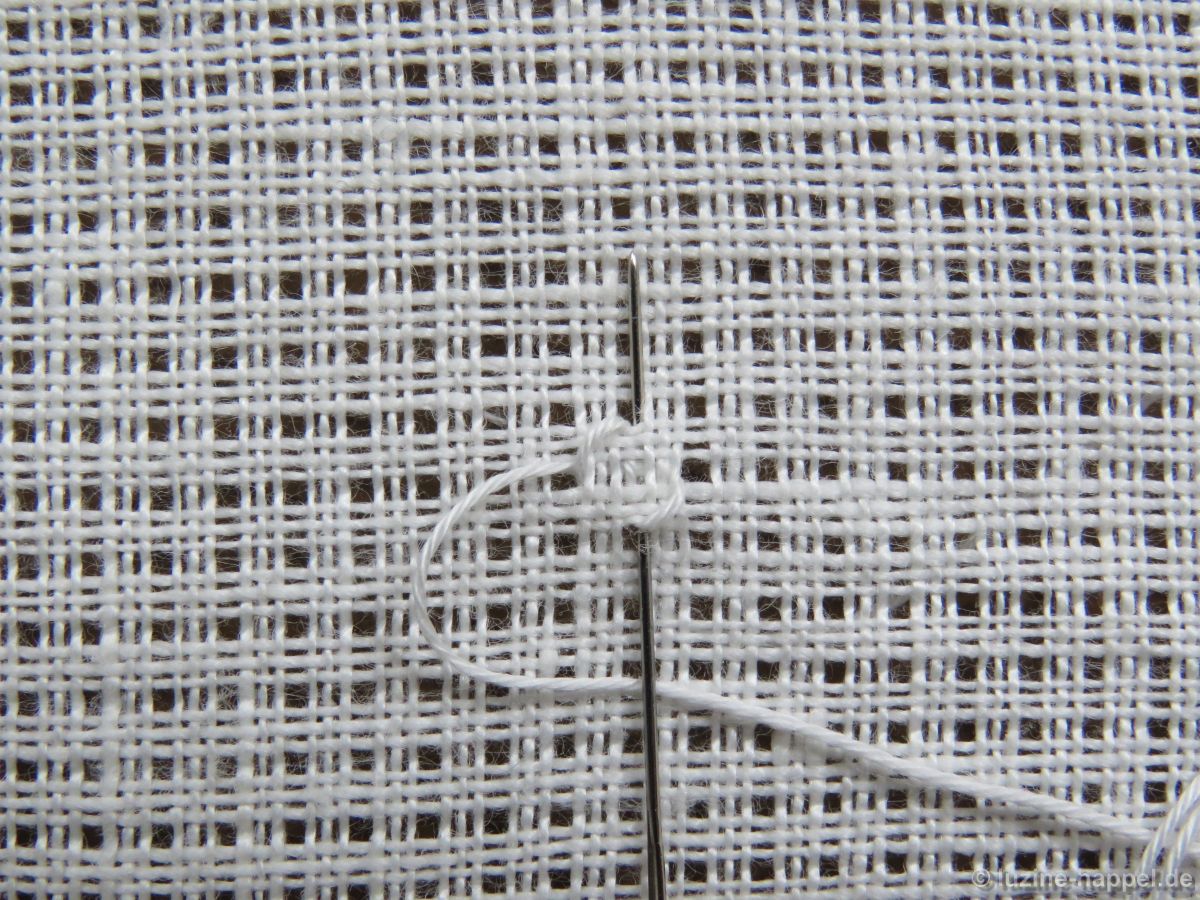
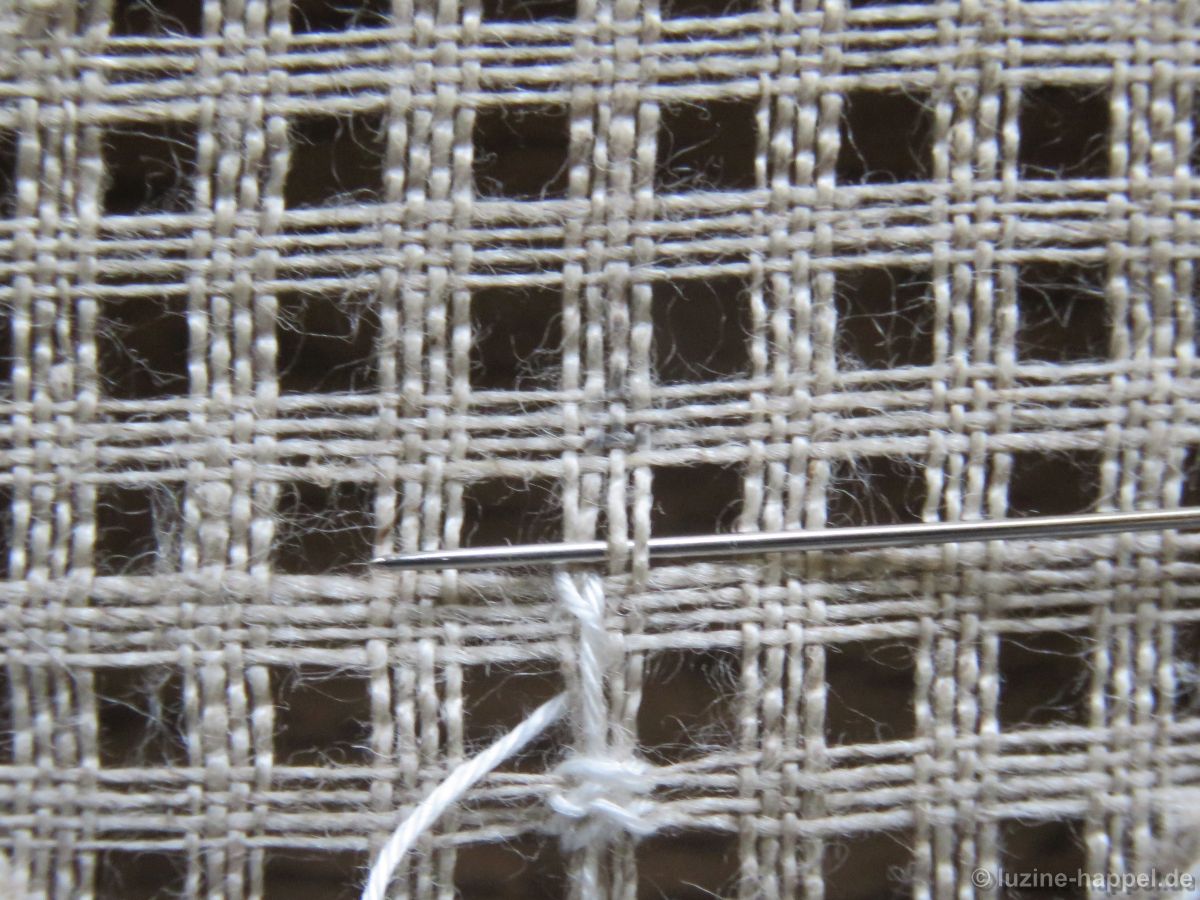
Because it is much easier, the Double Back stitches are now worked first. They are worked on the back of the fabric in 8 steps.
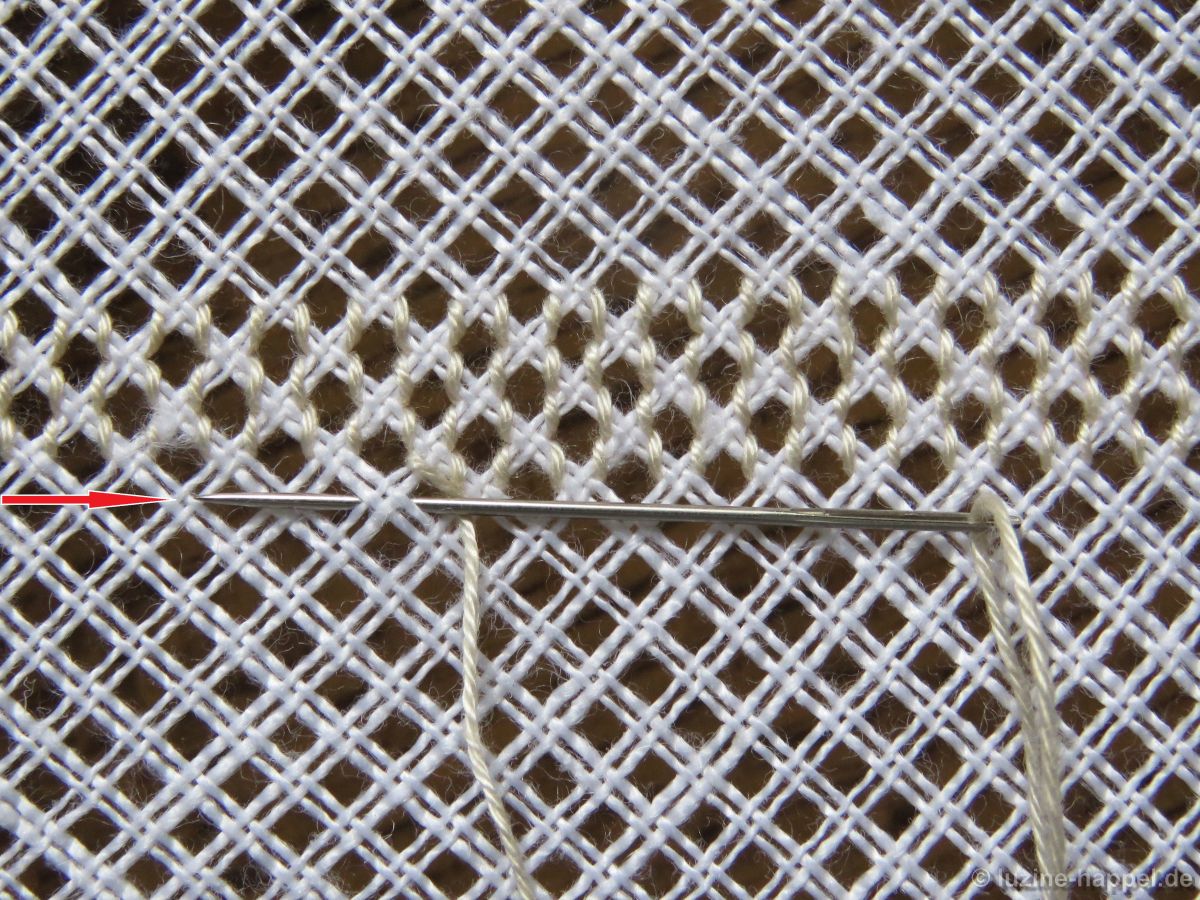
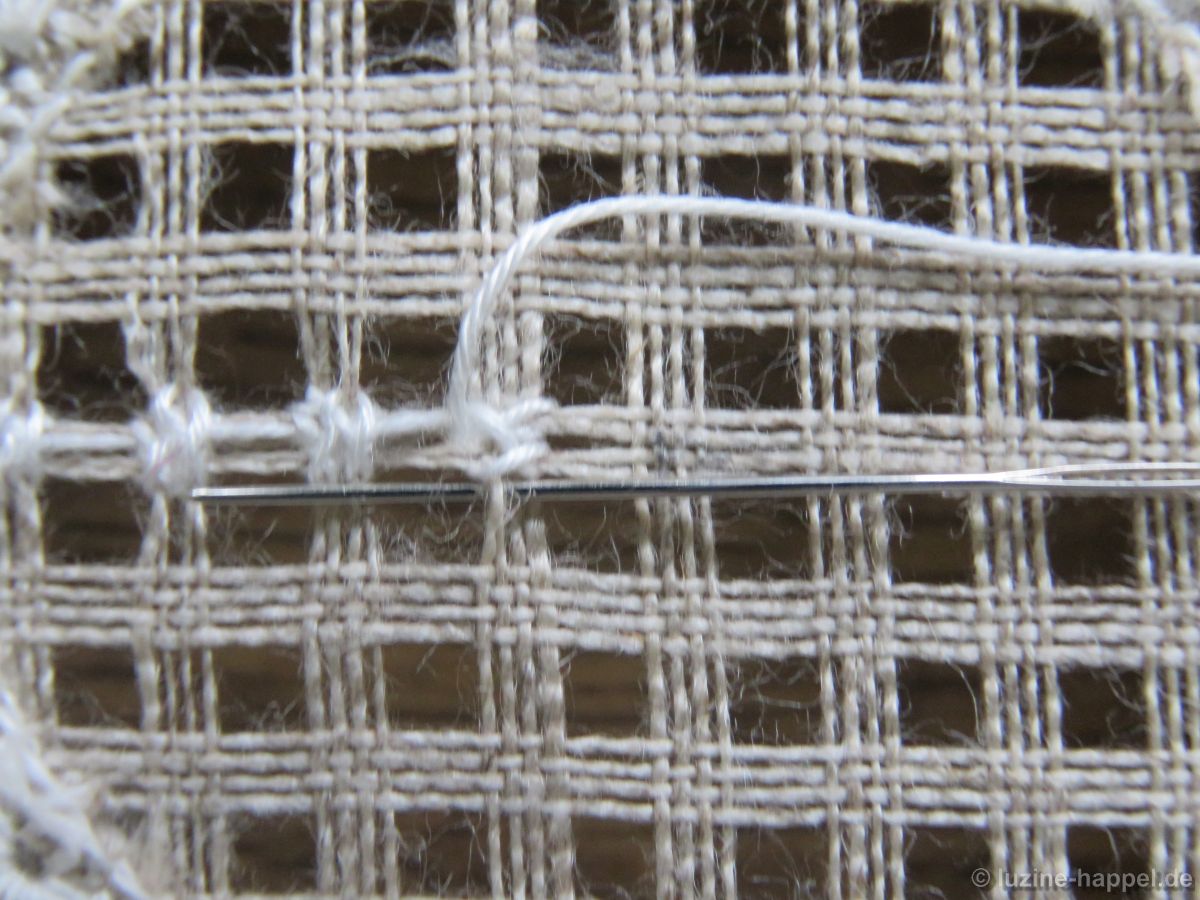
1. Coming from the bottom, pick up the left pair of threads on top of an intersection square from right to left. Pull the thread through.

2. Pick up the same pair of fabric threads underneath the intersection square from right to left. Make sure that you also catch the traveling working thread. Pull the thread through and tighten it.
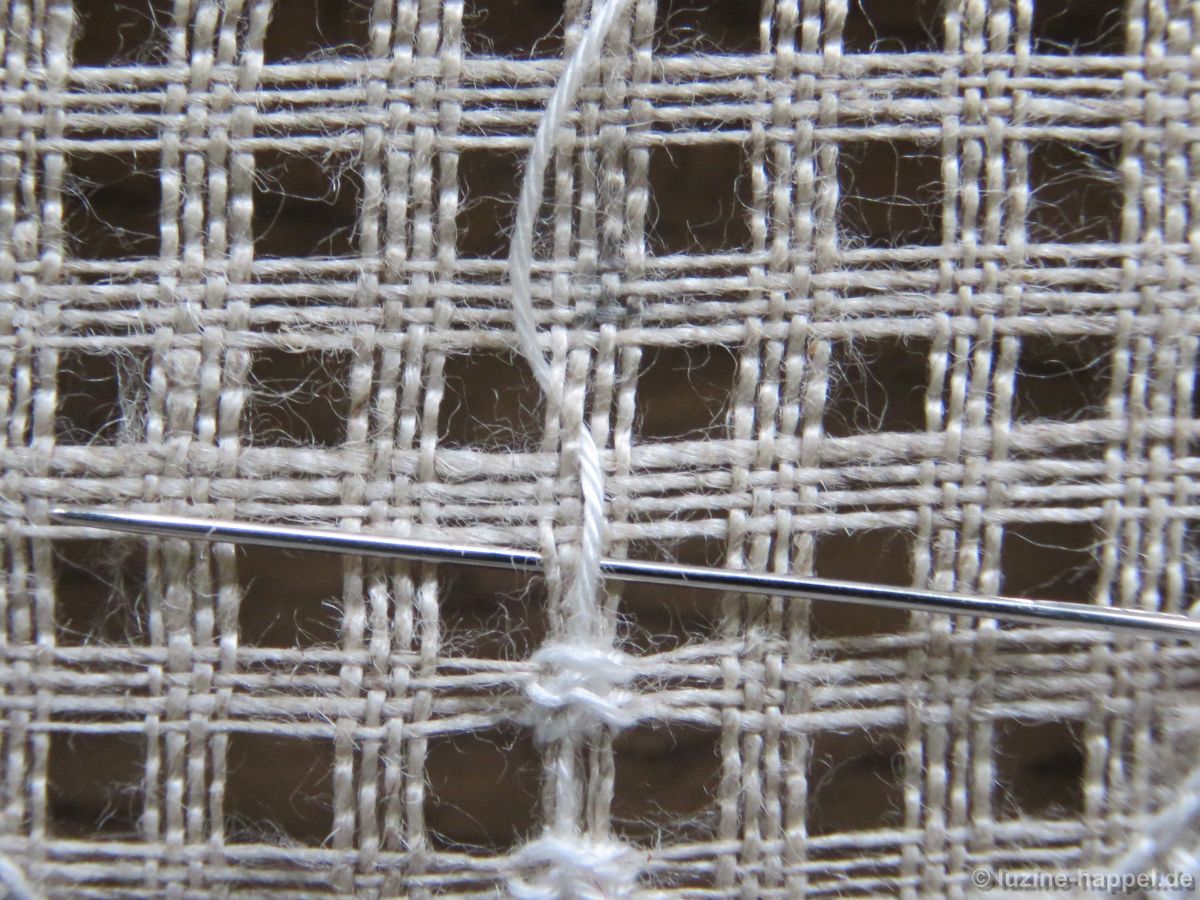
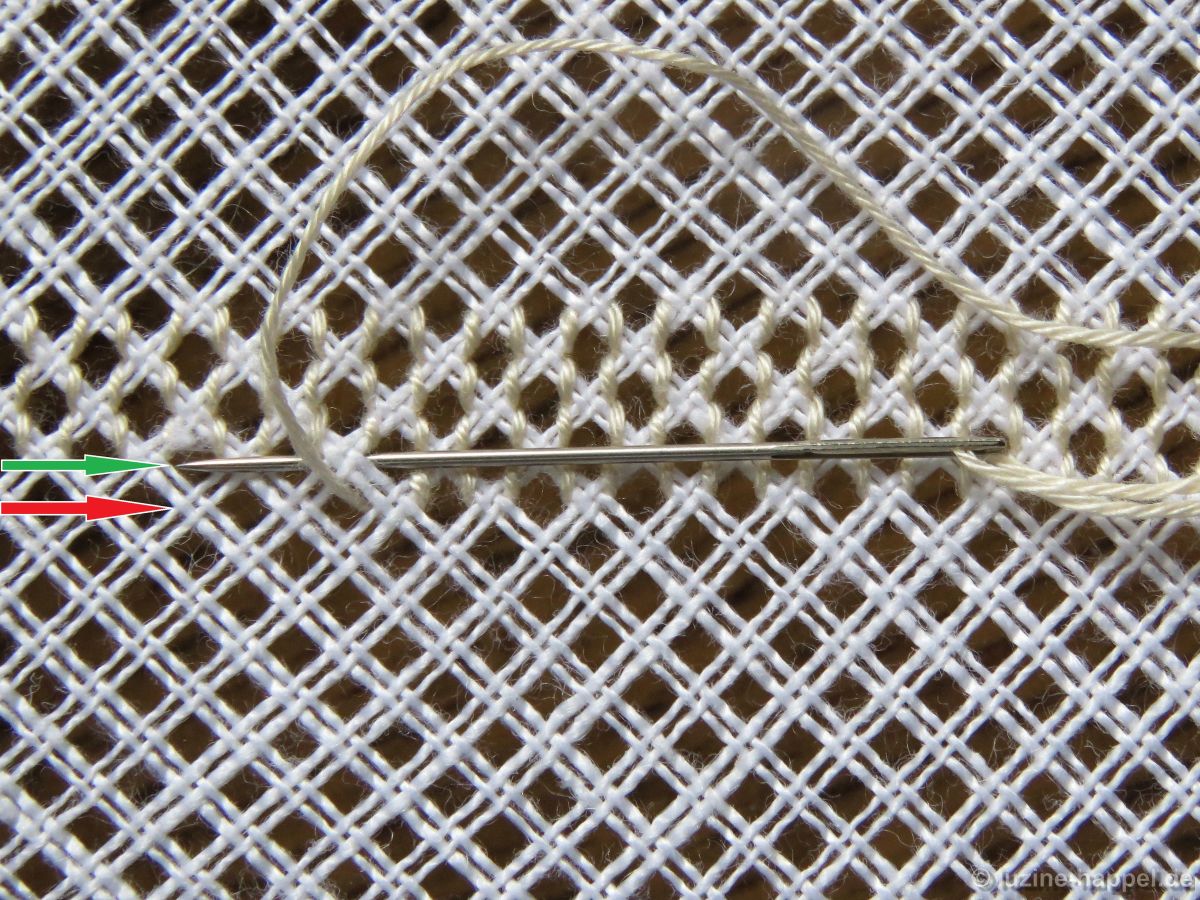
3. Pick up the right pair of threads on top of an intersection square from right to left. Pull the thread through and tighten it.
4. Pick up the same pair of threads underneath the intersection square from right to left. Pull the thread through and tighten it.

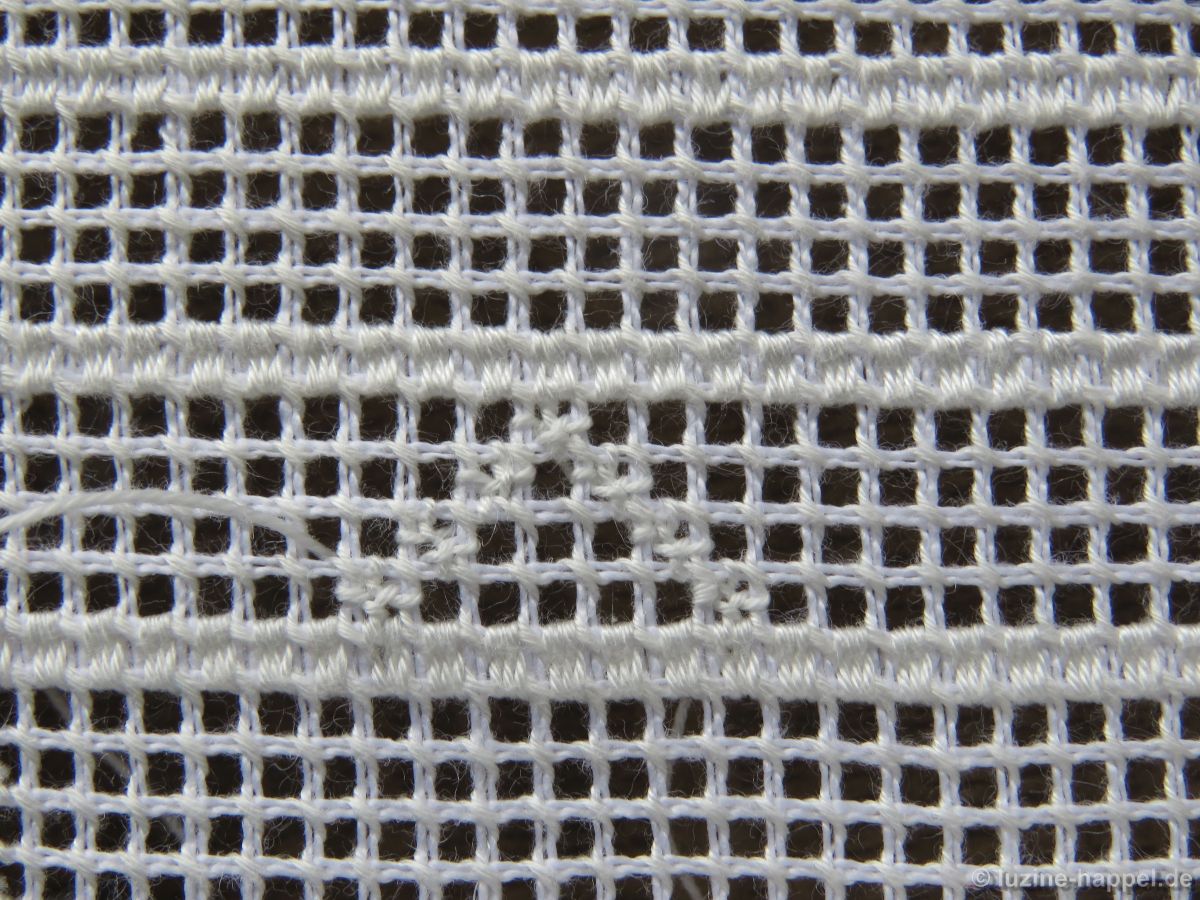
5. Turn the piece 90° clockwise.
Pick up the now left pair of threads underneath the intersection square from right to left. Pull the thread through and tighten it.
6. Pick up the same pair of threads on top of the intersection square from right to left. Pull the thread through and tighten it.

7. Pick up the right pair of threads underneath the intersection square from right to left. Pull the thread through and tighten it.
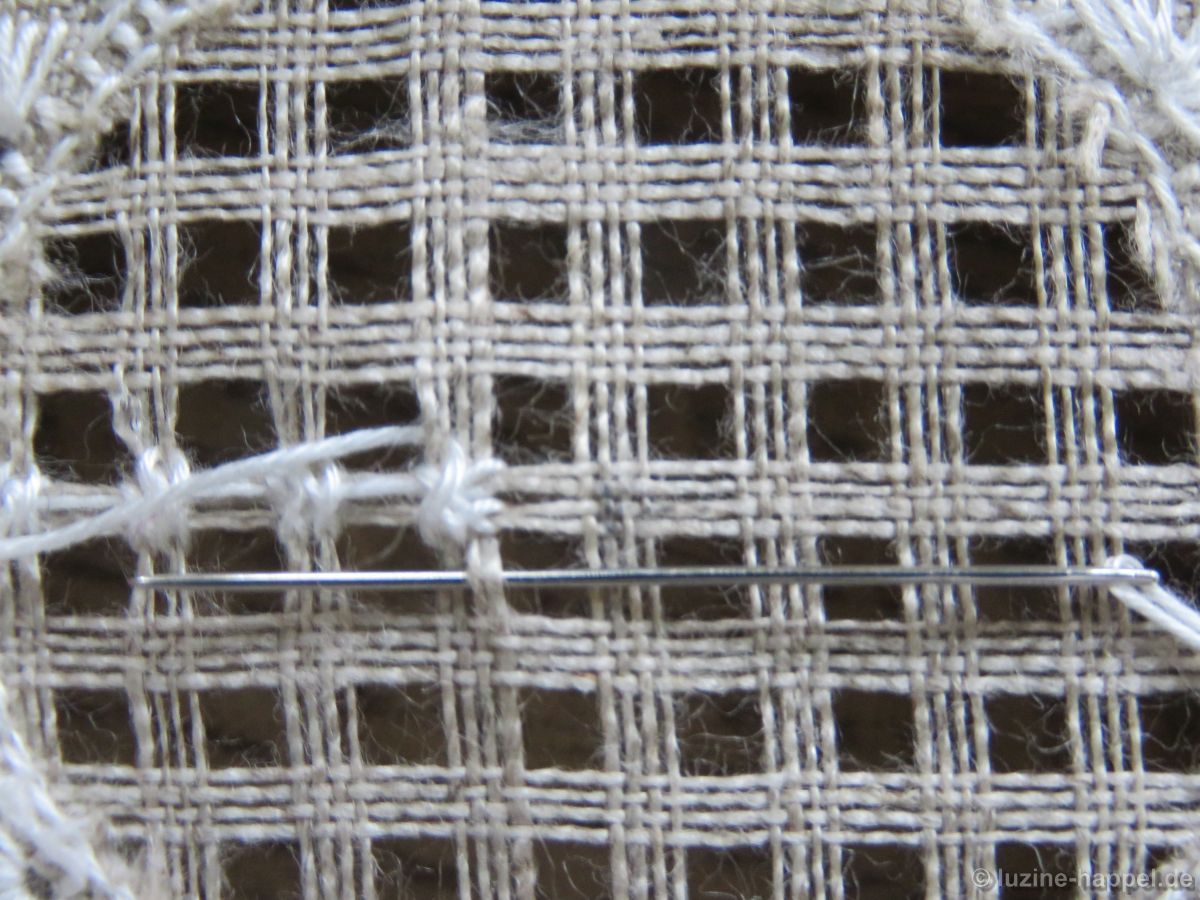
8. Pick up the same pair of threads on top of the intersection square from right to left. Pull the thread through and tighten it.
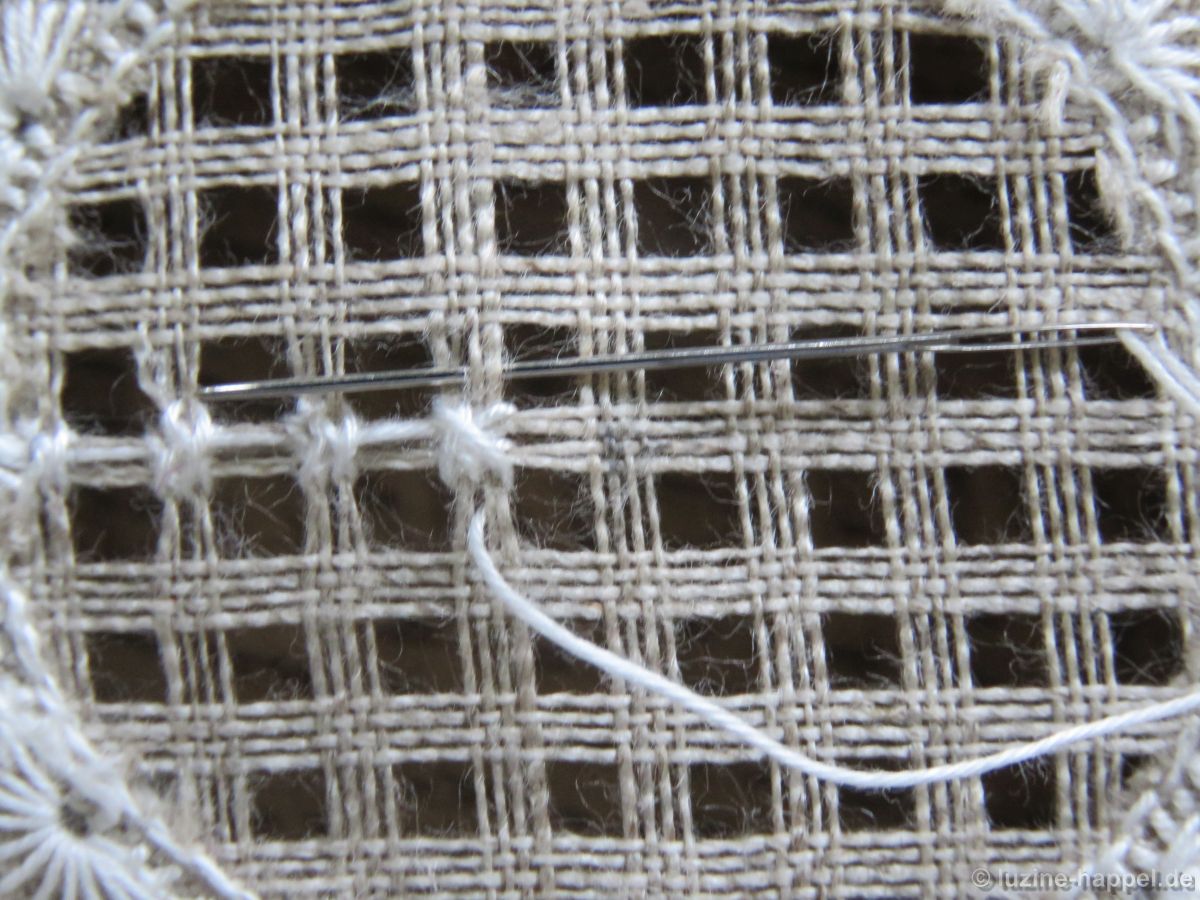
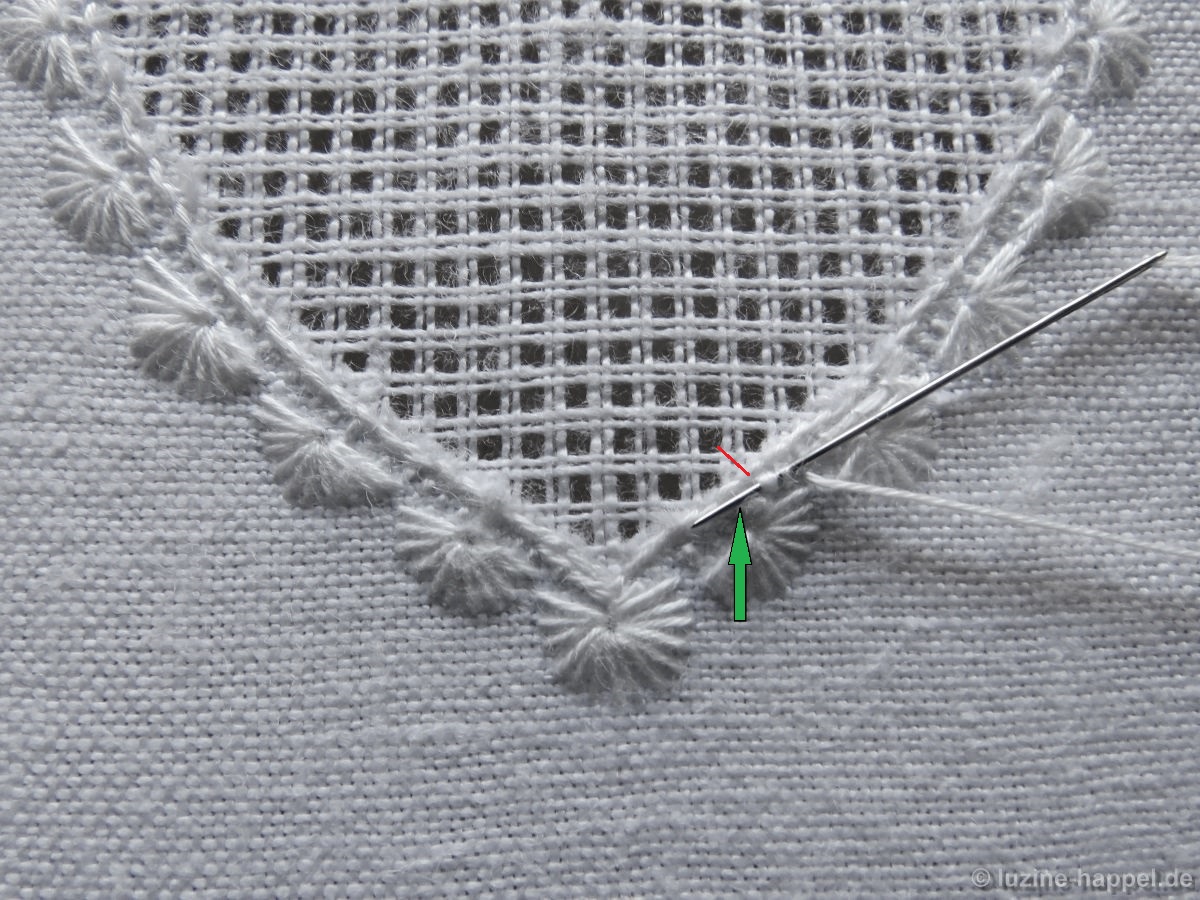
Turn the piece back 90° counterclockwise and slide the working thread through the left side of the made crosses

to start the next Double Back stitch by picking up the left pair of threads on top of the next upward intersection square from right to left.

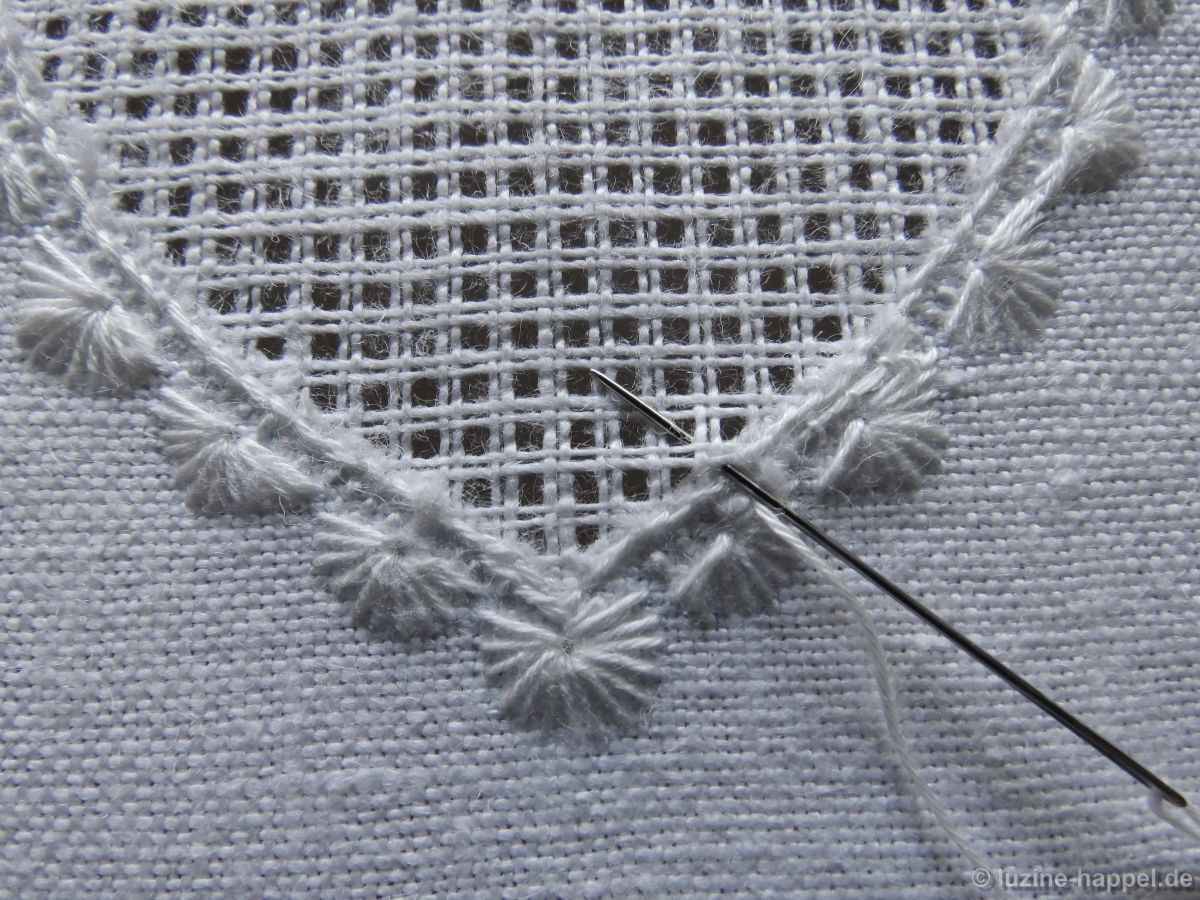
Continue working Double Back stitches in the established way covering each intersection square until the entire shape is filled.
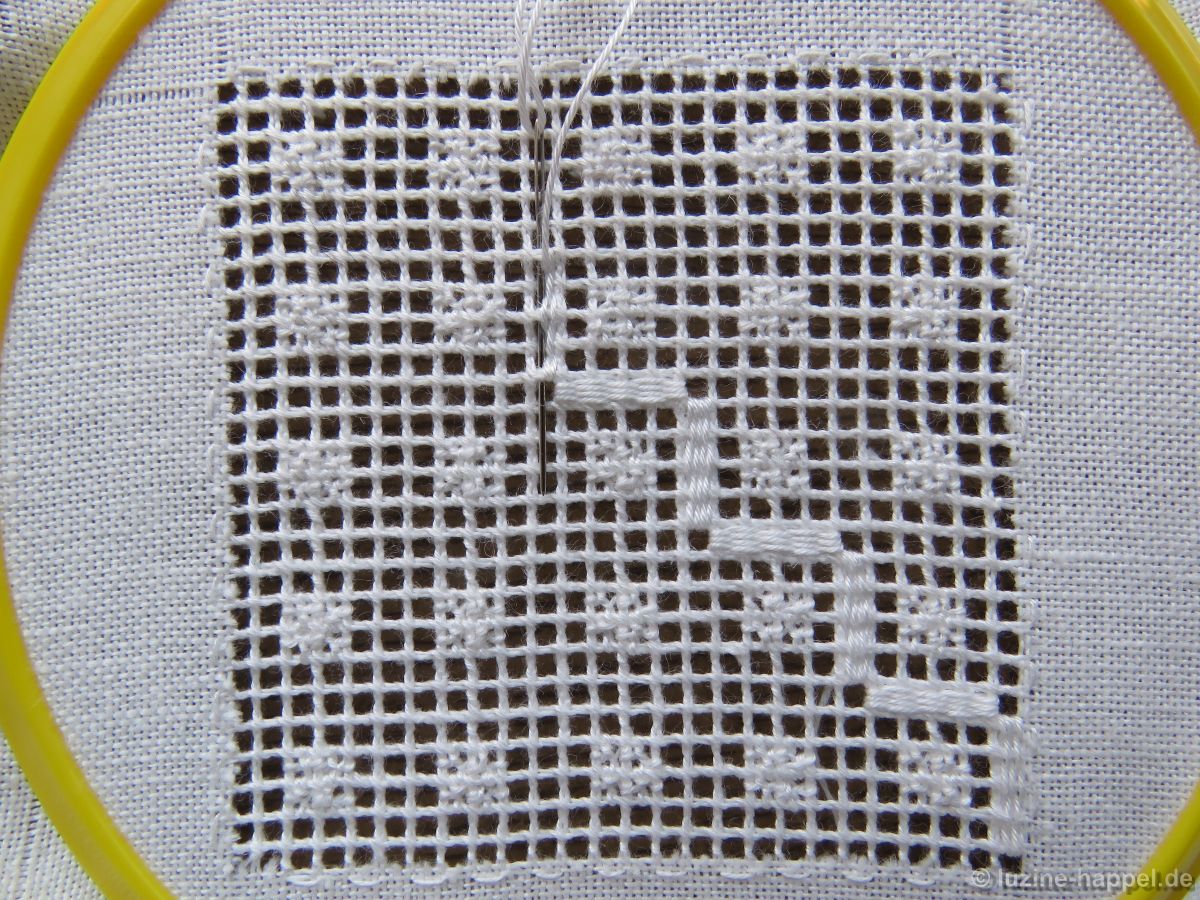
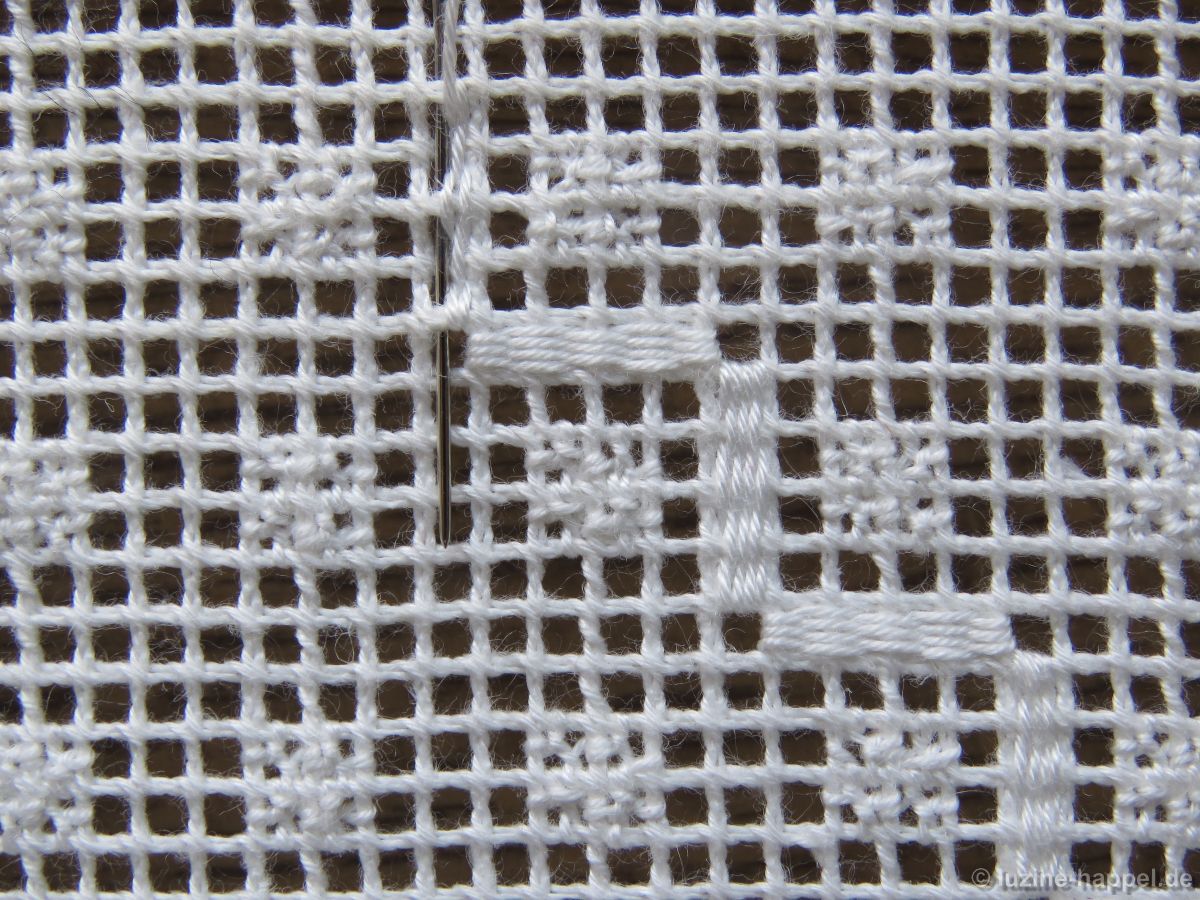
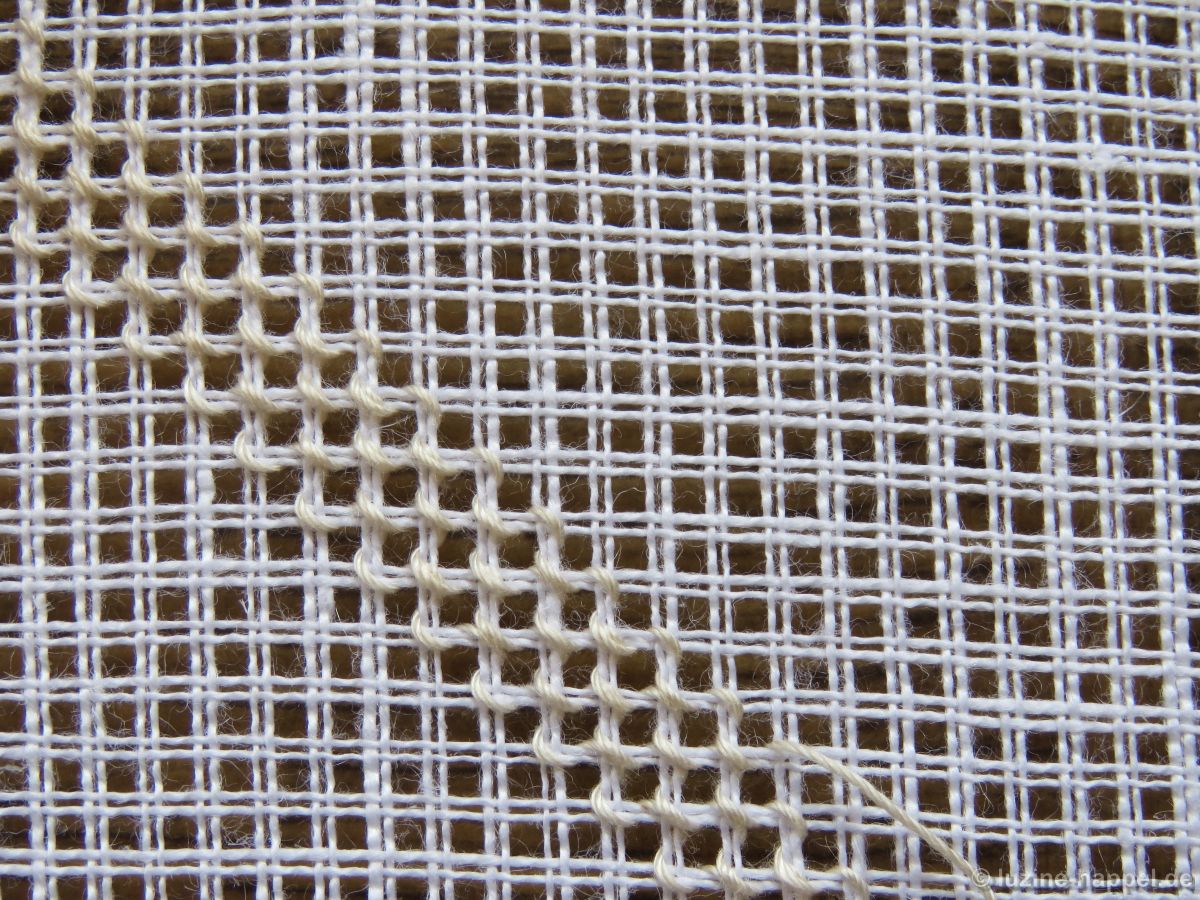
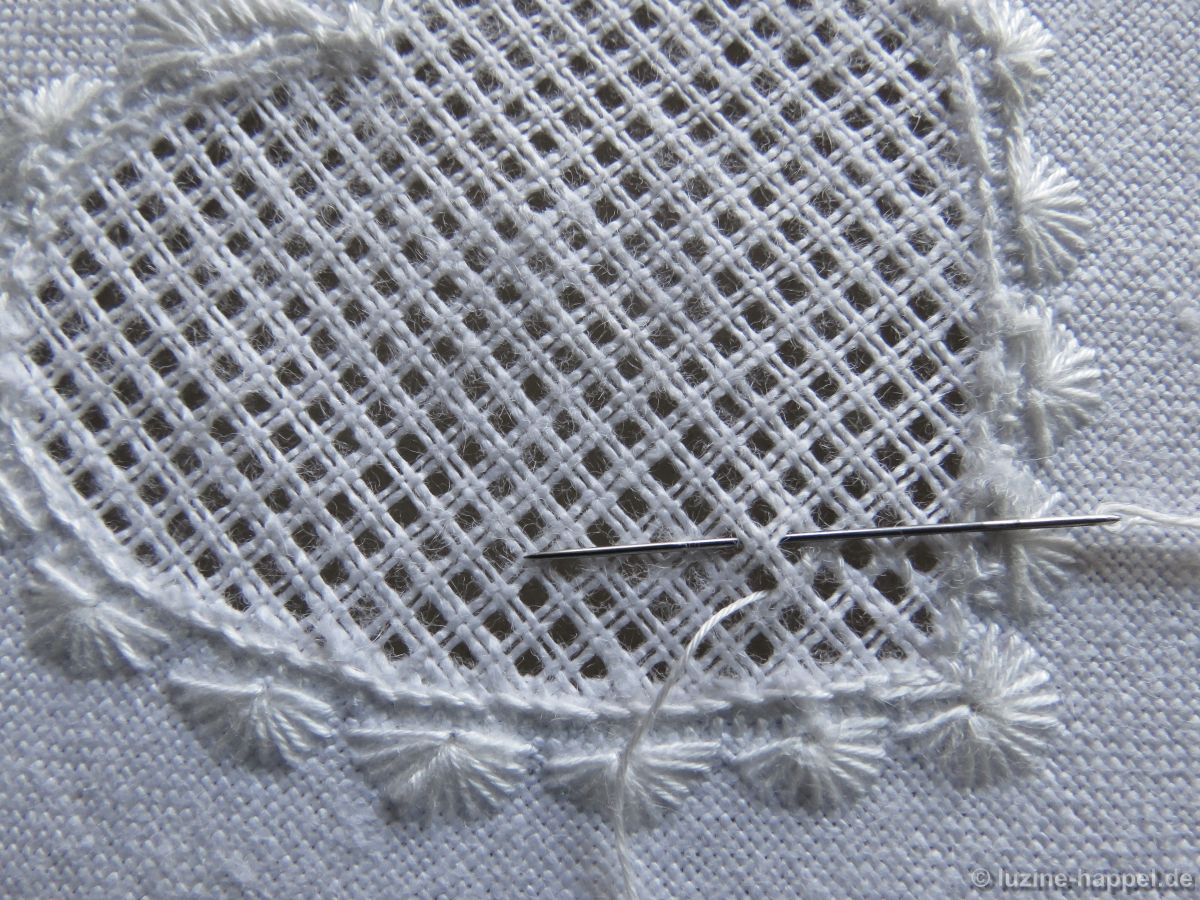
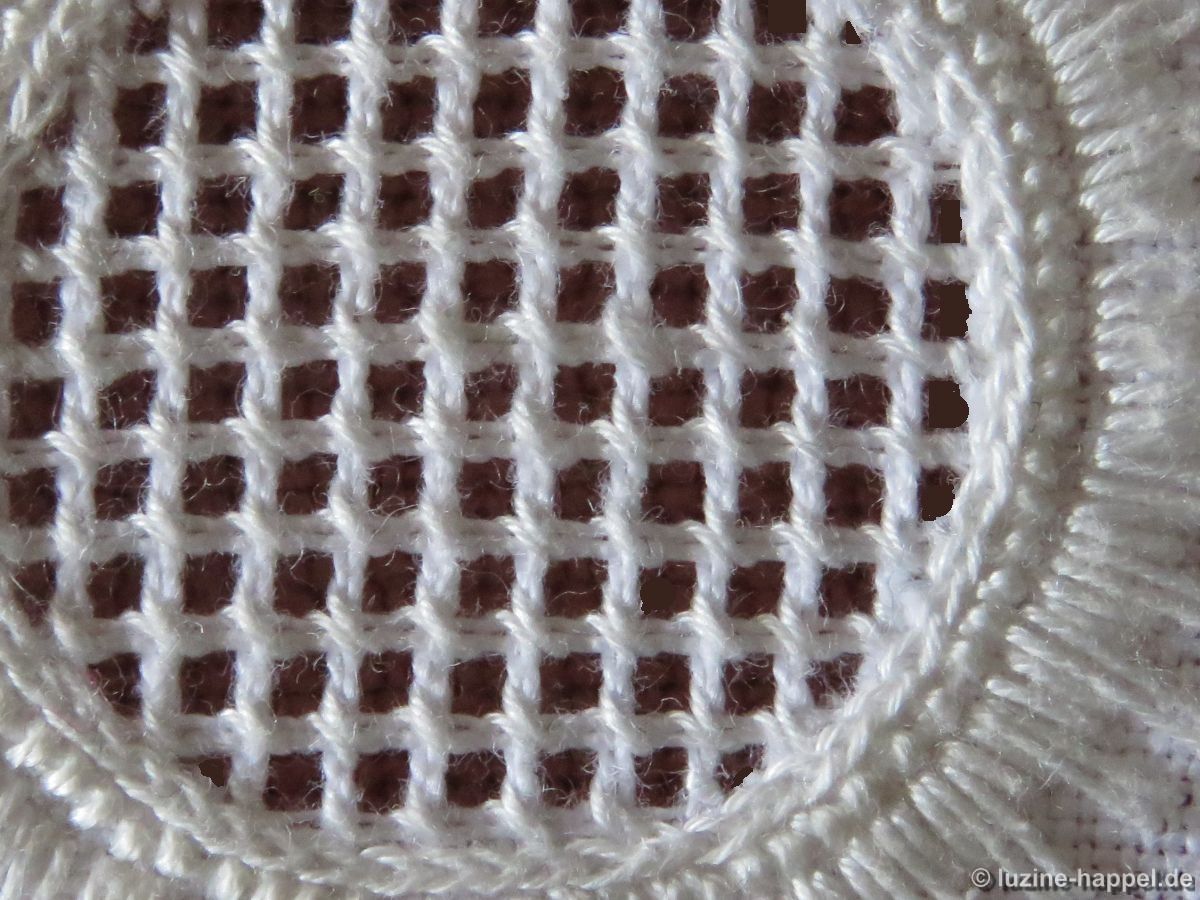
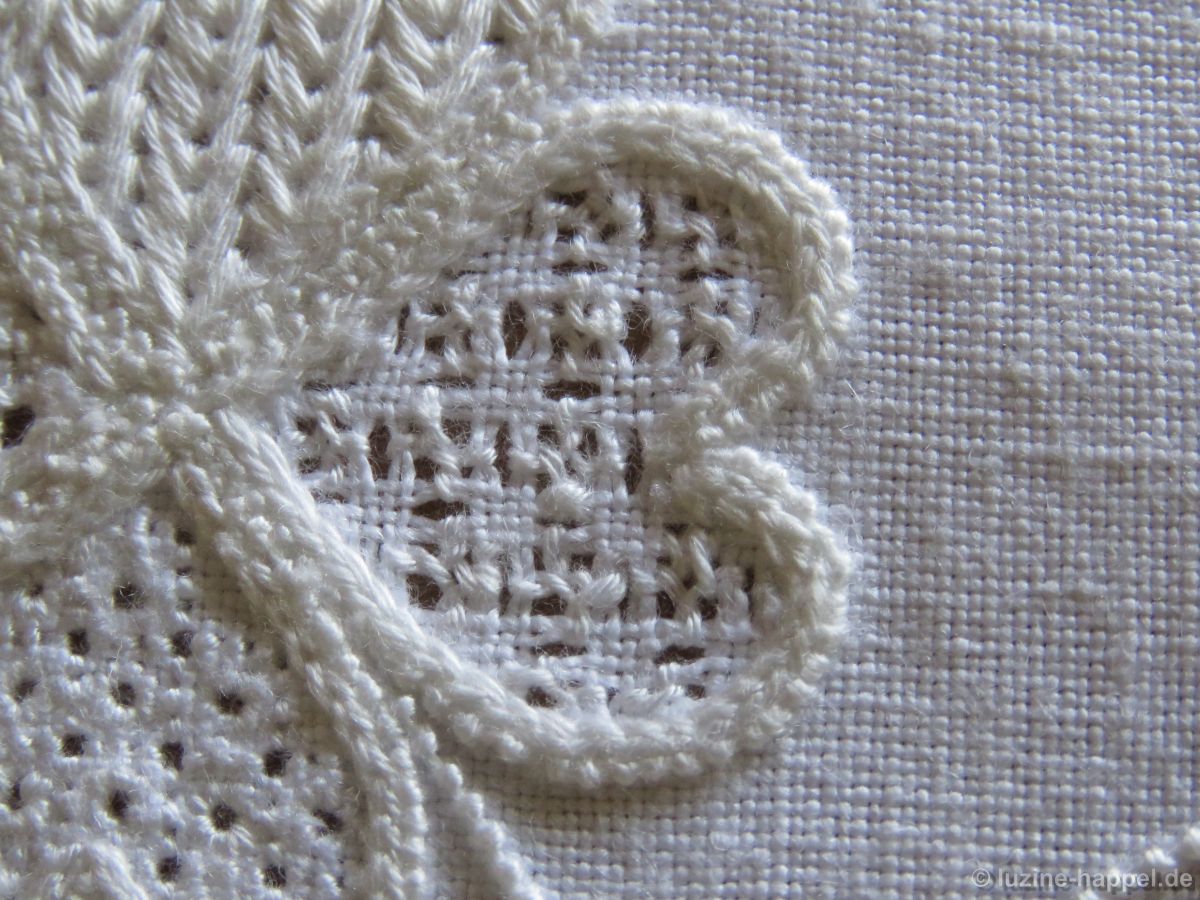
From the front a nice pattern is seen.

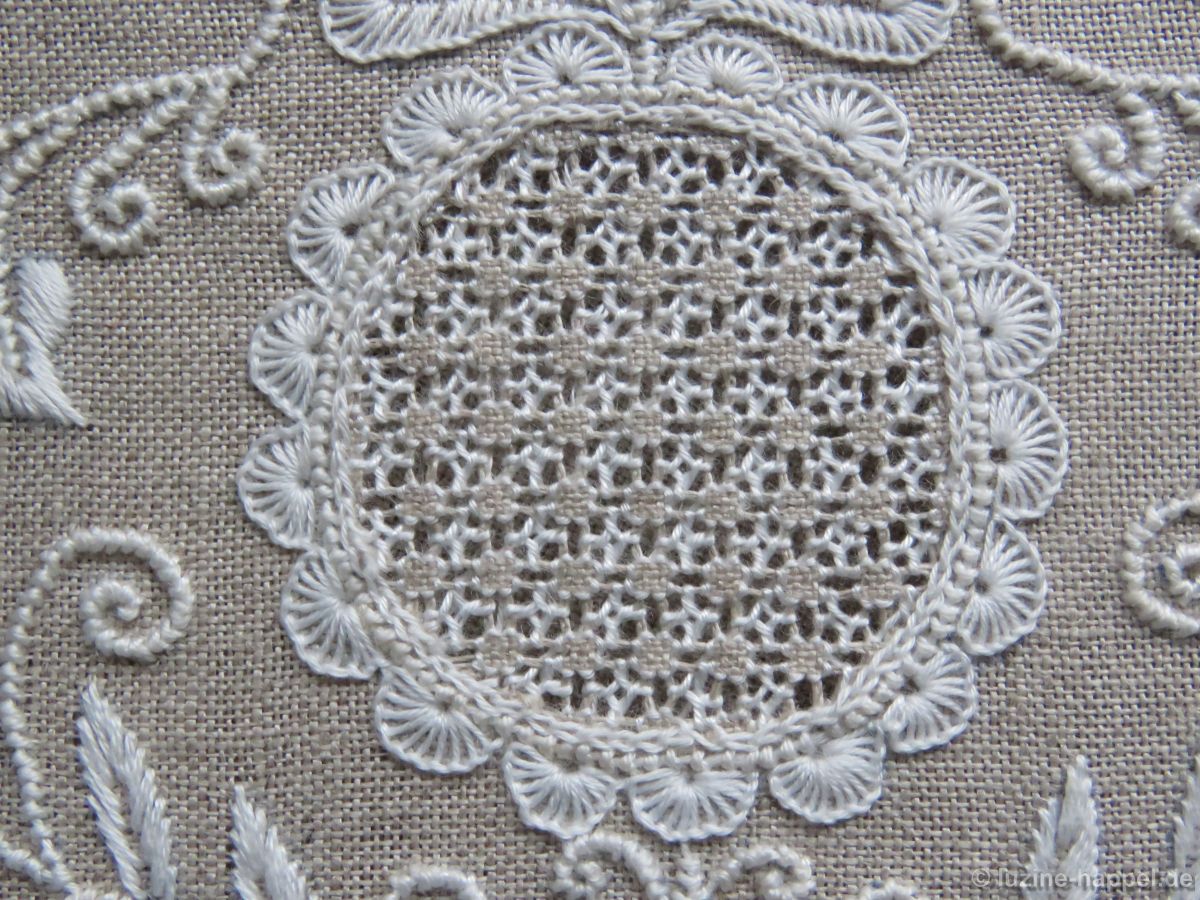
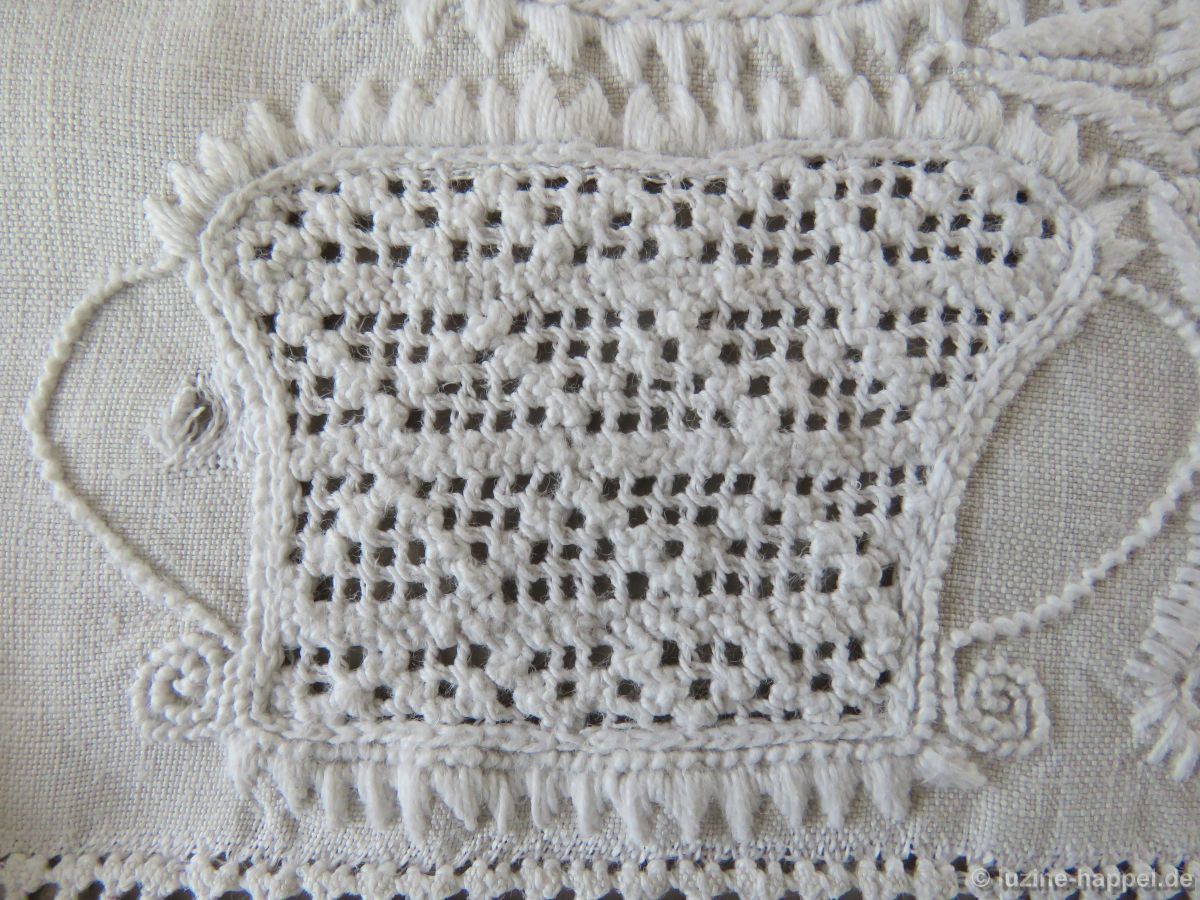
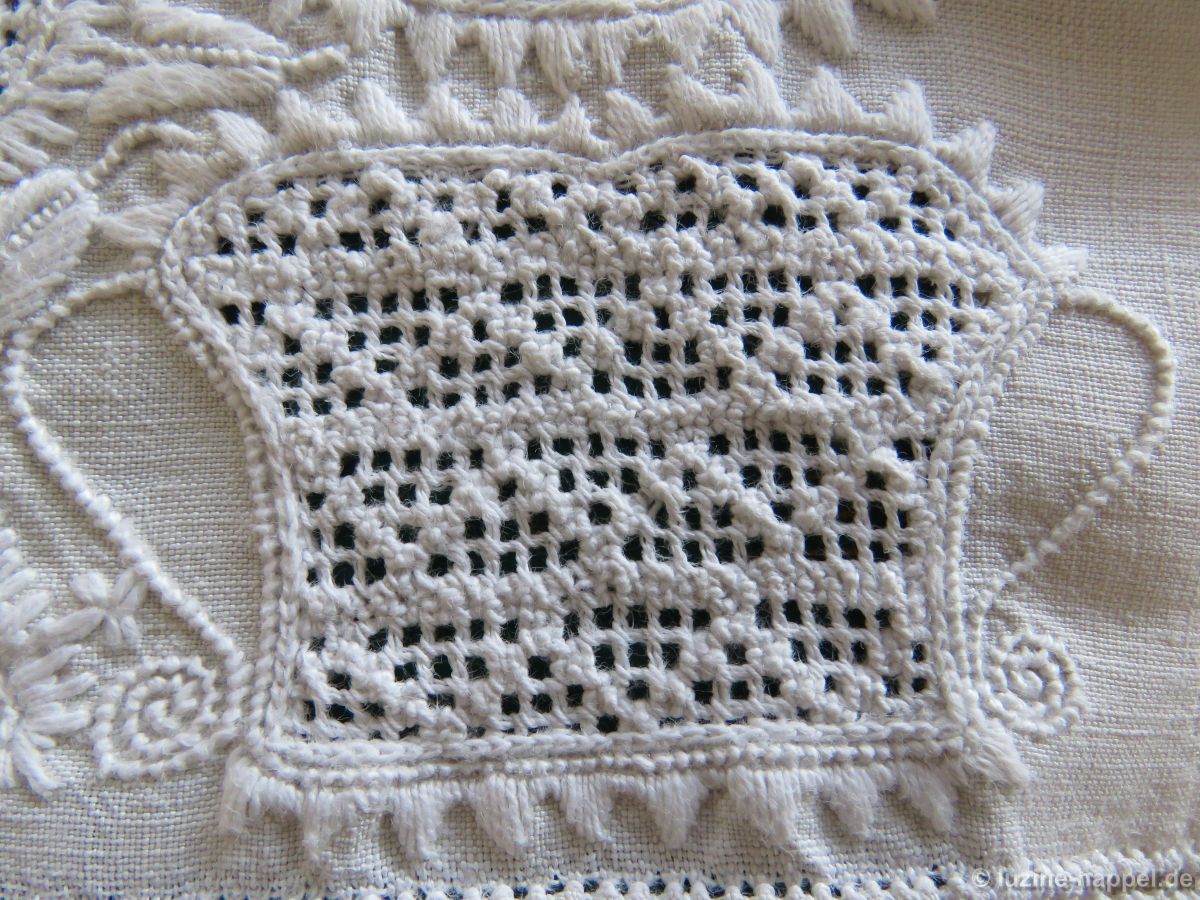
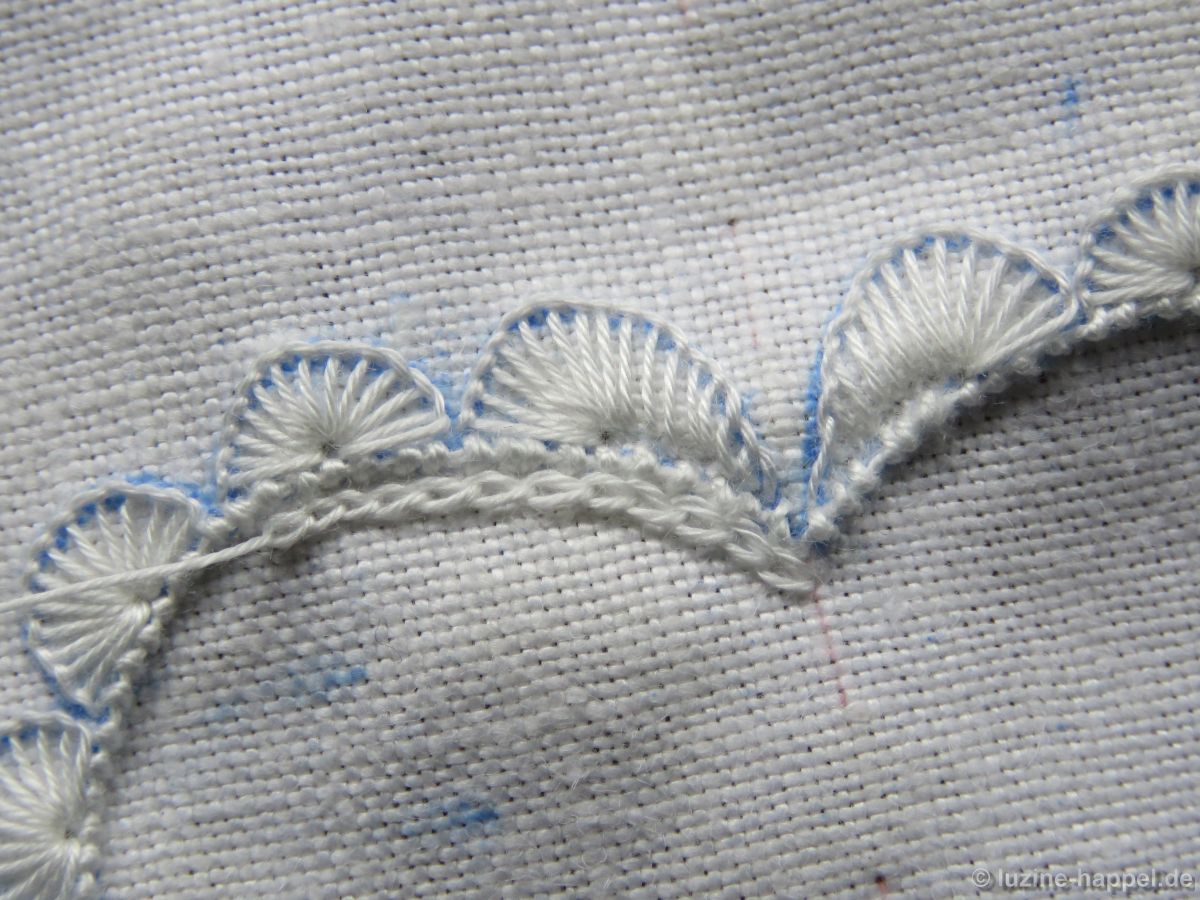
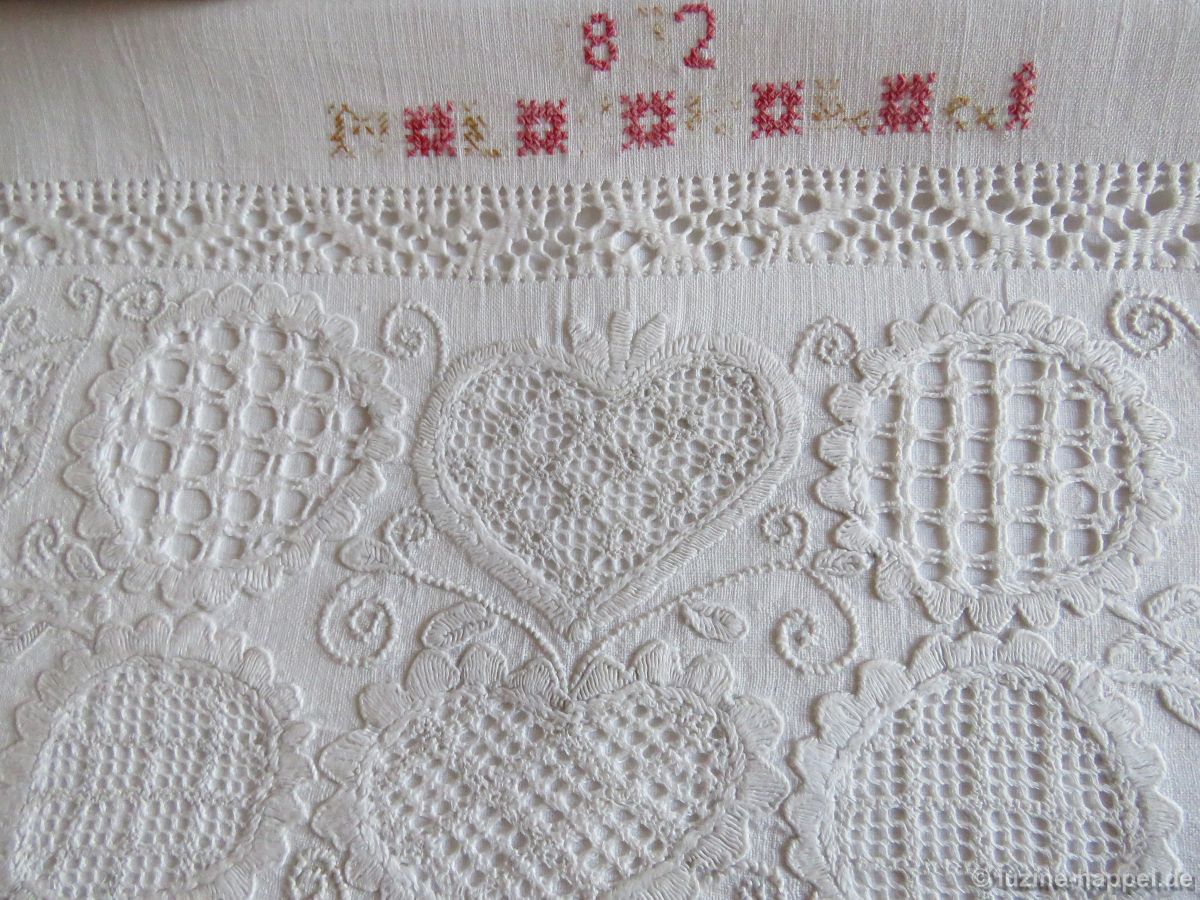
Such patterns are also found in traditional Schwalm whitework, as in a border of a parade cushion from 1832.
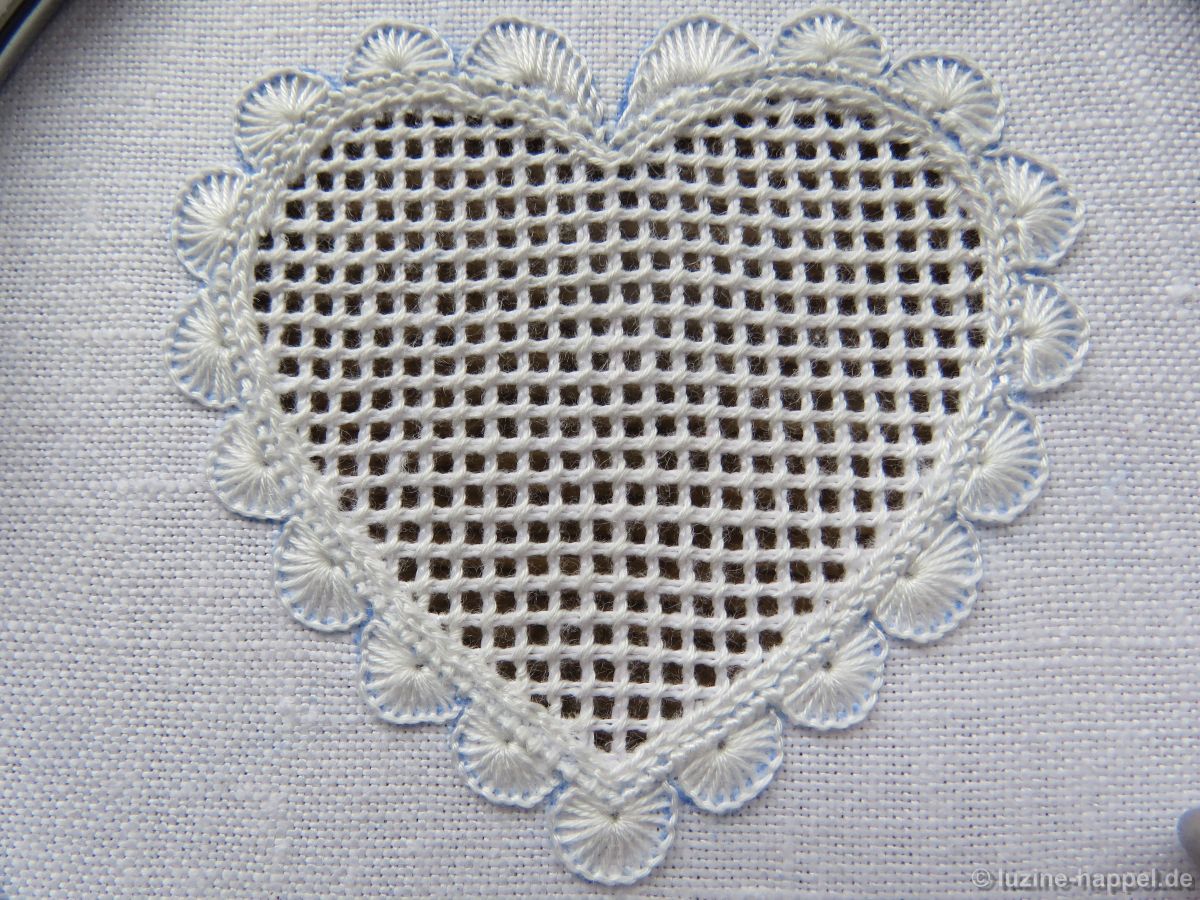
It could stand alone, if fewer threads were cut. This filling pattern will be published as Filling Pattern No. 560 in an upcoming article.
In the circle motif I added Rose stitches from the front of the fabric as explained at the top of this article.
Working this pattern the other way around is not only easier but it also makes the pattern appearance more even.