Easter Decoration 2018

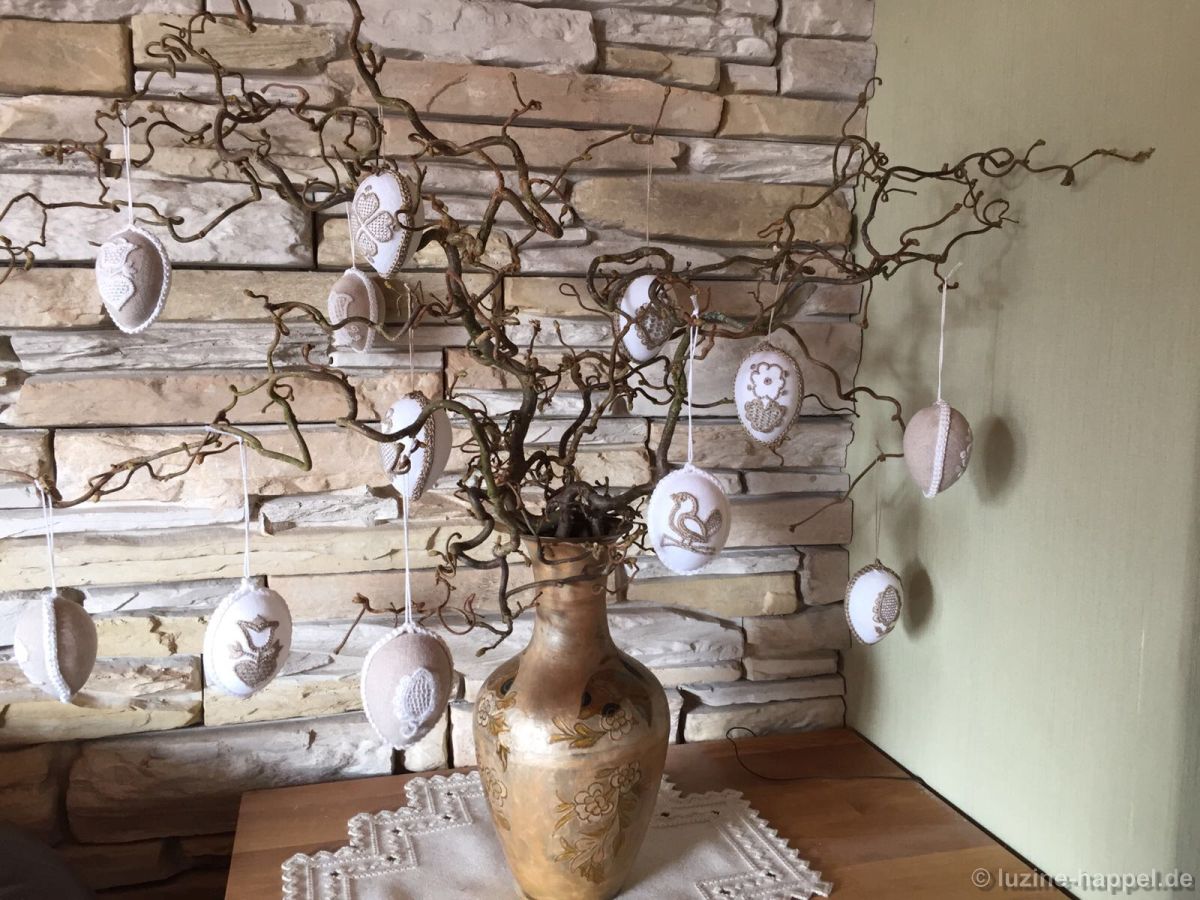
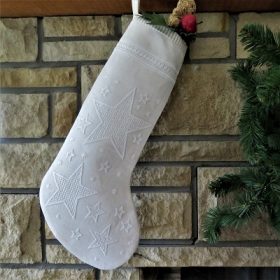
Having a look around the shops, I found hangings decorated for Easter – simple to rework with a touch of embroidery.

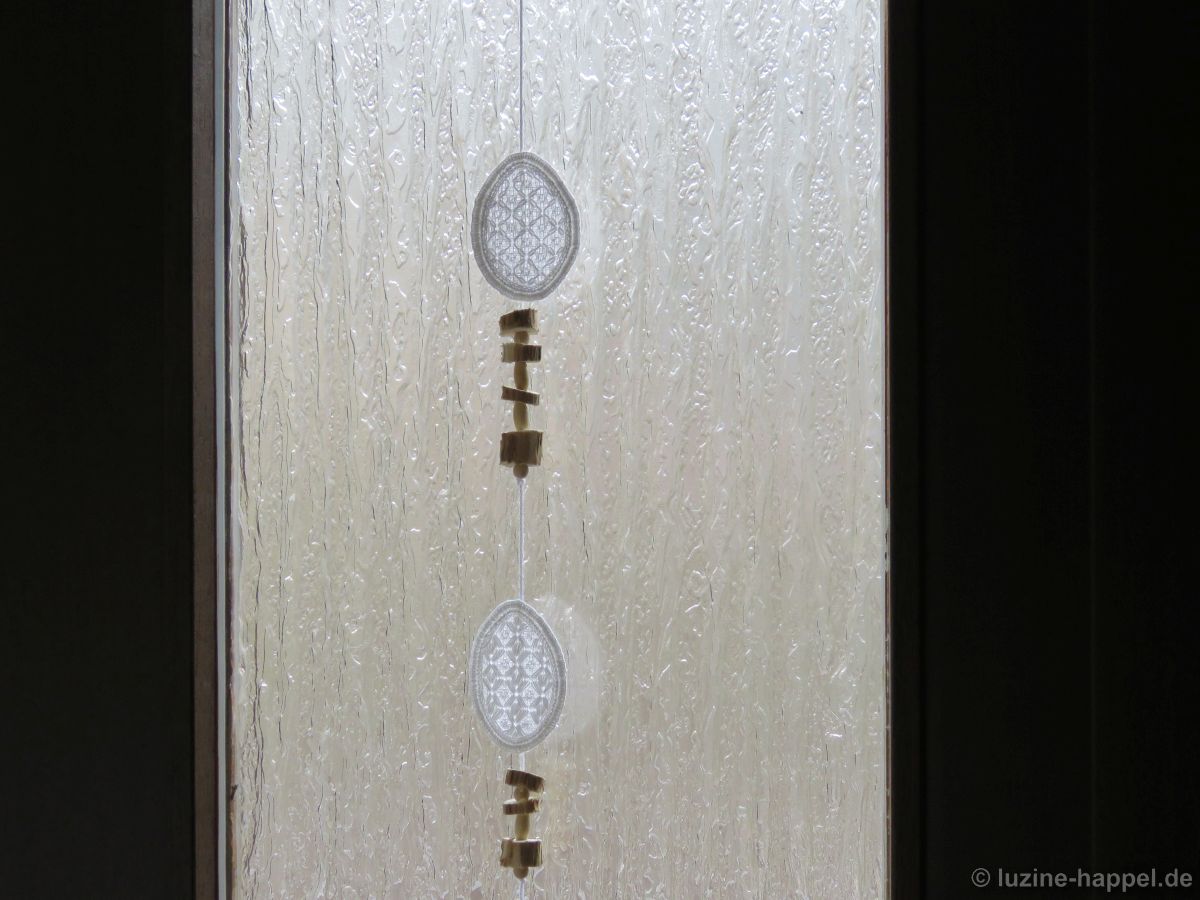
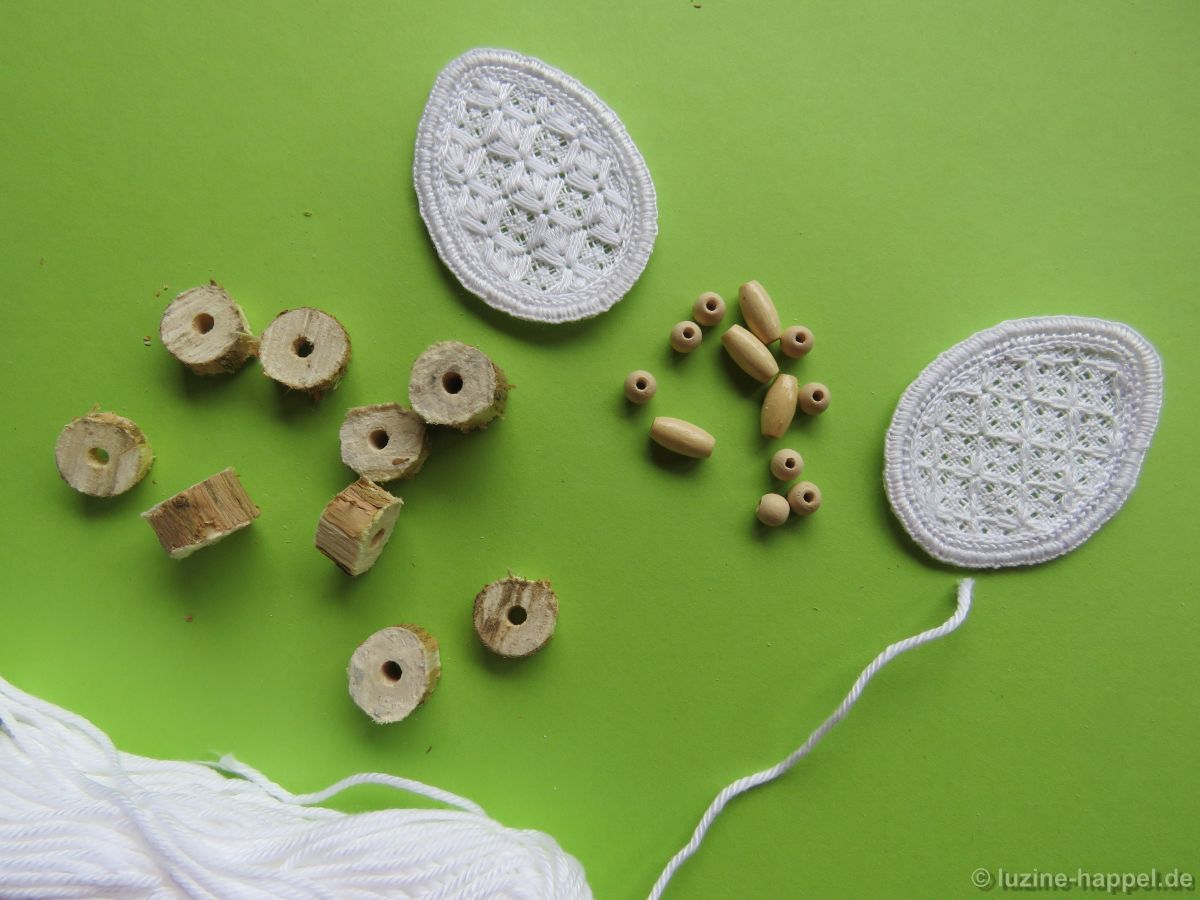
They are made from wooden discs and wooden beads alternately strung on a rustic thread

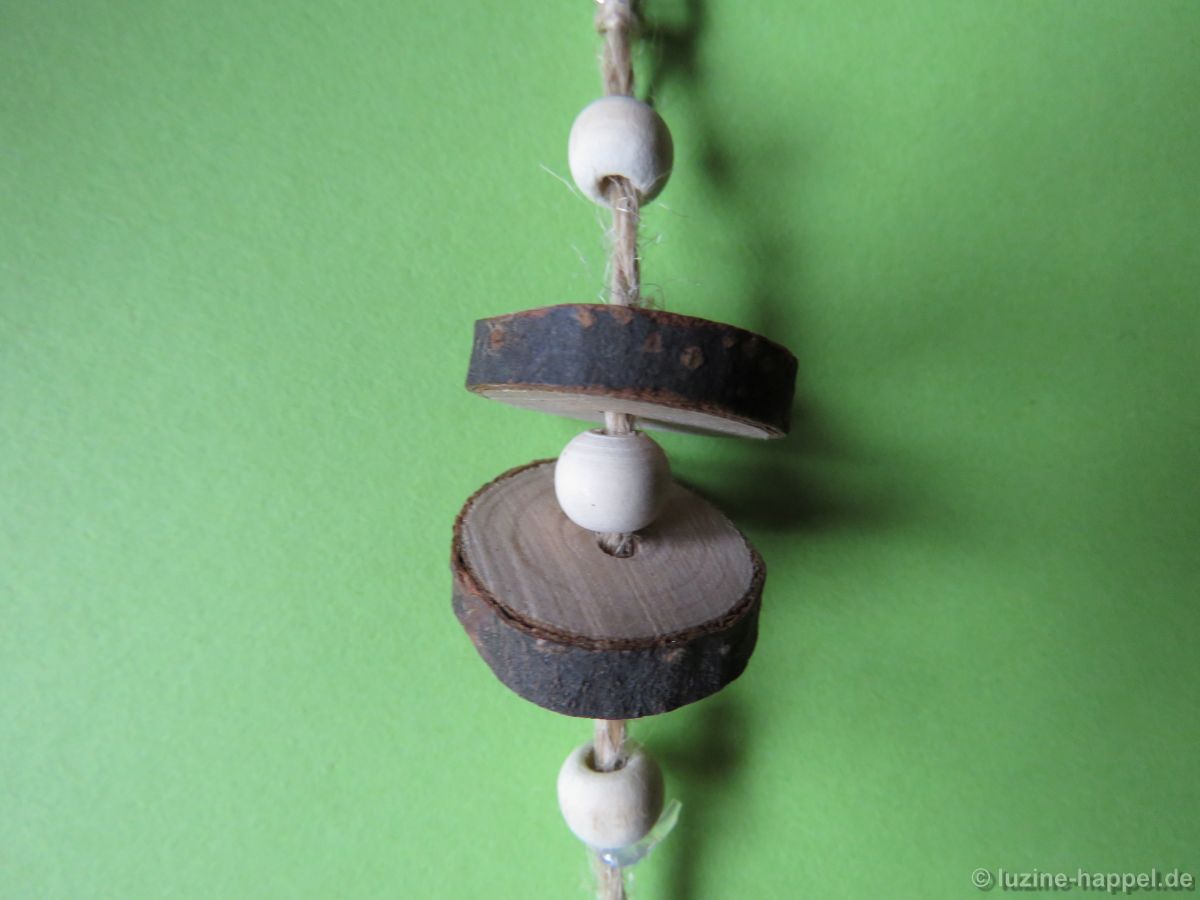
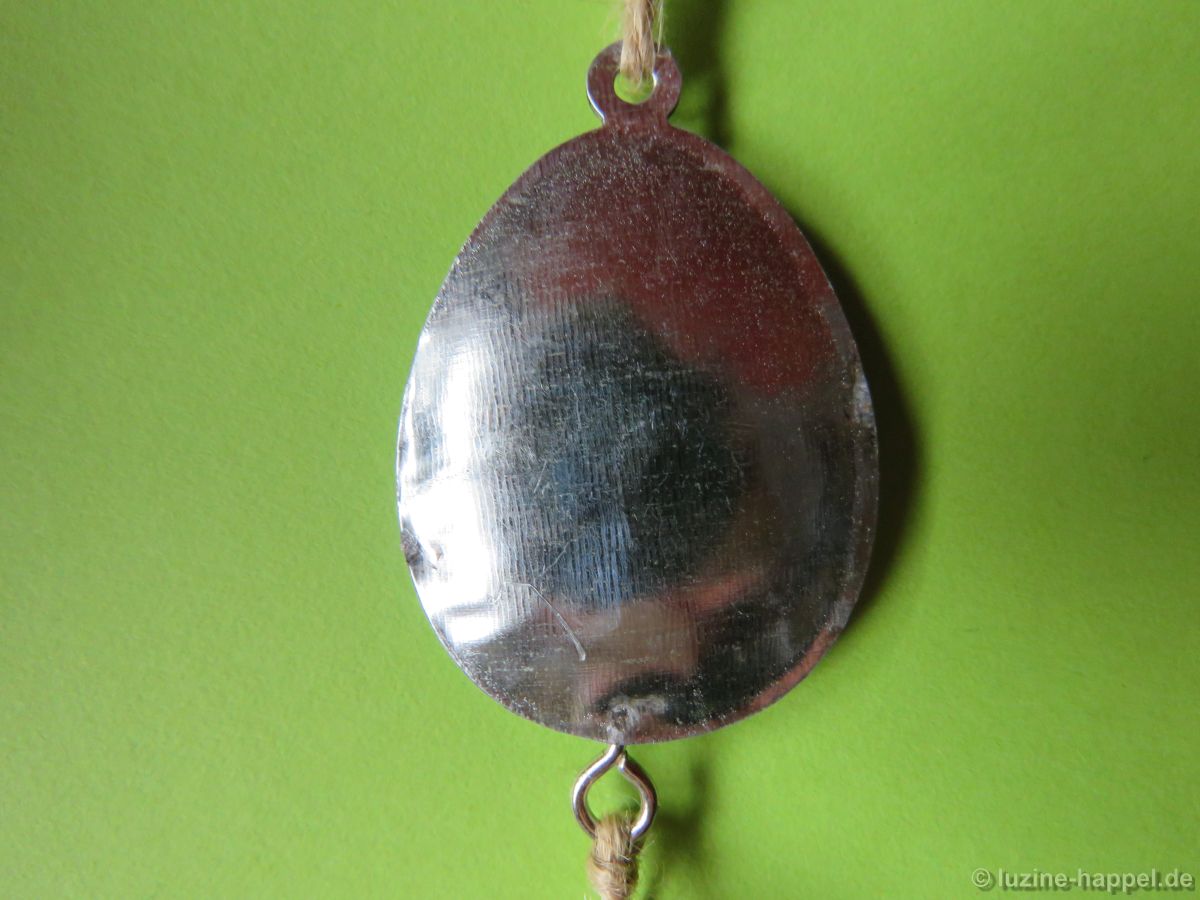
with a metallic Easter egg randomly placed between.


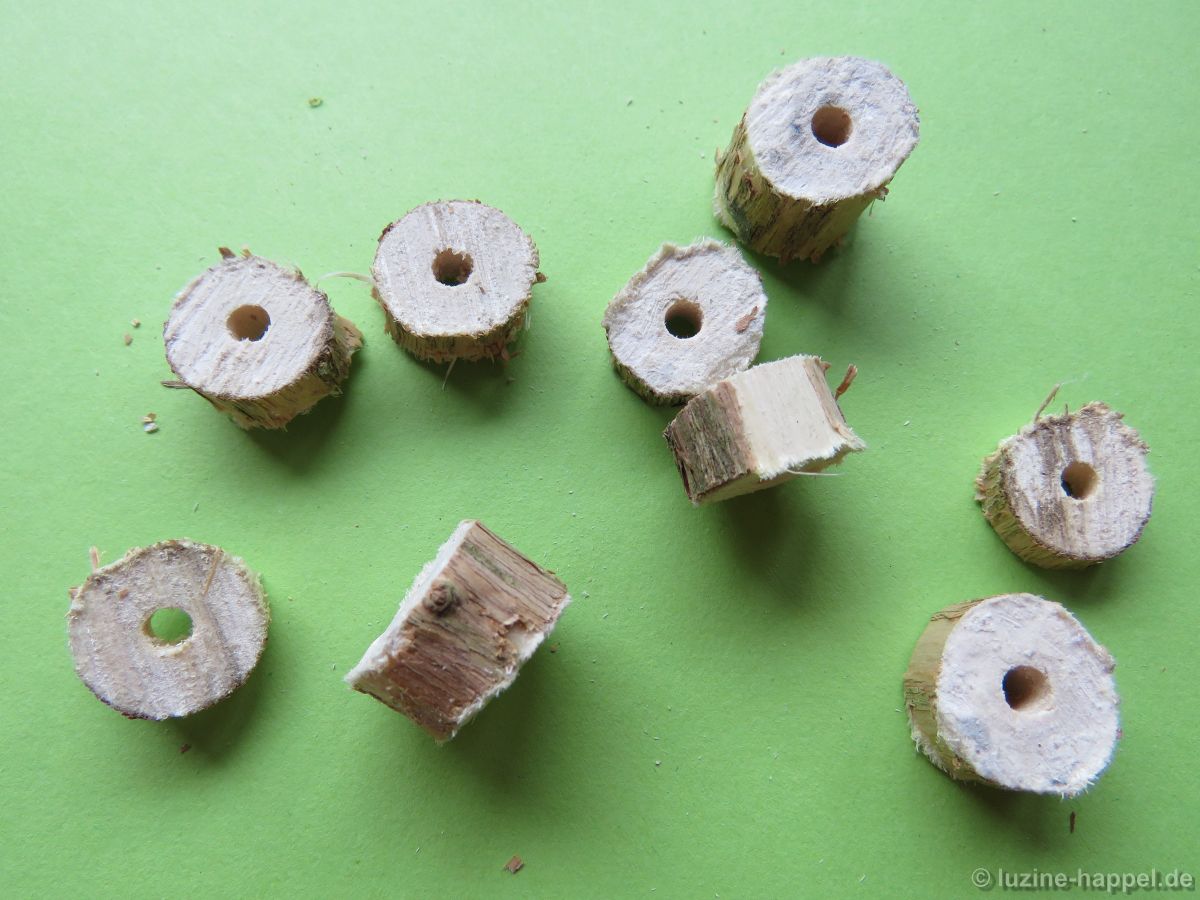
Taking a thick branch from my garden and using a small saw and a thin drill bit, I easily got the required discs. I had some beads on hand.


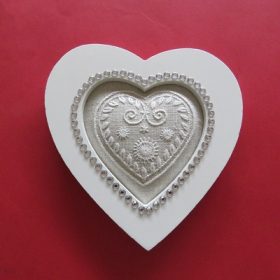
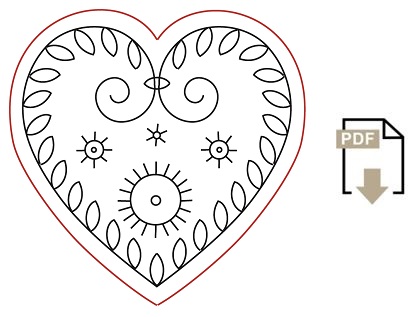
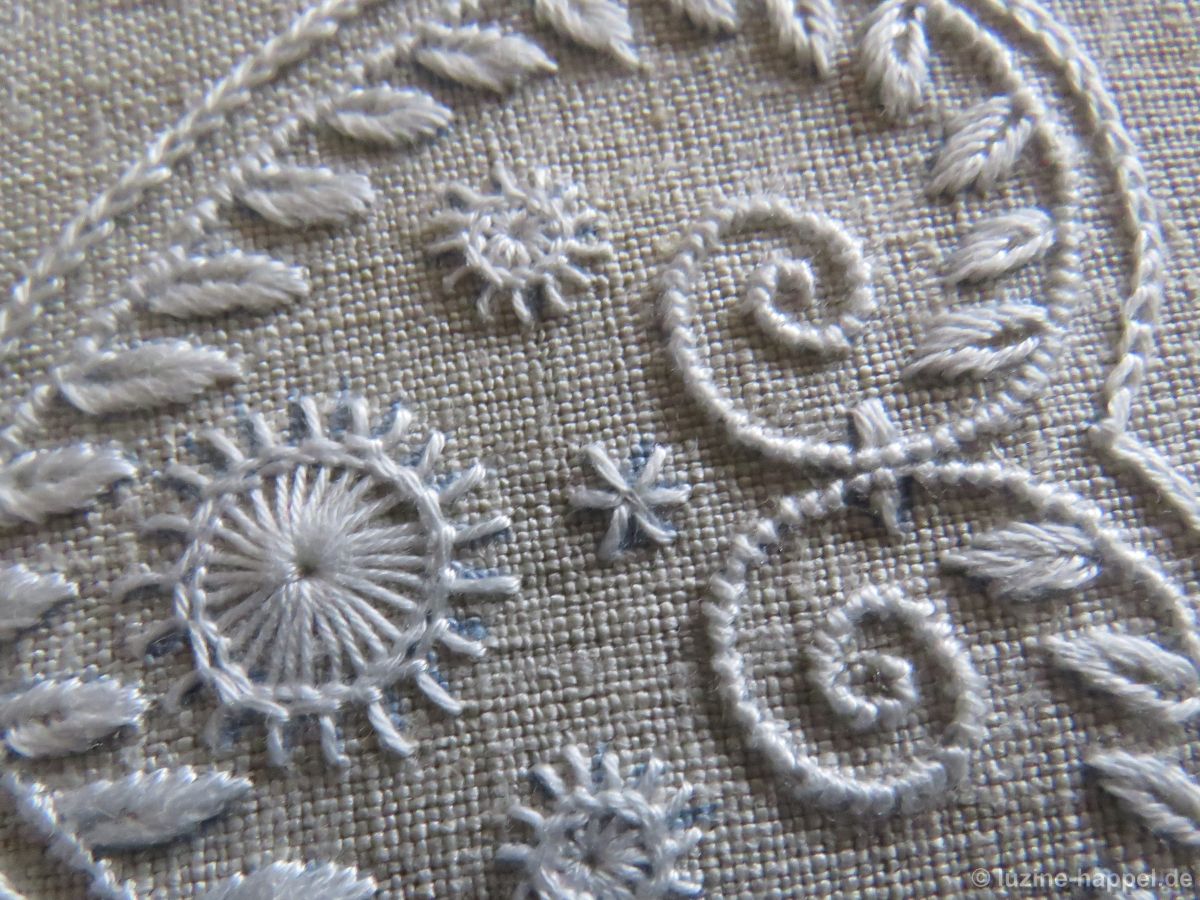
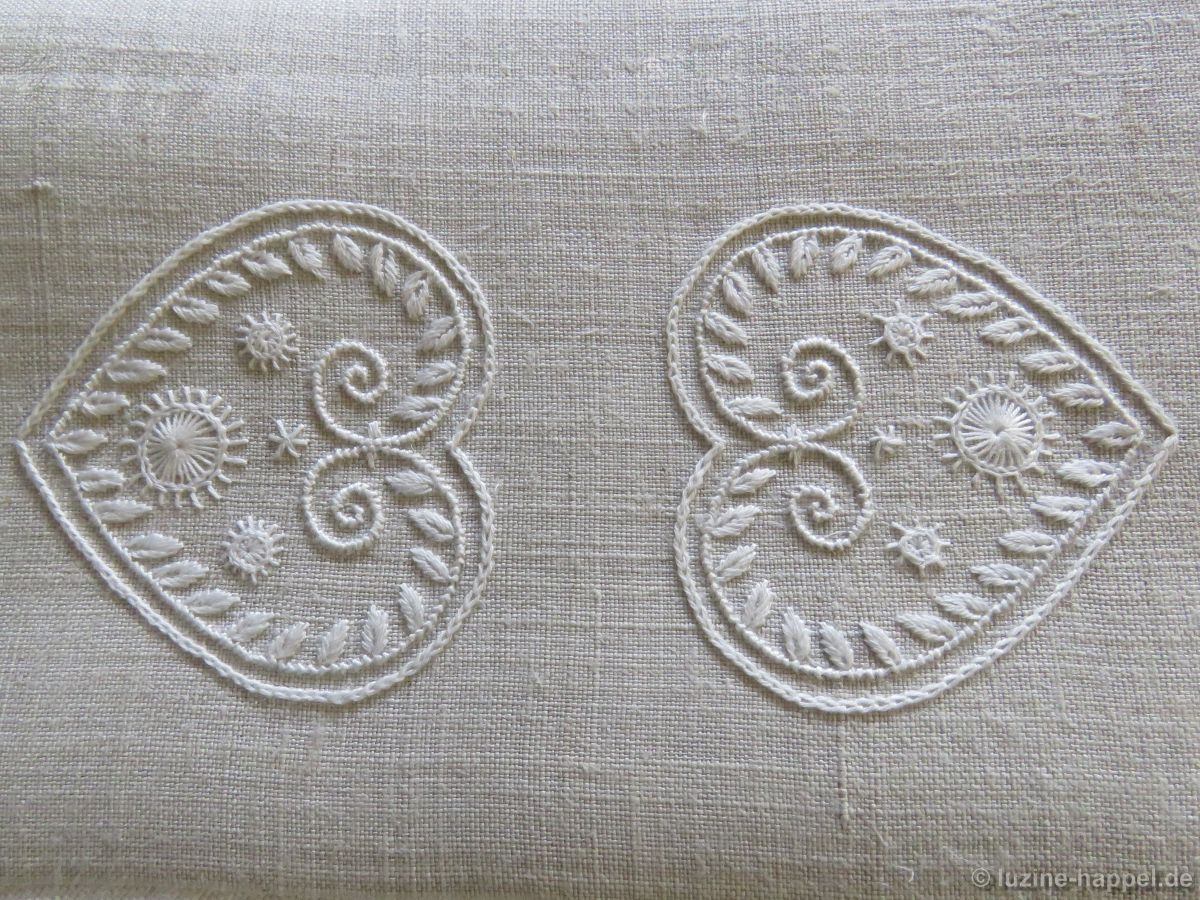
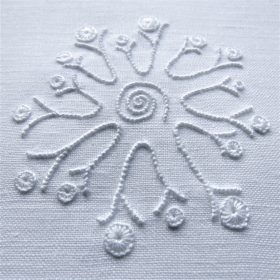
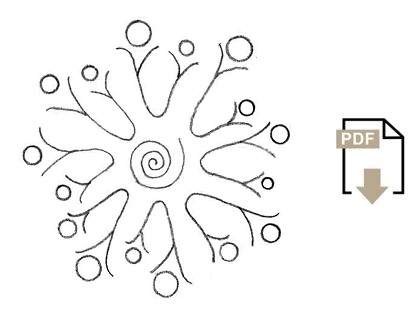
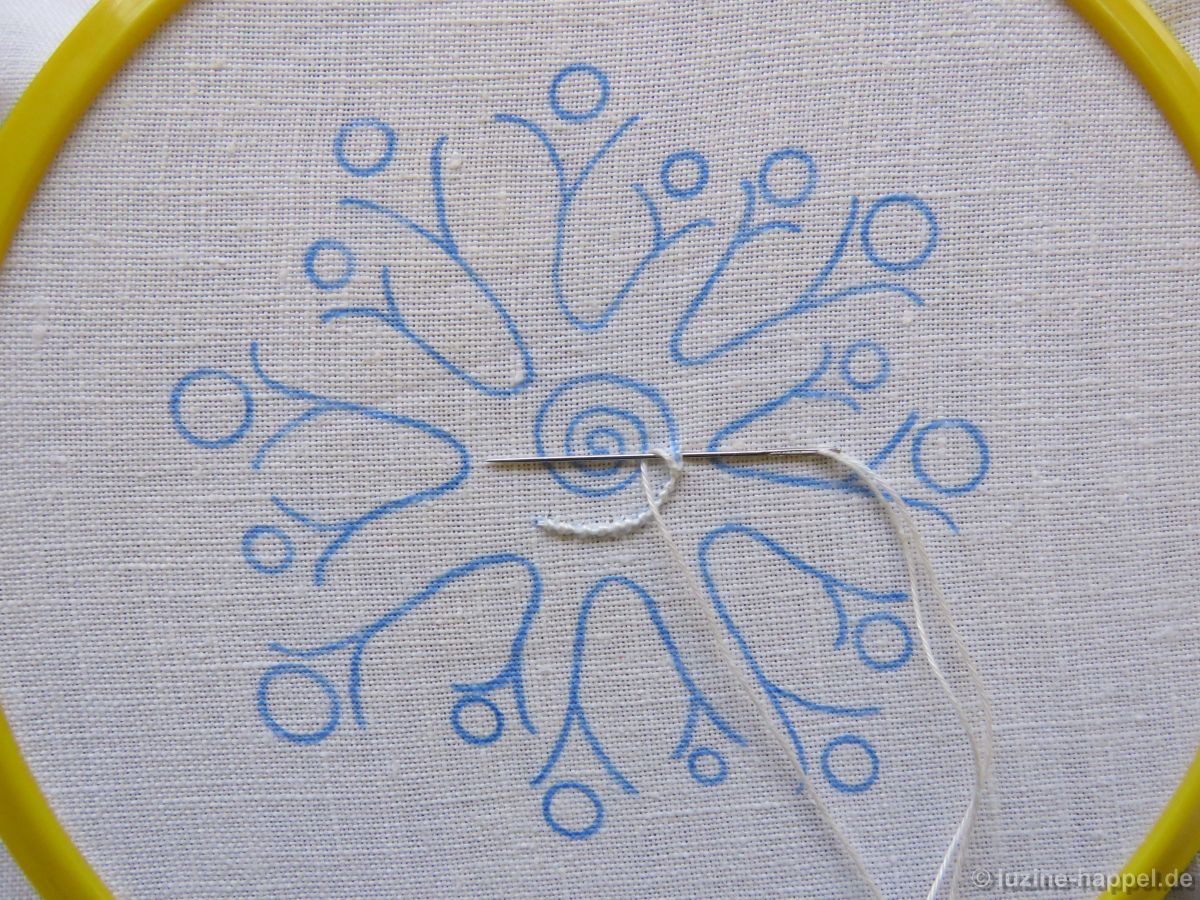
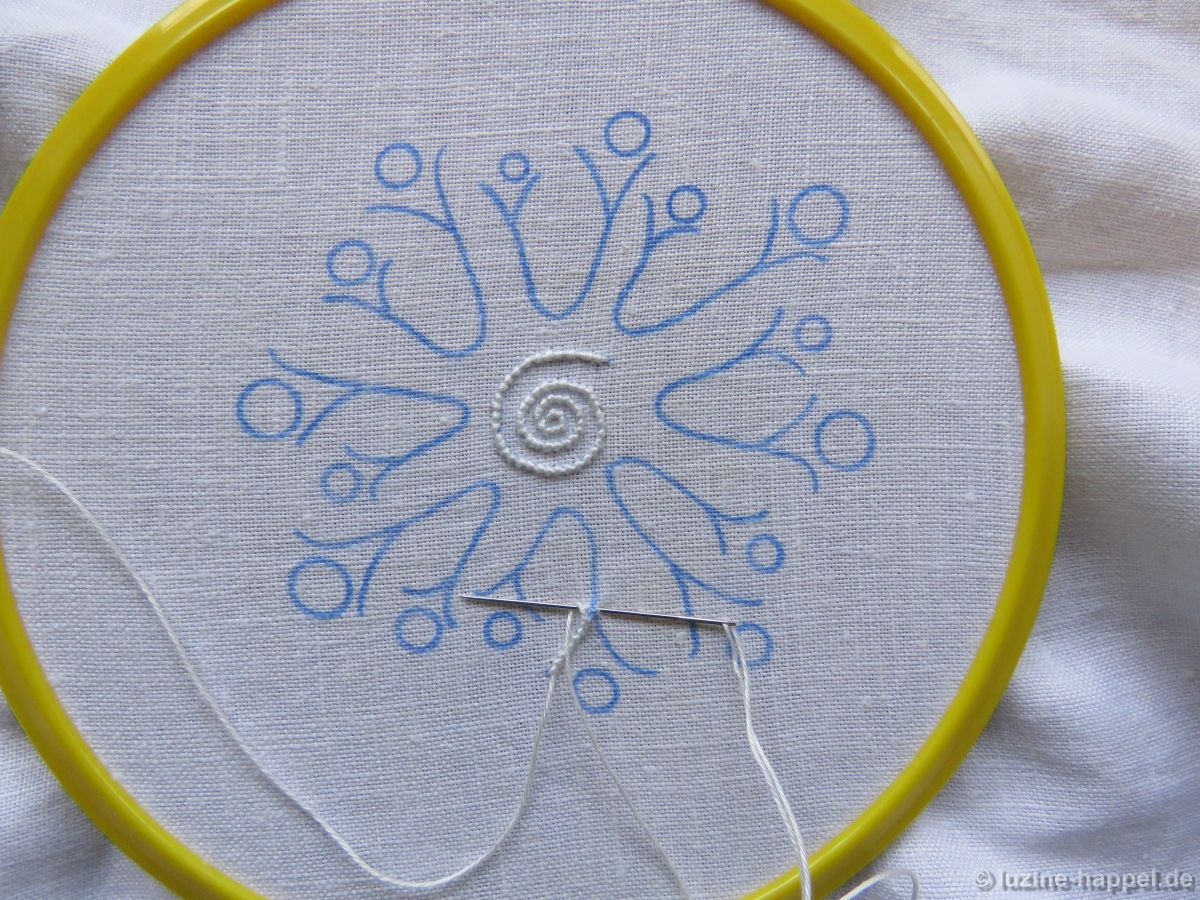
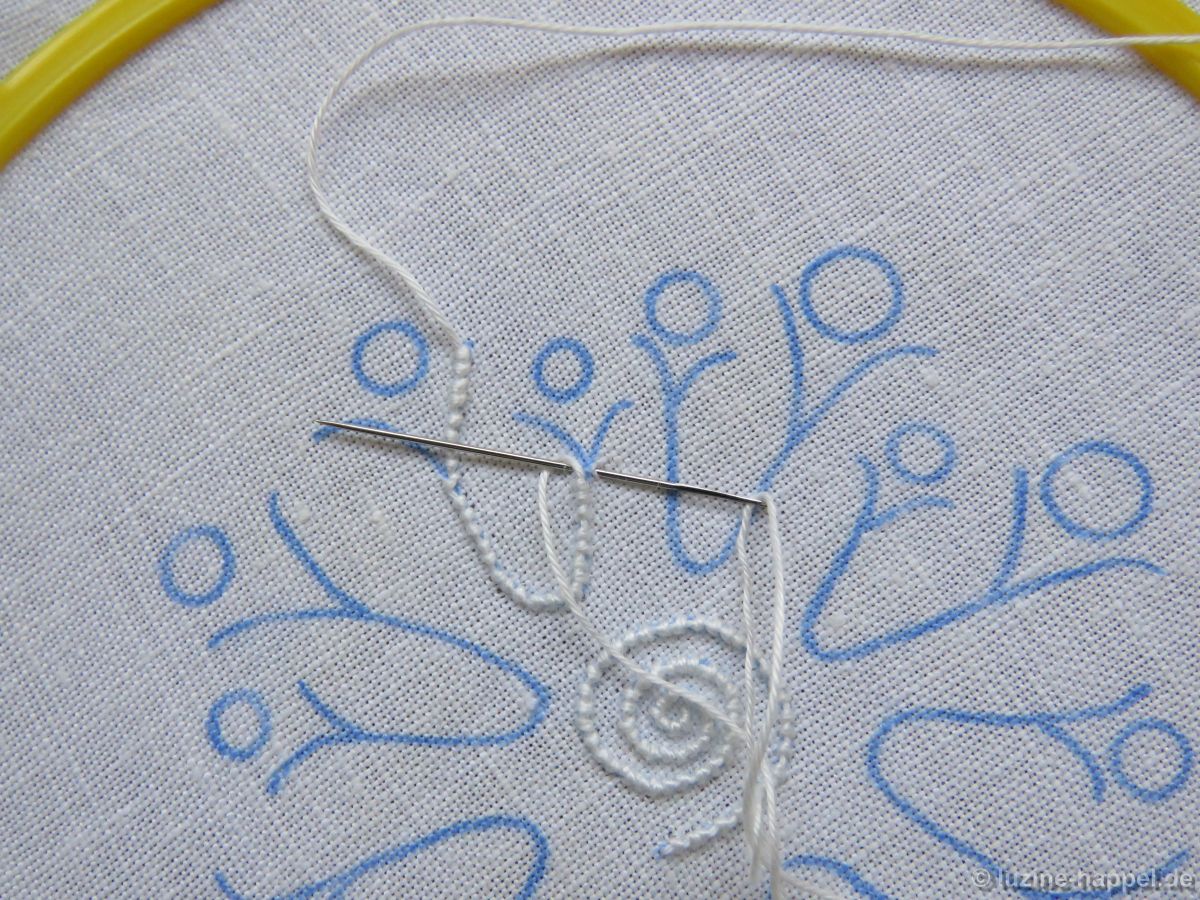
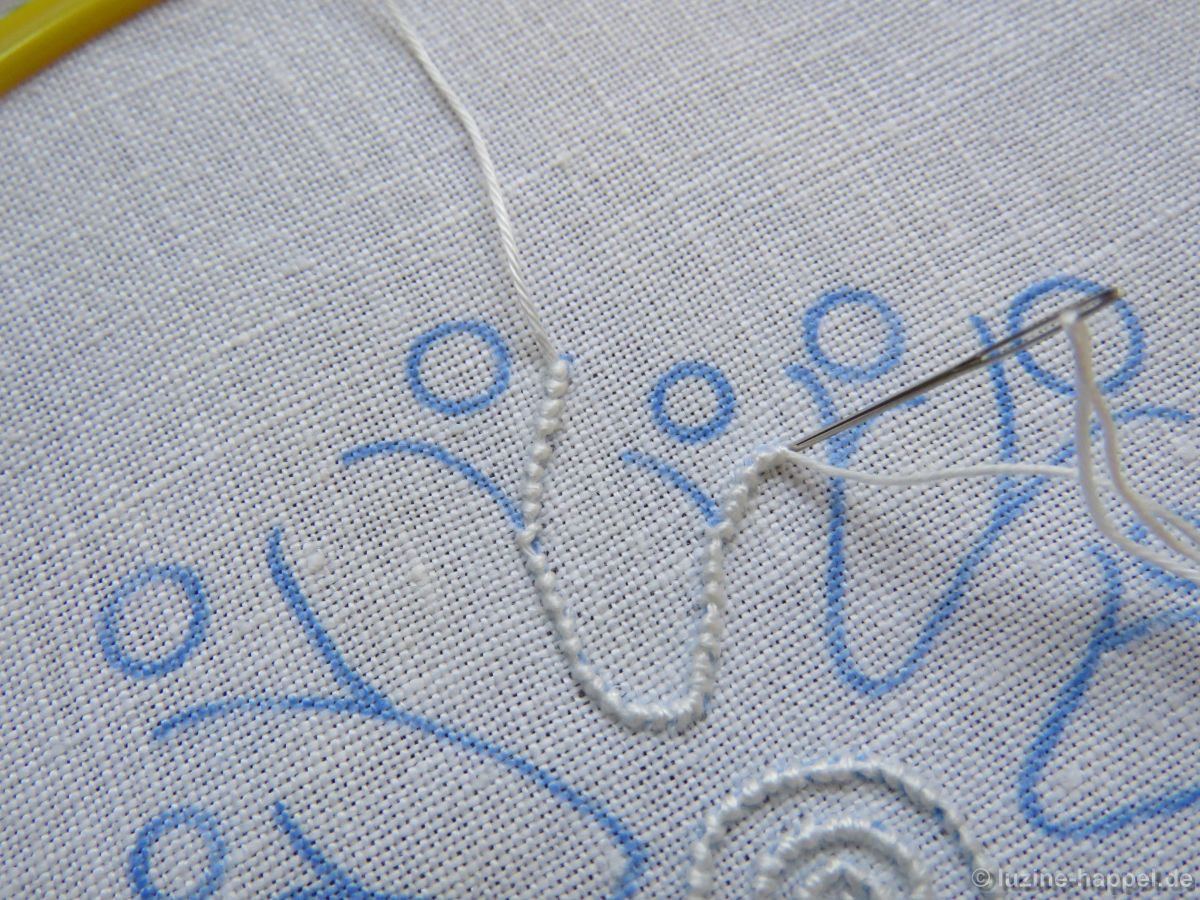
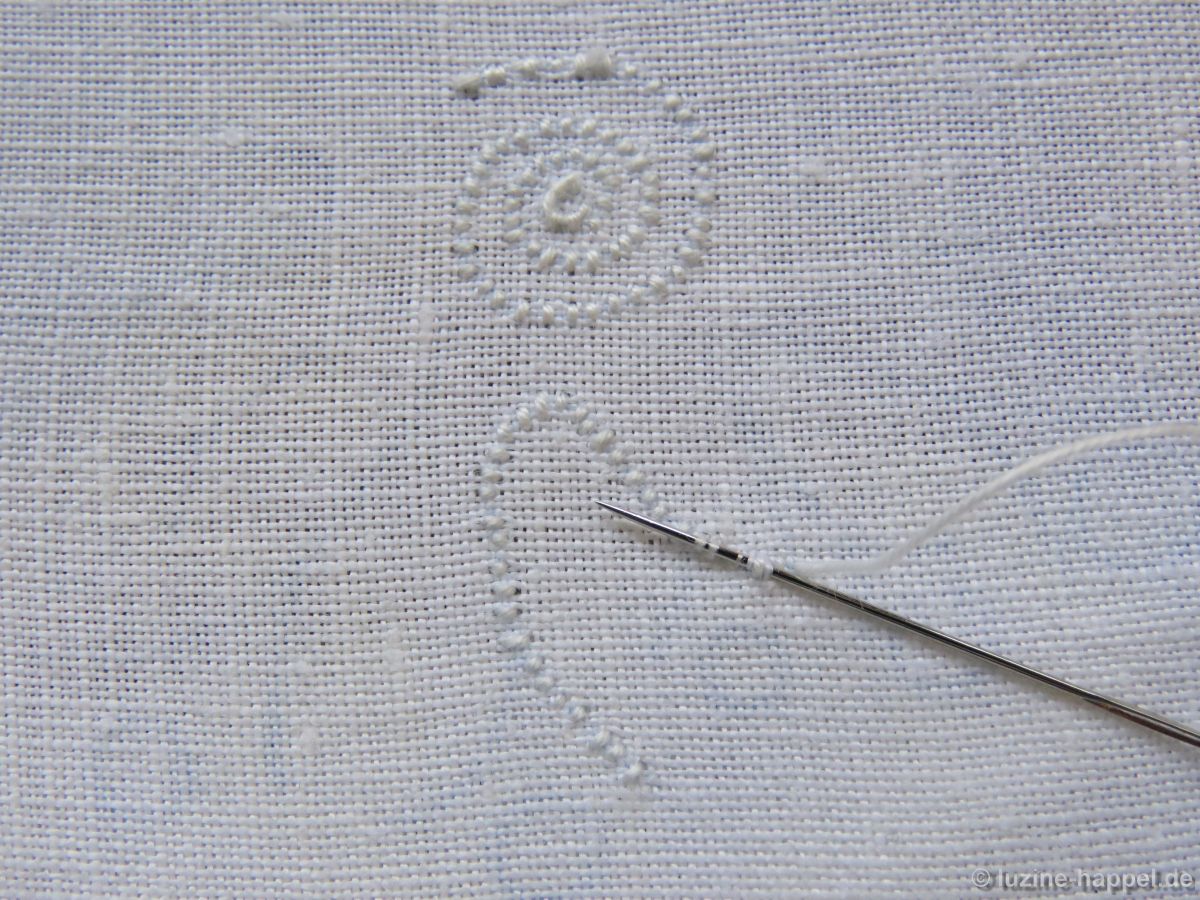
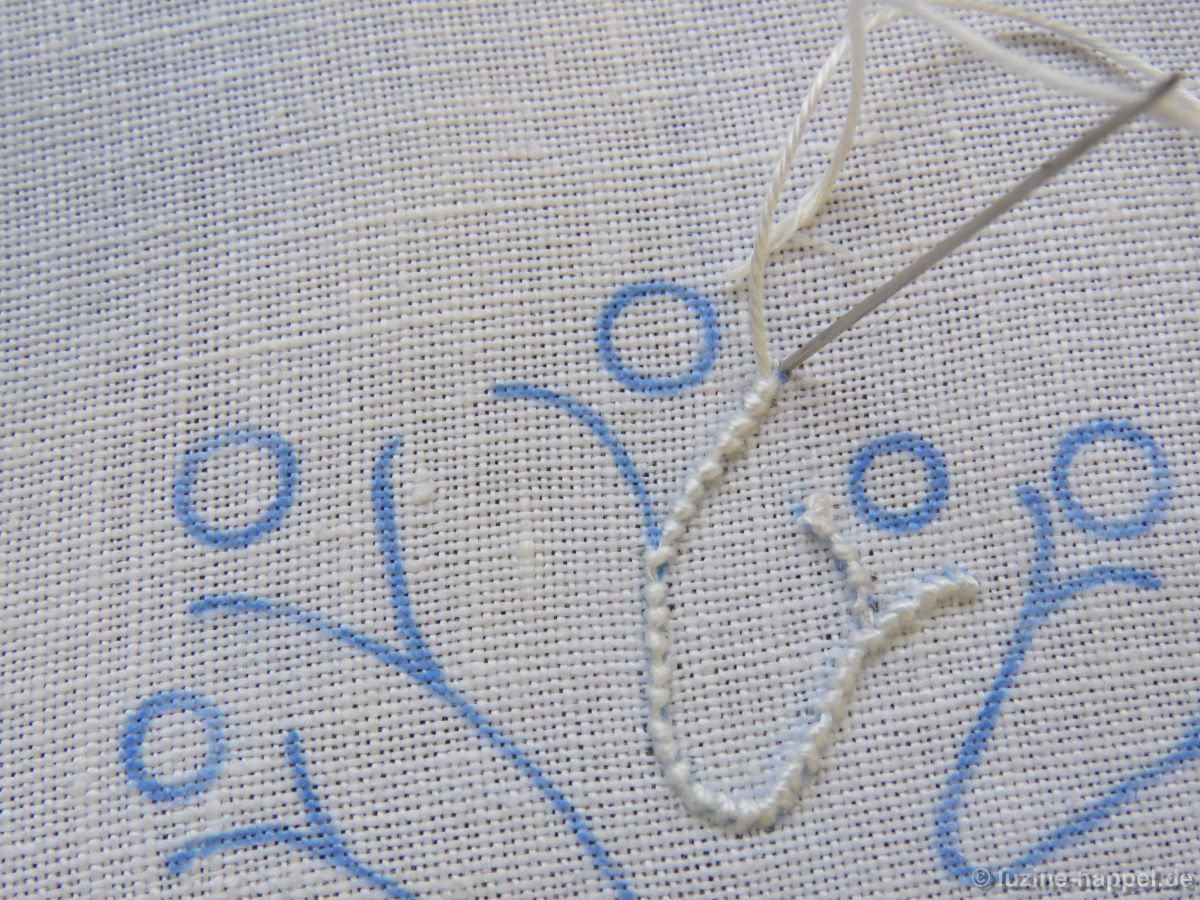
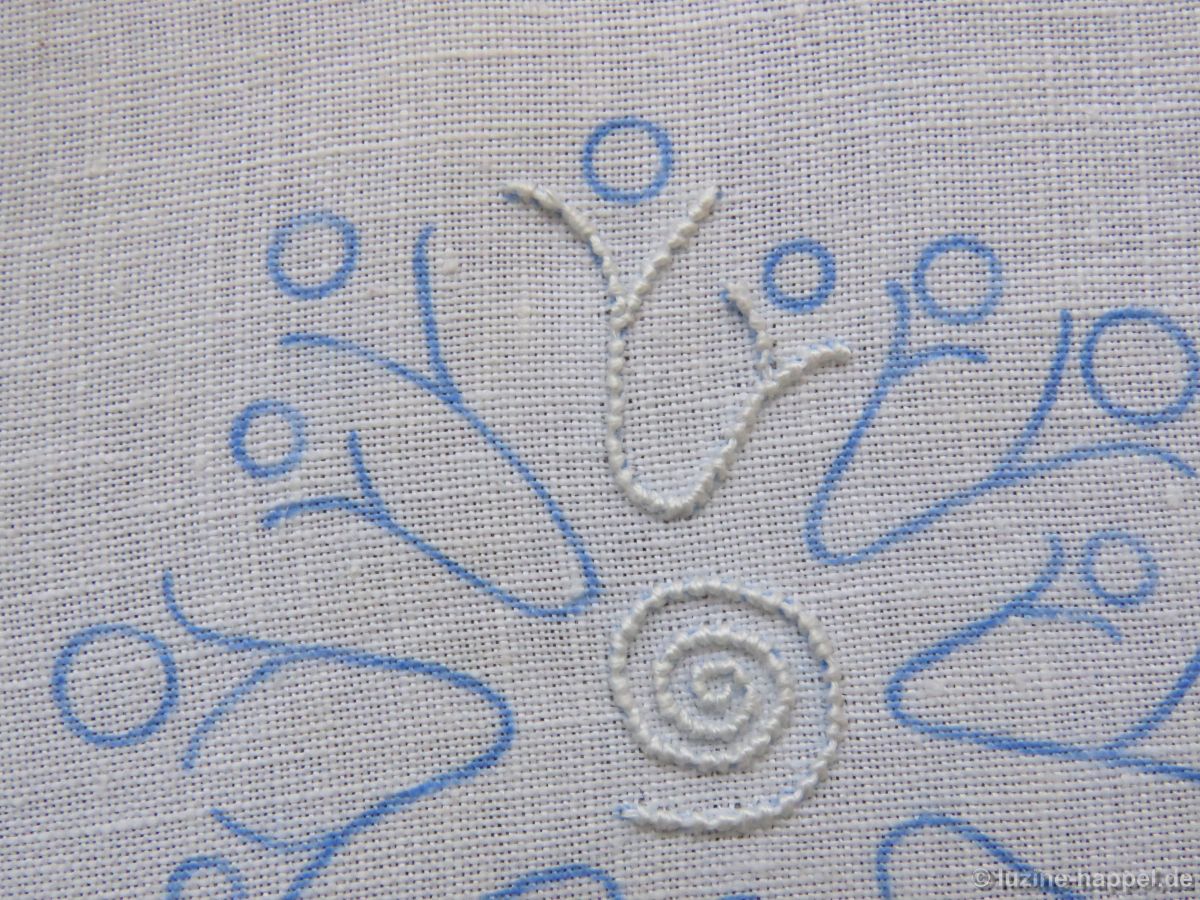
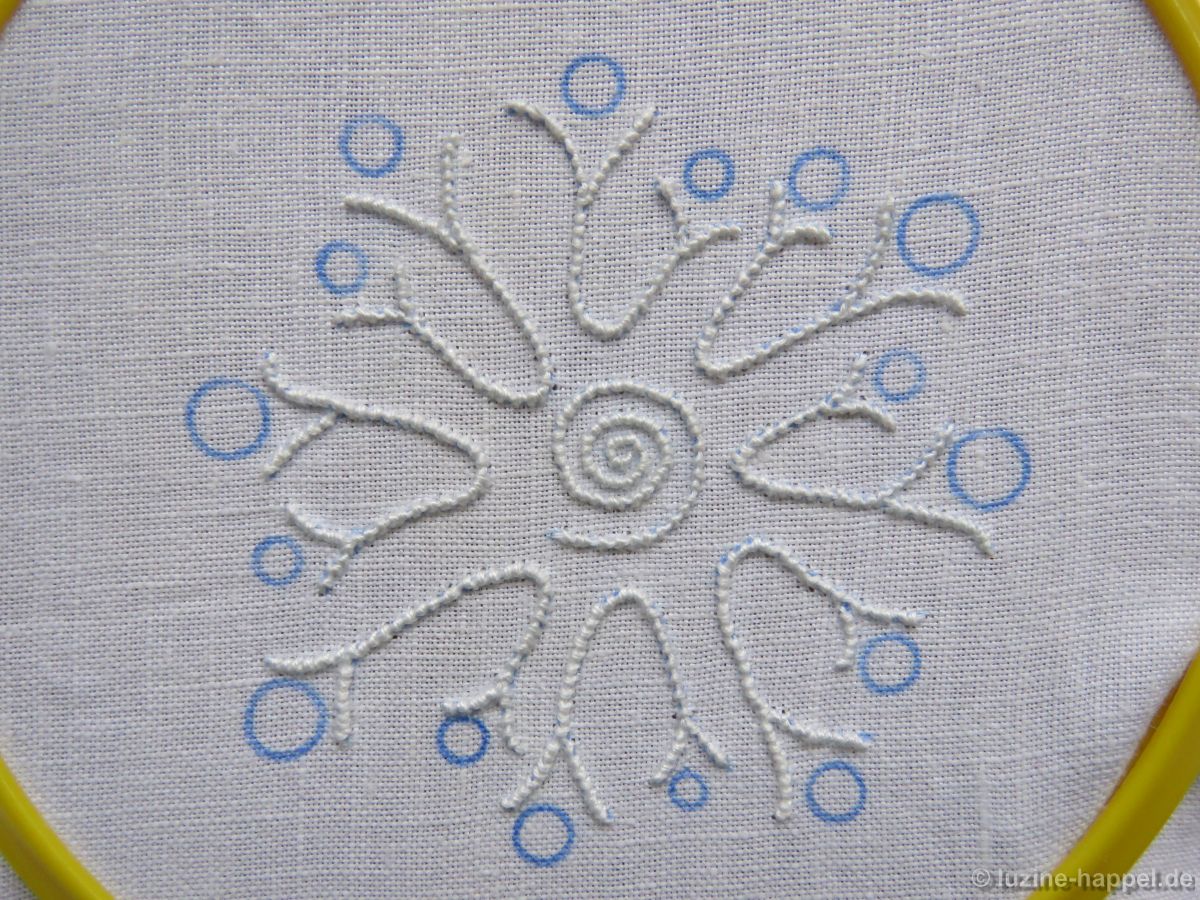
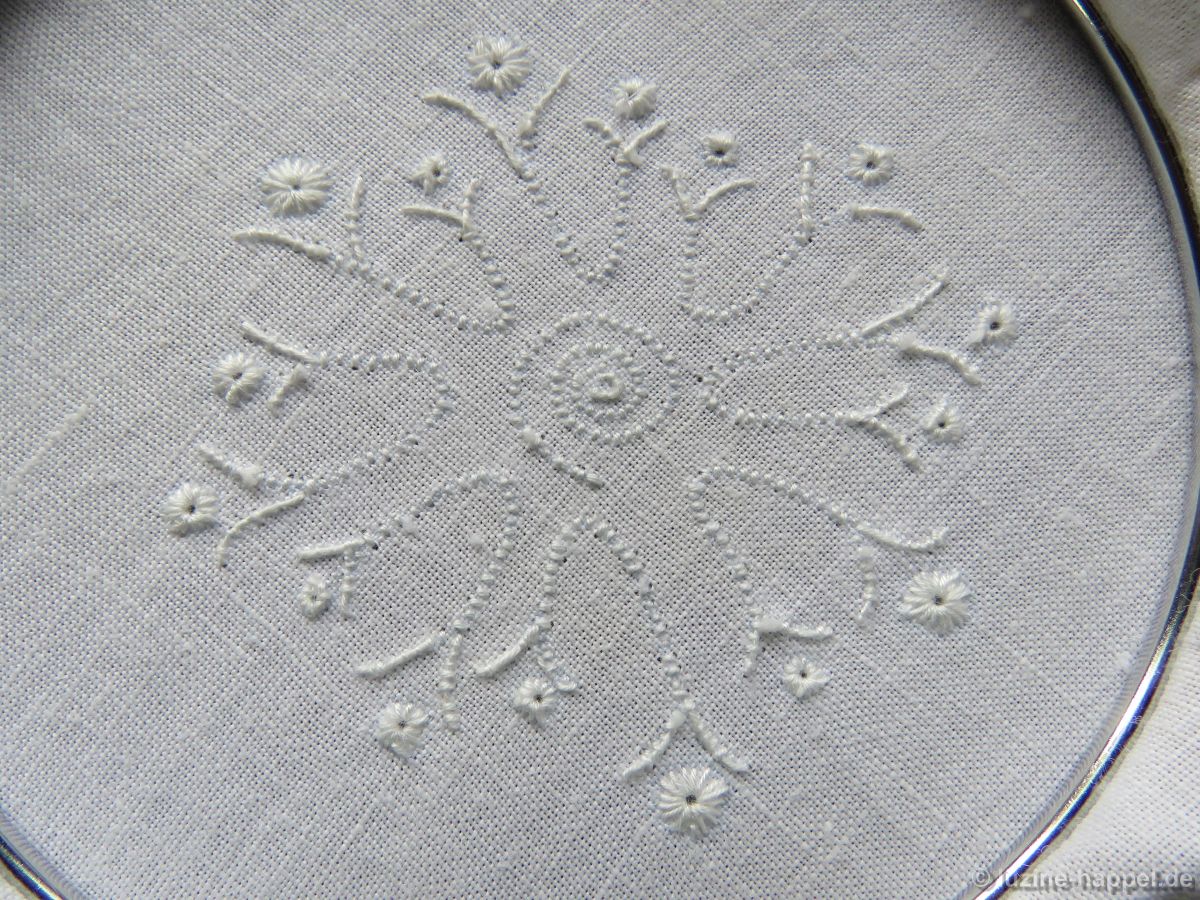
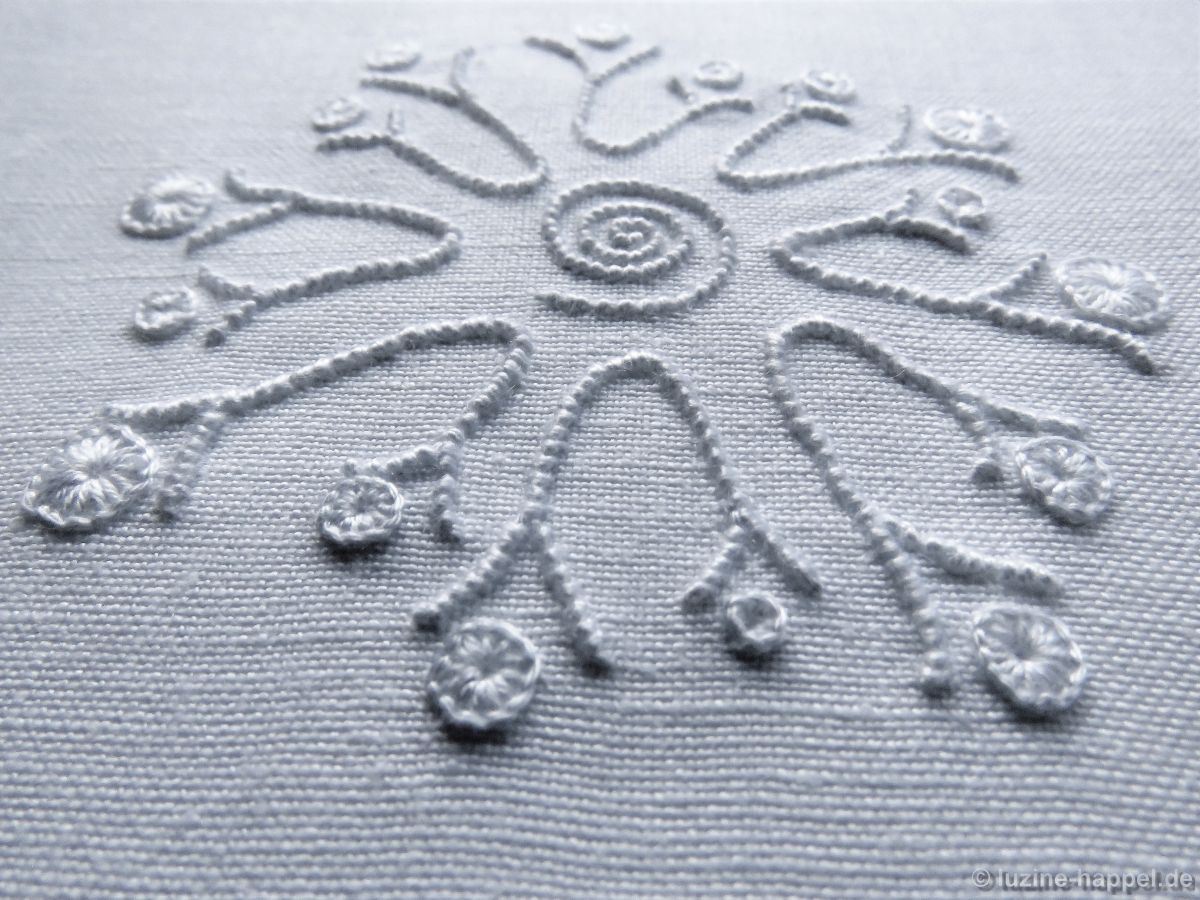
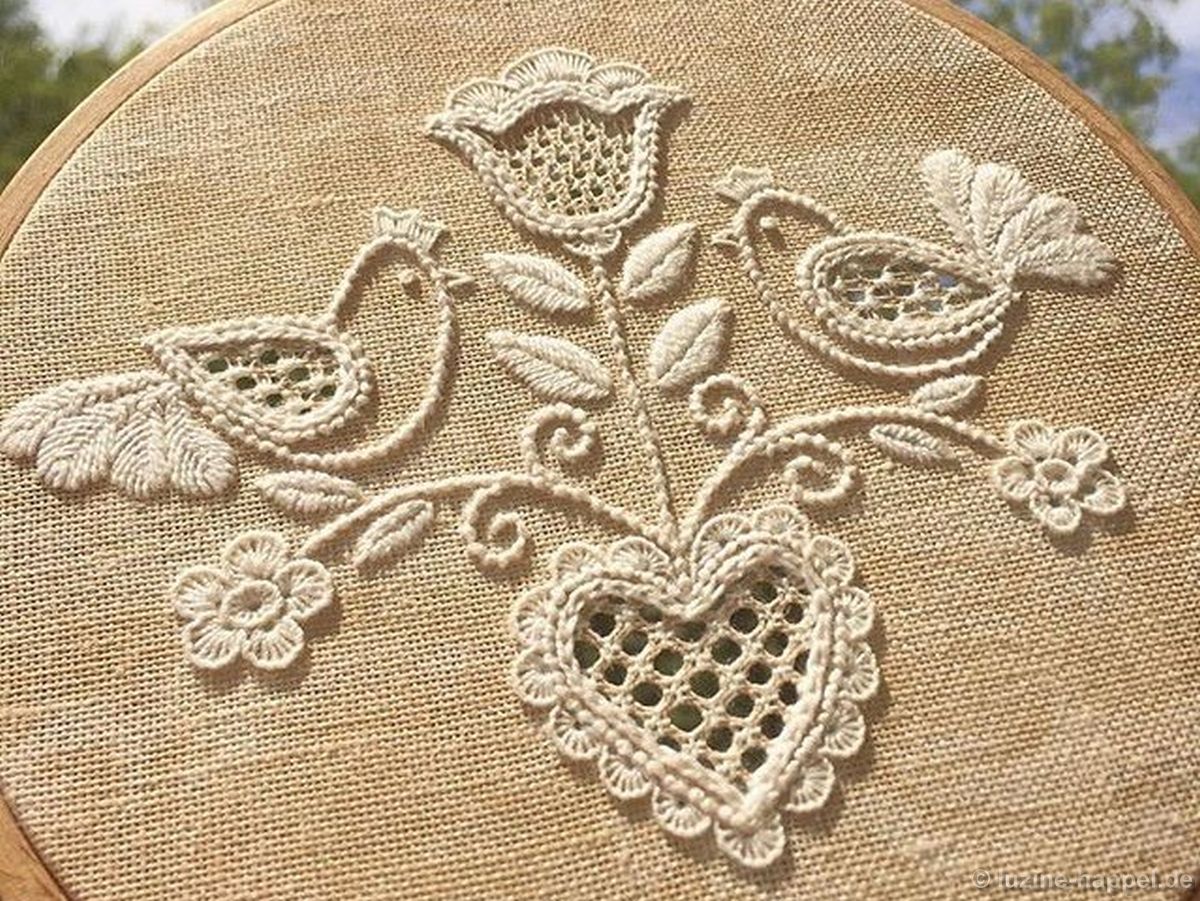
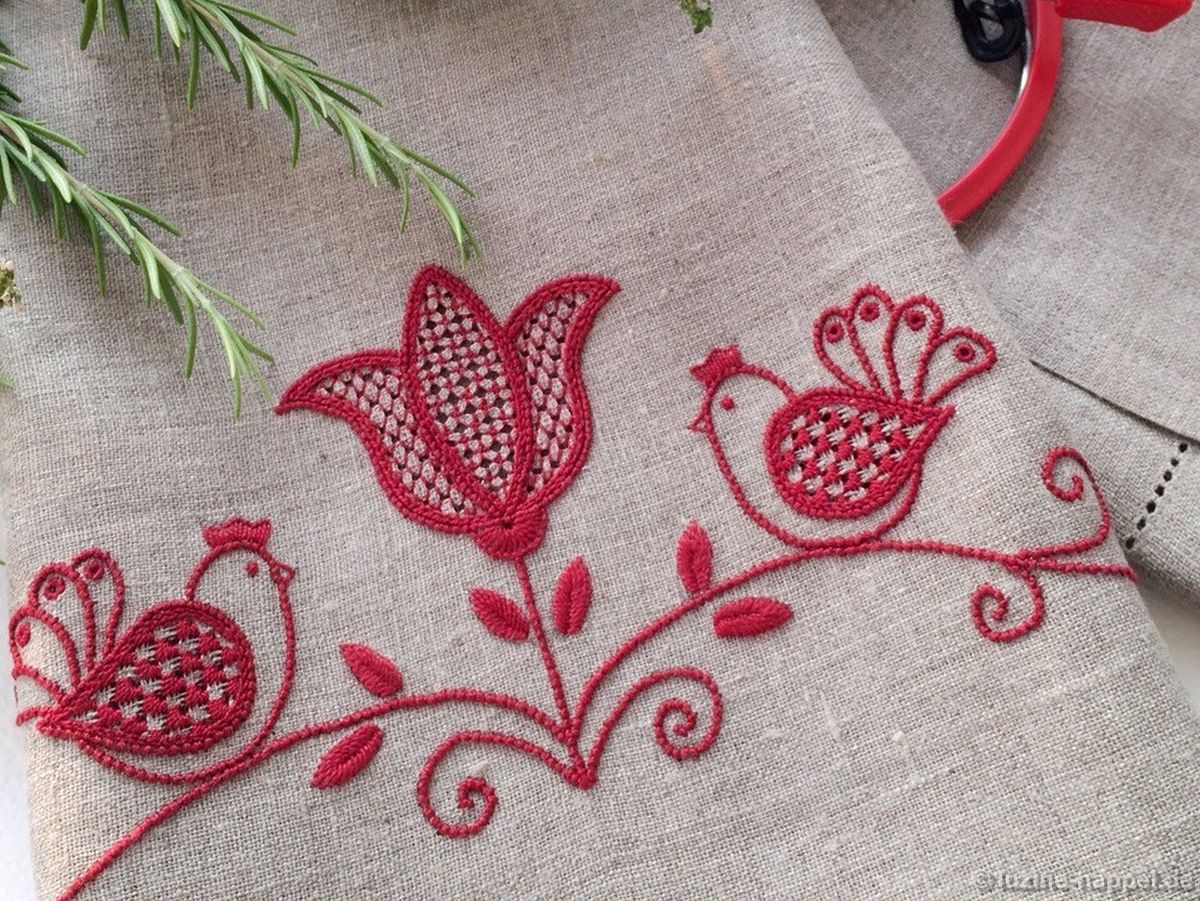
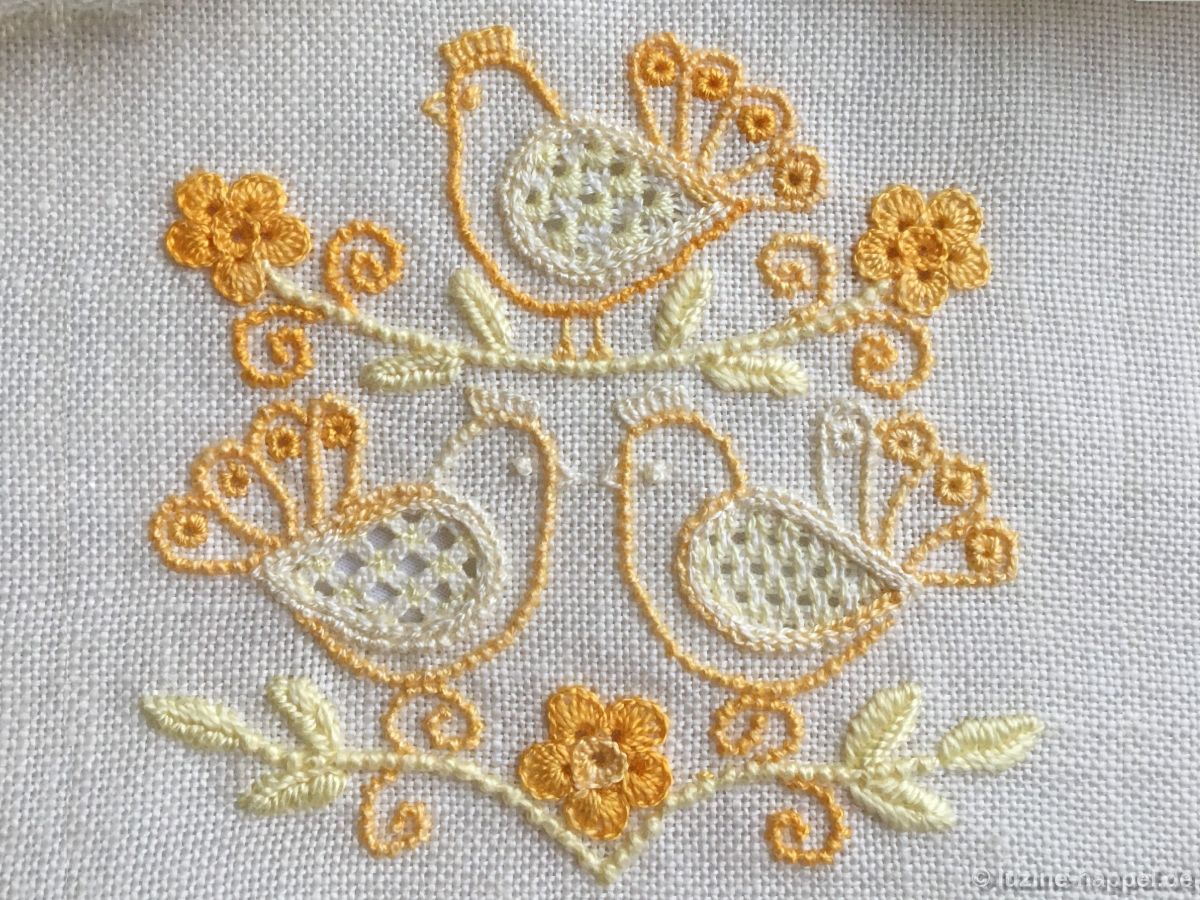
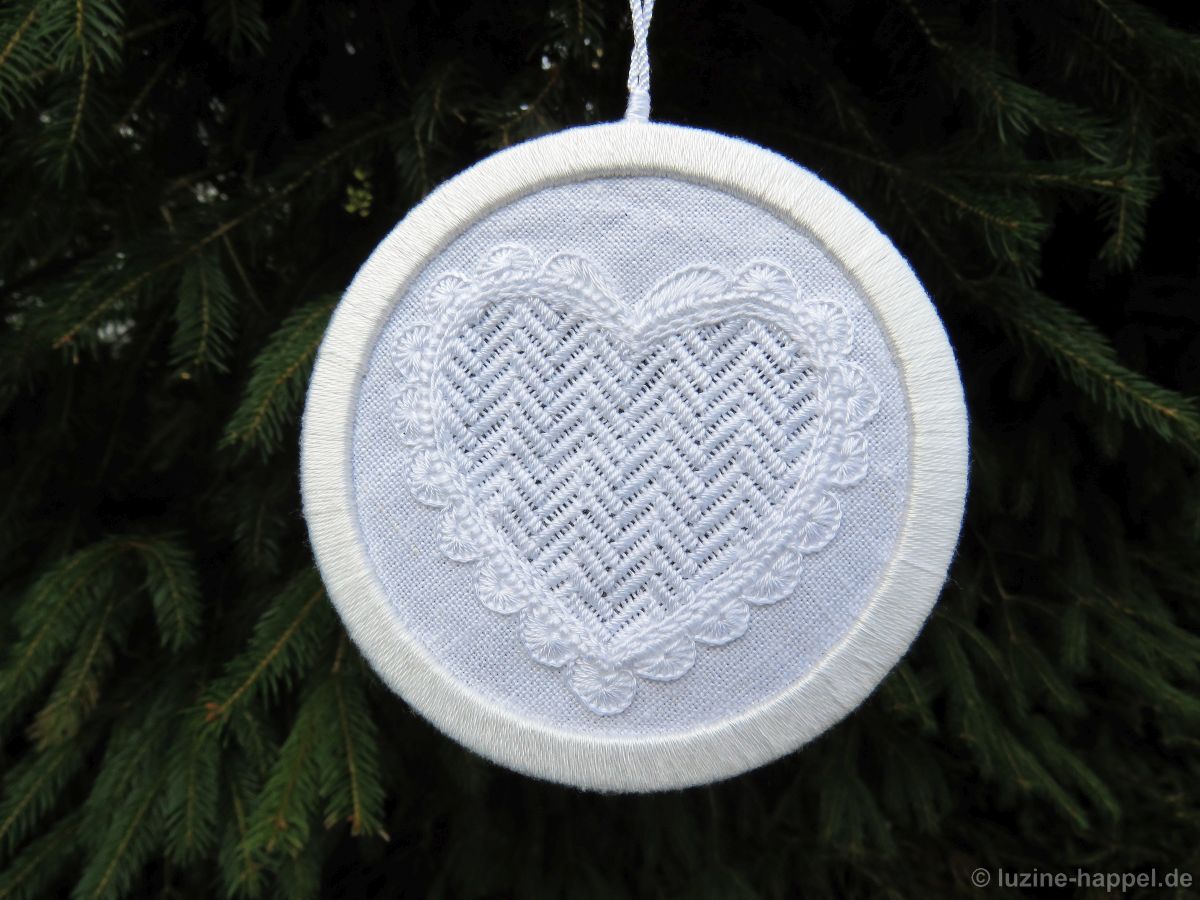
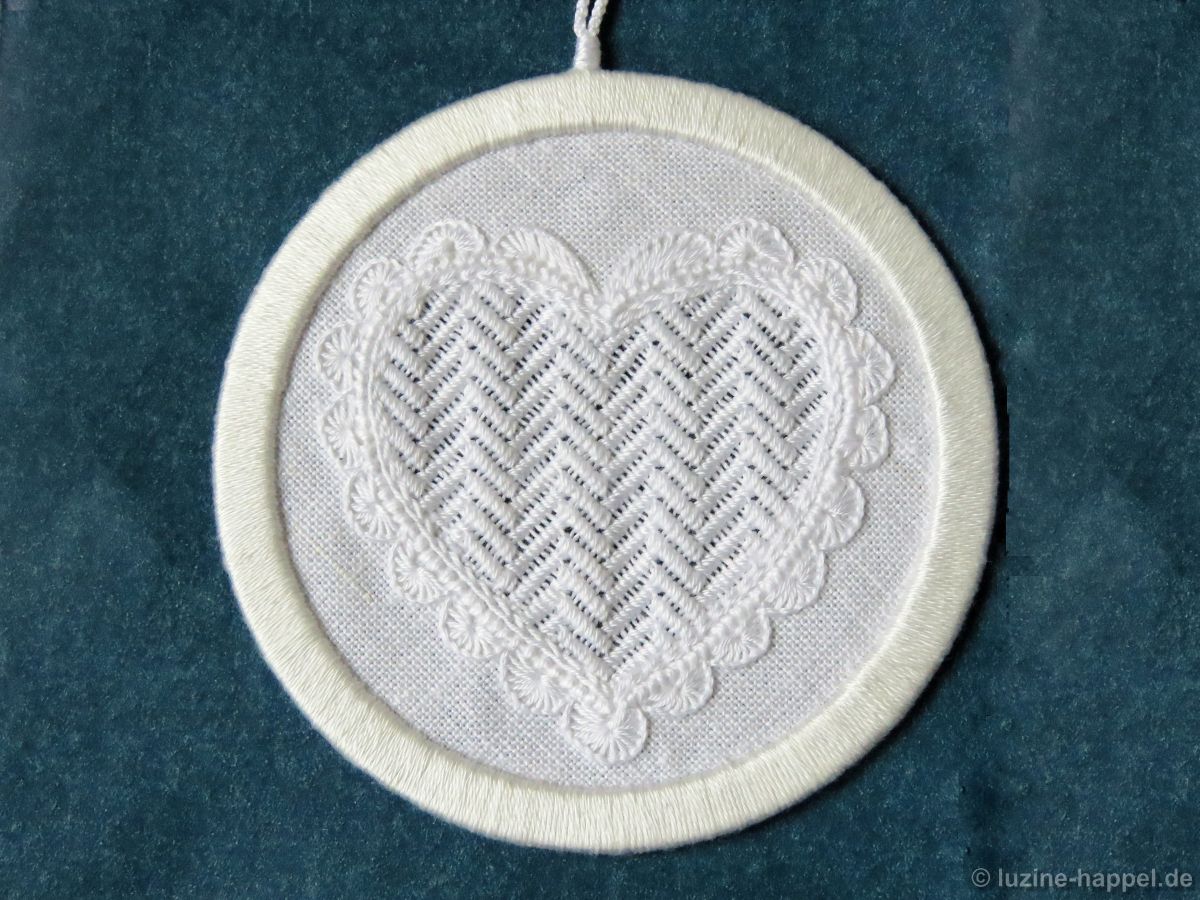
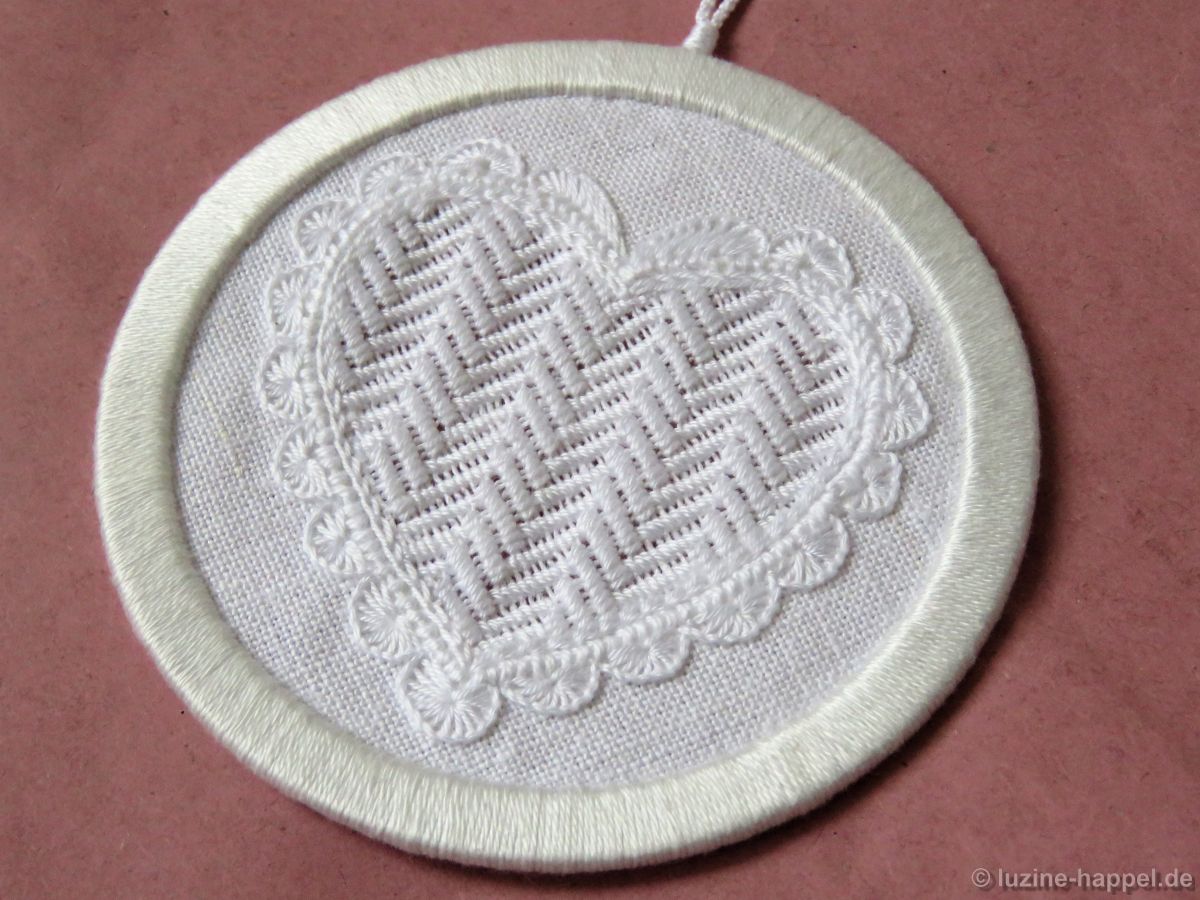
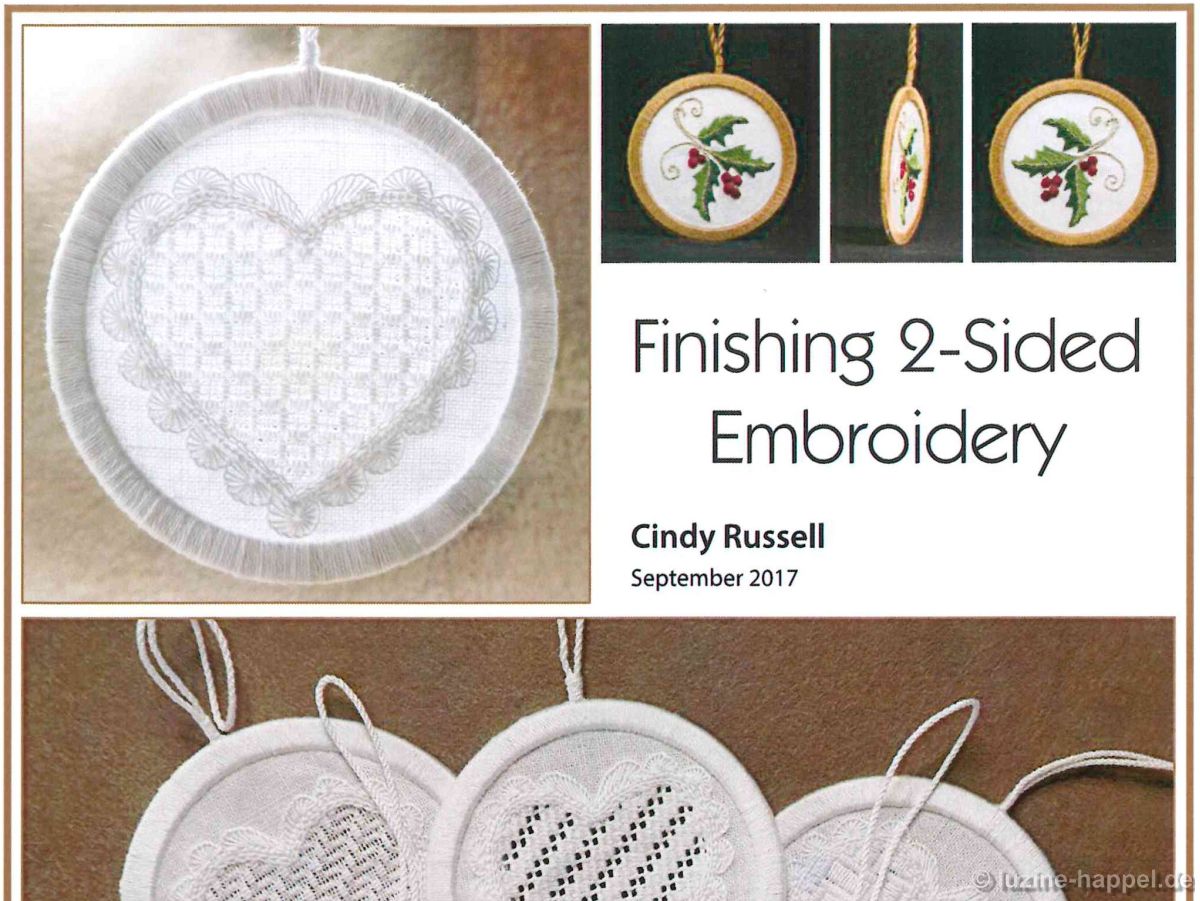
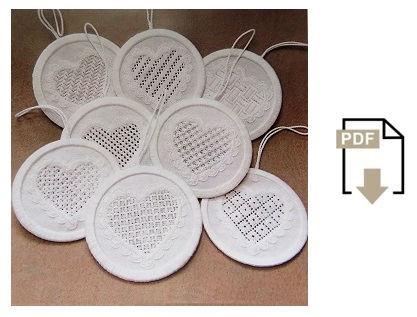
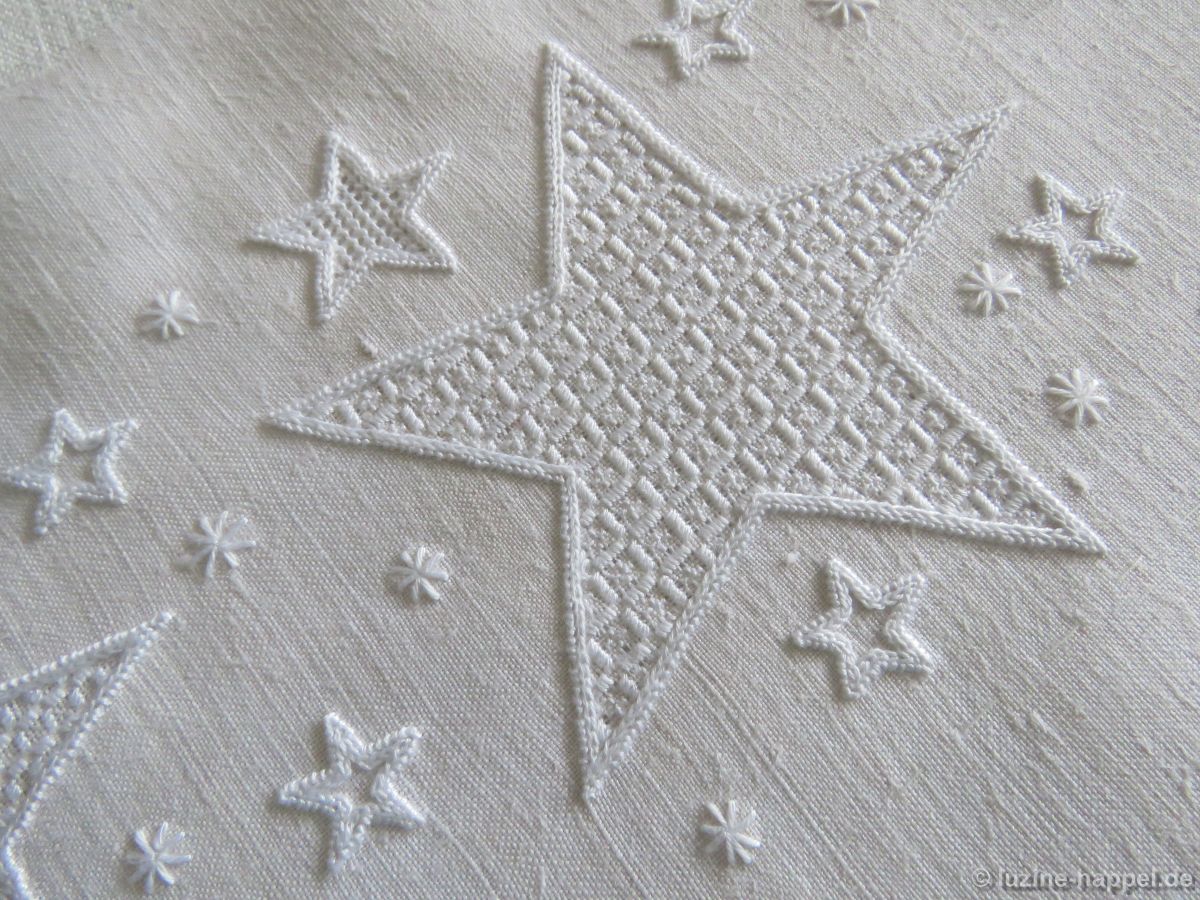
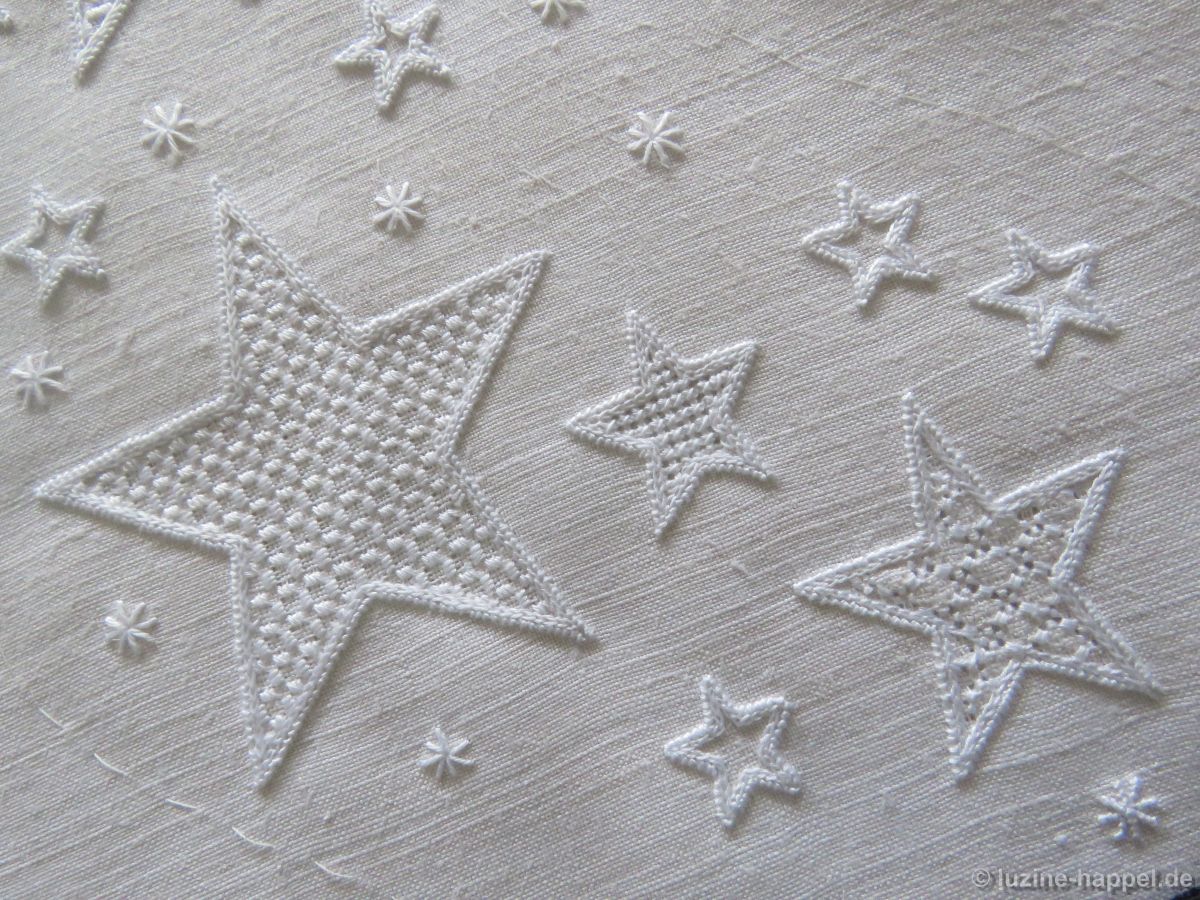
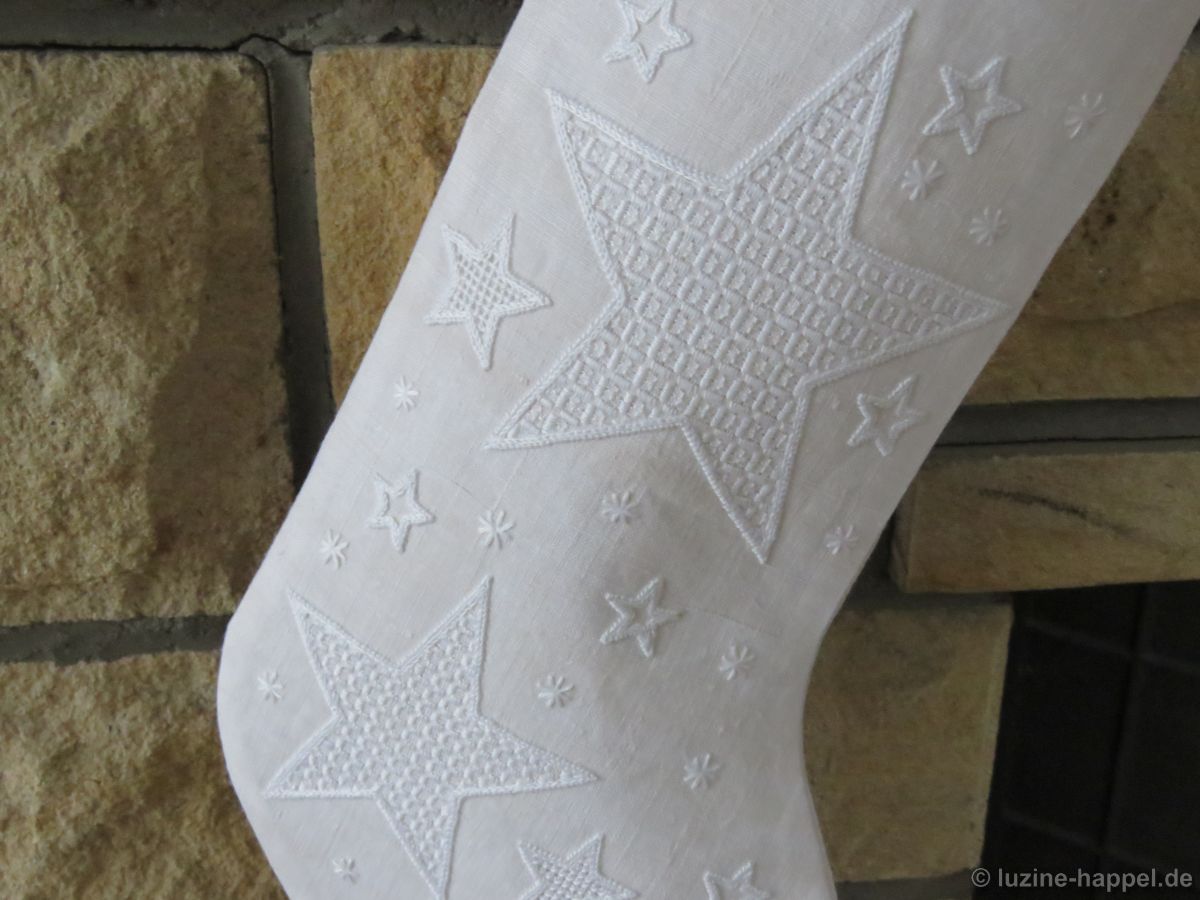
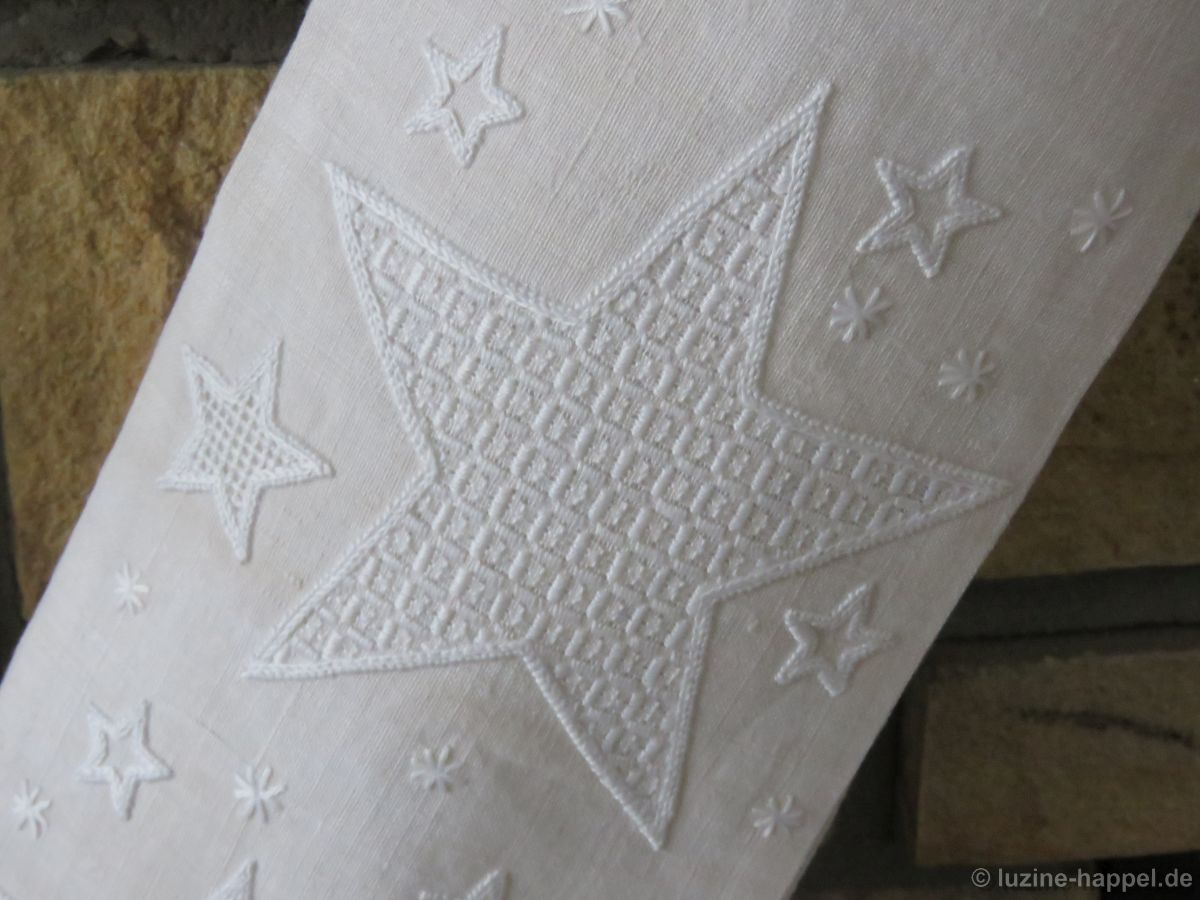
I replaced the metallic eggs with small embroidered Easter eggs. I used the design presented here and embroidered white eggs using filling patterns No. 540


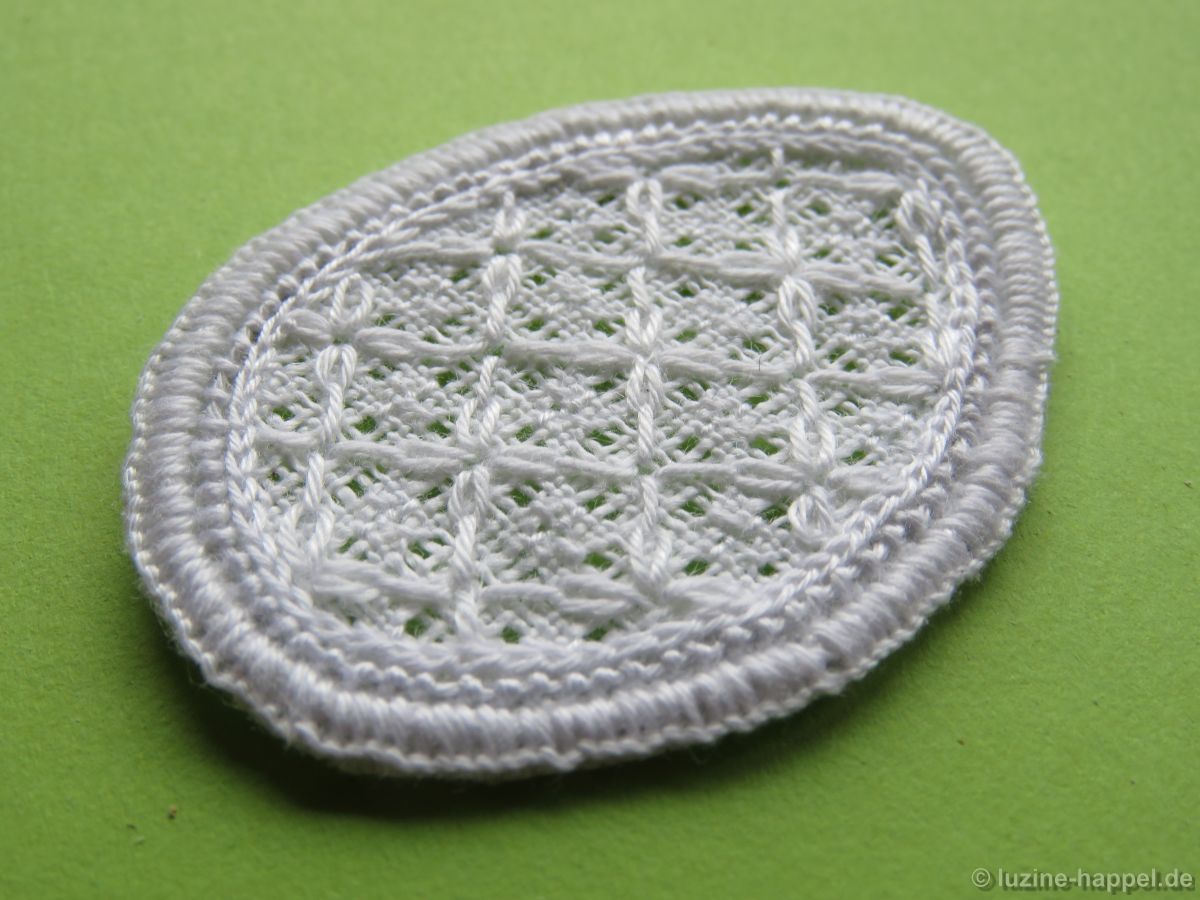
and “Kronjuwel” from the book Limetrosen II.
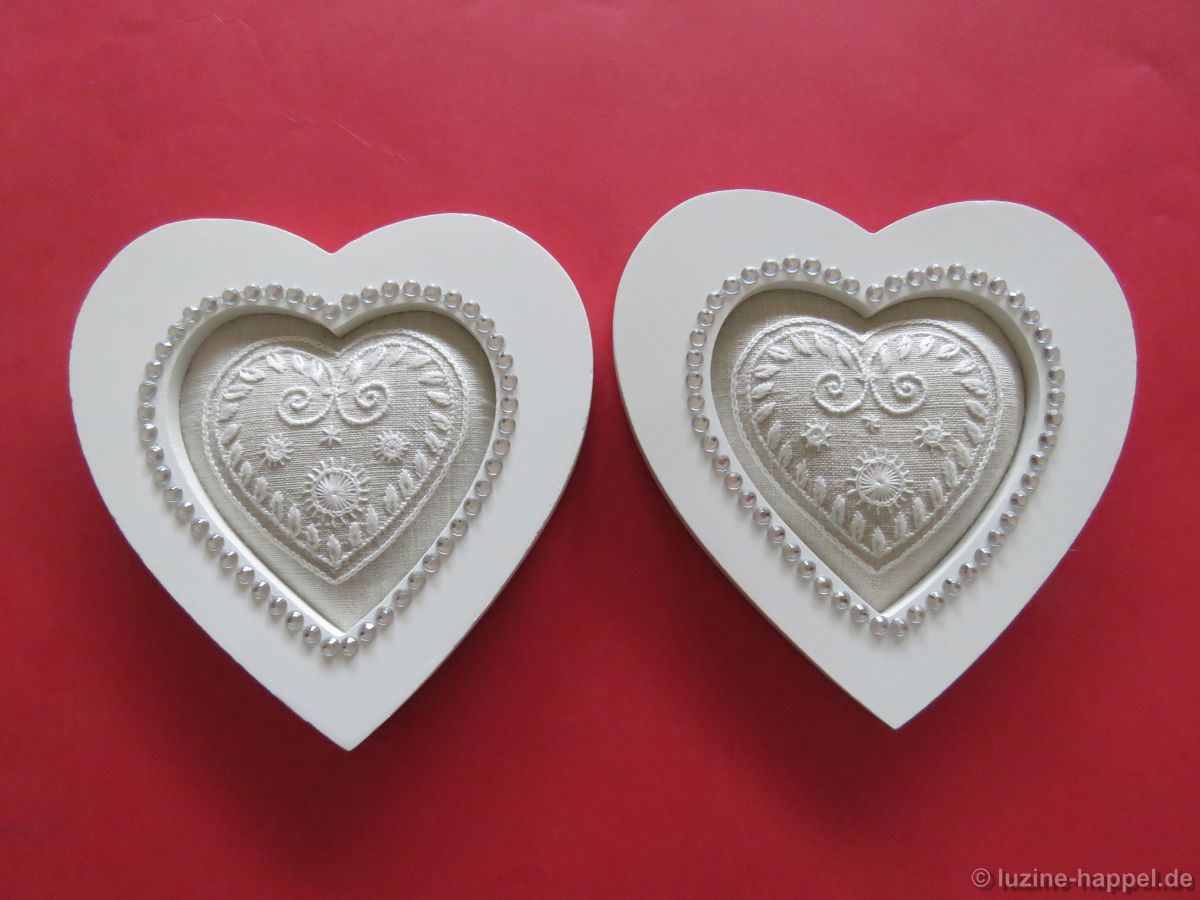
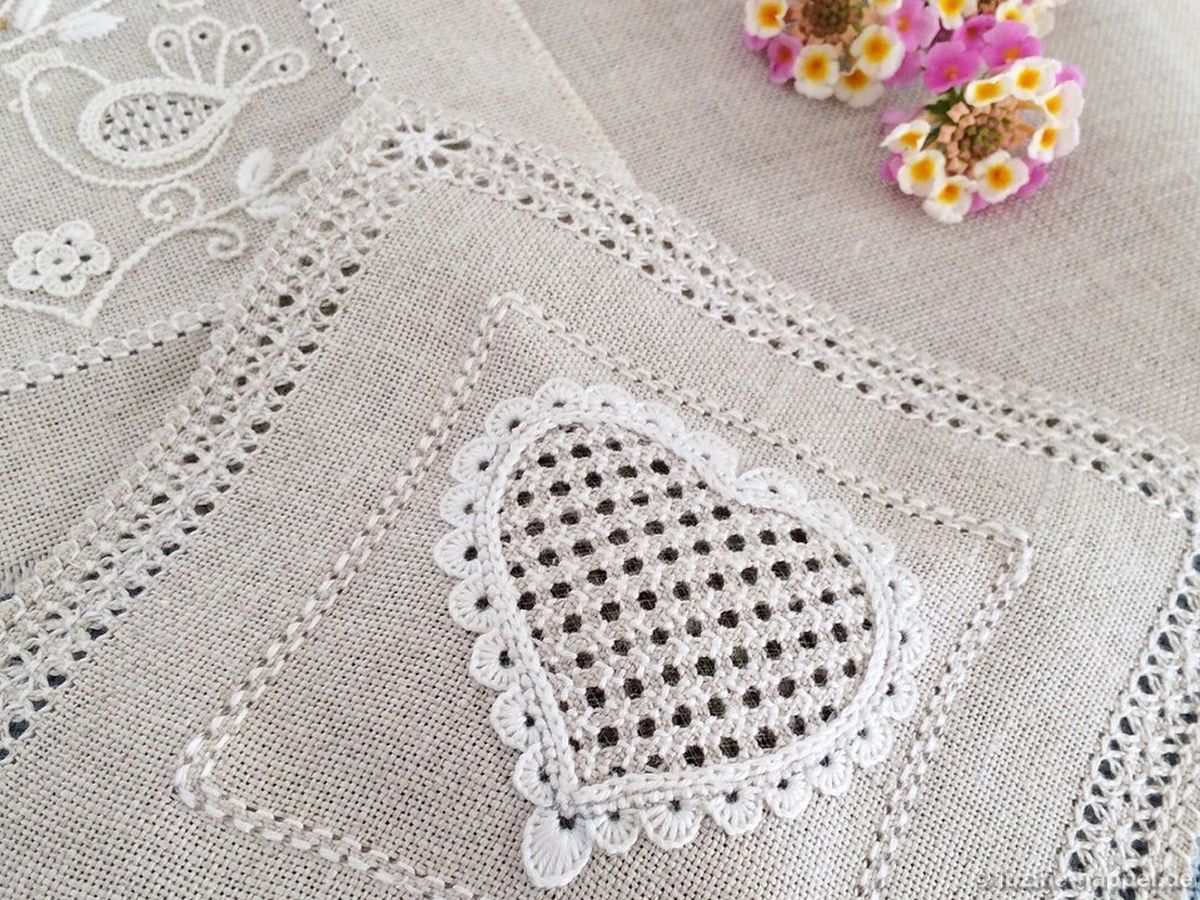
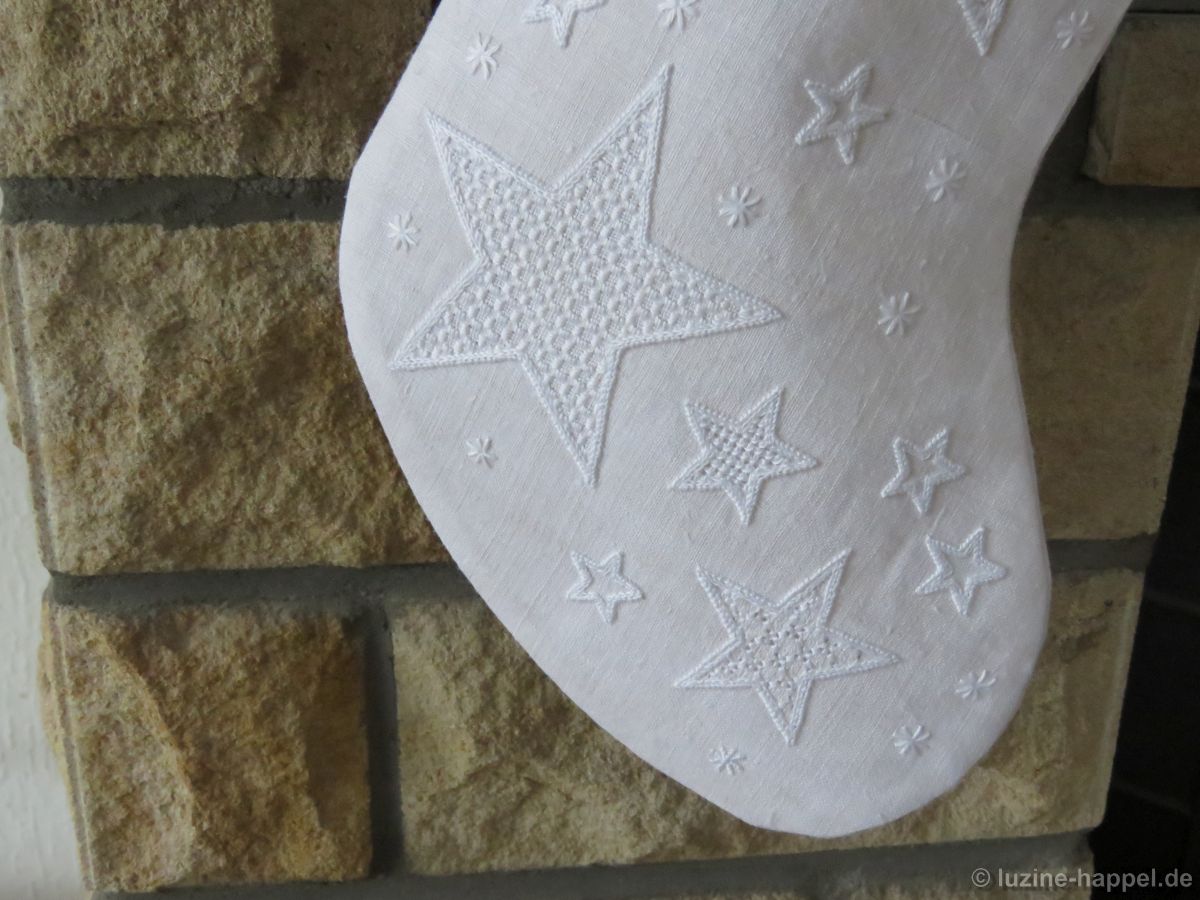
After boiling, the embroidery was heavily starched so that the cut piece holds its form.


I used a continuous white thread, because I found the big knots distracting,


and alternately strung beads, wooden discs, and embroidered Easter eggs on it.


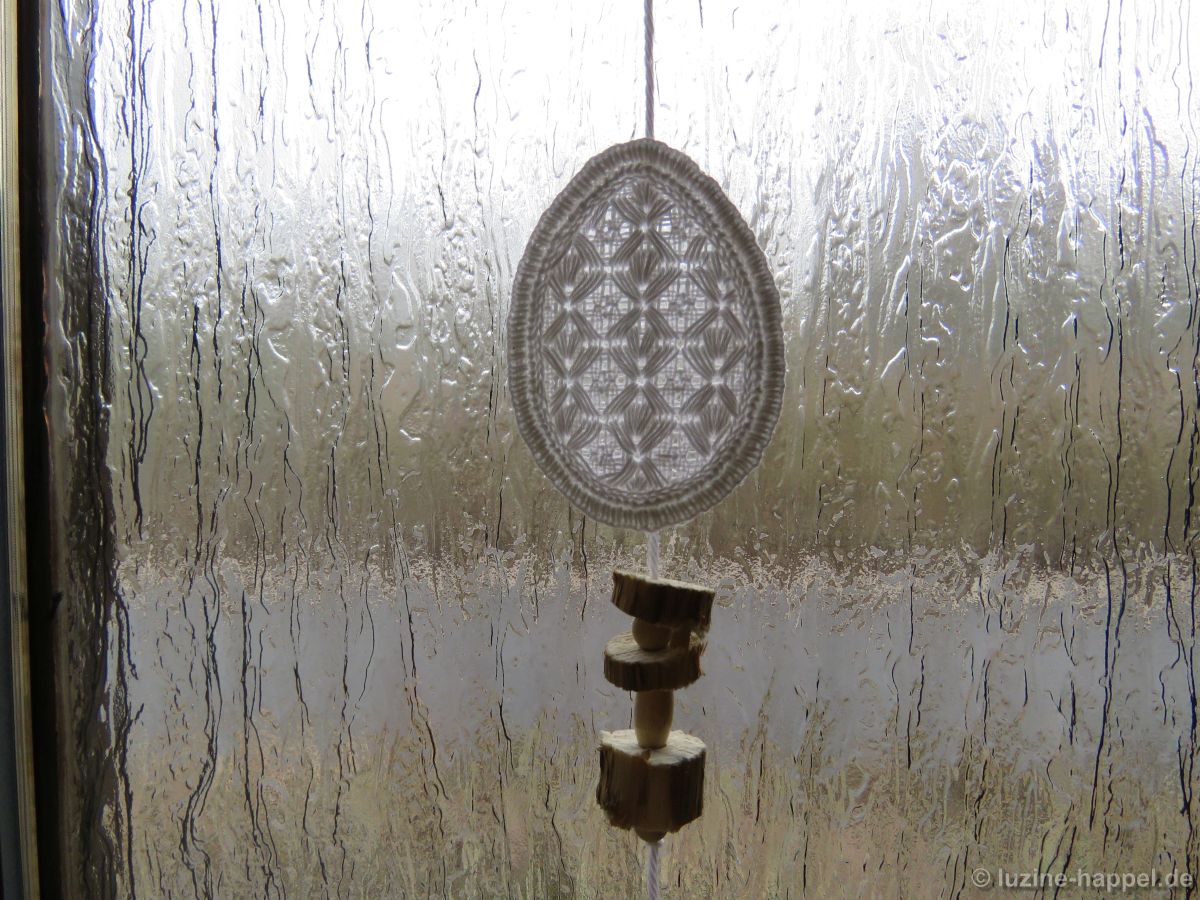
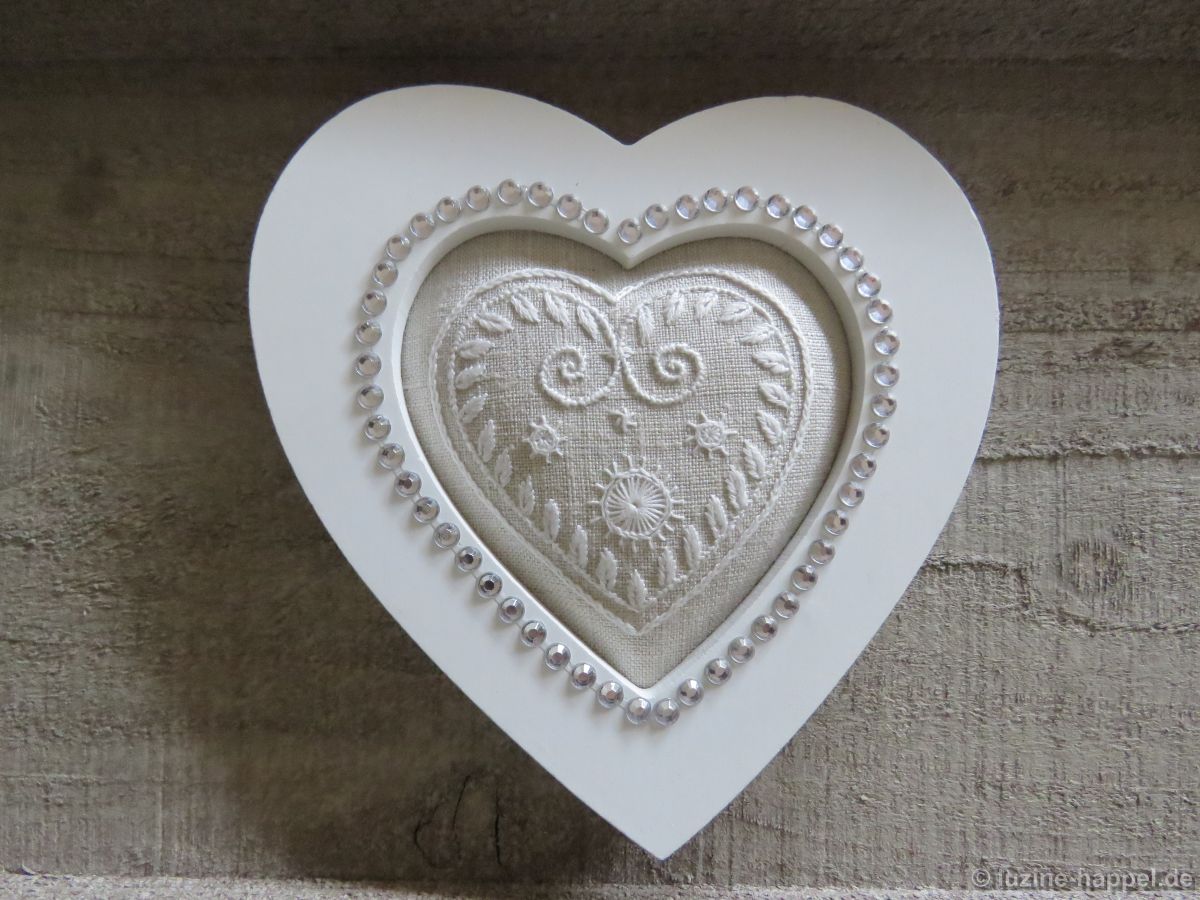
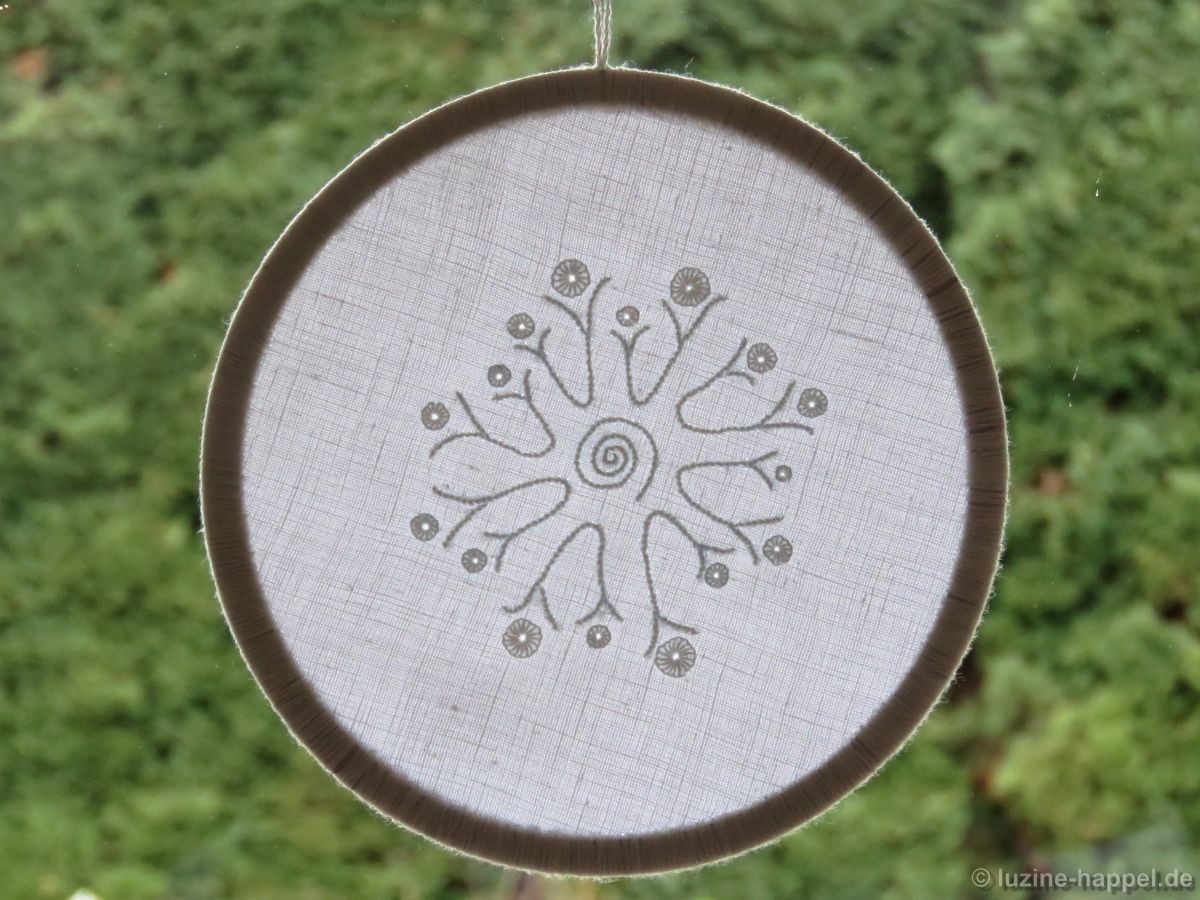
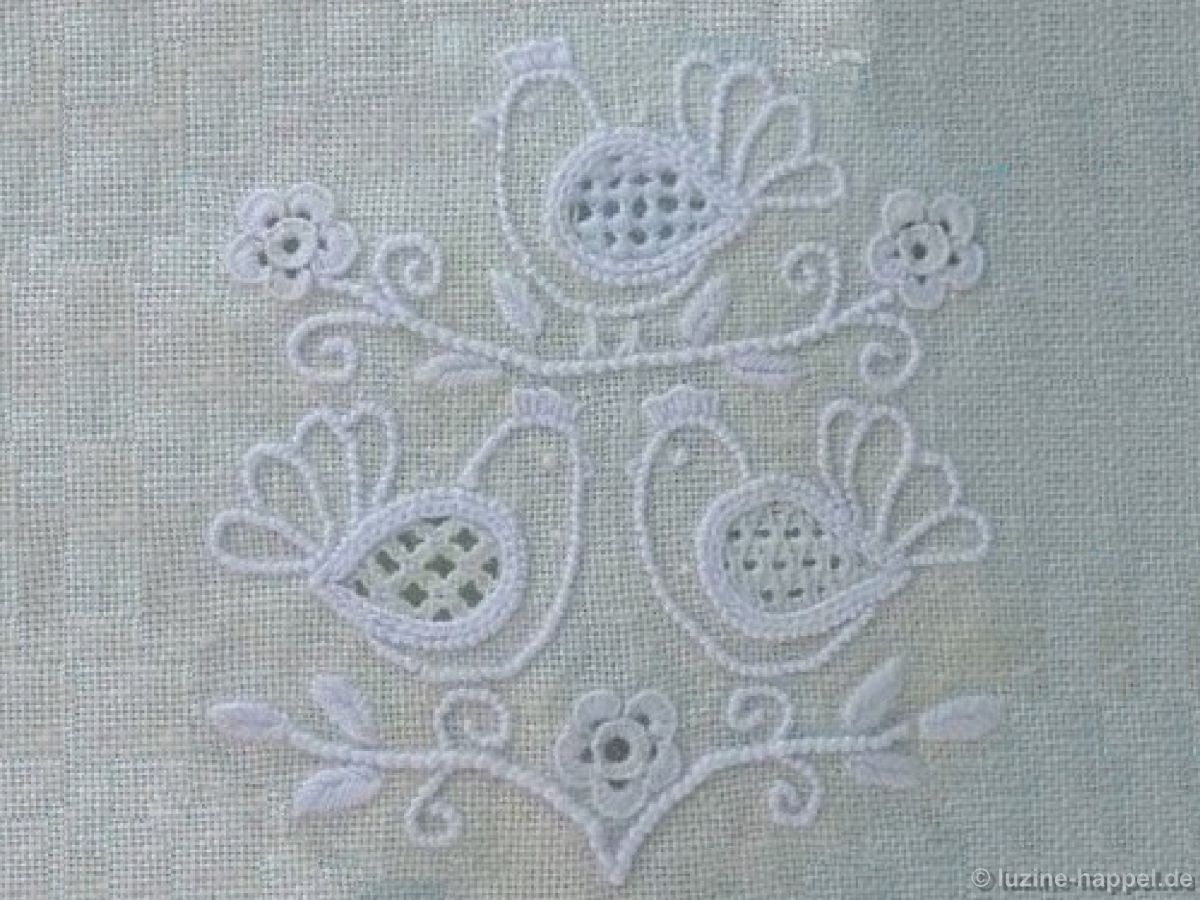
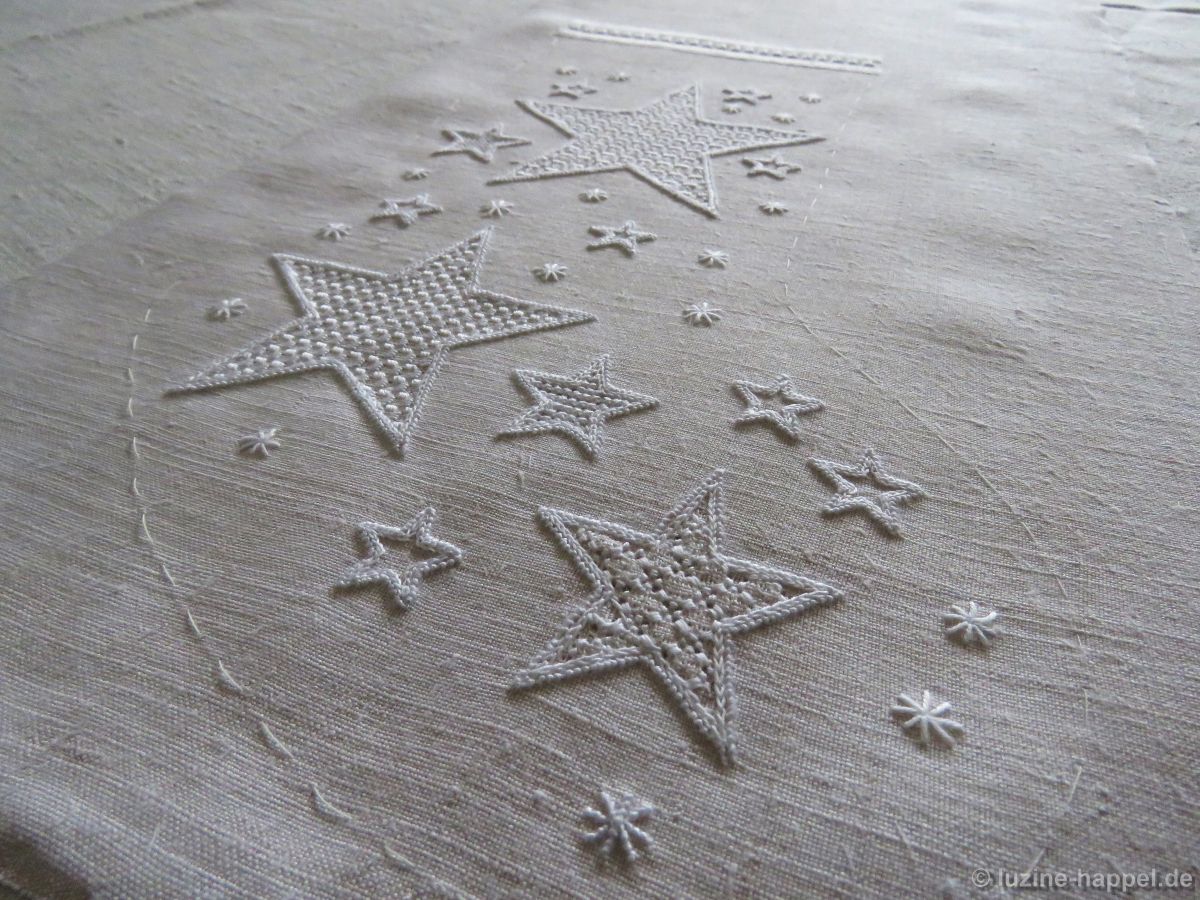
Illuminated from behind, as when placed on a window, the embroidery takes on an especially beautiful effect.


One can create short hangings with only one egg or longer hangings with a couple of eggs.

Hearts in Wooden Frames

I have shown cutout hearts, mounted on slate hearts and mounted in metallic frames. This year’s Valentine’s Day hearts will be mounted in heart-shaped wooden frames originally made for displaying photos.


First, the opening of the frame is traced onto paper.


A heart design is drawn to fit the shape (but notice that the embroidered heart must be smaller than the frame opening). I wanted the pattern to be cute, so I incorporated many small leaves and Eyelash stitches.


Handwoven linen with its natural colour and its distinctive structure is the right fabric for this project.


Very soon both embroideries were finished, washed, starched, and ironed.


The image below shows how different the two embroideries look with and without wadding. The embroidery on the right, with wadding, is much more prominent.


A layer of poly fleece was placed on the back of the embroidery.


The fleece was secured by stitching along the Coral Knot line.


With a red background the heart duo is a nice decoration for Valentine´s day;


with a neutral background the hearts become a pretty all-year decoration.

Design for Practice Exercises

The artist Gudrun Hartwig designed one more beautiful small design for practicing Coral Knot stitches, tendrils, forks, and Blanket stitch eyelets.

The design is transferred to the linen (here: 20/cm thread count). Using coton à broder No. 20 Coral Knot stitches are worked. It is best to start with the tendril.

Start working a branch anywhere on the design. Do not secure the beginning tail of the thread, but let 10 cm of thread remain on the front of the fabric. (Keeping the beginning tail of the thread on the front instead of the back of the fabric ensures that it will not be caught in the stitches.)

Work the first section of the branch. Work a somewhat wider Coral Knot stitch directly after passing the fork.

Continue working in the established way until reaching the next fork. Again work a somewhat wider stitch and continue in the established way.

Reaching the end of the line, on the back secure the working thread in the stitches just worked to arrive back at the fork.

From there work the offshoot.

Now thread the beginning tail of the thread, bring it to the back of the fabric, and slide it through the stitches to the fork.

From there work the offshoot and secure the thread.

Working this way, all forks turned out well.

Using coton à broder No. 25 work the Blanket stitch eyelets.

Since the back side is relatively tidy,

I used this piece to make a two-sided ornament per Cindy Russell’s instructions. My circle cutter has at last leaped into action!

See what my readers have embroidered in 2017!

At the beginning of 2017, I received a picture from Yoko Miyamoto from Japan. Since 2017 is the year of the cock, she embroidered a nice picture of a weathercock. Isn´t it beautiful?
Cocks, hens, and birds were popular designs with my readers this year.
Bettina Limburger from Germany sent me a picture of her Easter “tree.” It is lovely with a couple of embroidered eggs made in natural colours from my 24 small designs.
Marina Pastushenko from Turkey and her friend Kate Vasilieva amaze me with their perfectly embroidered variations of French Hens.
Both speak Russian and now teach Schwalm whitewotk in Russia! They also attend a craft fair in Moscow and show Schwalm embroidery there.
Their Russian-speaking students know very little about Schwalm embroidery, but they already love it! Also, the projects of their students are worth seeing.
I am particularly impressed with the work of Cindy Russell from the United States. First, she sent me a beautiful two-sided ornament of a Happel Heart.
She wrote, “In preparation (practice, practice!) before doing a large Schwalm piece, I´ve been working on a series of heart ornaments. They are admired by everyone who sees them, and they are very fun to do.”
I have never seen such a finishing technique before, so I asked her how she did it. She told me, and at once I ordered a circle cutter – I am ashamed to admit that so far it is unpacked!
Cindy not only gave me directions, but she also promised to make a clean and clear description.
She d i d!
Some weeks later I received the document, and what a document it is – the steps are explained exactly and with great detail accompanied with clear pictures.
She gave me permission to publish the pdf document on my blog so that all of you can easily download it for free. Hasn’t Cindy given us a very special present for the start of the New Year?
She wrote, “If anyone has questions they are welcome to ask.”
Her email-address is included on the downloadable document.

A hearty “Thank You” to Cindy and all the others for sending pictures of their progress. And thanks a million to those who gave me permission to feature their projects in this blog post.
To all I wish limber fingers, keen eyesight, and plenty of time for the most beautiful stitching moments.

Happy New Year!

Advent Calendar – No. 24


Stocking

Linen: old handwoven with an 18/cm thread count, cut to 27 cm X 84 cm
Threads: coton à broder No. 16 for the Star stitches of the small stars, No. 20 for Coral Knot stitches, No. 30 for the Chain stitches and the filling patterns.
Design: No. 27 size 3
Filling patterns – from small to large: Double Crosses in straight rows (Openwork Pattern Samplers); Cable stitch grid (Openwork Pattern Samplers or Basic Principles of Schwalm Whitework); Röserich A2 on the straight of grain, adjacent sides on the bias (Röserich Filling Patterns); Grid (Wickelstiche); Raster with Rose stitches (Wickelstiche)
Border: Christmas stripe (Fancy Hems)
Additional items: fine cotton fabric for lining and hanging loop and some non-woven fusible interfacing for the back of the front side

Merry Christmas!