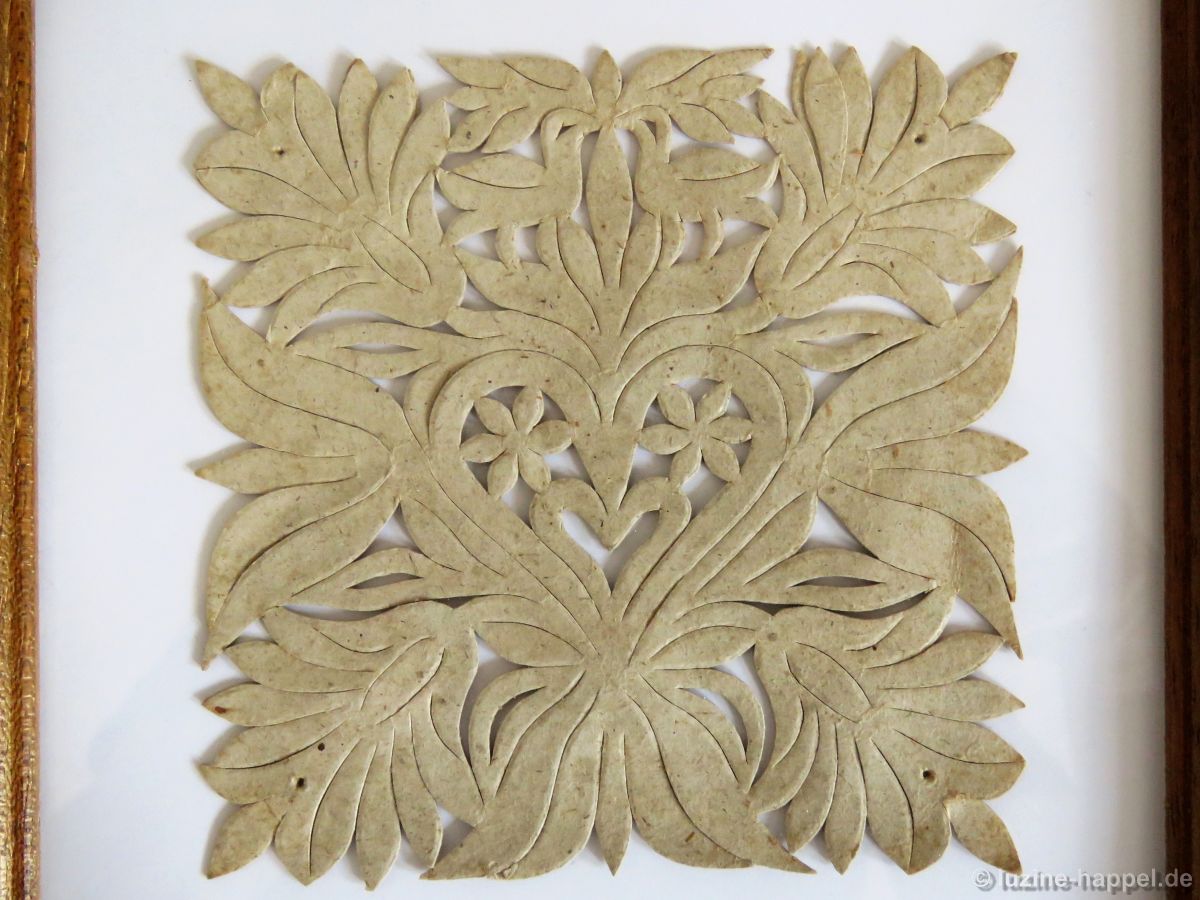
In the Schwalm designs often include birds; sparrows and doves are usually depicted. The sparrow represents fertility, and the dove represents freedom. However, the dove is less prominent in Schwalm designs than the sparrow.
Looking to many traditional embroideries, I found a lot of other bird shapes which are neither sparrows nor doves. I came across a stork, hoopoe, swallow, rooster, woodpecker, wren, duck, and peacock; in addition, there are others not so easily identified.
Now and then I show such bird motifs on my website. My readers have seen a bird shape from 1826 in this previous article; other birds were seen here and here, or in the Schwalm Bird Tree.
There are more birds hidden on my blog; simply do a search to find them.
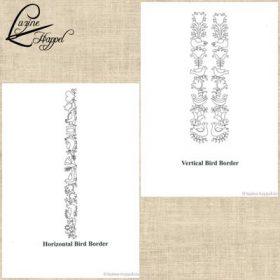
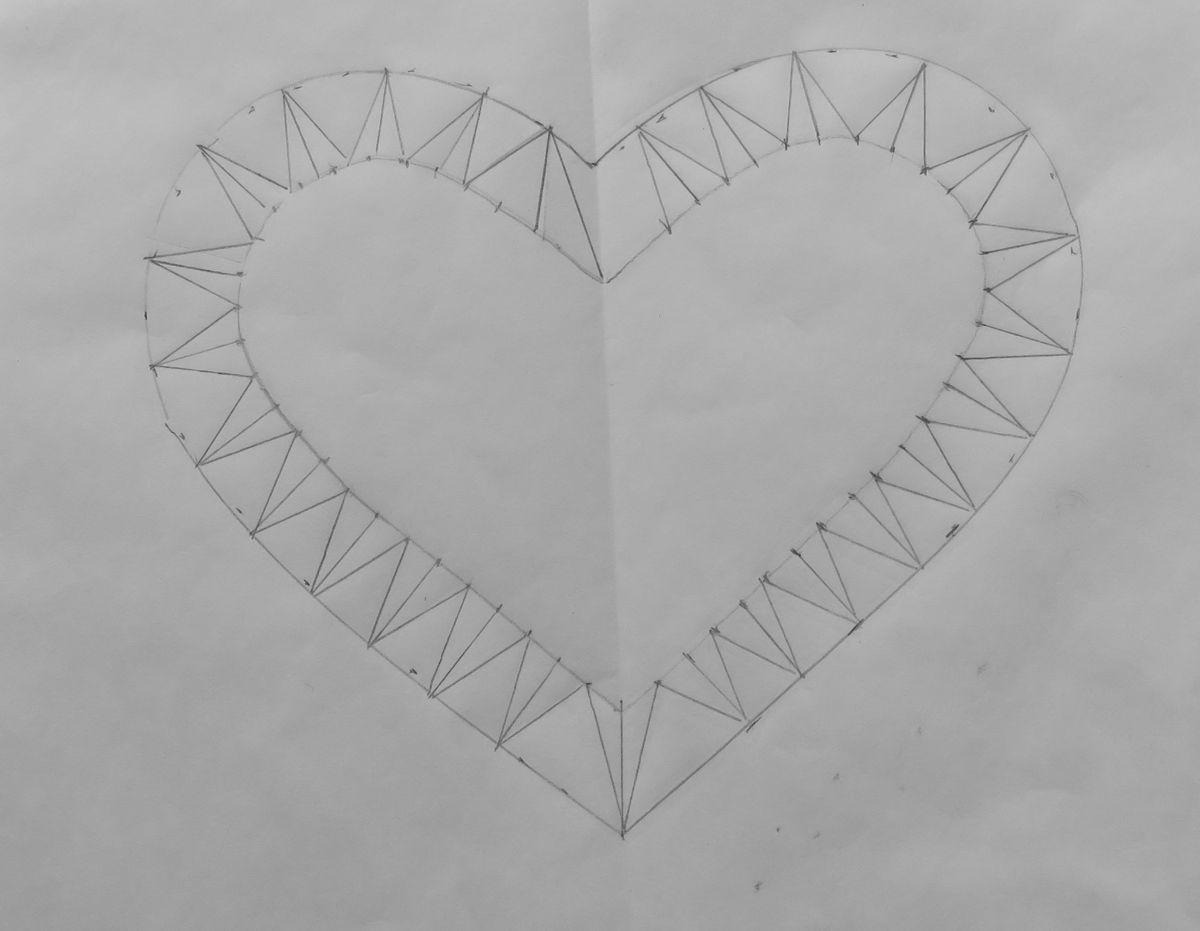
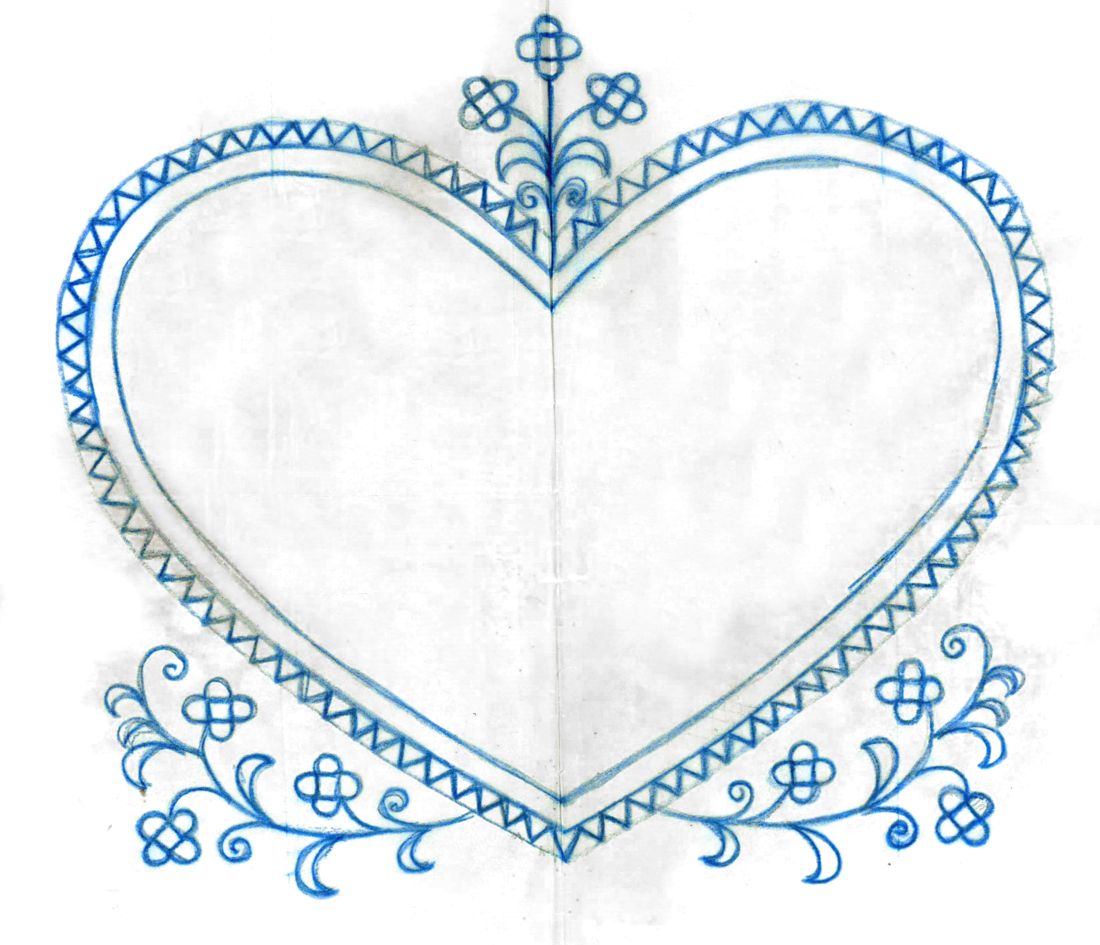
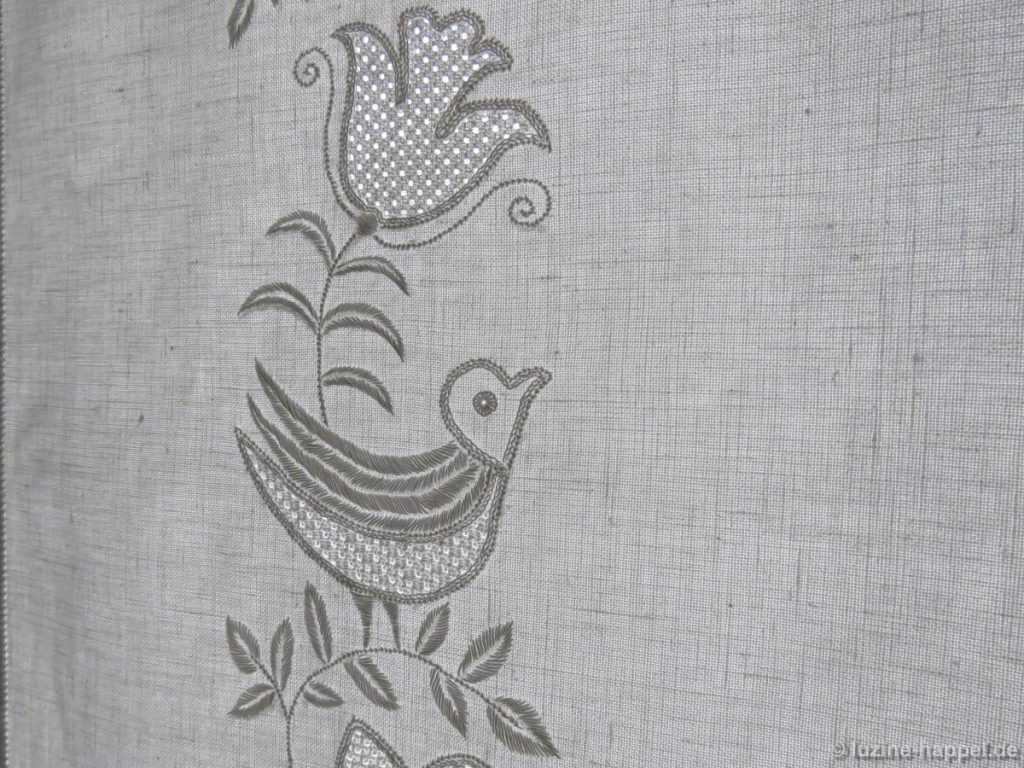
I asked the artist Gudrun Hartwig for border designs with traditional Schwalm bird shapes. She combined the bird motifs with special tulip designs we found in old Schwalm embroideries. In the end, she created two beautiful border designs – one is horizontal, and the other is a vertical. Both are made containing single parts; so it is no problem to shorten or lengthen the borders.
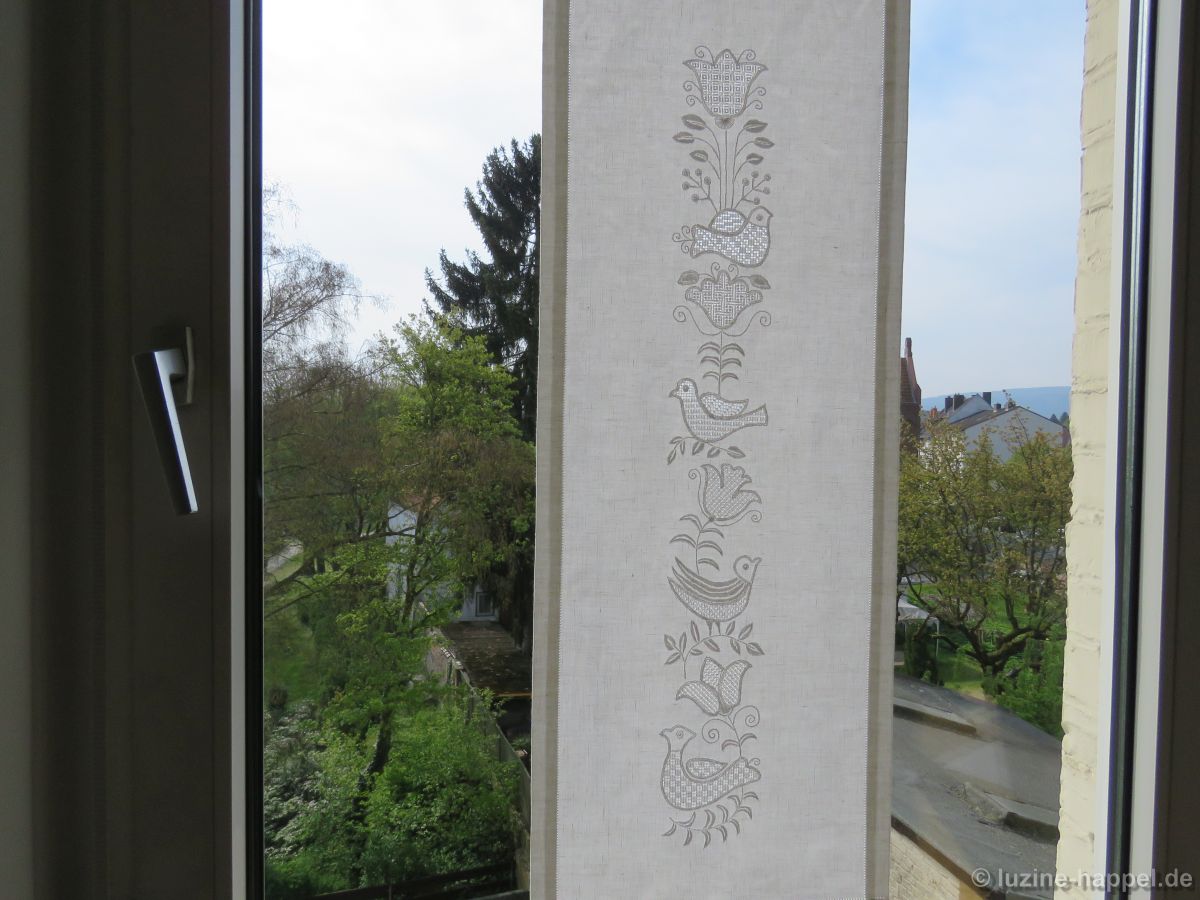
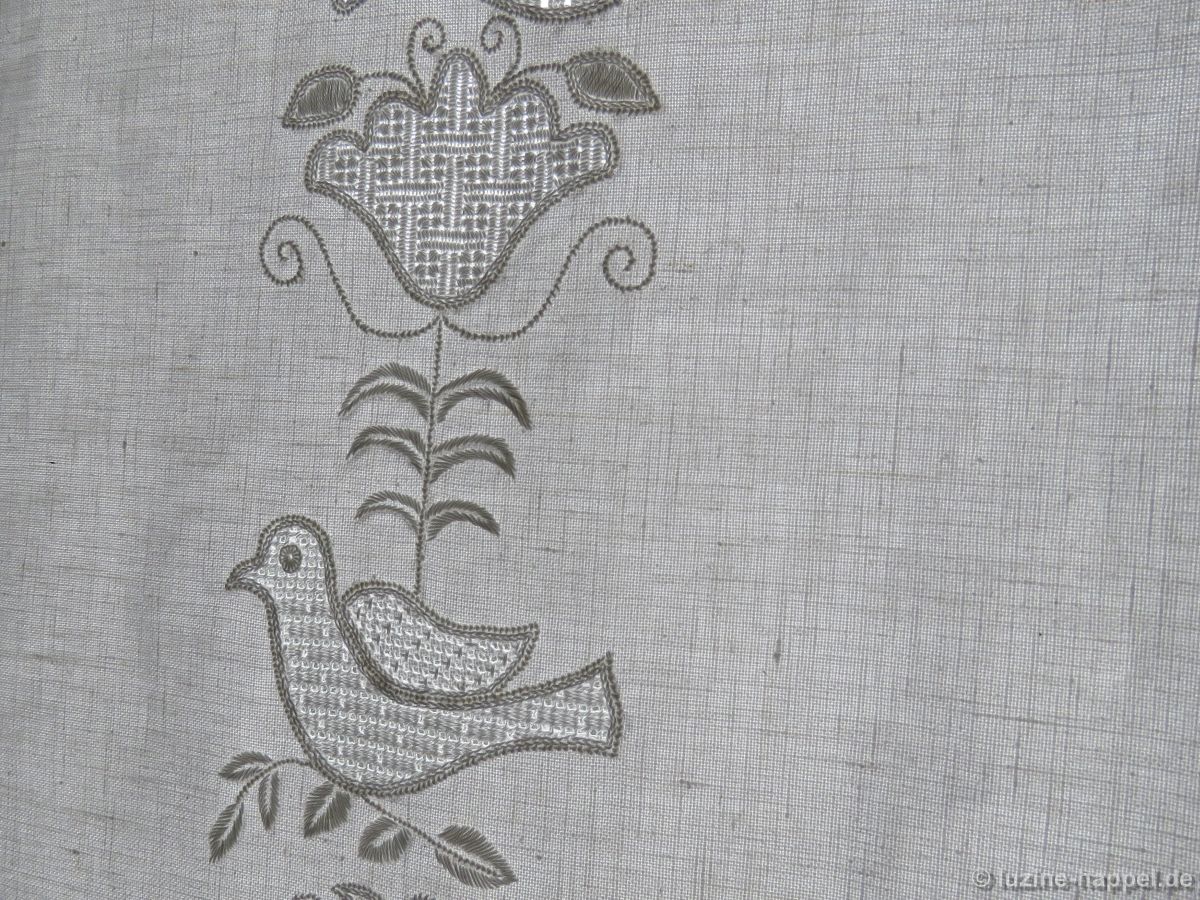
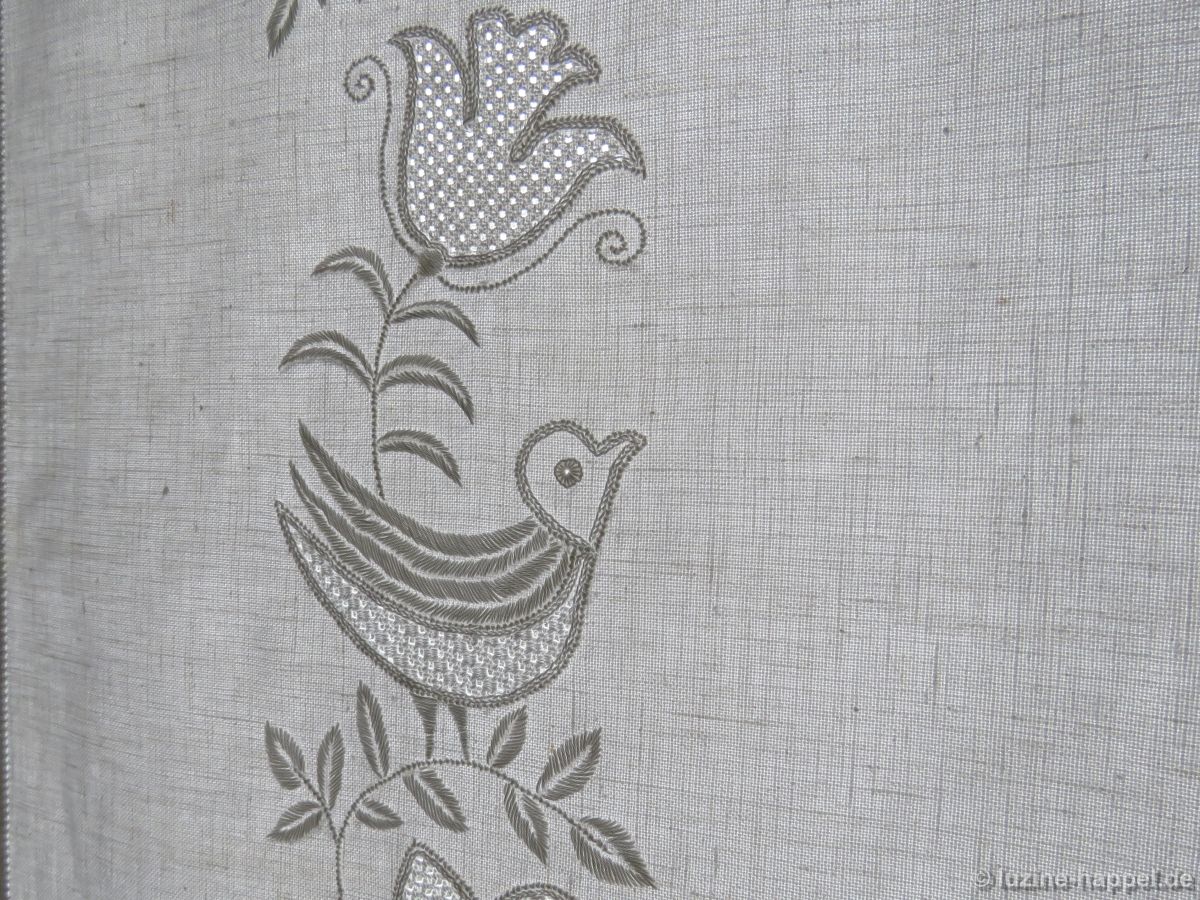
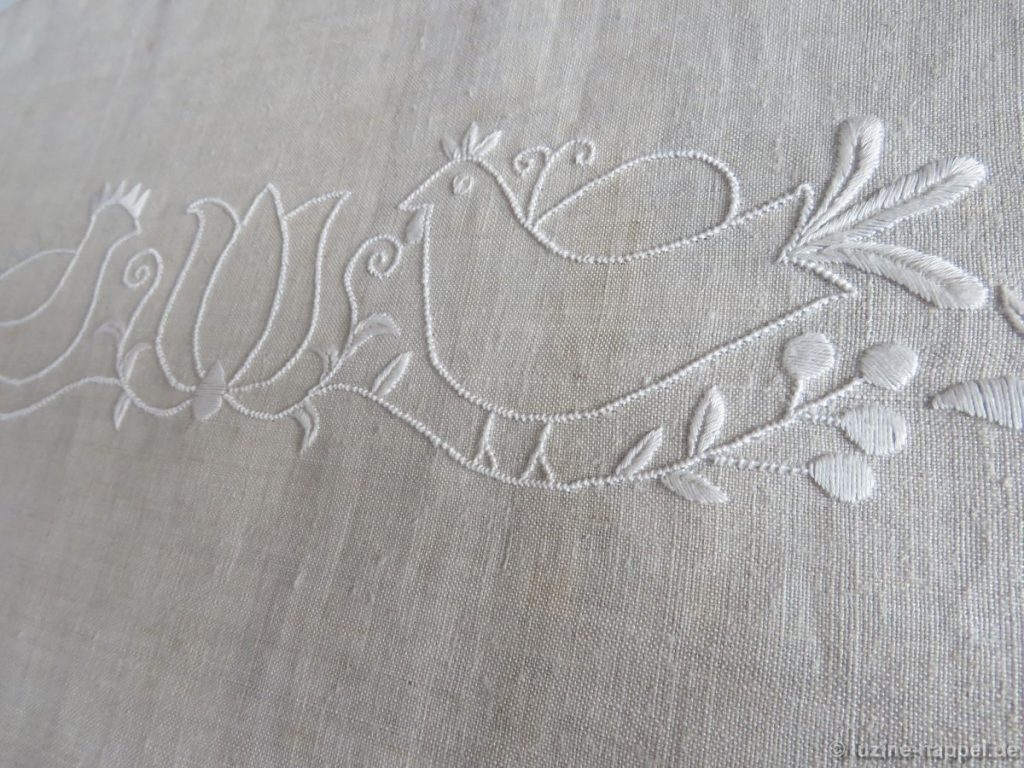
I used the vertical design to work a curtain.
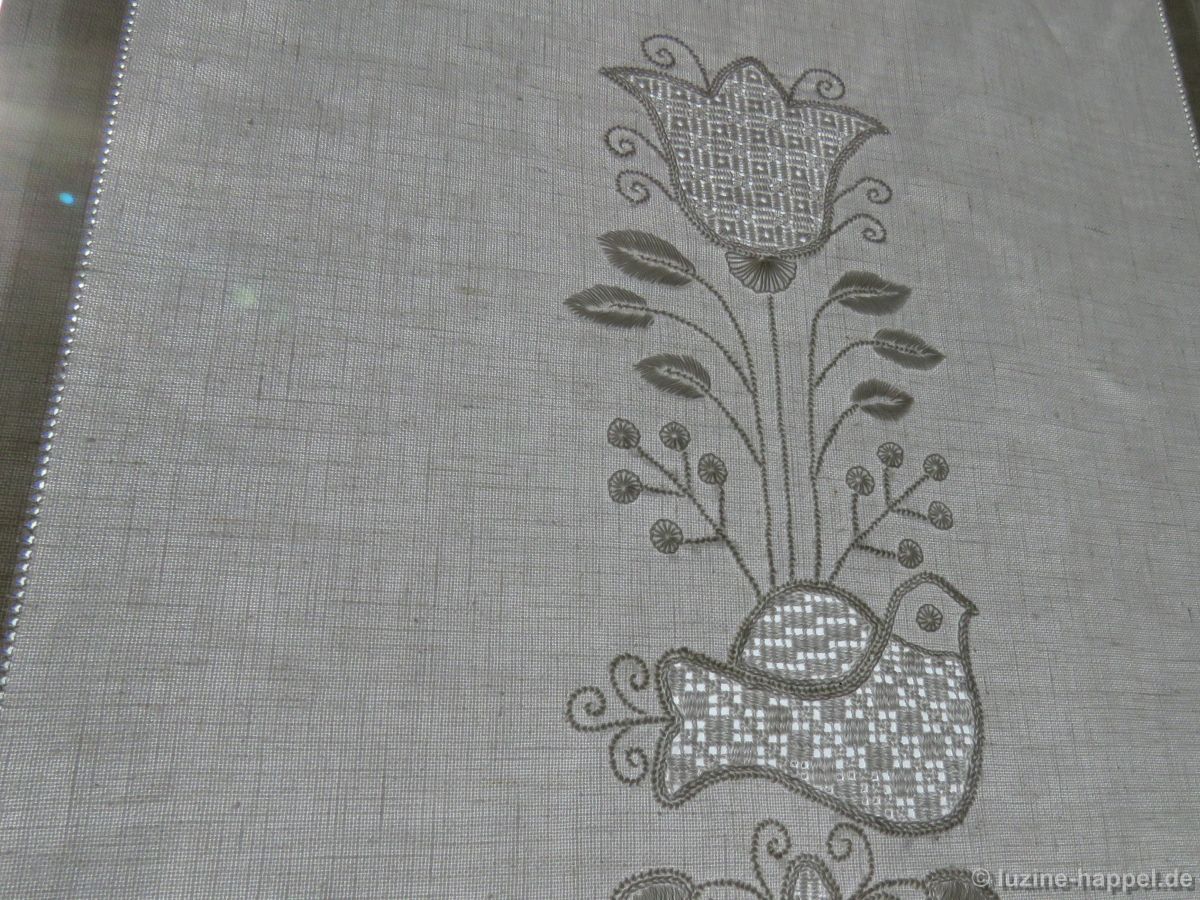
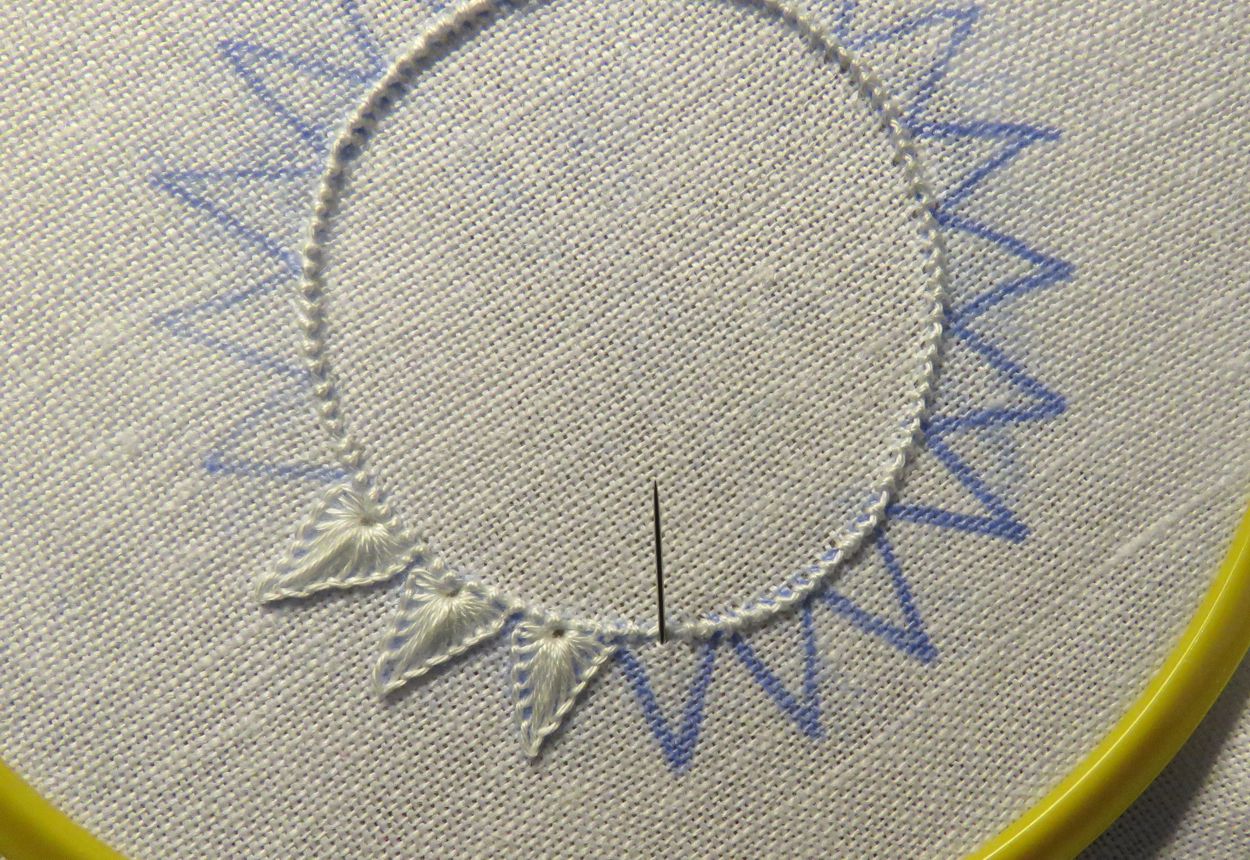
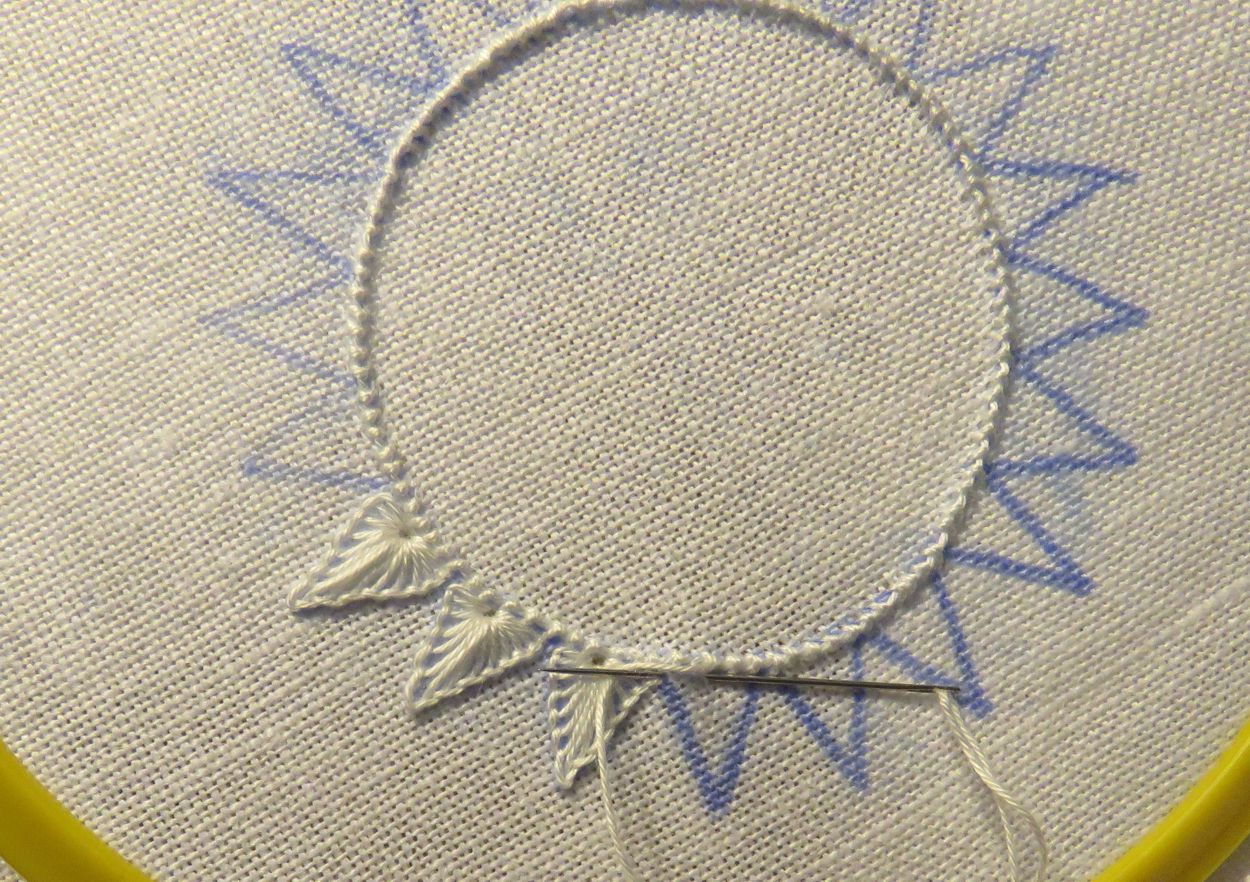
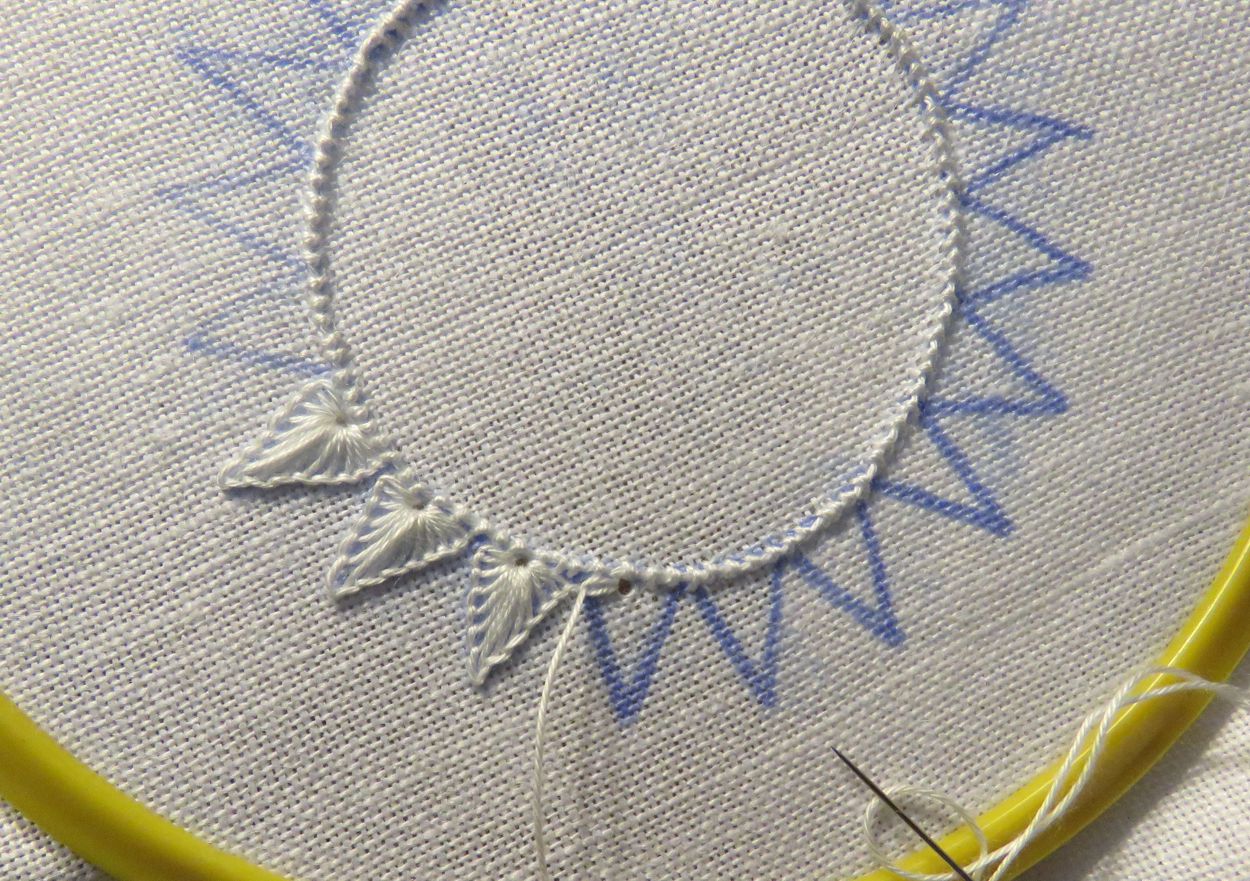
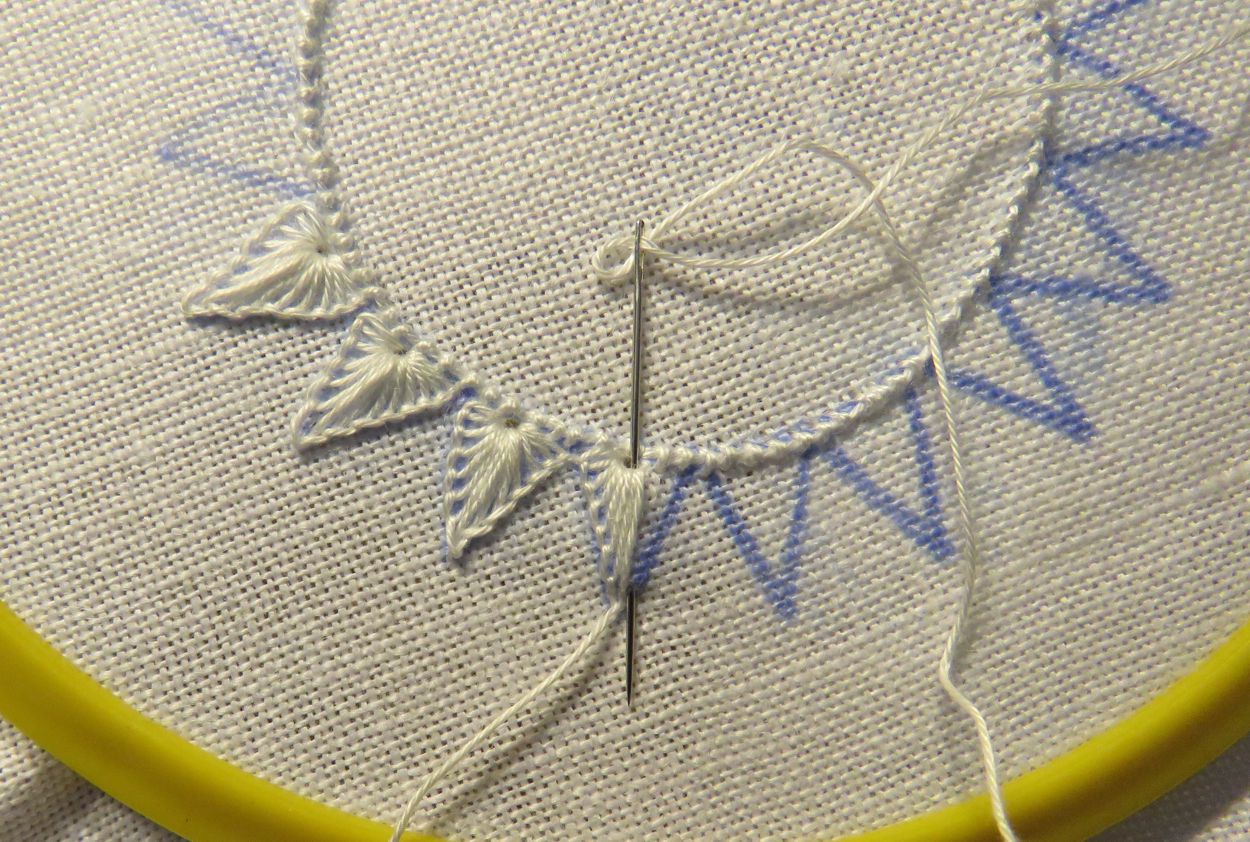
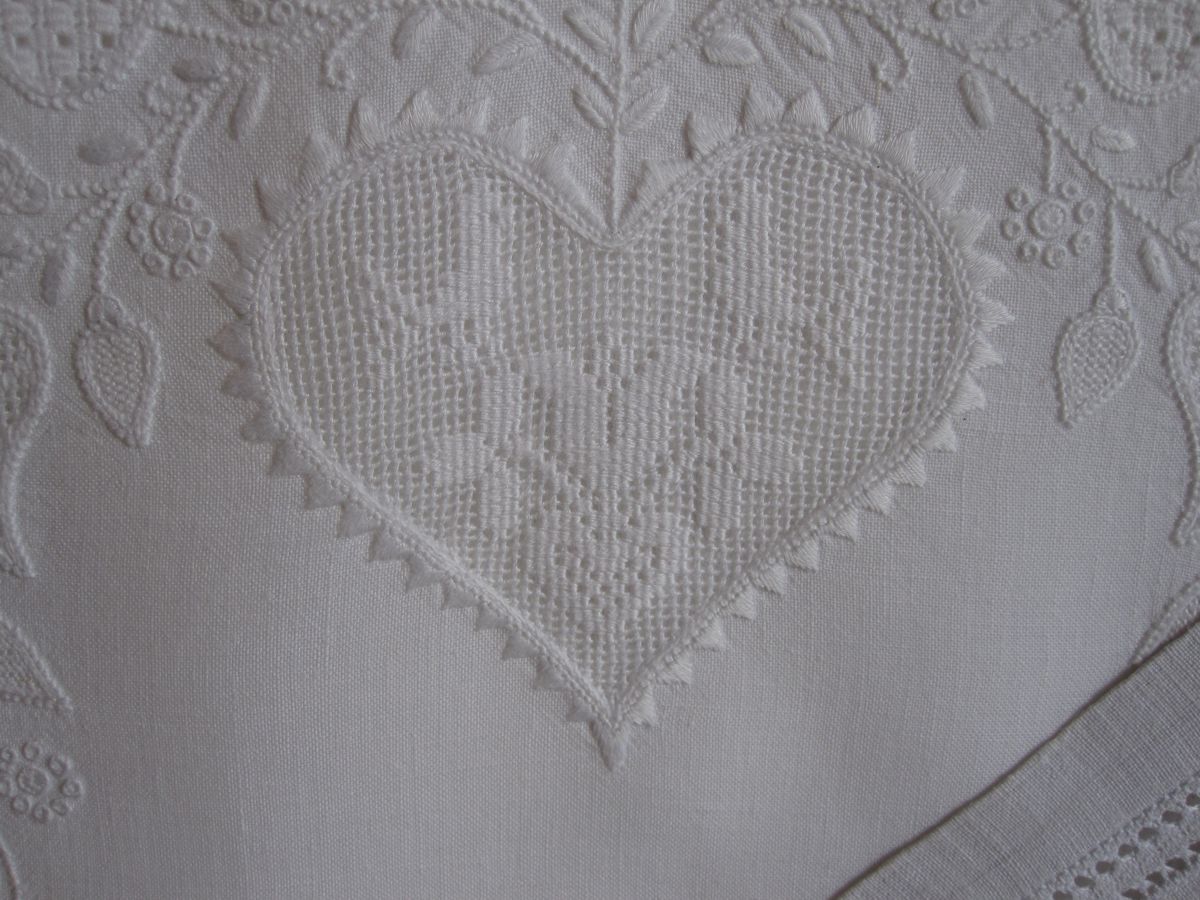
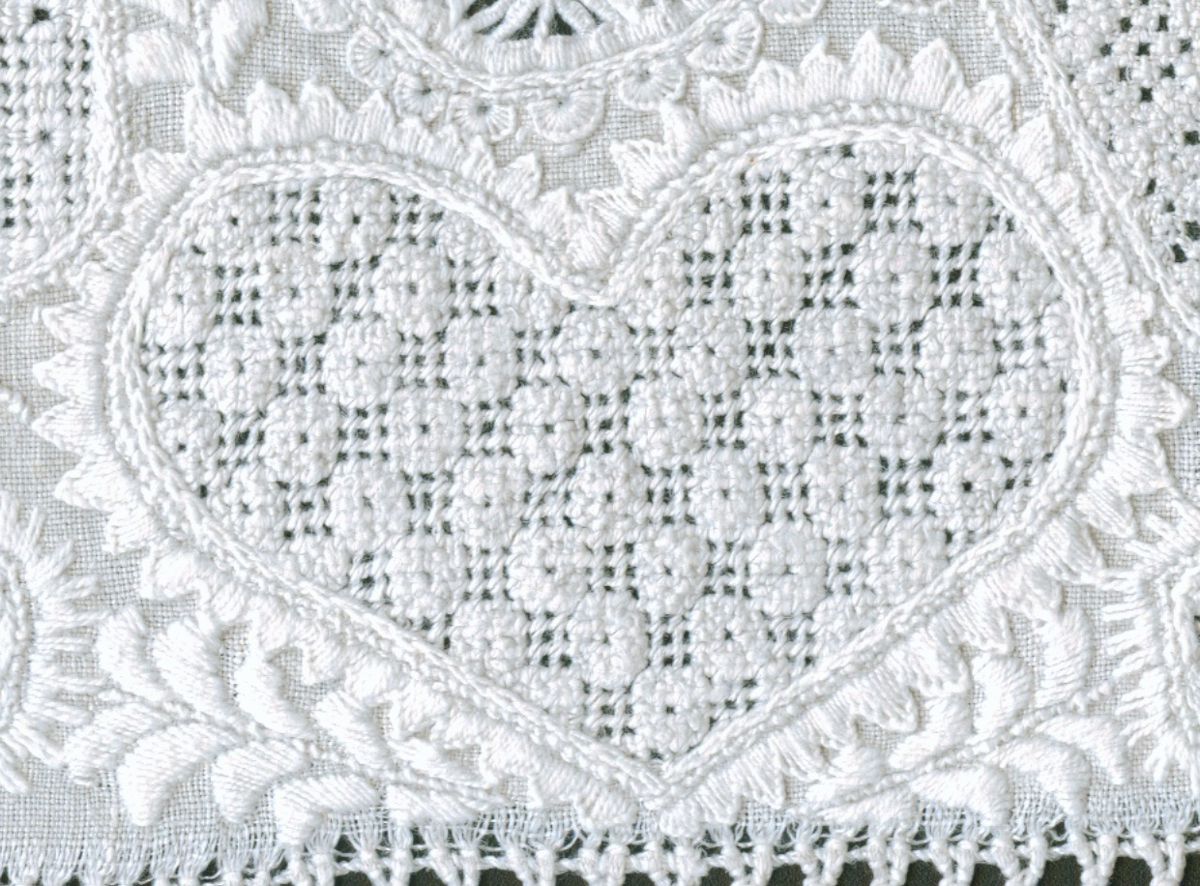
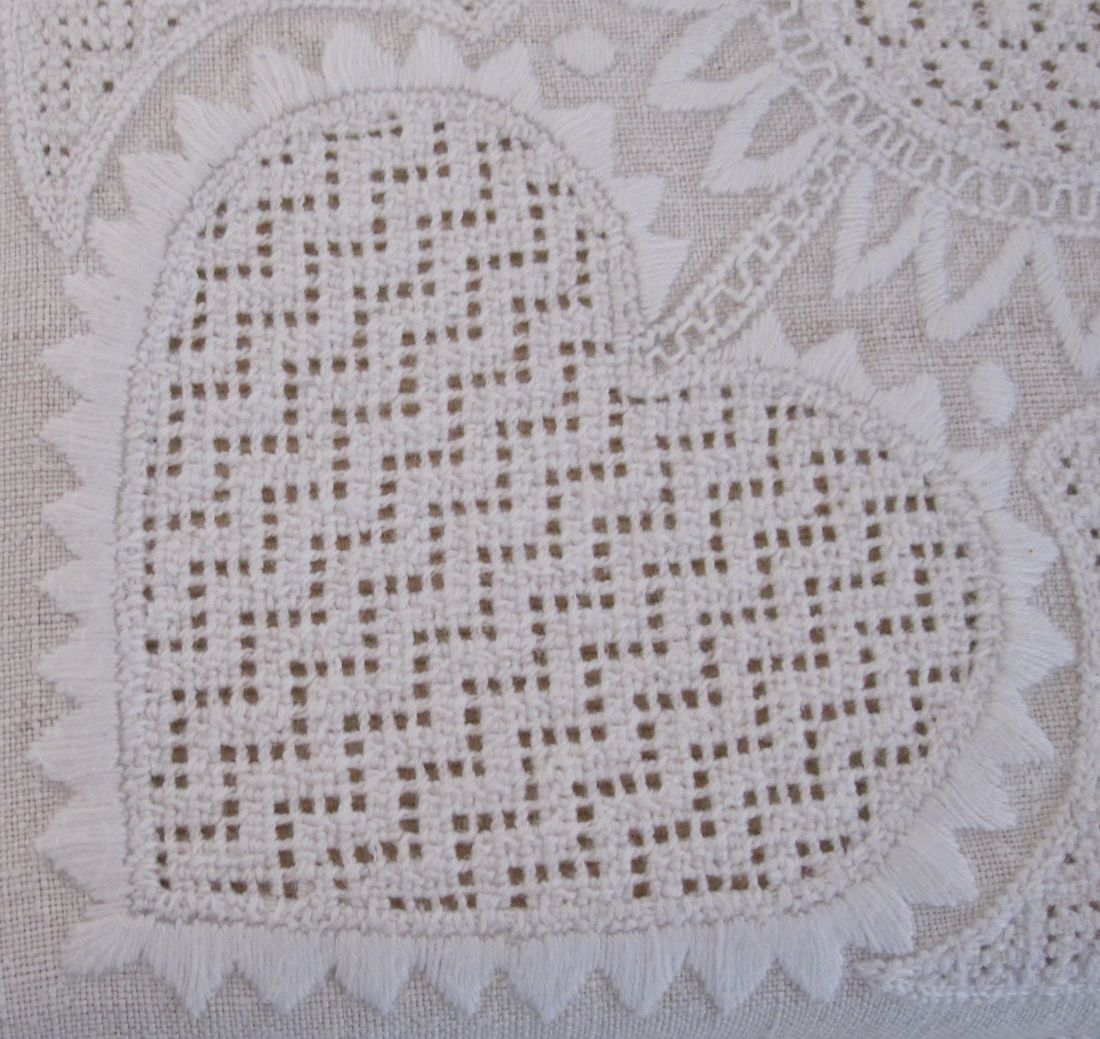
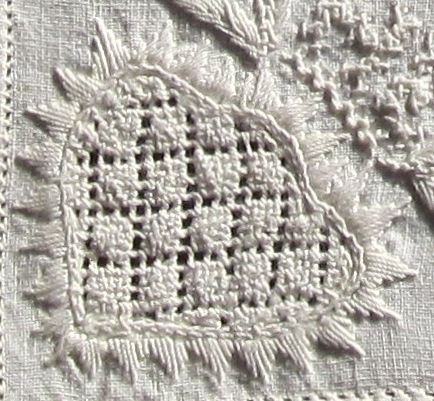
 Always a tulip and a bird – combined with leaves and other small elements of Schwalm whitework – constitute one part.
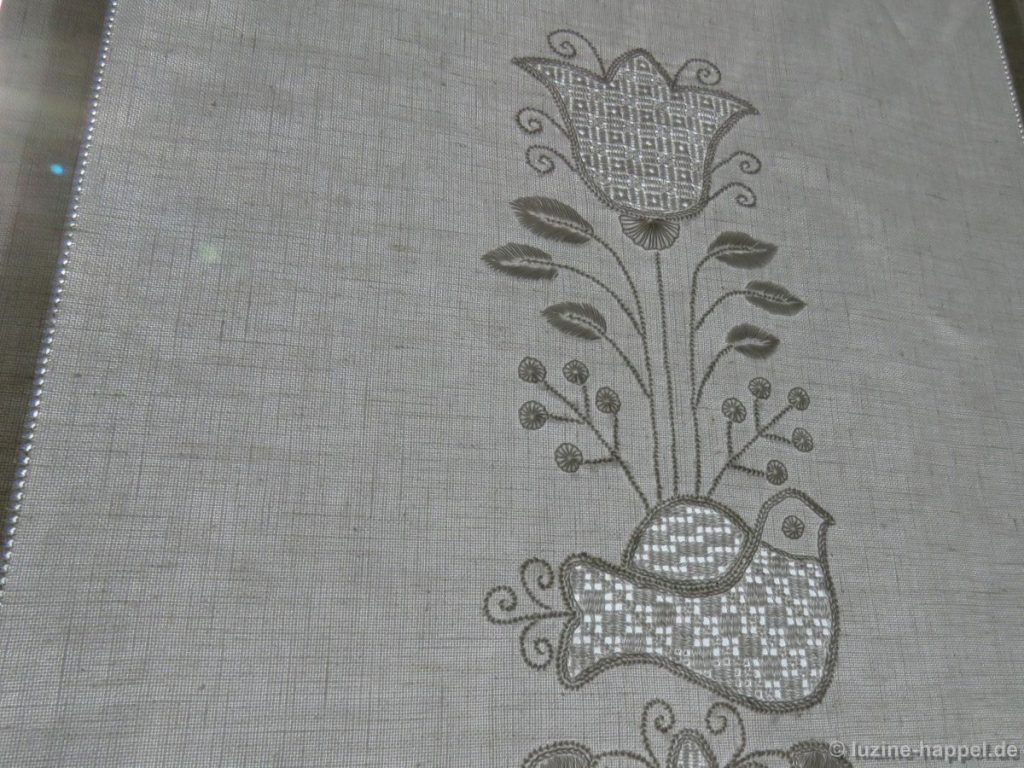 The border has a width of 10 cm.
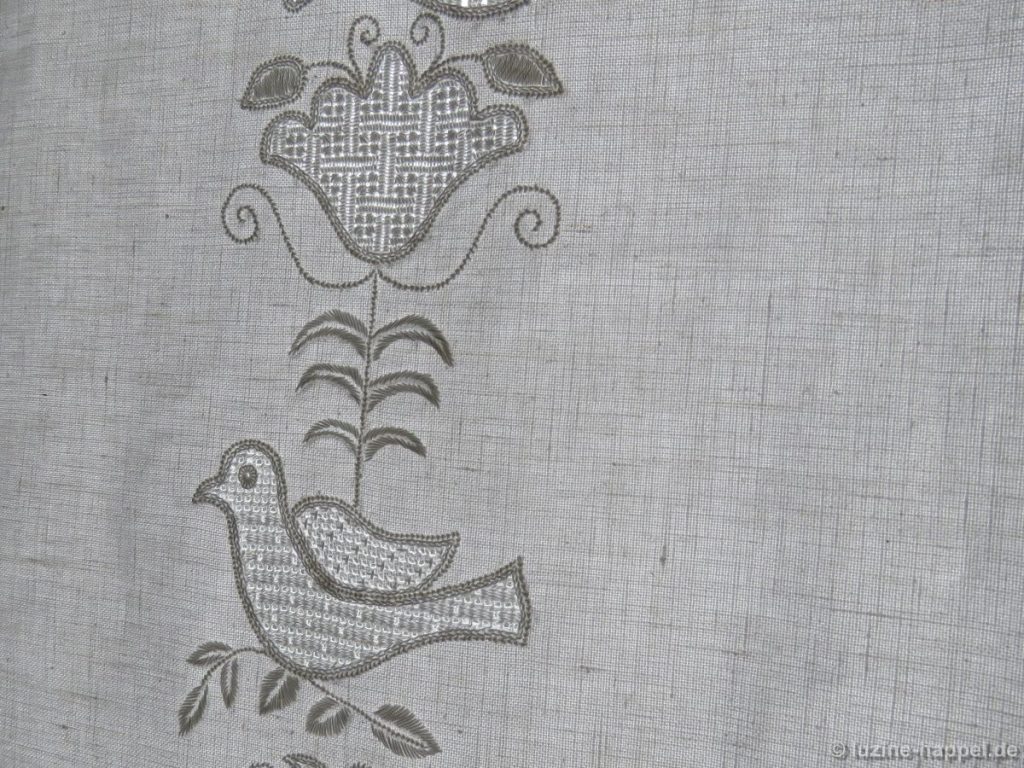 Using all four design parts, the border has a length of 75 cm in all.
 Natürlich kann man das Muster auch etwas vergrößern oder verkleinern. Aber die vorgeschlagene Größe eignet sich gut, um sowohl verschiedene Flächenfüllmuster Of course one can enlarge or narrow the design a small bit, but the provided size is pretty good for using different filling patterns and also for embroidering the leaves very well.
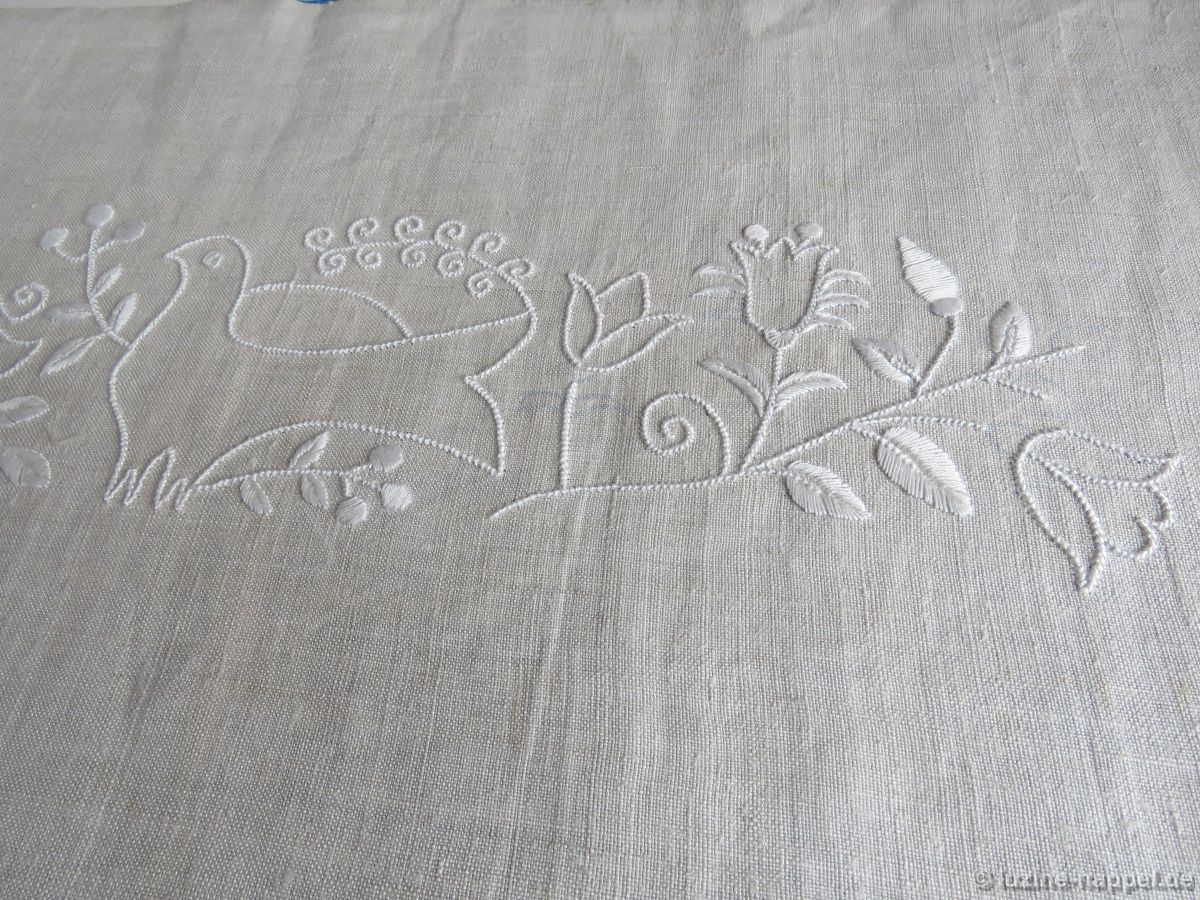
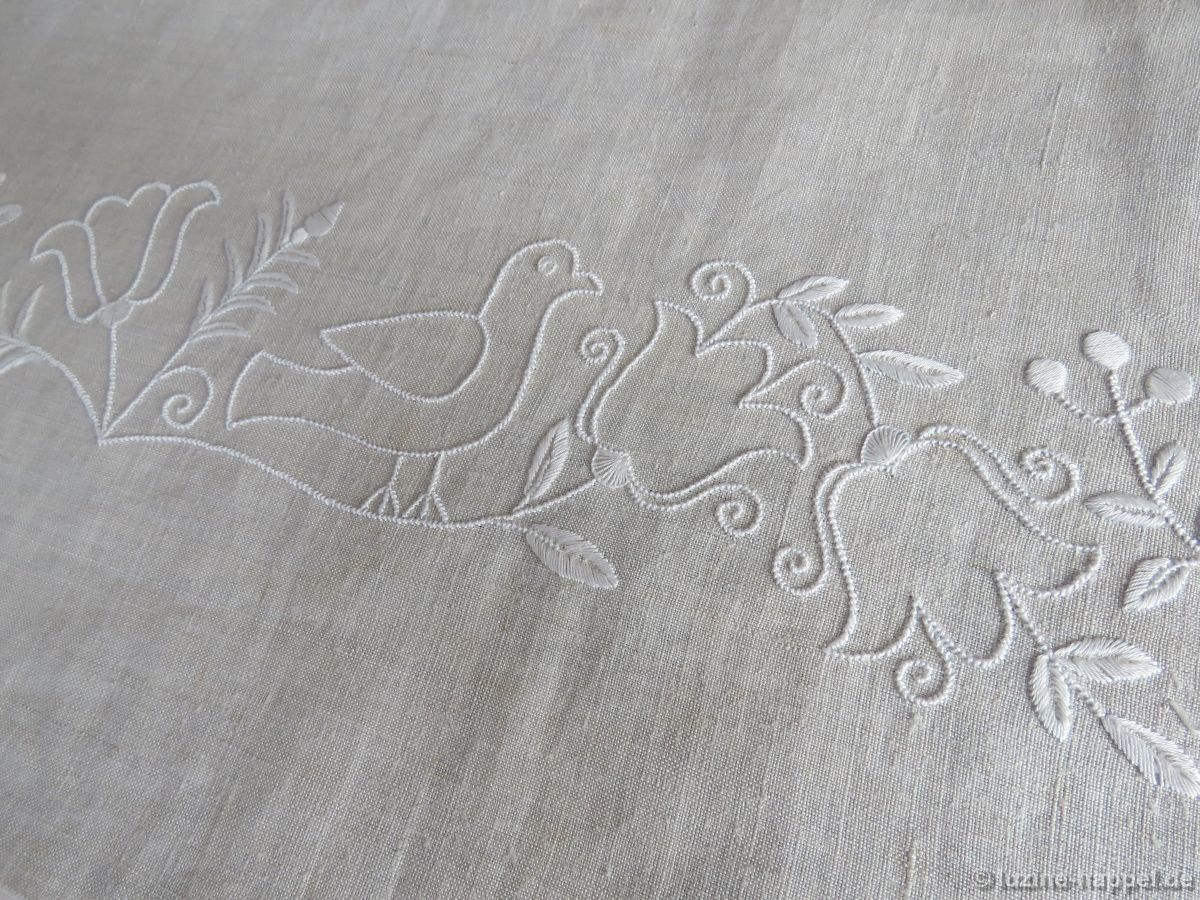
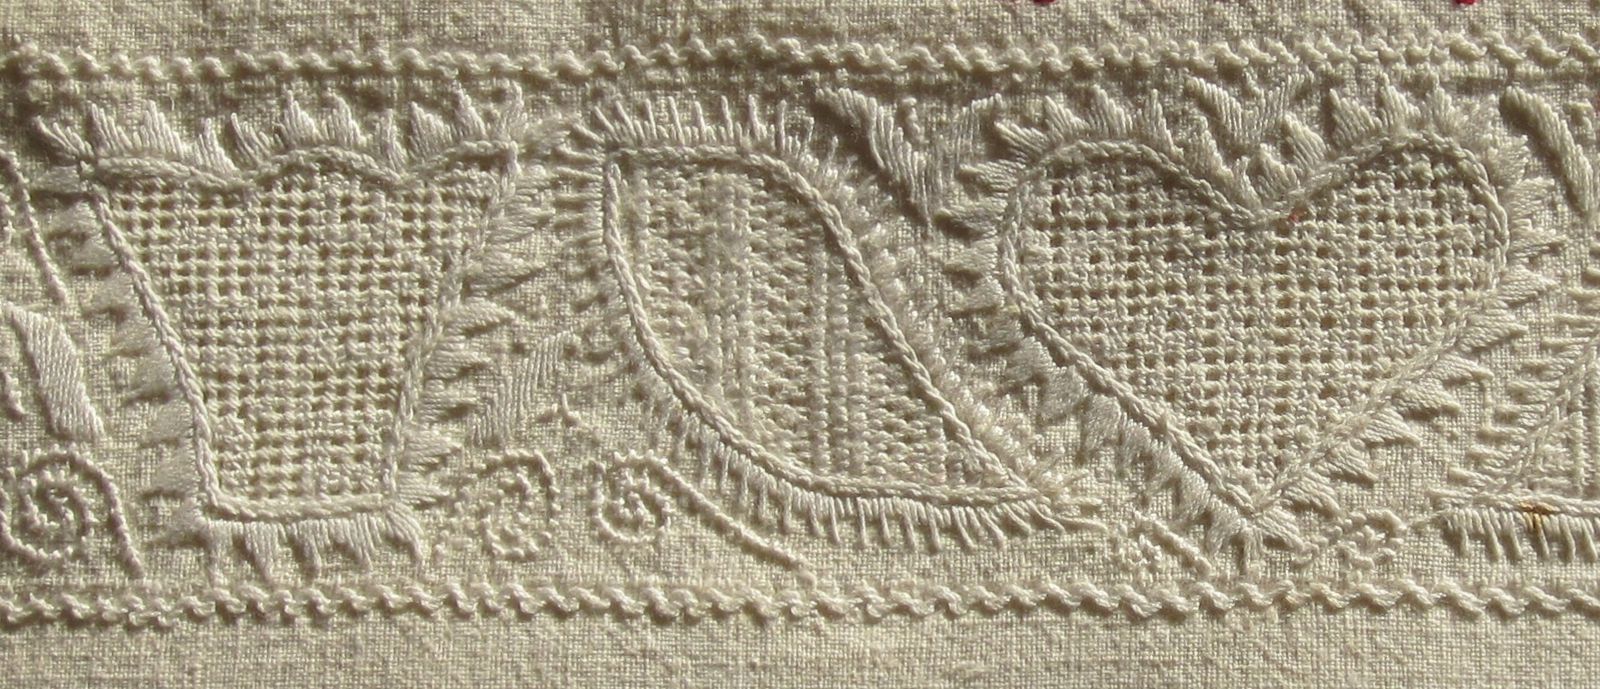
 I used the horizontal design to make a wall decoration. Unfortunately, it is not finished, but you can imagine its beauty by viewing the pictures of the unfinished project.
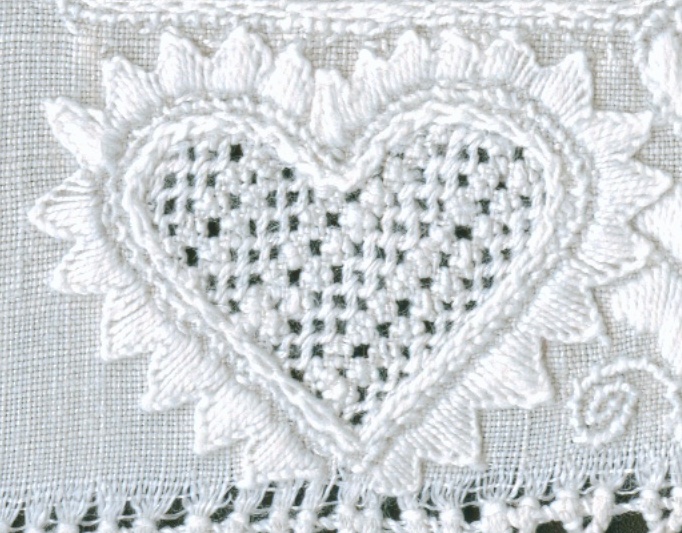
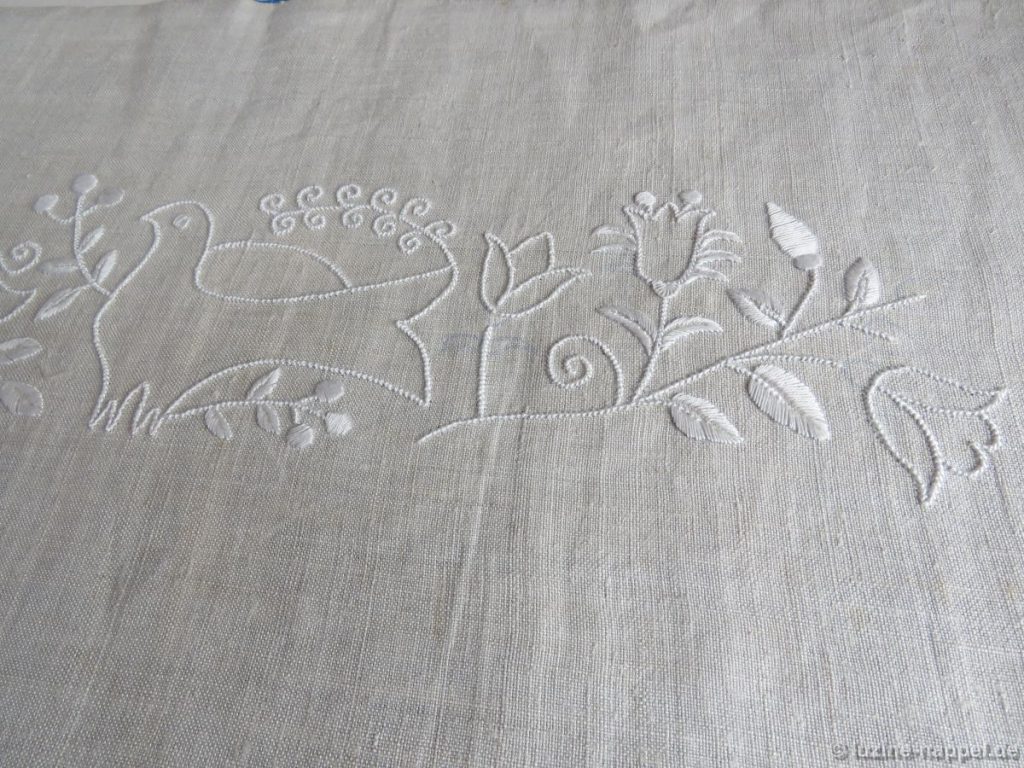 The border has a height of 10 cm.
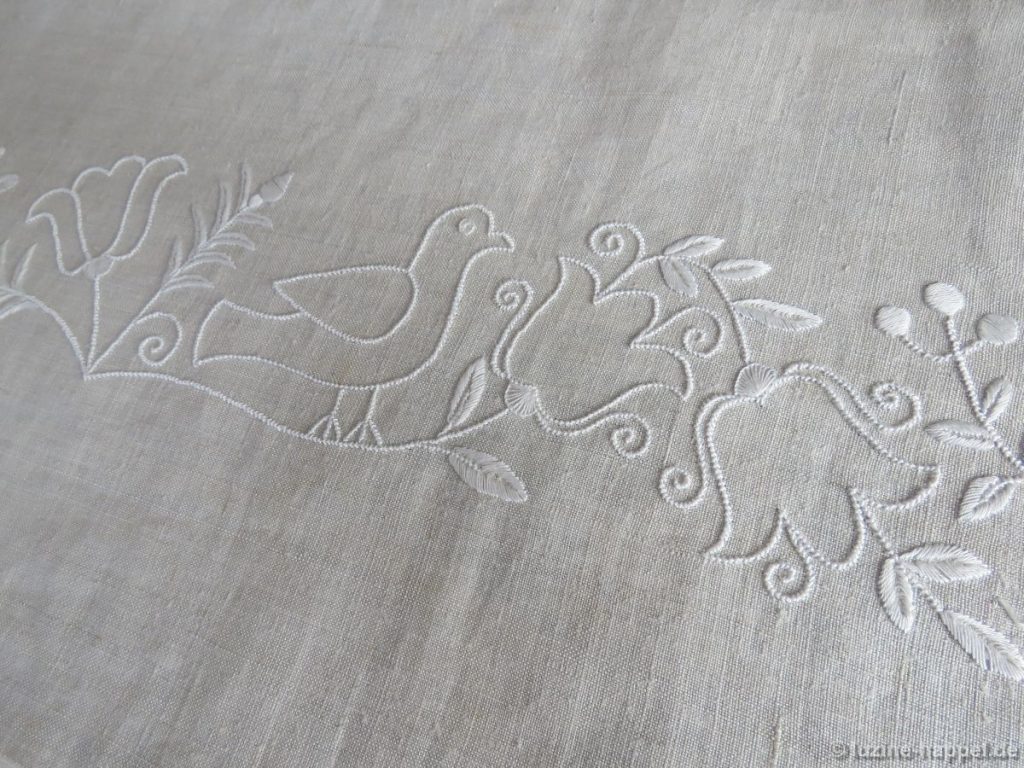 It is made with five single parts that can be combined in any order. So the length can vary according to personal preference.
 It is made with five single parts that can be combined in any order. So the length can vary according to personal preference.
If all five parts are used, the border will have a length of 1.12 m. Mine – mirrored in the middle of the fifth design part – has a length of 2.14 m.
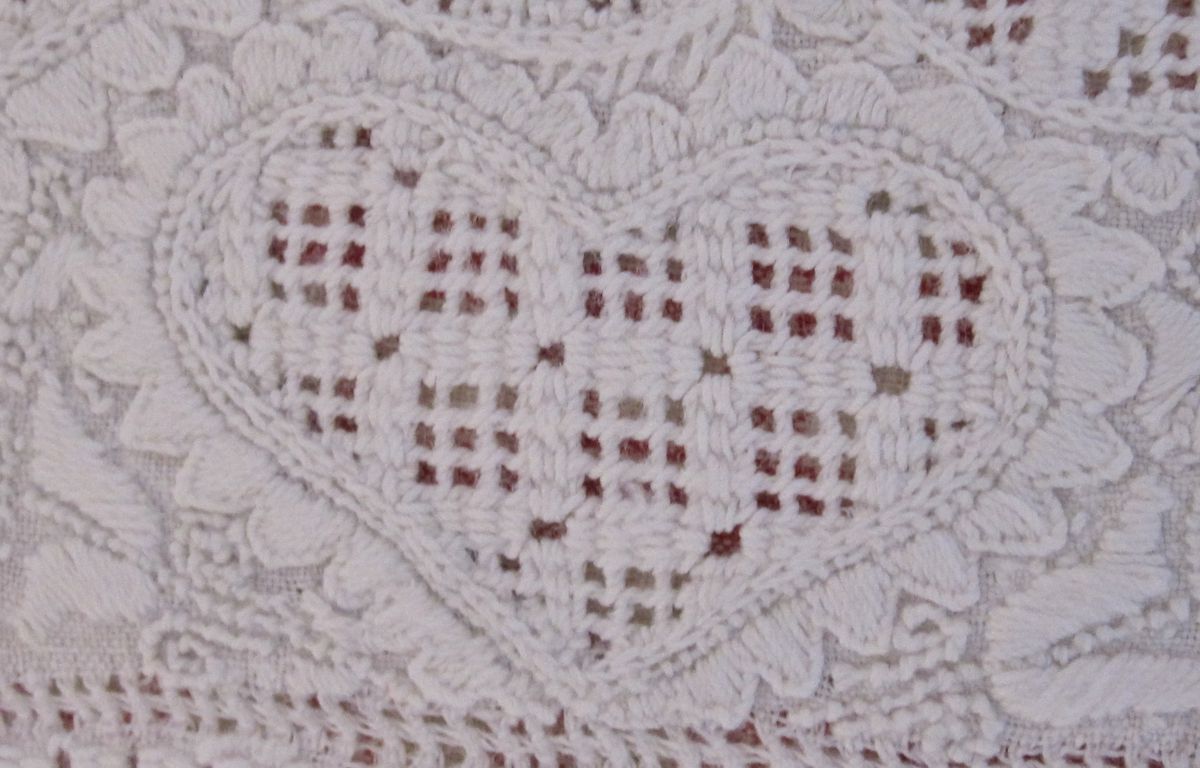
One of my customers wanted this design for a long narrow table runner. So, she narrowed the design a little bit, and she was very pleased with the result.
Both are very special Schwalm designs created with old traditional shapes that give the borders their distinctive appearances.
My graphic designer transformed the hand drawings of both designs to computer graphics; these are available now.
 Vertical Bird Border
line-drawn designs
6 pages
676 KB file size
item price: €15 (including 7 % sales tax), €14.02 for customers outside the EU
download here
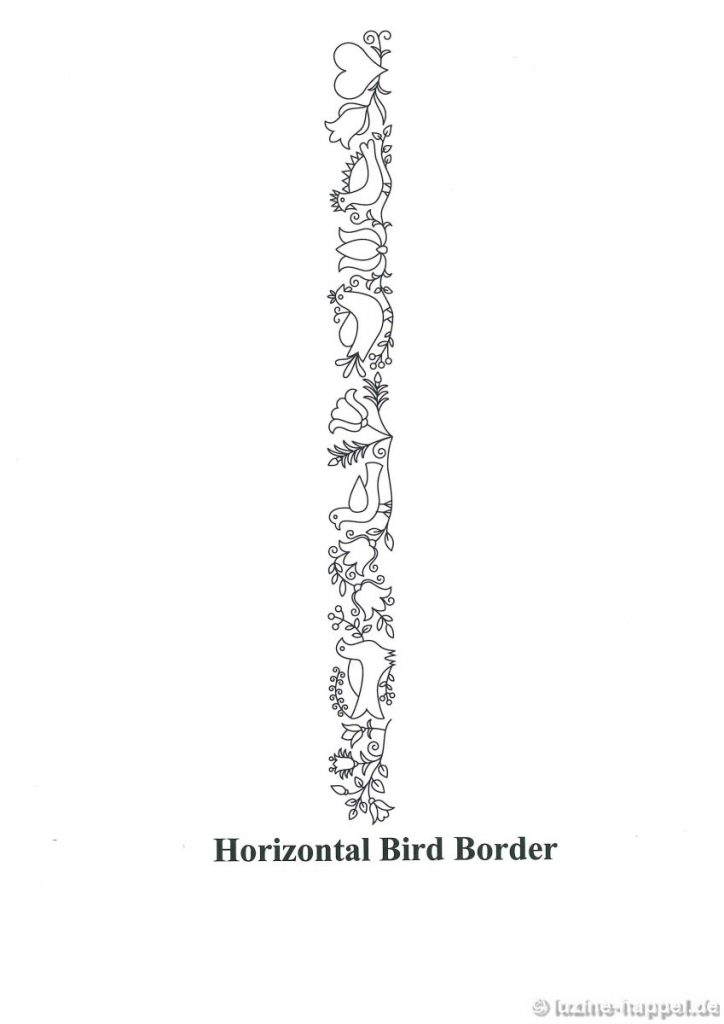
Horizontal Bird Border
line-drawn designs
10 pages
436 KB file size
item price: €15 (including 7 % sales tax), €14.02 for customers outside the EU
download here
Of course it is also possible to get these publications as printed booklets for the same price (15.00 EUR each) plus shipping charges. This option is not shown in my online shop, so please email me with your request.

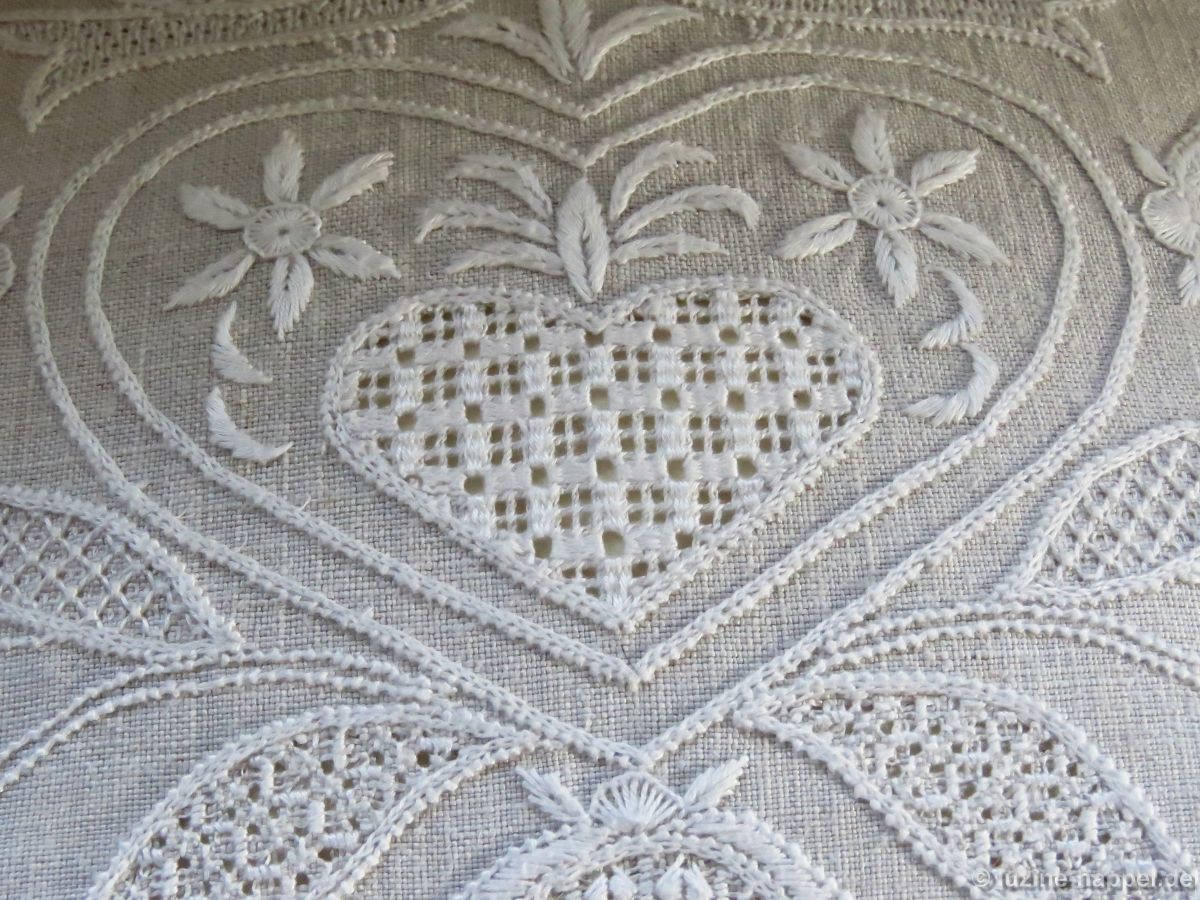
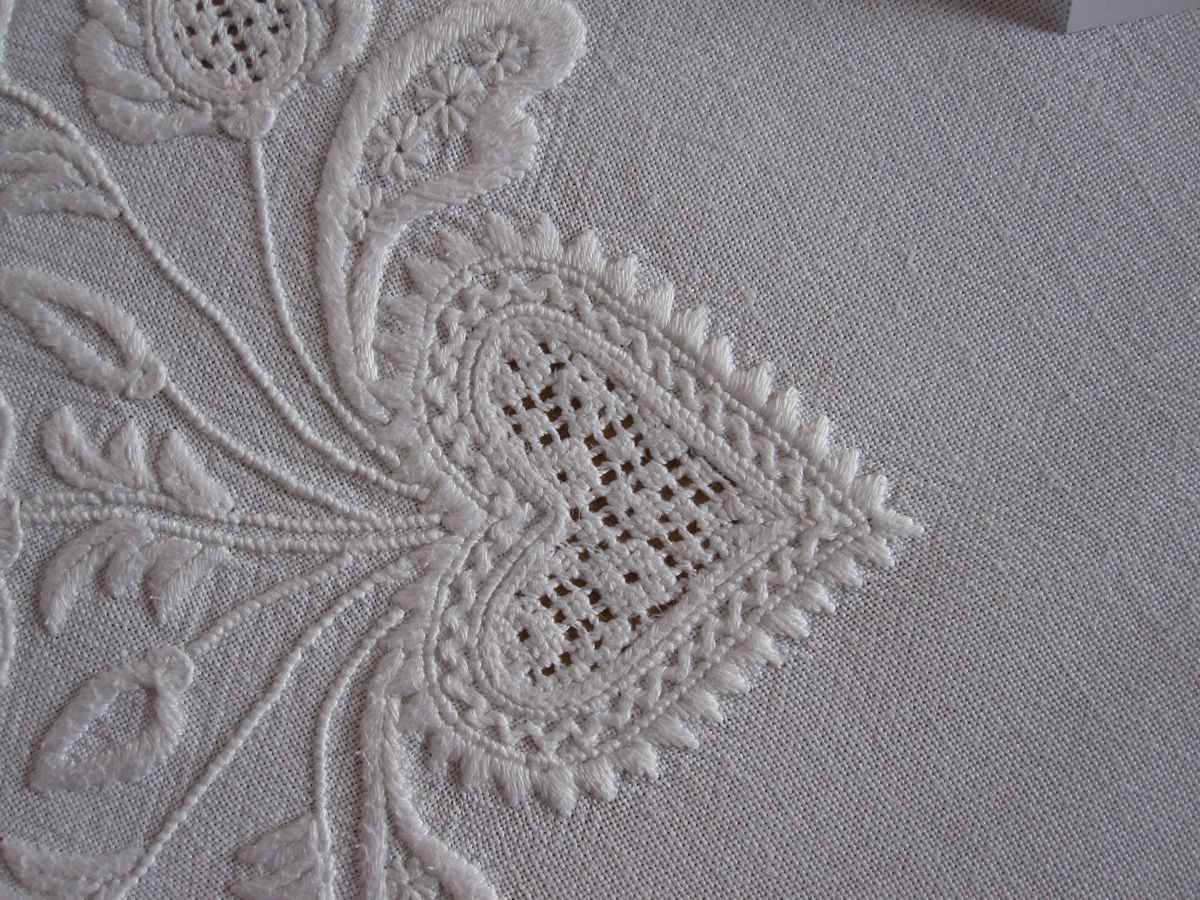
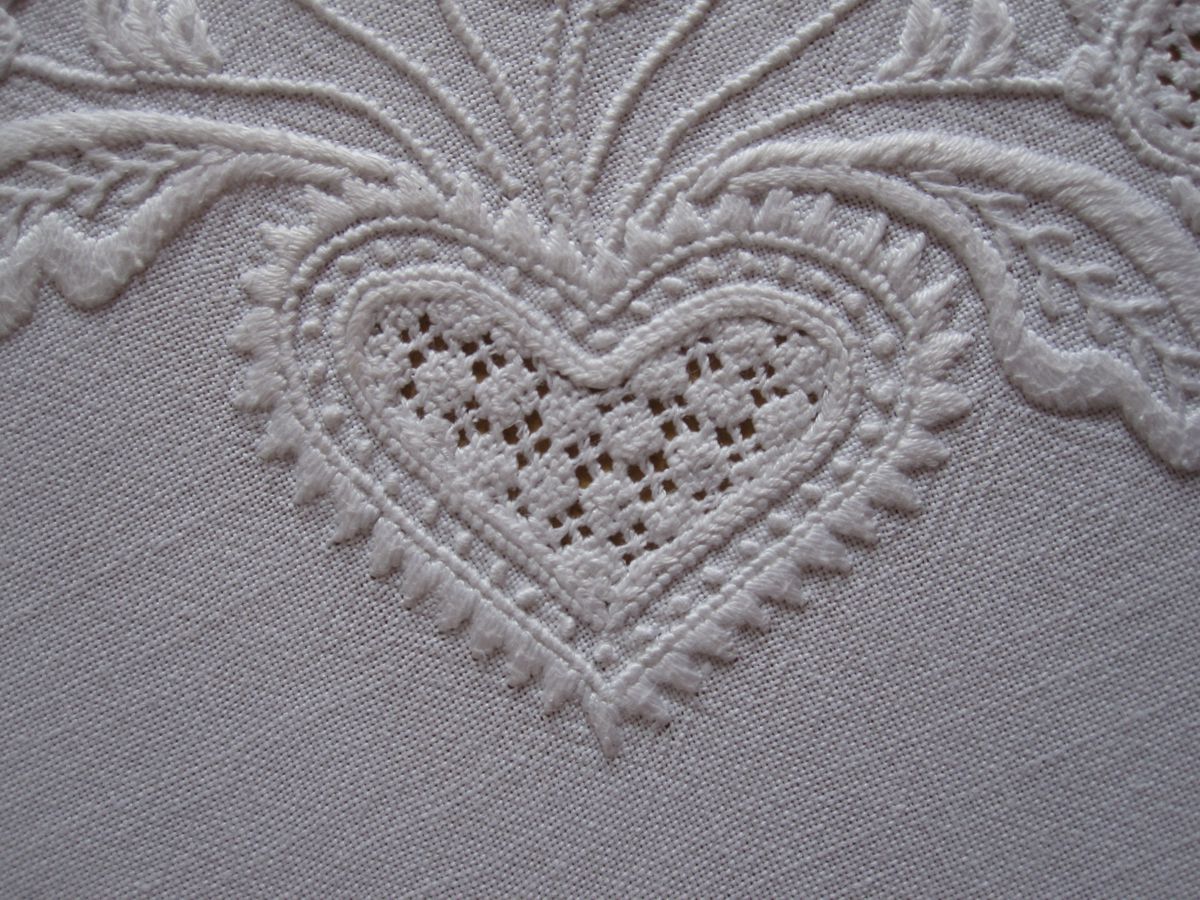
 I used the newly created line-drawn design to embroider a square pillowcase measuring 40 cm X 40 cm.
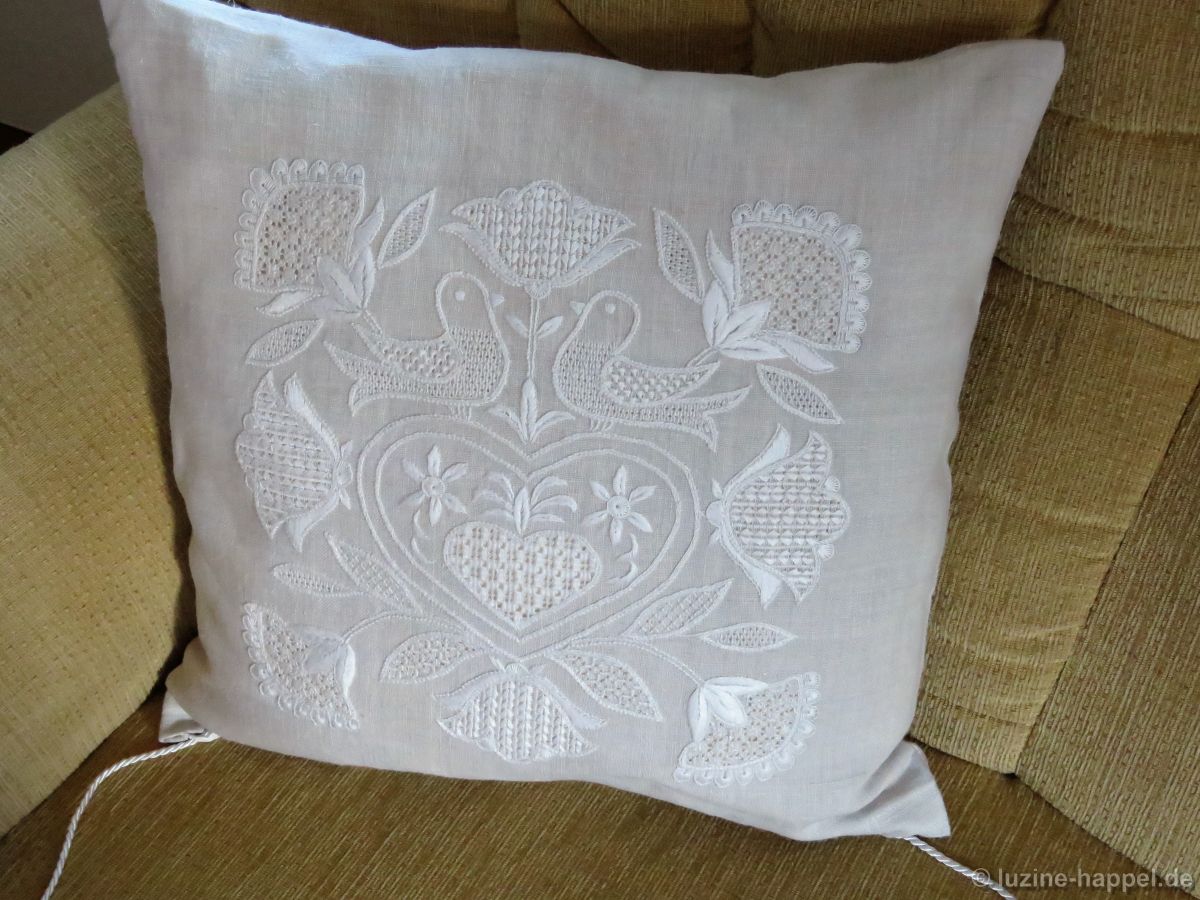 I chose an old handwoven linen because I particularly like white embroidery done on a natural colour linen; I think the combination is very pretty.
 The shapes were filled with a combination of traditional and new filling patterns.
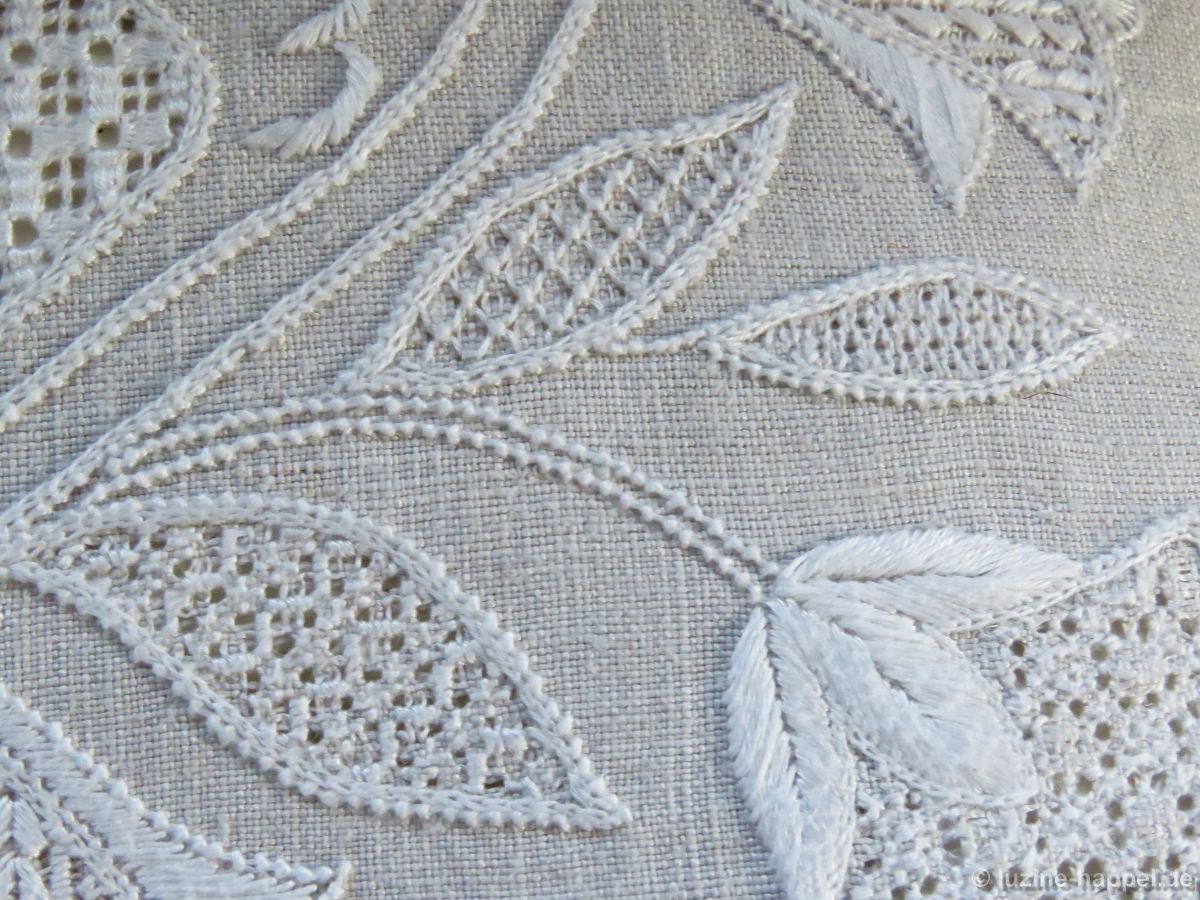 The result is a very successful adaptation of traditional Schwalm accessory design to contemporary whitework. I’ll tell you about the other designs inspired by apron squares soon.