Global Schwalm Sampler – Update (32)

Global Schwalm Sampler – Update (32)

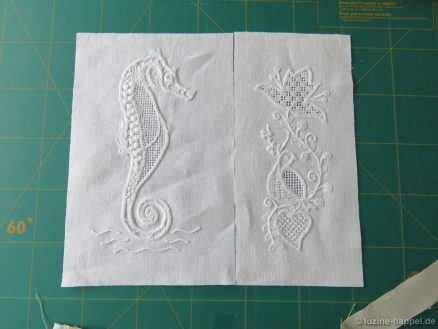
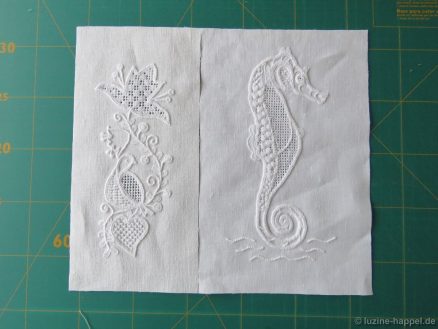
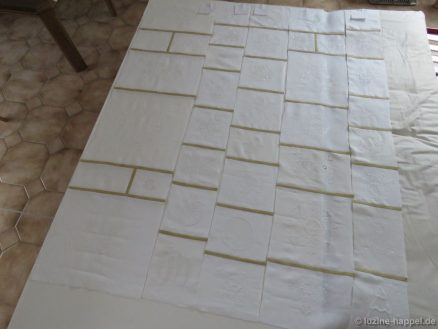
Sometimes two embroideries have to be placed next to each other within one column. Both are not always the same width, and it must be decided whether the wider embroidery should be placed on the left

or on the right side.

I will often make my decision after considering the layout of adjacent columns that are already finished.

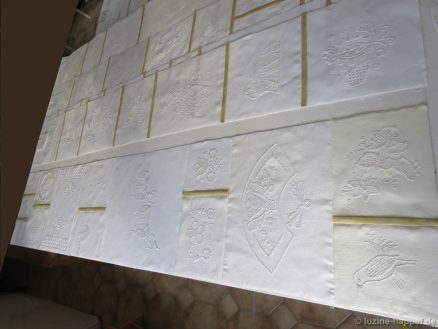
If a column has divided sections, these are sewn together first.

Then the horizontal seams are sewn. Looking at the clock, I am amazed that another 2 1⁄2 hours have passed only for sewing these fourteen seams of the seven connecting strips, and I haven’t even started the seams requiring hand sewing.

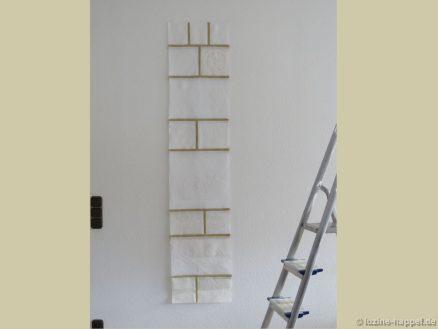
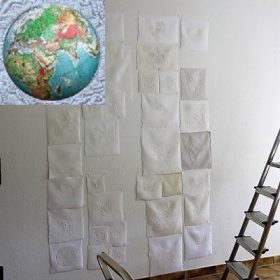
I was a little worried because a few problem areas curled slightly while sewing. The concern was unfounded – when hung on the wall, this column is perfectly smooth, too!

After 7 days of about 8 hours of concentrated work each, only the last and most difficult column is left.

I’m a little concerned about the subsequent joining of the individual strips – the huge amount of fabric will be difficult to manage and long seams with always increasing amounts of fabric are difficult to maneuver under the sewing machine’s presser foot.

But that is a long way off. Now I am please to give you a little peek at the progress made so far.

Previous Update
Next Update

Global Schwalm Sampler – Update (31)

Global Schwalm Sampler – Update (31)

The composition of the new layout provides for a total of 10 columns of embroideries for a length of 1.90 m. As it stands, it will be possible to again arrange all 92 parts into a rectangle without gaps.
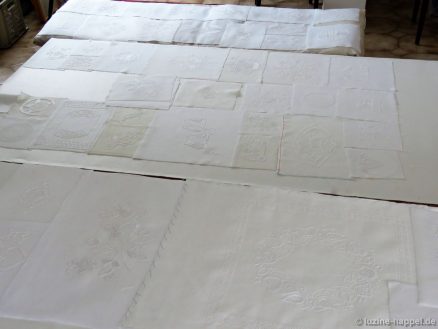
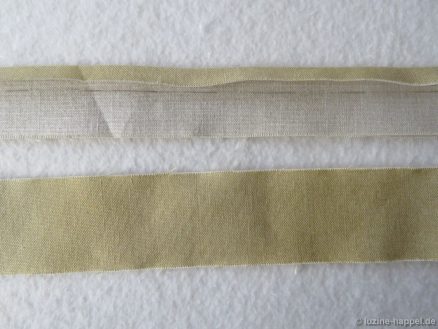
To prepare for the sewing work, the fabric for the connecting strips is briefly boiled in a large pot of clear water to shrink it to its final size. Shrinkage in the direction of the weft is at minimum approximately 3.77 %, in the direction of the warp there is nearly no shrinkage. (If I didn’t pre-treat the fabric in this way and the sampler were washed later, problems could arise.) After drying, it is cut into 3 cm wide strips.
Decisions, which can have far-reaching consequences for the success or failure of the sampler, must be made all the time. For example, some experts have given me different advice on how to cut the connecting strips. I tested both variants and opted for strips cut on the grain of the fabric. These are also slightly flexible, but not as stretchy as strips cut on the bias.
The strips for the backs are marked and receive an ironed fold.
The embroideries intended for one column are laid out.
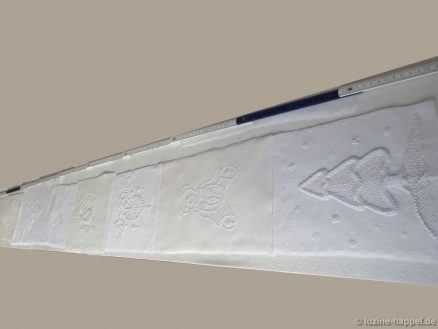
Oriented to the smallest piece in that column, all others are trimmed to the same width.

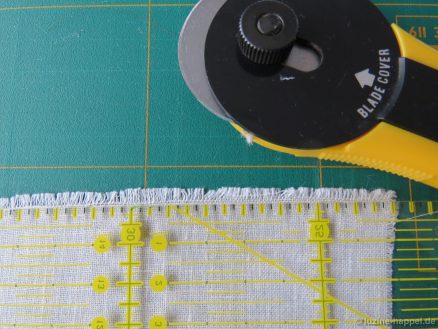
A rotary cutter removes any existing fringe.
Using scissors, larger fabric overhangs are cut off on the straight of grain.
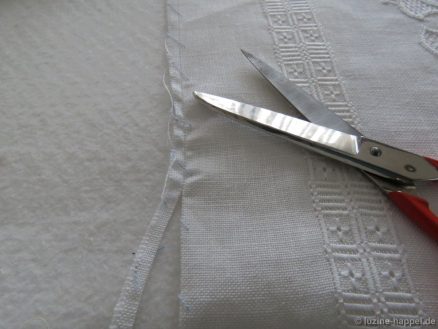
However, there are also pieces in which the embroidery has pulled the fabric too much together. If this cannot be rectified with careful ironing, such edges are straightened using the rotary cutter.
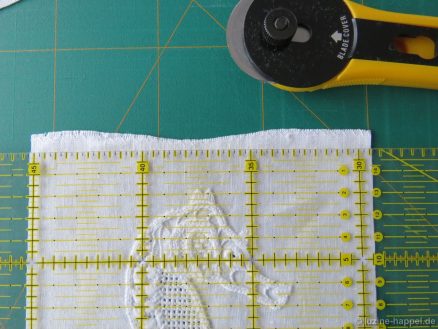
My tabletop was covered with a non-slip base that I had marked at a distance of 1.90 m.
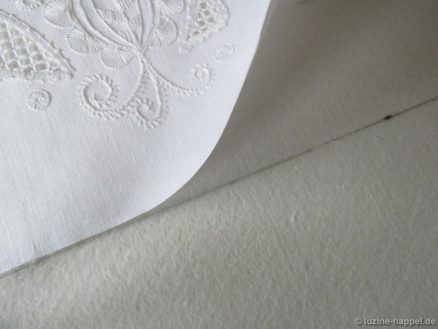
I had to carefully consider from which contribution I can or must take away a small part in order to reach the desired height. This is how I work my way forward piece by piece. At the end, I work on the piece with the largest available balancing margin in order to be able to insert it precisely into the remaining gap.
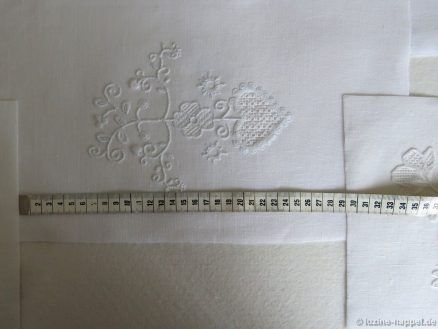
Once the column is completed in the desired width and length, the order of the motifs is checked again. Later I will also consider how the horizontal connecting strips of the adjacent column line up. For the layout to be attractive, these should either line up exactly or with a clear gap. If everything is to my satisfaction, the sewing work begins.
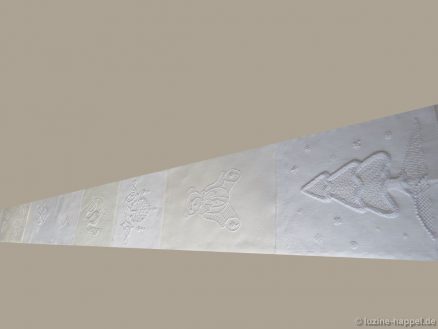
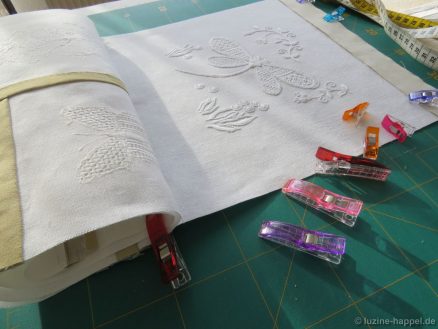
Instead of pins, I used small and large Wonder Clips to hold the sewn and rolled-up parts of the column. In this way, the fabric is easier to handle and creases can be largely avoided. And yet the iron is always at hand.
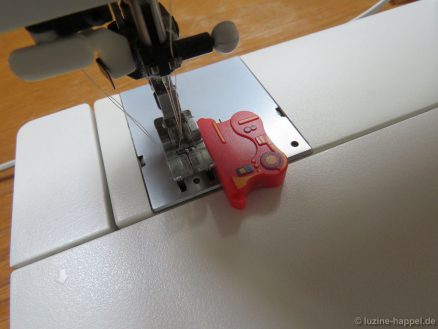
A magnetic seam guide has also served me well.
As a result, the seam allowances (when pressed toward the connecting strip) lie almost perfectly next to each other.
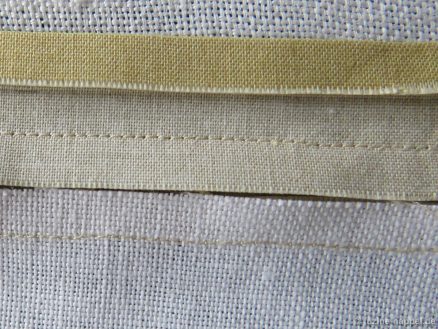
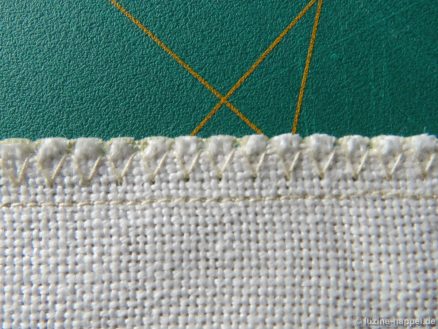
I sew with tiny stitches – stitch length 1.8. Coarse or loose fabrics are additionally secured with zigzag stitches that join it again to the connecting strip.
(After a nightmare of seeing the linen fabric pulling away from the seam, I can attest to the construction’s tear resistance – the selected method is absolutely firm and can only be damaged by raw force!)
In order to crease the fabric as little as possible, I work the hand-sewn seam at the edge of the table.
This is made more tedious because the small sewing machine stitches to which I want to attach the connecting strip are often sunk deep between the fabric threads.
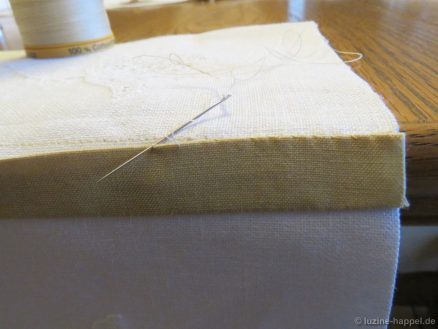
To spare my back, I put a thick book on the edge of the table to lift the work up a little.
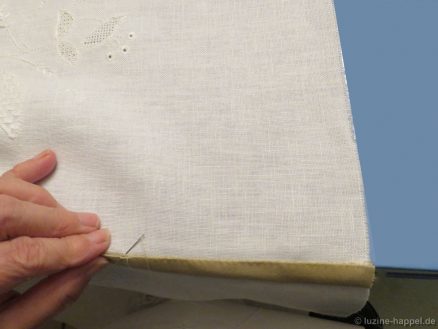
After 8 hours of concentrated work, the first column was finally completed – the result was to my satisfaction!
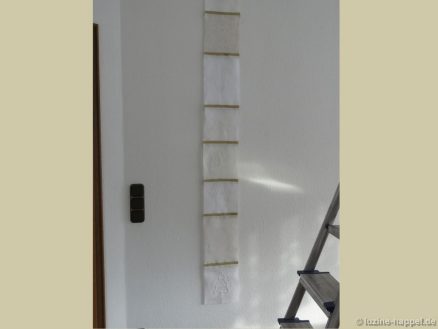
I cleared one week’s obligations from my calendar and asked my dear fellow human beings to let me work undisturbed. I had hoped that I would be able to completely sew the inner part of the sampler in that period of time. But now I don’t think that’s going to be enough time.

To be sure, at first I was anxious, hesitant, cramped, and also a little too squeamish to start this work. I measured everything ten times because under no circumstances could there be a mistake in cutting. Pieces were minimally moved, and seams were ripped out when they were not 100% straight.
Now I’m a bit more relaxed and the work will be easier. But the finished column was a simple and narrow one. Wider columns with more complicated divisions will follow.

I will continue to report.

Previous Update
Next Update
Global Schwalm Sampler – Update (30)

Global Schwalm Sampler – Update (30)

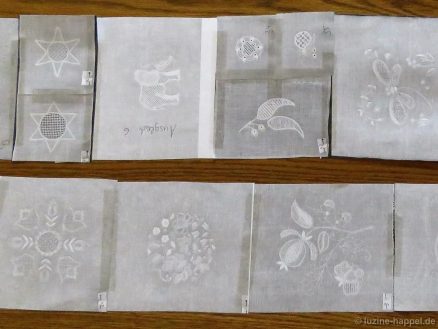
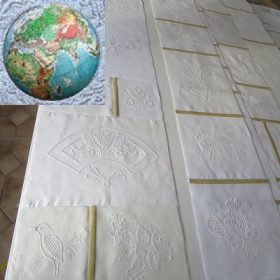
Before starting the assembly process, I laundered all the contributions one more time – piece by piece. Some pieces were very heavily starched, others not at all. I wanted to create the same conditions for all embroideries. Since I often have to pick up the pieces while putting them together, creases cannot be avoided. For the final ironing, I’ll use starch spray.

After washing, I ironed all the embroideries very carefully.

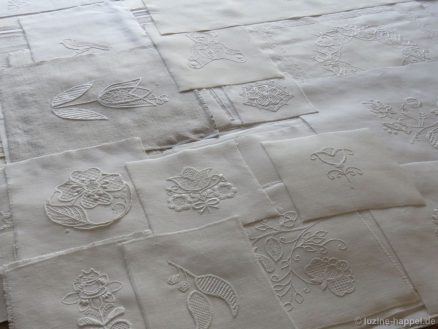
When the valuable works lay spread out in front of me and showed their full splendor in the light of the autumn afternoon sun, I was once again reminded of the huge responsibility that I had undertaken in putting them together.

A paper plan with reduced images of the embroidery is one thing, seeing the originals is quite another.

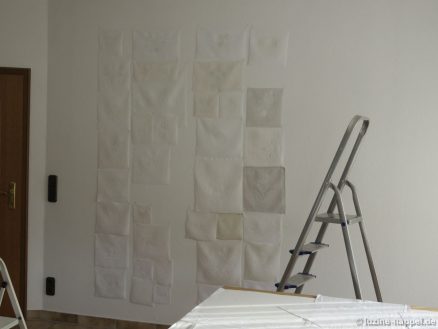
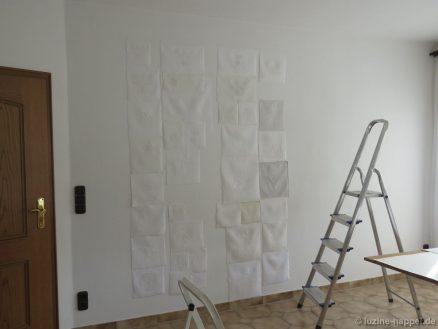
Since I don’t have a table that is big enough to hold all the embroideries spread out next to each other, and since I can’t work on the floor, I cleared a wall so that I could temporarily pin the pieces there based on my plan.

After only a few minutes, the disenchantment came: Because I was working with black and white paper templates, I did not think to pay attention to balancing the distribution of differing shades of white linen – some were bright white, some grayish, and others more yellow. But even worse was the fact that the targeted height was too great!

My workroom is higher than the standard dimensions for rooms in Germany, and the sampler’s wide border still has to be considered!

So, I must start all over again with puzzling and planning.

Previous Update
Next Update

Global Schwalm Sampler – Update (29)

Global Schwalm Sampler – Update (29)

At the beginning of the Global Schwalm Sampler campaign, Grit Kovacs promised to help me assemble the many individual parts. I am very grateful to her for that, but now I’ve decided to attach the connecting strips on the back with hand stitches. However, that’s about 50 meters, and I need more than an hour for one meter – I can’t ask anyone to do this kind of work for me. Since machine and hand sewing have to be done alternately and we live too far apart, I also have to do the machine sewing myself.

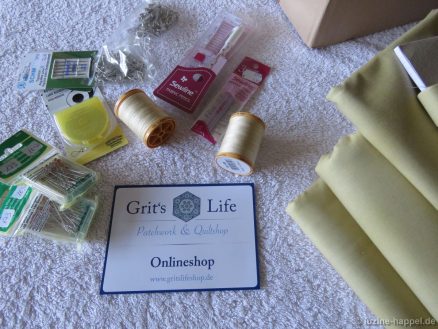
Grit is still very helpful and is at my side in an advisory capacity. She took a lot of time to deal with my problems and answer all of my questions. She loaned me her original fabric sample card to select the fabric color for the connecting strips and provided me with pieces of fabric to test. As a result, I was able to decide in peace and quiet and put together my material list.

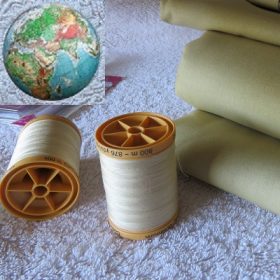
Now the package with my orders has arrived. In addition to a few utensils that I didn’t have on hand, it mainly contained the right sewing thread and the fabric for the connecting strips. I will need at least 10 meters of fabric with a width of 1.10 m, but I have ordered a few more meters to be on the safe side.

For the colour, I decided on a medium beige-gold tone – a subtle colour that will clearly subdivide the sampler and yet be unobtrusive.

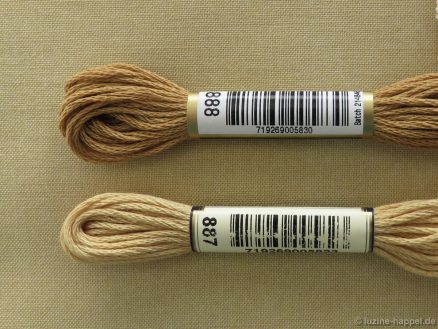
The fabric colour corresponds almost exactly to the MEZ Anchor embroidery thread colour 887. Embroidery thread colour 888 is the most common colour for embroidering traditional Schwalm crowns. I will use colour 888 to make the inscription for the sampler. (Unfortunately, the image does not show the exact tone, but I can assure you that it looks good.)

Now the sewing can begin.

Previous Update
Next Update

Global Schwalm Sampler – Update (28)

Global Schwalm Sampler – Update (28)

With my scaled down paper templates, I tried out different arrangements.

Please remember the guidelines I set: The inner part of the sampler containing all the contributions should not be higher than 2.10 m. Similar motifs should be distributed as evenly as possible over the area. And the whole thing should end in a rectangle that is completely covered with the donated contributions without gaps.

Arranged in strips, the parts are easiest to join together to form a rectangle. The strip division also has another advantage: the finished sampler can be easily folded up for shipping without the embroidered parts getting creases.

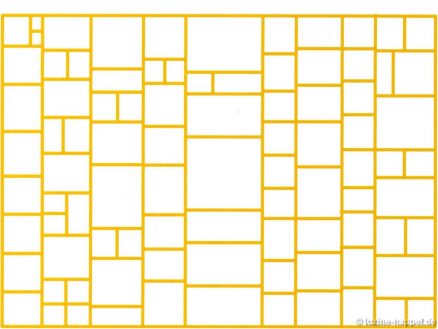
Since the rectangle will be wider than it is high, I decided to use vertical stripes. After endless hours of puzzling, trimming, assembling, and discarding, I finally had the solution – at least on paper. All 92 embroideries fit seamlessly into a rectangle. Then the inner part of the sampler is about 2.04 m high and about 2.84 wide. There will be a circumferential edge of about 16 cm in addition.

Using my paper templates, I made a rough, not 100% accurate, graphic representation to get an impression of the finished sampler. The width of the dividing lines that can be seen is roughly true to scale.

The strips can still be swapped with one another or the order in the strips can still be changed if this does not affect the distribution of the motifs. I’ll try that with the original embroidery, and then I will show you the result.

I am happy that I have completed this important step!

Now I can calculate the amount of material needed and look around for suitable fabric for the connecting strips.

Previous Update
Next Update