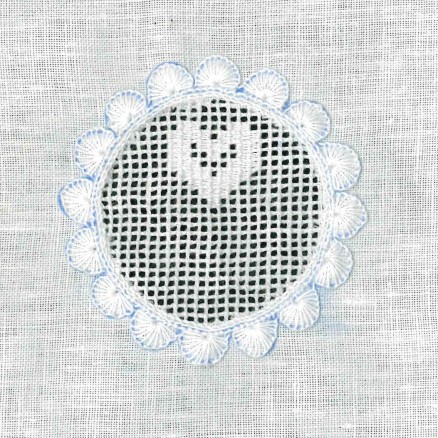
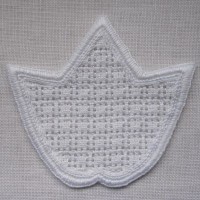
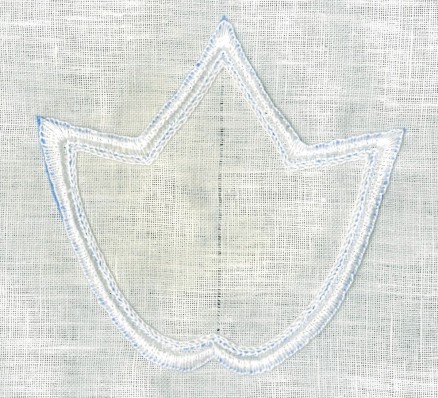
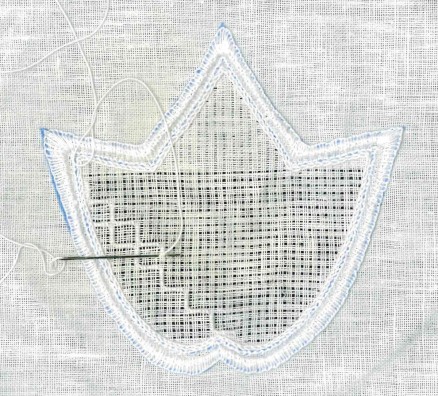
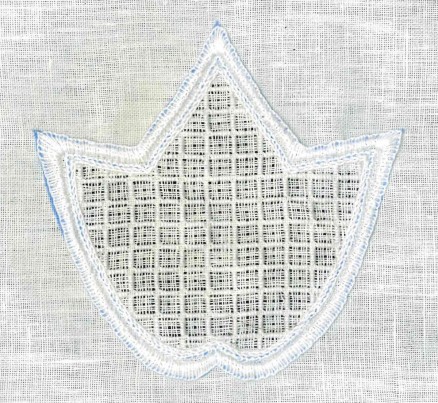
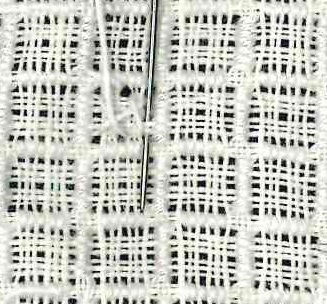
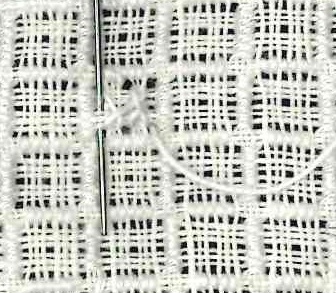
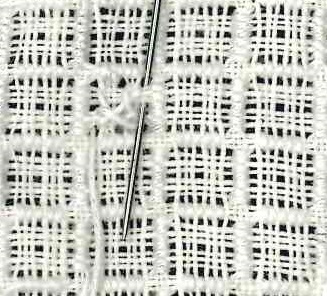
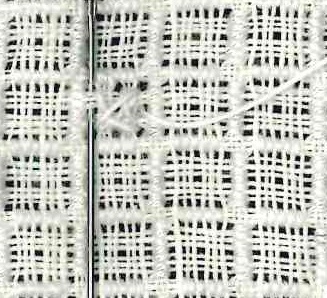
Filling Pattern No. 470

No. 470 (hearts No. 1)
category: Openwork pattern with Cable stitch grid
stitches used:: Needleweaving over 1, 2, 3, 4 and 5 squares; changing the direction
center: square
material used: 20/cm thread-count Weddigen linen
Coton à broder No. 20 (Coral Knot stitches and Needleweaving), No. 30 (Chain stitches and Cable stitch) and No. 25 (half-eyelet scallops)

In Schwalm whitework it is also common to fill openwork cable stitch grids not only with endless patterns, but also with figures: manikin, birds, tulips, stars and, of course, hearts.

Hearts are mainly worked as quartets within circles. Usually, the hearts are stitched with Needleweaving, sometimes with Rose stitches, and rarely with a combination of Rose stitches, and Needleweaving.

There are smaller and wider heart patterns. You should always use a pattern that matches the number of squares in your grid. It is not attractive when the edge of a heart is not fully visible. It is better that there are unworked squares around the heart quartets.

Starting at the centre, always alternate withdrawing and leaving two vertical threads. Do the same with the horizontal threads. So that the heart quartet looks pretty and turns out well, it is necessary to place it right in the middle (with the same number of squares to the right as to the left). If your linen is not absolutely evenweave, it is better to ascertain the centre by counting and not by measuring.
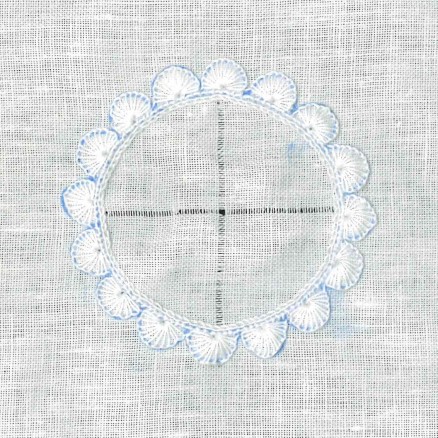
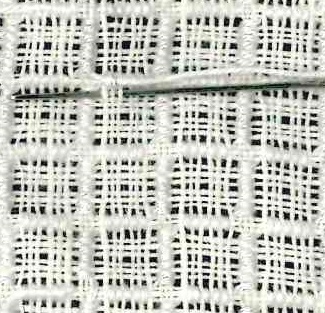
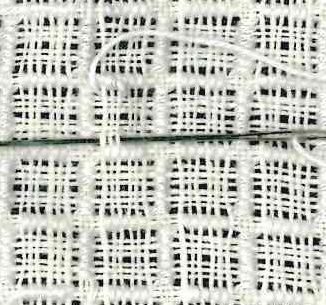
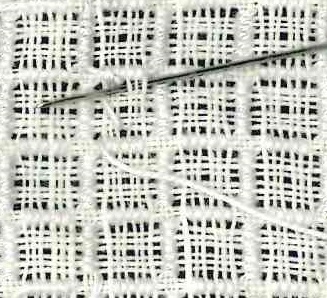
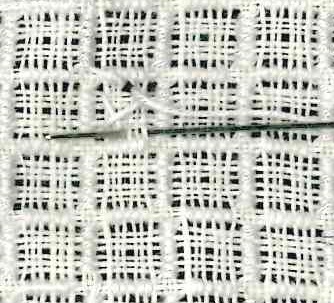
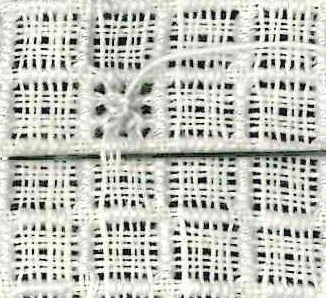
1-470The established grid is stabilized with Single Faggot stitches – which is simply Cable stitch from the front – worked from the back side of the fabric. (Please look here for an example of a partially worked grid.)
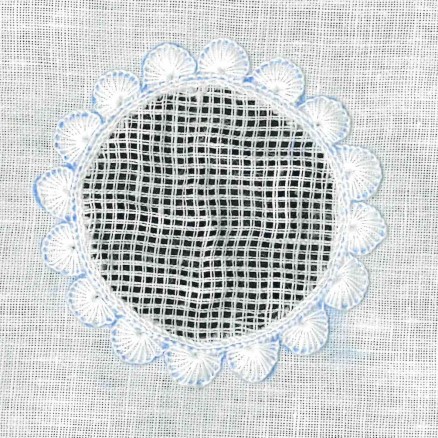
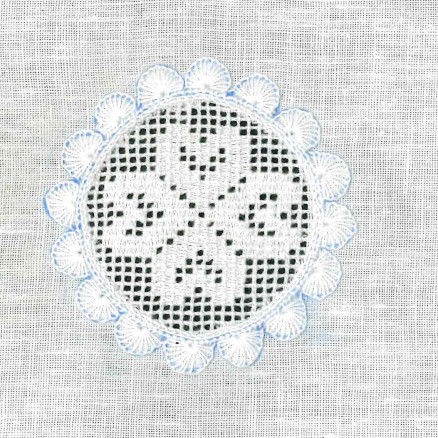
2-470The linen used in this example was not evenweave, so my established grid has 23 squares along the horizontal axis and 25 squares along the vertical axis. So I chose a pattern running over 19 x 19 squares. It has the following chart:
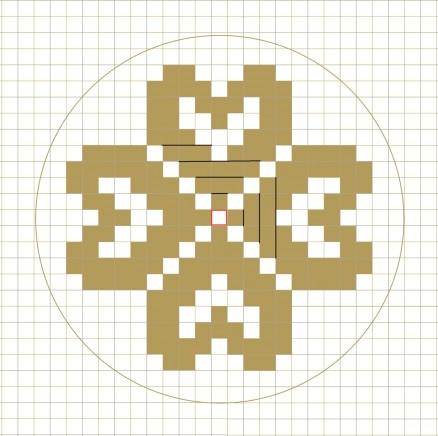
3-470The golden squares are filled with Needleweaving. (It is also possible to work all with Rose stitches, but then the pattern will appear somewhat different.) The black lines show the direction of the needleweaving.

Starting at the center – marked red – work outwards, following the chart. When the pattern divides, work first along one side
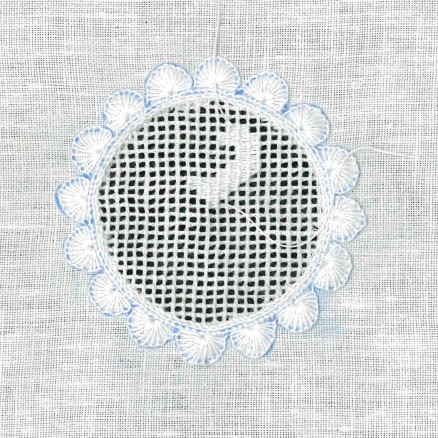
4-470
and then across the middle part to the opposite side
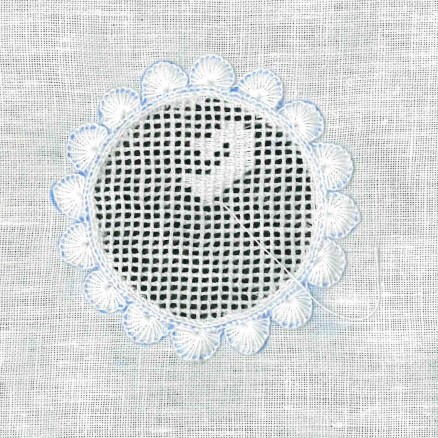
5-470
until the first heart is formed.
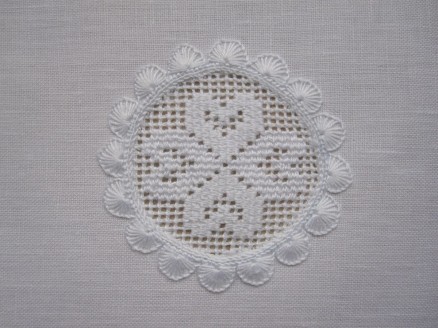
6-470Always out from the center, weave in the 3 remaining hearts, always following the chart. Finished it looks like this:
7-470
Washed, starched and ironed the pattern gets its full charm.
8-470

Schwalm Designs (4) – Scallops (3)

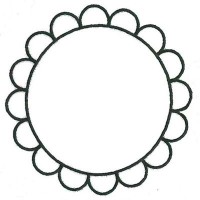
As already mentioned in the article Schwalm Designs (2) – Scallops (1), it is customary to decorate simple Schwalm motifs by outlining the shapes with scallops placed close together.

But how can one get uniformly sized and evenly distributed scallops around the edges of a shape if a computer drawing program is not available?

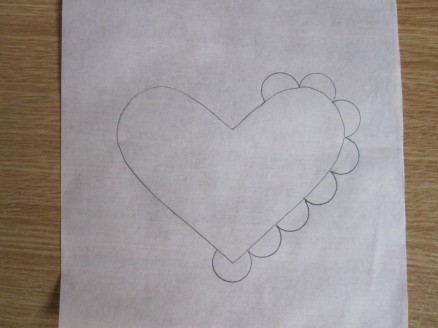
It’s easy to do on motifs that are not completely outlined with scallops. For an example, I will describe the process for adding scallops to a heart shape.

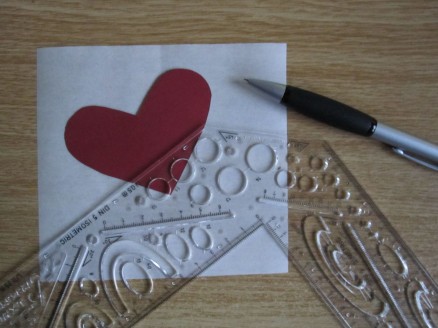
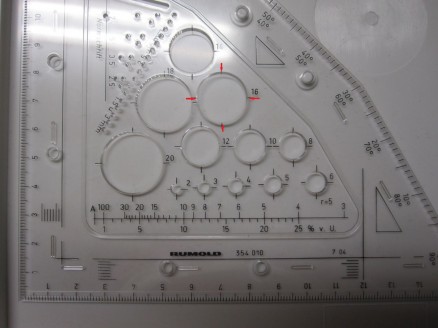
Supplies needed: a stencil for the motif, tracing paper, a sharp pencil – a mechanical pencil is best – a circles template and an eraser.
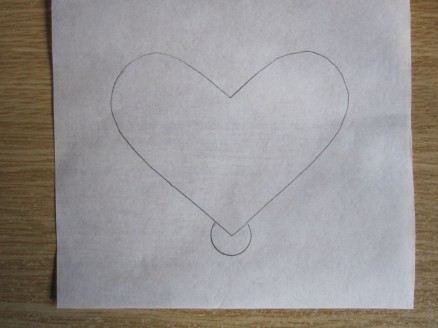
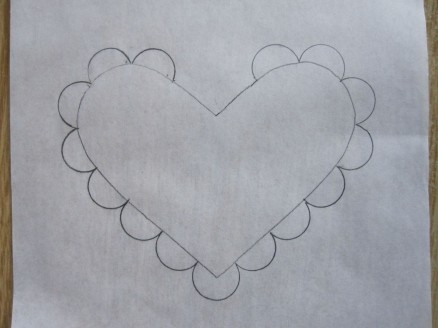
01_SK4Using the stencil a heart shape is drawn on the paper. On the template, a circle of a proportionate size is chosen to draw a scallop at the heart’s lower point. This point should either match the center of the circle or should be placed slightly above the center of the circle.
02_SK4Using the same circle template, additional scallops are drawn next to it.
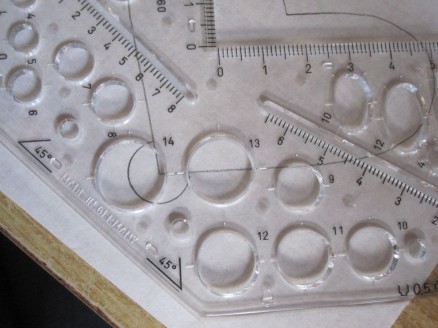
Each circle stencil has four marks ().
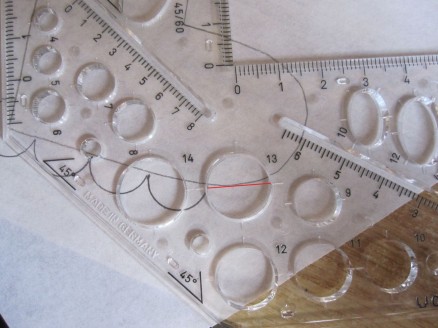
03_SK4Two opposite marks should match the outline of the heart.
04_SK4In this way the semi-circles makes scallops.
05_SK4If the outline is curved, the template has to be positioned as shown in the picture above. The center of the circle (the diameter of the circle is marked in red as a visual aid) meets the outline of the motif. If care is not taken when placing scallops on a curve, the scallops could get distorted.
06_SK4Reaching the top of the heart, either the scallop line ends before the center point – leaving a small distance free between the last scallop and the hearts upper point
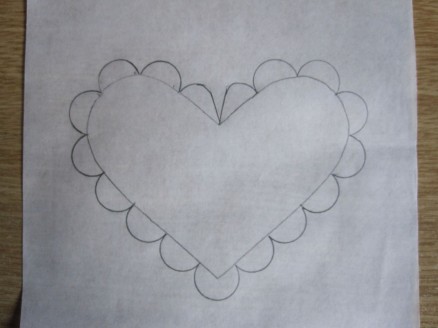
07_SK4or the last scallops (on both sides of the concave point) are slanted a little so to be able to fit down into the concave point.
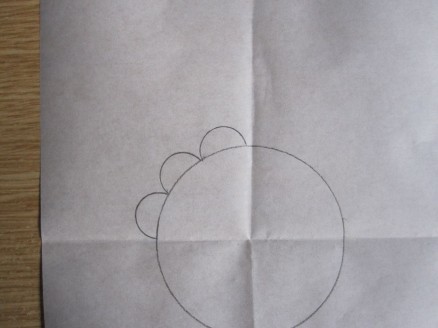
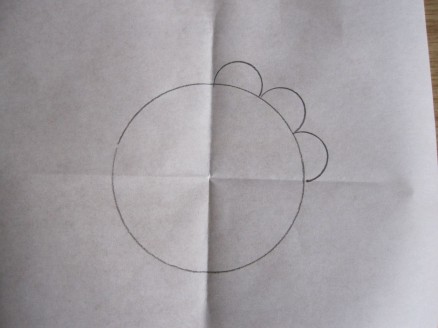
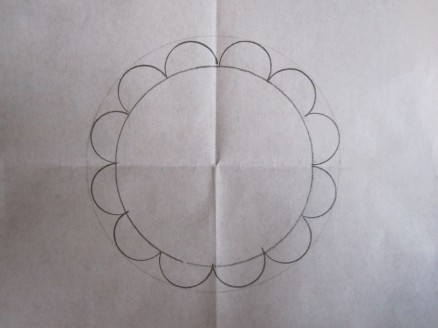
08_SK4It is more difficult to embellish circles with scallops. It is possible to calculate it using geometry, but this is too complicated for an embroiderer.
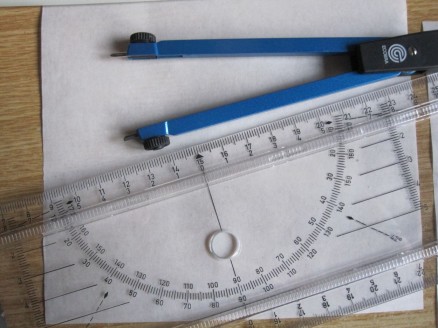
09_SK4So one could utilize either paper, a pair of compasses and a protractor,
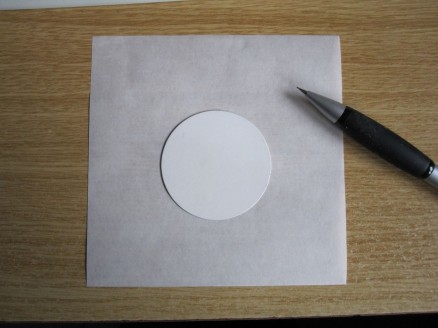
10_SK4or tracing paper, a stencil of the shape and a pencil.
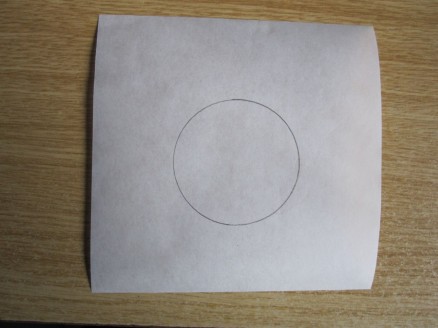
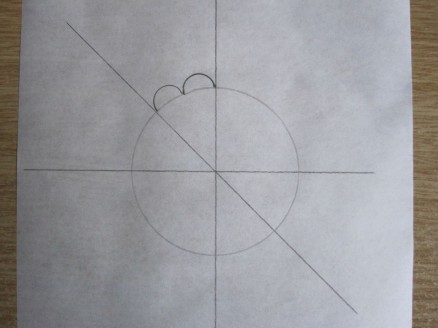
11_SK4A circle is drawn on the paper
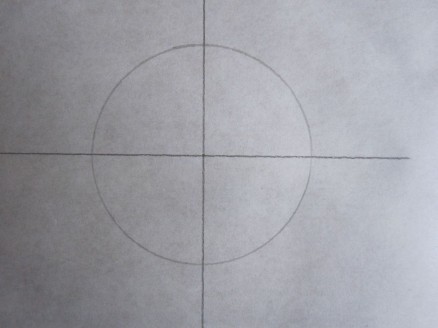
12_SK4and divided into quarters using the protractor or
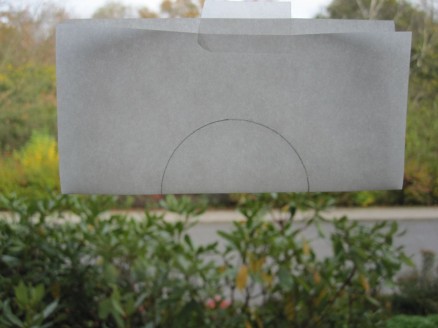
13_SK4by folding. The slightly transparent paper is held against a window or other light source. It is folded – so that lines match – first in half
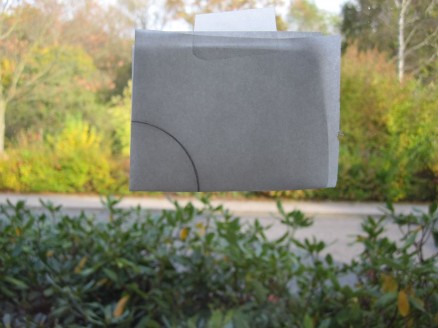
14_SK4and then into quarters.

From the template, a circle of a proportionate size is chosen to draw scallops along the outline of the shape. For my circle, I started with a 13 mm diameter circle from the template – three scallops did not exactly fill the quarter.
15_SK4So, I tried a 14 mm circle; three scallops fit in the quarter exactly.
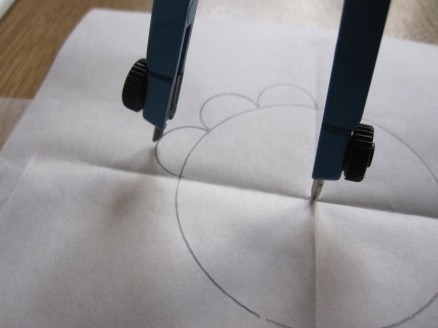
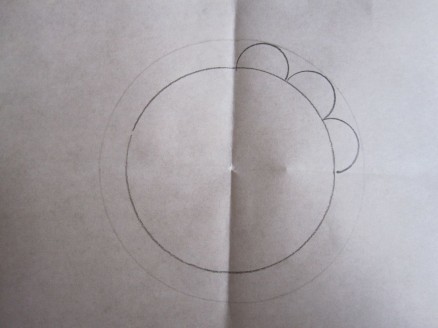
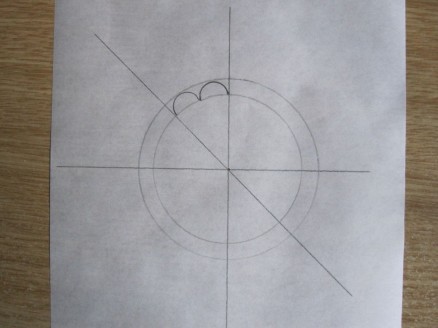
16_SK4To facilitate getting the scallops the same height, an additional marking line can be drawn with a pair of compasses.
17_SK4Such a line eases the work enormously.
18_SK4Proceeding carefully, in the end the scallops meet exactly.
19_SK4To ease the work on larger shapes, the circle should be divided once more – into eighths.
19a_SK4Again, drawing an additional outer circle (for scallop height) will further aid you in drawing perfect scallops.
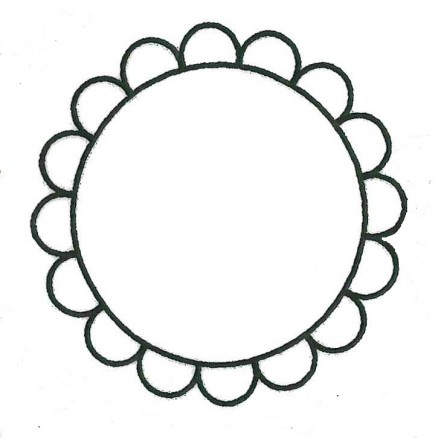
20_SK4In the end, uniform and evenly distributed scallops outline the circle.
21_SK4

Filling Pattern – No. 469

No. 469
category: Limet-Filling pattern
stitches used: Satin stitches over 1 square in the width and 2 squares in the length and Double Back stitches
longitudinal axis: withdrawn thread line (in other shapes or motifs: center = intersection of withdrawn thread lines
name: Double Back stitch in a Satin stitch grid

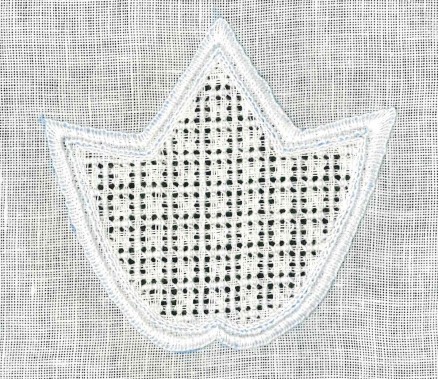
It is expedient to begin thread withdrawal for the Limet grid in the prepared leaf design here:
01-469
First, in the established Limet grid, work a grid of Satin stitches. Start at the bottom-middle of the shape. Work, in a stair-step manner, Satin stitch bars over one square (3 threads) in the width and over 2 squares (6 stitches) in the length.
02-469
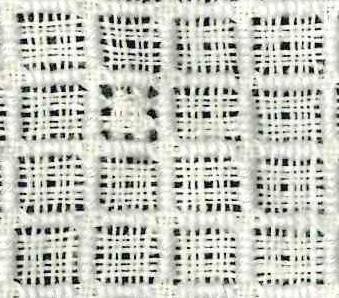
On the way back work the bars mirrored, so that squares of 6 X 6 thread-squares are established.
Work the grid all over the shape.
03-469
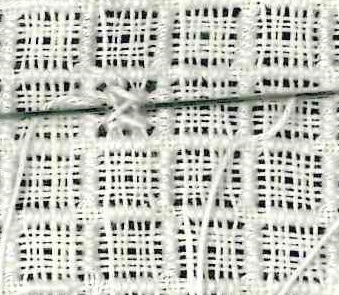
Then, from the back of the fabric, work Double Back stitches (a more detailled description is found in Openwork Pattern Samplers, pages 48 – 52) in the remaining squares. Therefore, starting at the top left, work 8 stitches following carefully the step-by-step pictures.

04-469

1

05-469

2

06-469

3

07-469

4

08-469

5

09-469

6

10-469

7

11-469

8

Now, bring the needle – from right to left – between the layers of the fabric and the stitches and pull the working threads of the stitches together with a Blanket stitch – thread under the needle. Do the same from top to bottom.

12-469

9

13-469

10

Travel to the starting point – top left – of the next Double Back stitch and repeat the steps. Picture 12 shows the result from the front of the fabric.

14-469

11

15-469

12

All remaining squares are filled in the same way. To get a uniform appearance, work the rows of Double Back stitches always from top to bottom.
16-469
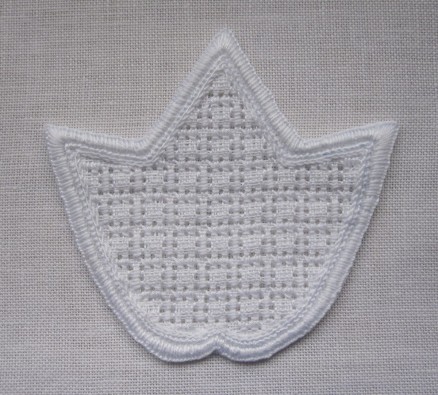
Washed, starched and ironed the pattern gets its full charm.
This example was worked on 13.5/cm thread-count Weddigen linen with Coton à broder No. 20.
17-469

Tablecloth for all Seasons – November: Oak Leaves and Acorns

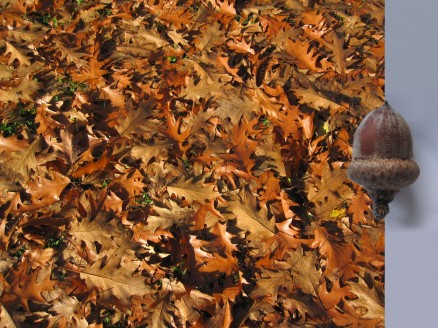
By special request from a South African lady, I decided to chose a leaf and the fruits of an oak tree for November.
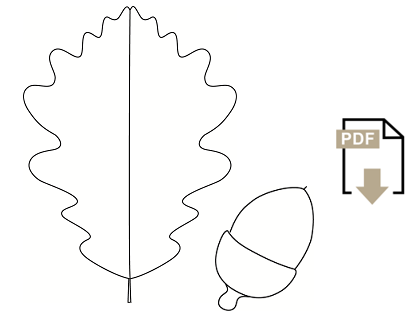
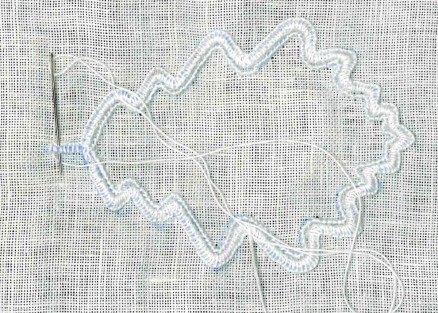
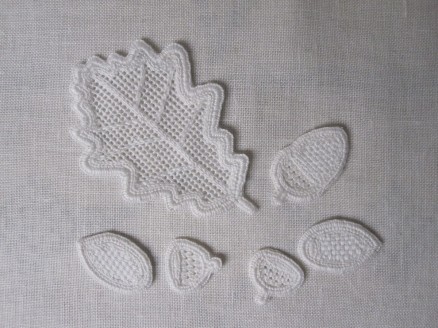
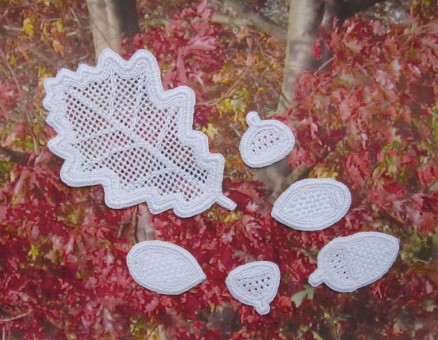
Eiche_01There are many different oak trees growing near our home. So, I went out to look and note the differences, always with the thought of transforming the shapes for whitework embroidery. A leaf with few sharp points would be good; I settled on the following shapes:
2014-11-01_pdf
Originally the leaf shape measures approx.10 cm in the width and 7 cm in the height.
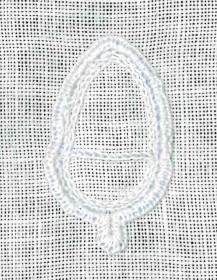
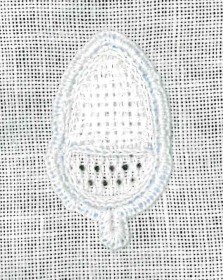
Originally the acorn shape measures approx. 2.4 cm in the width and 4.5 cm in the height.

First, the line drawing has to be transferred onto paper using an iron transfer pencil.
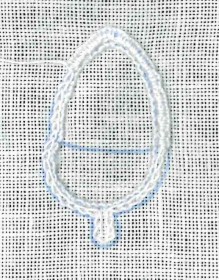
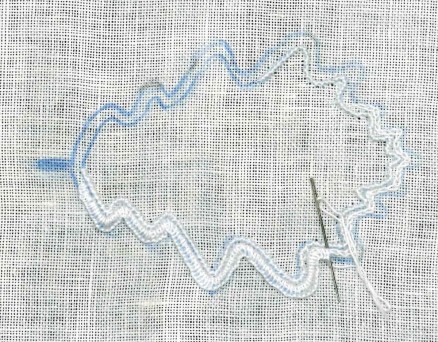
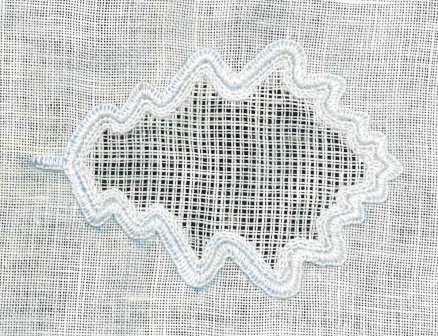
Eiche_07Eiche_08The shapes need a Blanket stitch edge for securing the fabric from fraying.
So, on Weddigen linen, 13.5/cm thread count, Coral Knot stitches are worked along the inside line using Coton à broder No. 20.
Using Coton à broder No. 20 for both, Chain stitches are worked a small distance outside the Coral Knot stitches. The Chain stitches are covered with densely worked Blanket stitches.
Eiche_09To get a small stem on the leaf, Blanket stitches are worked down one side and then up the other side. The Blanket stitches on the return pass are placed between the already worked Blanket stitches on the opposite side of the stem.
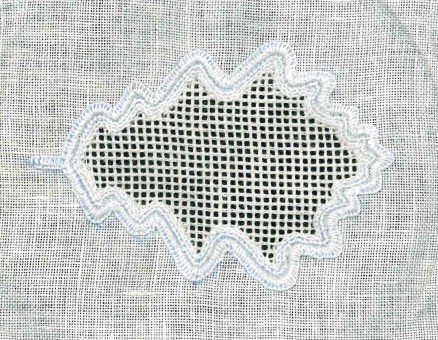
Eiche_10Eiche_11Using Coton à broder No. 30 Chain stitches are worked directly inside the Coral Knot stitches.
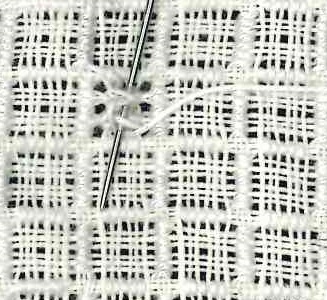
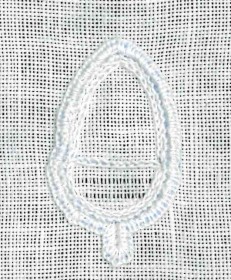
Eiche_12Eiche_13The acorn cap was filled with Wave stitches (Basic Priciples of Schwalm Whitework, pages 34-36). At first I wanted to fill the acorn seed with padded Satin stitches, but the stitches would become too long. So I decided to take a pattern used in early Schwalm Whitework – close, 2-thread weaving (Early Schwalm Whitework, page 19).
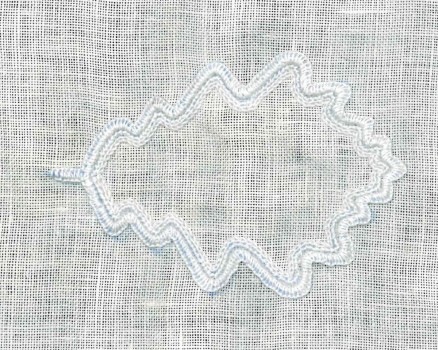
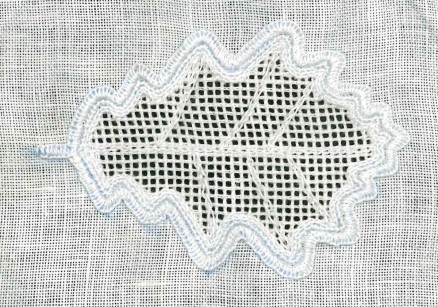
Eiche_14The leaf shape was filled with the openwork filling pattern Cable stitch grid (Basic Principles of Schwalm Whitework, pages 54-56, or Openwork Pattern Samplers, pages 58-61).
Please note that this grid was established by cutting only 1 thread and leaving 2, to keep the pattern compact.
Eiche_15This pattern is especially suitable because all small curves and corners can be covered well.
Eiche_16In the end I embroidered some of the leaf veins using Chain stitches.

After finishing, the embroidered pieces were washed (boiled), starched and ironed. Then, the leaf and the acorn were cut. If needed, such closely trimmed embroidery can be washed and ironed – quickly and easily – at any time, but never spun in a washing machine!
Eiche_17Some single acorns are easily and quickly embroidered … and now you have one more nice decoration!
Eiche_18

Röserich Filling Patterns

Filling Patterns No. 452 – 468: Röseriches
category: Limet-Filling patterns
The “Röserich” is one of the most prominent stitches in Schwalm Whitework. The name itself, Röserich, denotes importance and grandeur. It is often combined with other stitches to make stunning filling patterns, but it is also seen alone.

The most famous and most prevalent variant is the pattern shown on the picture on bottom.
The Röserich patterns are effective in different shapes. They are a little bit intricate, but following the steps carefully the design will turn out well.
Working on this project, I experimented and discovered more and more nice Röserich patterns – very different, but always beautiful. There are patterns for small shapes as well as large shapes, striped patterns, patterns worked on the straight of grain or on the bias, and patterns suitable for circles – 17 different patterns in all (some presented in two different variations)!

So, I decided to make a downloadable booklet to present the different Röserich variants in great detail and with step-by-step instructions, and to share with you the patterns that I discovered. I know you will want to learn more about this grand and important Schwalm Whitework stitch!

Please note that it is assumed the embroiderer is already familiar with the basic Schwalm Whitework stitches. If you need those instructions, please see “Basic Principles of Schwalm Whitework”.

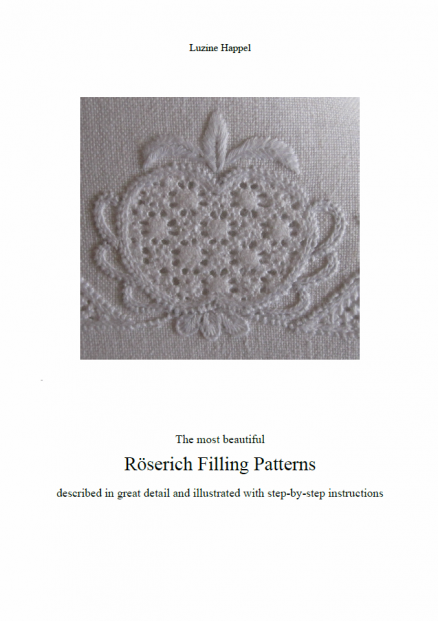
The most beautiful Röserich Filling Patterns described in great detail and illustrated with step-by-step instructions 25 pages 17 different patterns 15.1 MB file size Text: English 15,00 EUR download here

The most beautiful
Röserich Filling Patterns
described in great detail and illustrated with step-by-step instructions

25 pages
17 different patterns
15.1 MB file size
Text: English

15,00 EUR

download here