
Perhaps you would like to work a table runner or a band with such a border as shown in the article on 1. February 2014. The below picture shows a part of such a band.
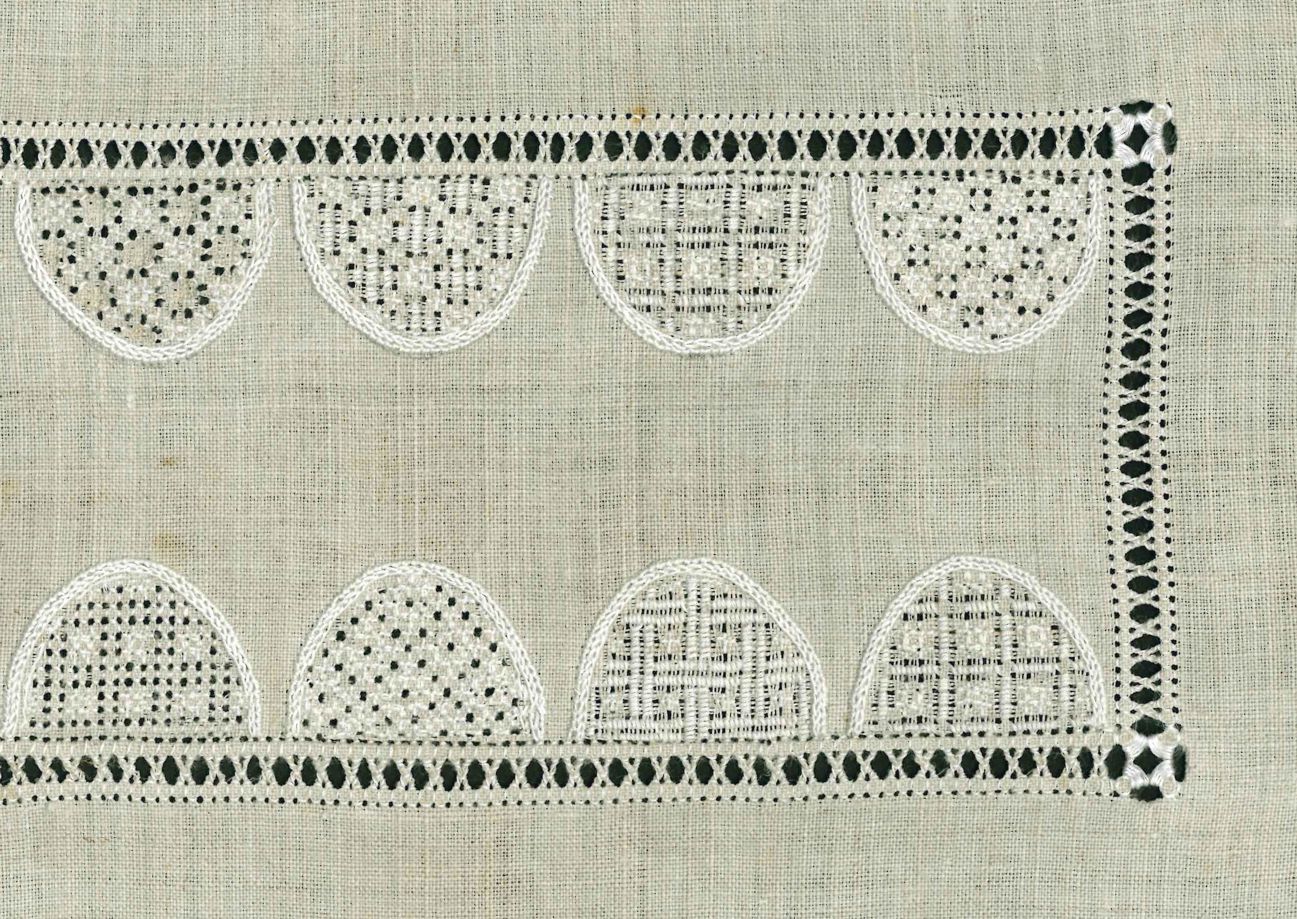
Perhaps you would like to work such a border along the longitudinal sides, and you do not want to set the length of it at the outset (but rather to have the option to adjust the length of your piece according to your enthusiasm). For this situation, please take a piece of linen in the desired width and any length. About 10 cm in from the right narrow edge of the linen, you will begin withdrawing threads. You will withdraw threads along the length of the fabric.
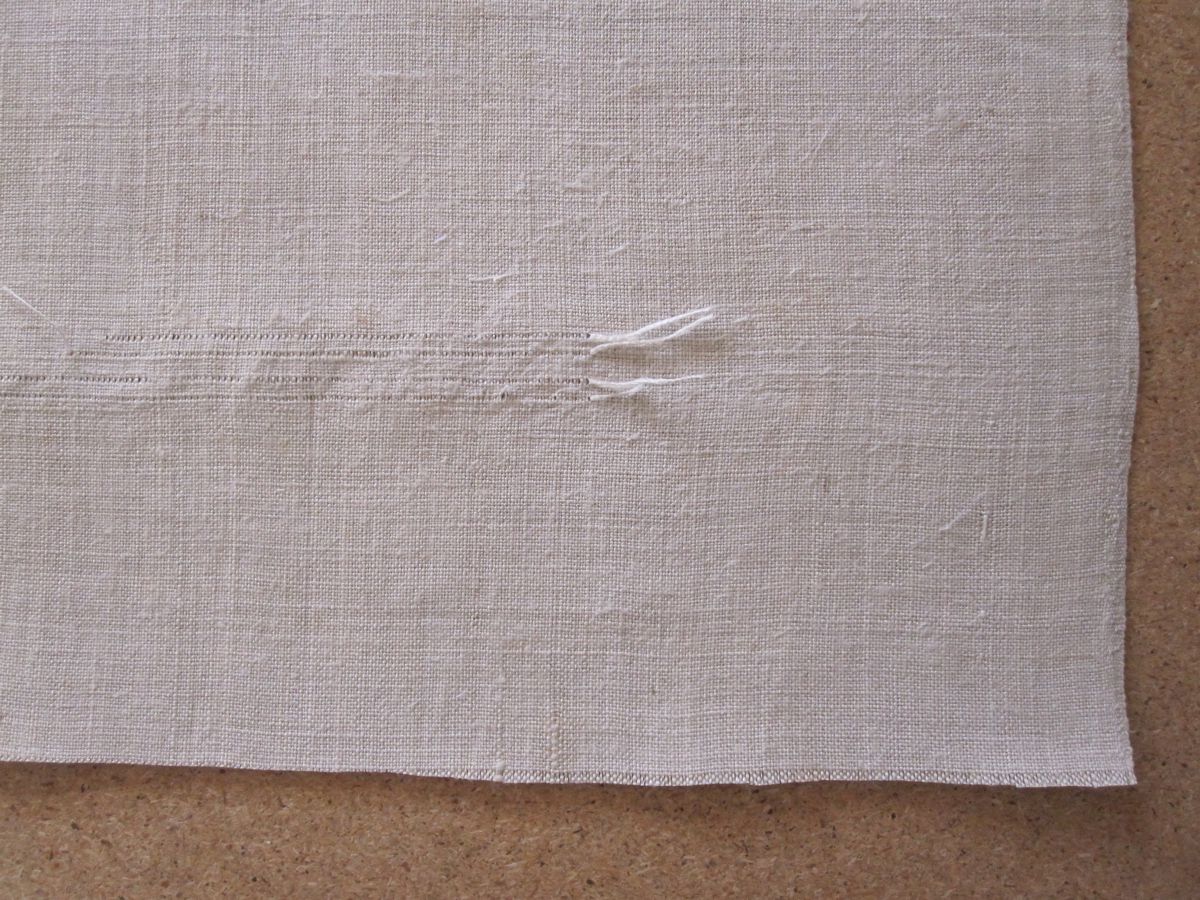
Withdraw one fabric thread (basic line) along the long edge where you want to fasten the hem later.
(In my example the hem should measure 3 cm plus a 1 cm wide fold, so my basic line is 7 cm from the edge. Counting inwards, leave 4 threads, withdraw one, leave 6 threads, withdraw one, leave 4 threads again and withdraw one. The ends of thread remain in the back and will disappear under the hem later.
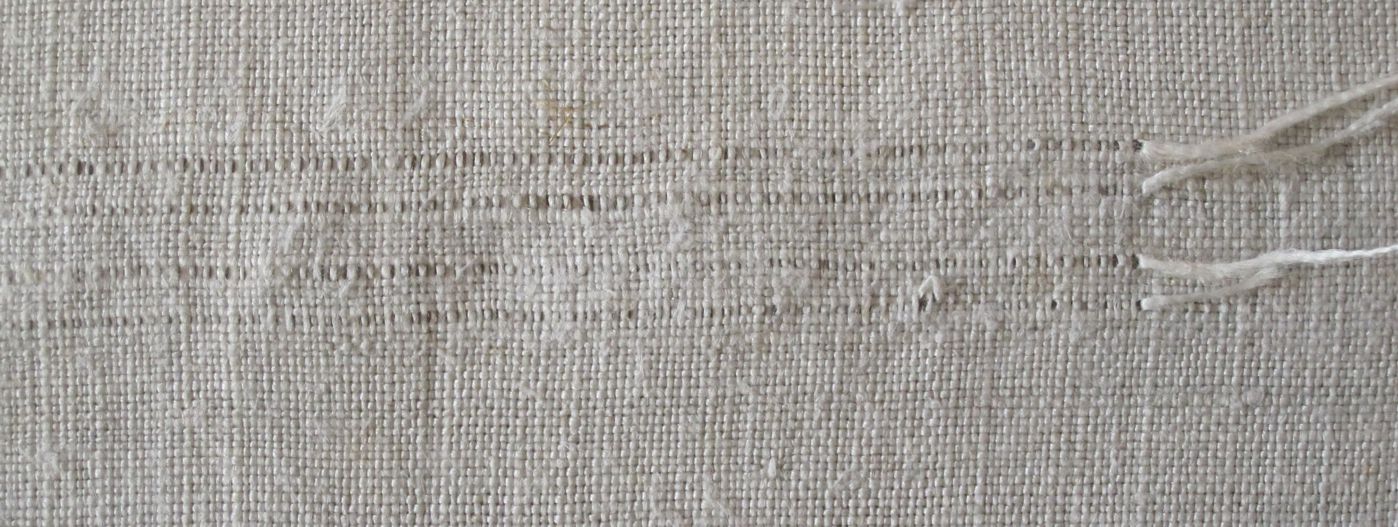
Work Four-Sided stitches over 4 threads between the basic line and the next withdrawn-thread line.
Please keep in mind, if you do not wish to determine your final length beforehand, you will not withdraw threads the entire length of the linen.
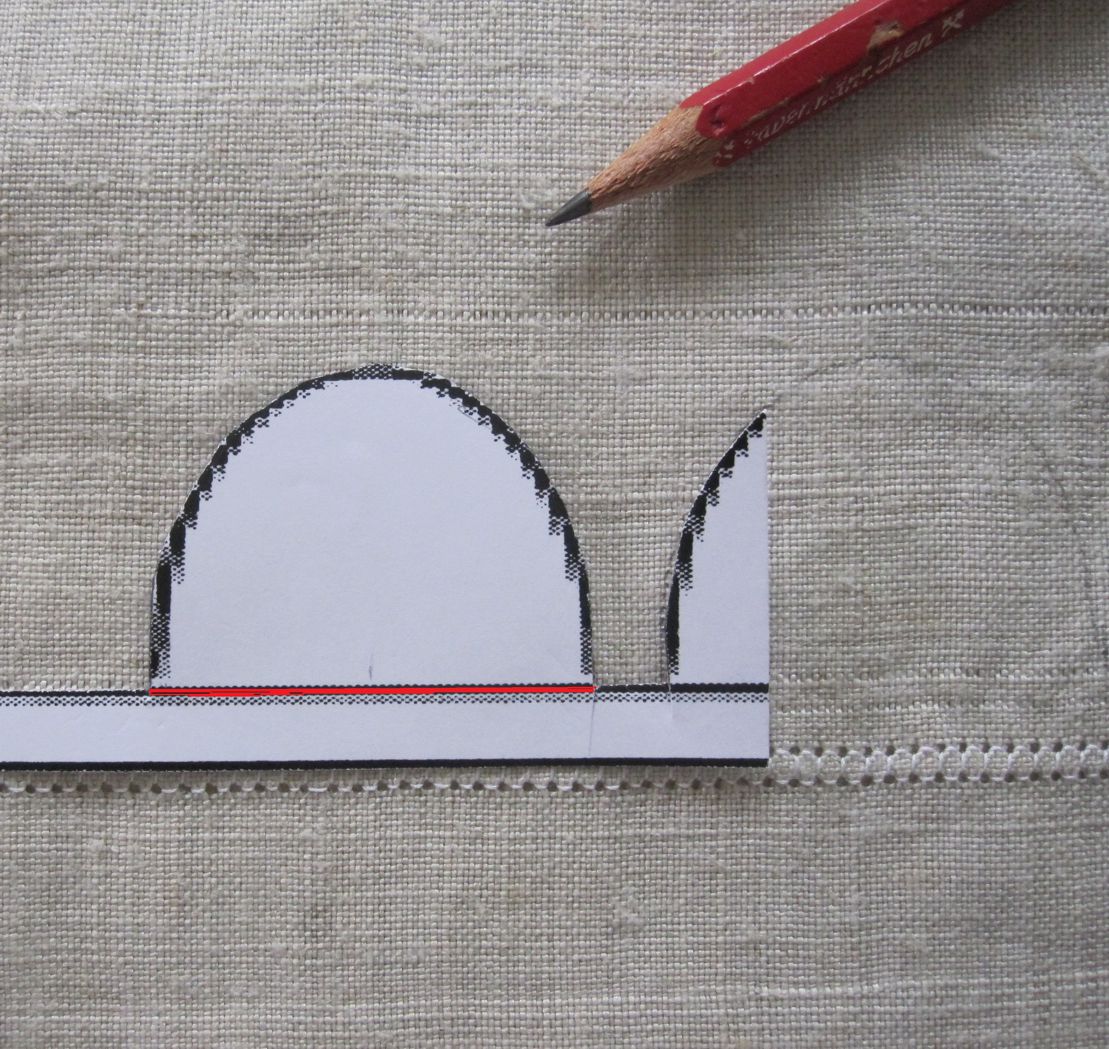
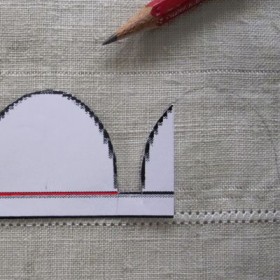
Make a stencil of paperboard with a straight edge at the bottom, an arch in the desired size, a space for the narrow leaf, and a section of the arch (this will ensure that the spacing between arches will be consistent). My arch is 3 cm high, 4.3 cm at its widest point, and there is a distance of 0.7 cm between the arches. If the arch were smaller, the pattern could not develop, and if the arch were much larger, it would be unattractive.
Lay the stencil on the ironed fabric so that the bottom line of the arch (red line) sits on the innermost thread line. Holding it in this position, and using a pencil, trace the shape of the arch. Then move the stencil to the left to the point where the partial arch matches up with the just marked line, and trace a second curve. You may choose to mark the desired number of arches all at once, or, if you have not decided on a final length, to mark the arches as you work. When adding arches after embroidery begins, it is important to iron the fabric again, and to keep one arch un-embroidered to be able to accurately place the stencil.
Further instructions will be the subject of the next article.

Great tutorial Luzine! Thanks a lot! I’ve always save it for a work to do! So many project in my mind!!!