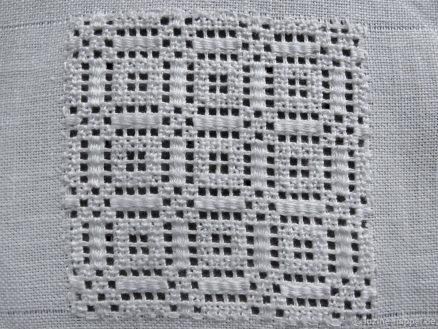
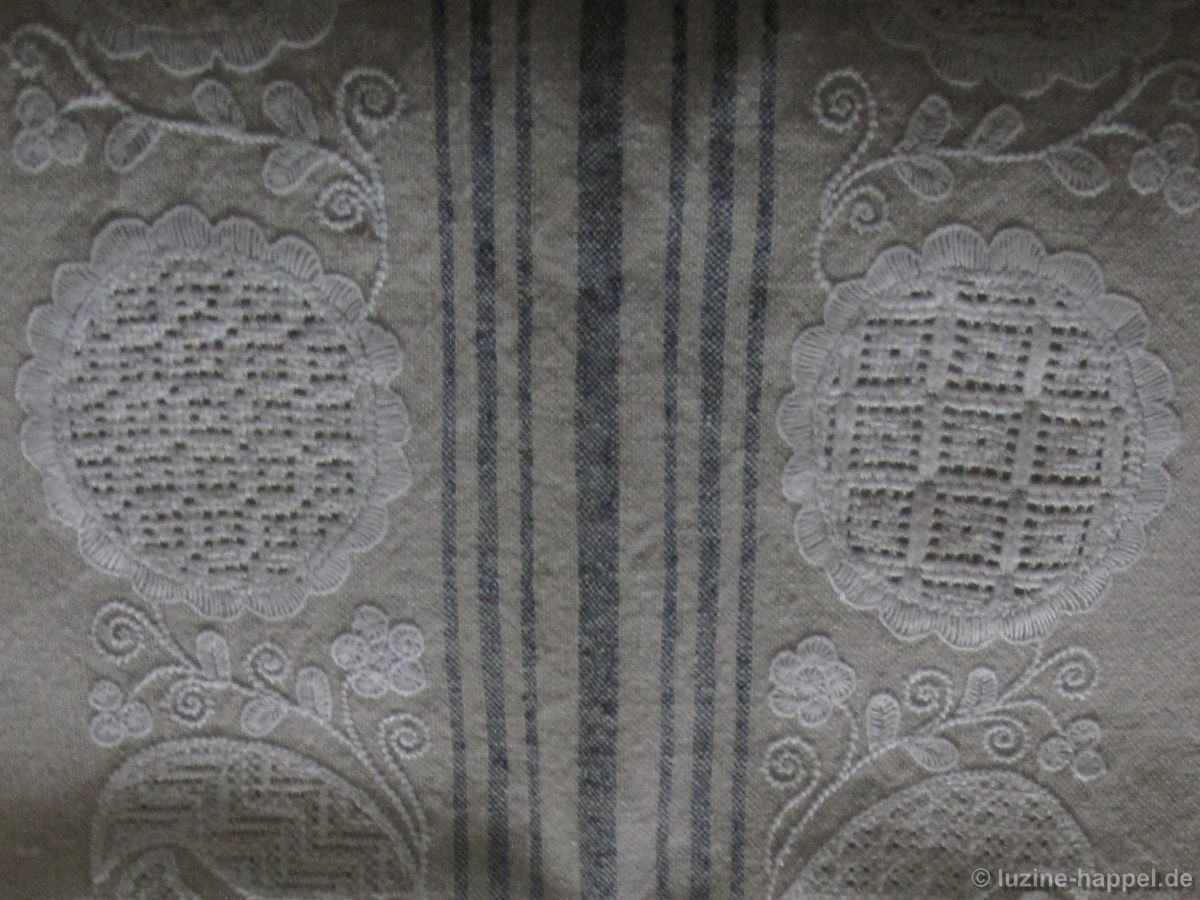
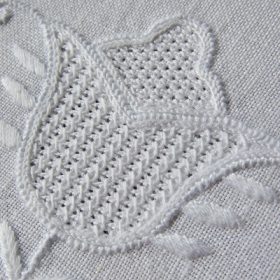
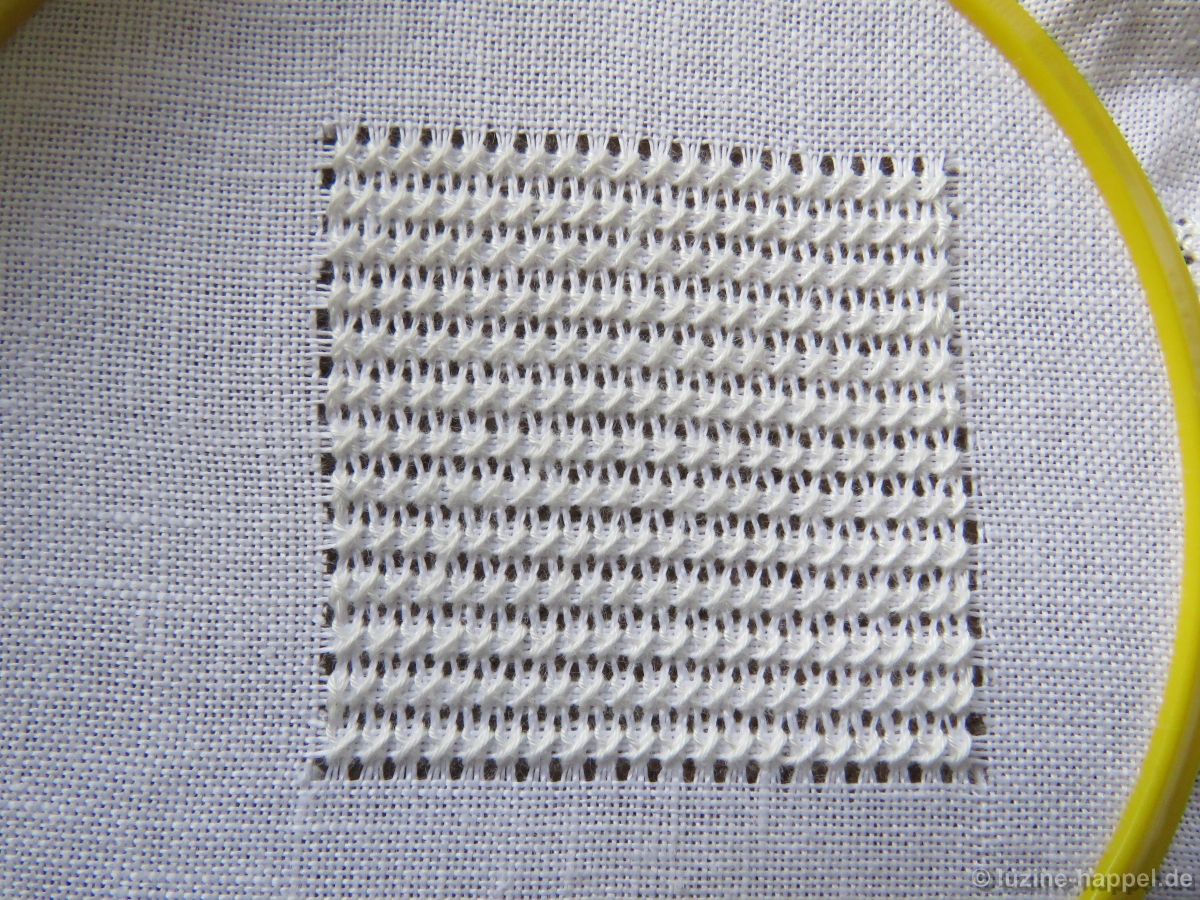
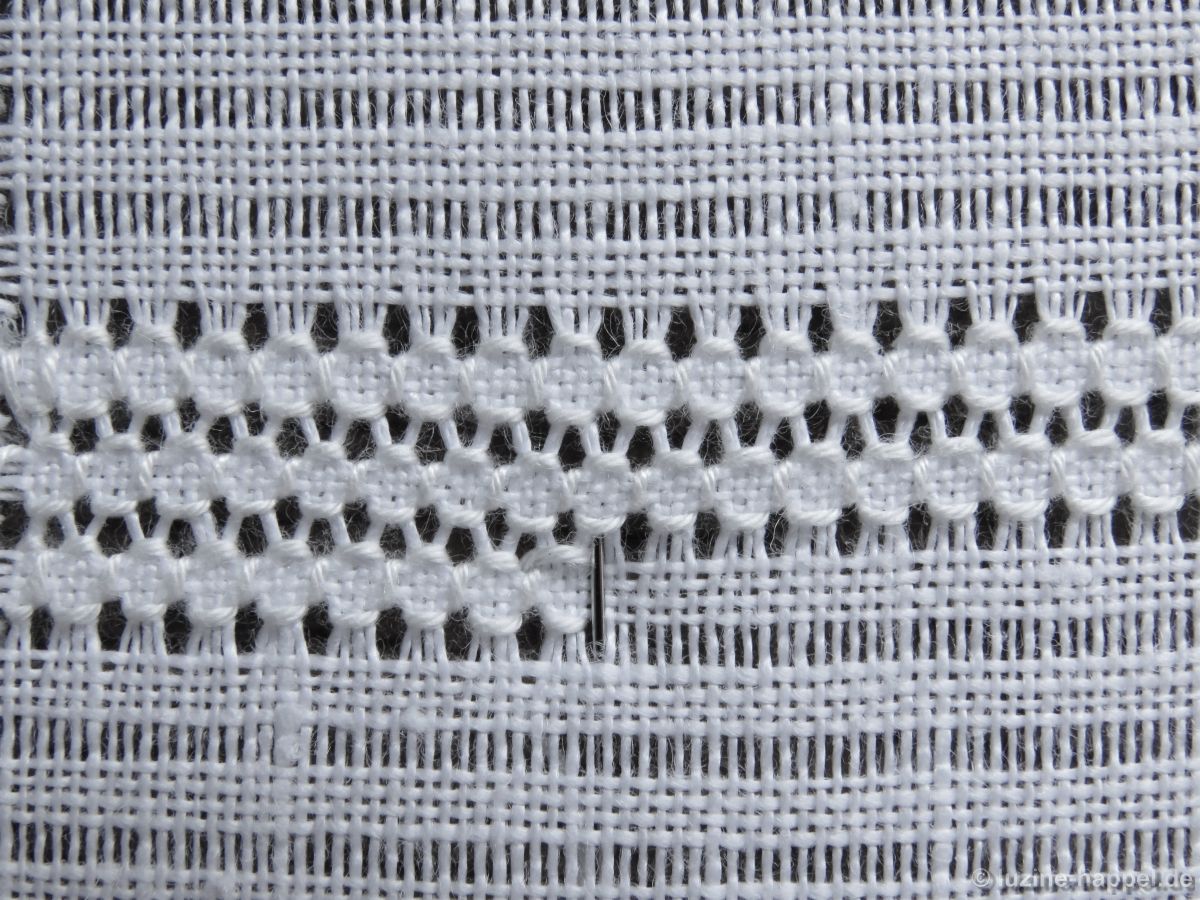
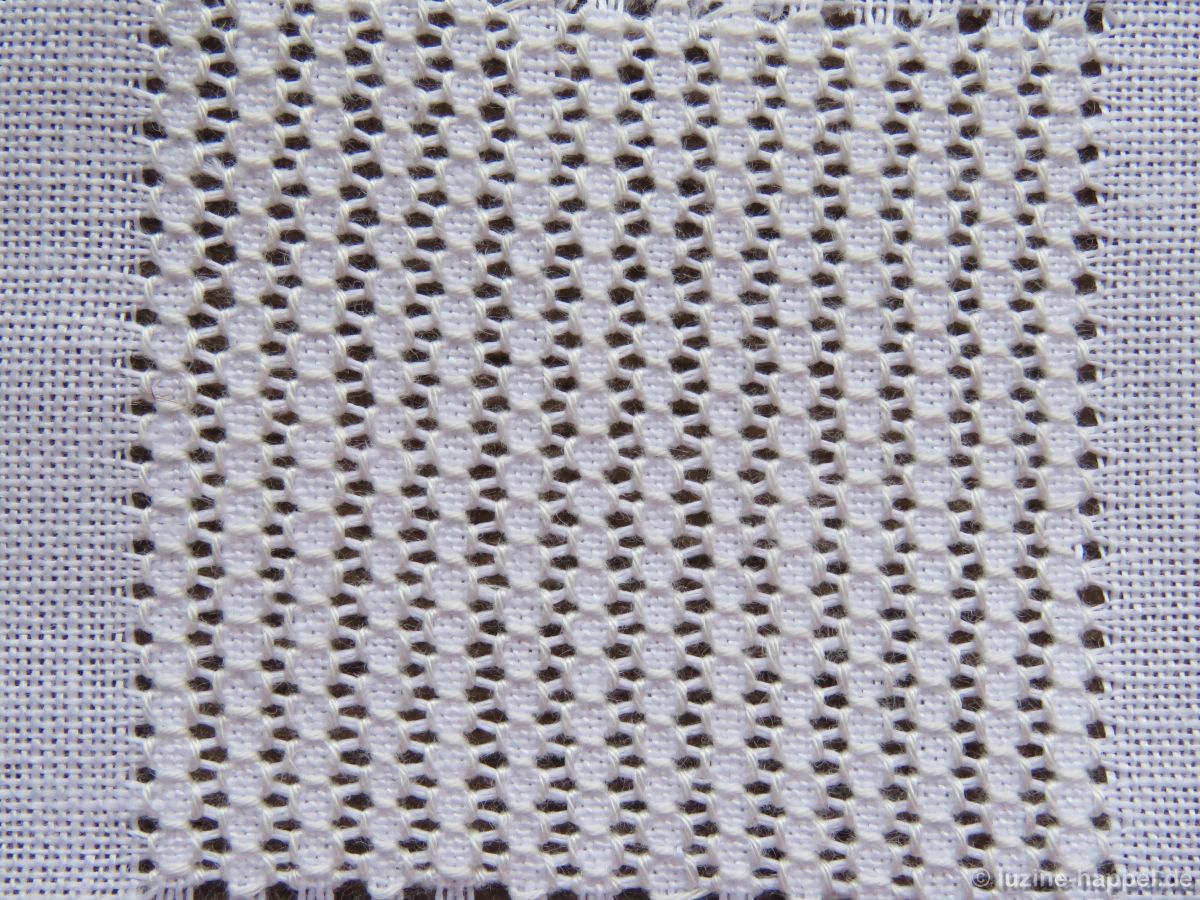
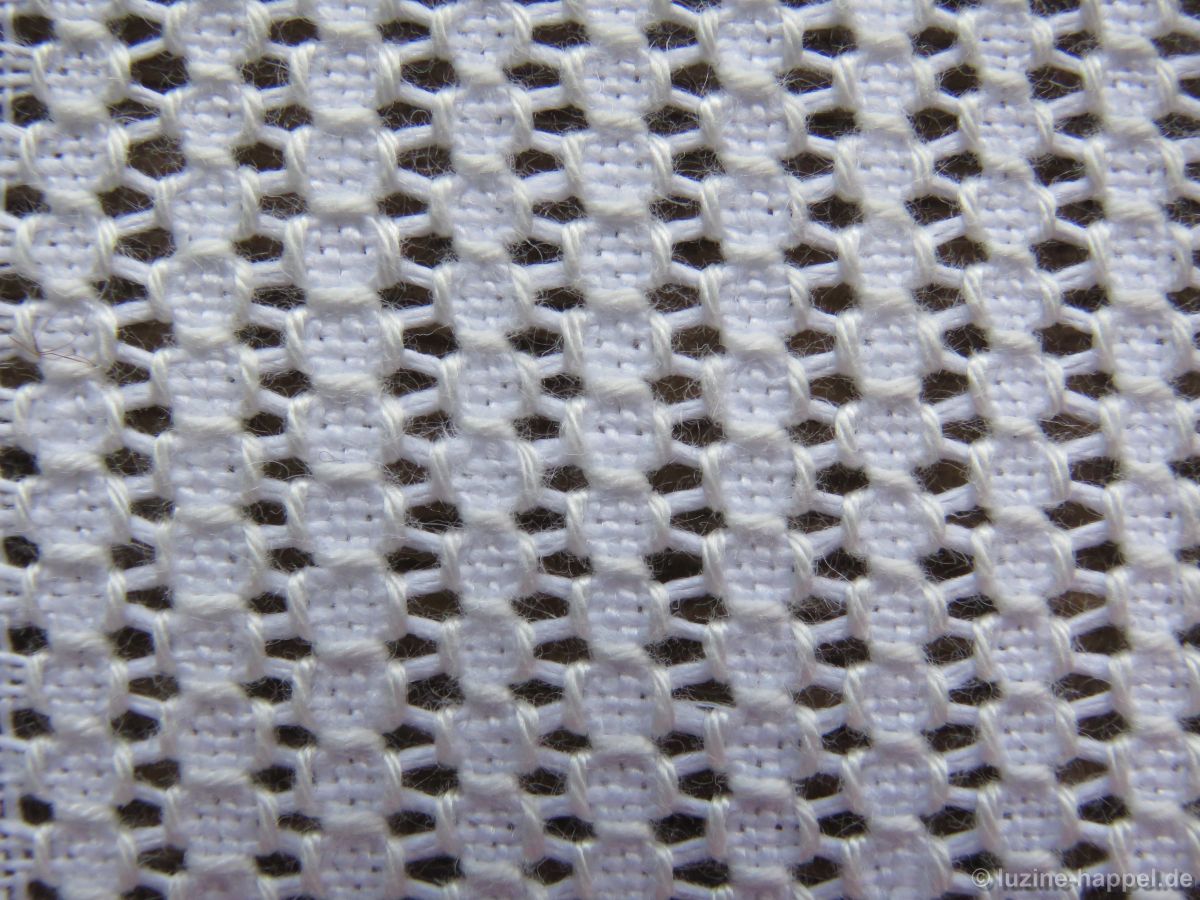
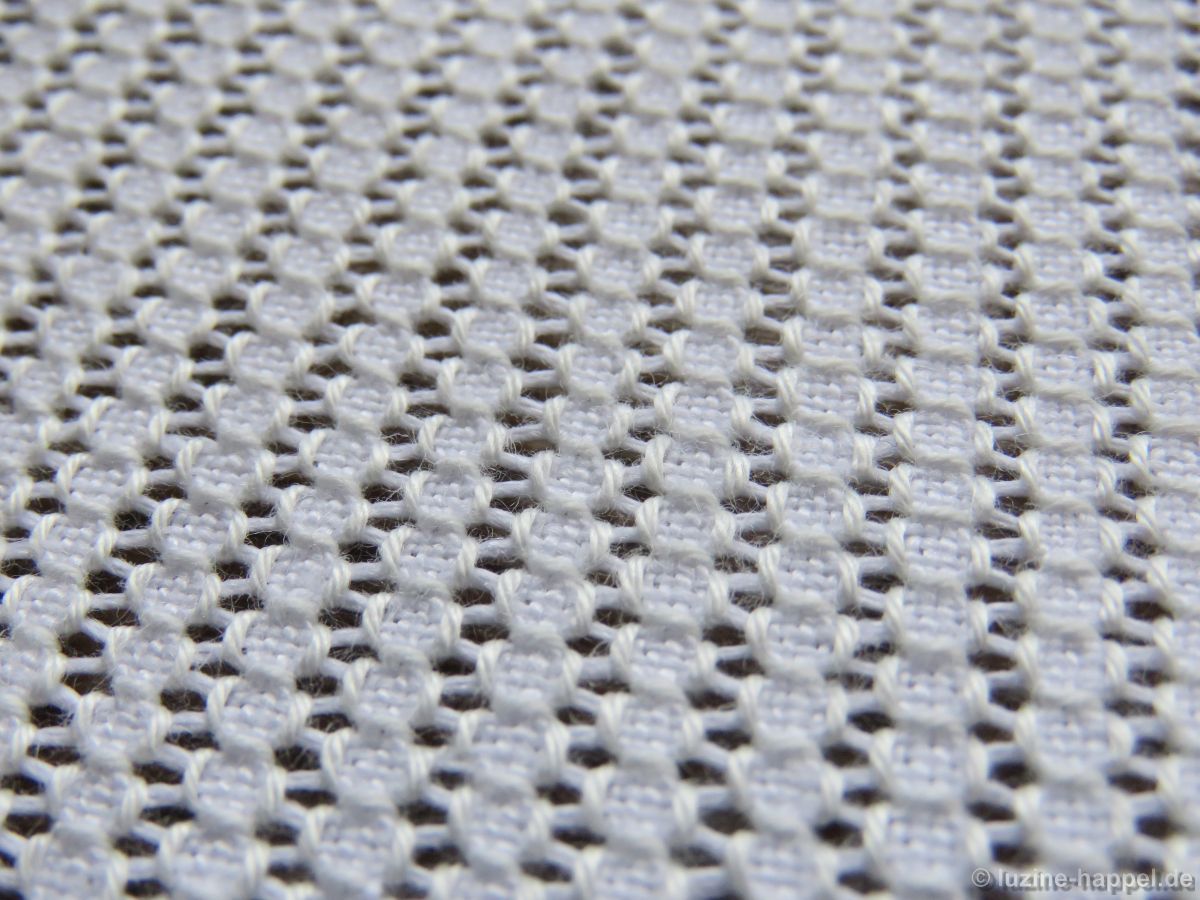
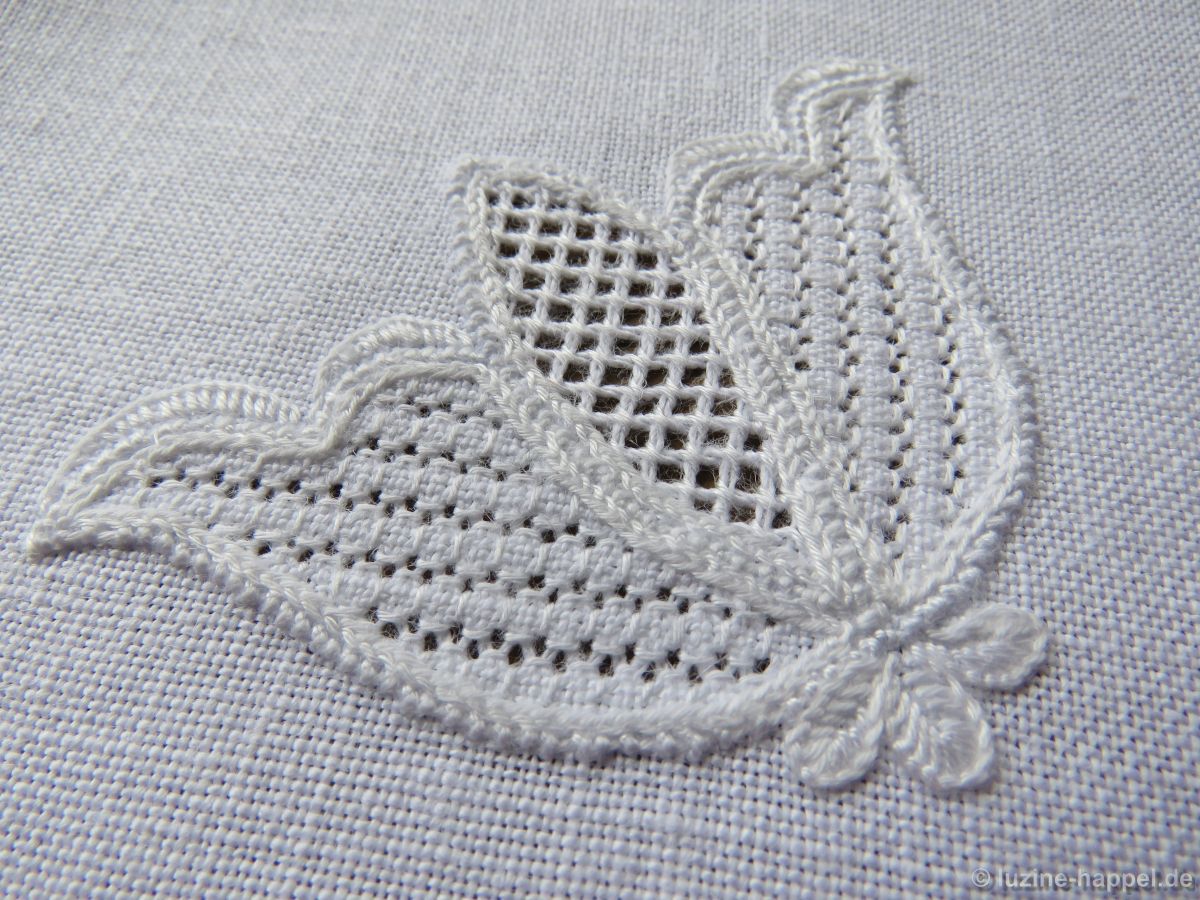
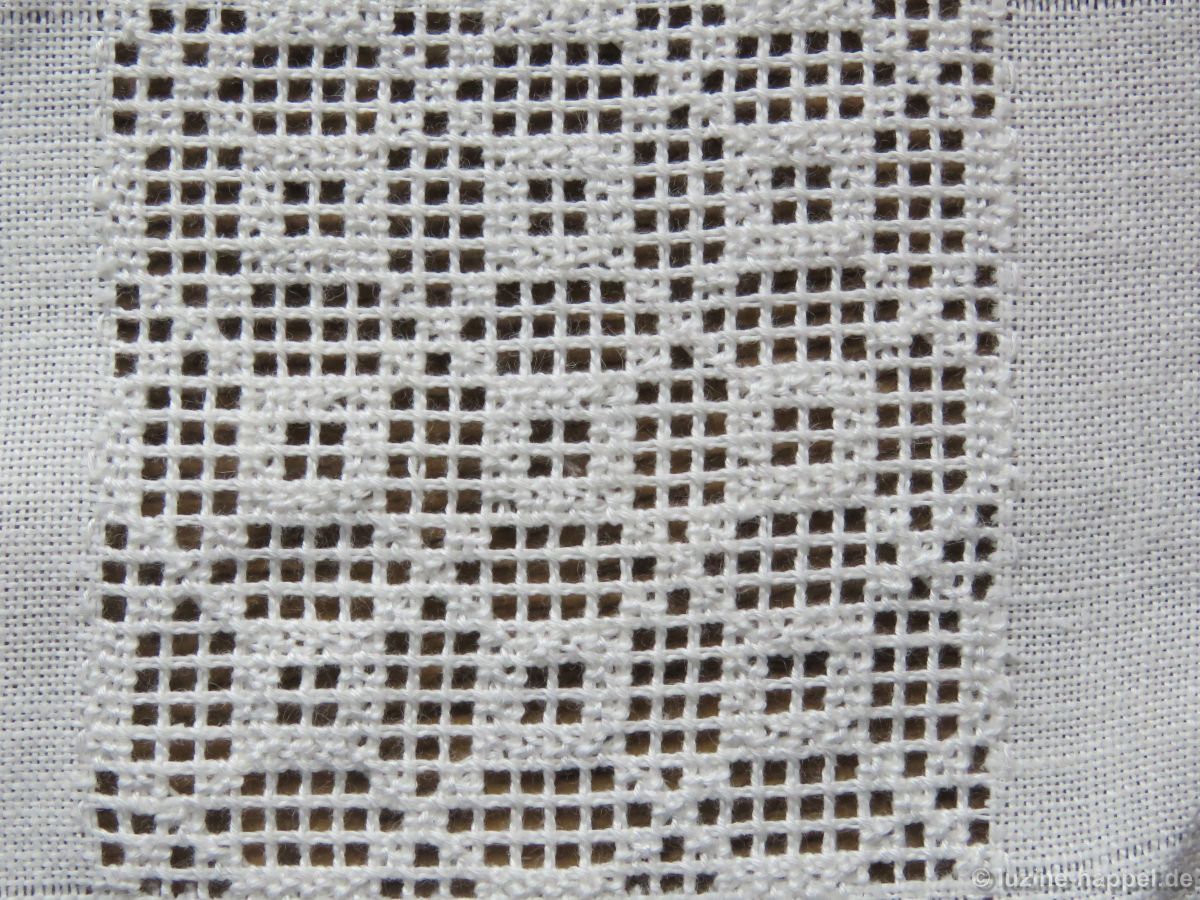
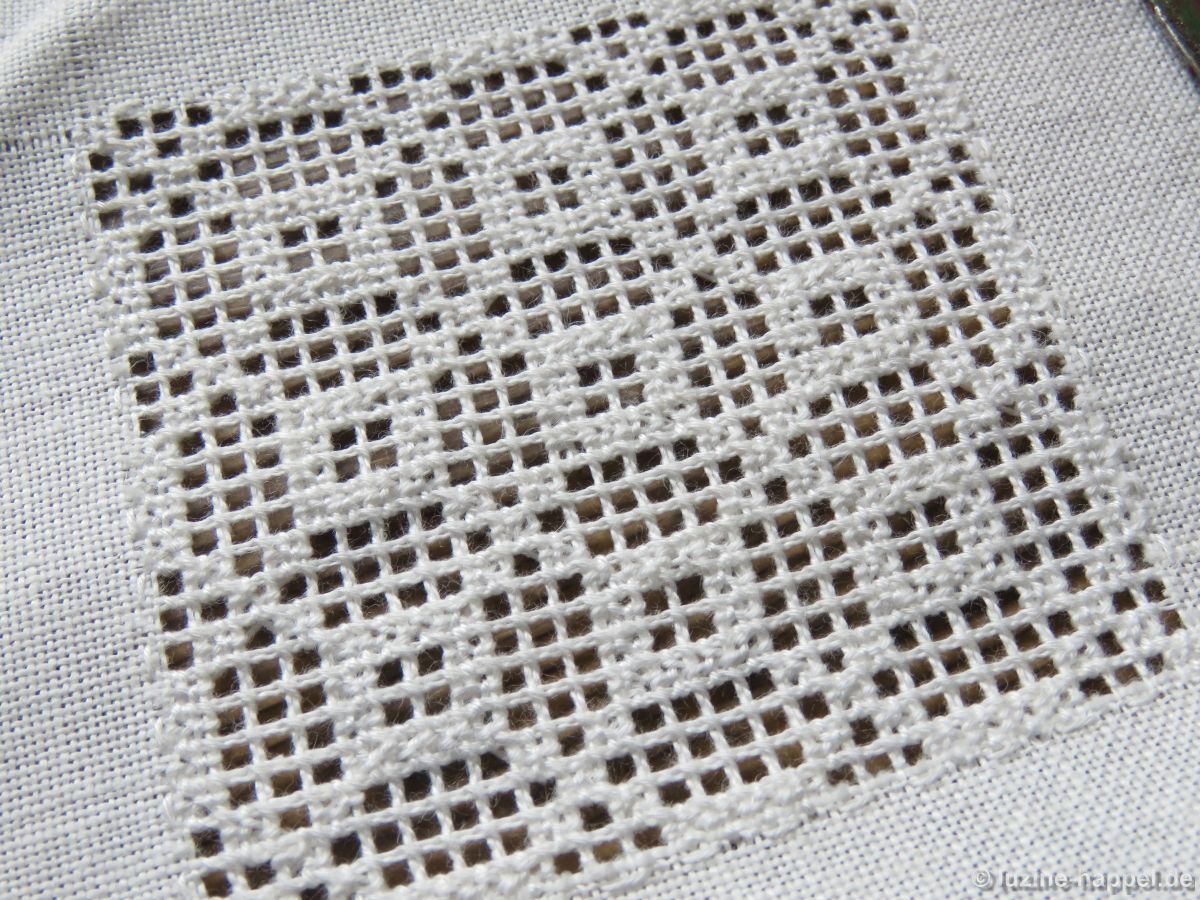
category: openwork filling pattern with Cable stitch grid
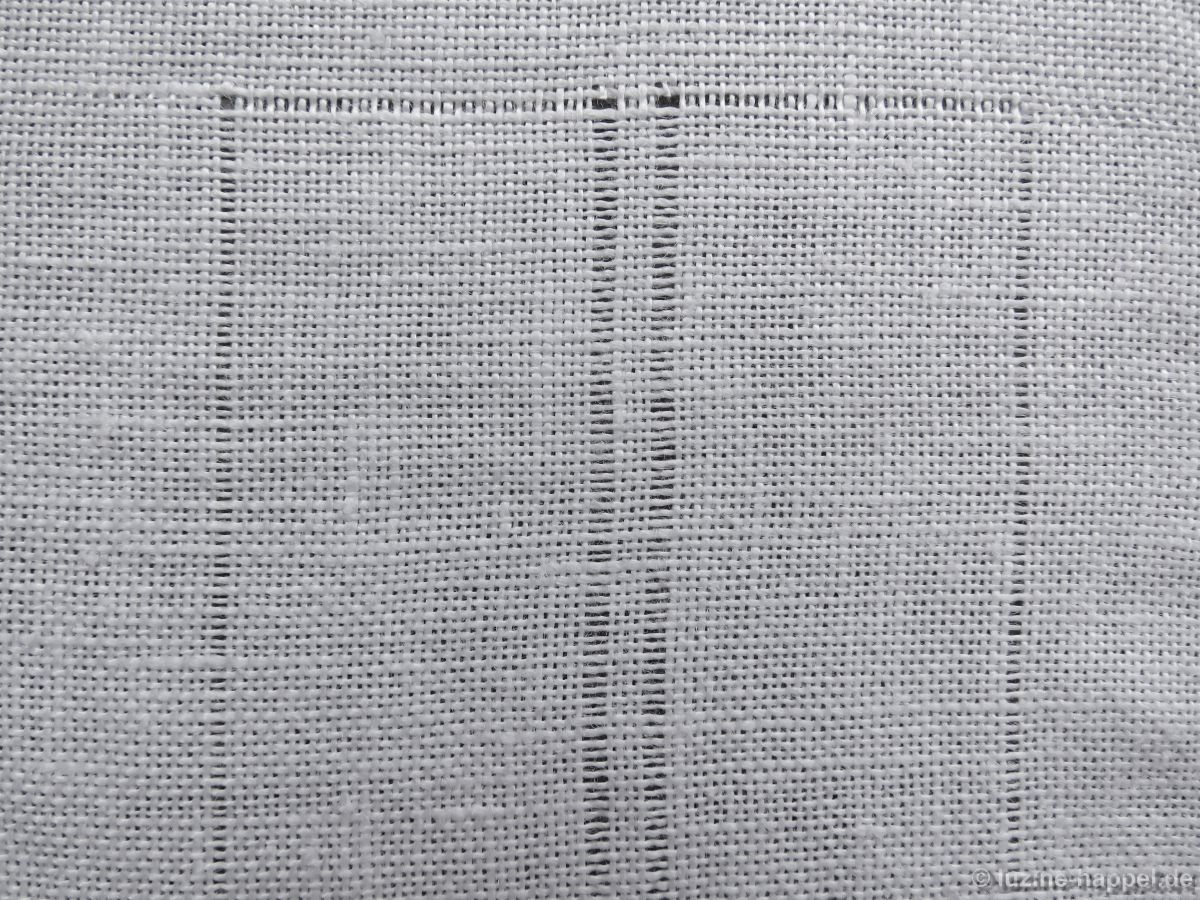
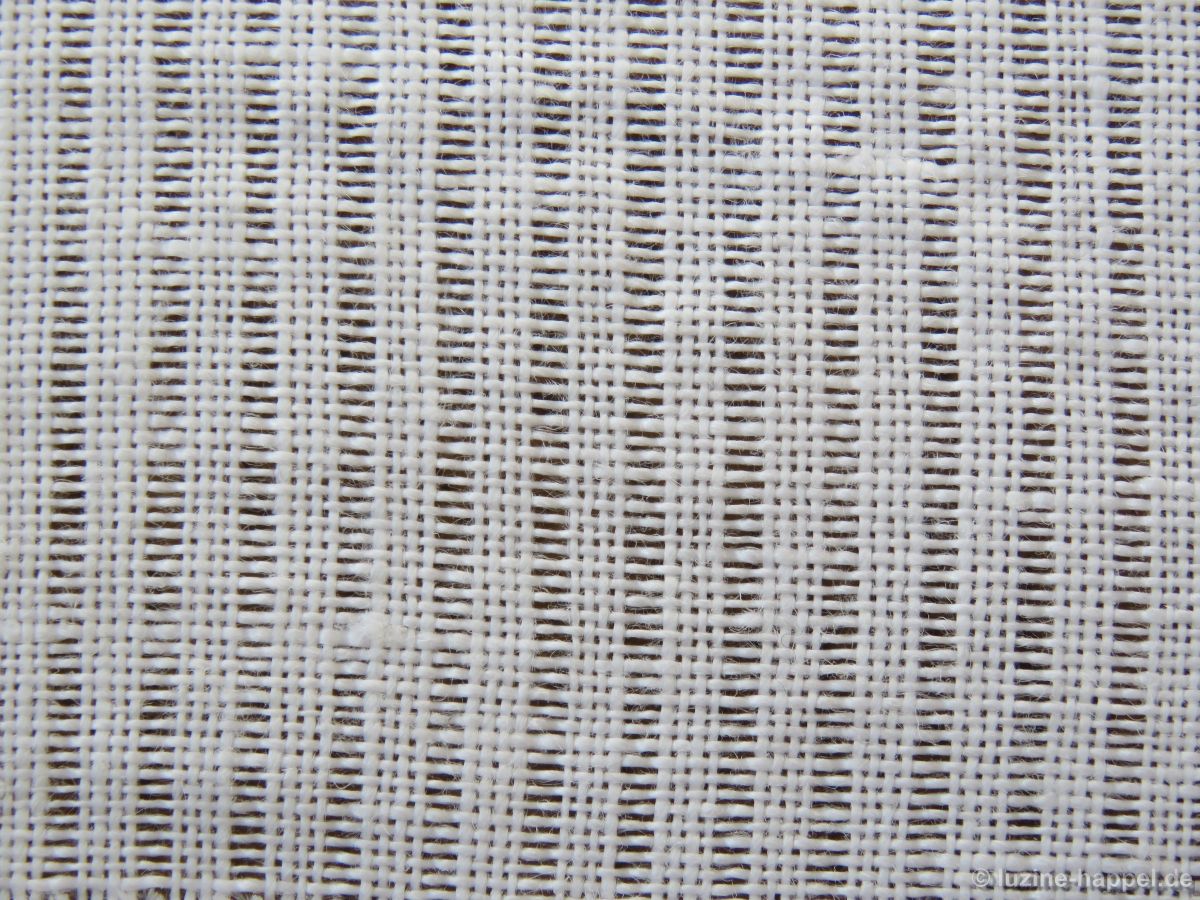
linen used: 13.5/cm thread count
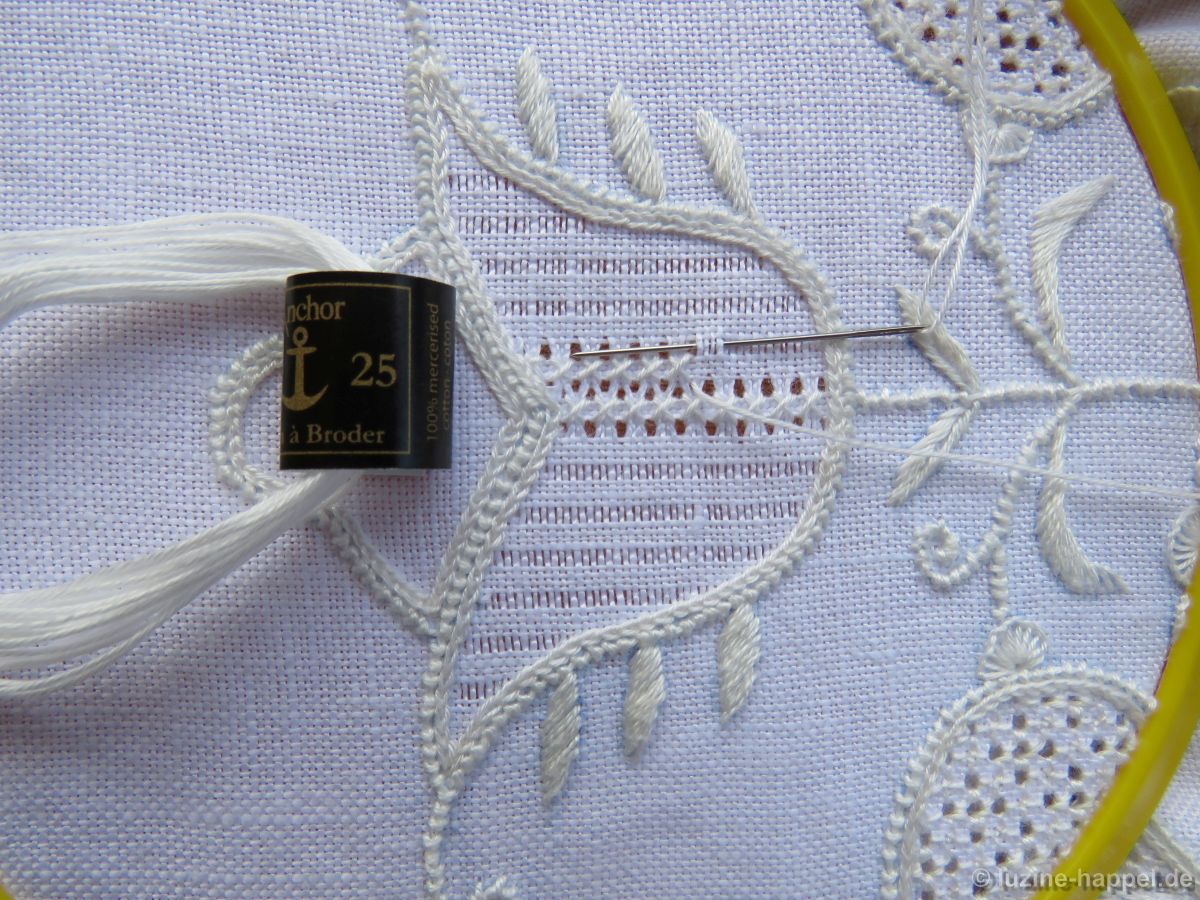
threads used: coton à broder No. 30 for the Cable stitches and No. 20 for the Needle-weaving and the Rose stitches
stitches used: Cable and Rose stitches
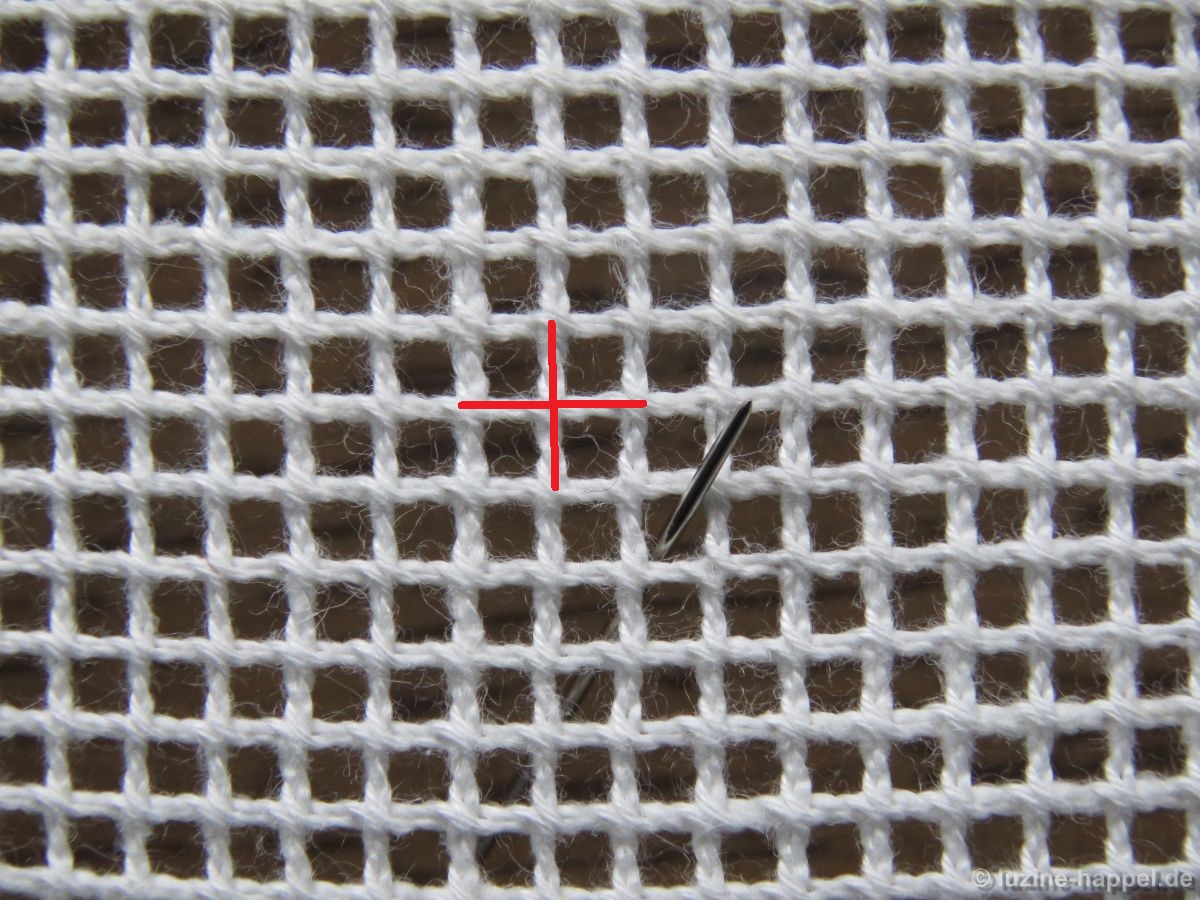
center: intersection of pairs of fabric threads
one pattern segment: = 28 threads
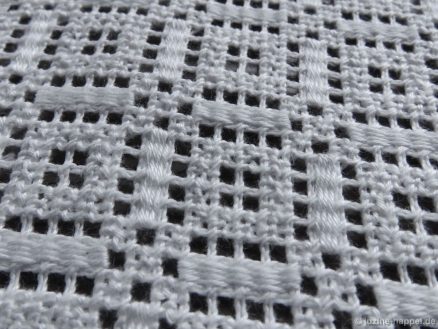
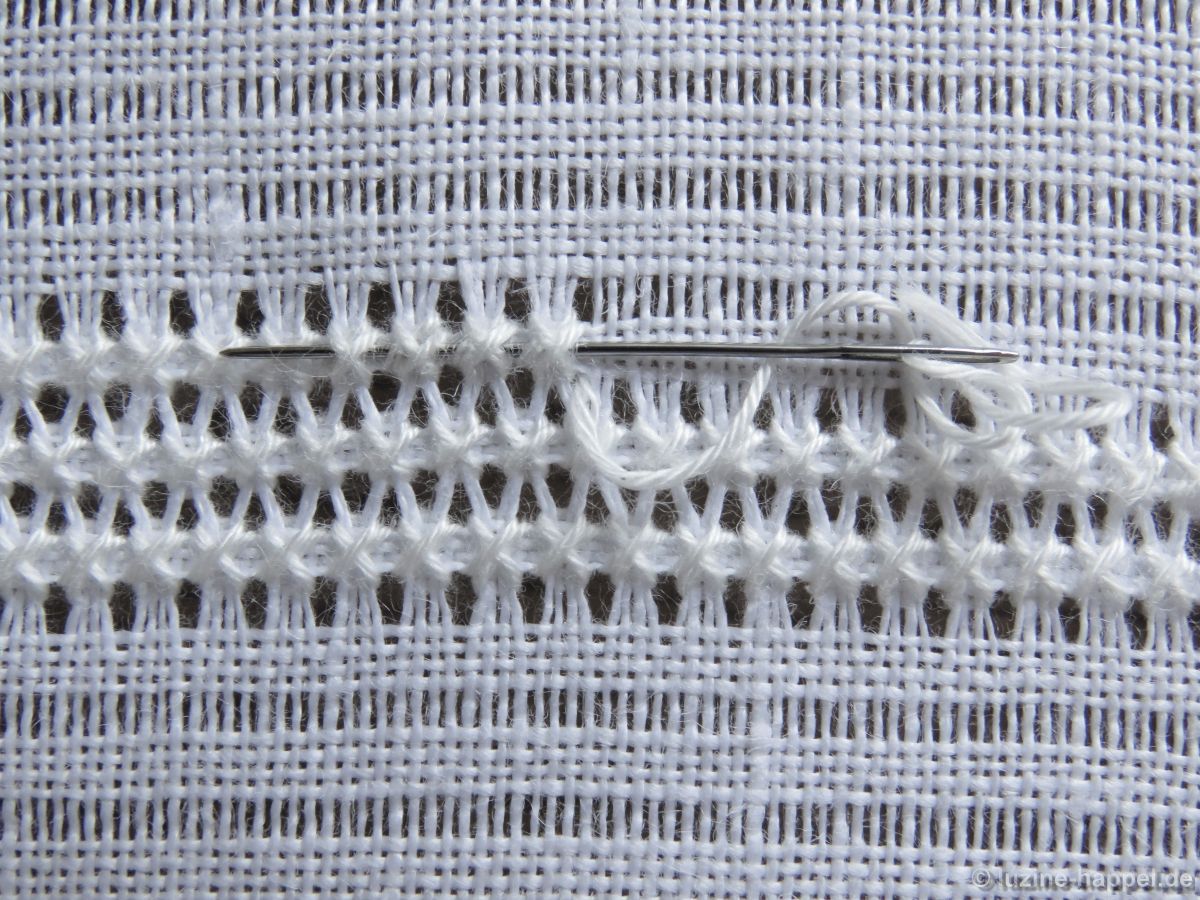
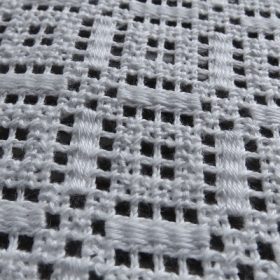
While embroidering from No. 565, I came up with the idea of modifying the pattern with additional Needle-weaving stitches. This makes the workflow a little more fluid.
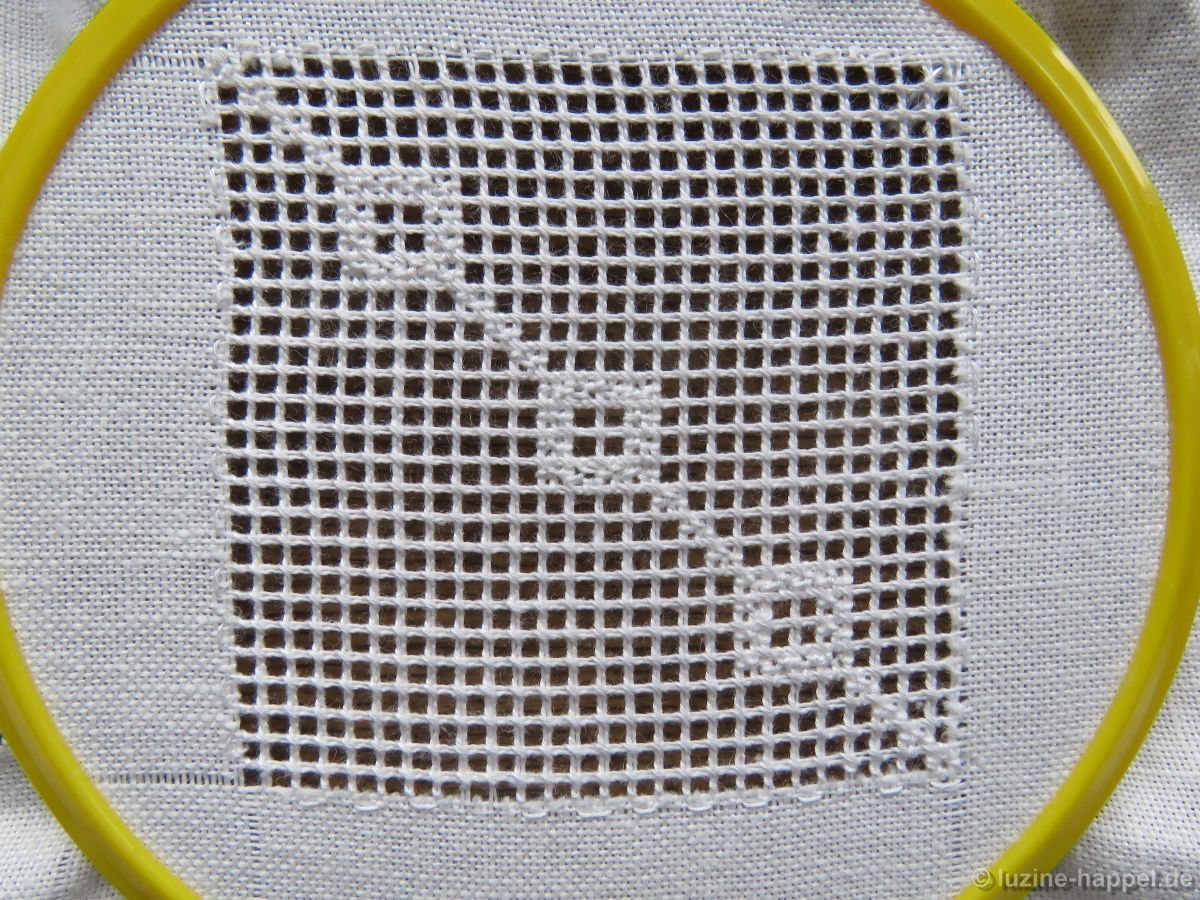
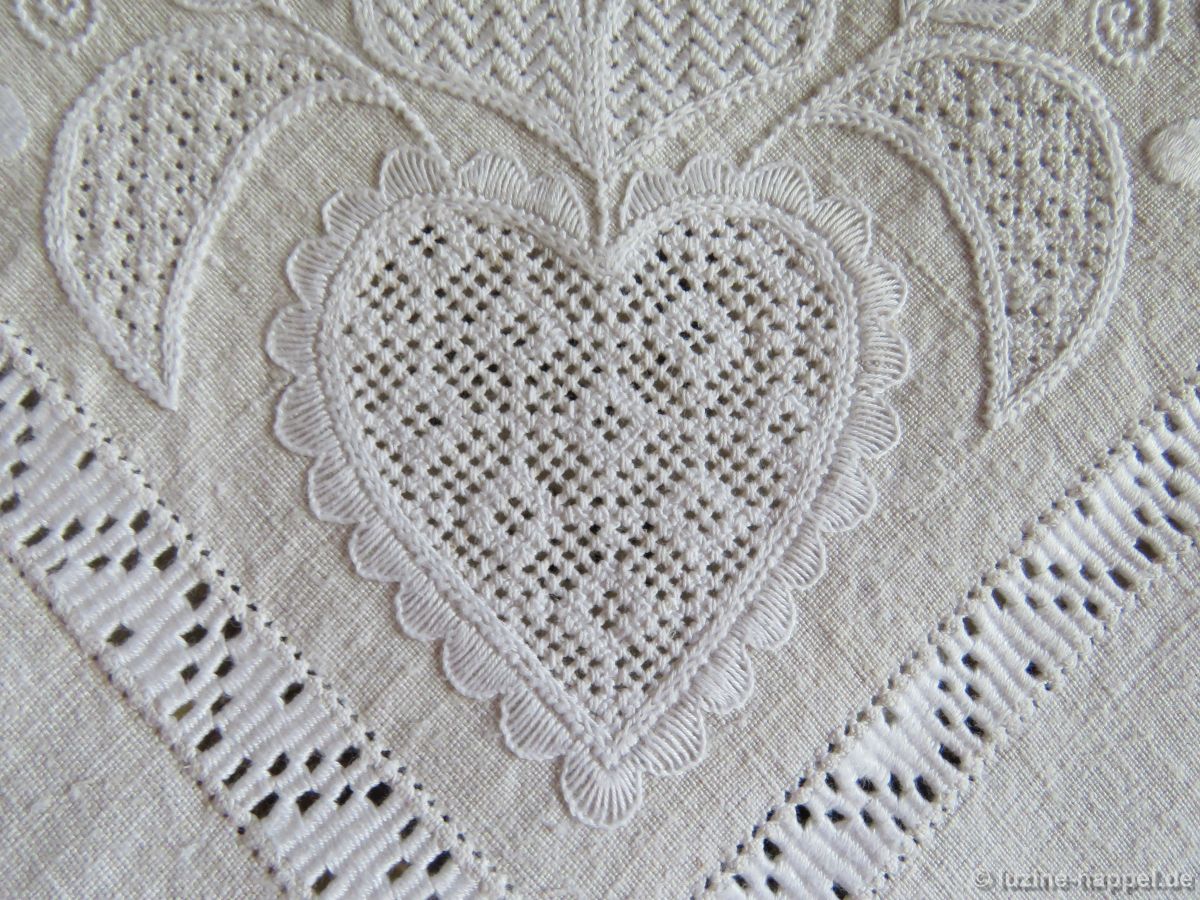
The filling pattern shown here is a practice exercise only.
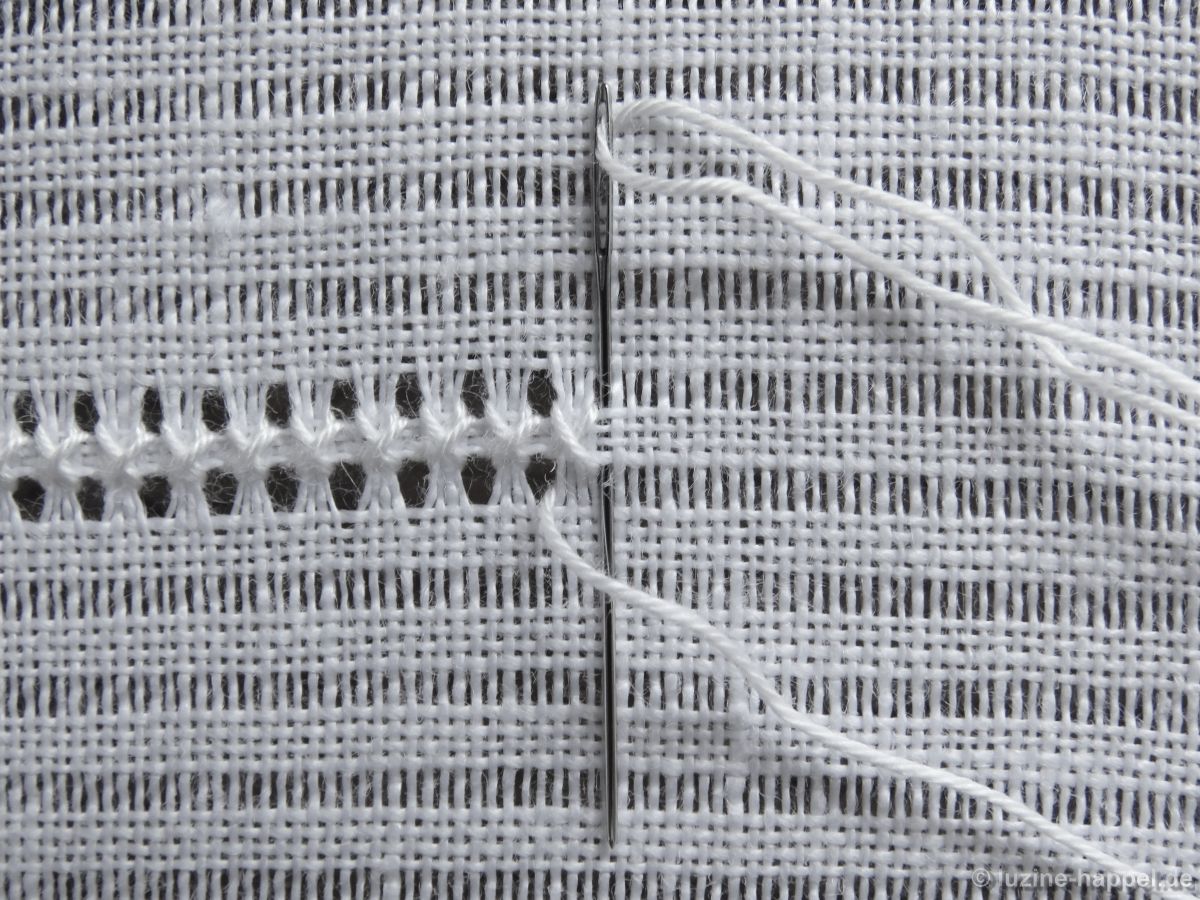
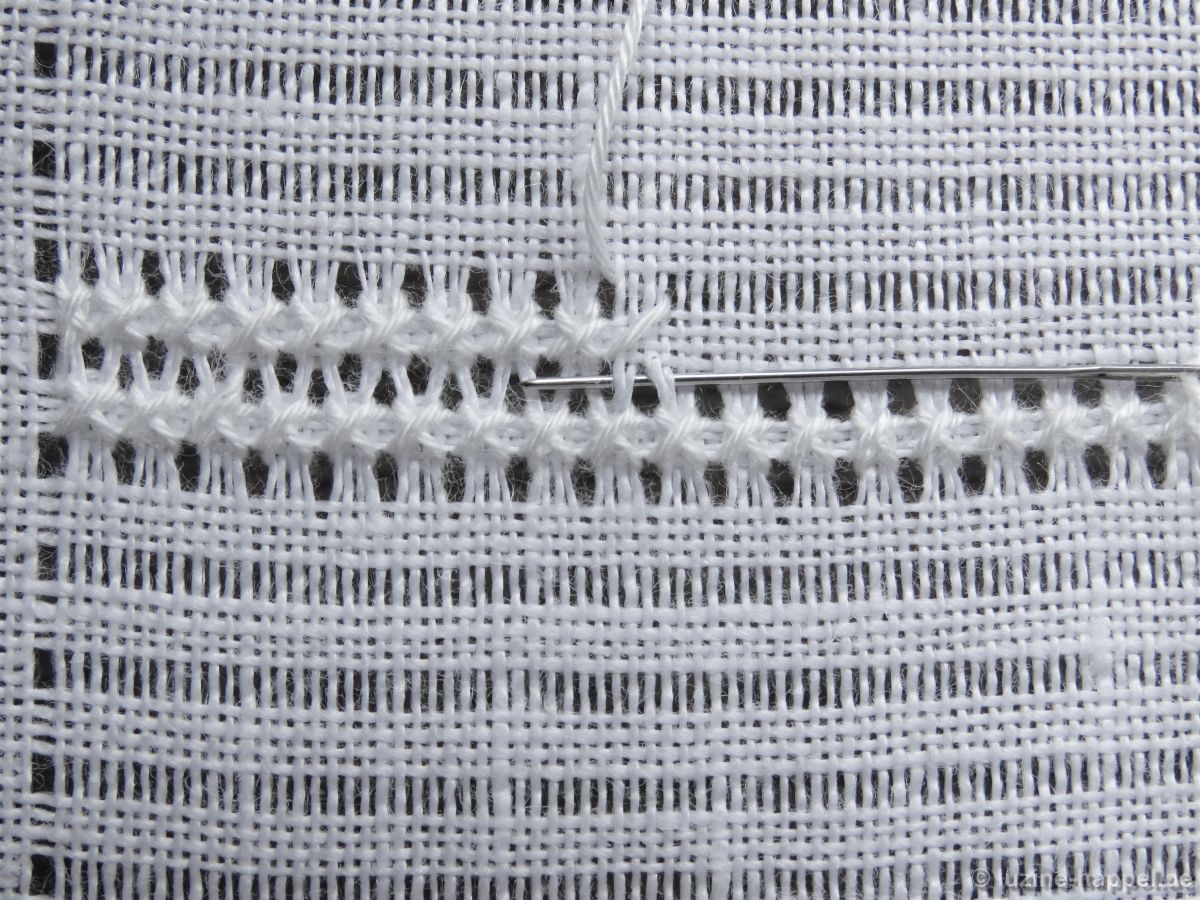
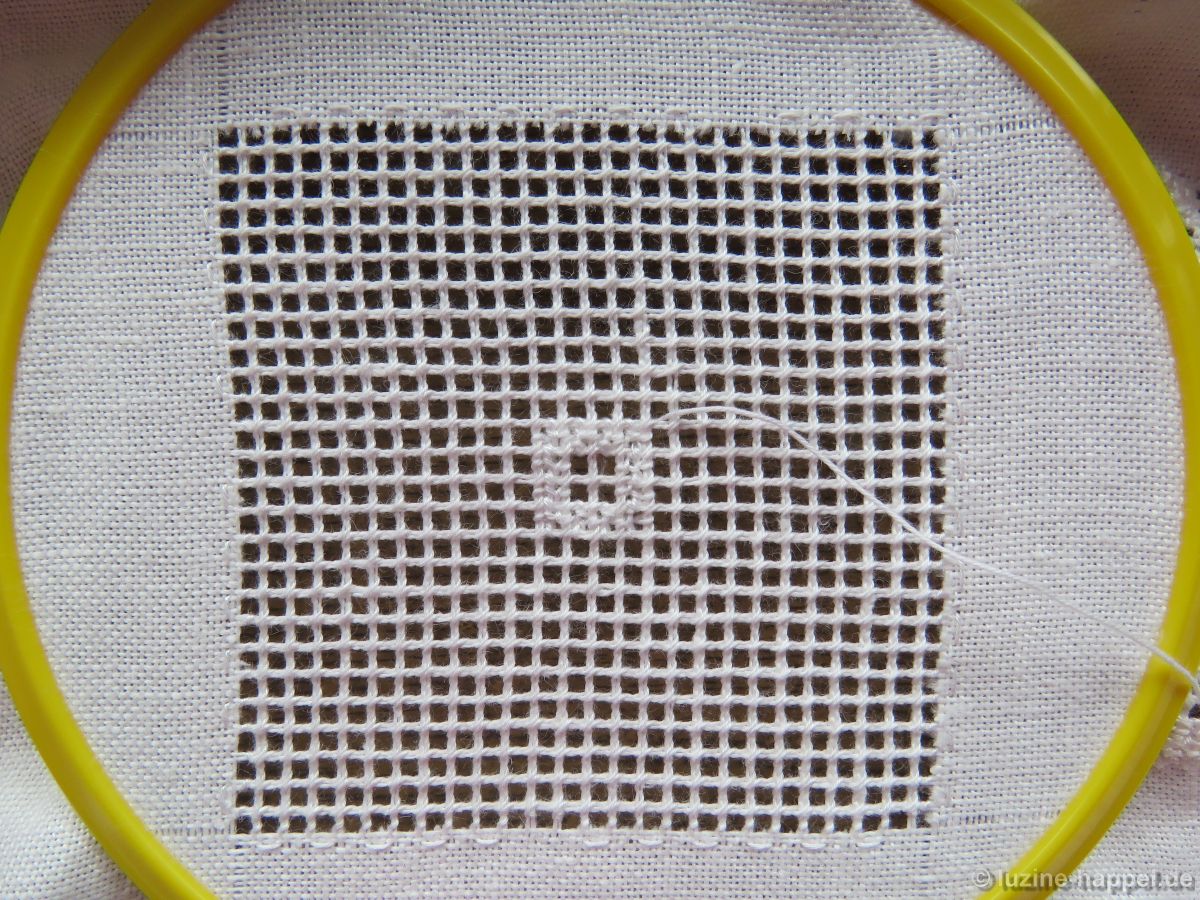
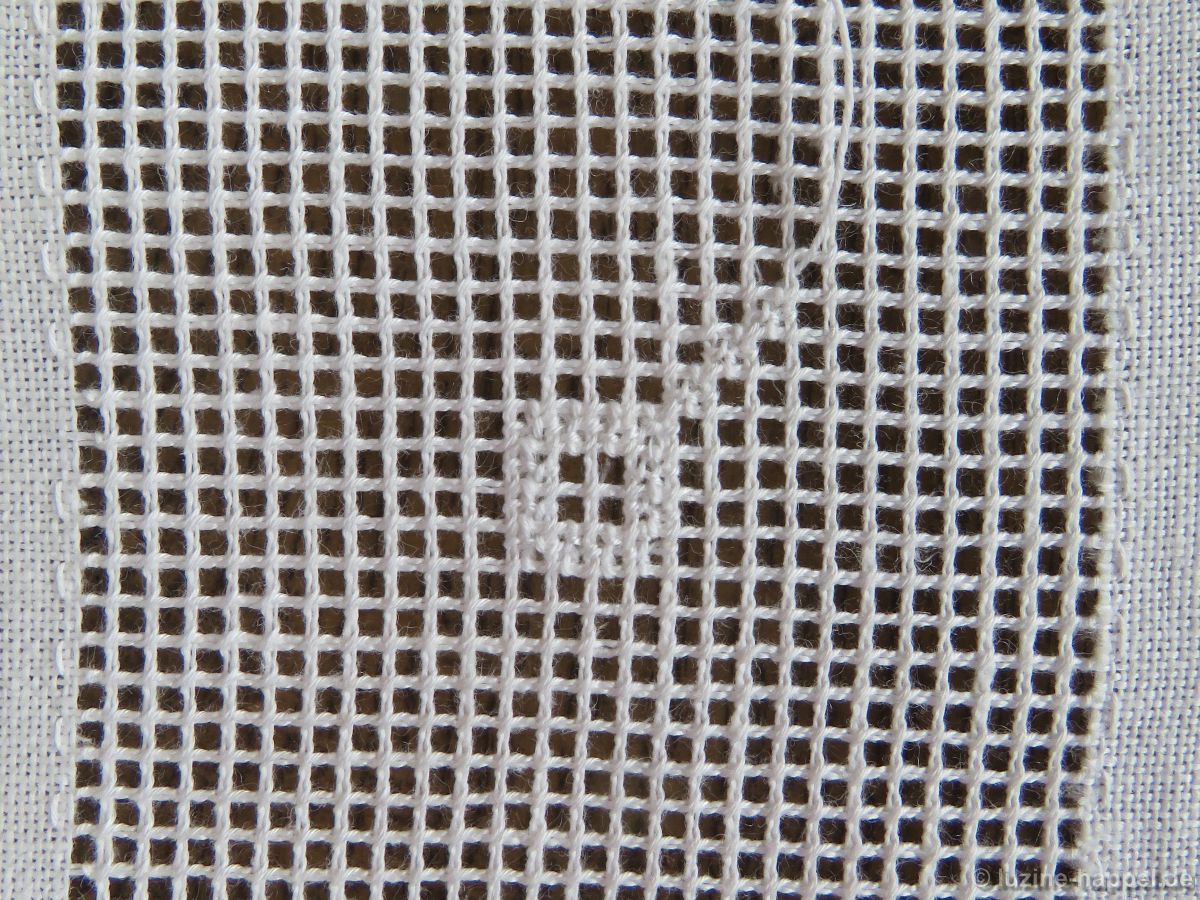
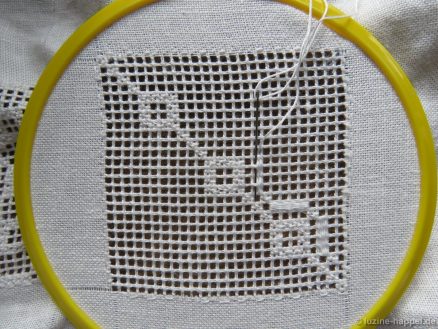
First, establish an openwork grid with an intersection of pairs of threads in the center by cutting 2, leaving 2 both vertically and horizontally.
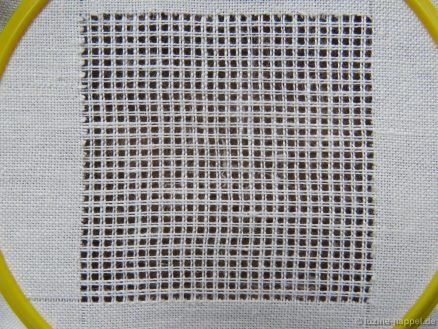
Stabilize the established grid with Single Faggot stitches worked from the back side of the fabric. Please remember that Single Faggot stitch worked on the back side will look like Cable stitch viewed from the front.
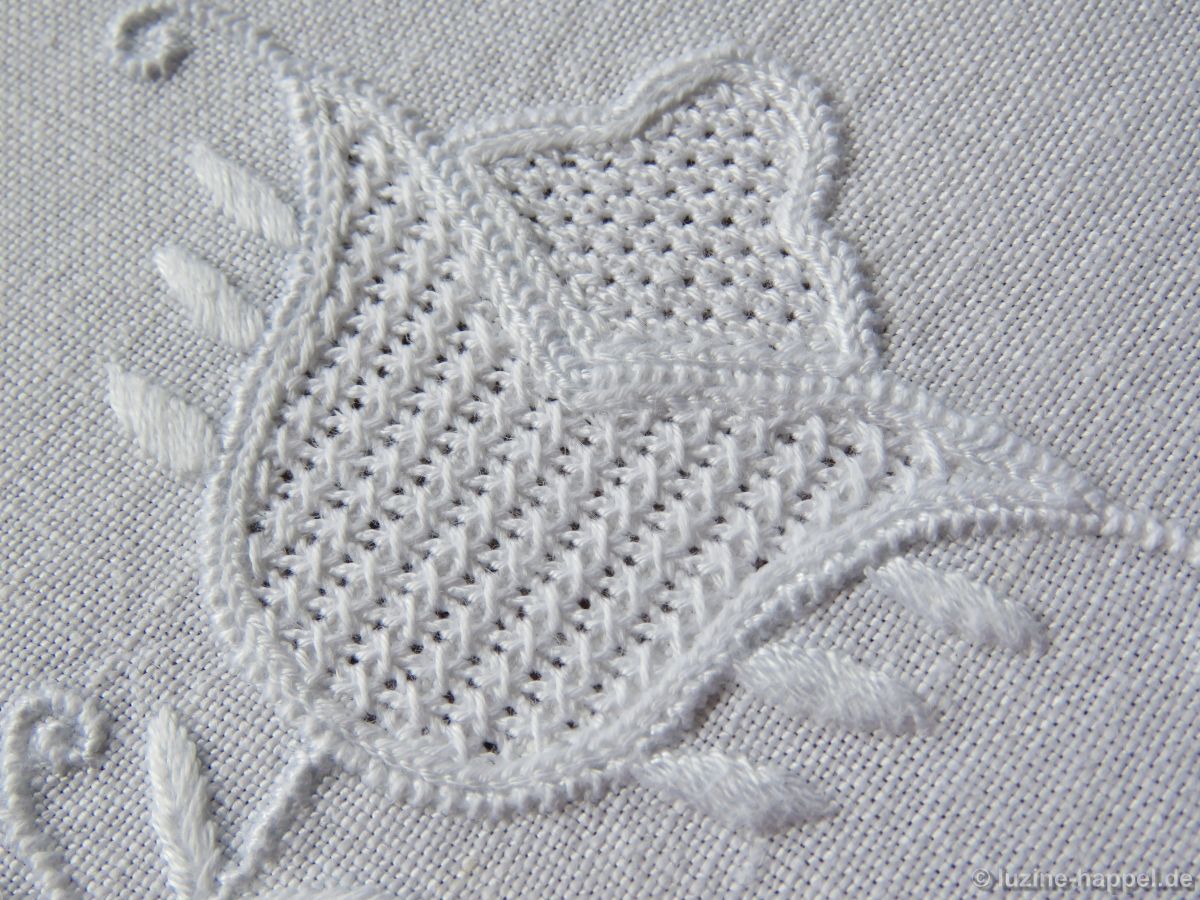
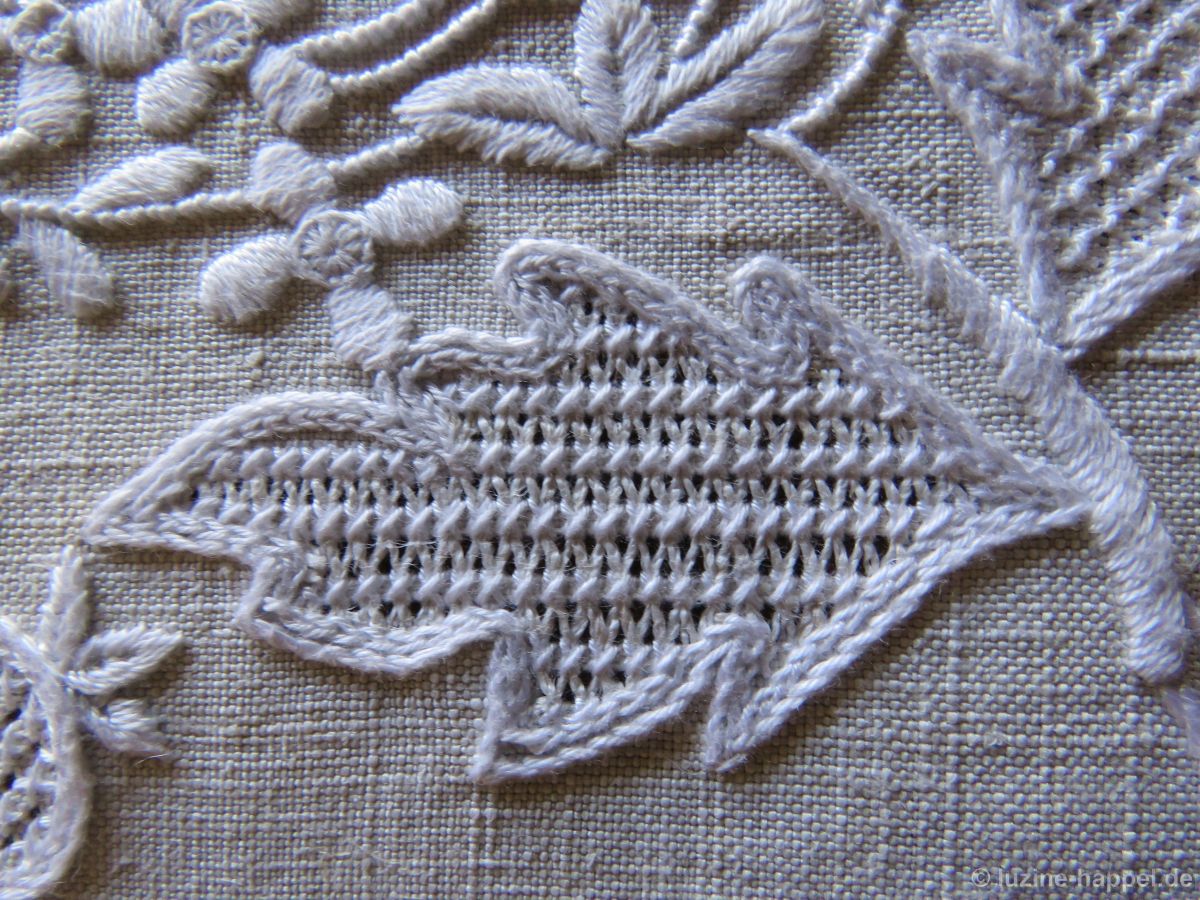
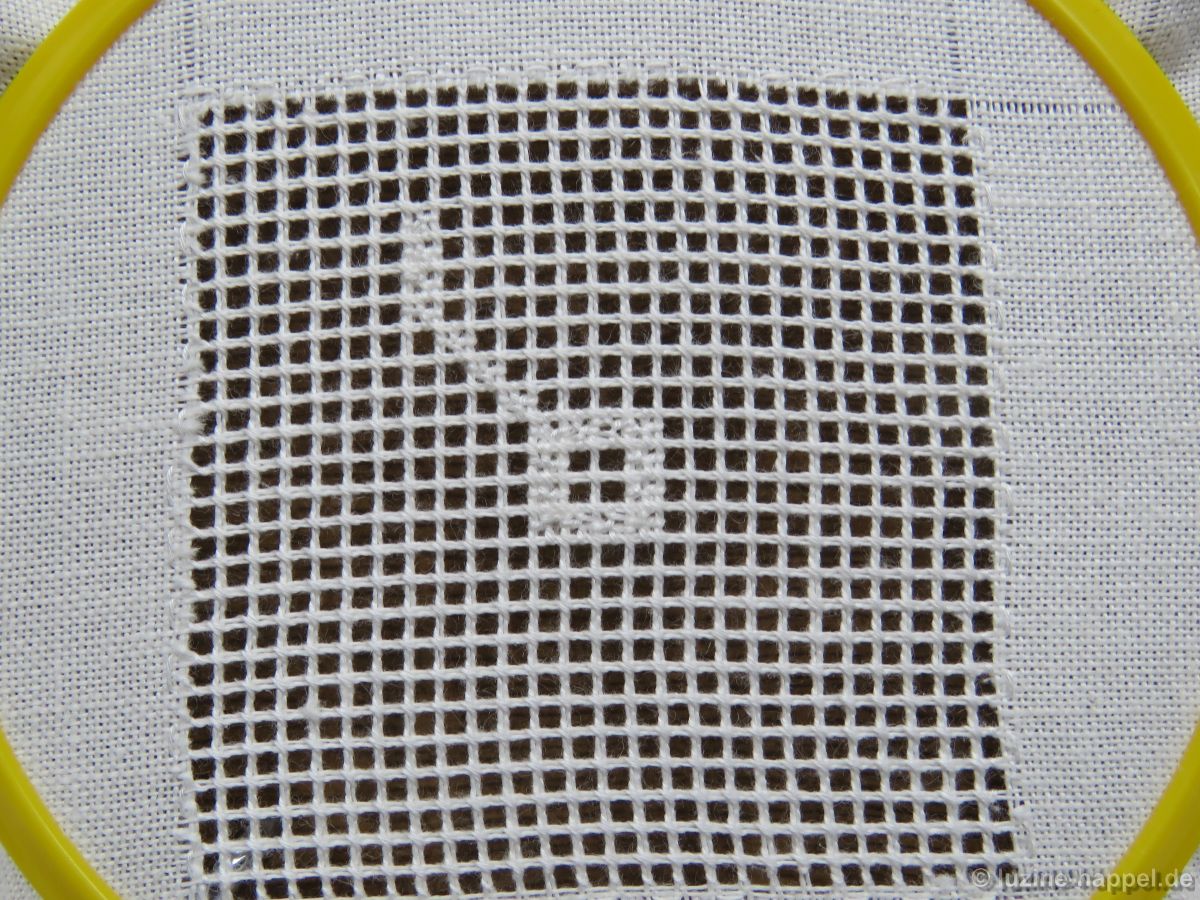
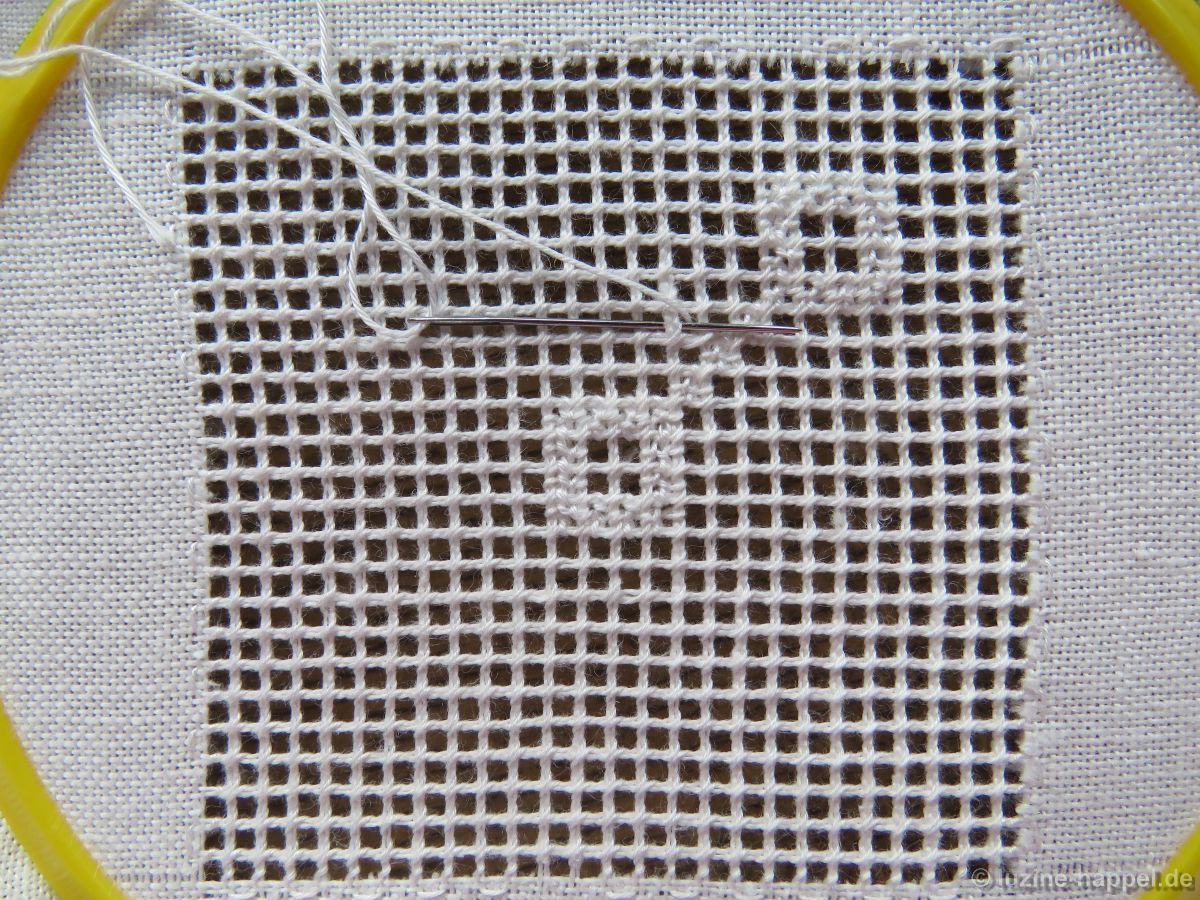
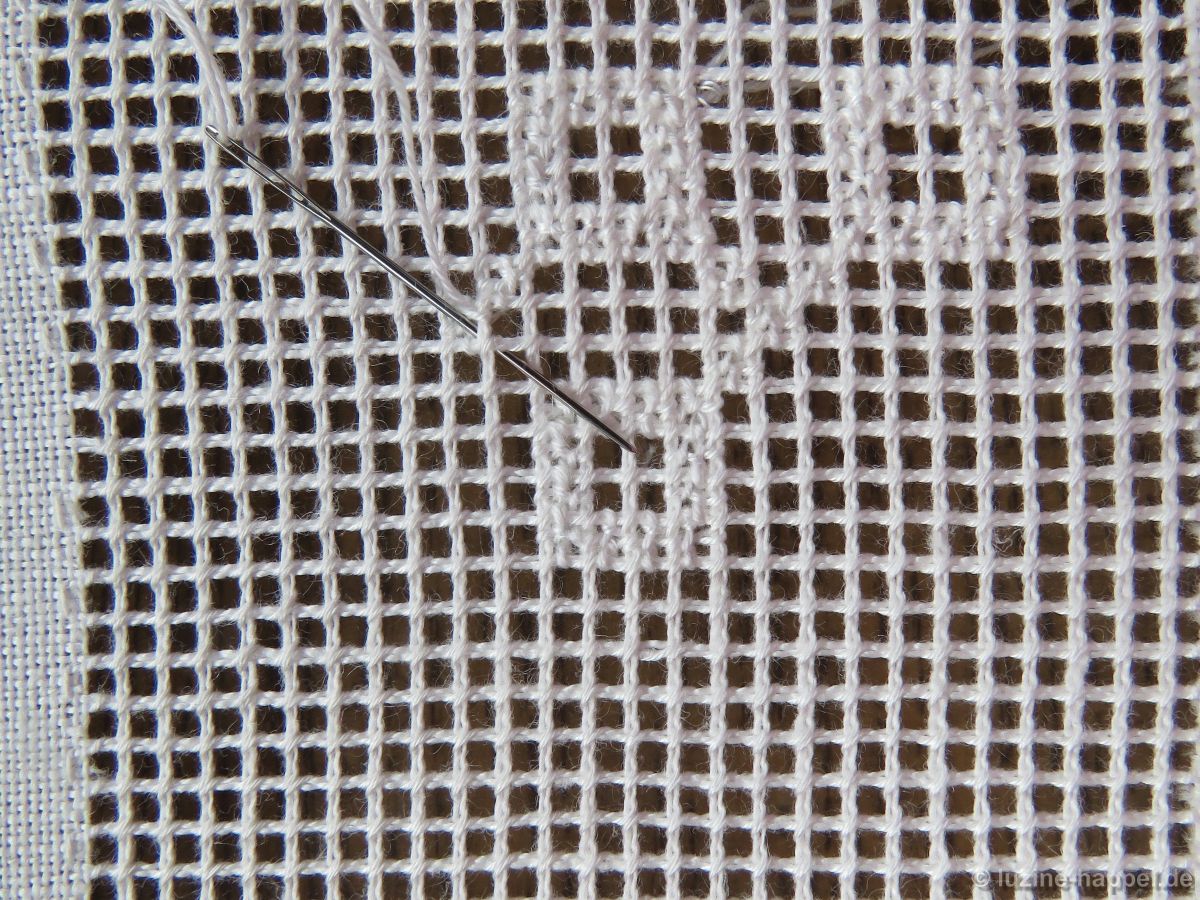
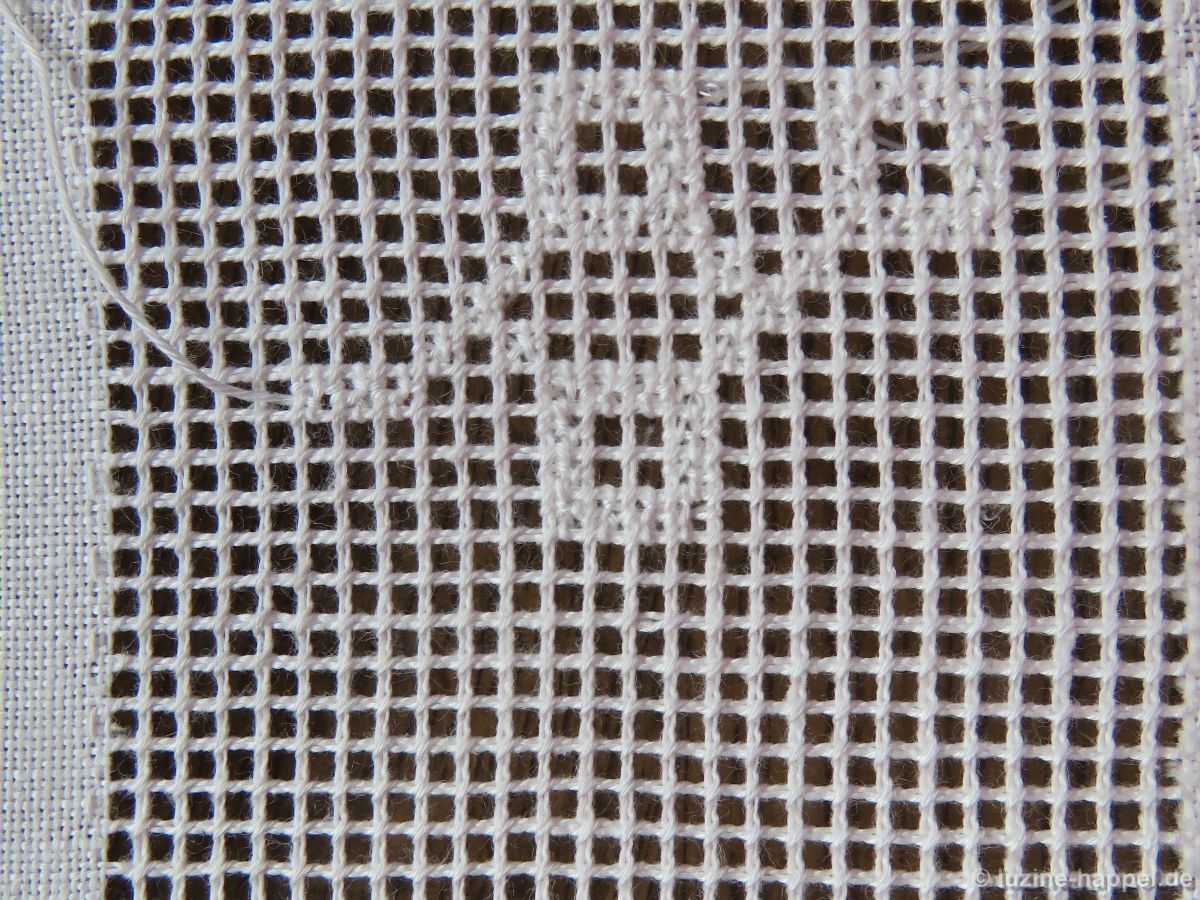
Then the first part of the desired pattern – made up from Rose stitches in squares of 4 x 4 stitches and always 3 Rose stitches in a diagonal row in between – is embroidered into the Cable stitch grid.
Therefore bring the needle up in the second square diagonally from the center
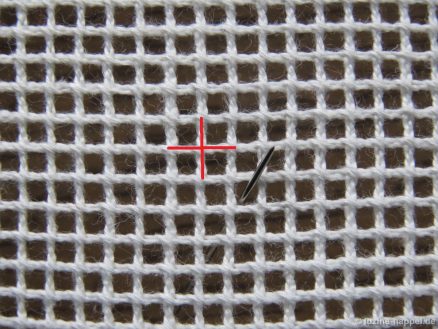
and embroiders a square of 4 x 4 Rose stitches around the center square of 2 x 2 remaining free squares.
From one corner of the resulting square, embroider 3 diagonal Rose stitches.
The fourth Rose stitch on this diagonal row is the corner point of the next square of 4 x 4 Rose stitches.
Slide the working thread on the back through existing stitches to the next emerging point
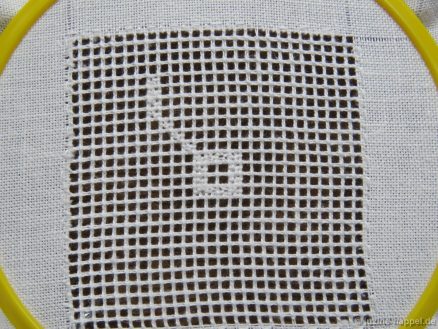
and gradually build up the pattern.
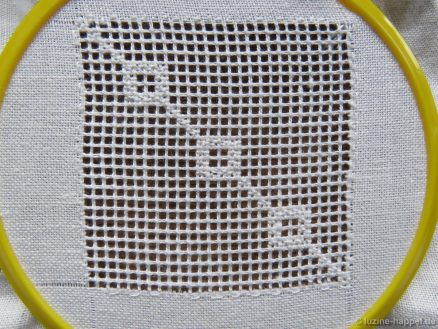
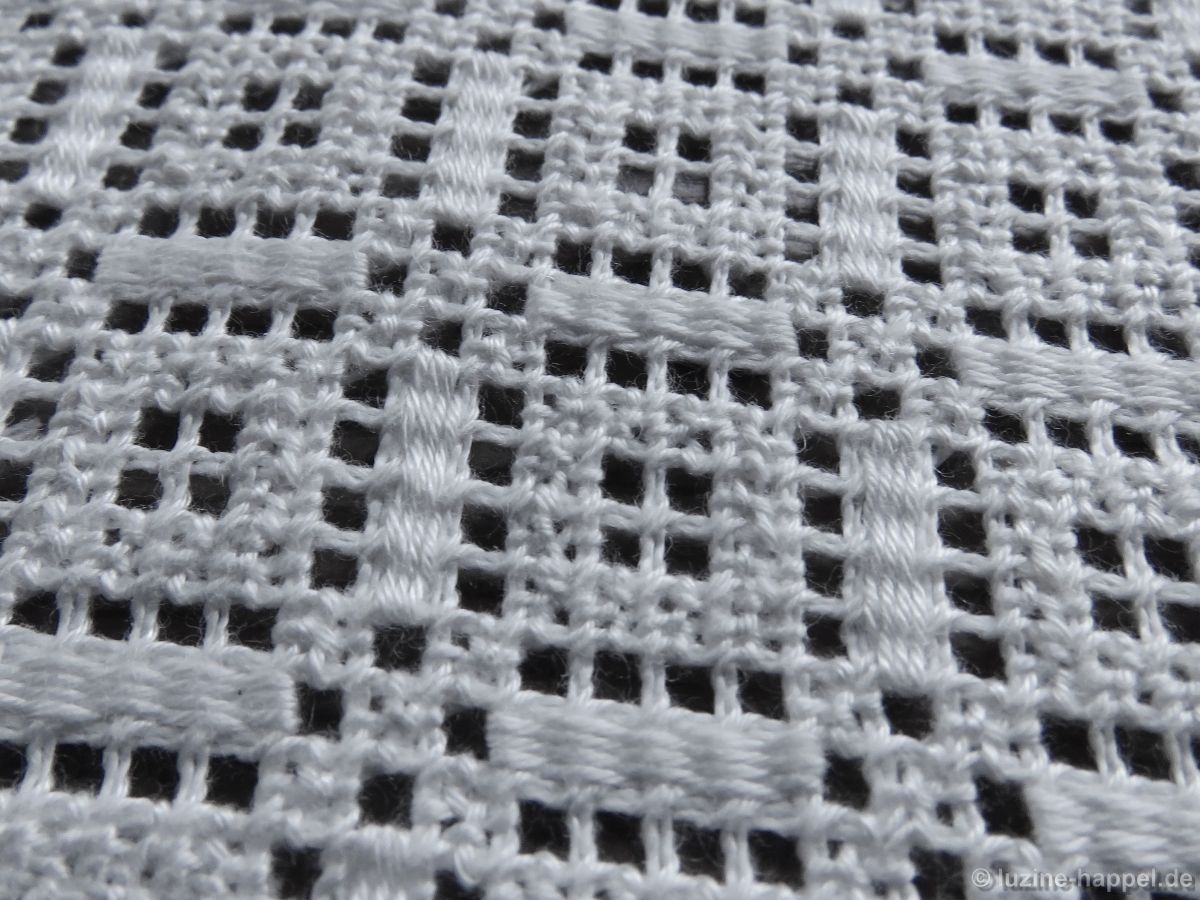
The second part of the pattern is embroidered in a distance of one remaining free square to the first part. It consists of Needle-weaving stitches over 4 squares in width and one square in in height, worked in a stair-step manner and with single Rose stitches in between.
The constant alternation between the two parts creates a pattern
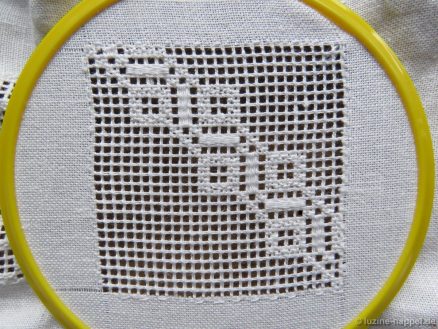
that is effective through the contrast between smoother-looking Needle-weaving stitches and rougher-looking rose stitches.