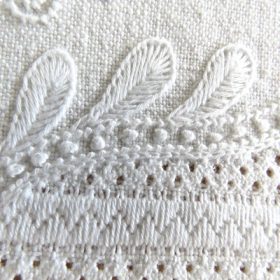
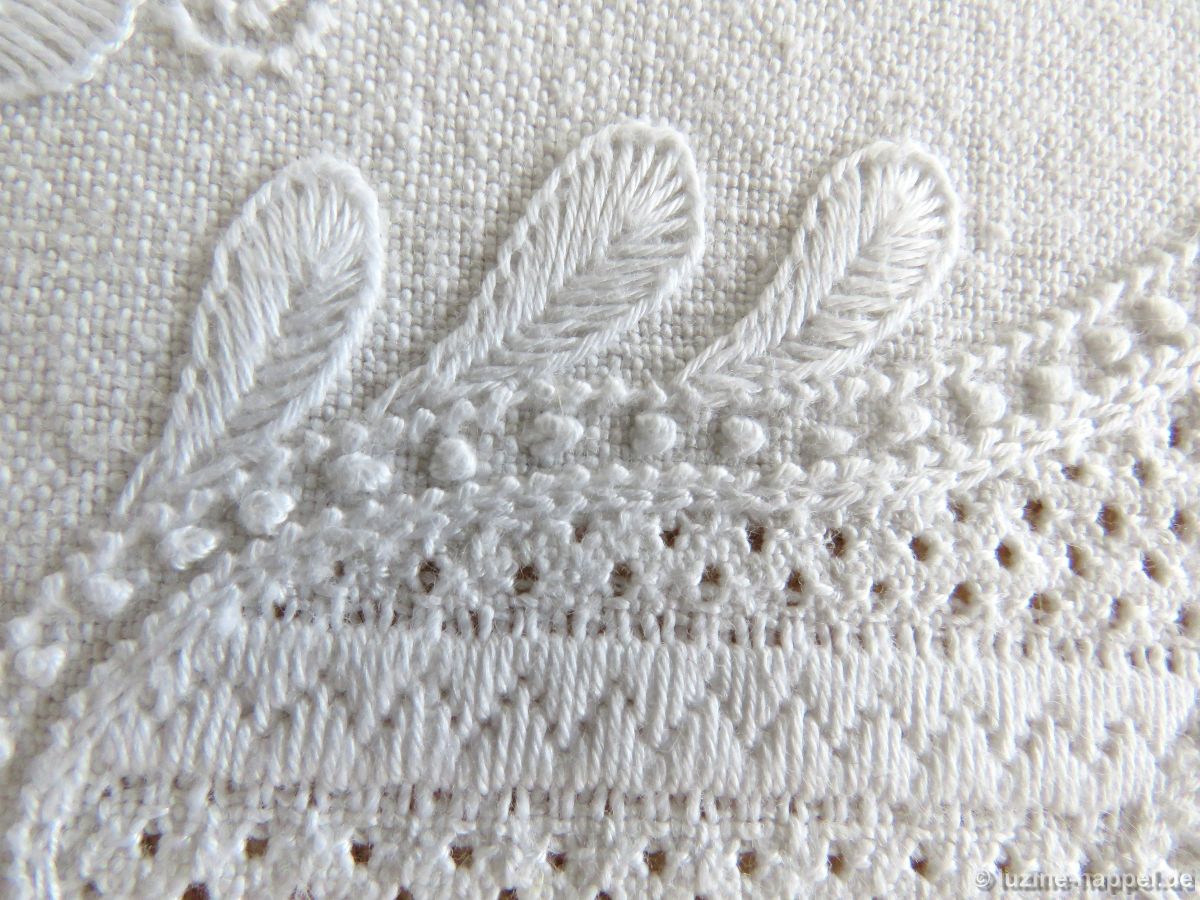
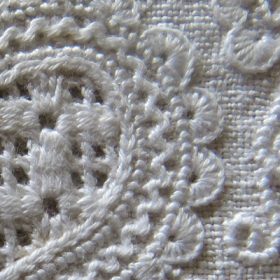
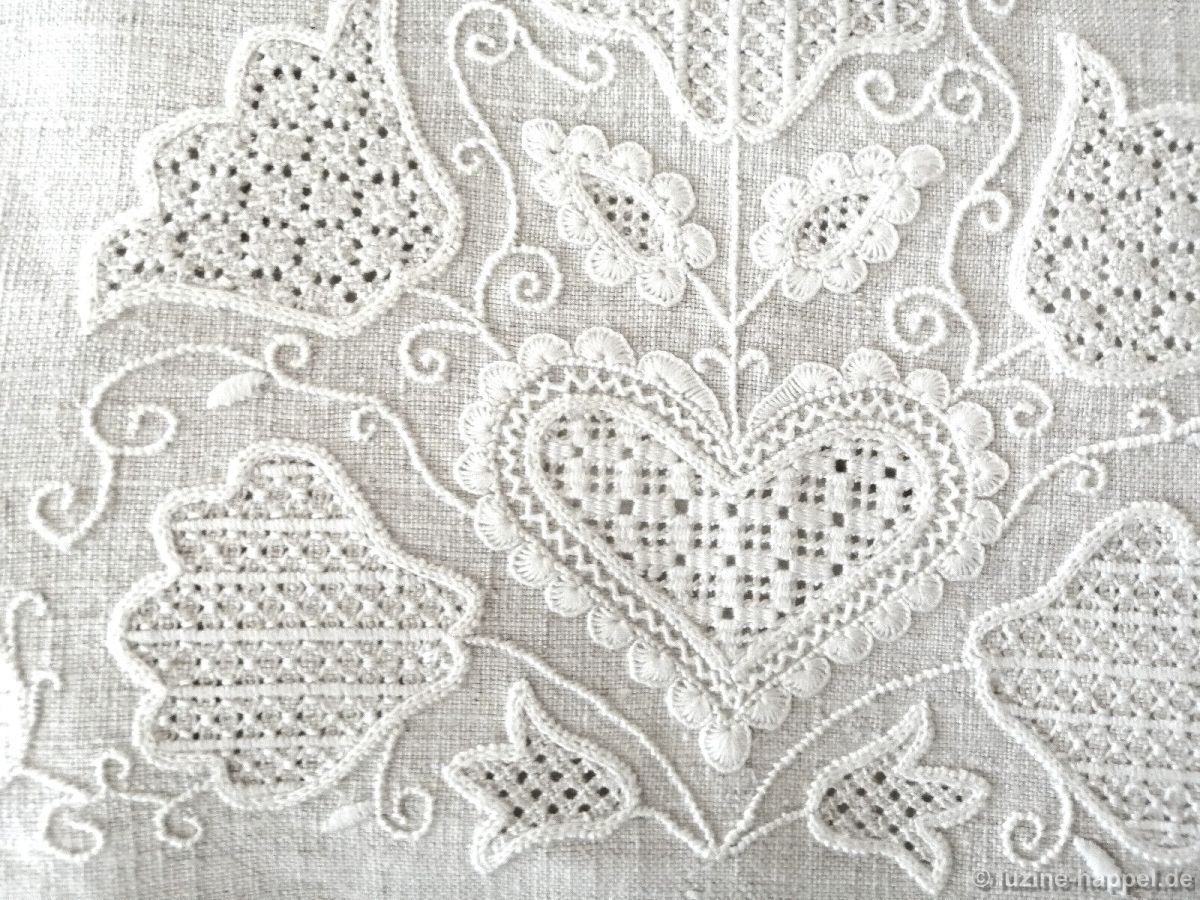
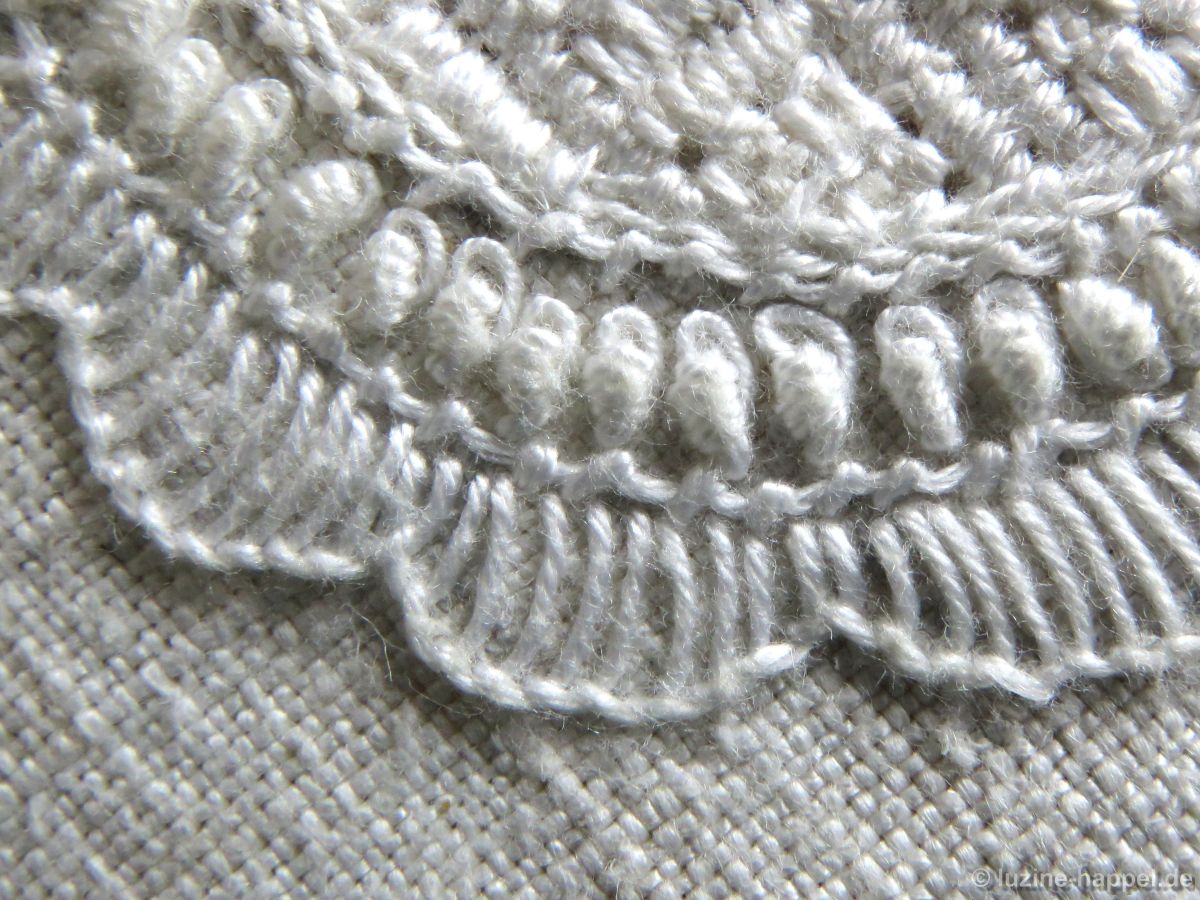
Bullion knots (not to be confused with French knots) are a rarely found design of an area between two outlines.
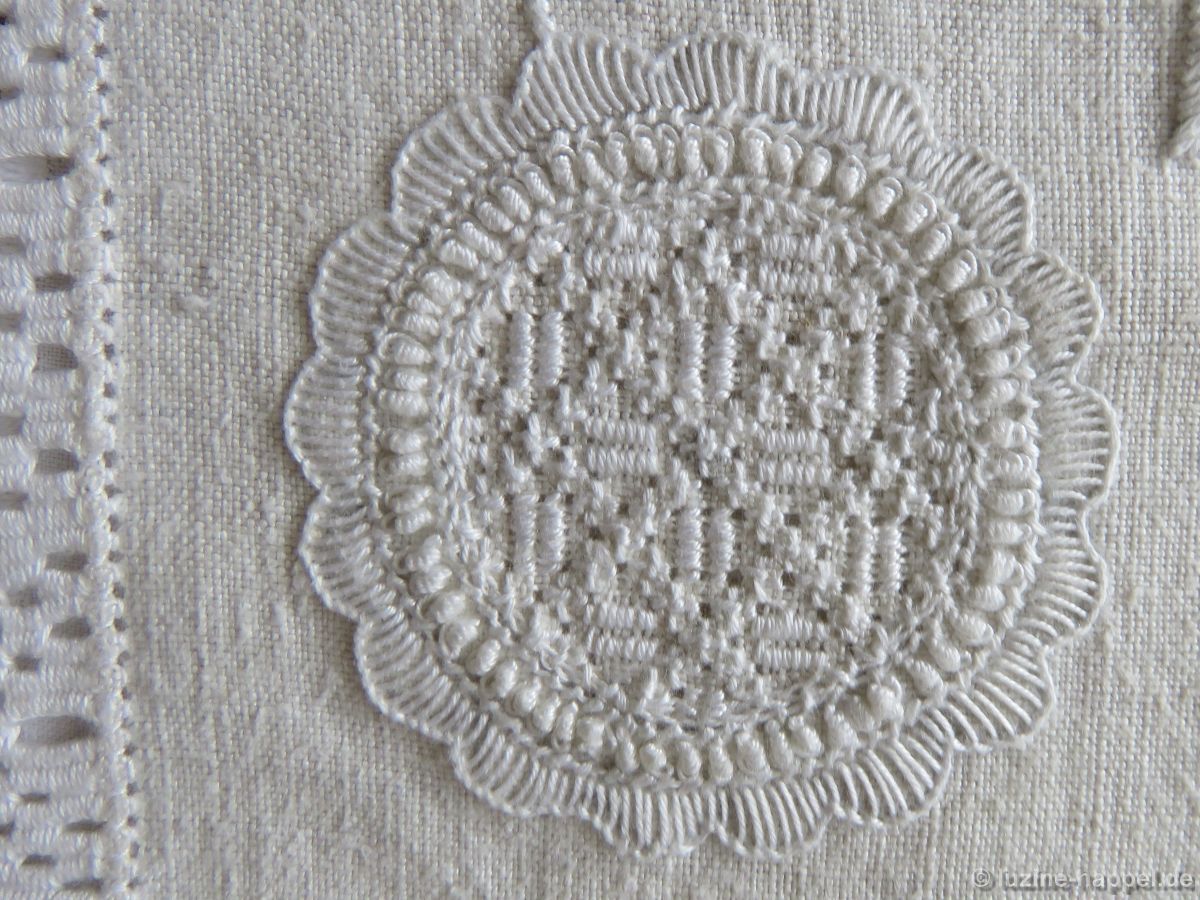
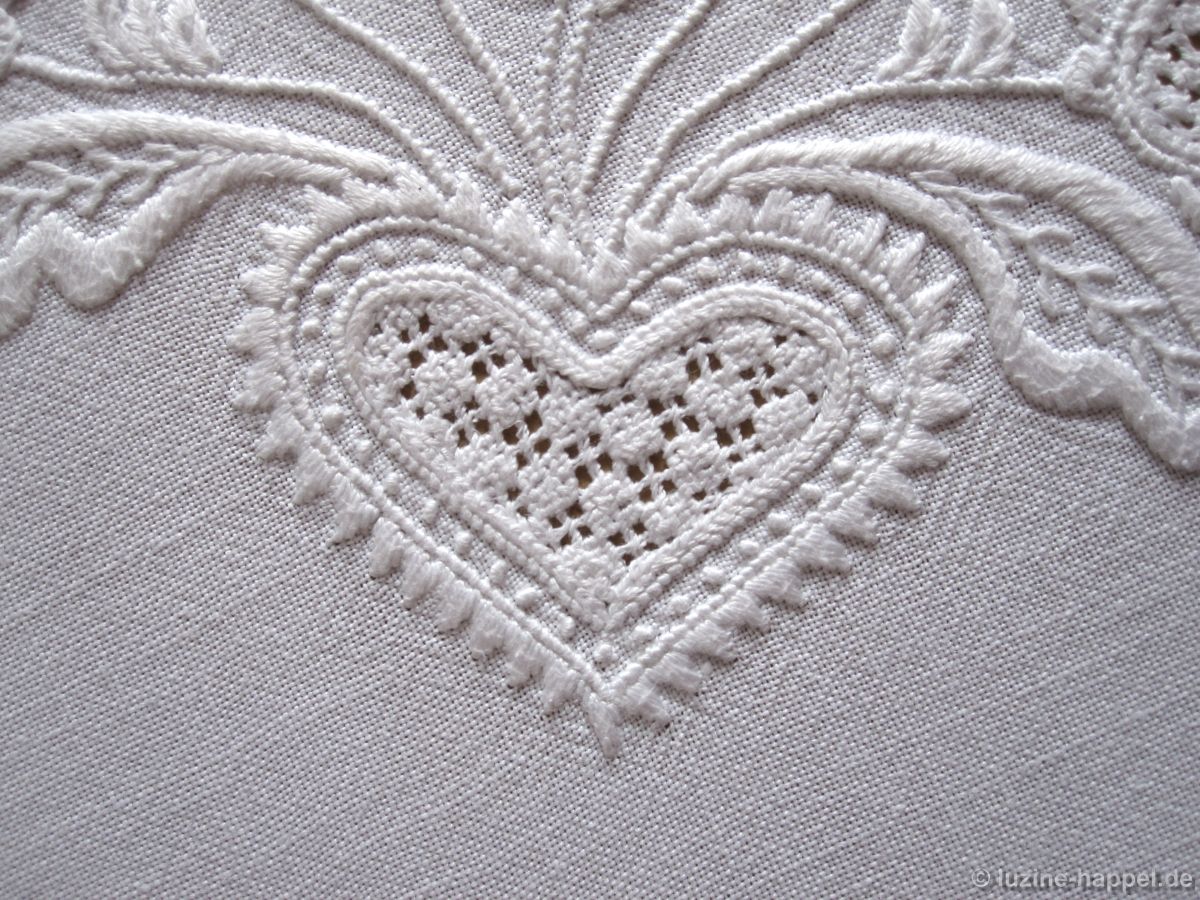
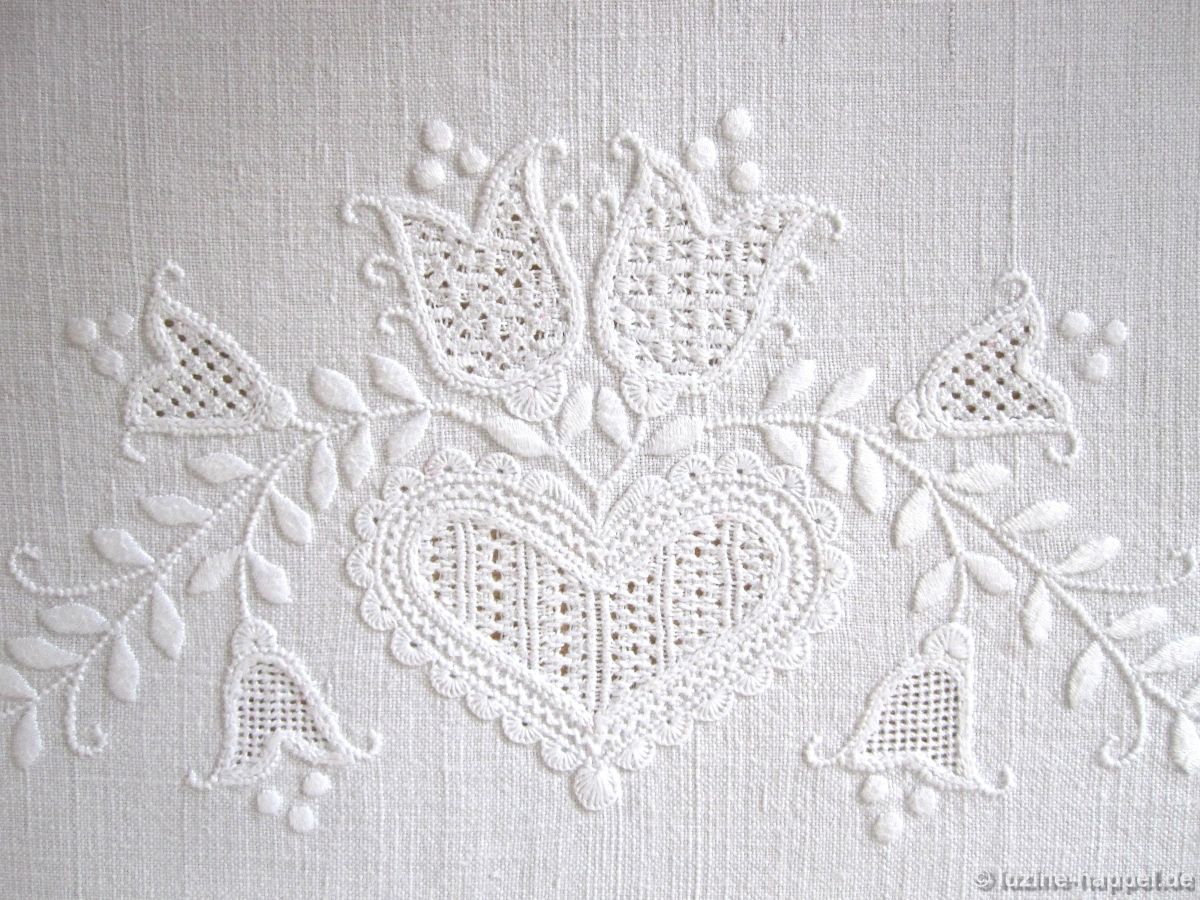
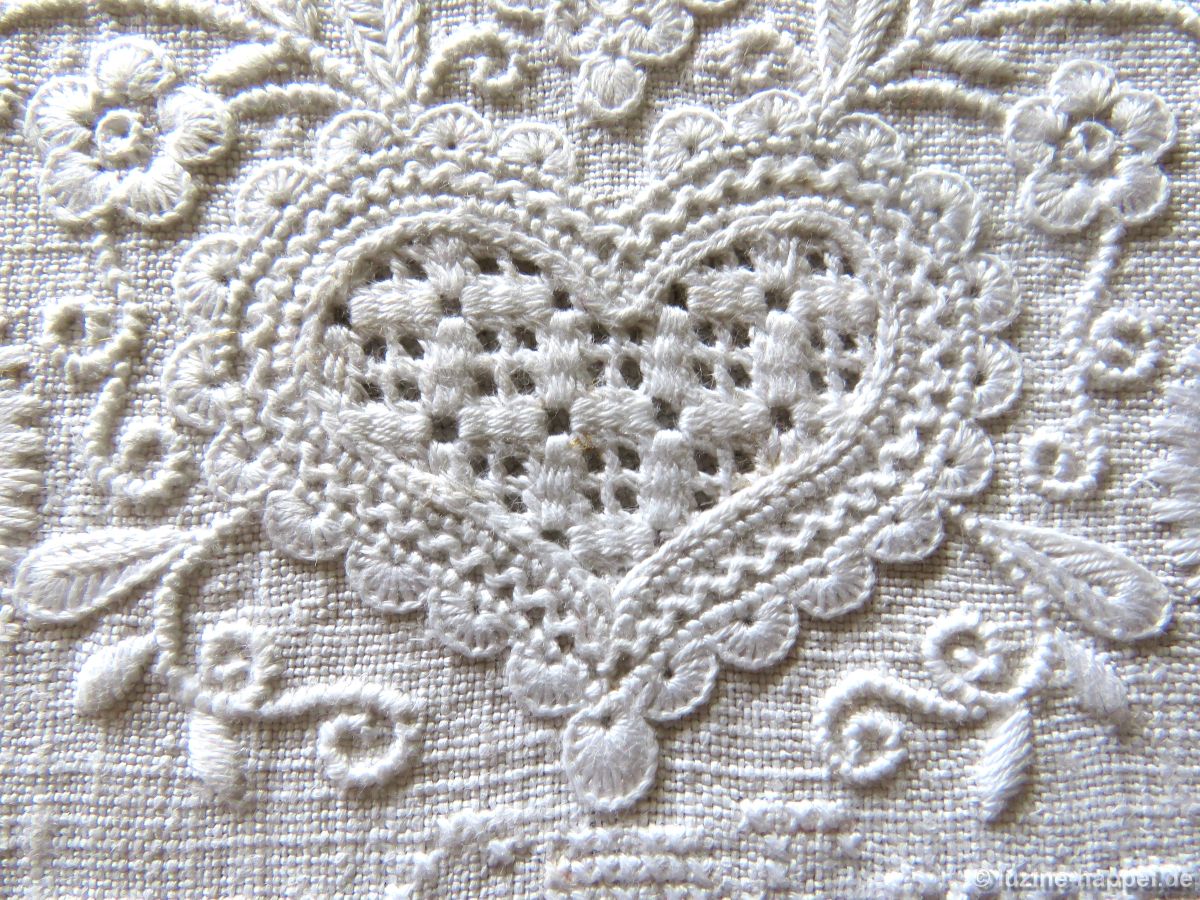
They effectively frame a motif in a very special way. The raised stitches create a beautiful contrast, especially with flat filling patterns.

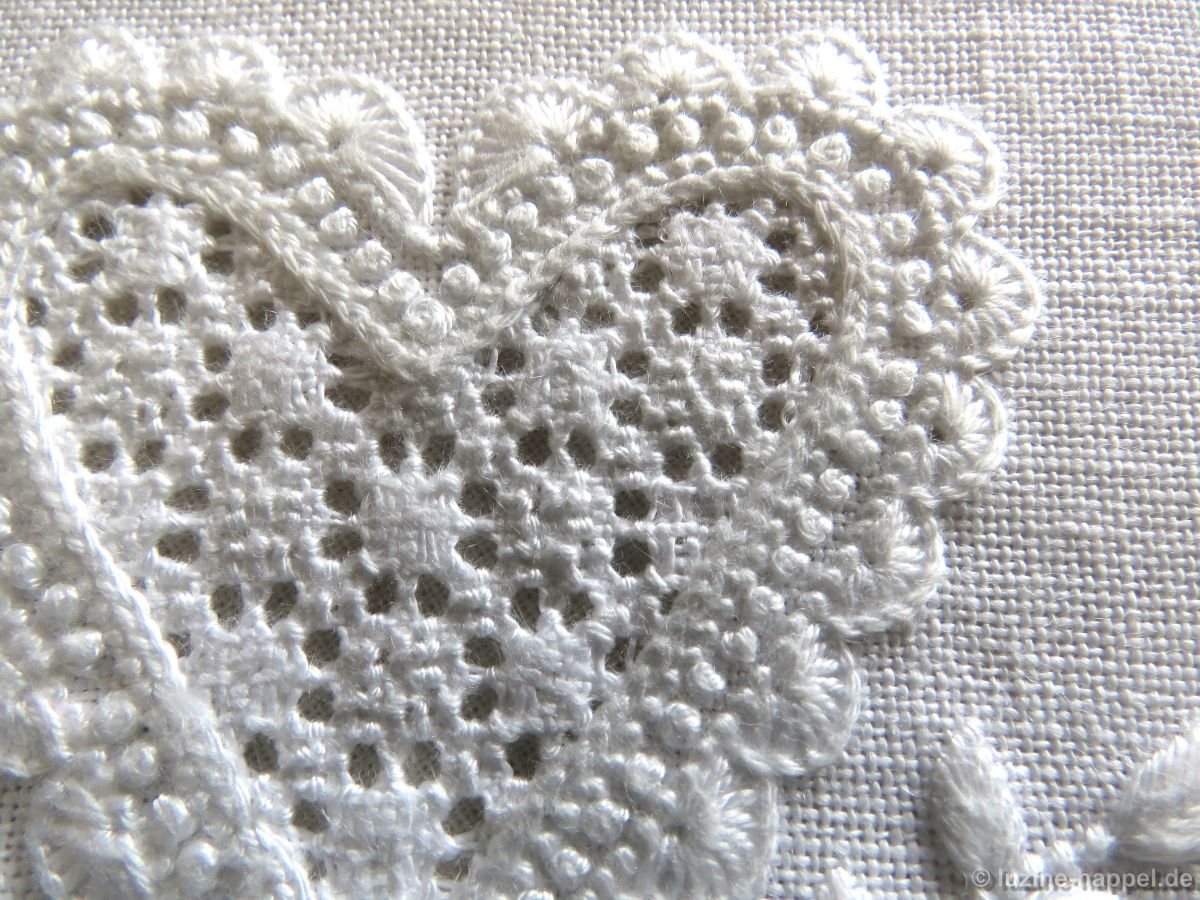
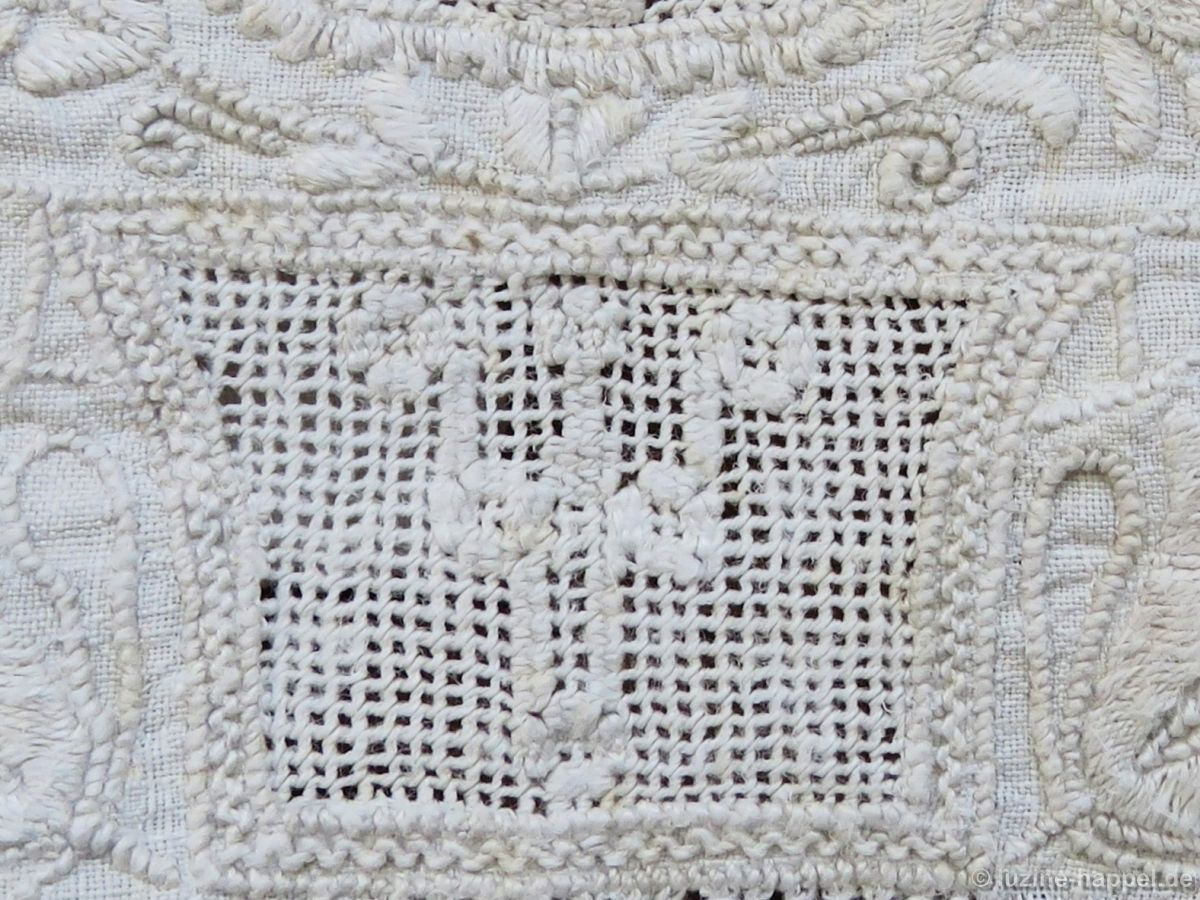
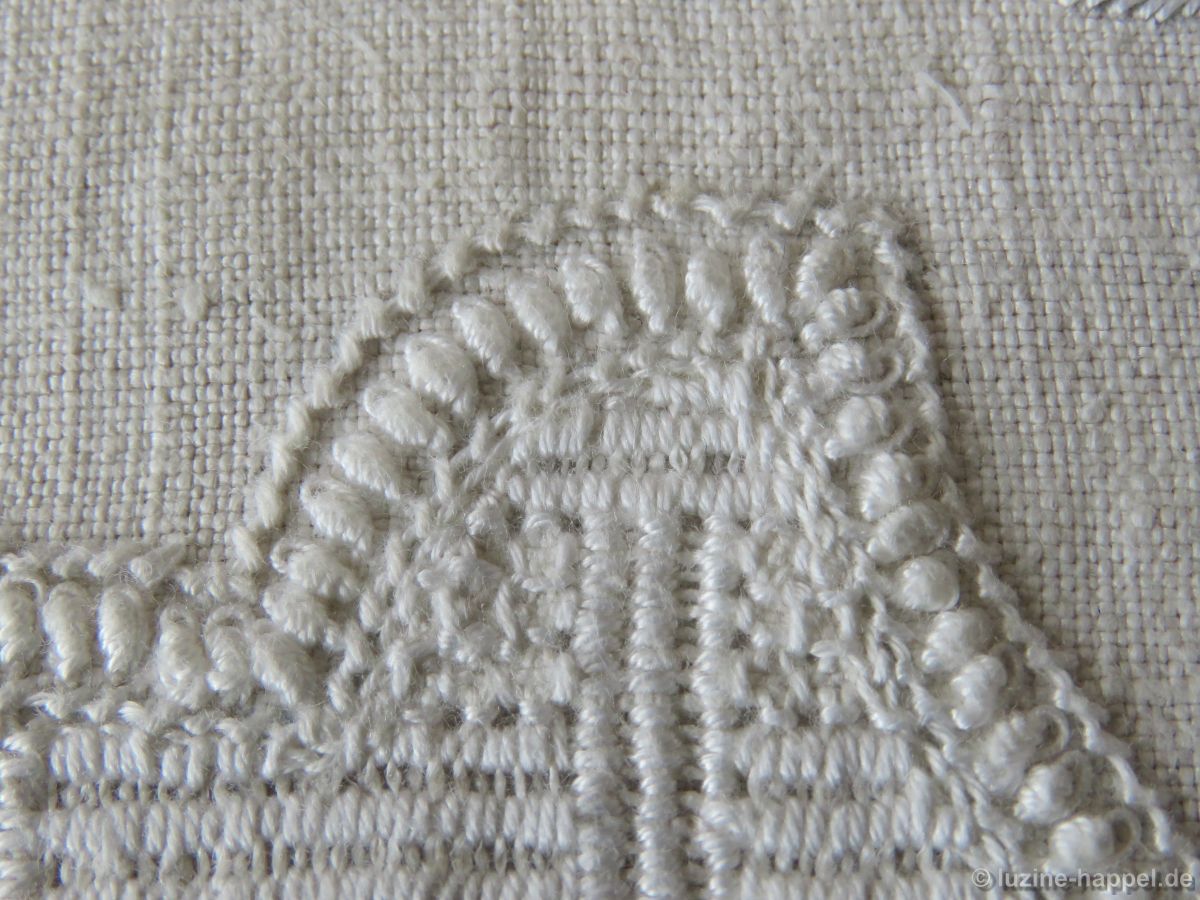
Bullion knots (Early Schwalm Whitework, pages 63 and 64) are suitable for edging almost all motifs,
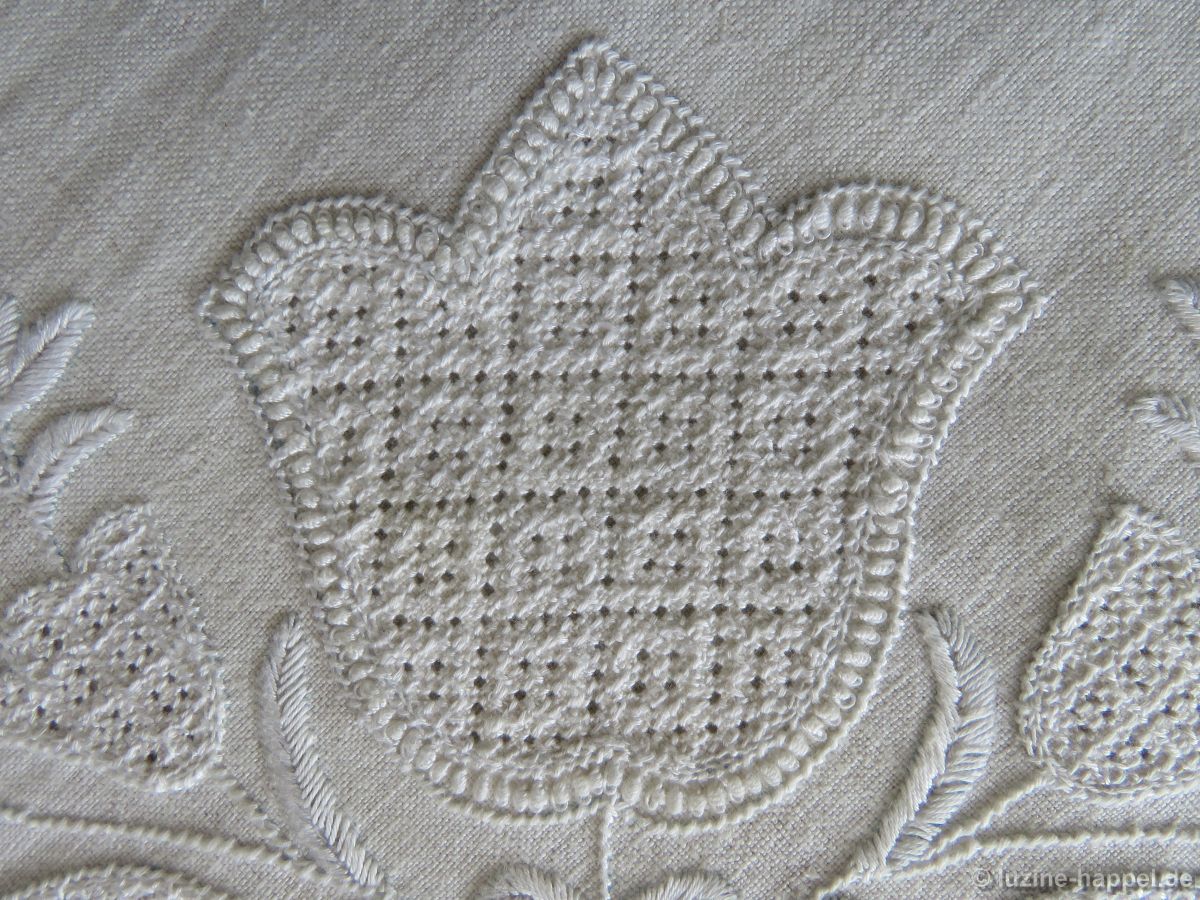
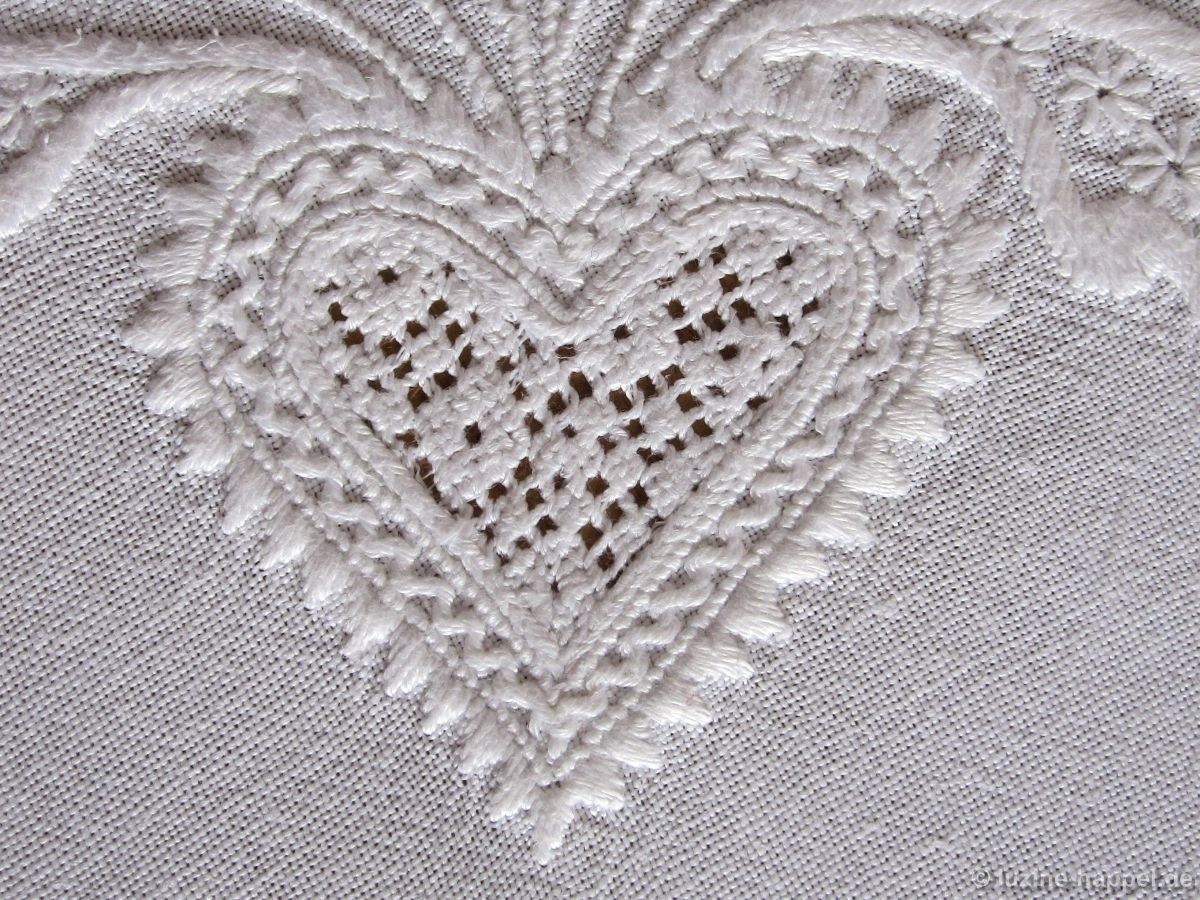
because rows of such bullion knots adapt flexibly,
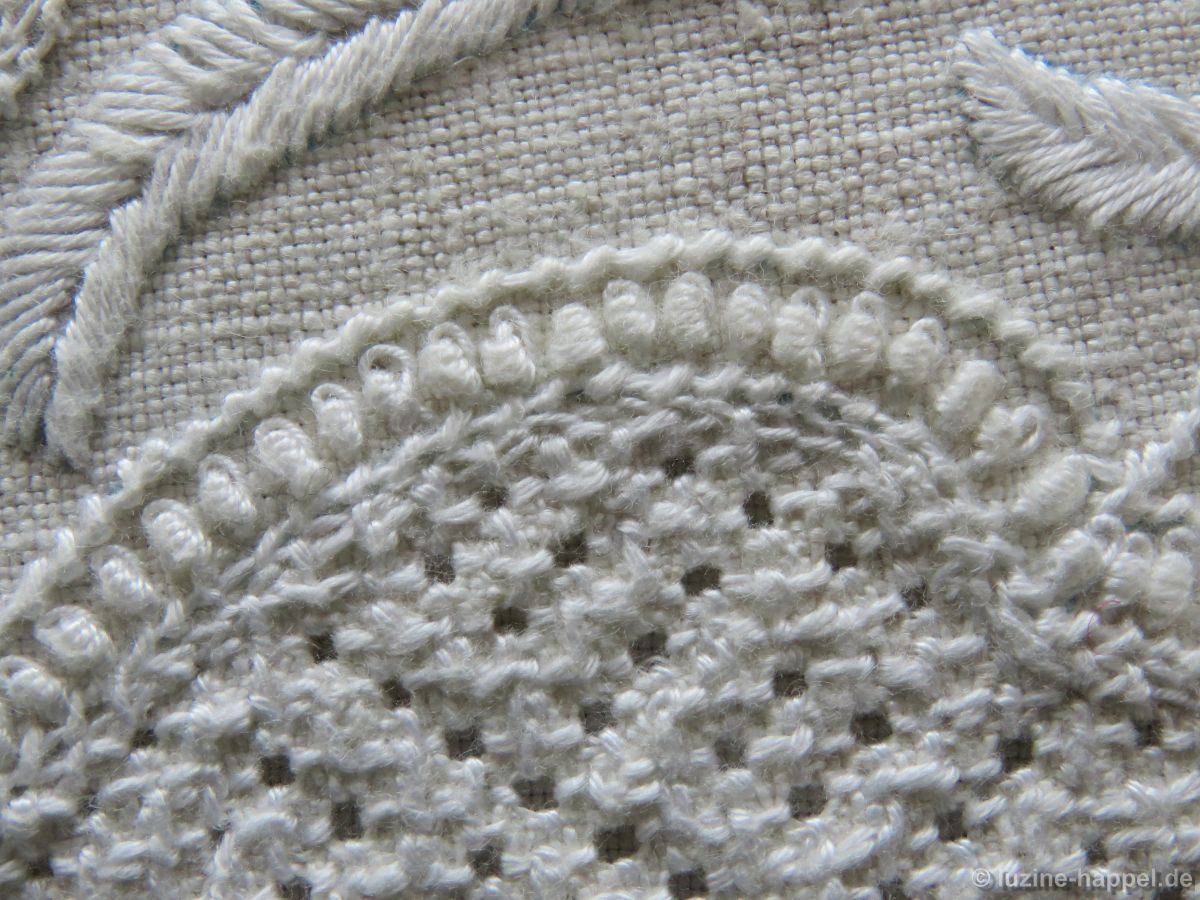
can also take tight curves – so they are also suitable for small motifs –
and are also easy to continue around corners.
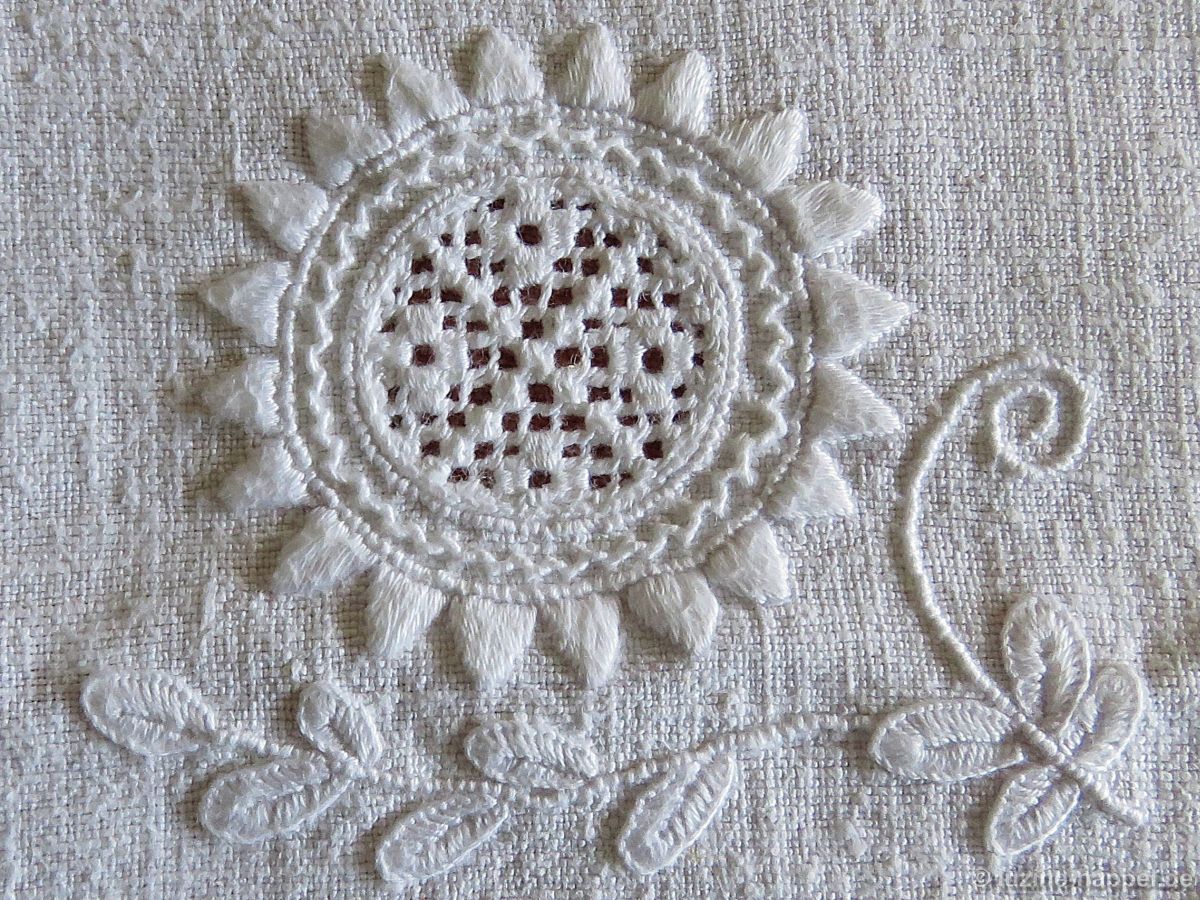
Bullion knots work best when stitched relatively close together.

The size of the knots can be influenced by the thread weight used and the number of wraps.
See also:
Double Outlines (1) – Remaining Free Areas
Double Outlines (2) – Interlaced Straight Stitches
Double Outlines (3) – Interlaced Herringbone Stitches
Double Outlines (4) – French Knots