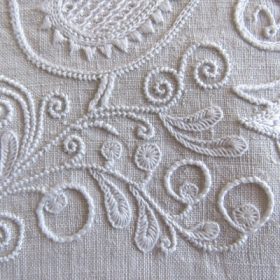
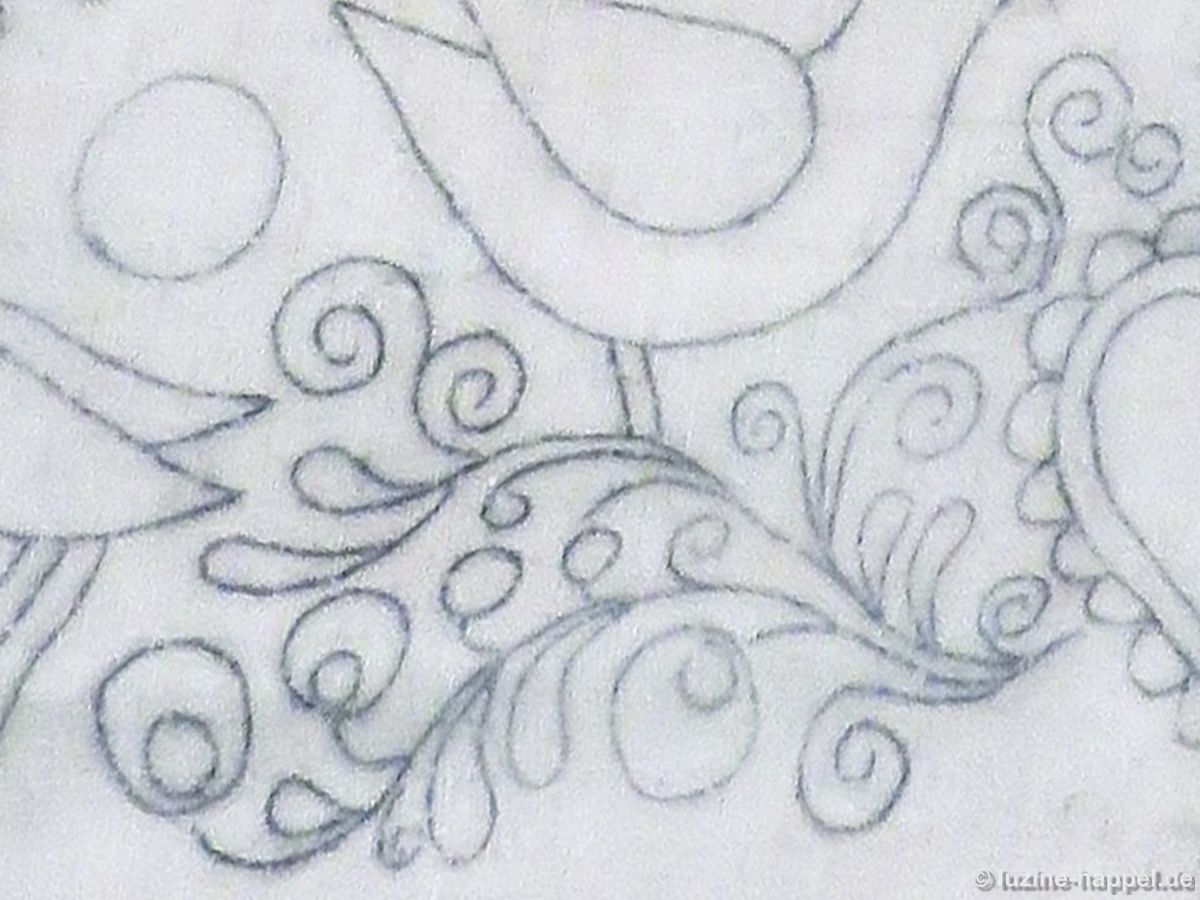
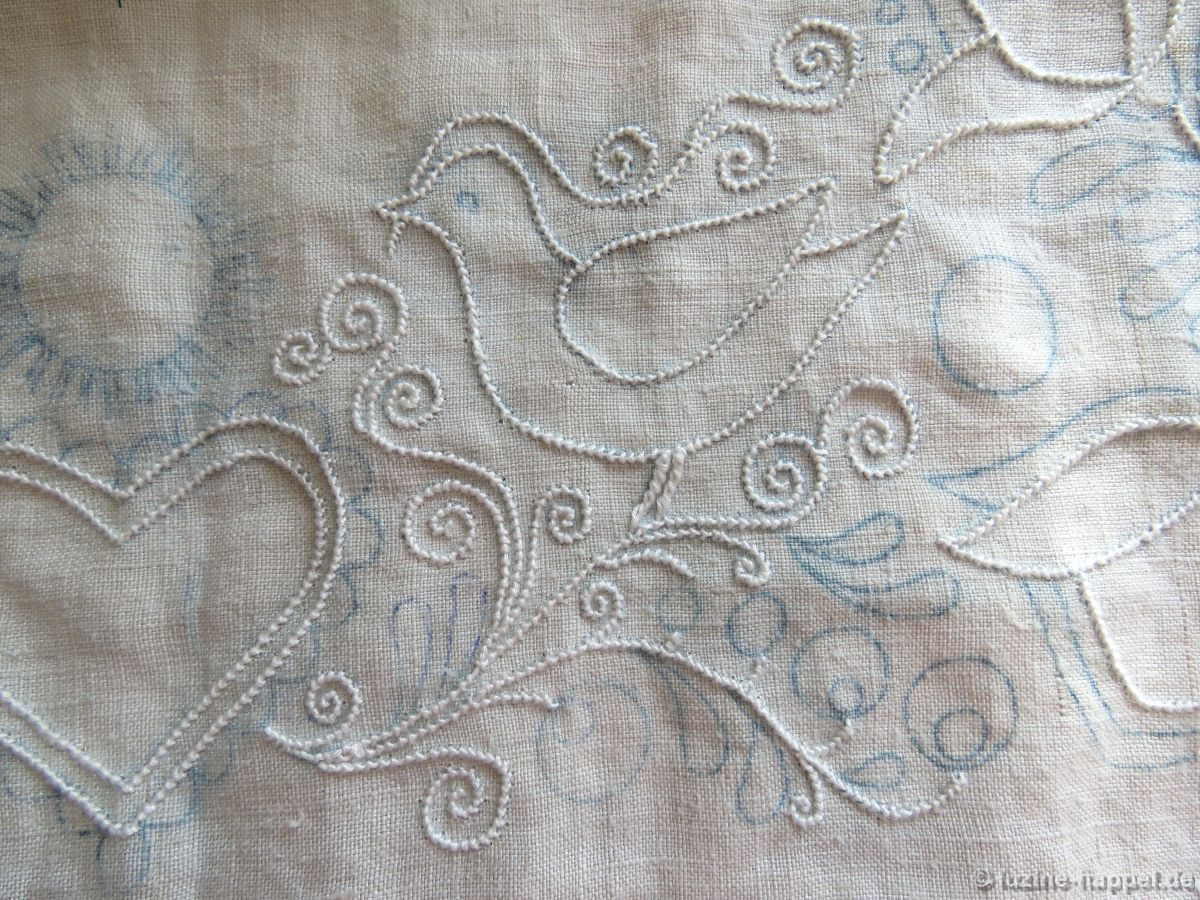
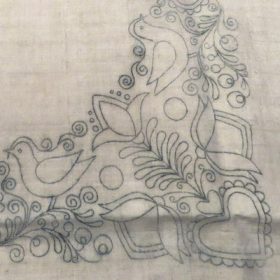
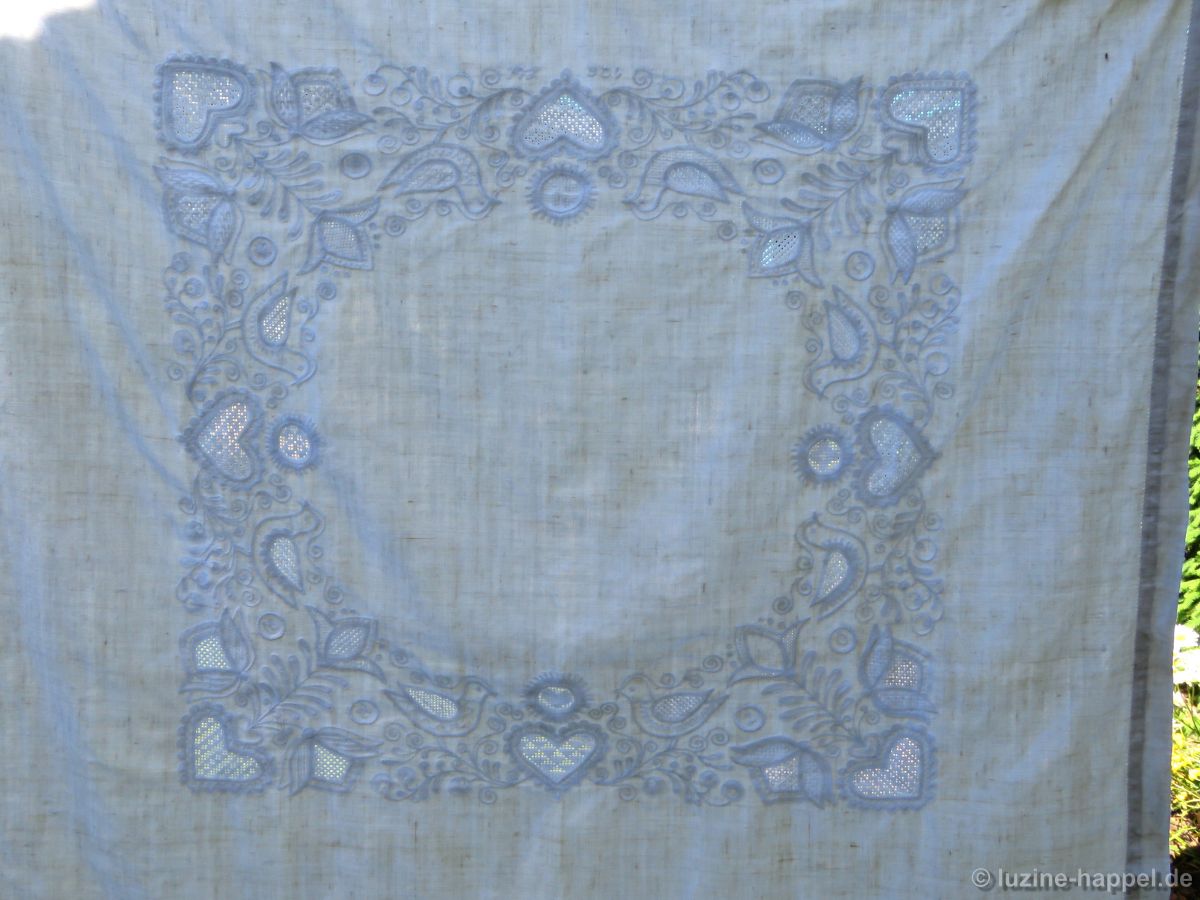
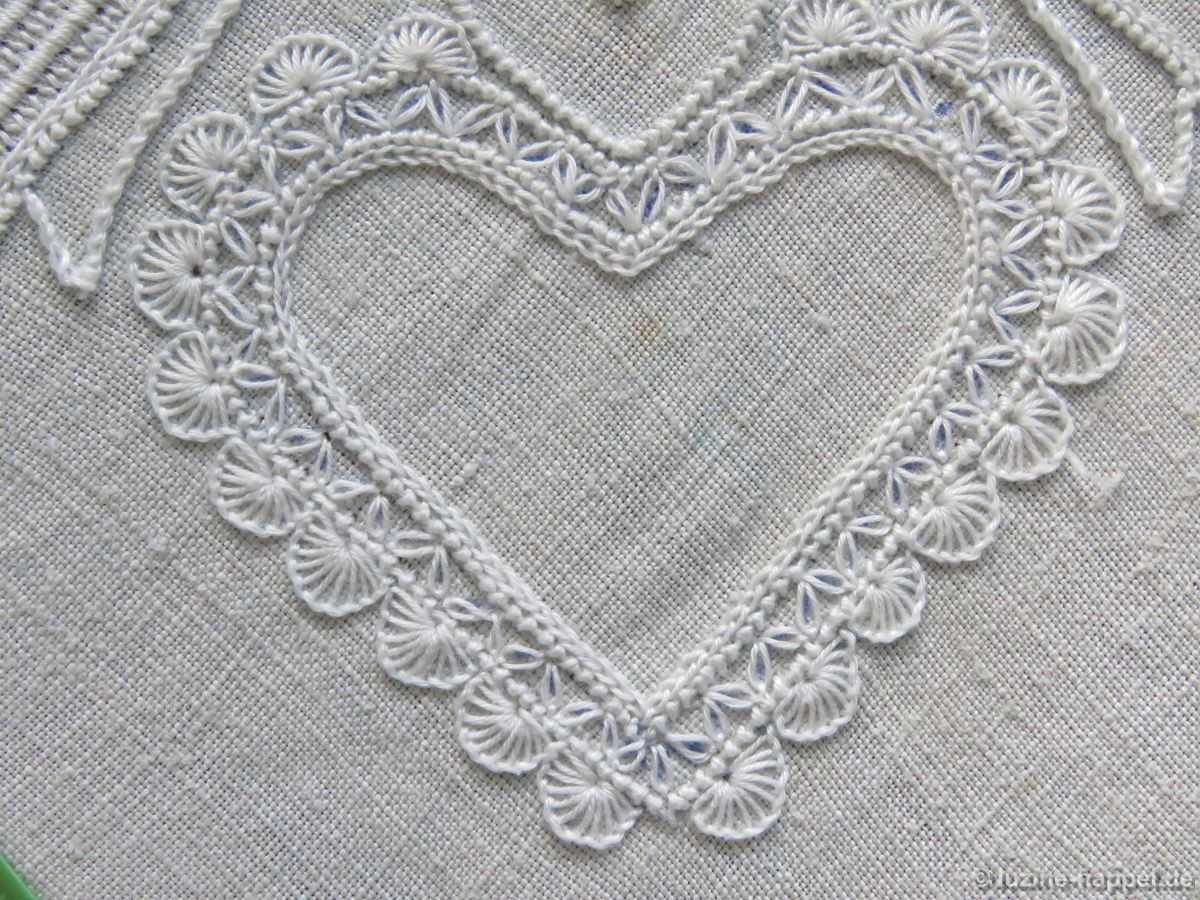
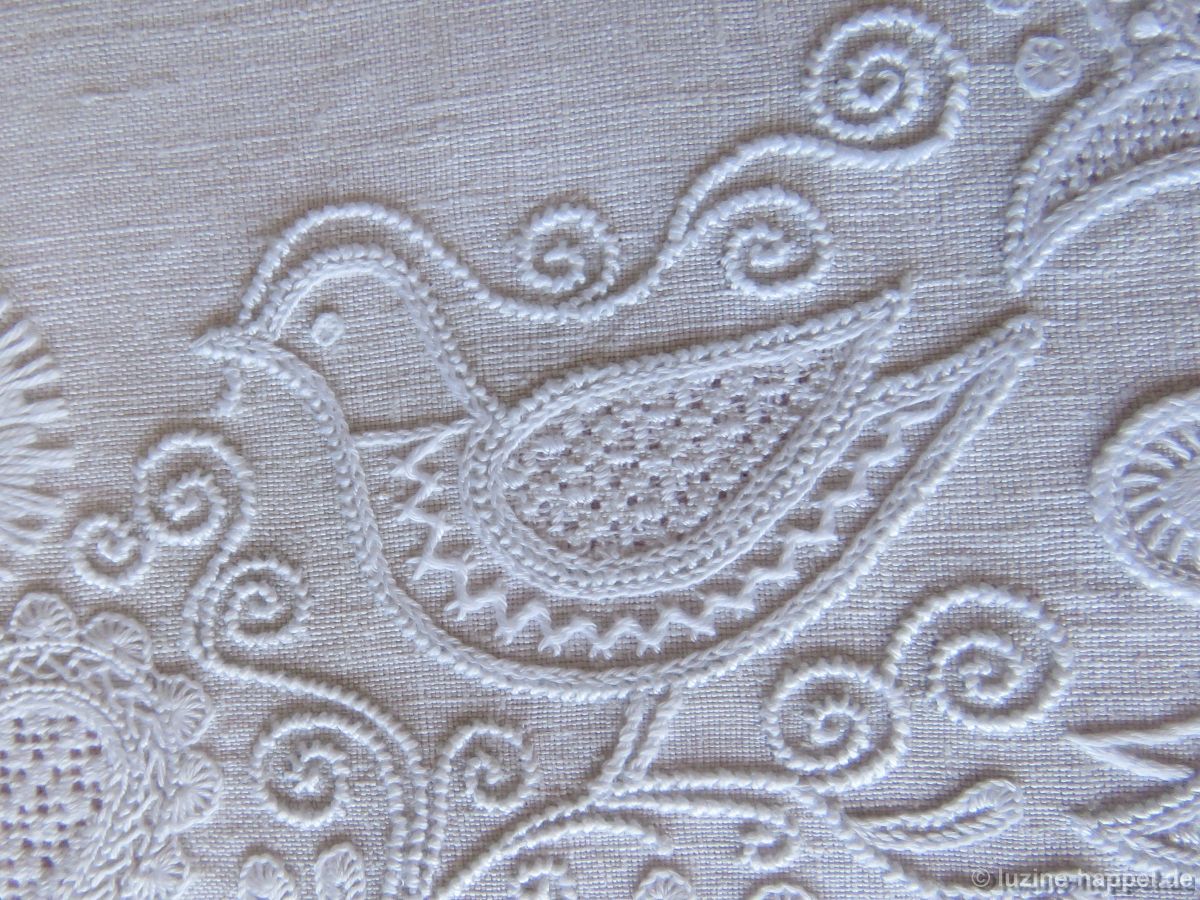
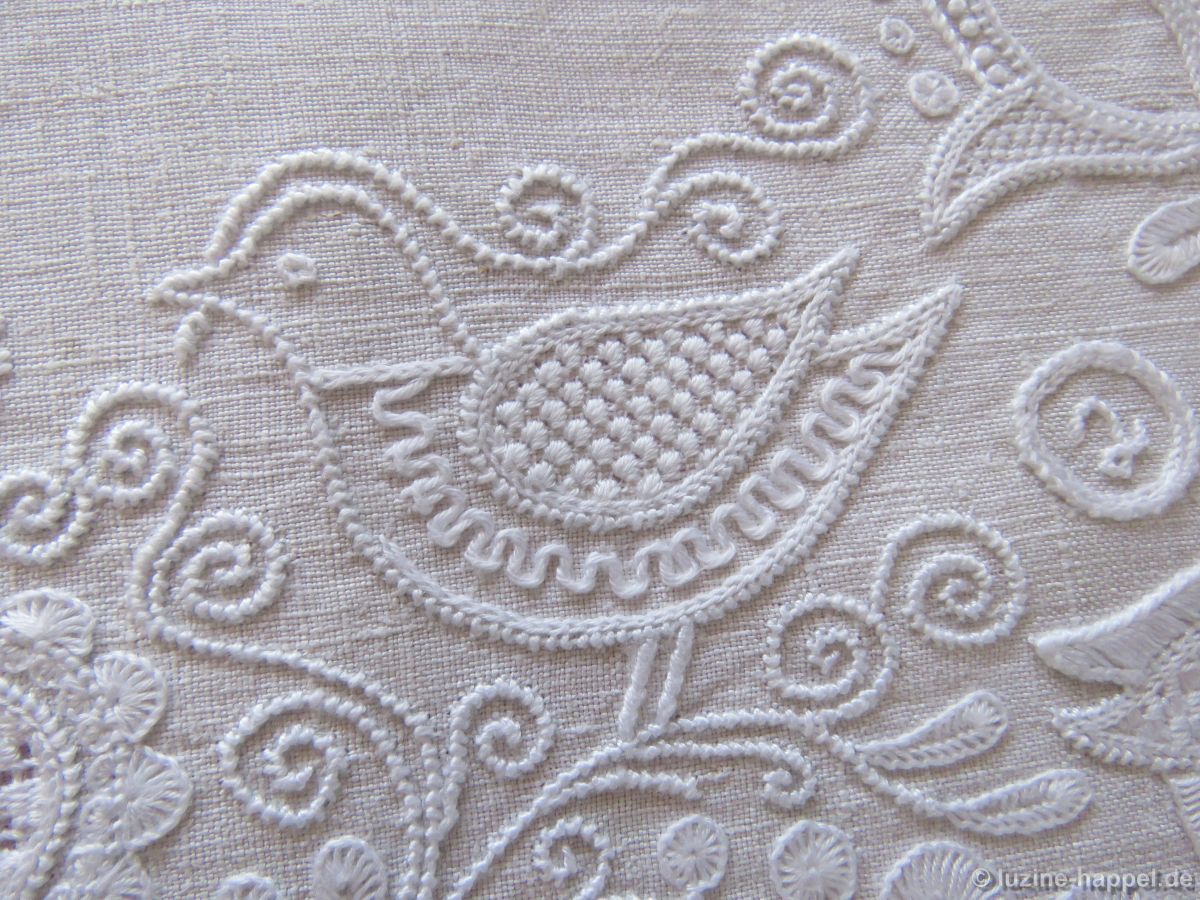
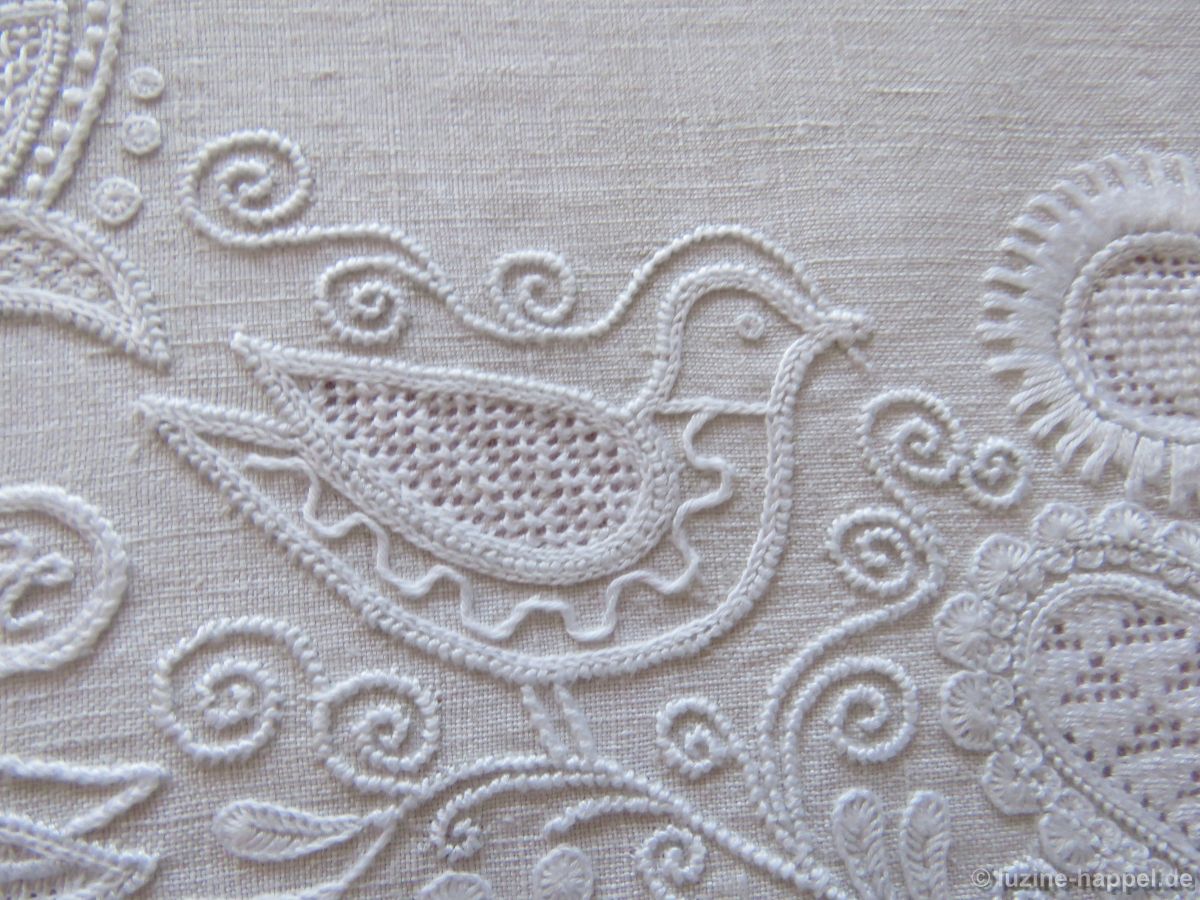
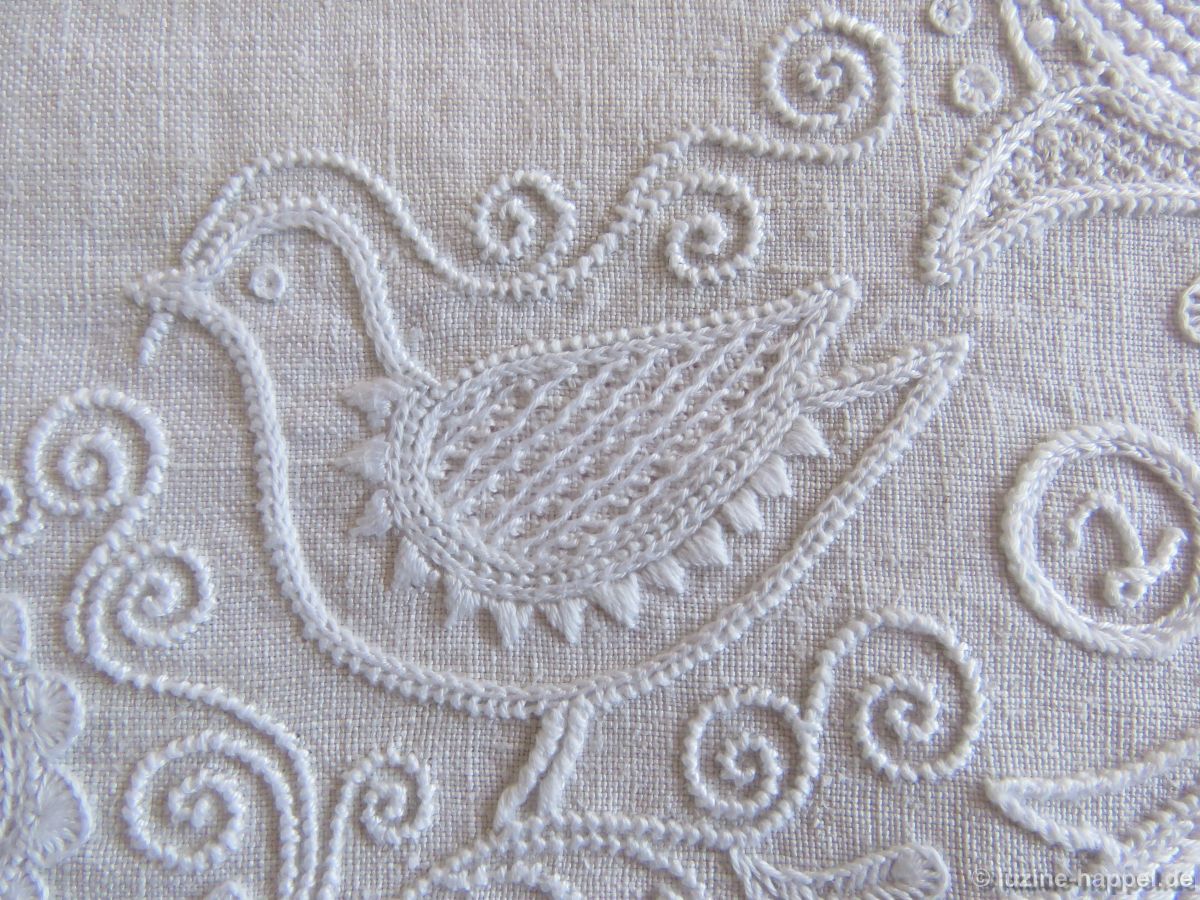
Das Muster der Mitteldecke enthält ein Vogelmotiv, das insgesamt 8 x erscheint.
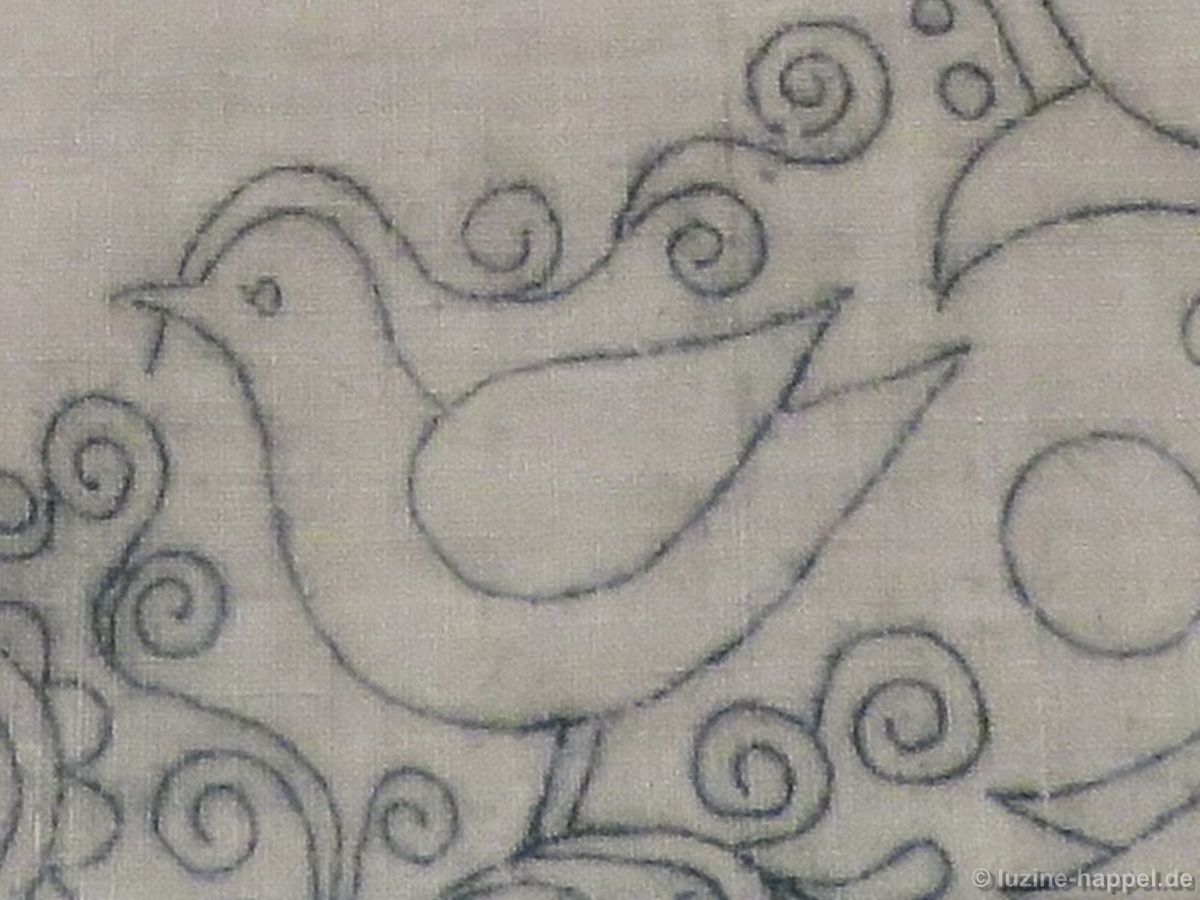
Diese Vögel könnte man alle in gleicher Weise gestalten, sie eignen sich aber auch zum experimentieren mit unterschiedlichen Stichen.
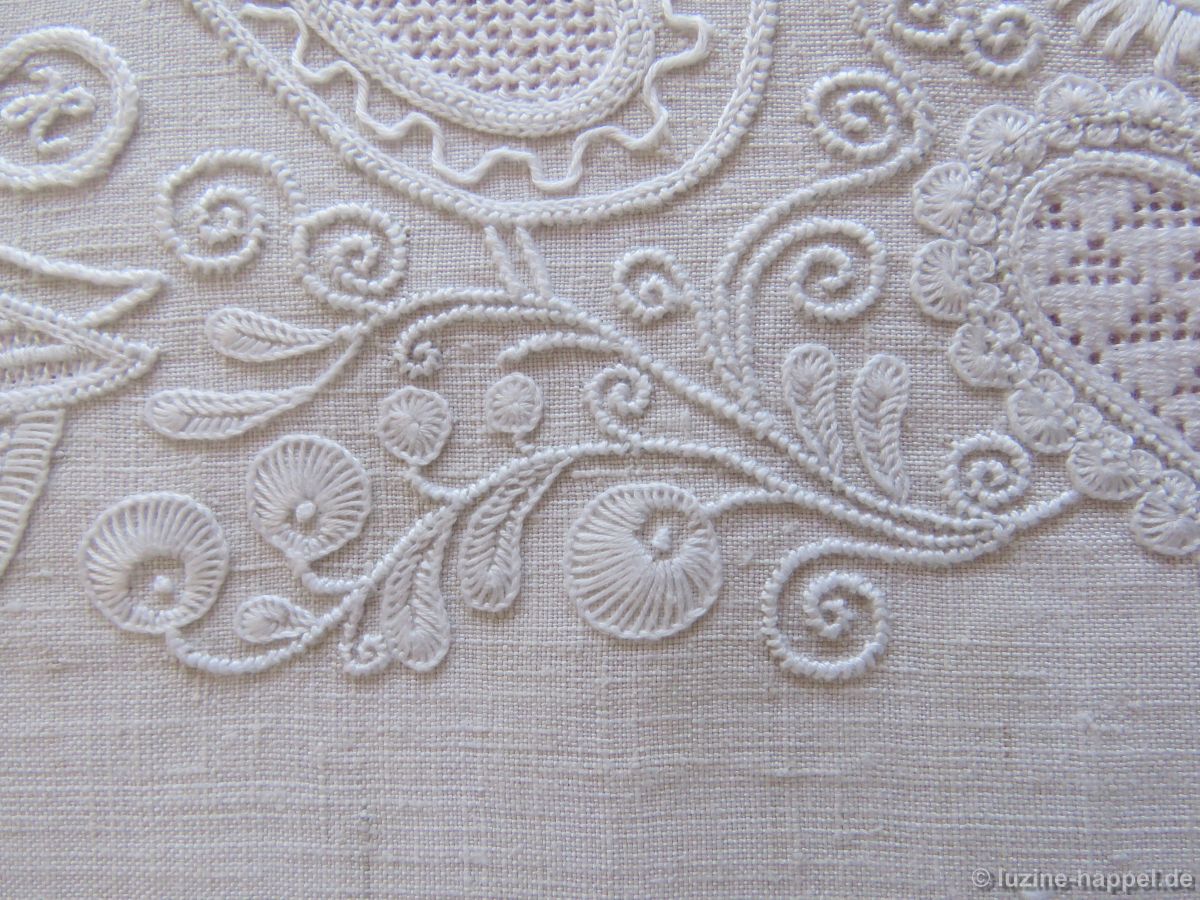
Die Form der Flügel bietet sich an, um diagonal verlaufende Flächenfüllmuster zu sticken.
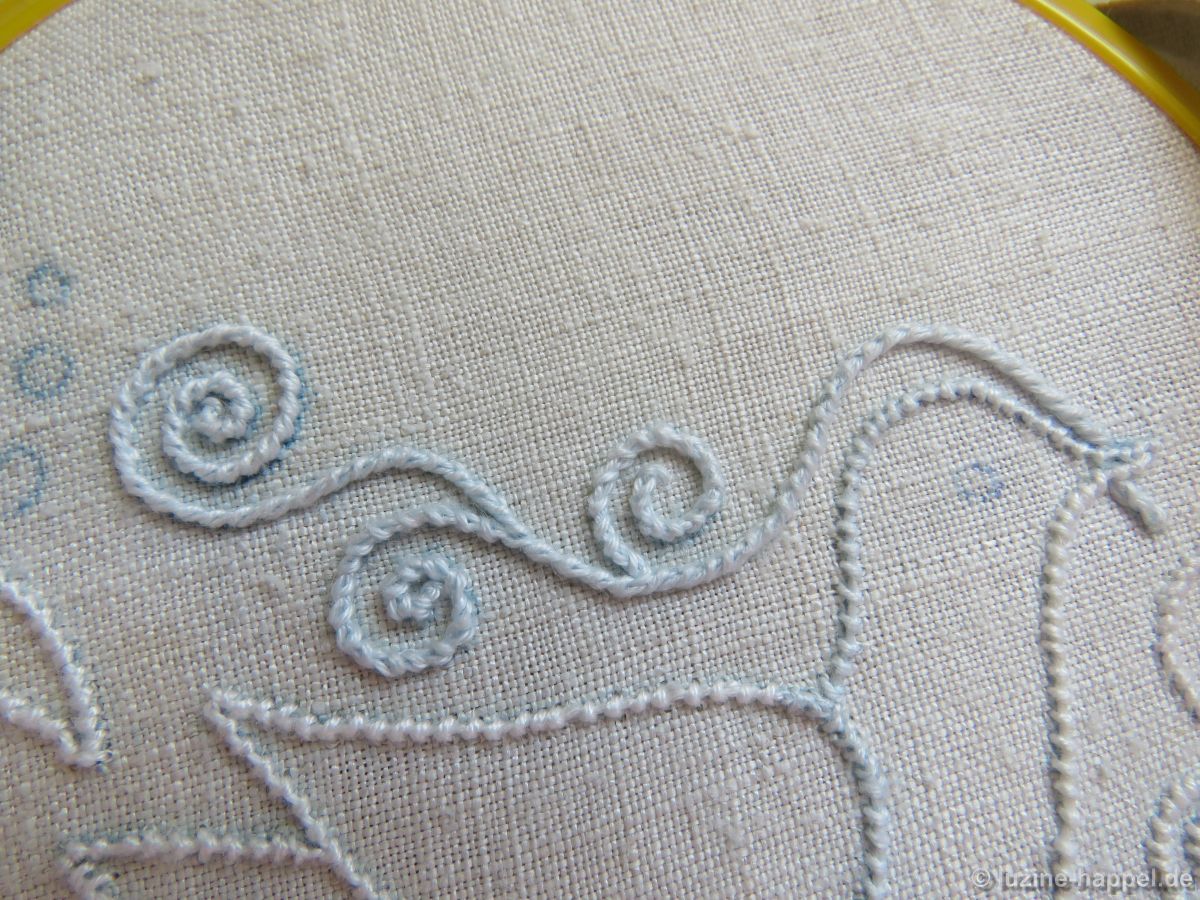
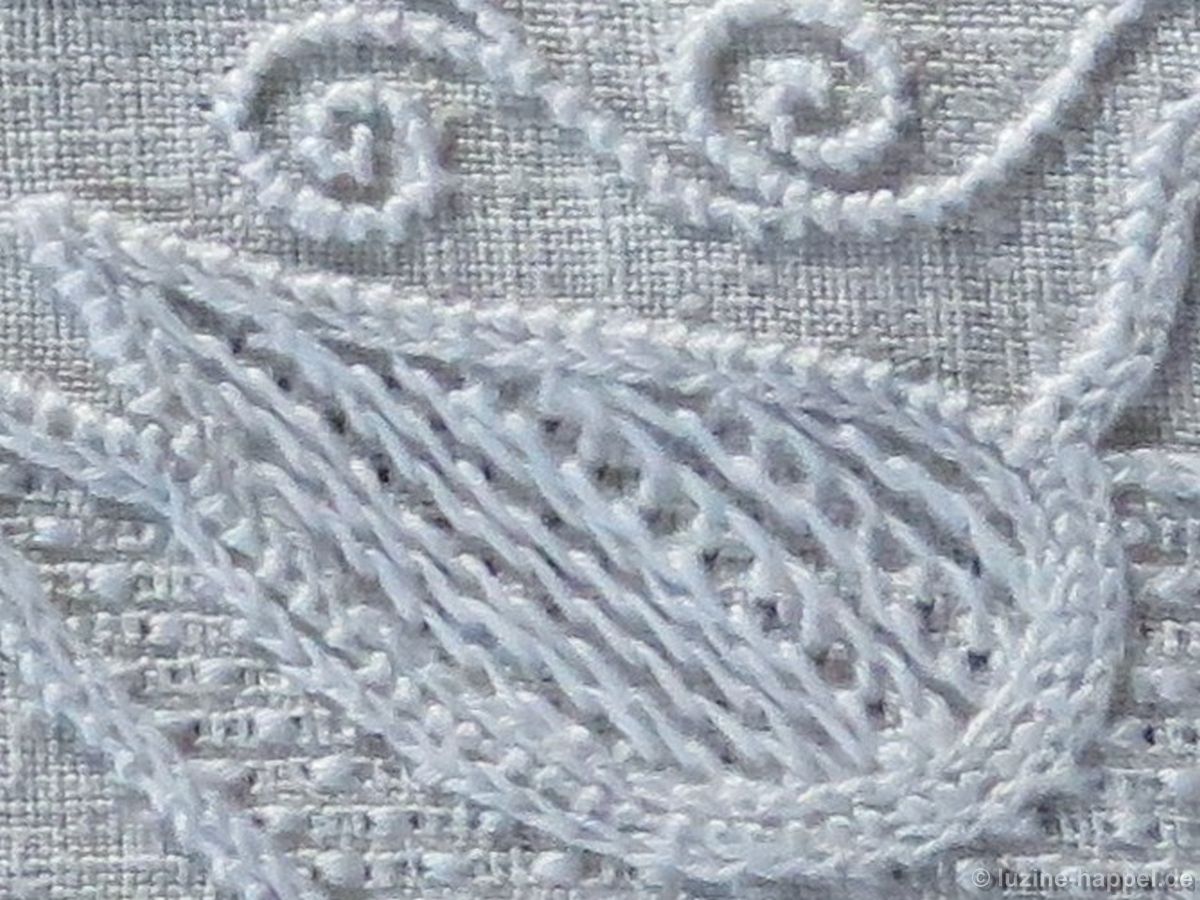
Dabei ist mir mal wieder ein neues Muster aus schräg angeordneten Schlingstichen eingefallen.
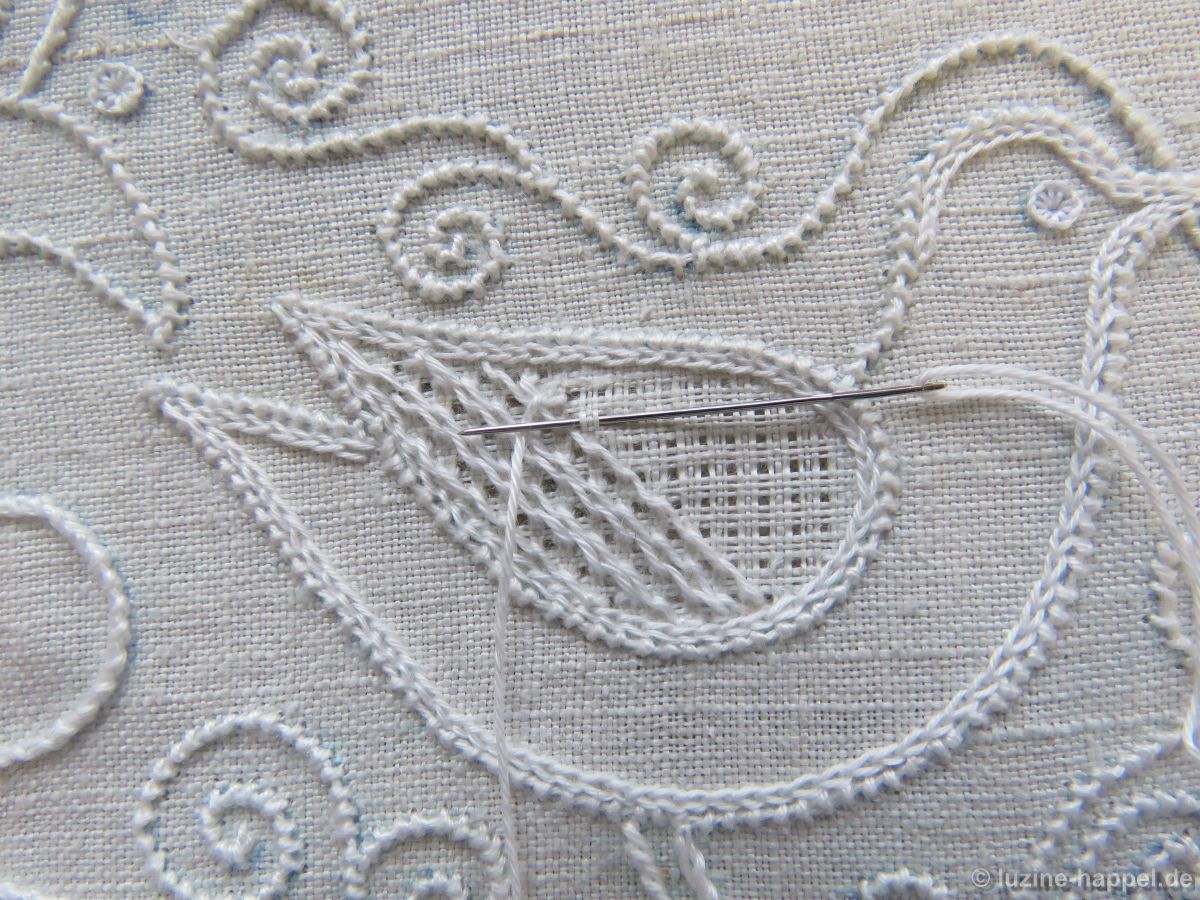
Dabei werden jeweils 2 Reihen gegeneinander gesetzt.
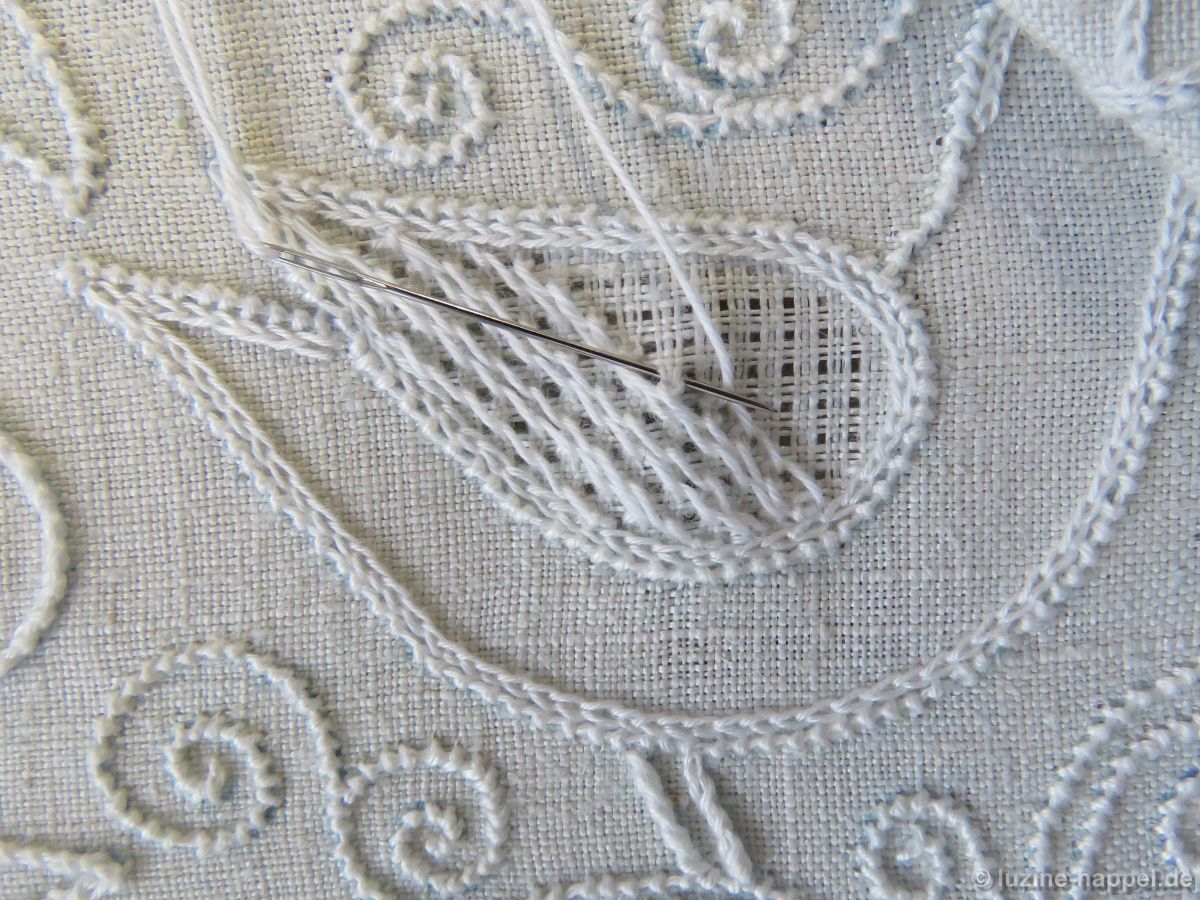
Stickt man dabei die unterquerenden Stiche unter dem gleichen Kästchen, liegen die Schlingen dichter nebeneinander, als wenn man die unterquerenden Stiche unter zwei benachbarten Kästchen hindurchführt.
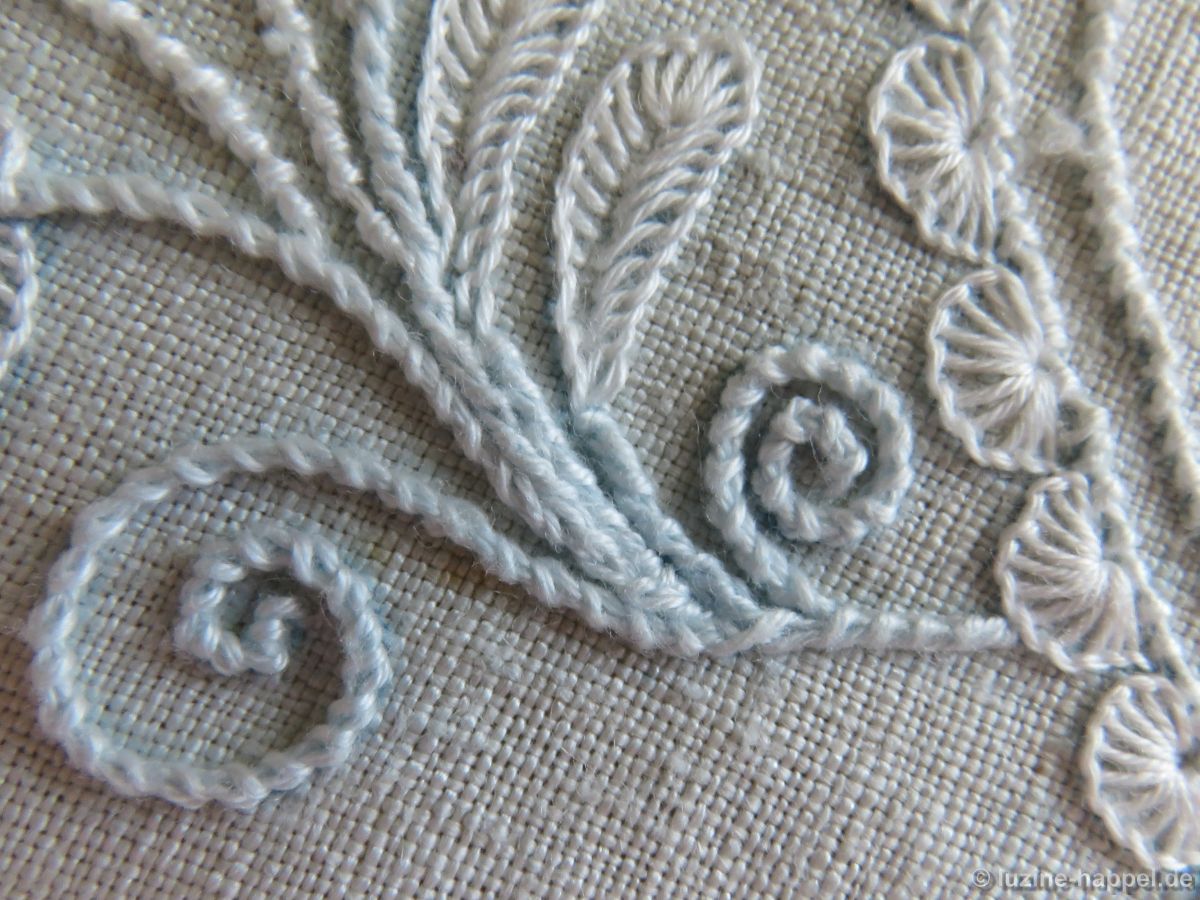
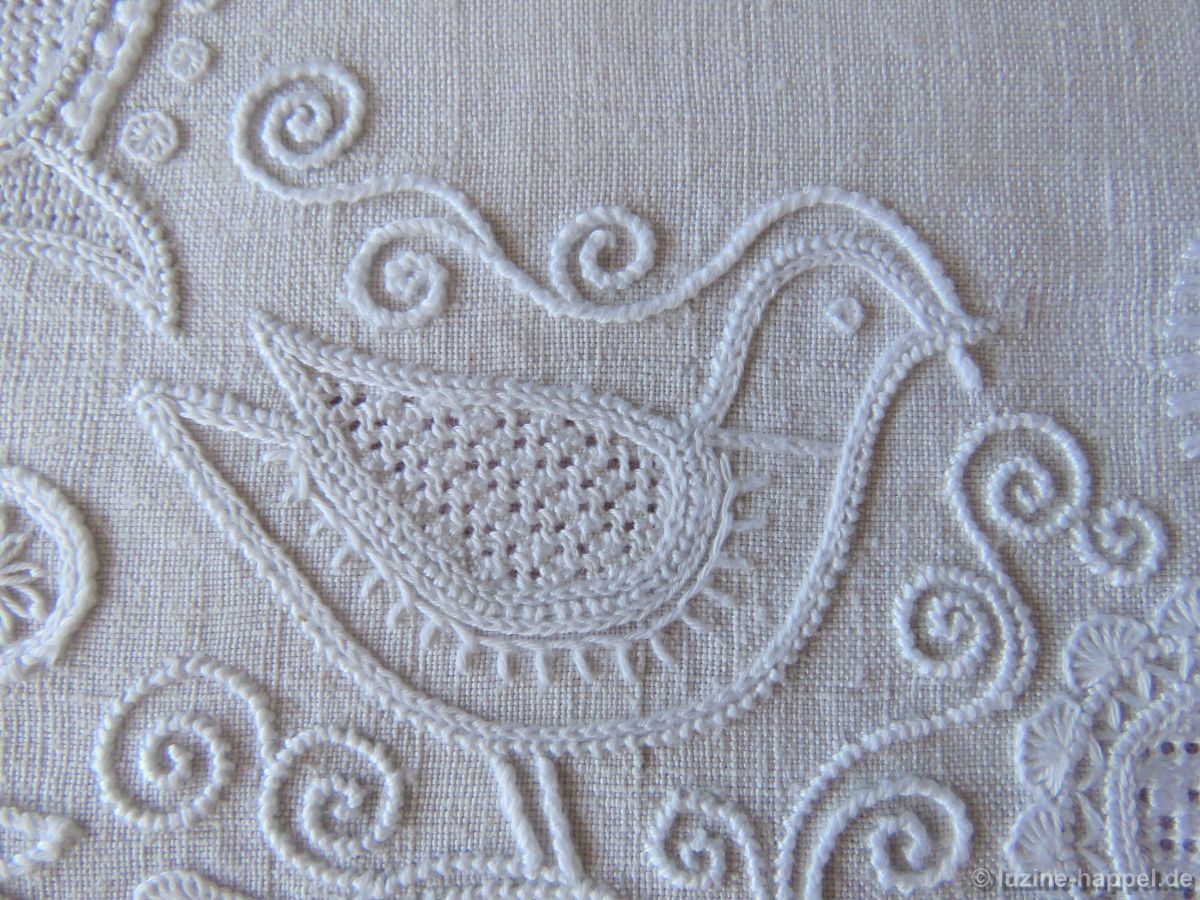
In meinem ersten Kurs zum Aneignen der Schwälmer Weißstickerei, den ich vor mehr als 40 Jahren absolviert habe, habe ich gelernt, Vogelbäuche mit dem „Schlängchen“ – umwickelten Hexenstichen – zu verzieren. Diese sind leicht zu sticken und auch von Anfängern der Rundung gut anzupassen.
Der Flügel wurde mit einem Limetmuster aus wechselnden Reihen von Rosenstichen und treppenartig angeordneten Wickelstichen über je 1 Kästchen bestickt.
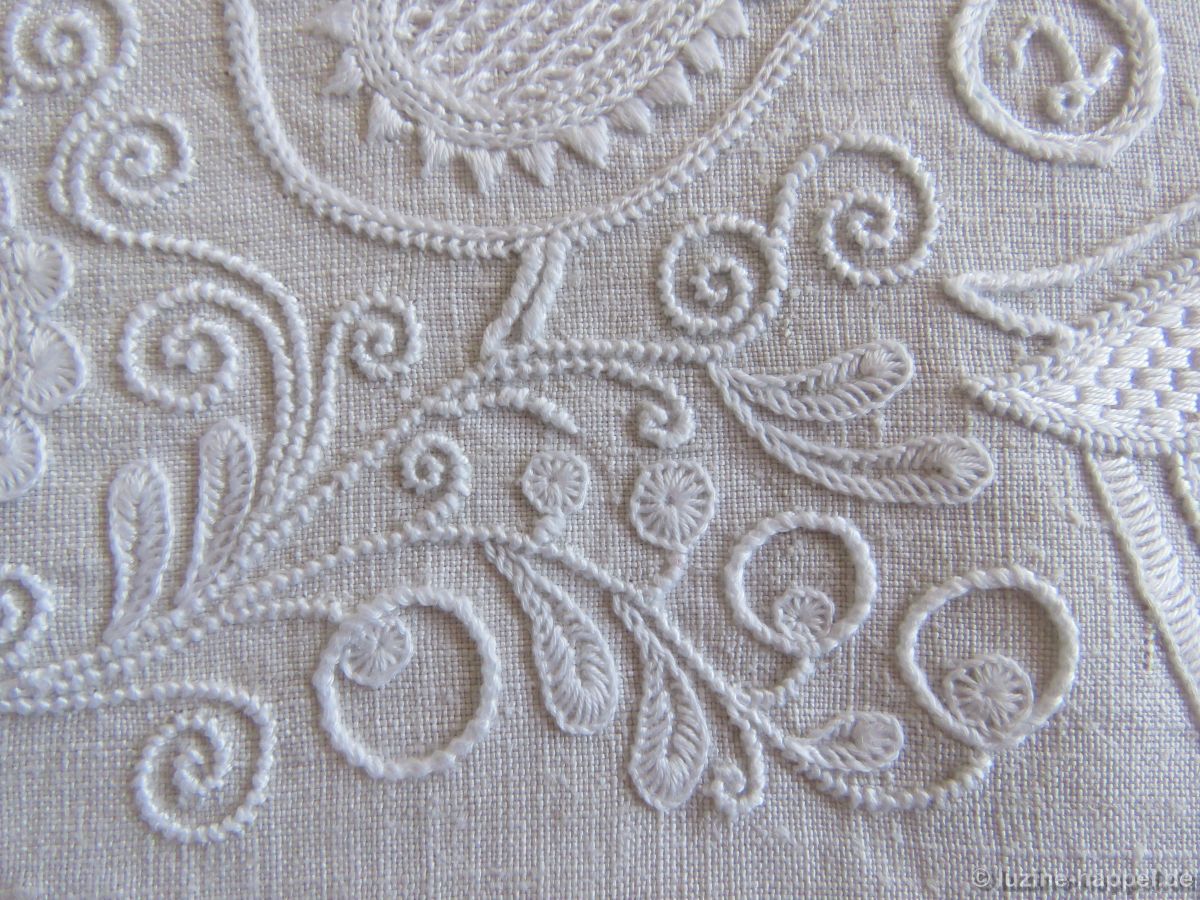
Eine ähnliche Wirkung wie bei den Hexenstich-Schlängchen erzielt man auch mit umwickelten Spannstichen „Kerrercher“. Sie sind in meiner Publikation Schlängchen & Co auf den Seiten 6 – 14 zu finden. (Flügel: „Gefieder“ – Limetrosen I, Seite 15.)
Je nachdem, wie dicht oder wie schräg man die Spannstiche stickt, erscheinen die Schlangenlinien ganz unterschiedlich. (Flügel: Doppelreihen Grundstiche, wechselnd von der Vorder- und Rückseite gearbeitet:)
Man kann den Vogelbauch aber auch mit Flächenfüllmustern verzieren, allerdings müssen es sehr kleine Muster sein. Hier wurde ein einfaches Durchbruchmuster mit waagerechtem Fadenauszug 2:1 gestickt. Waffelstiche wurden von der Rückseite aus gearbeitet.
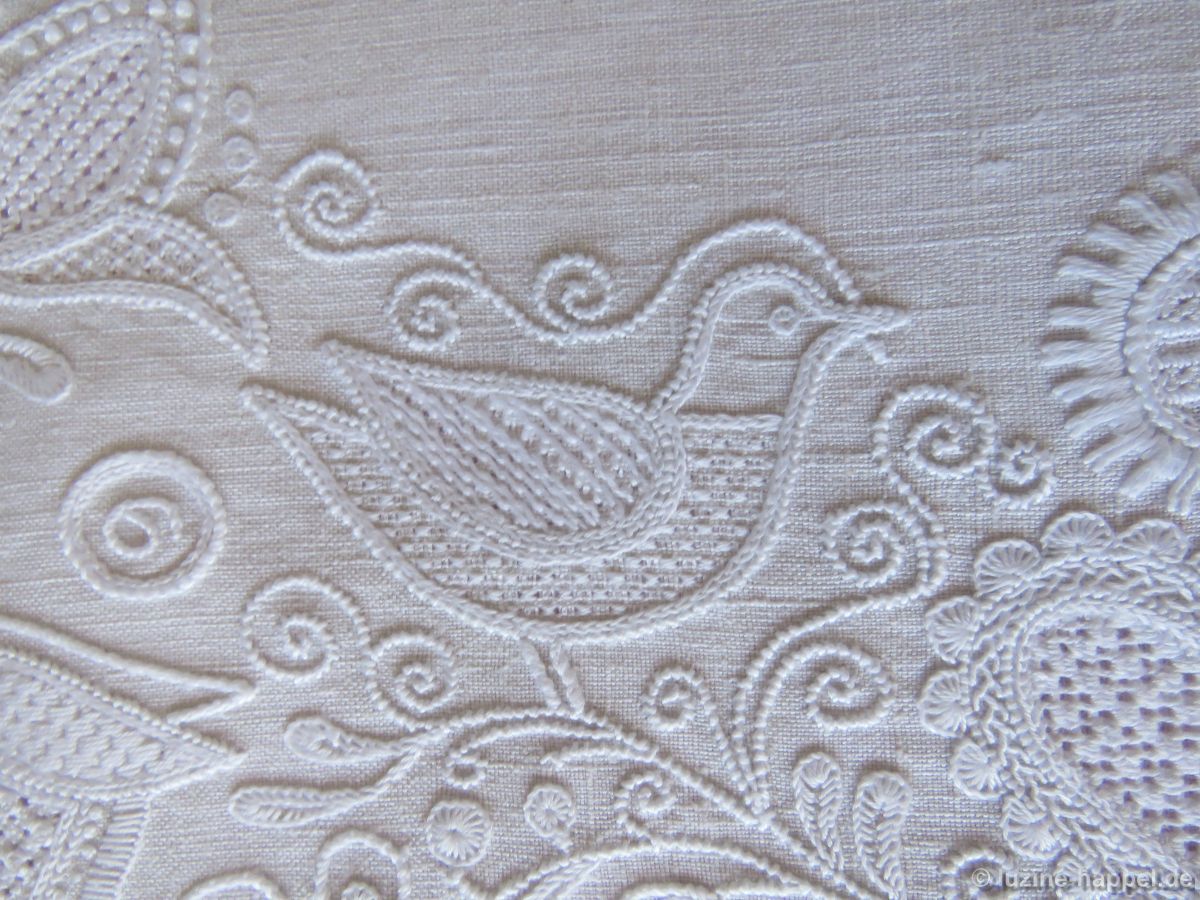
Statt Flächenfüllmuster oder Schlängchen kann man auch Zierstiche entlang des Flügels in der Vogelbauch sticken.
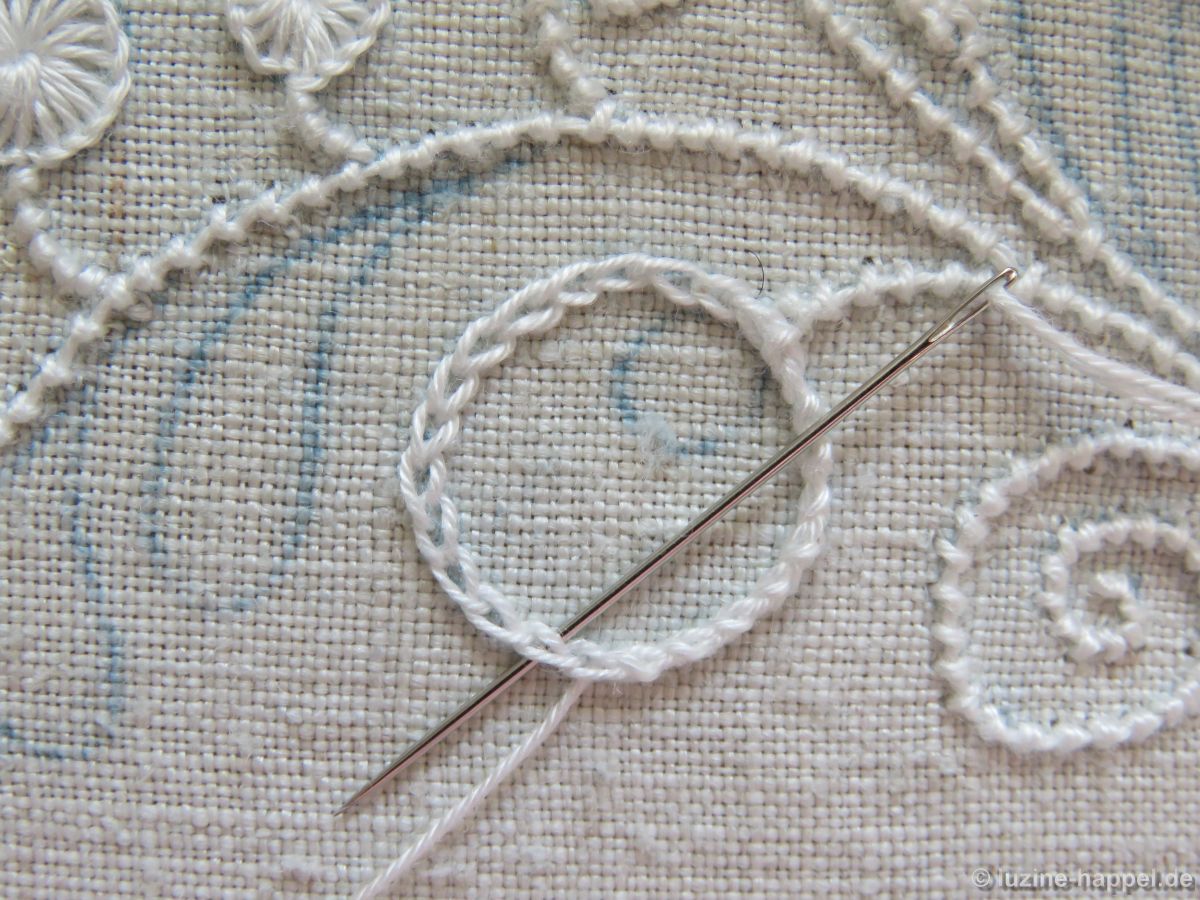
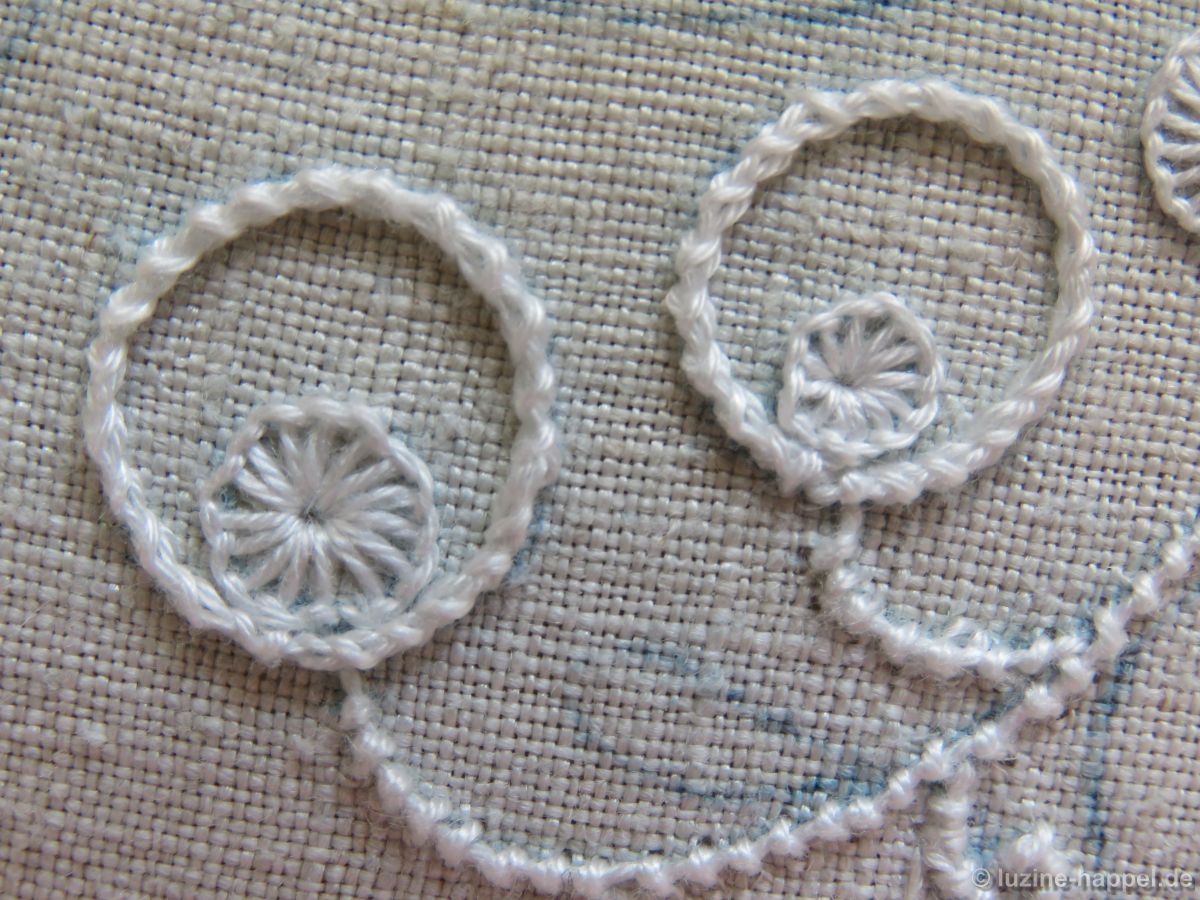
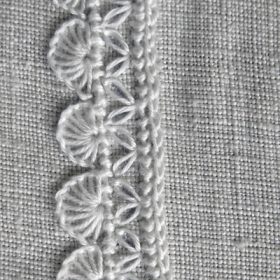
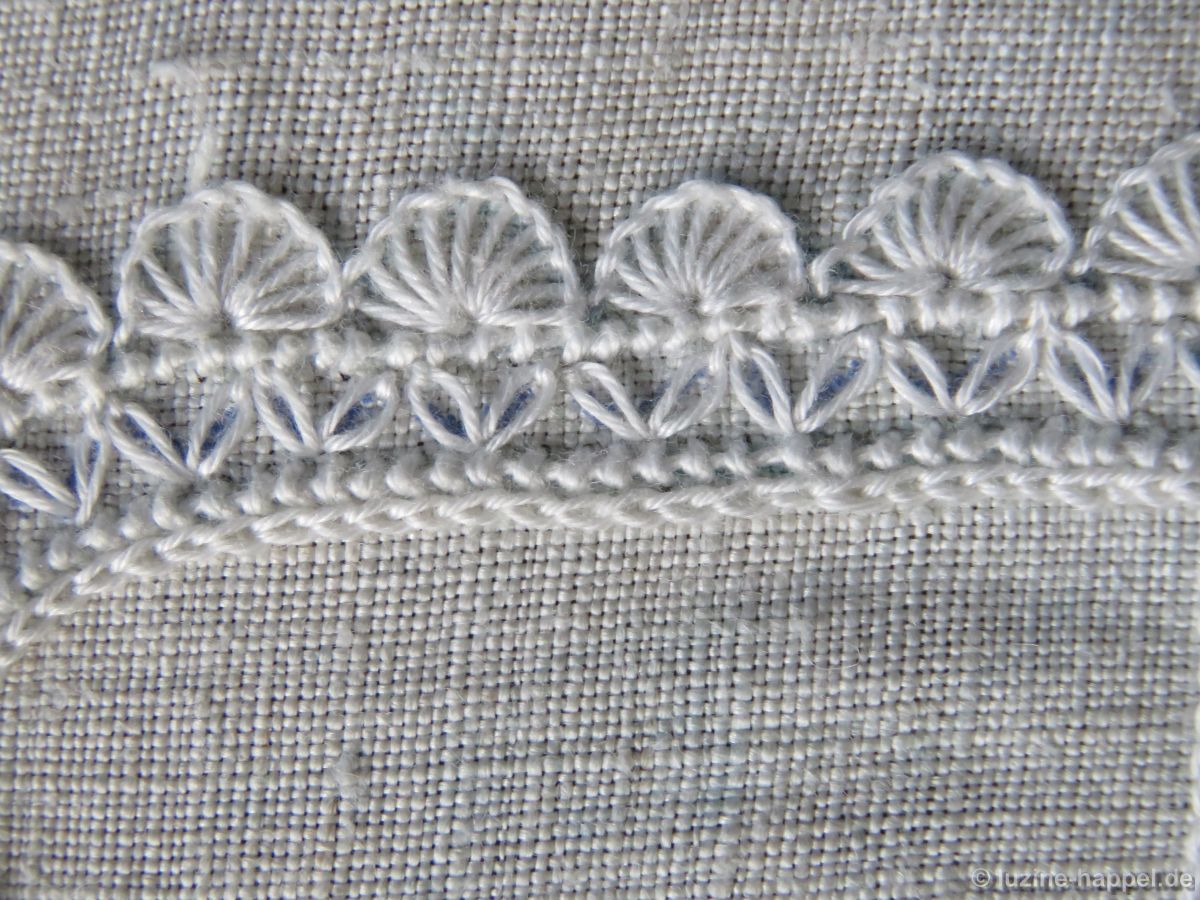
Schnürlochbögen sind eine Alternative,

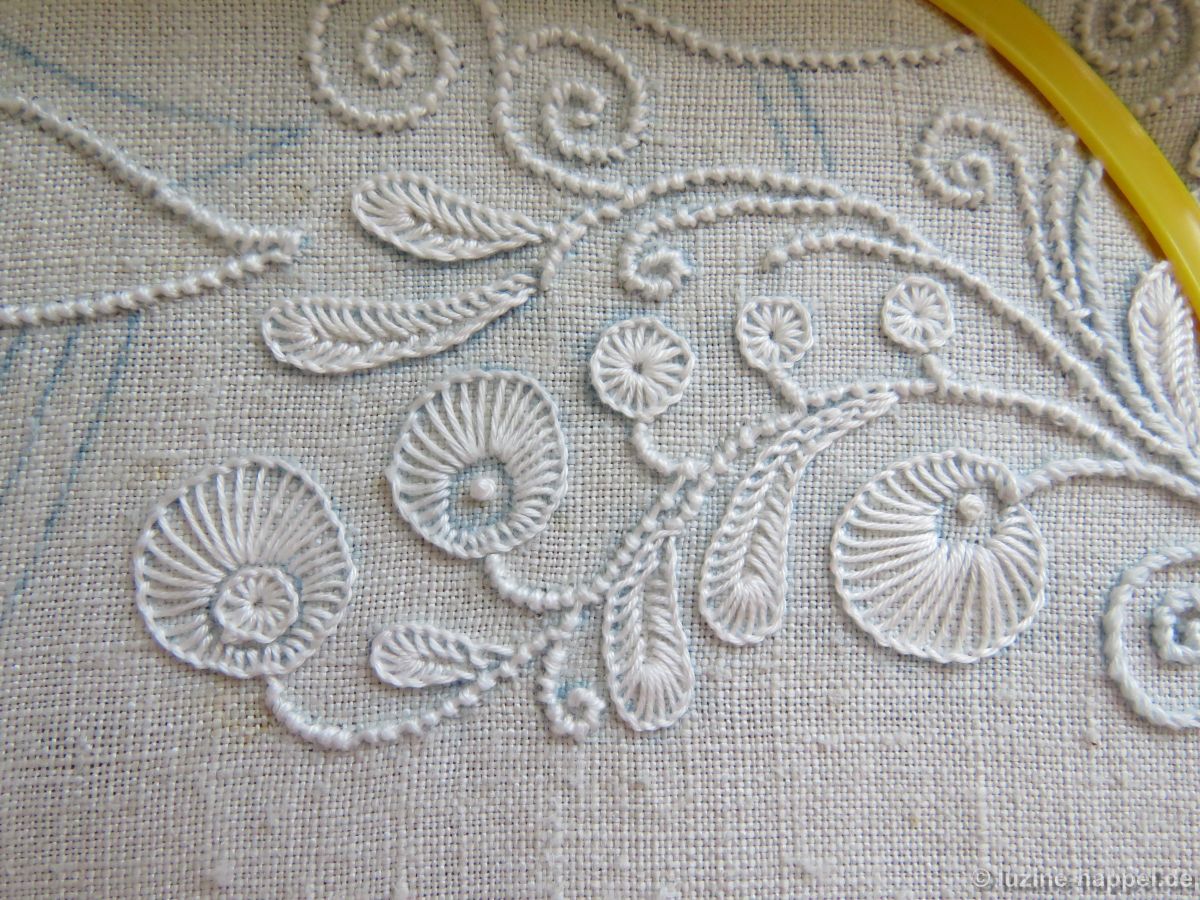
Messerspitzen eine andere. (Flügel: Französischer Stich – halb mit Lücke, Mustertücher `Lichte Muster`, Seiten 35-37.)
Auch 2kurz-2lang eignet sich für diese Art der Gestaltung (Flügel: je eine Reihe Marburger Grundstiche und Grundstiche im Wechsel)

ebenso wie Wimpernstiche. (Flügel: Abwandlung von Flächenfüllmuster 550, jedoch mit nur je einer Reihe Rosenstiche und Grundstiche im Wechsel.)
Der nächste Blogbeitrag beschäftigt sich mit der Gestaltung der diagonal und gerade zum Fadenlauf angeordneten Herzen.
Siehe auch:
Vogelmotive (1)
Vogelmotive (2)