Schwalm-Style Pocket Square (2)

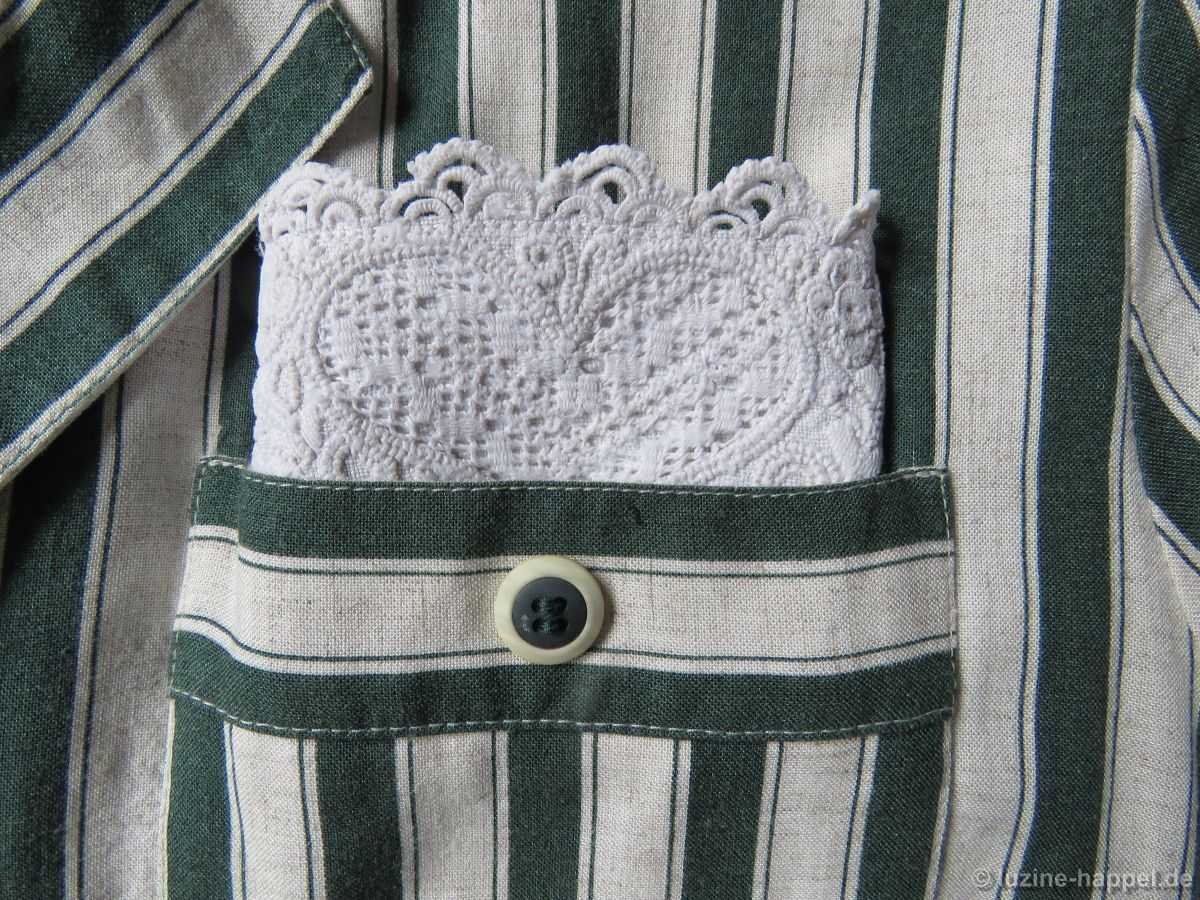
Pocket squares aren’t just for men. I’ve seen women wearing these accessories lately, too to style clothing in a more striking and individual way.  So, I went through my wardrobe and immediately identified three garments with suitable breast pockets.

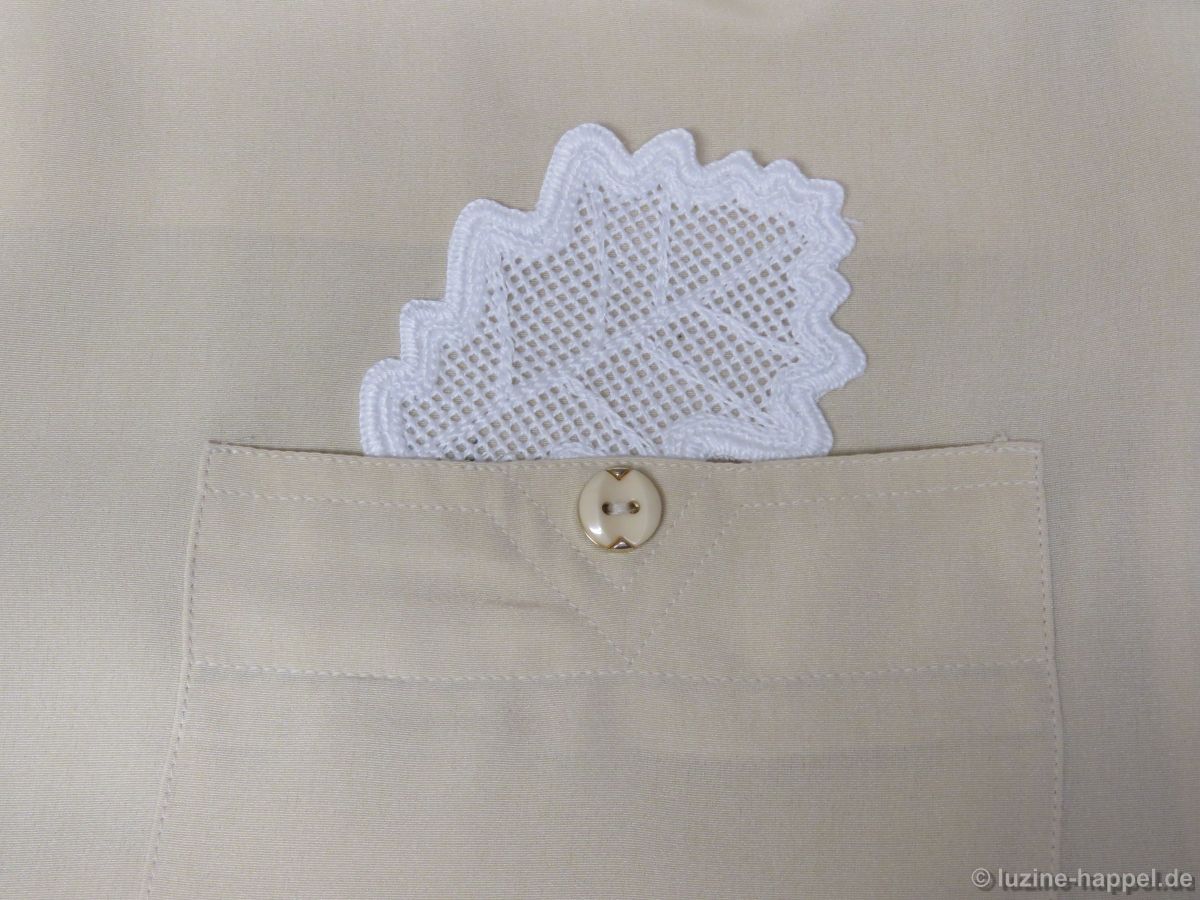
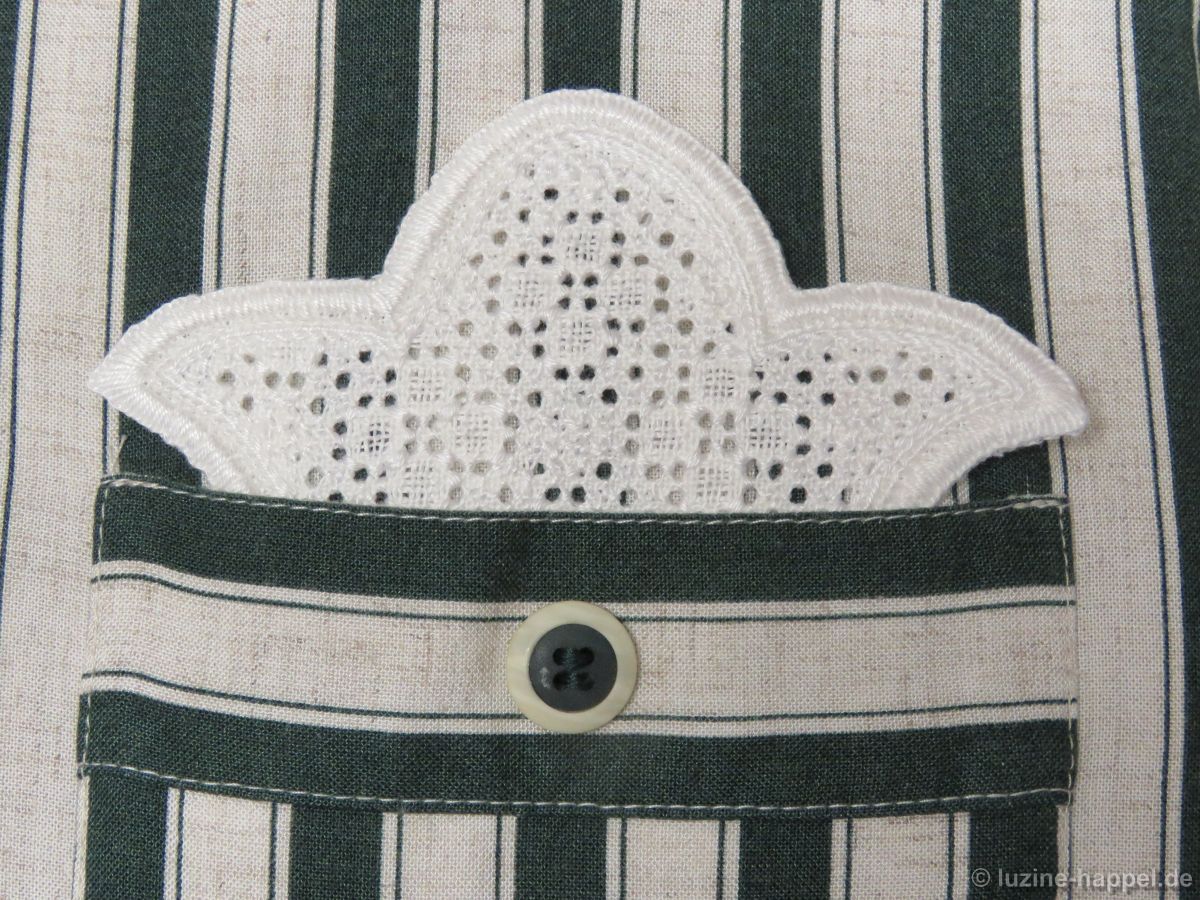
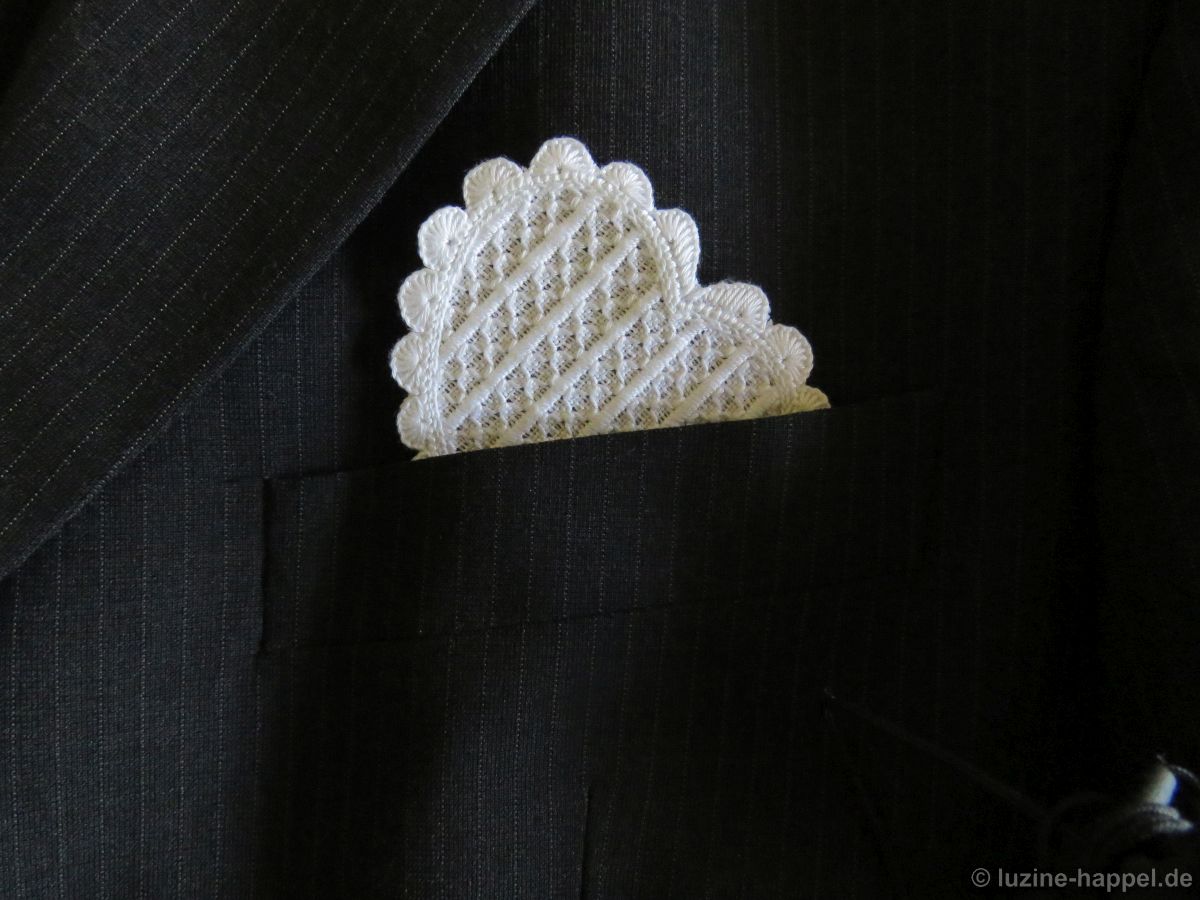
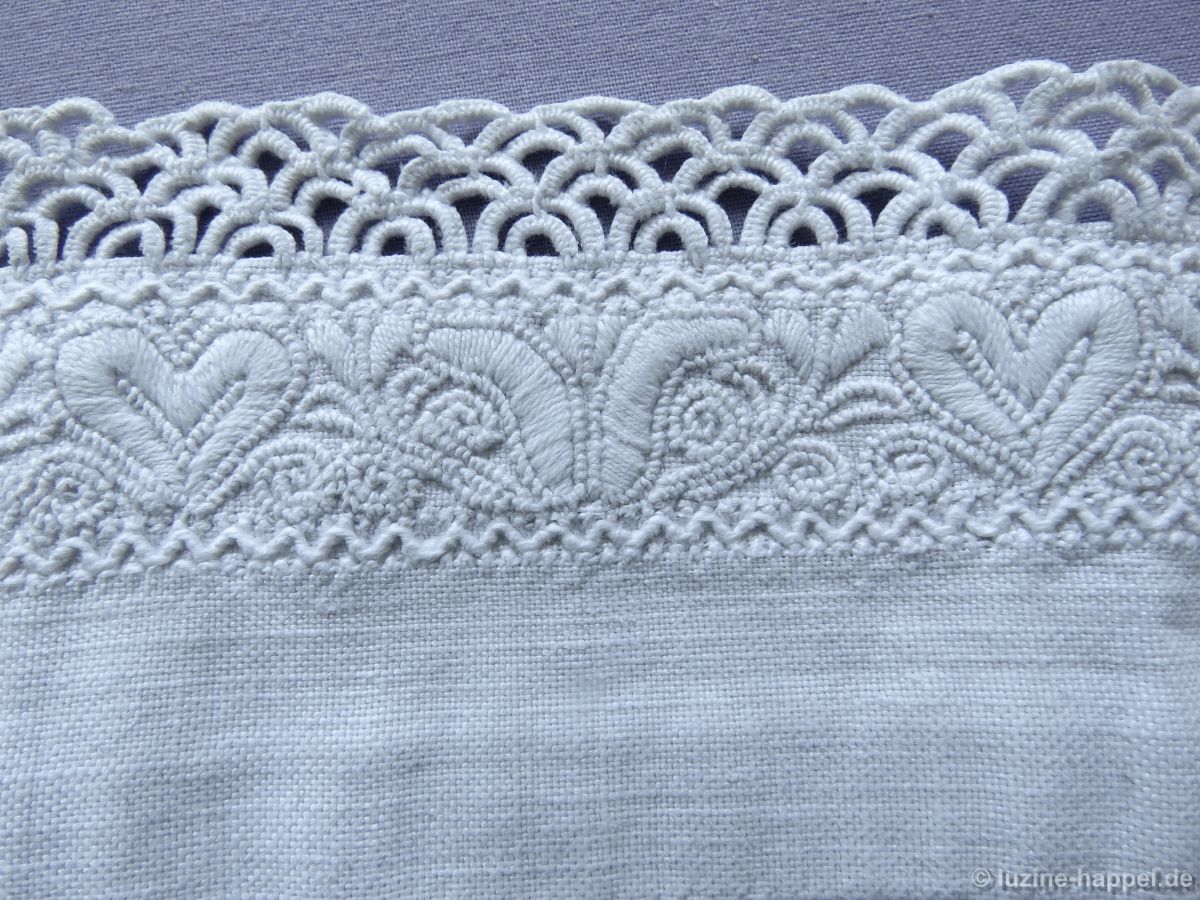
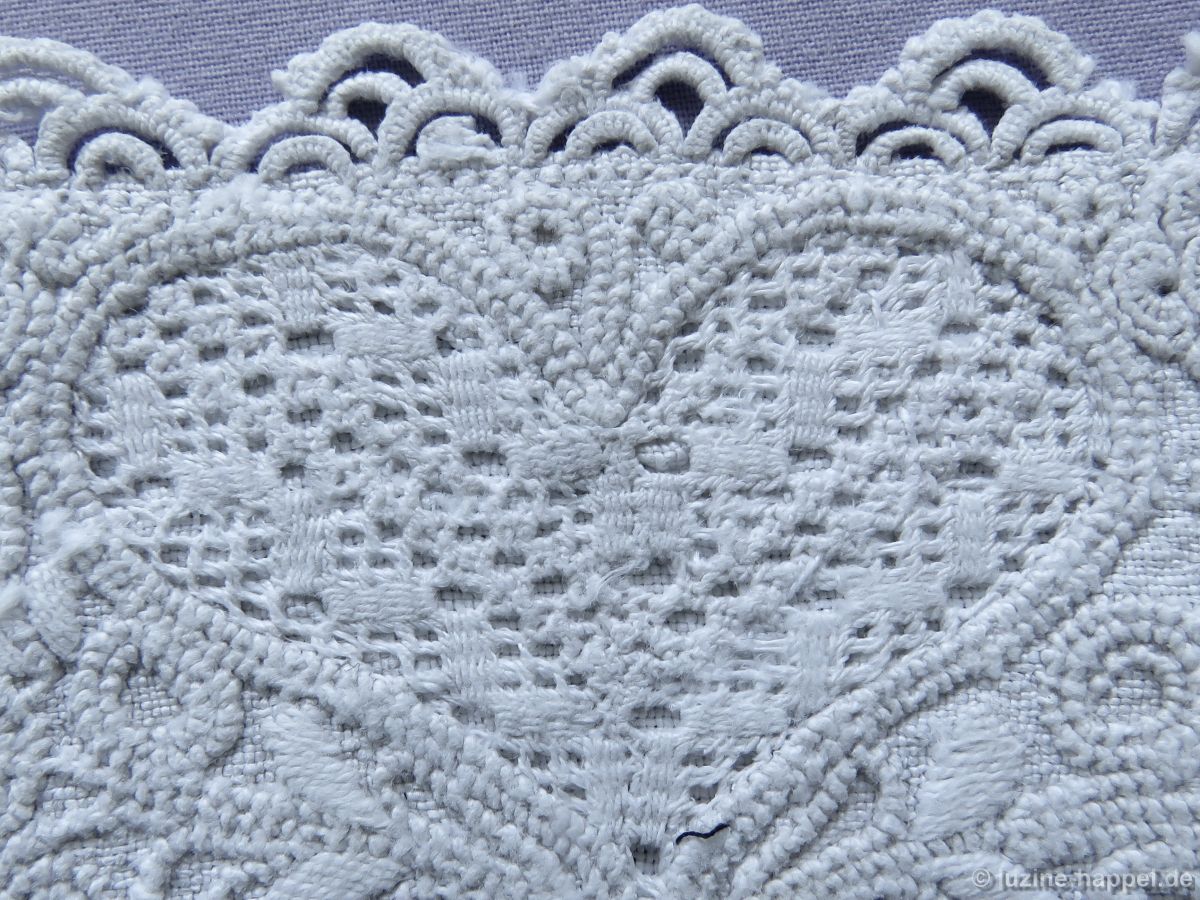
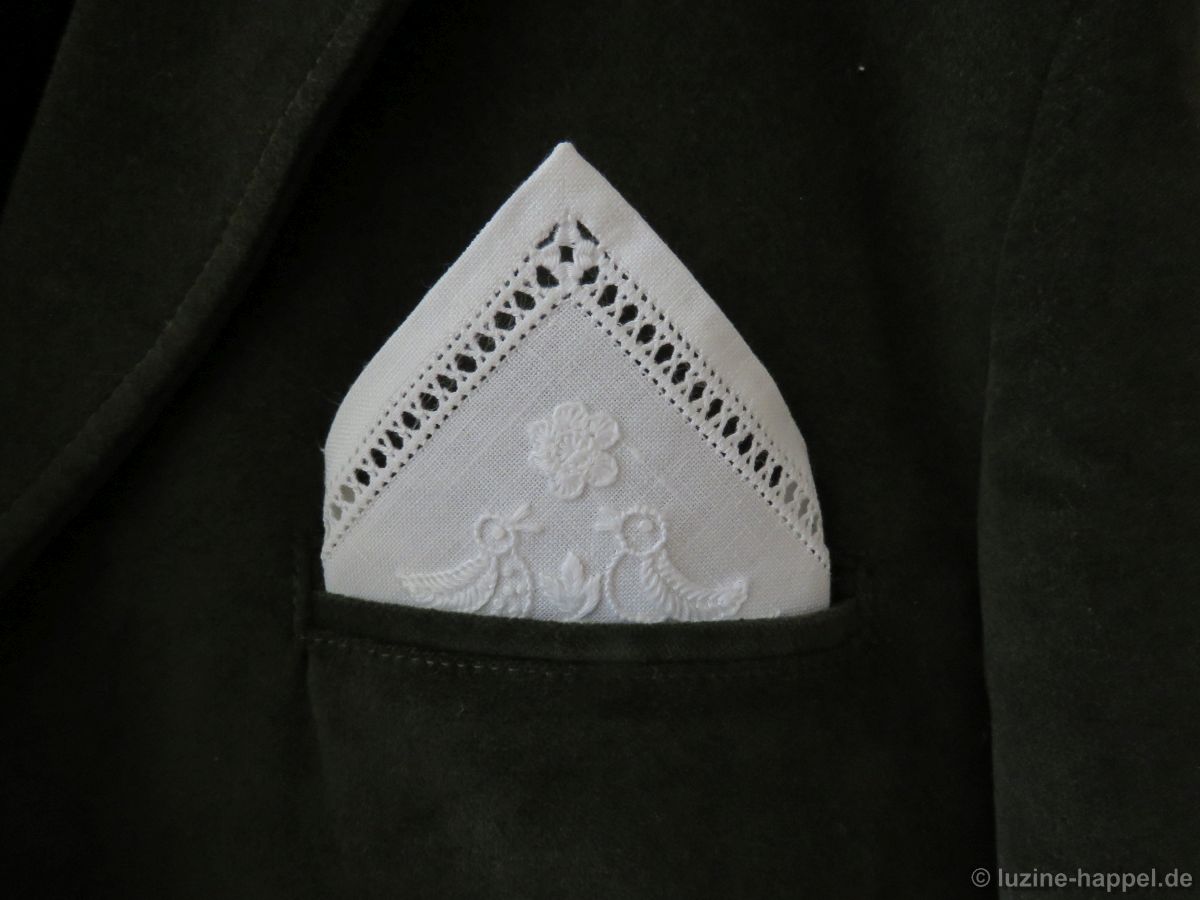
In the post Schwalm-Style Pocket Squares (1), I showed a small square cloth featuring a corner motif. Further design possibilities can be found in the small Schwalm borders—originally intended for bodice sleeves or apron ties.

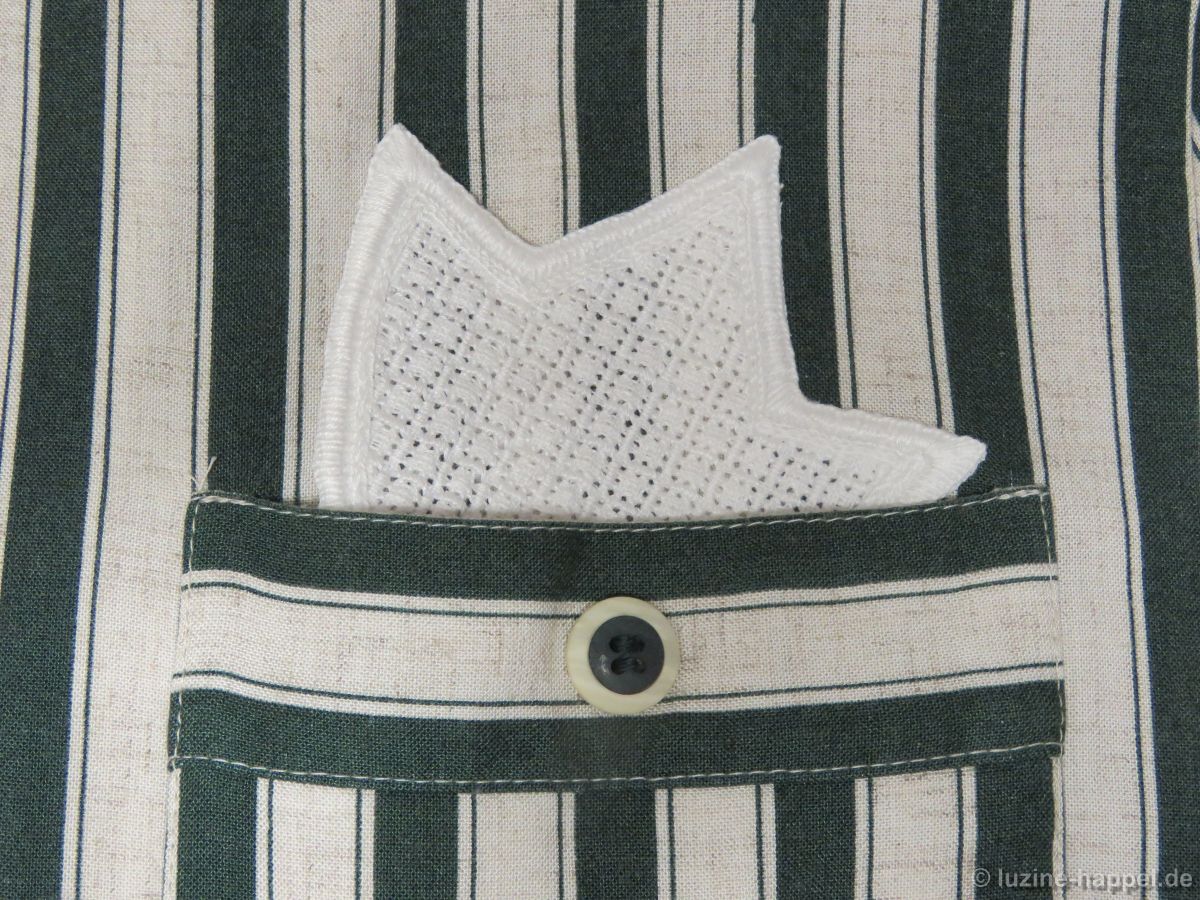
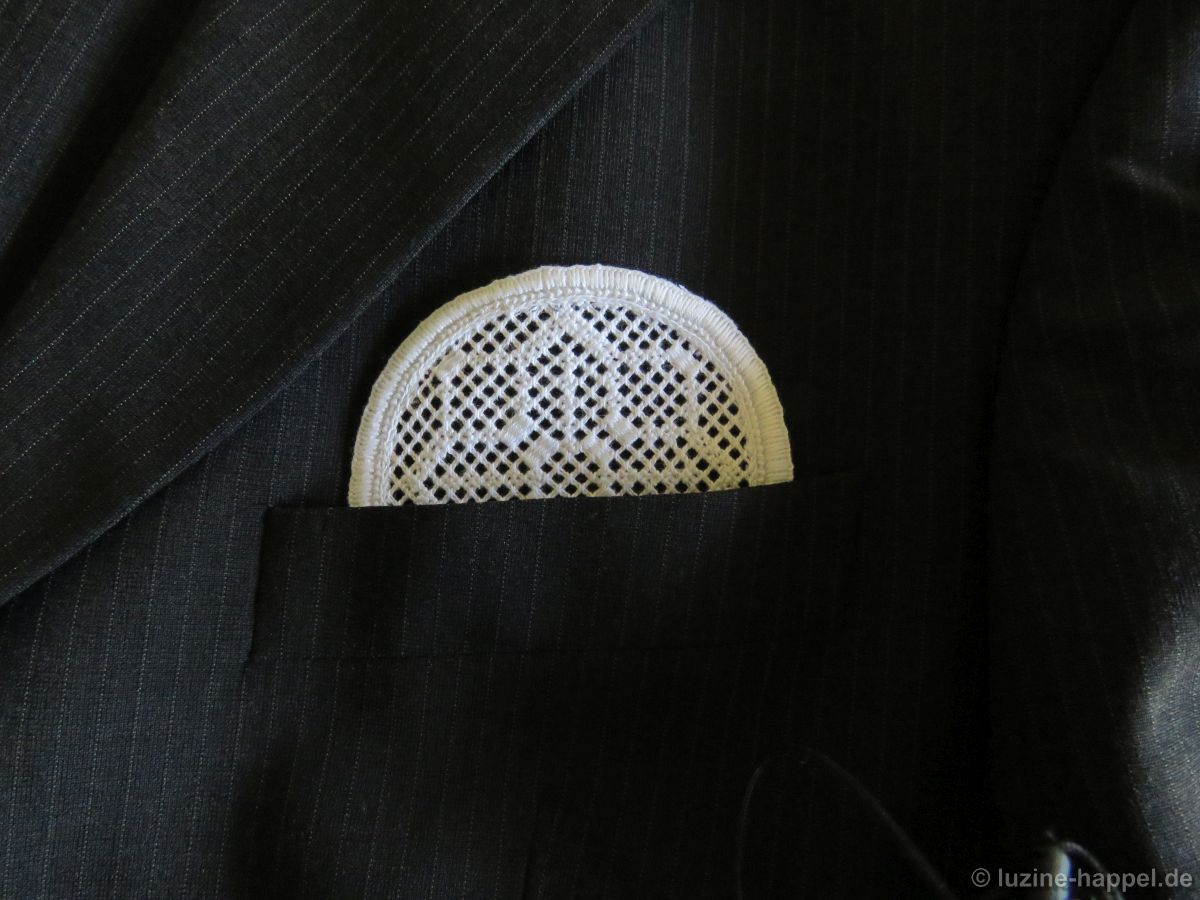
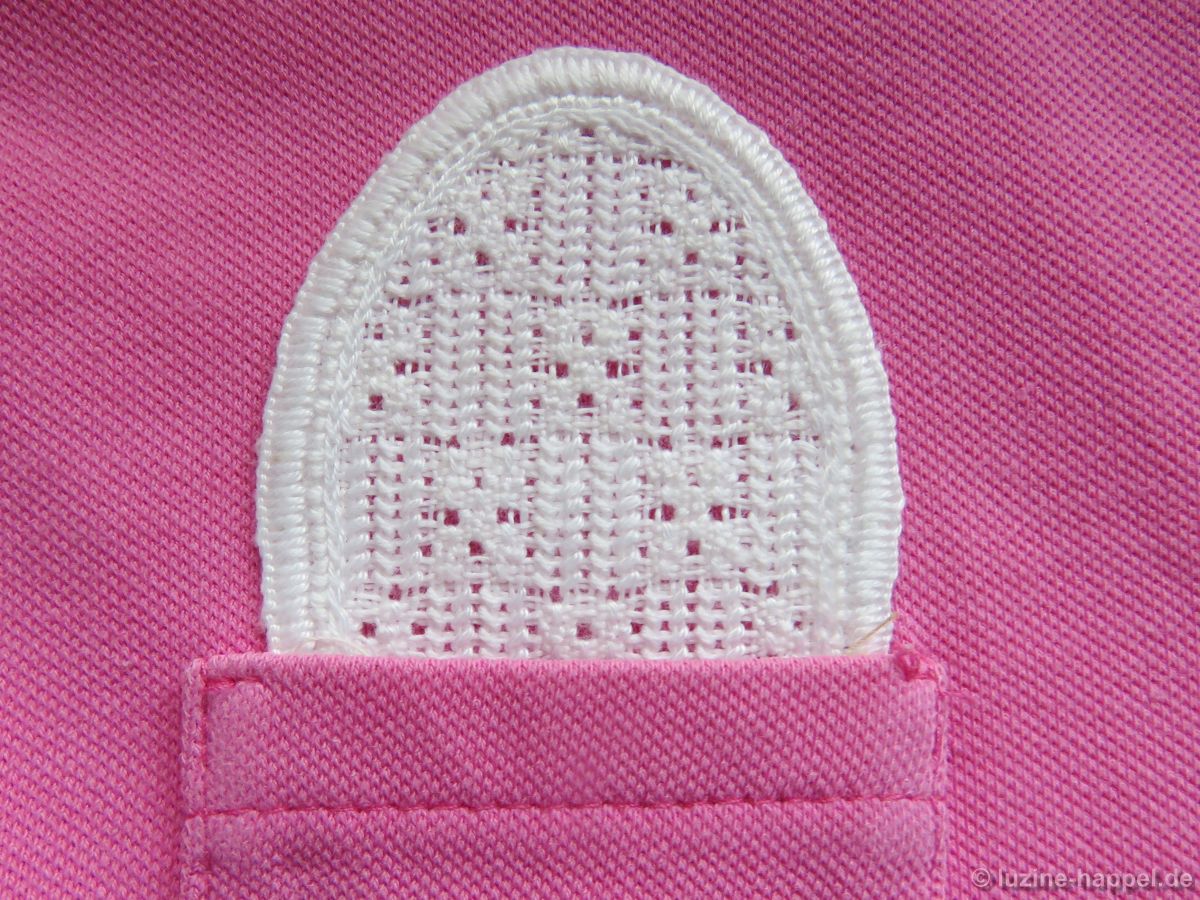
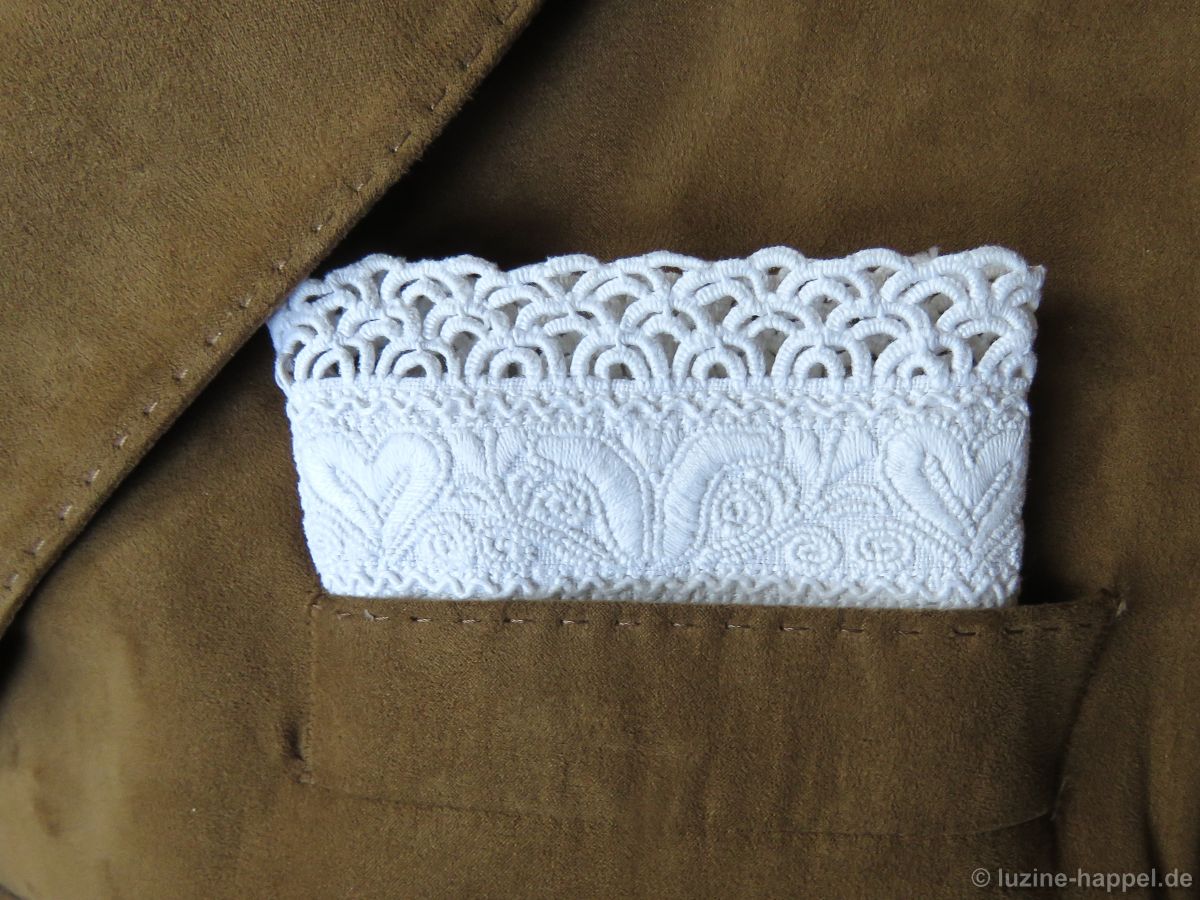
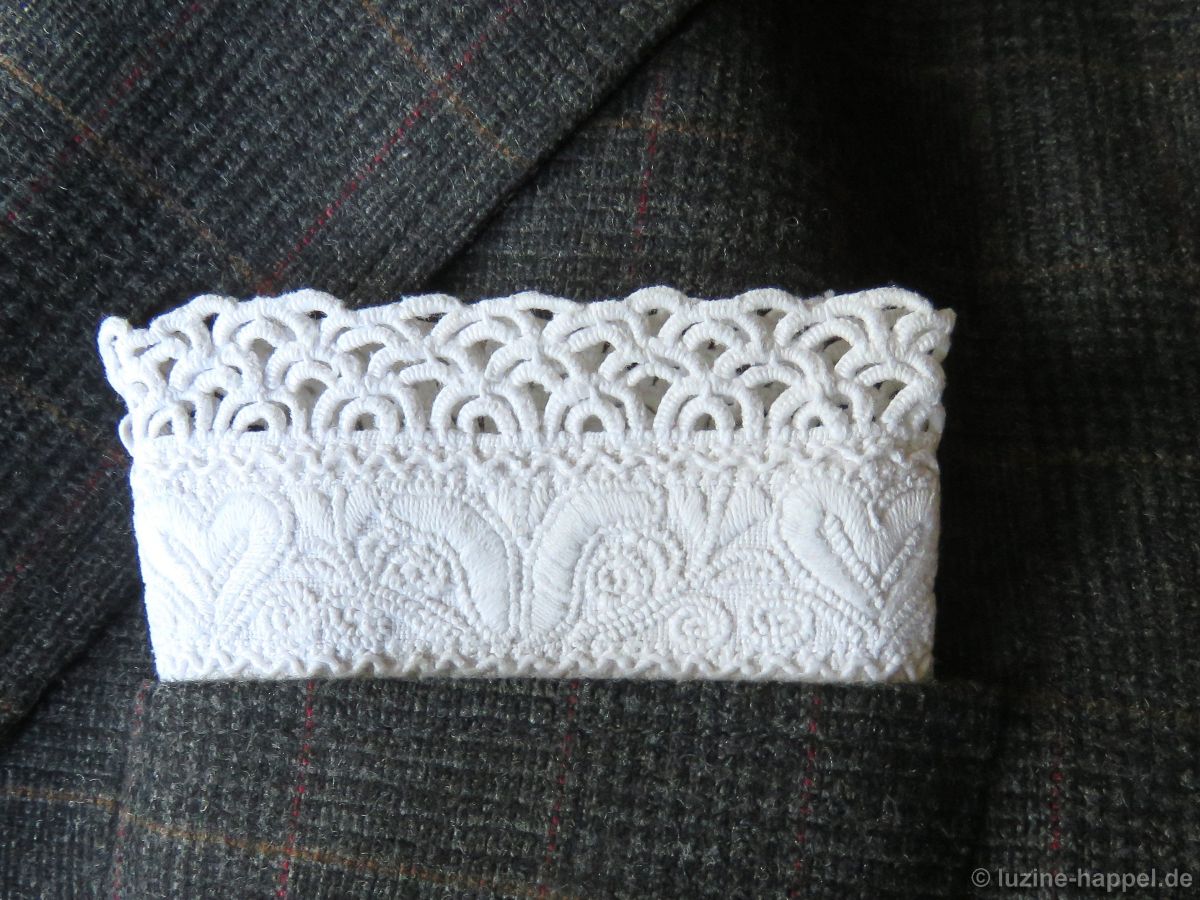
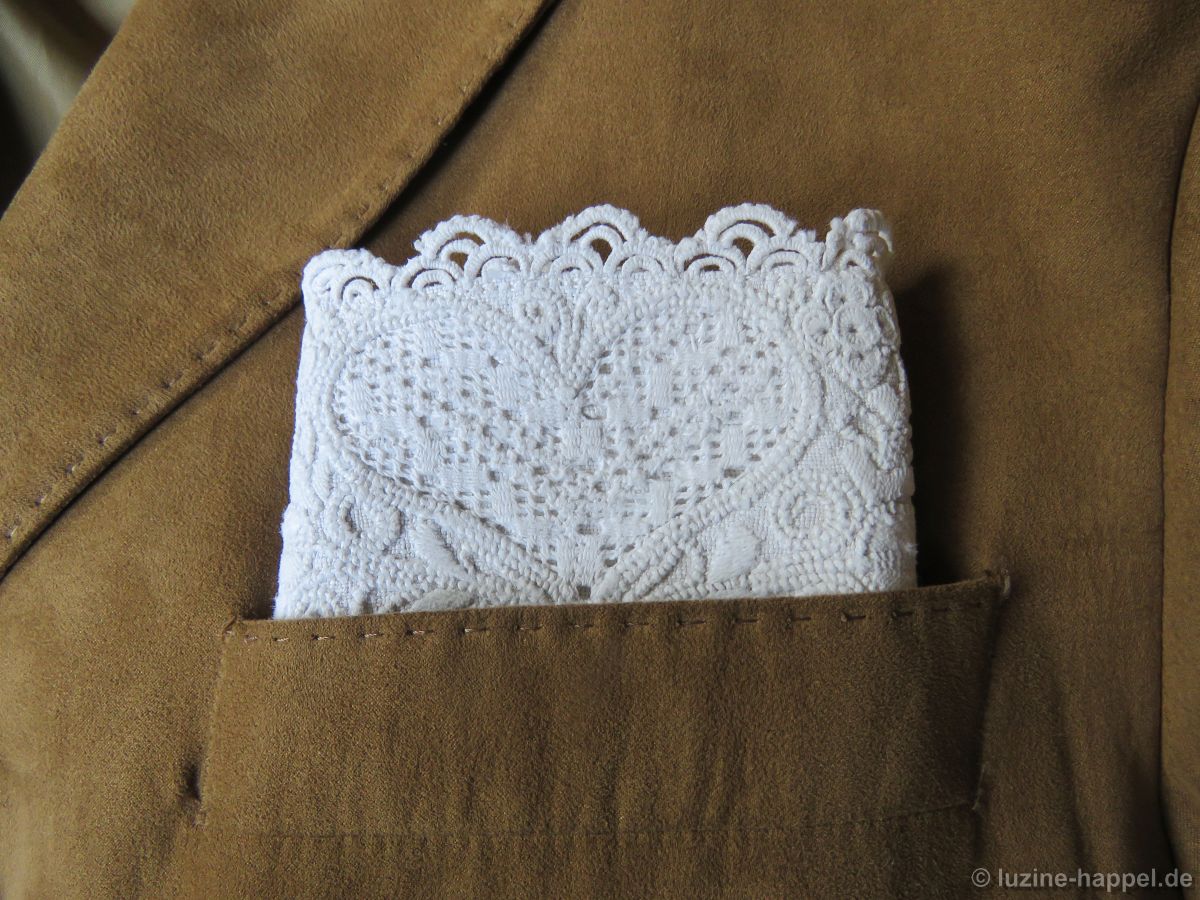
They look completely different depending on the jacket, blazer, blouse, or dress.

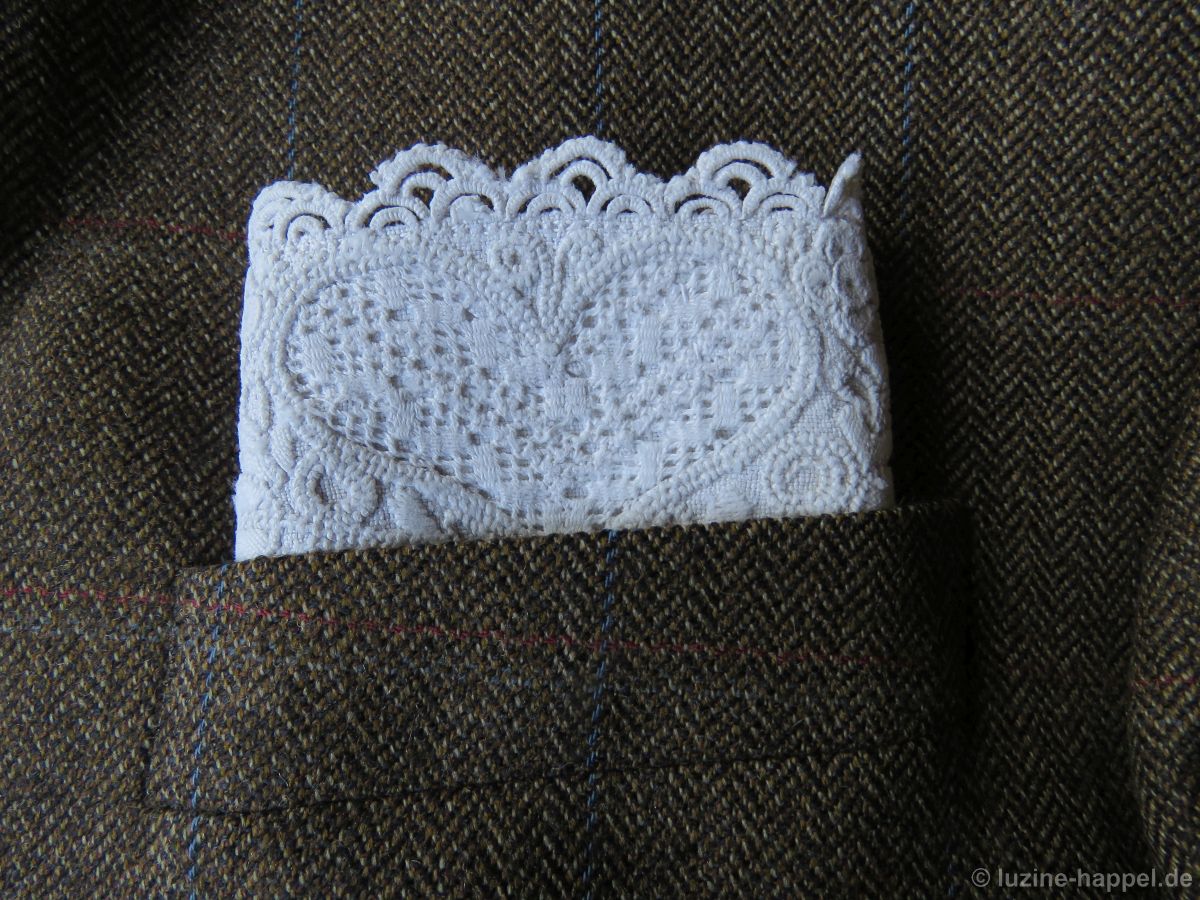
You can let wider borders

stick out a long way

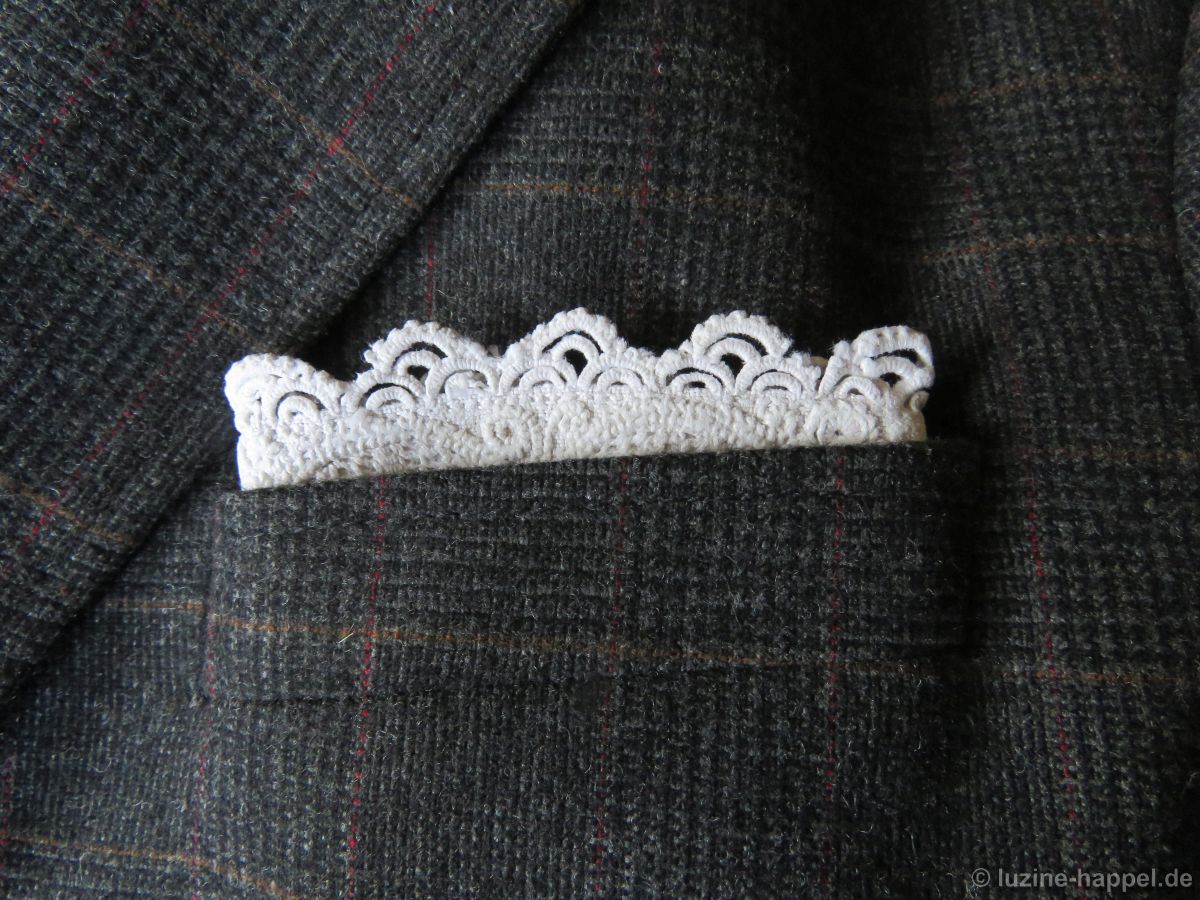
or just a little bit.

You can give particularly rustic fabrics that “special something” with it.

You can find many such small edgings—naturally without needle-lace—in my publication “Schwalm Curved Lines, Narrow Borders, and Ornamental Stitches”.

In my next blog post, I will show a Schwalm pocket square that is approximately 90 years old.

Schwalm-Style Pocket Square (1)

To embroider a pocket square with Schwalm whitework, you need fine linen and a small pattern.
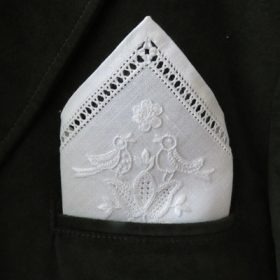
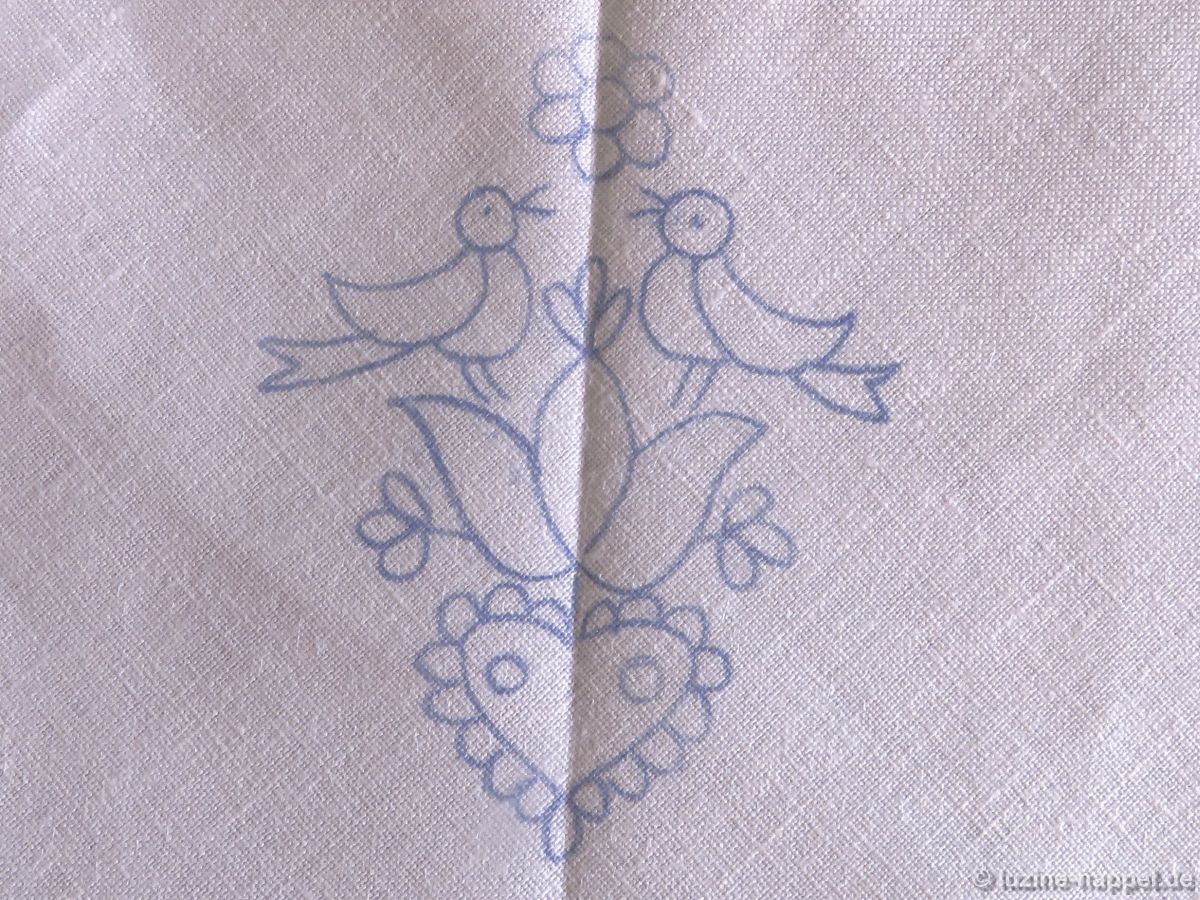
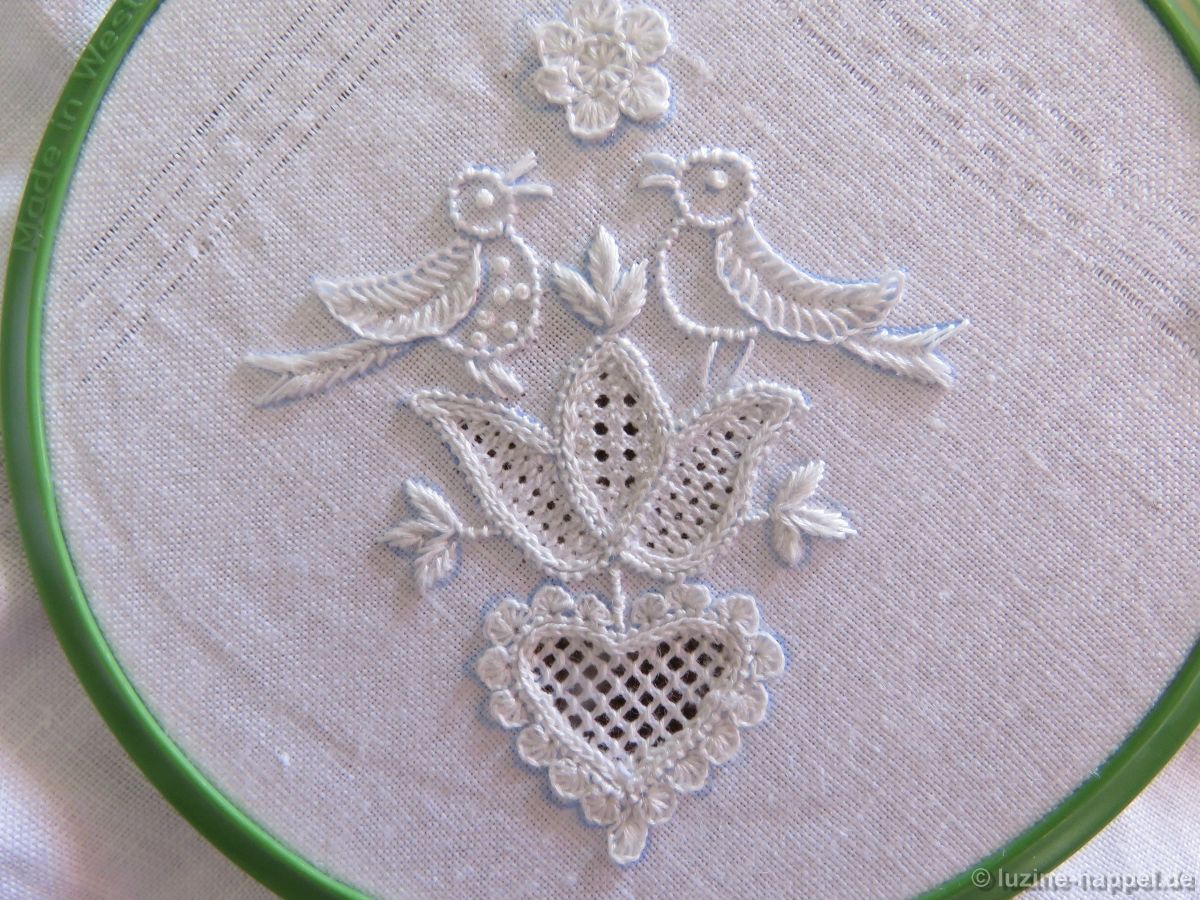
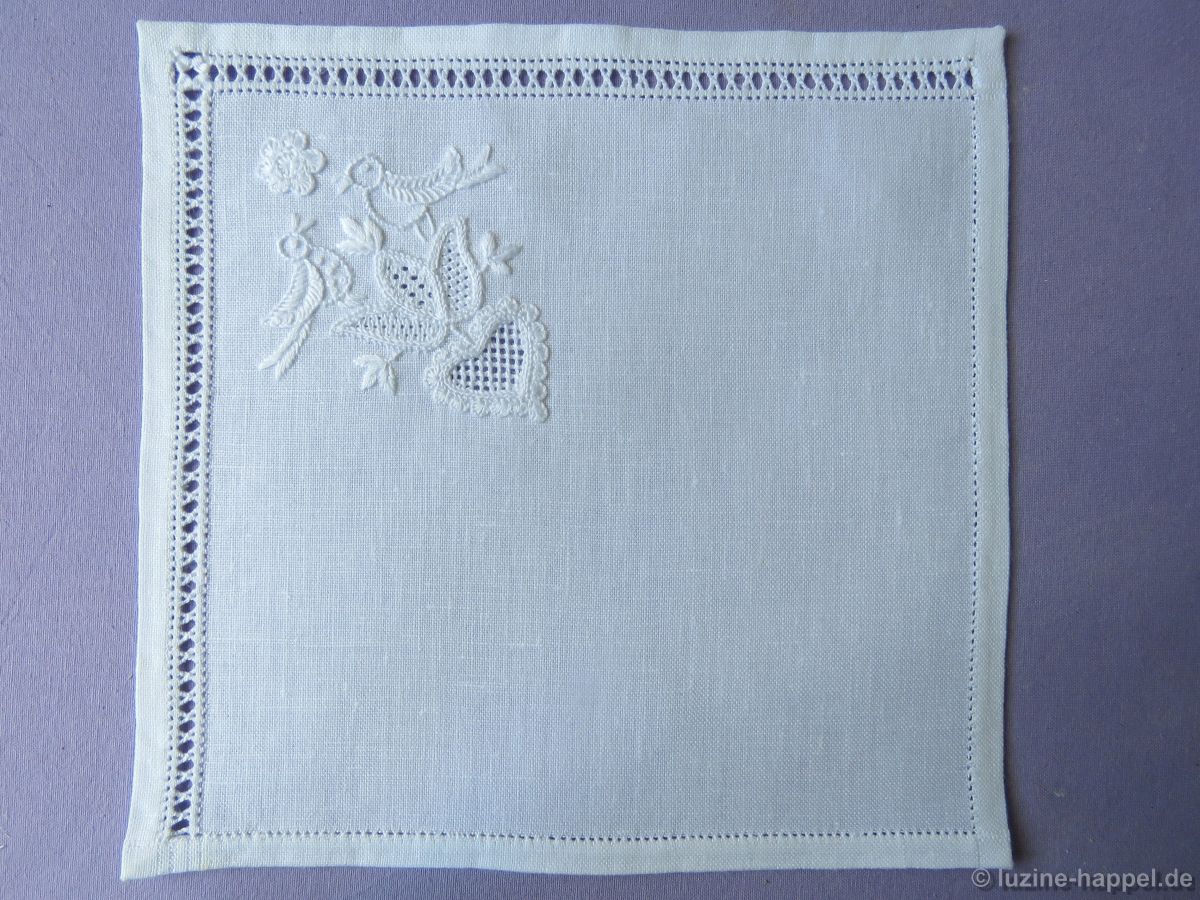
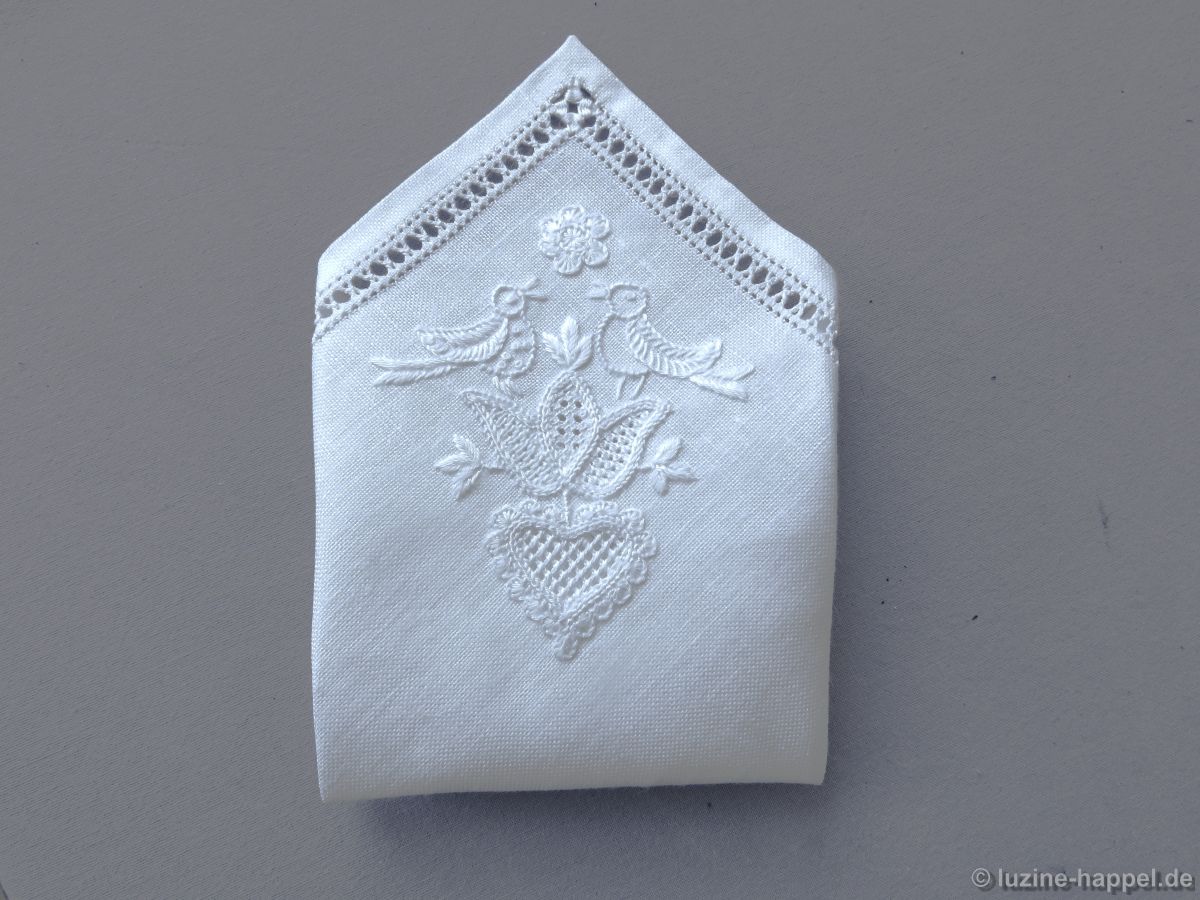
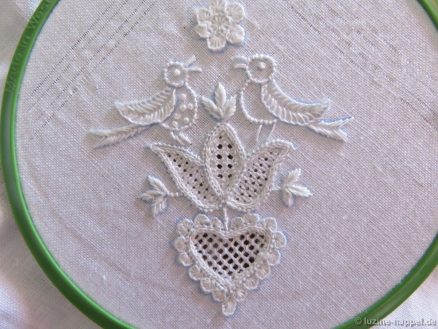
The design should include a heart, a tulip, and a small bird. The motifs are arranged here so that the handkerchief is worn with a corner showing.
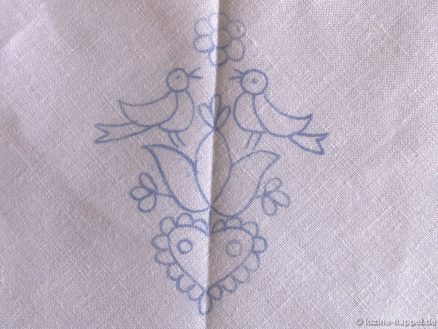
20/cm-count linen provides space for small filling patterns within the rather tiny shapes.
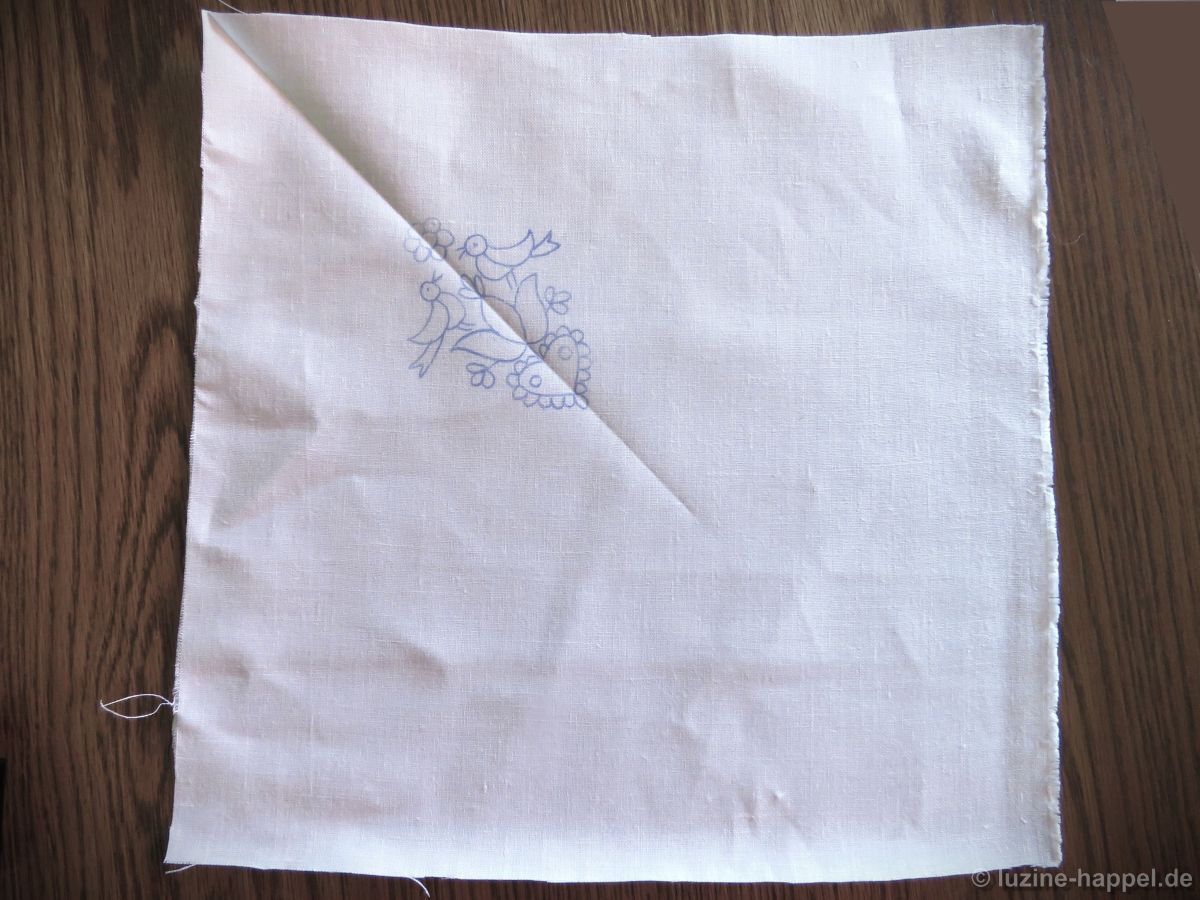
Cut to a preliminary size of 30 cm x 30 cm—to allow the embroidery to be mounted in the hoop—the design is ironed onto the linen diagonally to the grain, positioned so that approximately 7 cm of empty space remains towards the edges.
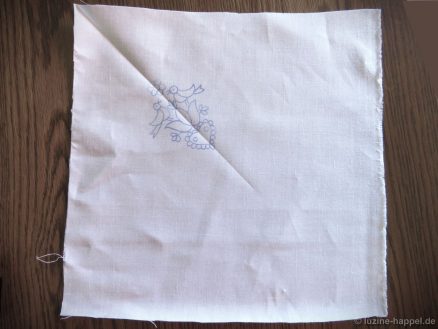
The design (9.5 cm high and 7 cm wide) is embroidered.
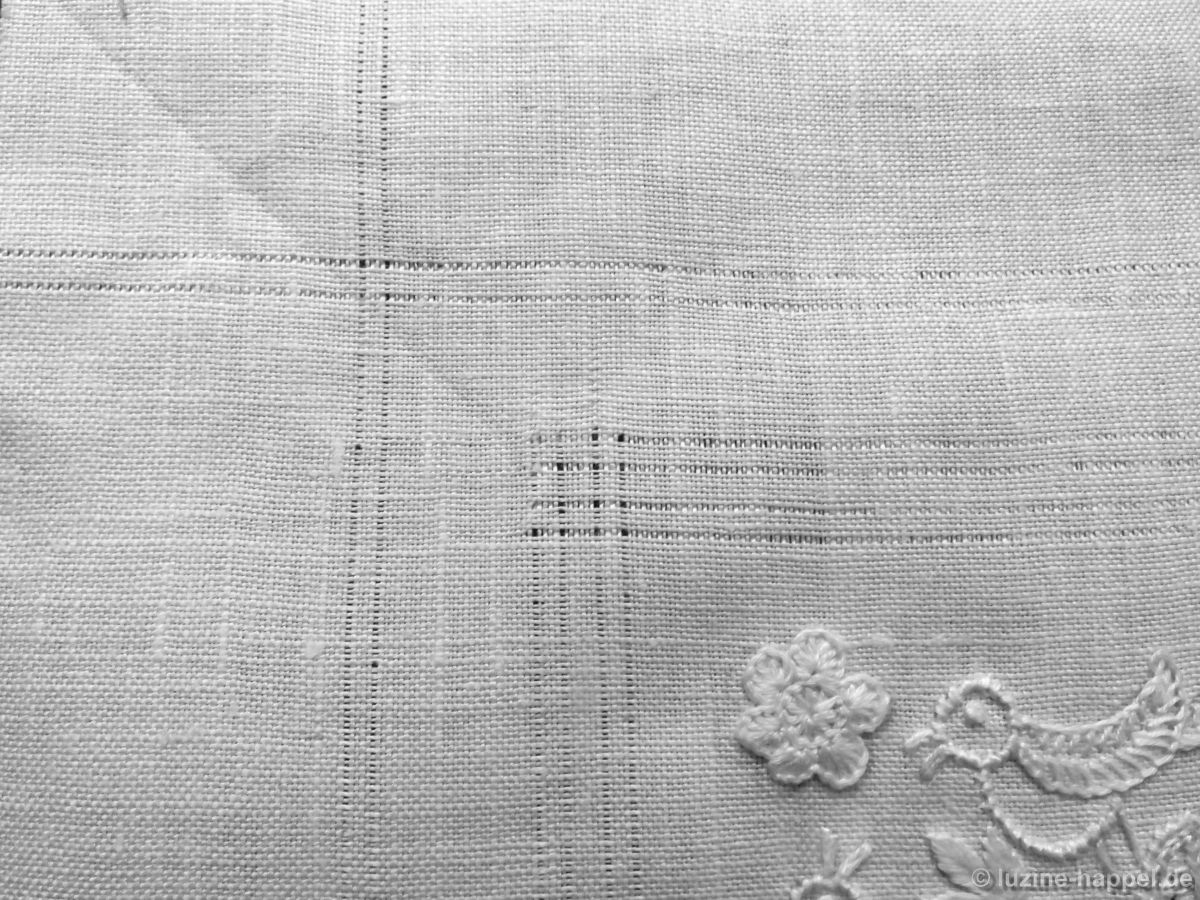
Next, the threads are withdrawn.
The peahole hemstitch begins 1 cm away from the motif, followed by a 1.5 cm wide open space for the hem and a 0.3 cm wide strip for the hem allowance. The fabric will later be cut along the outer withdrawn thread line.
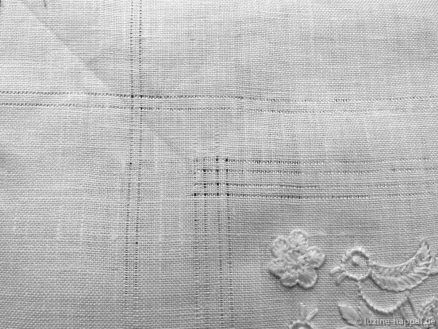
The peahole hem should be worked only on the two sides adjacent to the motif. The remaining two sides are secured with simple hemstitches.

Admittedly, hemming is a bit tricky, but manageable with some patience. The cloth now measures 19.5 cm x 19.5 cm and shrank to 19 cm x 19 cm after boiling.
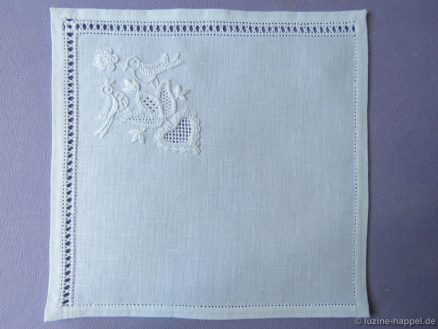
This results in an attractive, distinctive pocket square that reflects the local style.
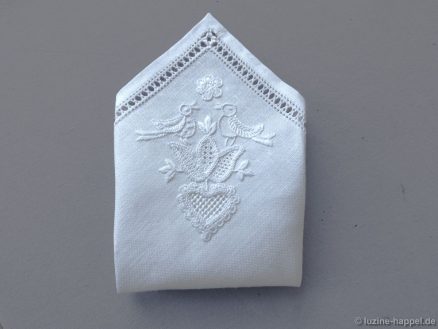
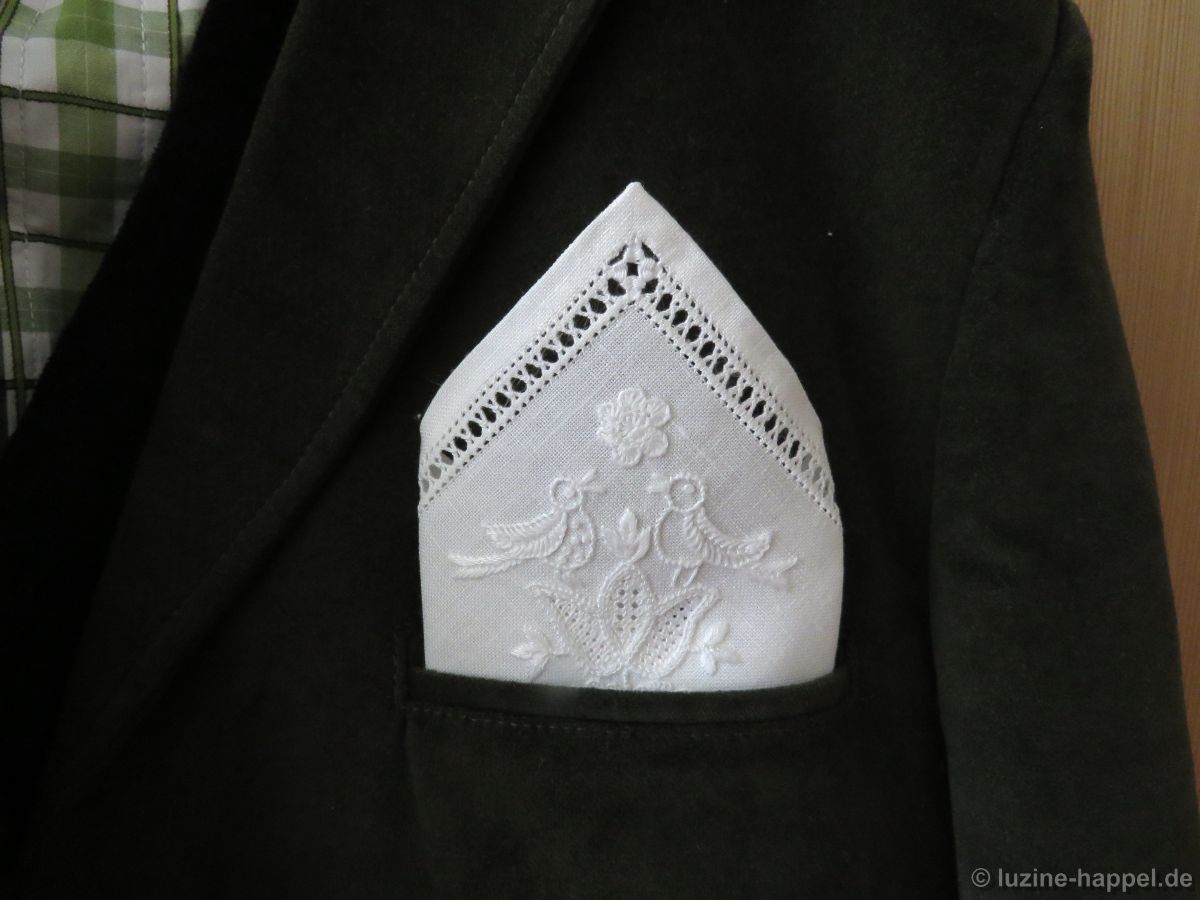
With the right suit, it can be worn sticking out prominently
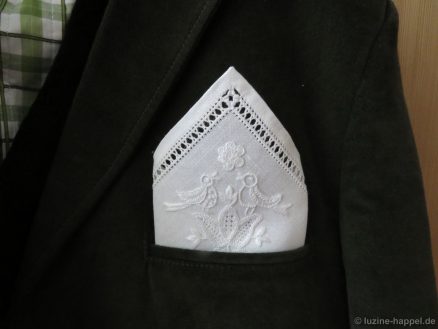
or tucked in a little lower.
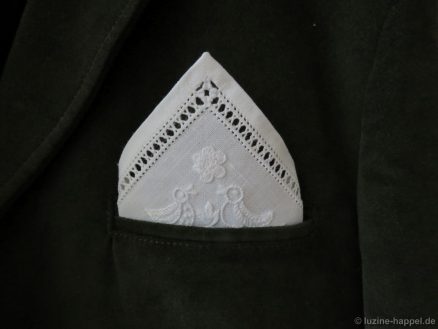
Even without starch, the linen holds its shape firmly, making the pocket square a real eye-catcher!

Pocket squares featuring Schwalm whitework, designed to be worn flat, will be shown in the next blog post.

Pocket Square Fashion Trend

Pocket Square Fashion Trend

Out here in the countryside, we aren’t always on the cutting edge of fashion. So, I hadn’t realized until now that pocket squares are making a comeback.

A gentleman recently contacted me asking for assistance. He grew up in the Schwalm region, attended a village school there, and has since become a professional who wears suits. He recalled the traditional Schwalm whiteworky and asked for an individually, hand-embroidered pocket square that reflected his former home.

Shortly thereafter, the Inspirations newsletter appeared, featuring a stylish pocket square (scroll down about halfway) accompanied by the comment that there were signs of a comeback.

I began to observe men in jackets in the media more closely and noticed that many were once again wearing pocket squares.

Many possibilities spontaneously came to mind for individually embroidering such accessories and using them to outfit local politicians, for example. This would give them the opportunity to draw attention to the intangible cultural heritage of their region.

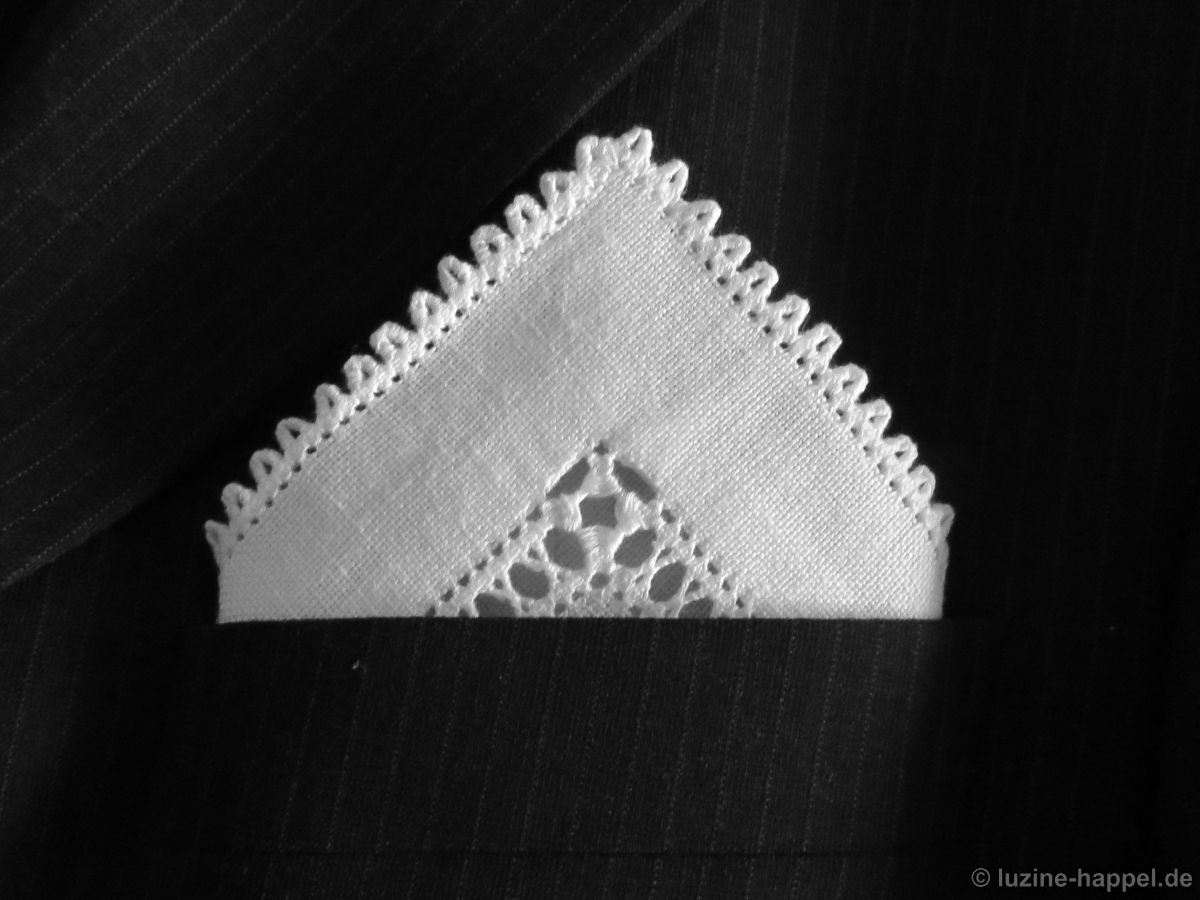
To try it out right away, I looked at my small projects that were already embroidered. My first choice was the doily with a wide hem and a folded peahole edging.

E-Saum_24

This design can be worn either with the tip sticking out or lying flat.

Another idea—completely different and more typical of the Schwalm region—will be put into practice in the next blog post.

Another Easter Egg

After completing my tests, I calmly and very carefully allowed another egg to develop.

The necessary materials have been gathered.

The central axes were added to the drawing of the egg outline. The egg outline was first attached to a light panel, followed by the drawing of the chosen motif, aligning with the marked central axes and using removable adhesive tape.

The piece of linen, also marked with center axes, was then attached. (My piece of linen was only about 11 cm x 11 cm. With a slightly larger piece – about 15 cm x 15 cm – the embroidery would have been much easier.)

The motif and the outer egg outline were transferred to the linen using a heat-soluble pen.

You have to press down hard to get enough ink on the fabric for a clear line. The fine tip of the pen tends to get caught in the grooves between the fabric threads.

The design was embroidered. For coral knots and blanket stitches, I used two strands of 6-ply stranded cotton; for chain stitches and

the filling pattern, I used only one strand.

The basket received the “One Pattern”. Since the area to be embroidered is very small, I initially refrained from stitching chain stitches next to the coral knot stitches.

Since the edges looked too messy to me, I added chain stitches afterwards and added a small blanket stitch eyelet to the center of the flower.

The second side was embroidered with the same motif, but the fillings were designed slightly differently.

To keep the crocheted border from being too bulky, I crocheted a loose chain of stitches using a size 2 crochet hook and 3 strands of 6-ply stranded cotton. This required about 7 meters of half a skein of floss. Admittedly, it’s not easy to divide such a long strand, but it’s doable if you occasionally pin the end coming from the skein, hold the yarn up, and let it unwind.
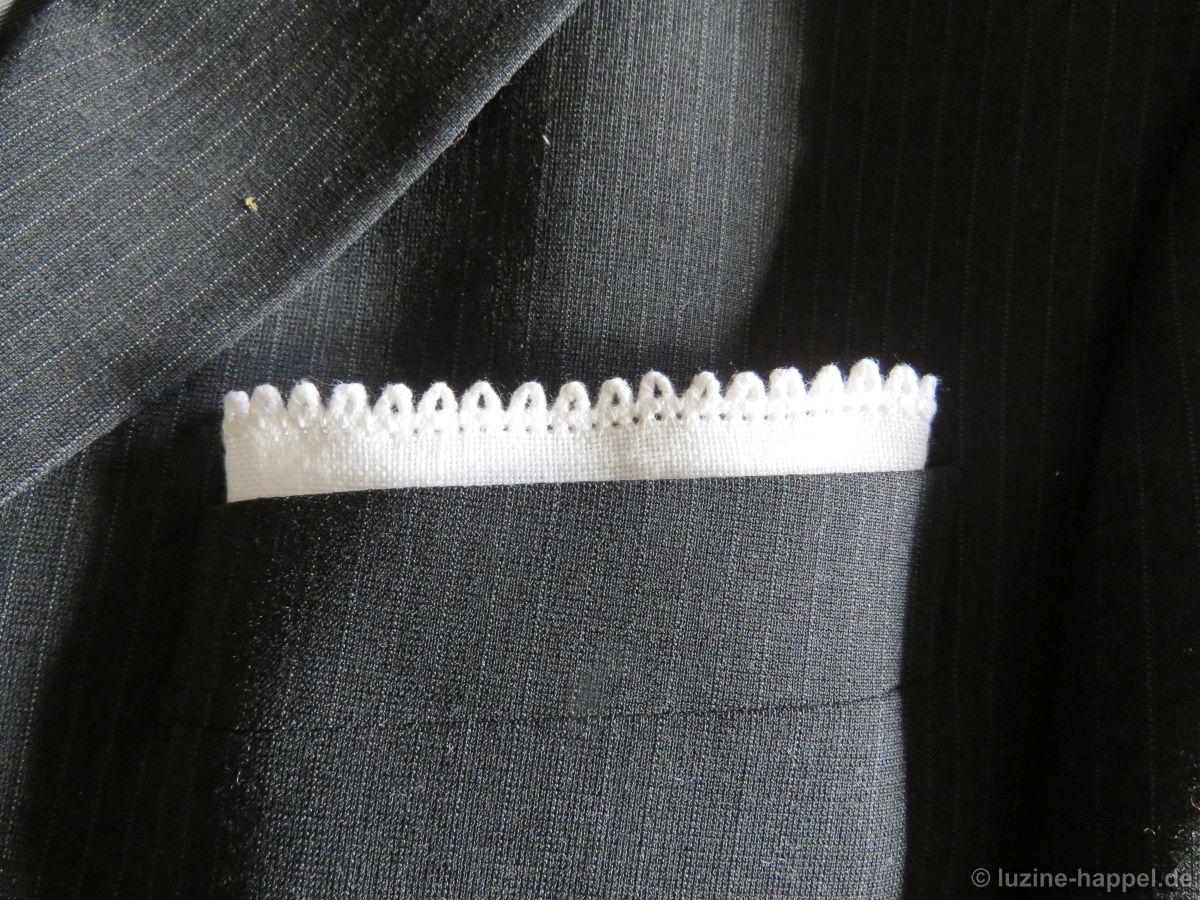
You have to measure to see when the chain is long enough to completely cover the outline.

A row of double crochet stitches was crocheted over the chain stitches.
Once the end of the chain of stitches has been reached, the thread is brought back to the chain with two chain stitches, secured there and brought with two more chain stitches to the level of the second row of double crochet stitches, which is crocheted again along the chain.

This creates a kind of fold in the middle, which makes attaching it to the edge easy. Finally, the thread is brought to the center, pulled through the last loop, and cut approximately 10 cm from the crocheted border.

The embroidered linen pieces are placed on top of each other with the right sides facing outwards, ensuring a precise fit, and pinned in place.

On the back, you can check if the lines have been correctly drawn. If not, you need to make corrections.

The parts are baste together with a small distance from the edge.

and sewn together with small zigzag stitches along the outline, except for an opening on the long side.

The egg is cut out, as described in detail in the previous blog post.

ironed, lightly filled, and closed.

The remaining excess fabric is cut off.

Starting at the top, the crocheted border is first attached with pins,

to ensure that the border is evenly distributed around the edge.

The border crocheted with only 3 strands of the stranded cotton isn’t as sturdy as the one crocheted with all 6 strands of the stranded cotton (the yellow one shown in the previous blog post). Therefore, I thought it would be better to sew it on. This time, I did it with stitches from the back to the front and back again.

This has the advantage that the trim can be attached to both sides with an even width.

Perhaps I chose stitches that were too large, or perhaps I pulled the thread too tight. This makes the edge look less defined than the green and pink borders, which were attached stitch by stitch with overcast stitches.

Hanging on the bush

and when gently swinging in a breeze, it no longer matters.

Heart Cushion

To make a small heart-shaped pillow, you need two pieces of linen fabric. They should be large enough so that they can be easily placed in an embroidery hoop. The attached heart motif istransferred via iron-on or via direct tracing, using a water or a heat soluble pen, to one of the two parts.

The outer heart line is marked using coloured thread with short Running stitches. The heart with half-eyelet scallops is embroidered.

The finished embroidery and the other piece of linen – with the addition of a little washing powder –

are first soaked in water and then boiled.

Both parts are dried and well ironed and placed on top of each other so that the back of the embroidery is placed on the outside. Both parts are now sewn together closely along the marking line. Only in one place – as straight as possible – does a piece of approx. 4 to 5 cm remain open. The marking remains there, otherwise it is removed.

The edges of the fabric are unfolded and

the seam is smoothed with the thumbnail very well.

The excess fabric is ctrimmed close to the seam, but be careful – at least two fabric thread cross hairs must remain outside the seam so that the fabric does not fray later. Only in the unclosed area is a remaining fabric of approx. 1 cm.

The embroidery is carefully turned inside out. The seams are positioned on the outer edge by carefully pushing back and forth between the fingertips. Small, loosened portions of Poly-Fil or wadding are inserted through the opening into the heart bag and first transported to the edges with the fingers. The entire area is gradually padded up.

After enough filling has been added, the remaining fabric excess is folded inwards at the level of the marking. The marking thread is removed and the seam is closed with small, delicate hand stitches.

A cord is twisted using cotton yarn that is not too thin. If there is a Twister, this is child’s play. But you can also do it the old way with a pen or wooden stick.

Starting at the top center, attach the cord over the seam. The beginning and end are sewn together tightly close to the fabric.

The remaining ends are knotted together to form a hanging loop.

Together with a square cushion, the cones, small angels, bells, the cut out hearts, the snowballs and maybe also the mushrooms, the grapes and leaves or even small bags (here you can find the instructions), bag or hanging it can become a pretty and very individual Christmas tree decoration.