Another Easter Egg

After completing my tests, I calmly and very carefully allowed another egg to develop.

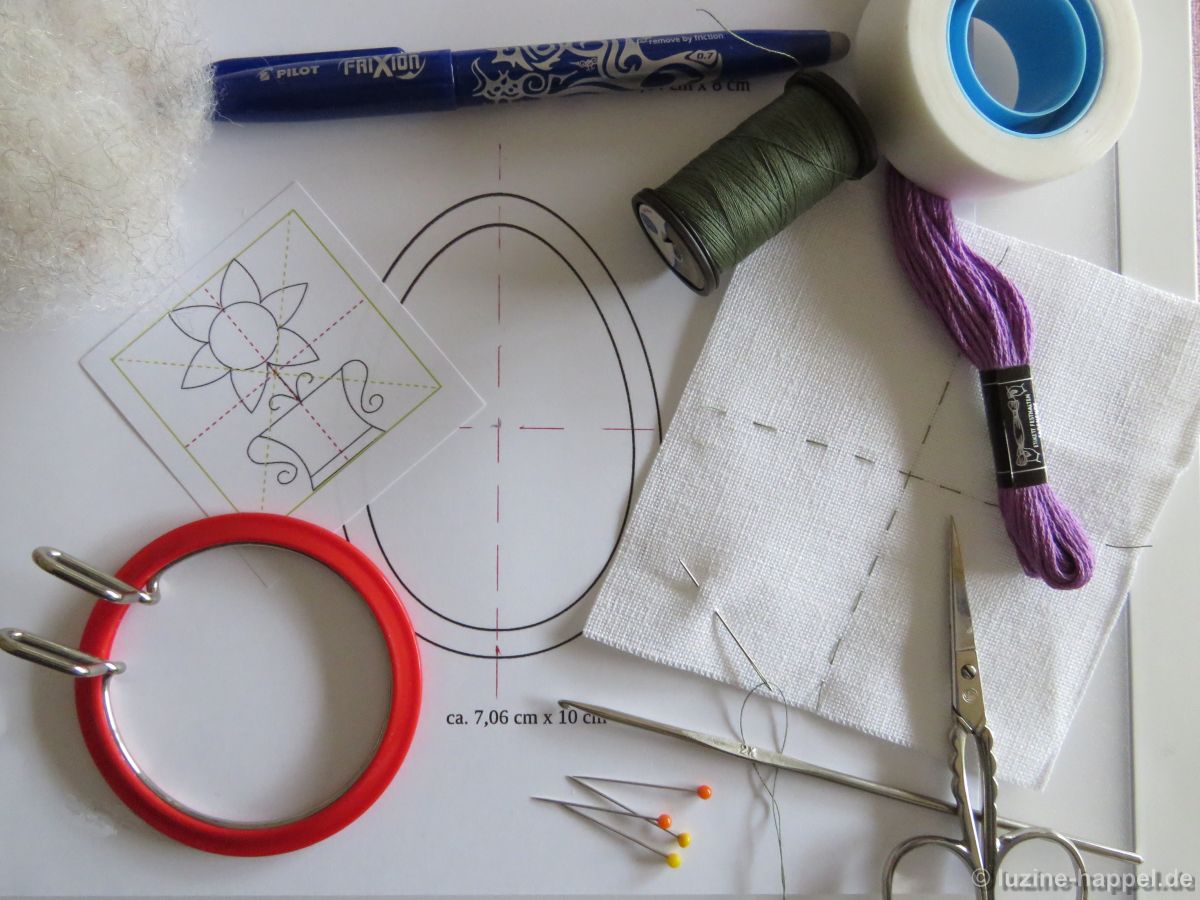
The necessary materials have been gathered.

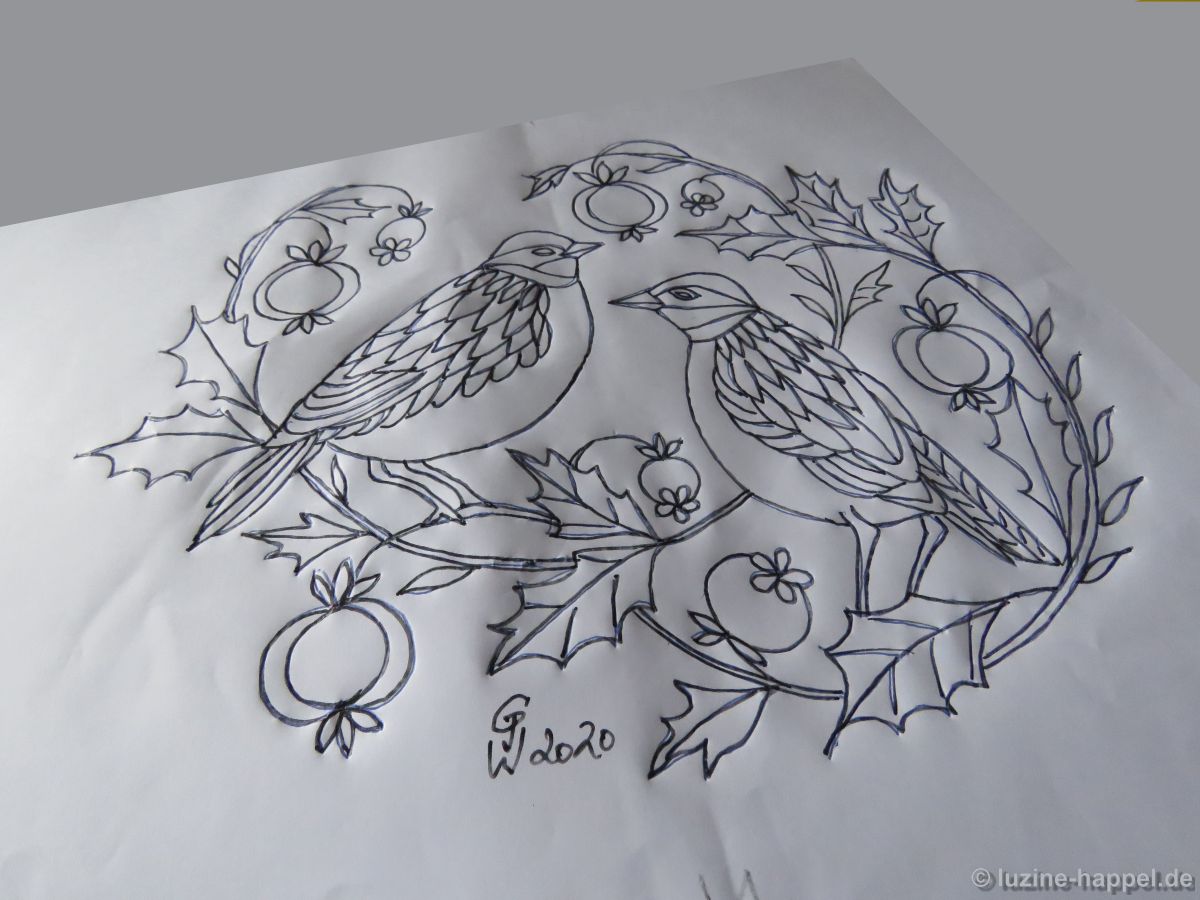
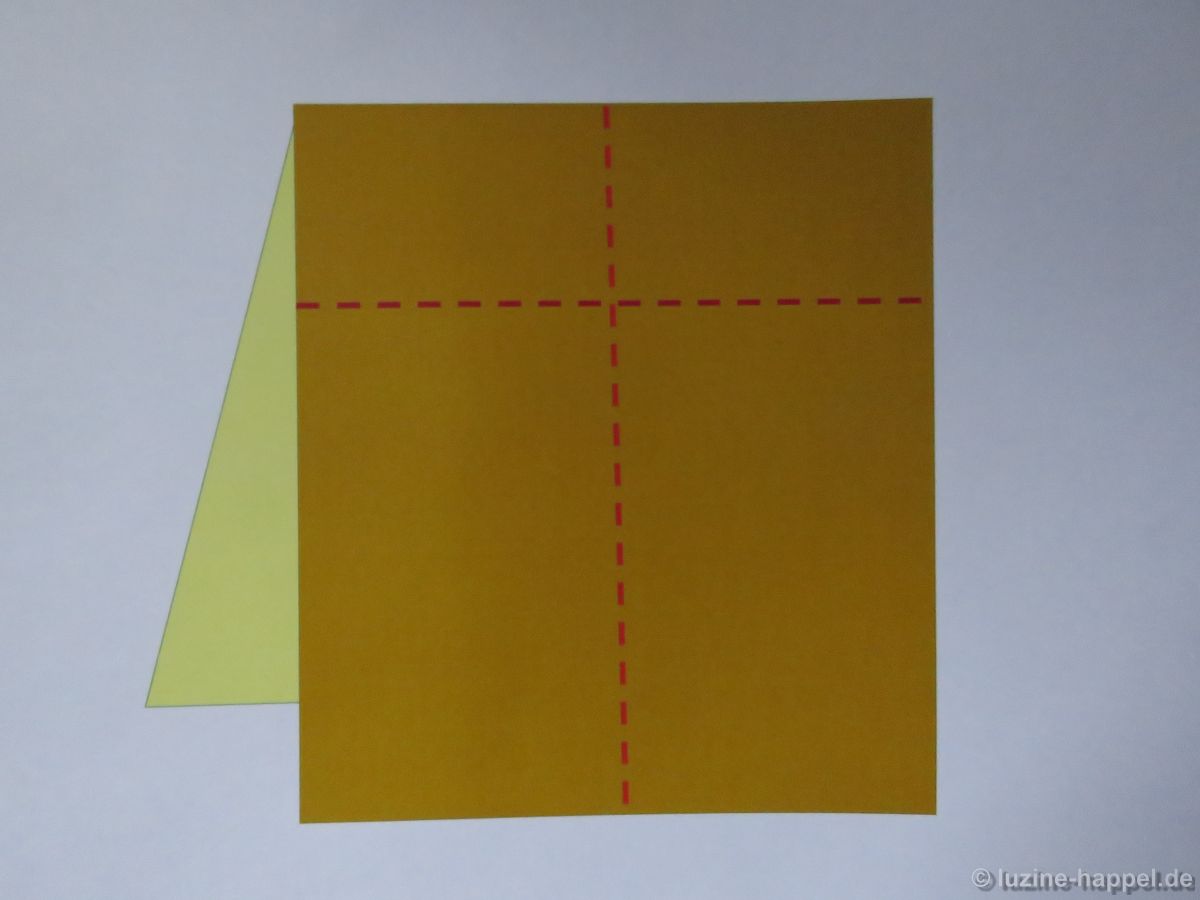
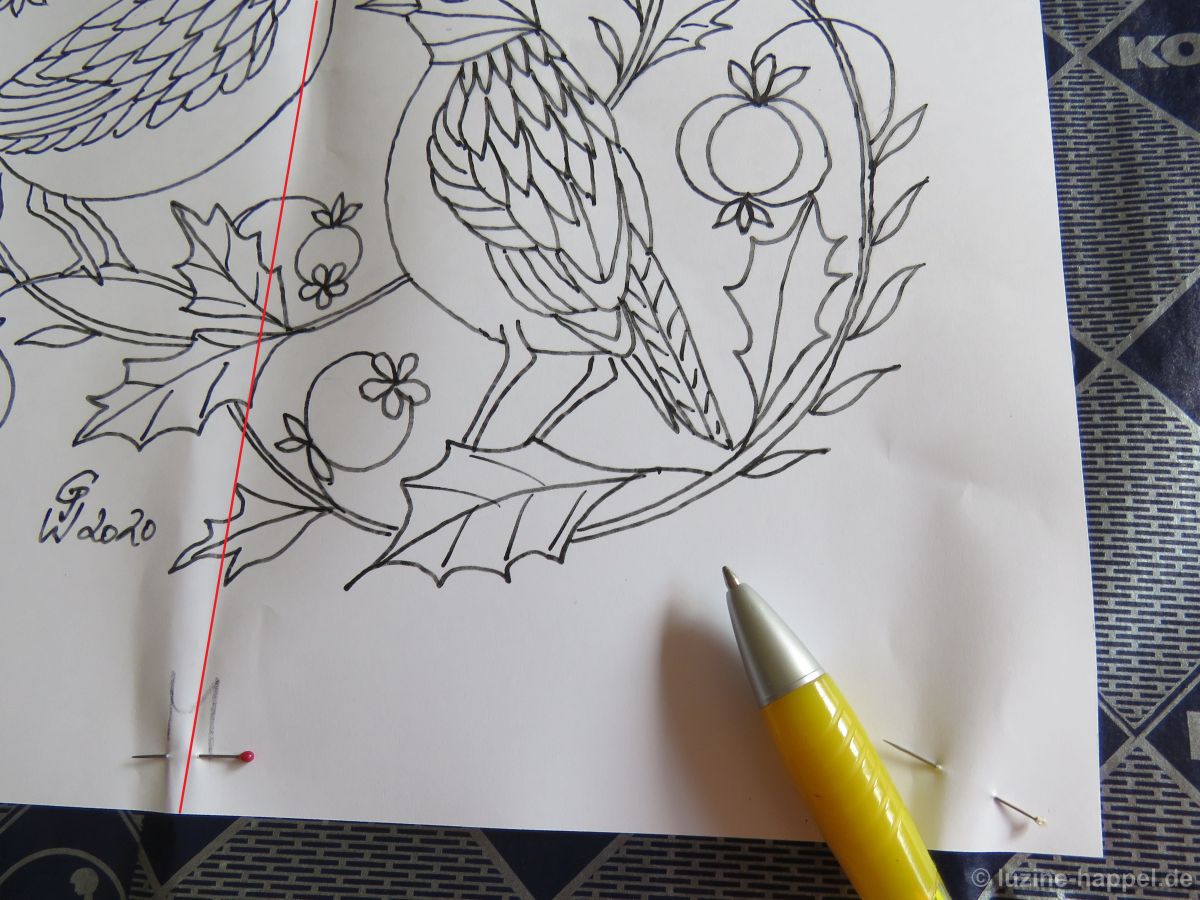
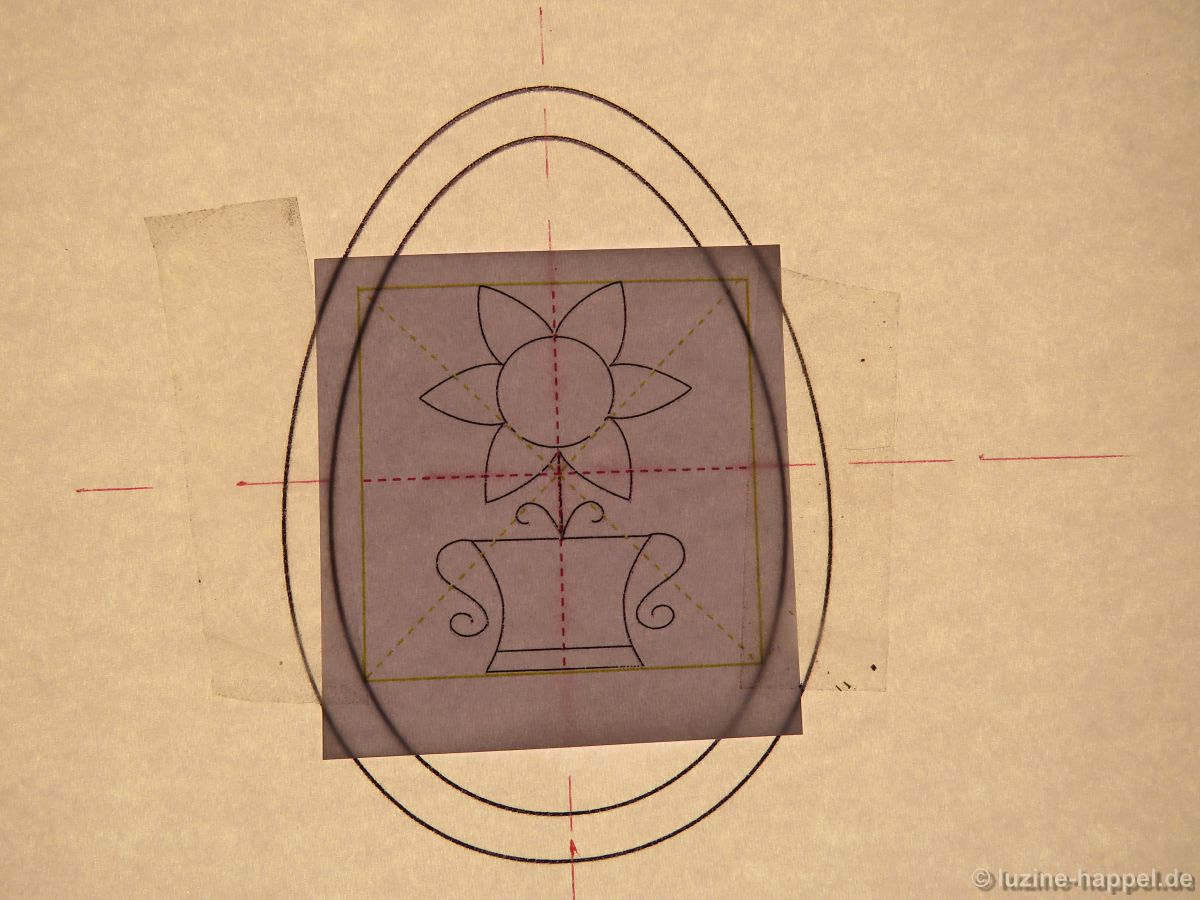
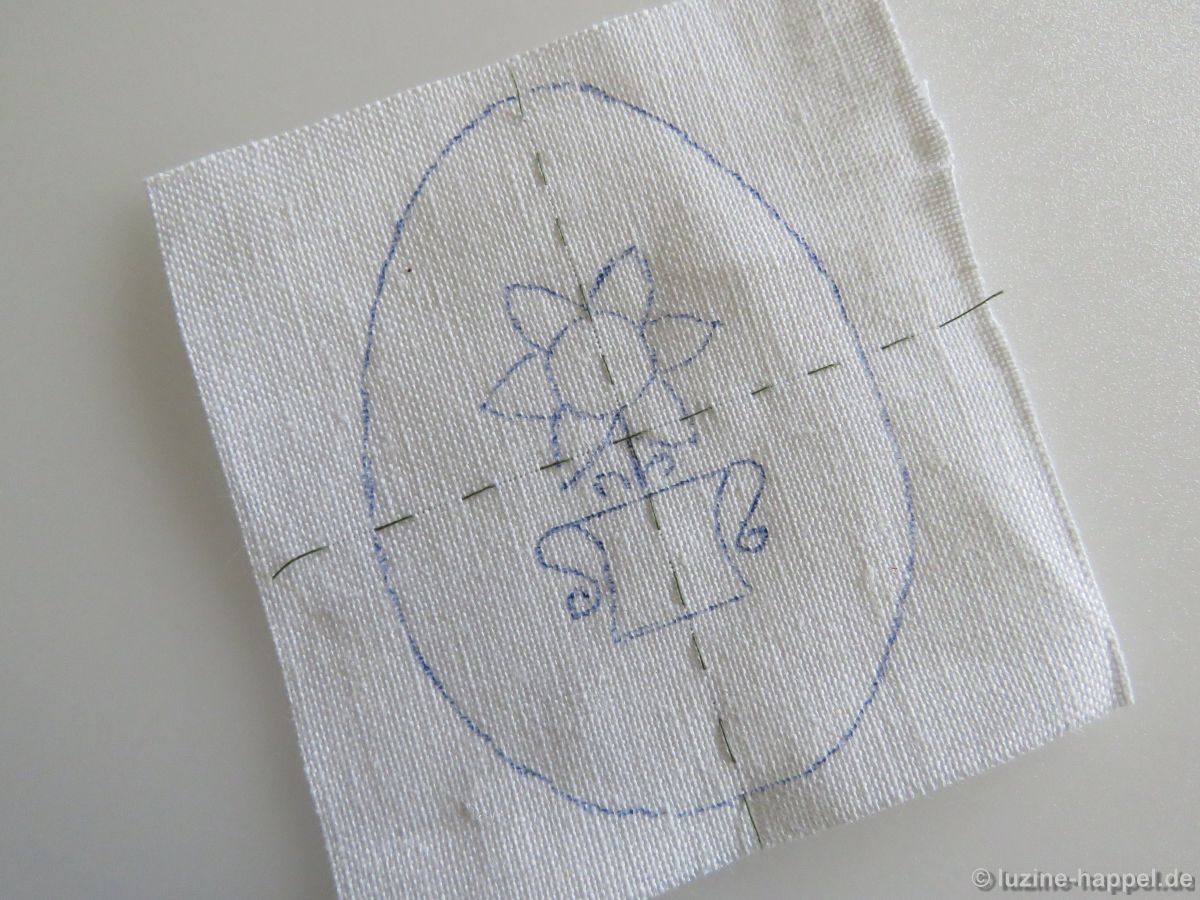
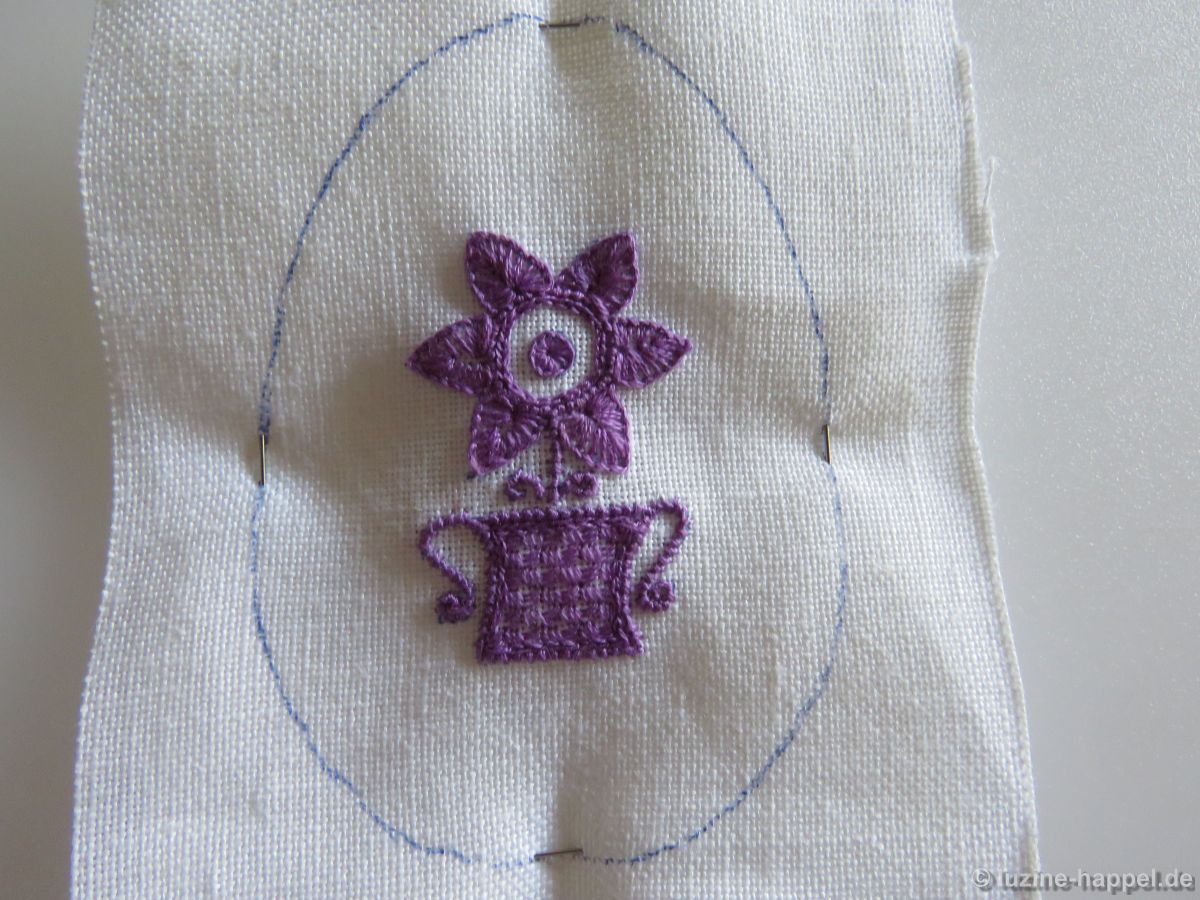
The central axes were added to the drawing of the egg outline. The egg outline was first attached to a light panel, followed by the drawing of the chosen motif, aligning with the marked central axes and using removable adhesive tape.

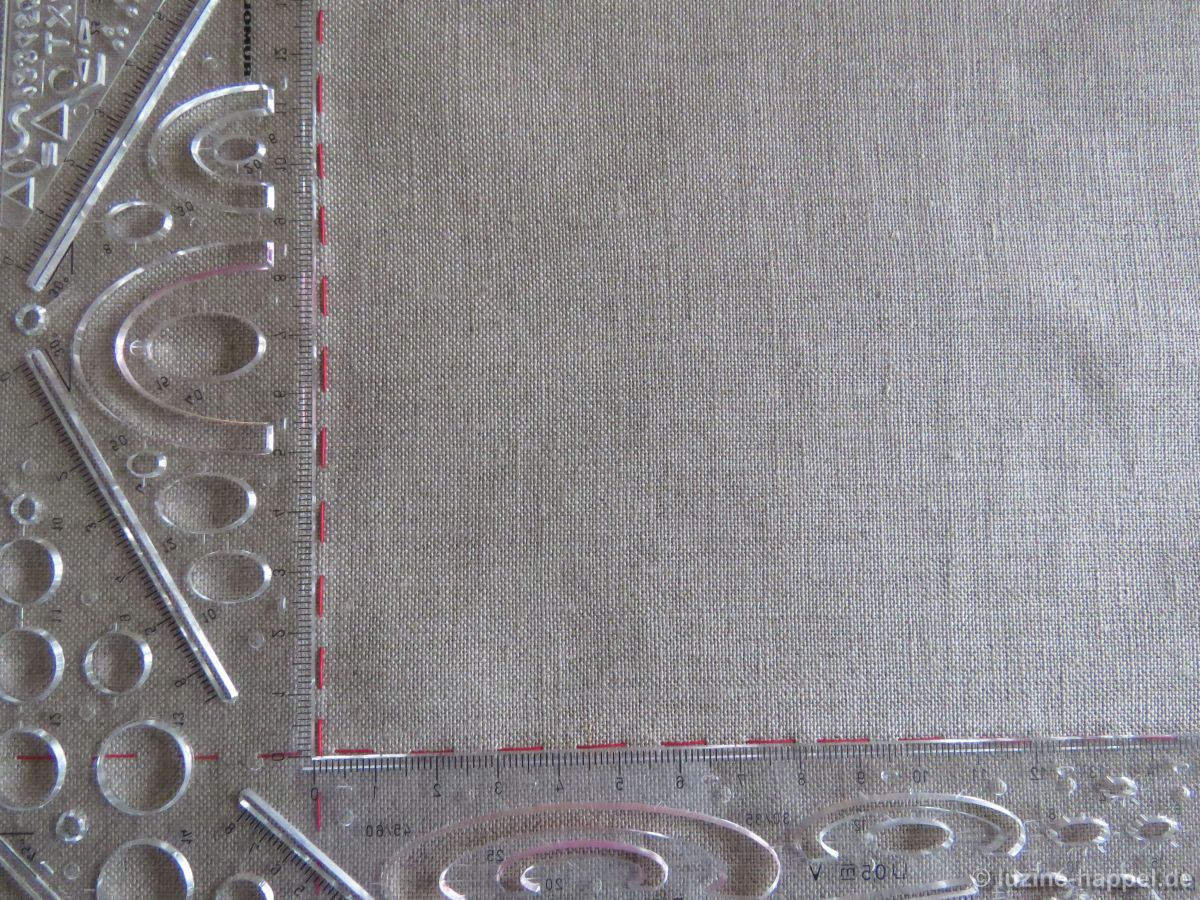
The piece of linen, also marked with center axes, was then attached. (My piece of linen was only about 11 cm x 11 cm. With a slightly larger piece – about 15 cm x 15 cm – the embroidery would have been much easier.)

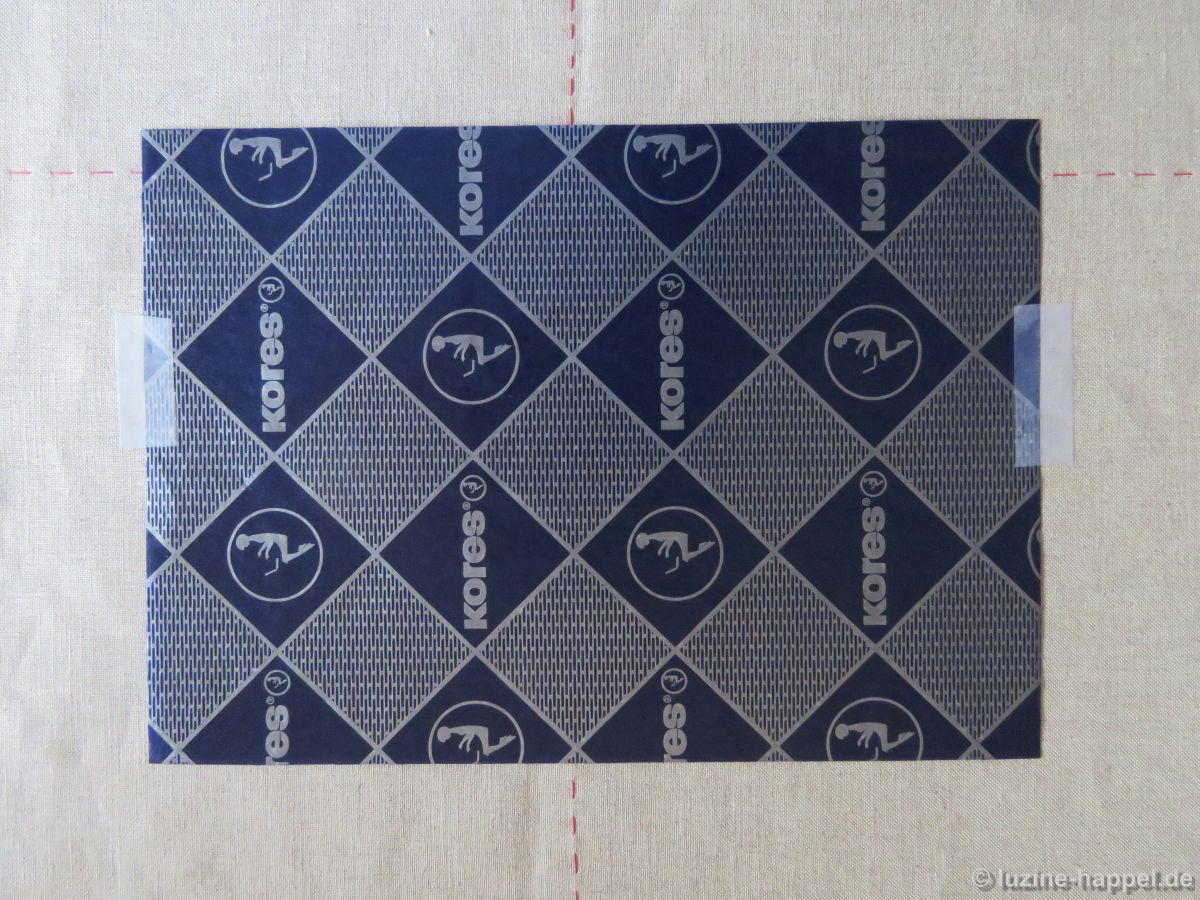
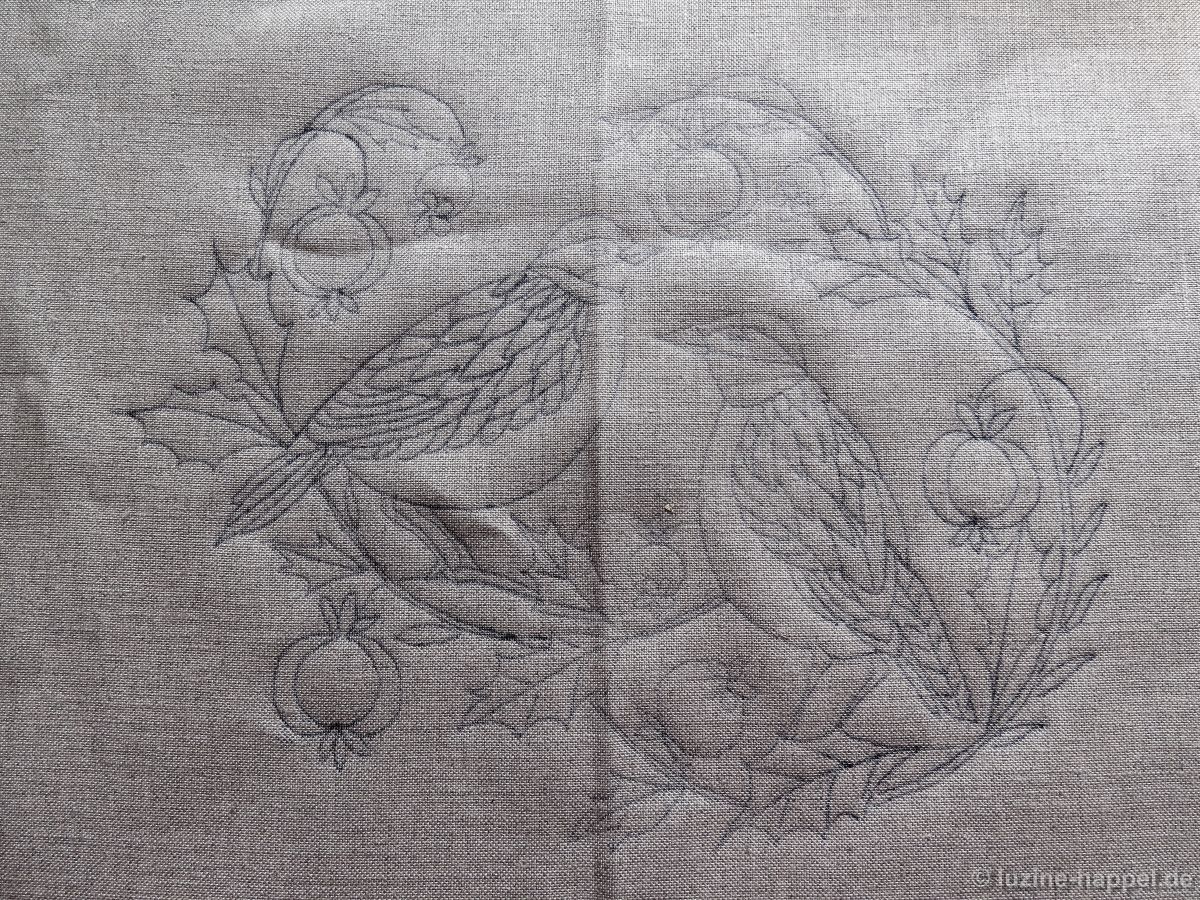
The motif and the outer egg outline were transferred to the linen using a heat-soluble pen.

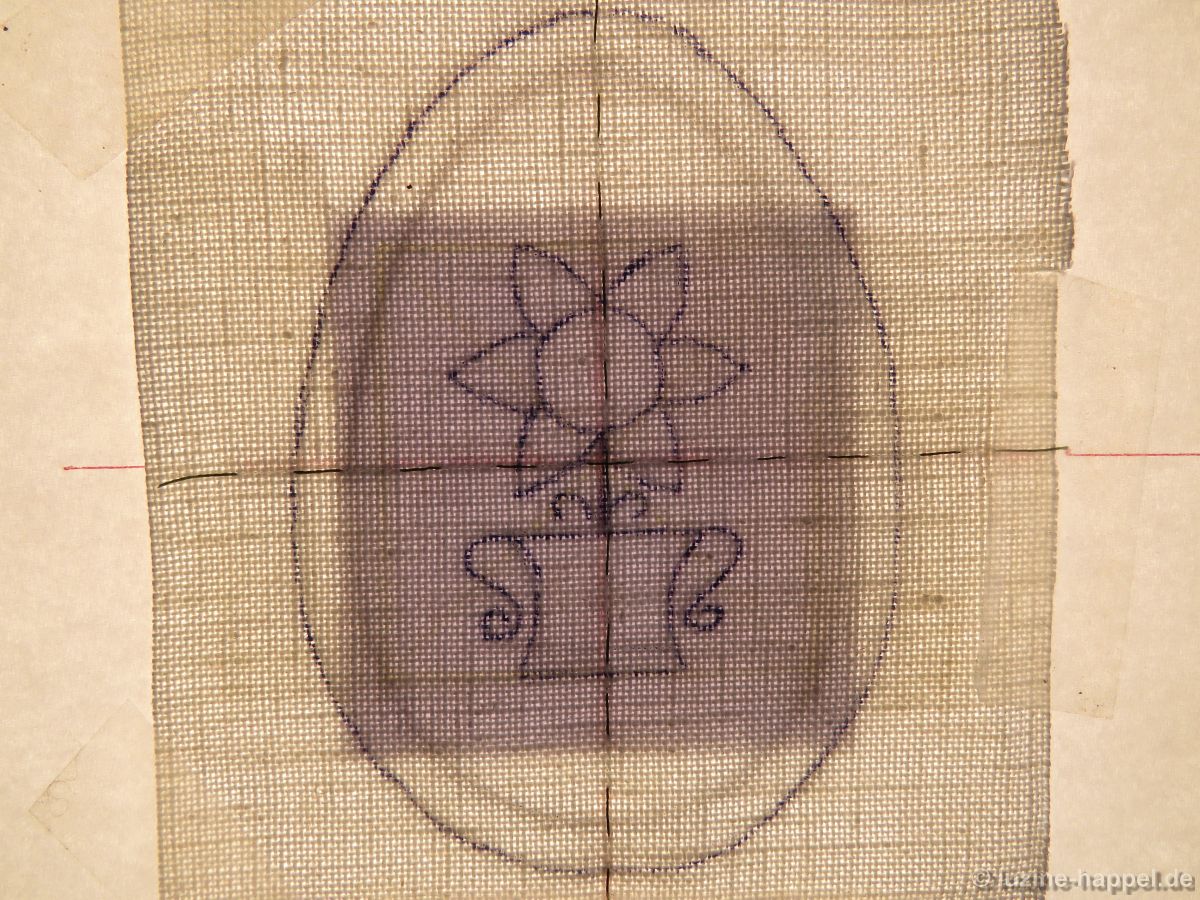
You have to press down hard to get enough ink on the fabric for a clear line. The fine tip of the pen tends to get caught in the grooves between the fabric threads.

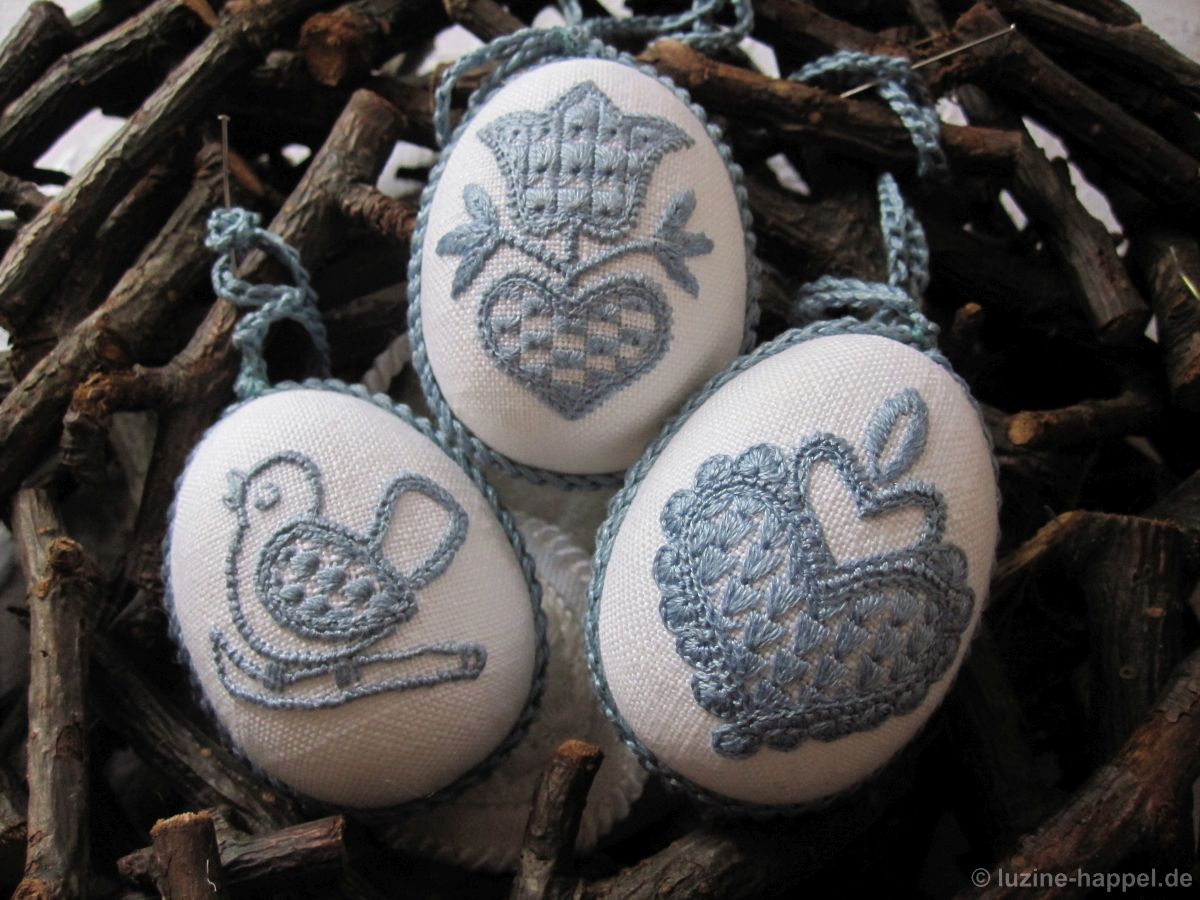
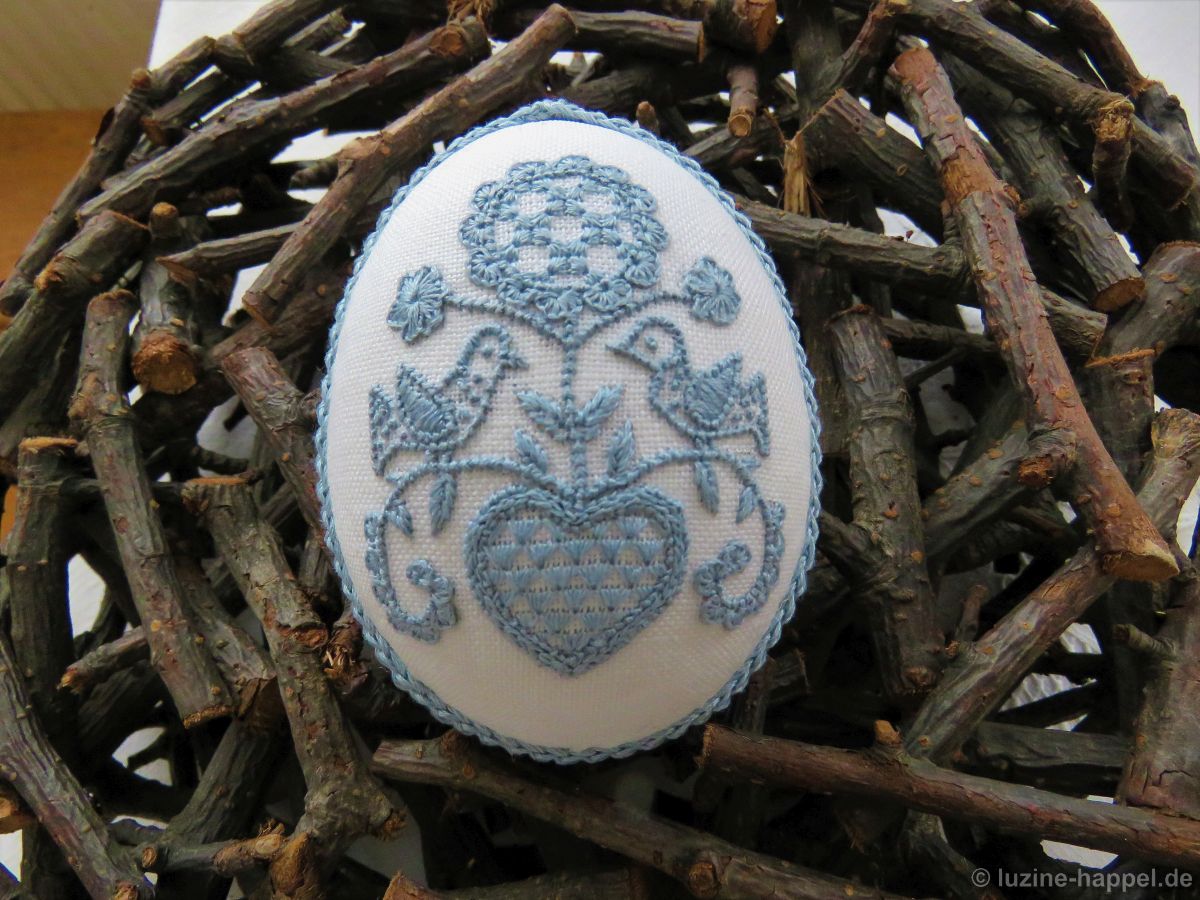
The design was embroidered. For coral knots and blanket stitches, I used two strands of 6-ply stranded cotton; for chain stitches and

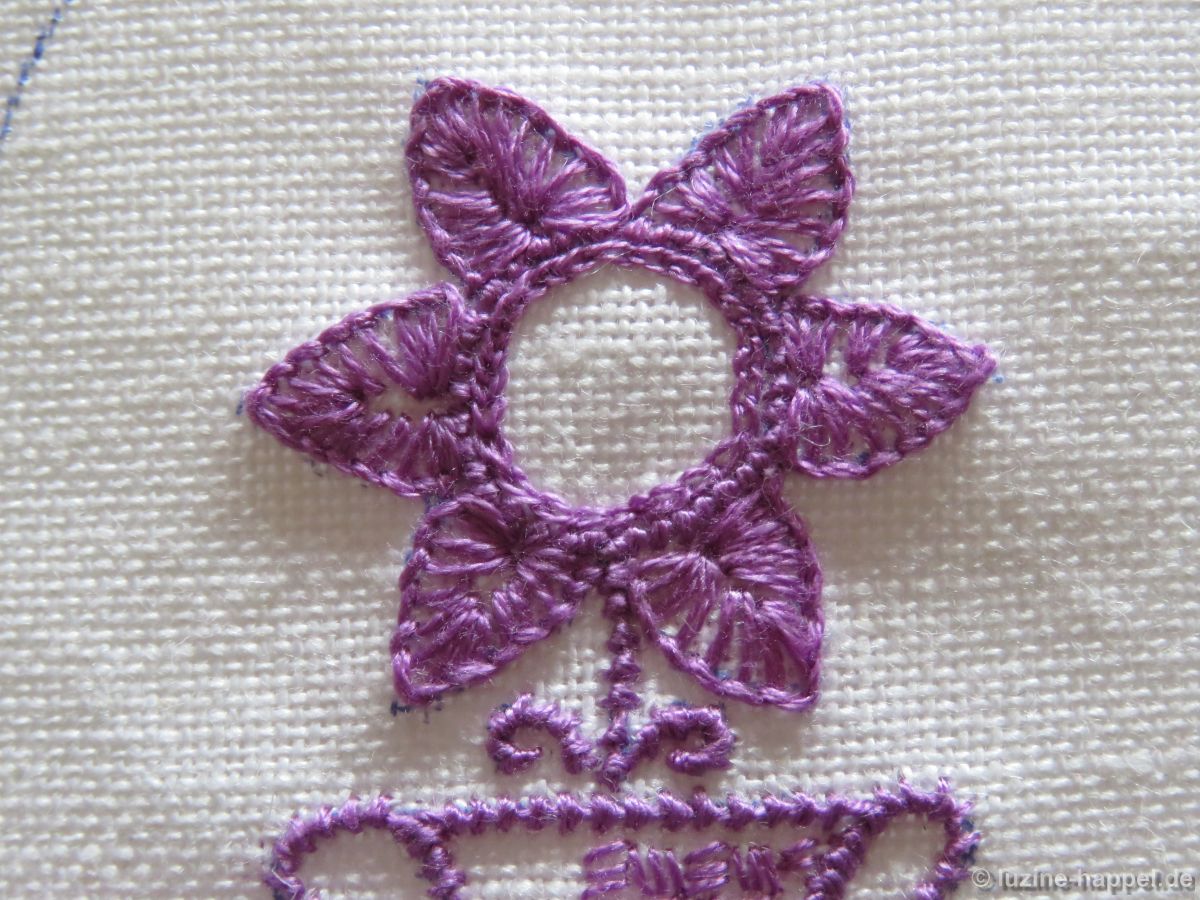
the filling pattern, I used only one strand.

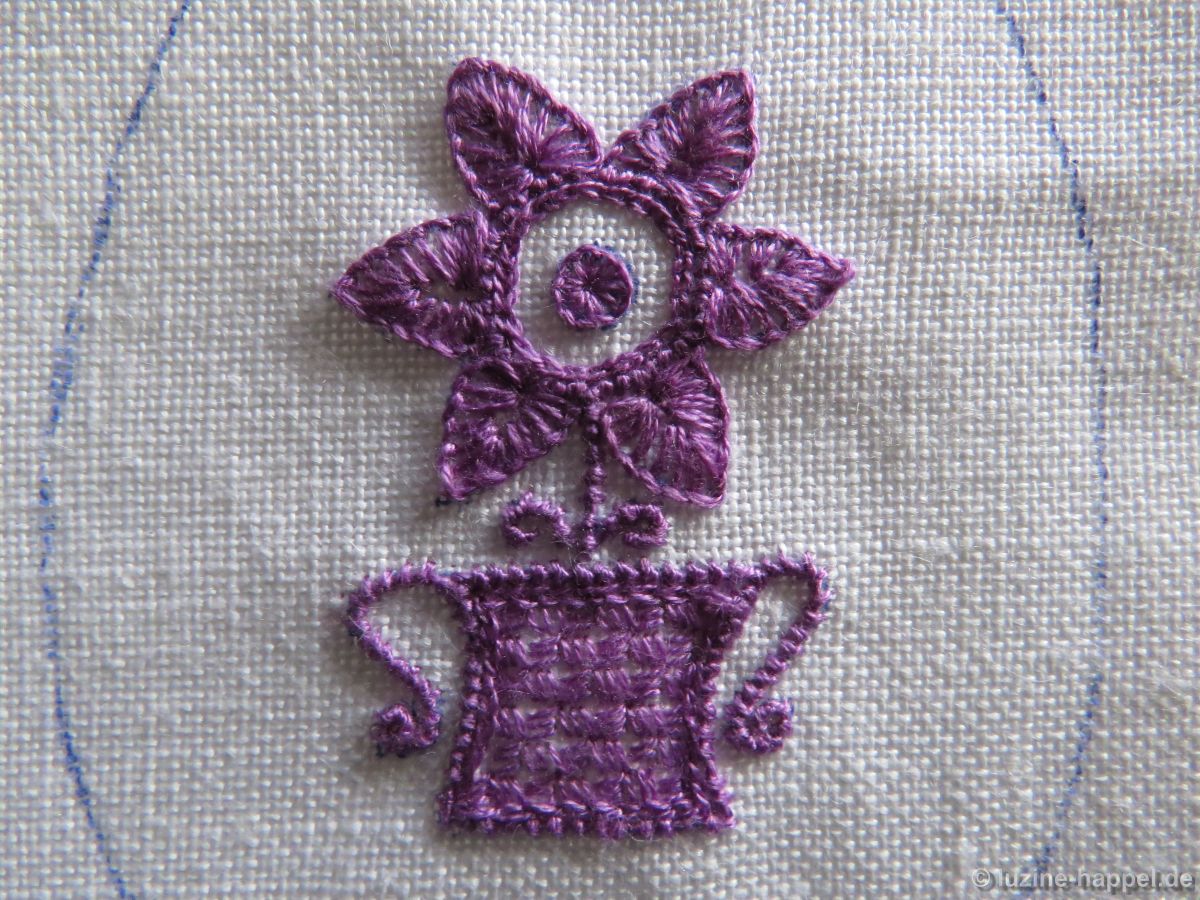
The basket received the “One Pattern”. Since the area to be embroidered is very small, I initially refrained from stitching chain stitches next to the coral knot stitches.

Since the edges looked too messy to me, I added chain stitches afterwards and added a small blanket stitch eyelet to the center of the flower.

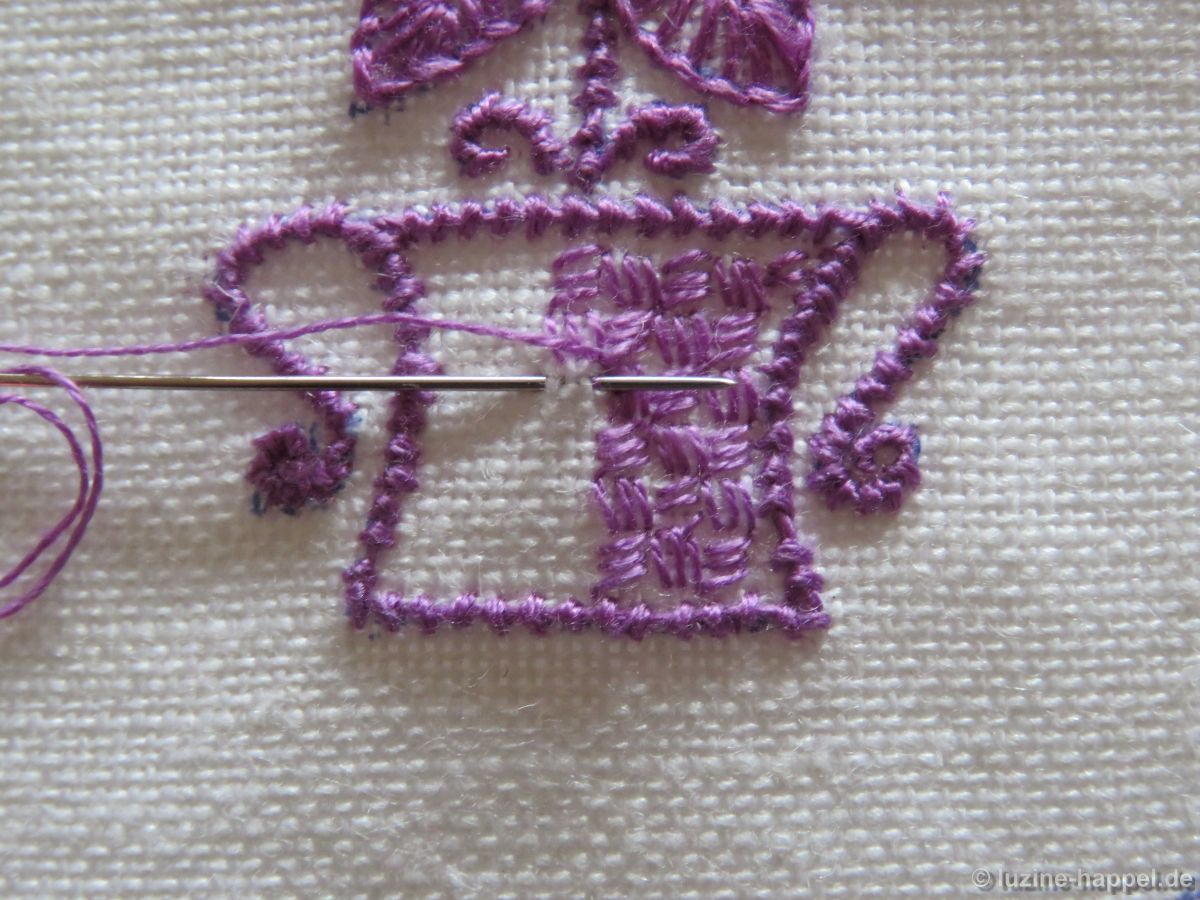
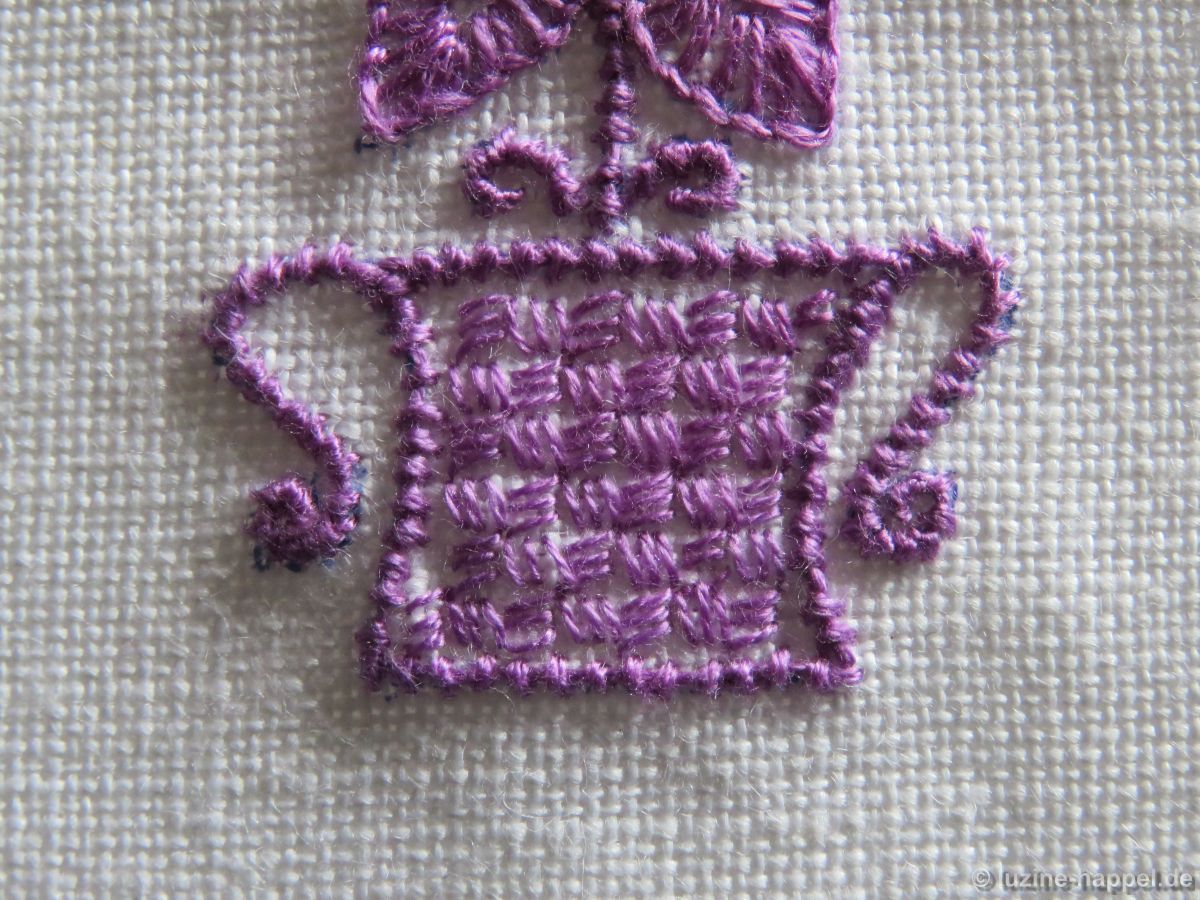
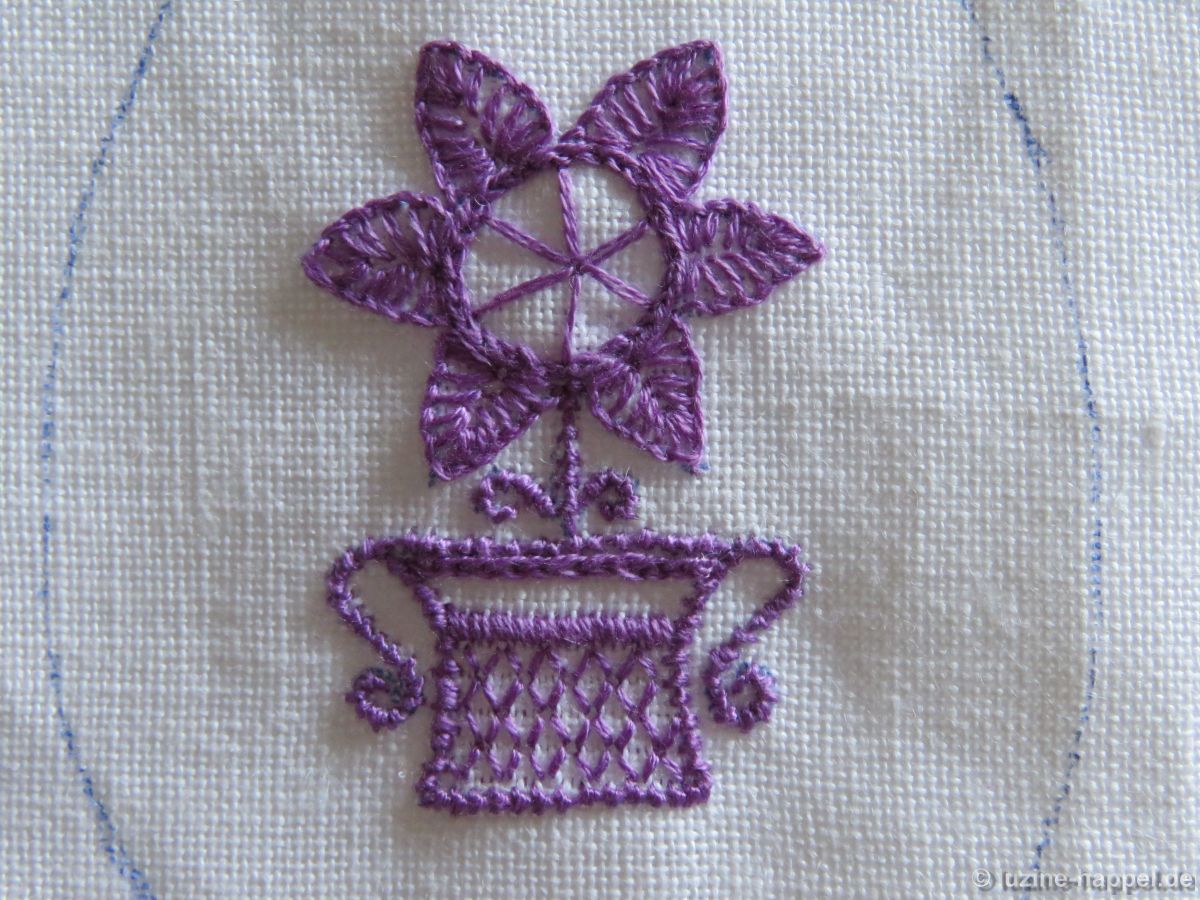
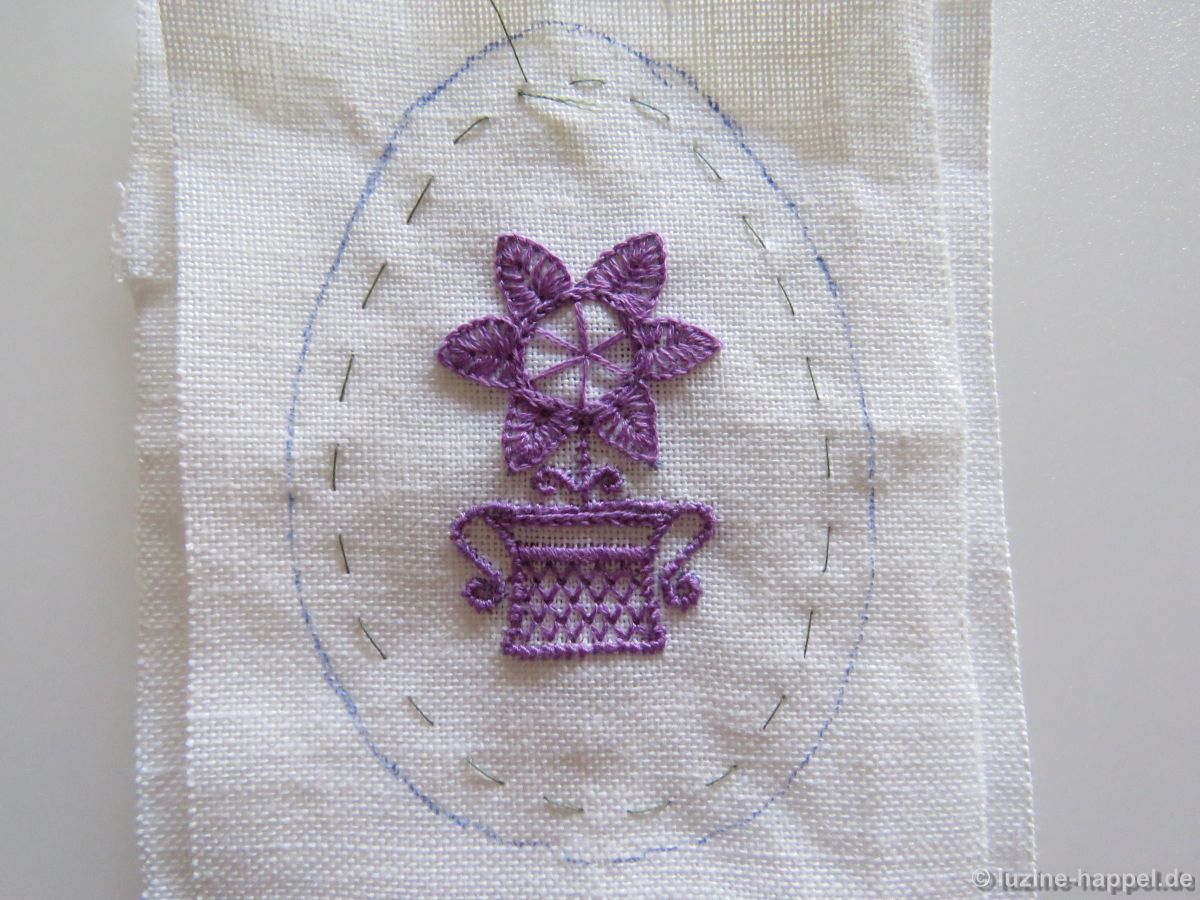
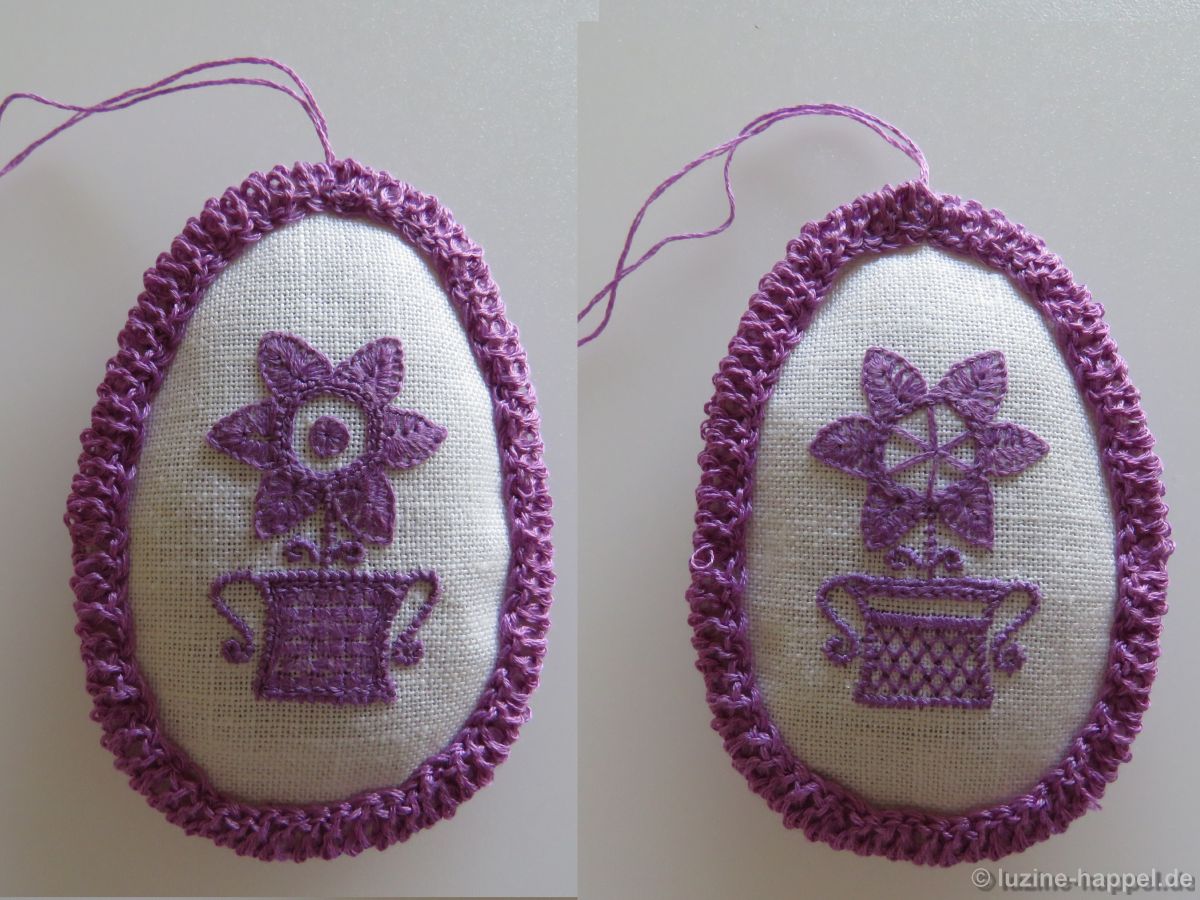
The second side was embroidered with the same motif, but the fillings were designed slightly differently.

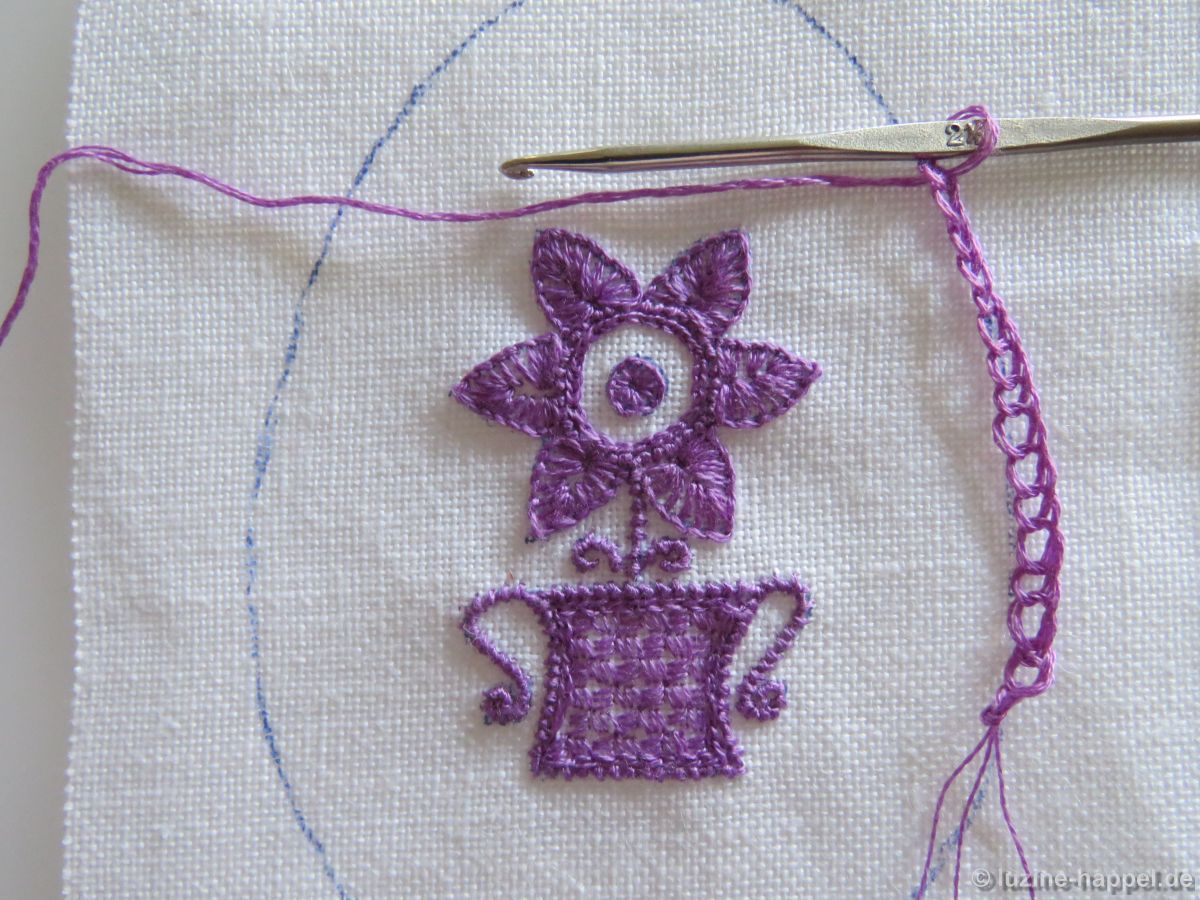
To keep the crocheted border from being too bulky, I crocheted a loose chain of stitches using a size 2 crochet hook and 3 strands of 6-ply stranded cotton. This required about 7 meters of half a skein of floss. Admittedly, it’s not easy to divide such a long strand, but it’s doable if you occasionally pin the end coming from the skein, hold the yarn up, and let it unwind.

You have to measure to see when the chain is long enough to completely cover the outline.

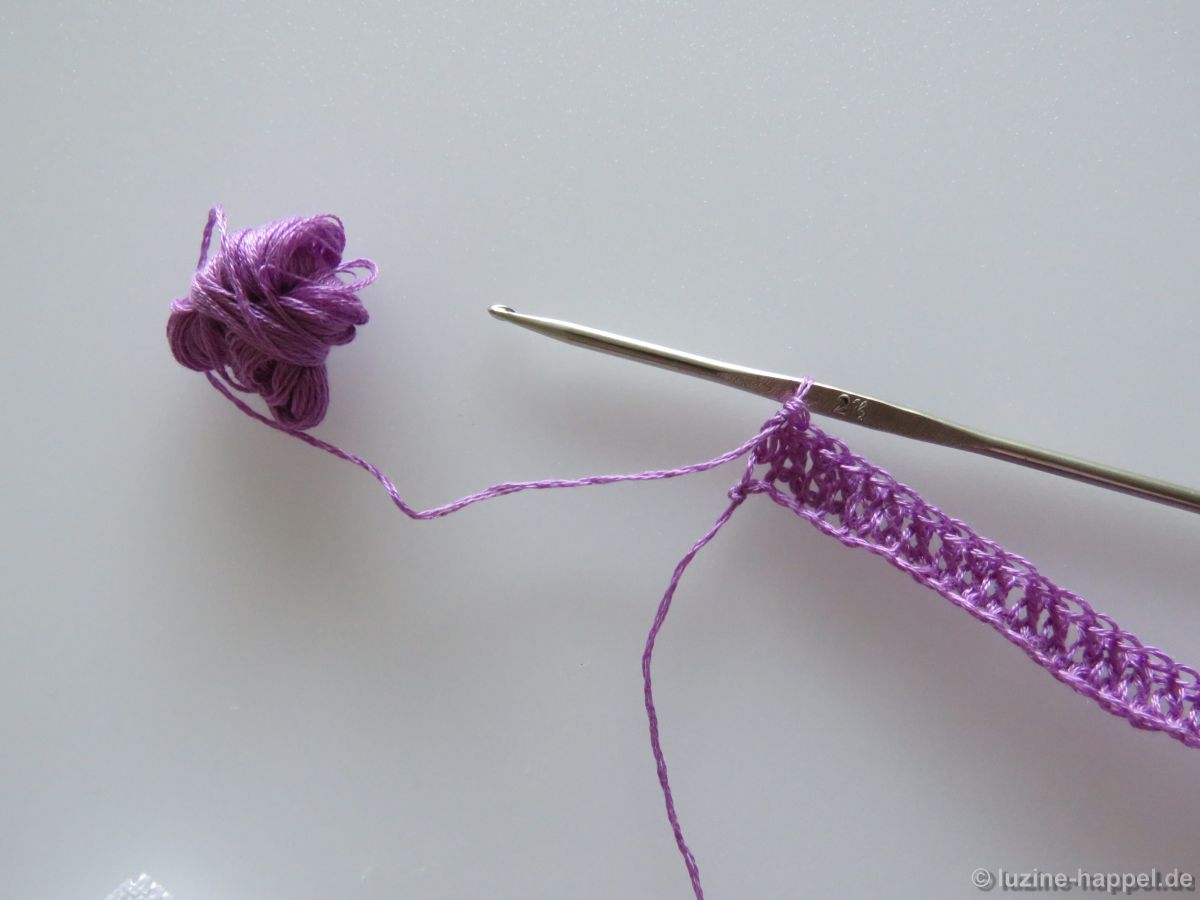
A row of double crochet stitches was crocheted over the chain stitches.

Once the end of the chain of stitches has been reached, the thread is brought back to the chain with two chain stitches, secured there and brought with two more chain stitches to the level of the second row of double crochet stitches, which is crocheted again along the chain.

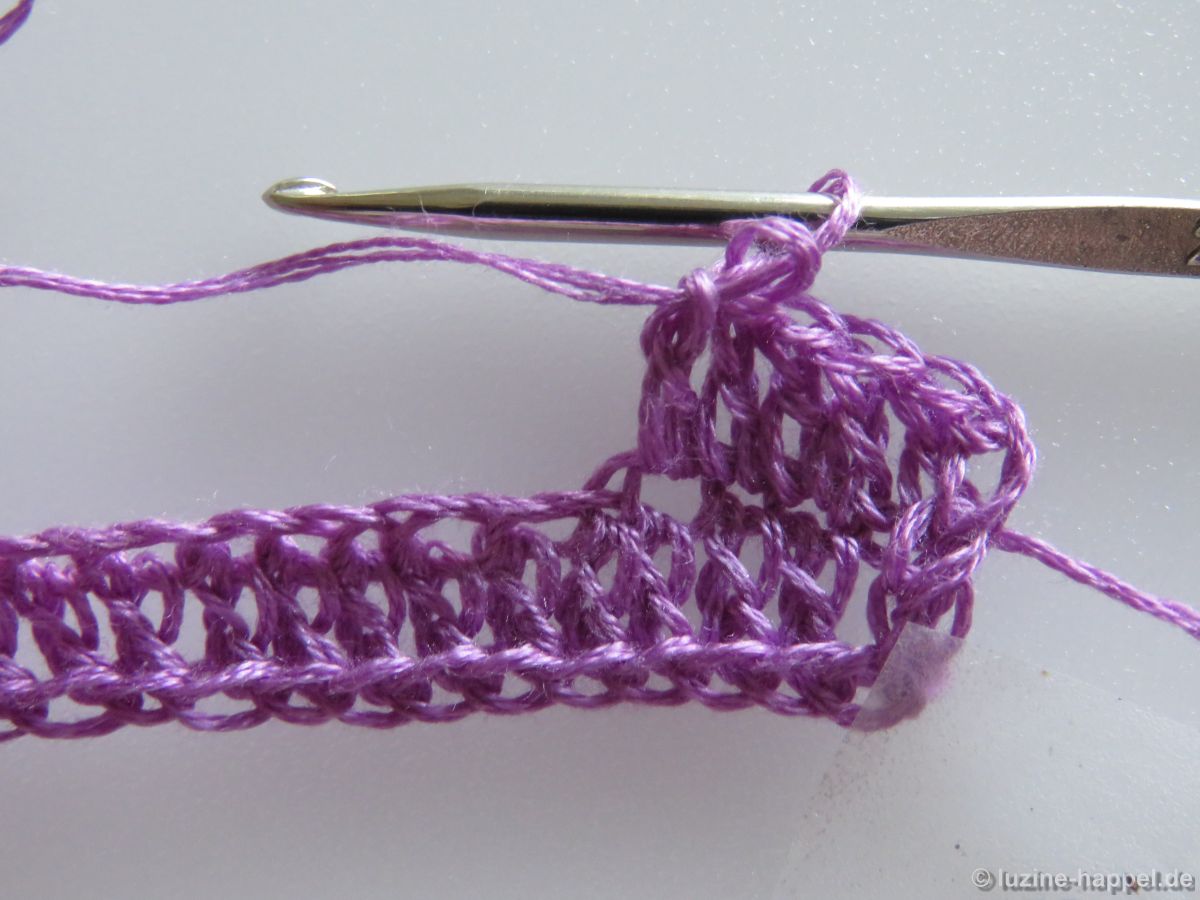
This creates a kind of fold in the middle, which makes attaching it to the edge easy. Finally, the thread is brought to the center, pulled through the last loop, and cut approximately 10 cm from the crocheted border.

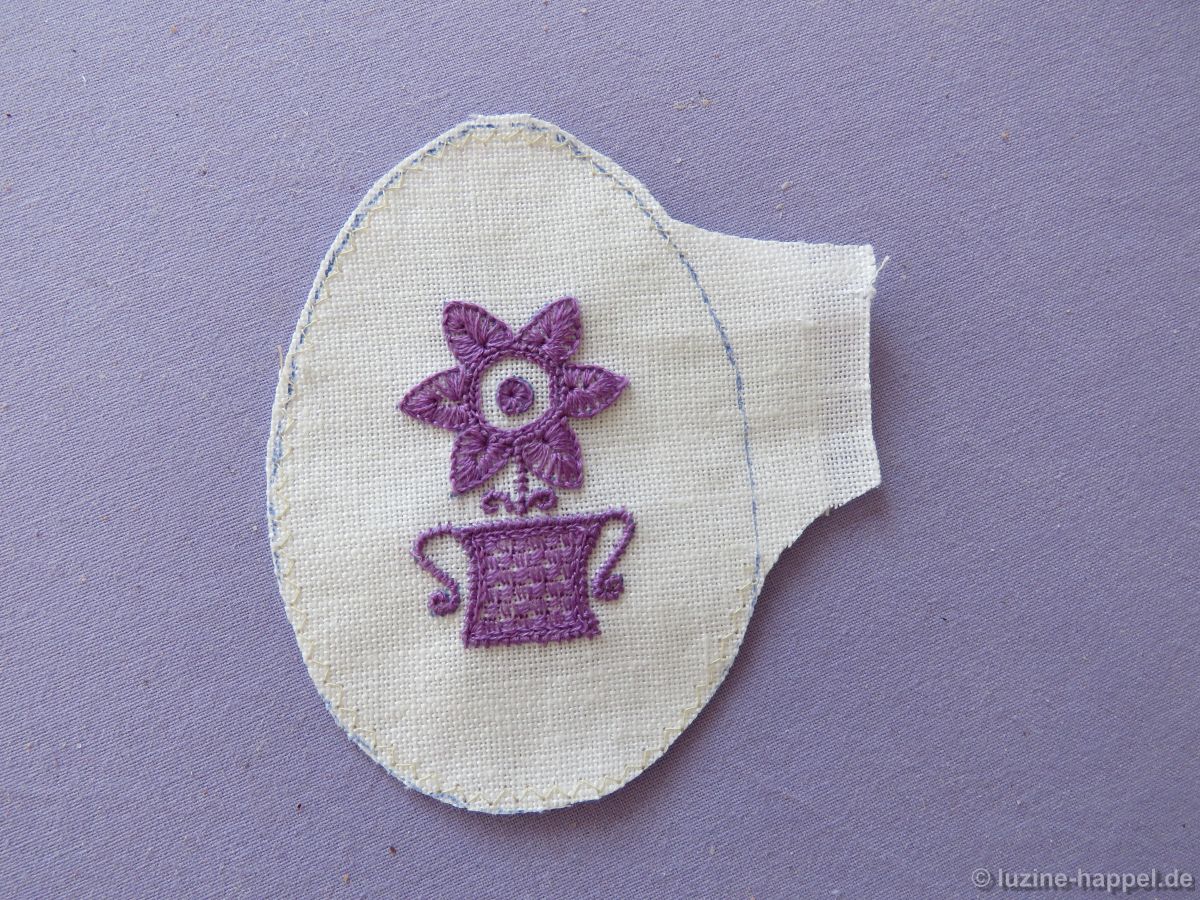
The embroidered linen pieces are placed on top of each other with the right sides facing outwards, ensuring a precise fit, and pinned in place.

On the back, you can check if the lines have been correctly drawn. If not, you need to make corrections.

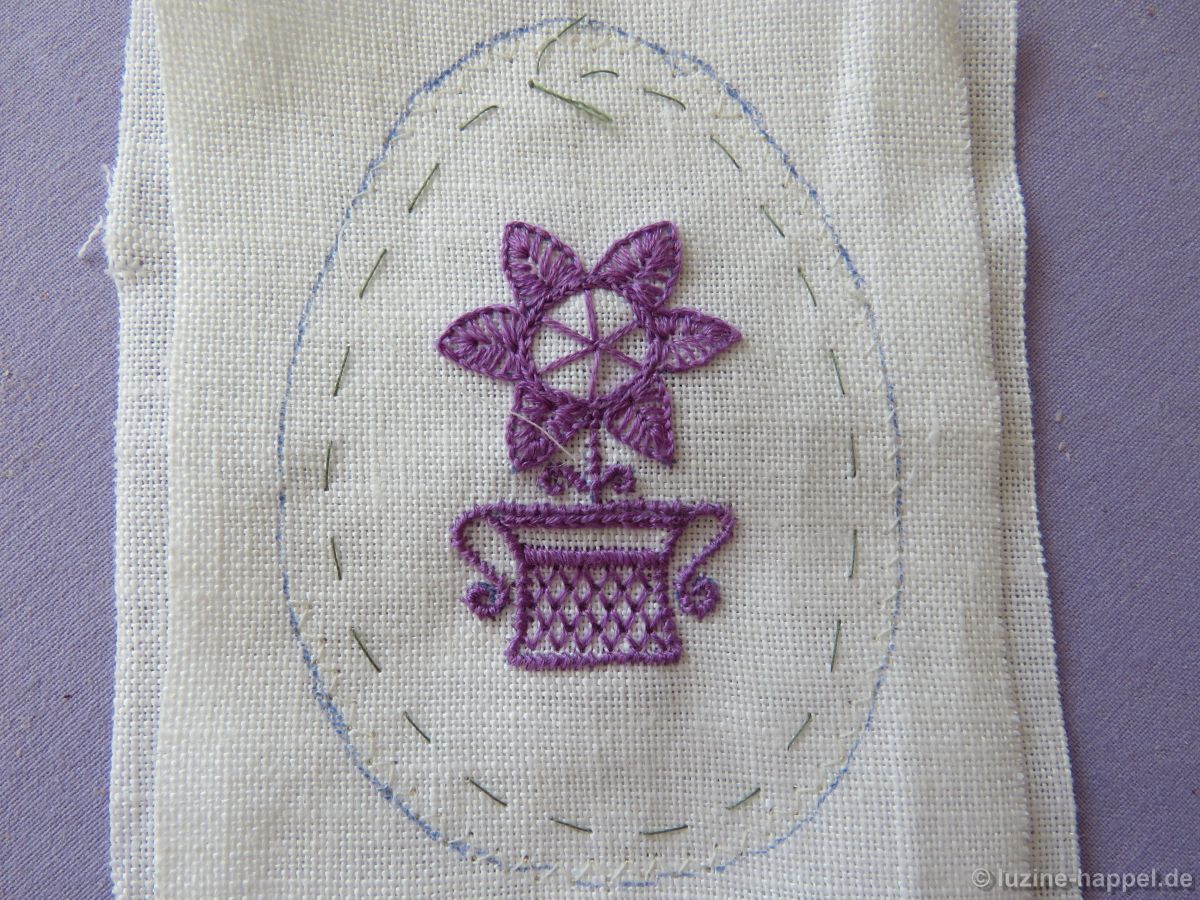
The parts are baste together with a small distance from the edge.

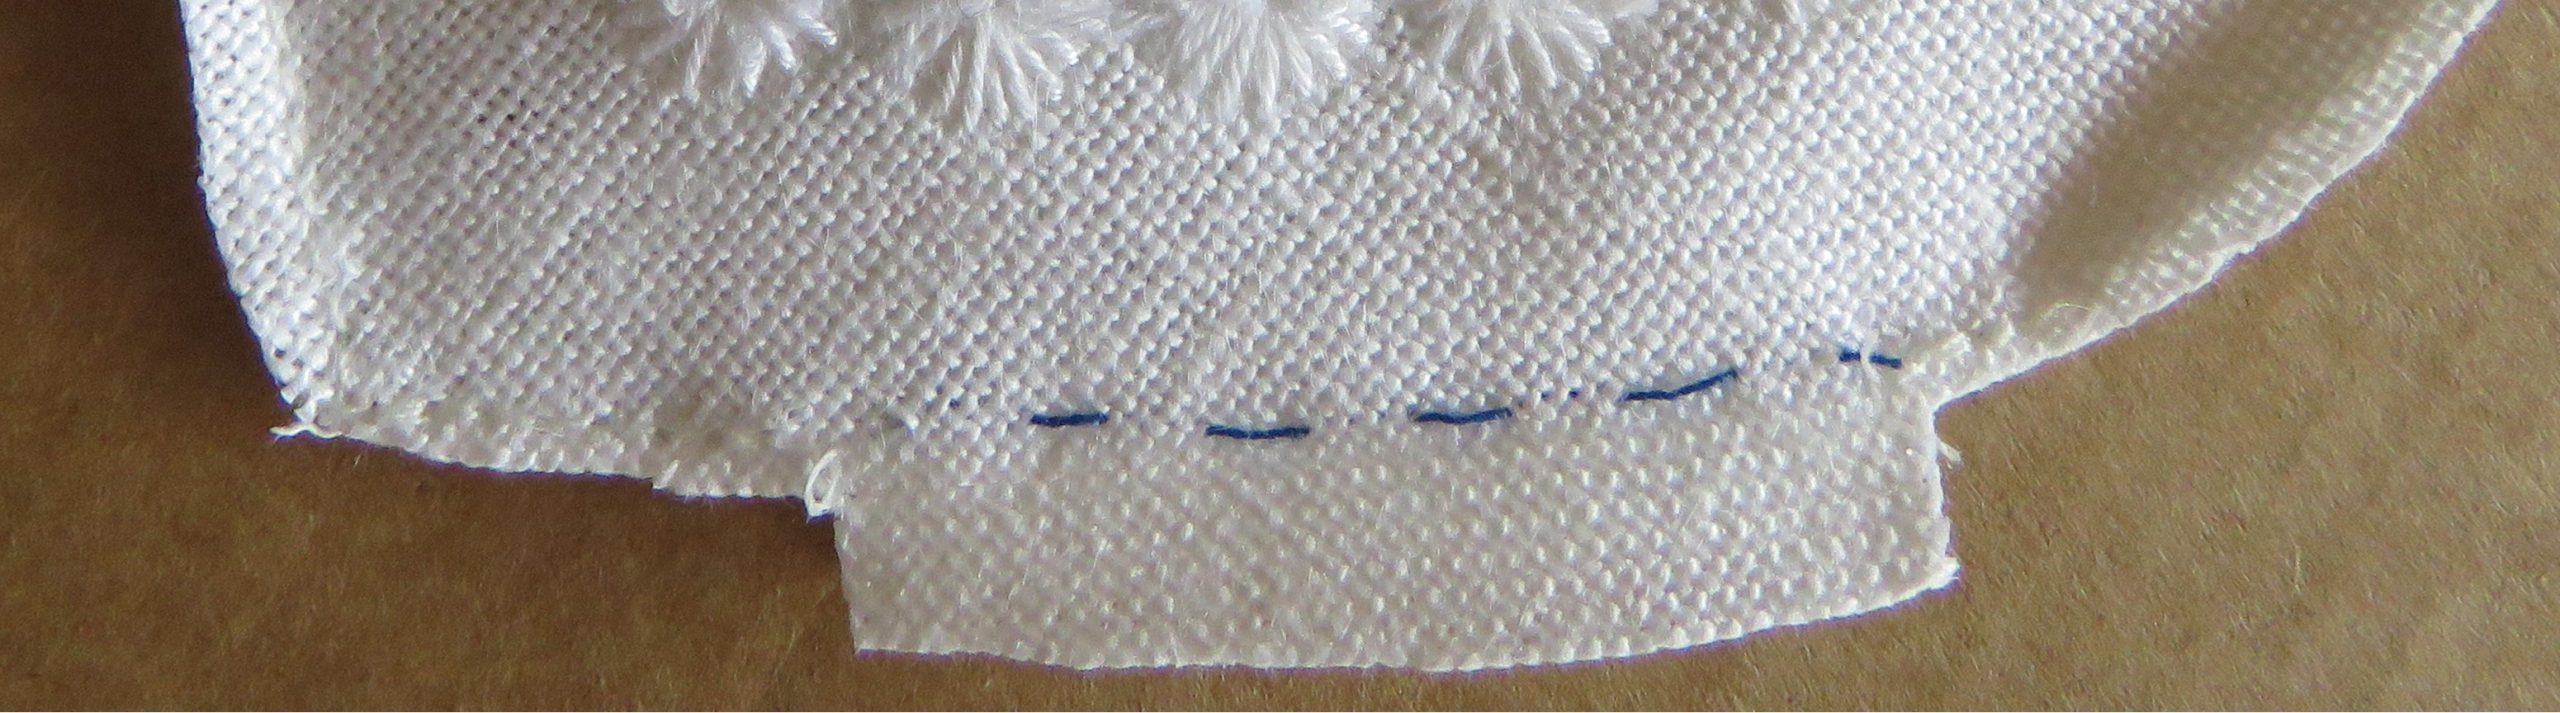
and sewn together with small zigzag stitches along the outline, except for an opening on the long side.

The egg is cut out, as described in detail in the previous blog post.

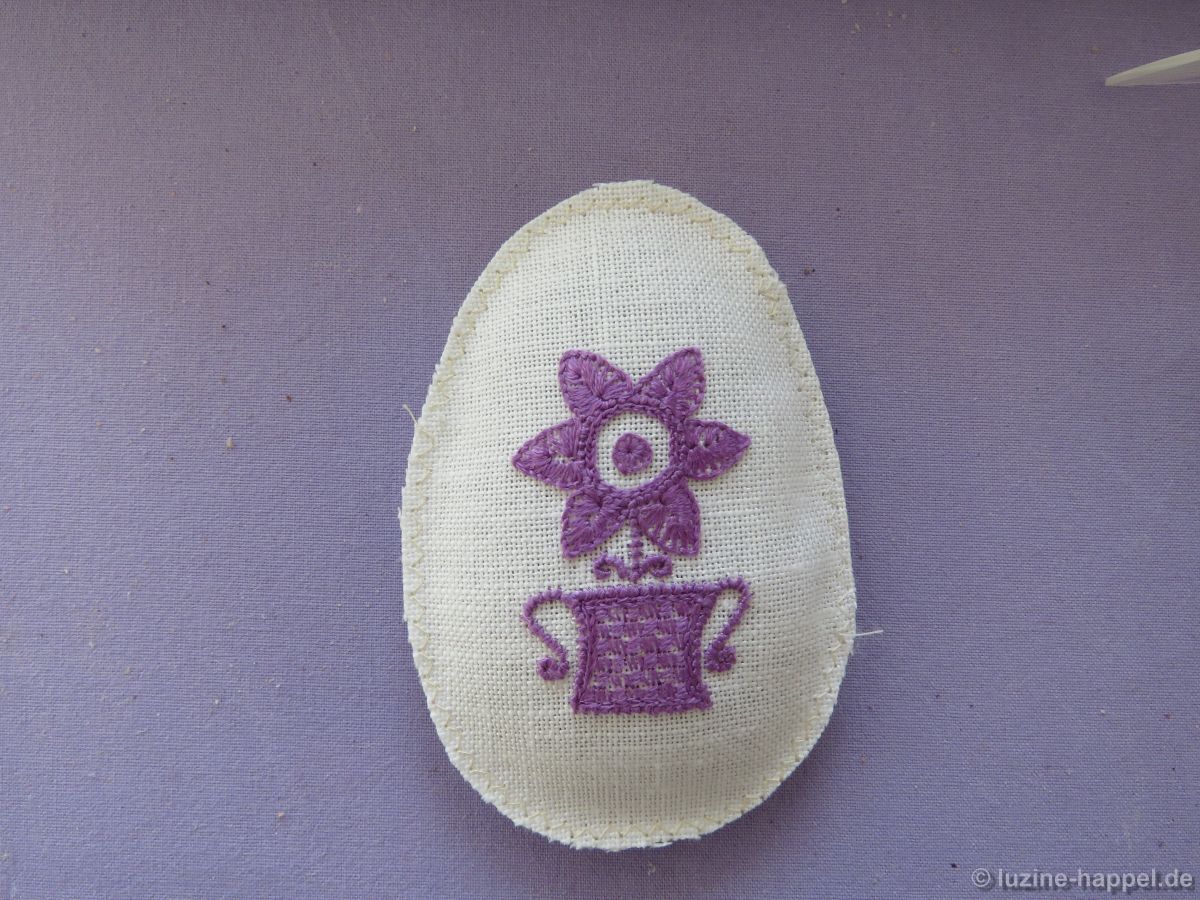
ironed, lightly filled, and closed.

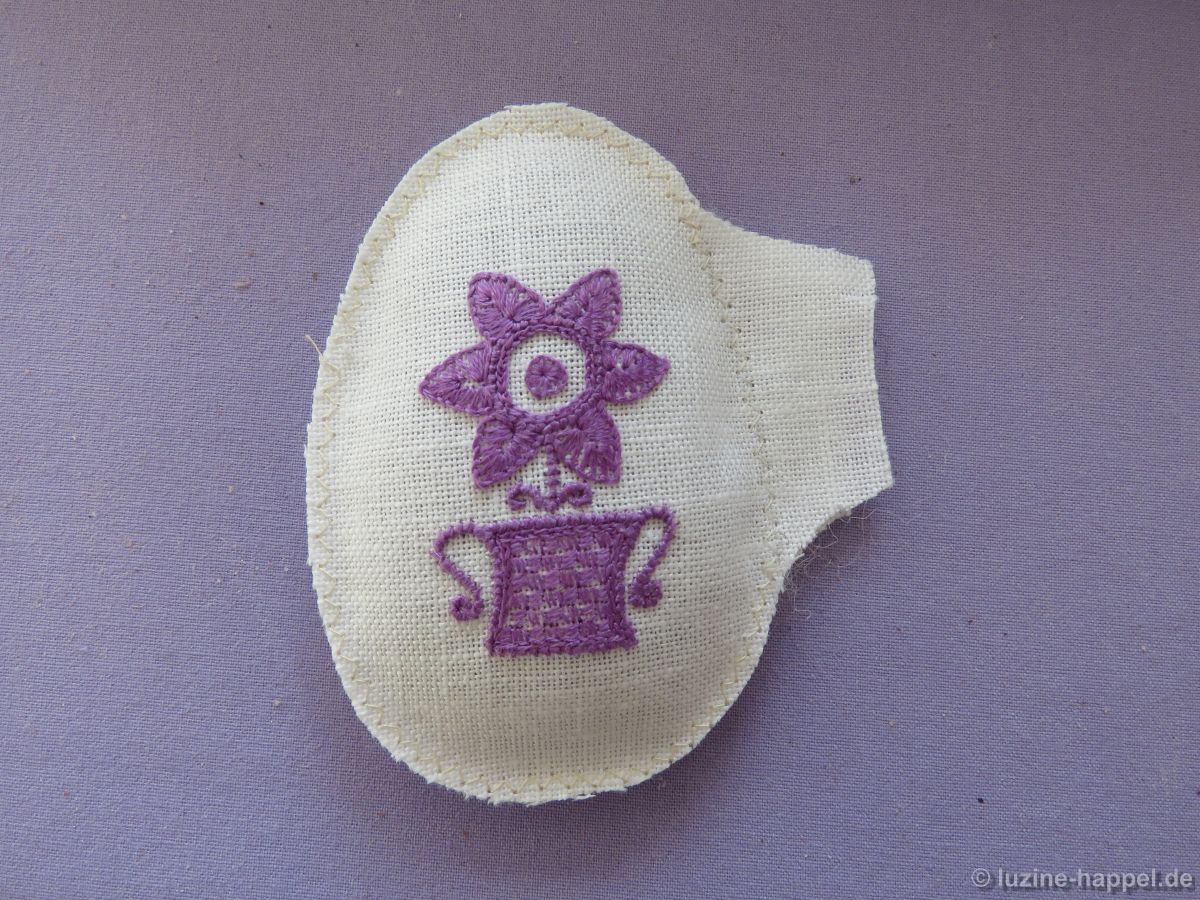
The remaining excess fabric is cut off.

Starting at the top, the crocheted border is first attached with pins,

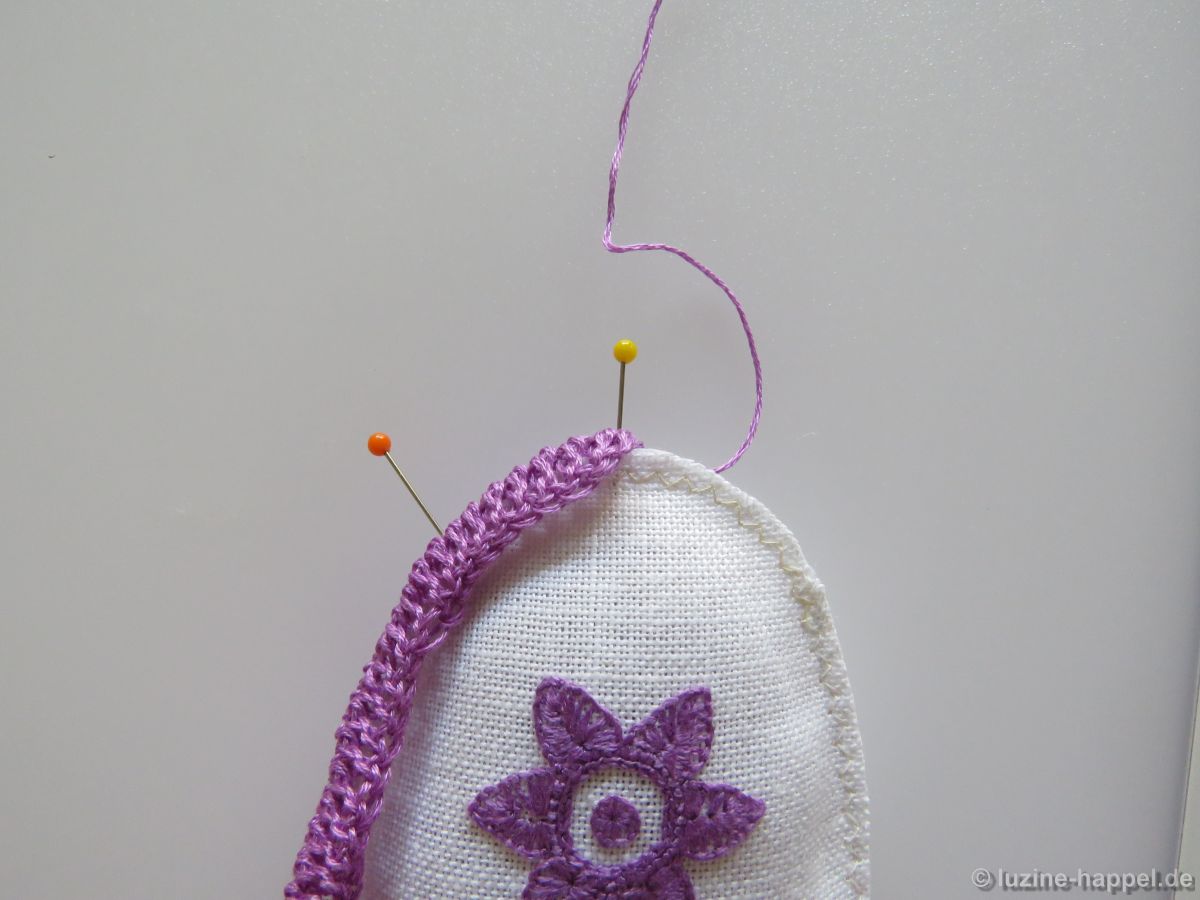
to ensure that the border is evenly distributed around the edge.

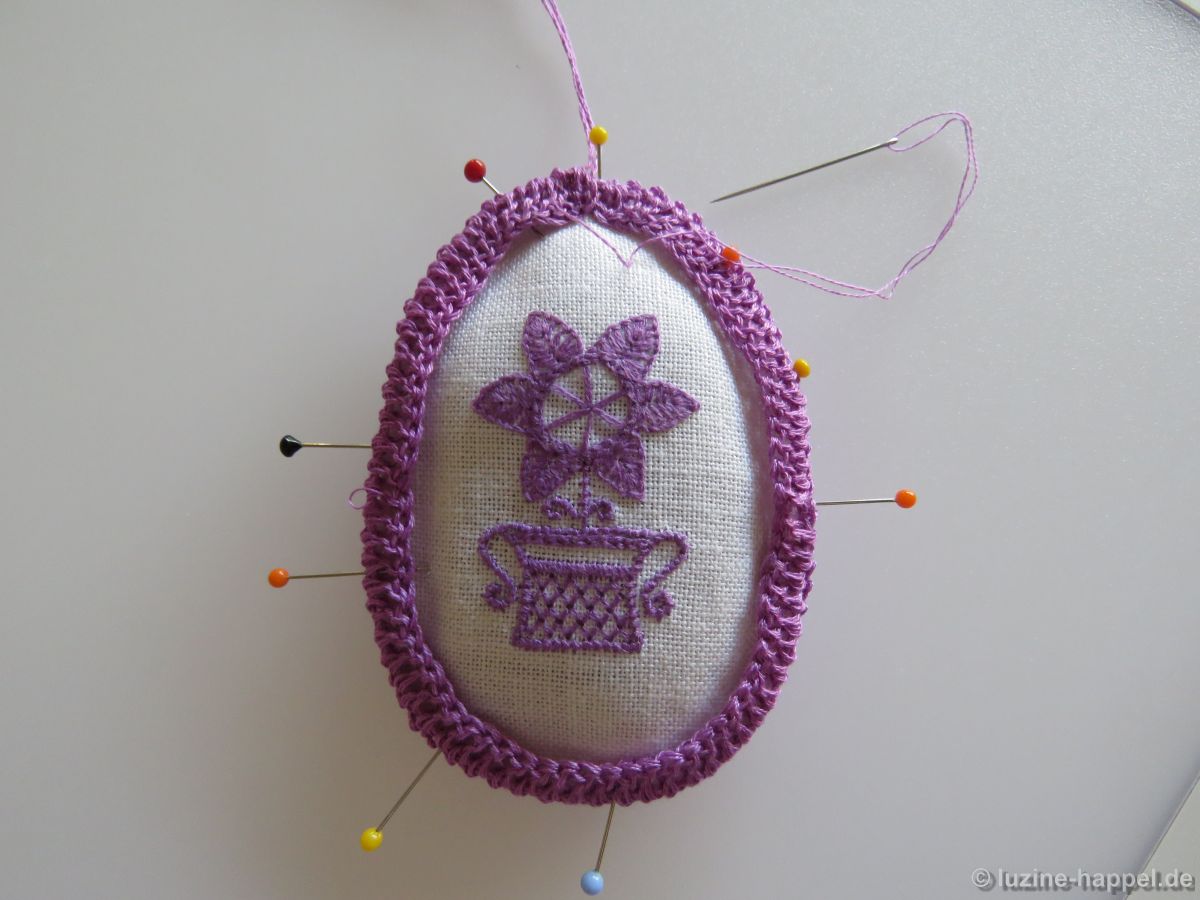
The border crocheted with only 3 strands of the stranded cotton isn’t as sturdy as the one crocheted with all 6 strands of the stranded cotton (the yellow one shown in the previous blog post). Therefore, I thought it would be better to sew it on. This time, I did it with stitches from the back to the front and back again.

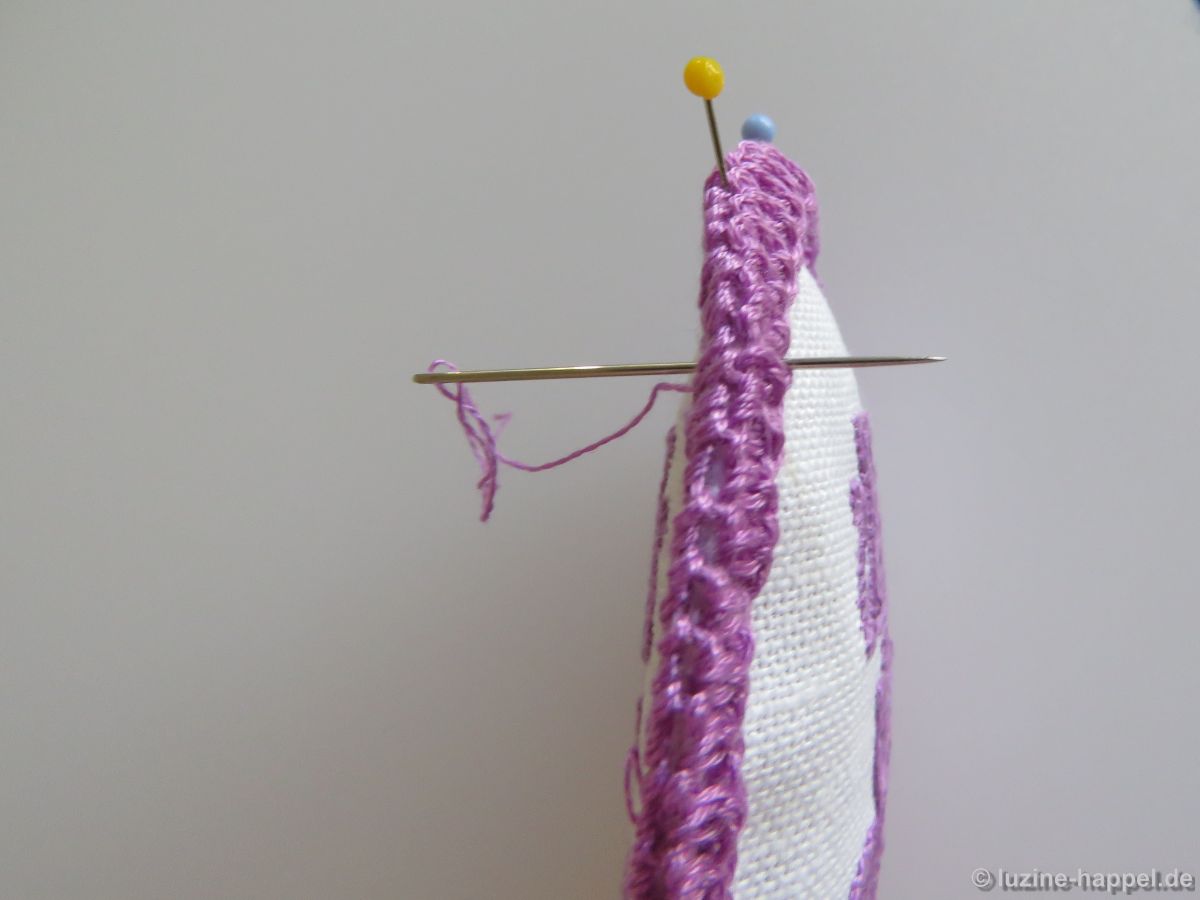
This has the advantage that the trim can be attached to both sides with an even width.

Perhaps I chose stitches that were too large, or perhaps I pulled the thread too tight. This makes the edge look less defined than the green and pink borders, which were attached stitch by stitch with overcast stitches.
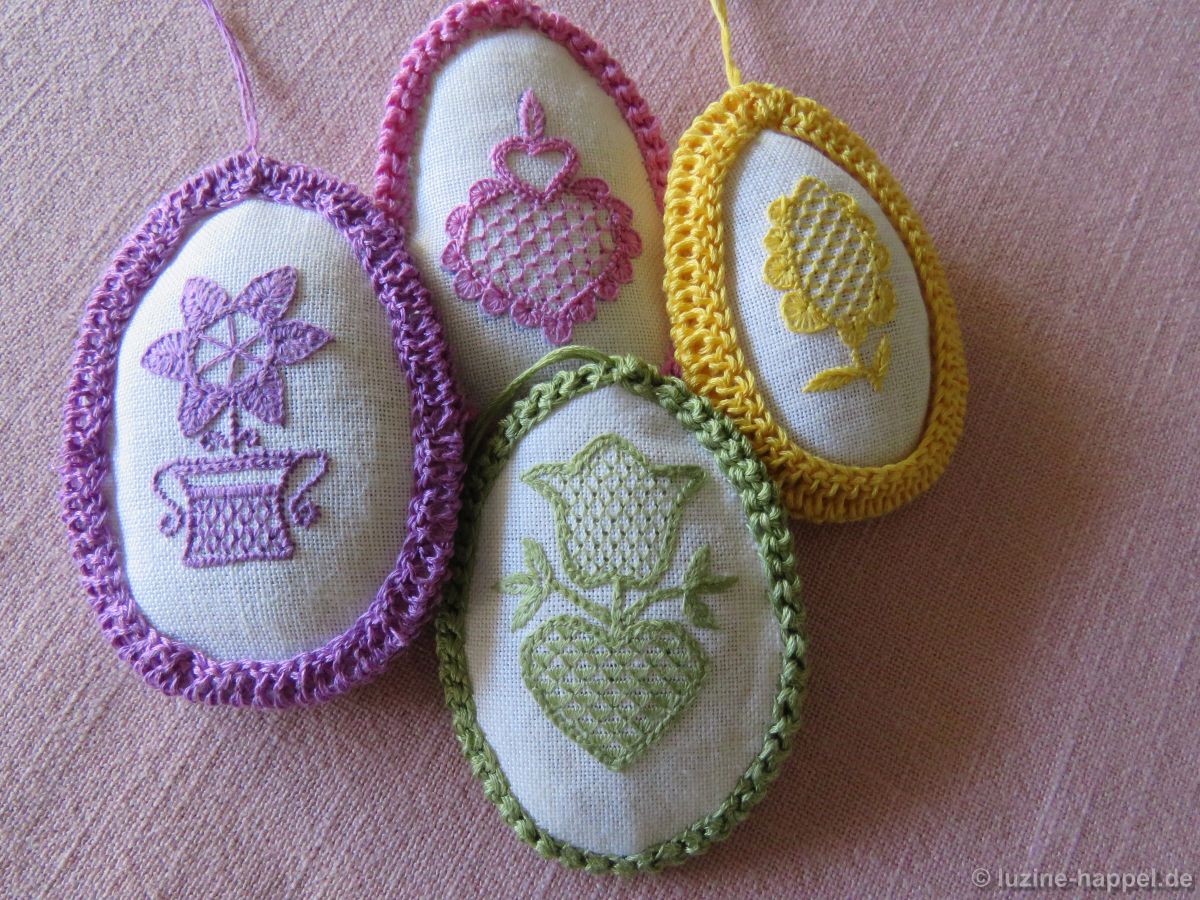
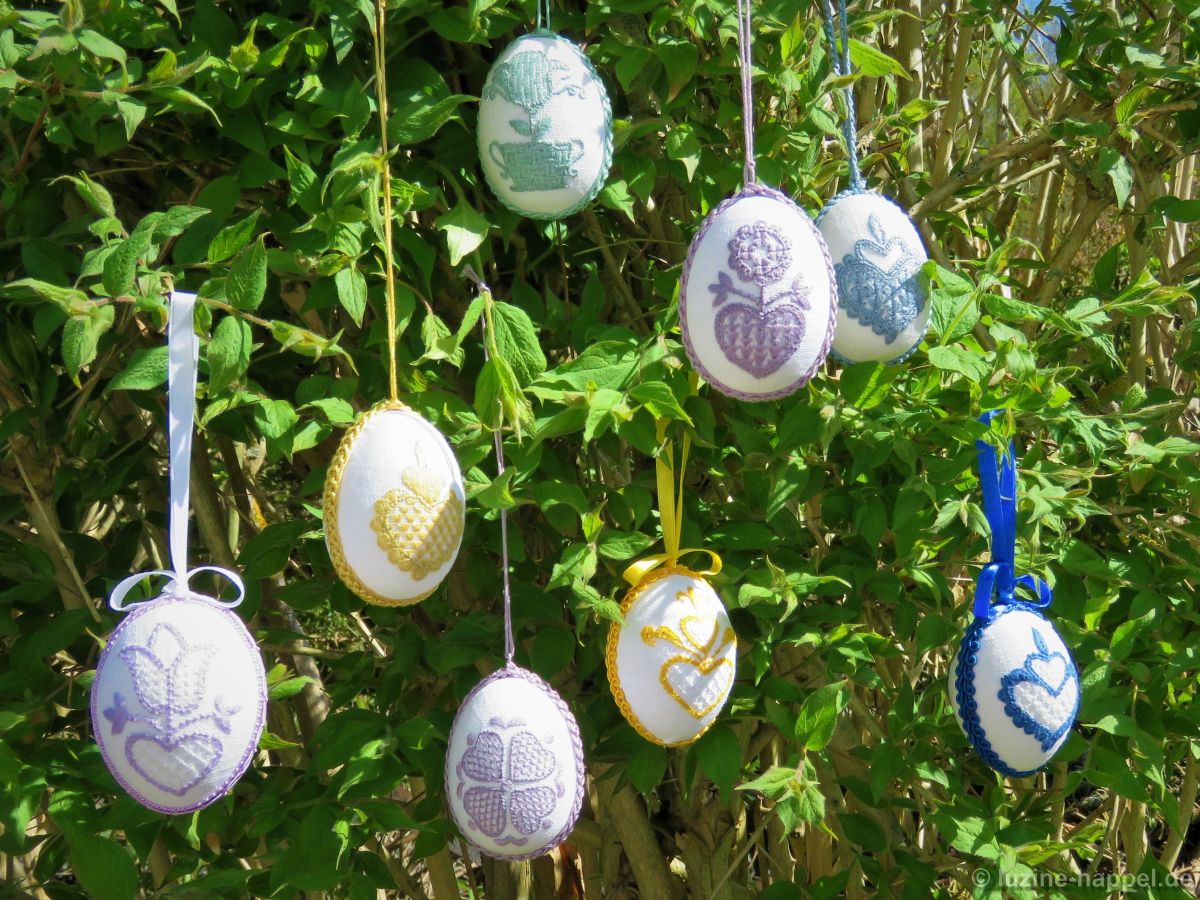
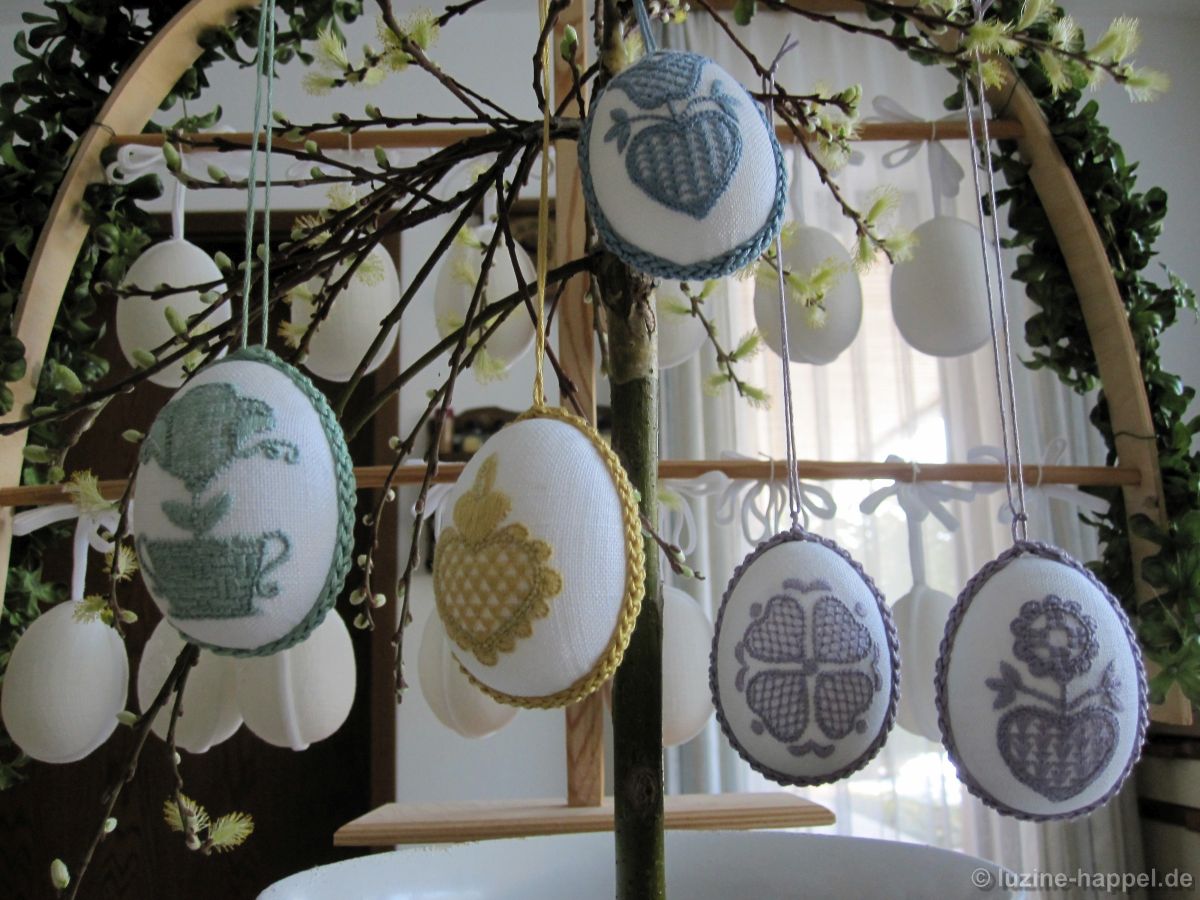
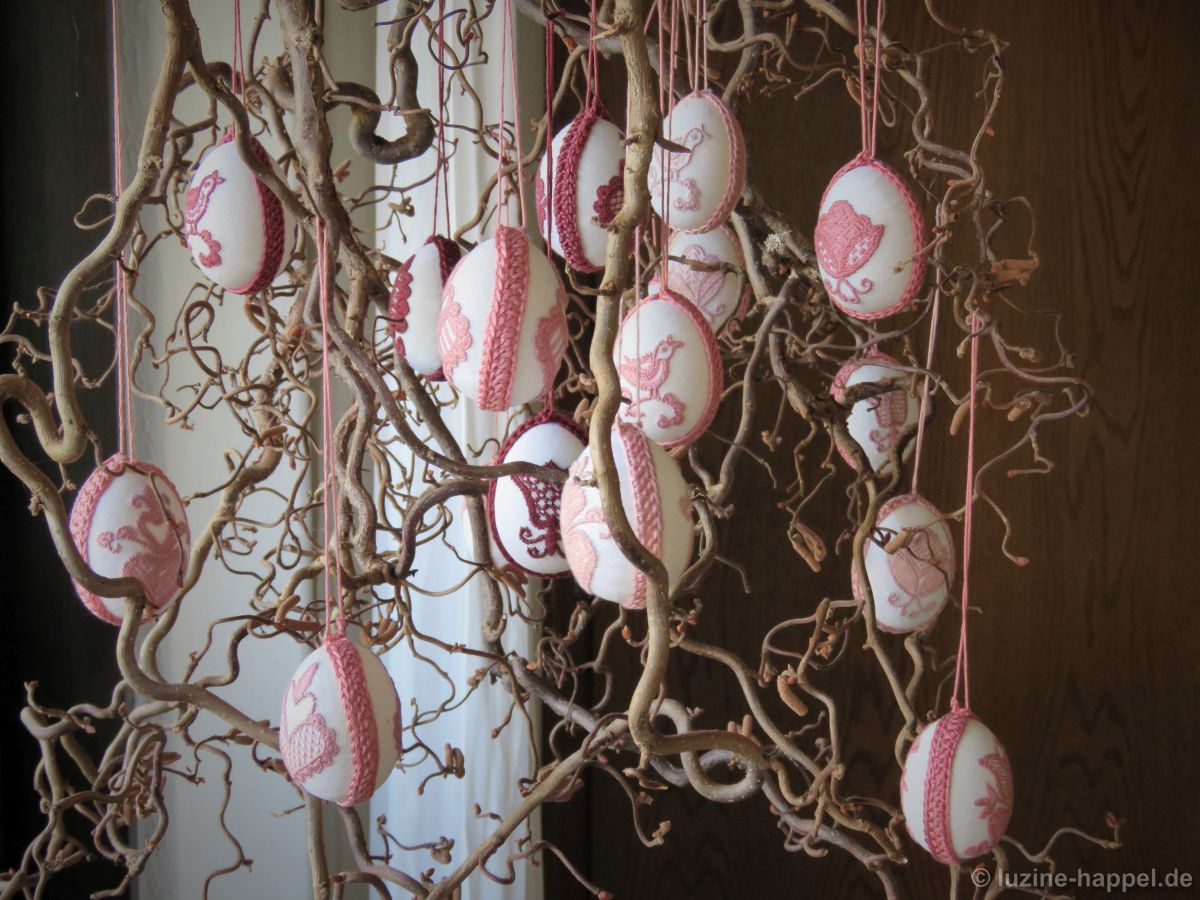
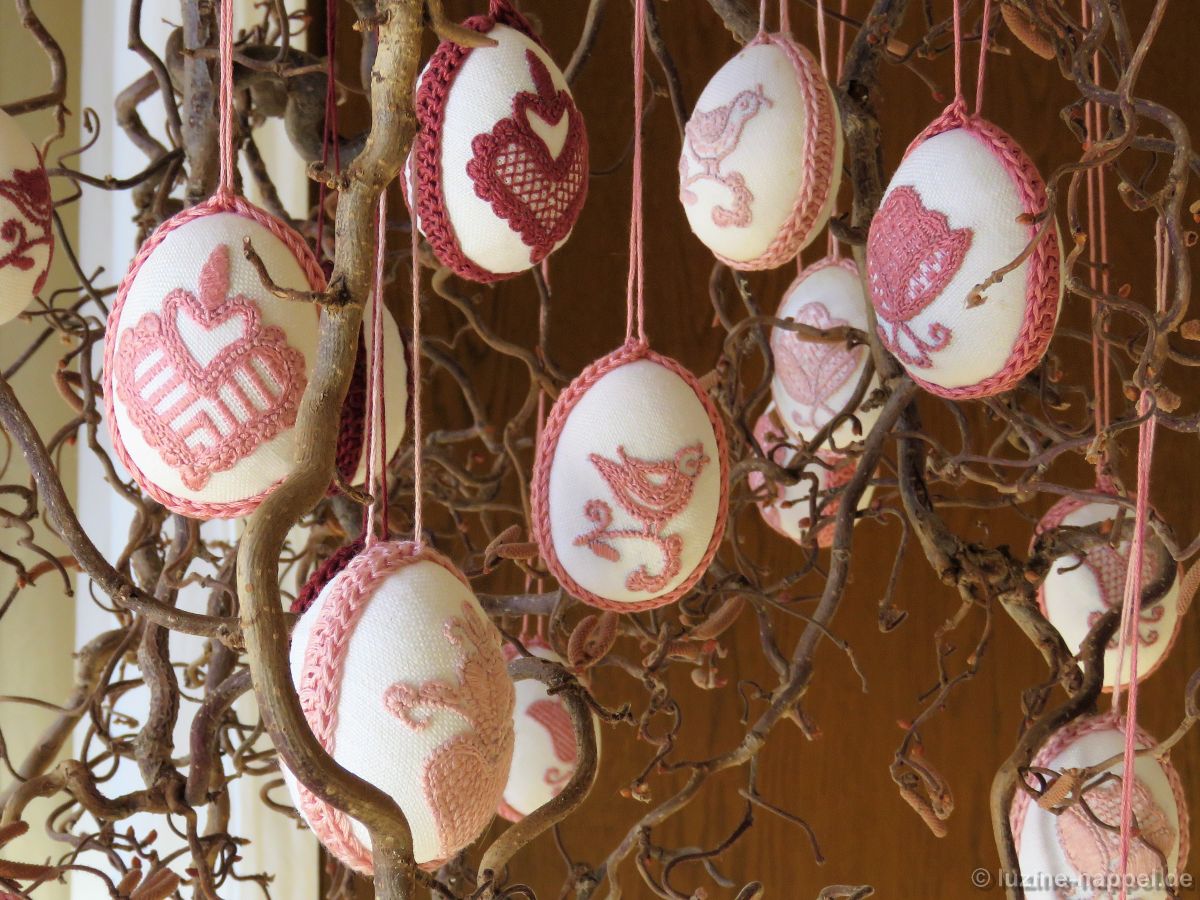
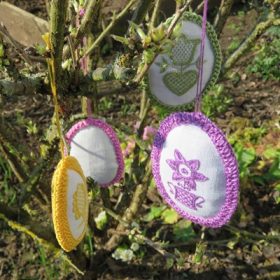
Hanging on the bush

and when gently swinging in a breeze, it no longer matters.

Heart Cushion

To make a small heart-shaped pillow, you need two pieces of linen fabric. They should be large enough so that they can be easily placed in an embroidery hoop. The attached heart motif istransferred via iron-on or via direct tracing, using a water or a heat soluble pen, to one of the two parts.

The outer heart line is marked using coloured thread with short Running stitches. The heart with half-eyelet scallops is embroidered.

The finished embroidery and the other piece of linen – with the addition of a little washing powder –

are first soaked in water and then boiled.

Both parts are dried and well ironed and placed on top of each other so that the back of the embroidery is placed on the outside. Both parts are now sewn together closely along the marking line. Only in one place – as straight as possible – does a piece of approx. 4 to 5 cm remain open. The marking remains there, otherwise it is removed.

The edges of the fabric are unfolded and

the seam is smoothed with the thumbnail very well.

The excess fabric is ctrimmed close to the seam, but be careful – at least two fabric thread cross hairs must remain outside the seam so that the fabric does not fray later. Only in the unclosed area is a remaining fabric of approx. 1 cm.

The embroidery is carefully turned inside out. The seams are positioned on the outer edge by carefully pushing back and forth between the fingertips. Small, loosened portions of Poly-Fil or wadding are inserted through the opening into the heart bag and first transported to the edges with the fingers. The entire area is gradually padded up.

After enough filling has been added, the remaining fabric excess is folded inwards at the level of the marking. The marking thread is removed and the seam is closed with small, delicate hand stitches.

A cord is twisted using cotton yarn that is not too thin. If there is a Twister, this is child’s play. But you can also do it the old way with a pen or wooden stick.

Starting at the top center, attach the cord over the seam. The beginning and end are sewn together tightly close to the fabric.

The remaining ends are knotted together to form a hanging loop.

Together with a square cushion, the cones, small angels, bells, the cut out hearts, the snowballs and maybe also the mushrooms, the grapes and leaves or even small bags (here you can find the instructions), bag or hanging it can become a pretty and very individual Christmas tree decoration.

Schwalm Heart (1)

Many years ago, during an exhibition, I was able to purchase a few leftover pieces of linen along with the corresponding outline patterns for little money.
I have now acquired the rights to these patterns.
The pretty individual motifs are quickly embroidered. They are also ideal for processing leftover fabric.
Little things like pictures, bags or pillows were created in a short time. They are therefore suitable as souvenirs and perhaps also for sale as souvenirs for exhibitions.

I ironed such a motif onto 16 tpcm linen. In order to clearly transfer the iron pattern colour to the fabric, I ironed very hot. The slight scorching marks that were created can be clearly seen. They will disappear later in the wash.

The Coral Knot stitches were embroidered with coton á broder No. 16, Blanket stitch eyelets and Chain stitches withcoton á broder No. 30. The rounded leaves were decorated with Satin stitches. Here 2 strands of the 6-ply stranded cotton were used.

The Limet grid – thread withdrawing 3:1 – has a withdrawn theard line in the middle longitudinal axis.

Starting there, a pattern similar to the filling pattern 578, but without the rows of Four-Sided stitches in between, is embroidered with coton à broder No. 20 .

After the embroidery is finished, the piece is soaked in soapy water for a few hours and then boiled. The colour has completely dissolved after two repetitions of the short cooking process.

The scorching marks have also completely disappeared.

I like the relatively unobtrusive pattern in contrast to the striking edge with the many leaves

and Blanket stitch eyelets.

Depending on which angle you look at it from, the pattern looks different.

If you also want to embroider this small motif, you can download the hand-drawn outline pattern for free.

Sofa Cushion Cover 1 (A)

The finished pillow case should measure 40cm X 40cm. It should be worked from one piece (finished 40 cm x 80 cm). I choose 16/cm thread count natural coloured and durable pressed linen of the Übelhör linen mill. The linen will shrink about 4,9% in the warp and about 3% in the woof.
That would be about 2.40cm in width and about 2 cm in length for the desired size.
Seam allowance on both sides is 1 cm each.
The closure is made on the bottom with a 2cm wide hem with 1cm fold.
That would be:
in width 40cm + 2.4cm + 2 X 1cm = 44.4cm
in length: 80cm + 2cm + 2 X 3cm = 88cm
To be on the safe side, I add a few centimeters and cut the linen into the size of 46cm x 93cm.

Since I find both pomegranate and bird motifs interesting in Schwalm whitework, I asked various designers to make me appropriate designs. The design used here comes from Christa Waldmann and has a size of approx. 26.5cm (W) x 20cm (H). With a 40cm high cushion and central pattern positioning, about 10cm each remain free at the top and bottom. The shrink of the fabric (each about 1cm) must be added.

The linen is fold short side to short side.
For positioning the design centered, measure down from the fold 11cm. Using a coloured sewing thread, mark the top line of the design by tacking along the horizontal fabric thread there. Mark too the vertical center of the front half.

Lay the unfolded linen on a table covered with a not slipping plain material (not too soft) – for example a cotton fabric cloth. Scratch out the linen to be plain. Be careful to position the marked lines straight and to be in a right angle. Best check it using a tool. Fasten the linen using pins or removable tape.

The design transfer is made using blue print paper.

Cover the design area with blue print paper – colour side face down. Fasten the sheet using removable tape.

Position the design over the blue print paper lining up the thread markings on the linen to the guideline markings on the design paper. Secure the design using removable tape or pins.

Using a special tracing tool or a fine empty ball point pen, trace the design. Test the needed pressure before.

The first step has been taken, the pattern has been transferred to the linen.

You can find out what happens next in the upcoming article.

Easter Eggs Embroidered with Schwalm Whitework Motifs (2)

An eye-catching Easter decoration is made with plastic eggs covered with linen embroidered with Schwalm motifs.

It doesn’t matter if one uses spring-like colours,

shades of one tone,

or only one colour.

Nice motifs in the perfect size can be found in 24 small Designs.
Detailed instructions and 60 designs for working those eggs can be found in Embroidered Easter Eggs.

If one wants to embroider somewhat larger eggs (e.g., goose eggs), appropriate designs can be found in Easter Eggs.