Tea Cloth MJ2 (1)

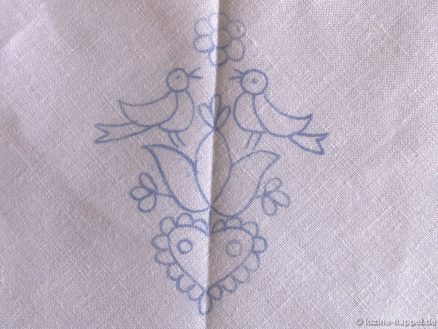
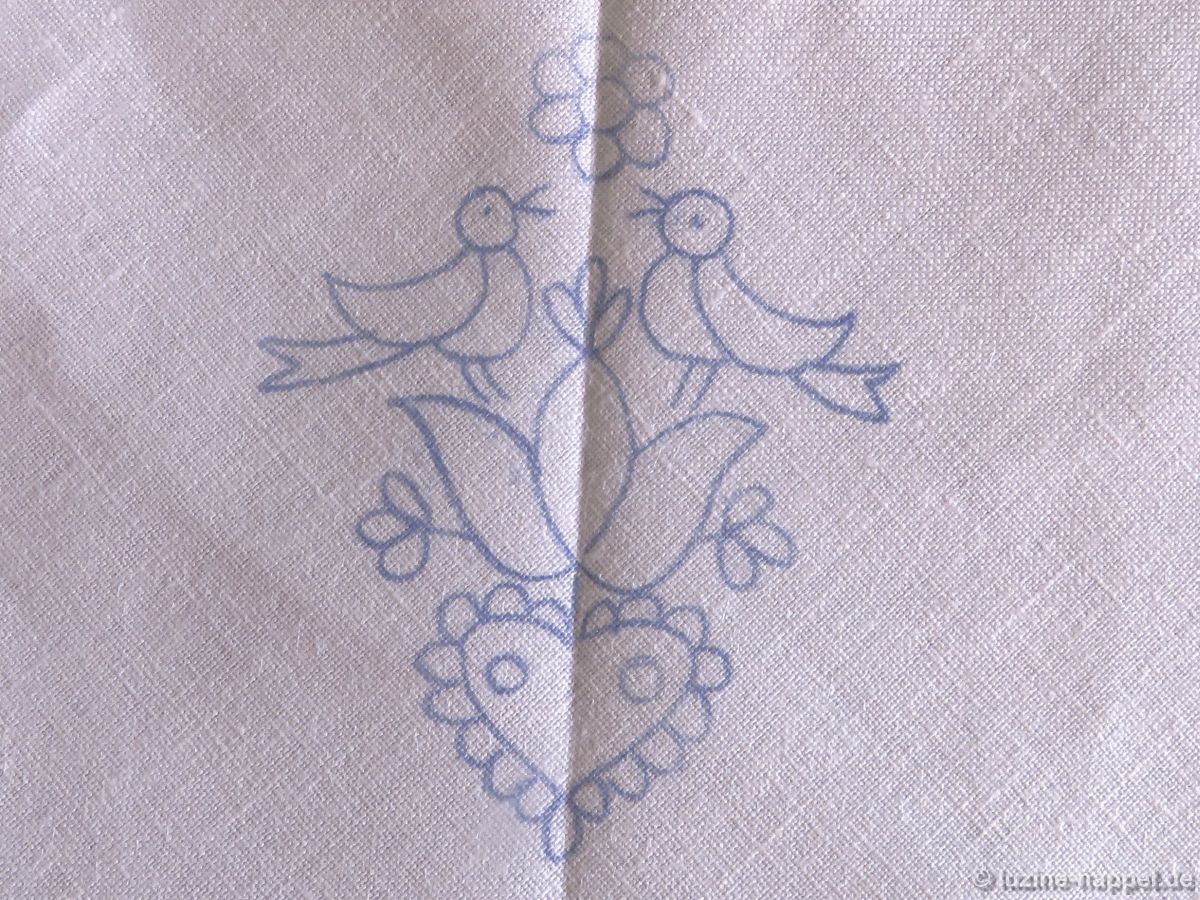
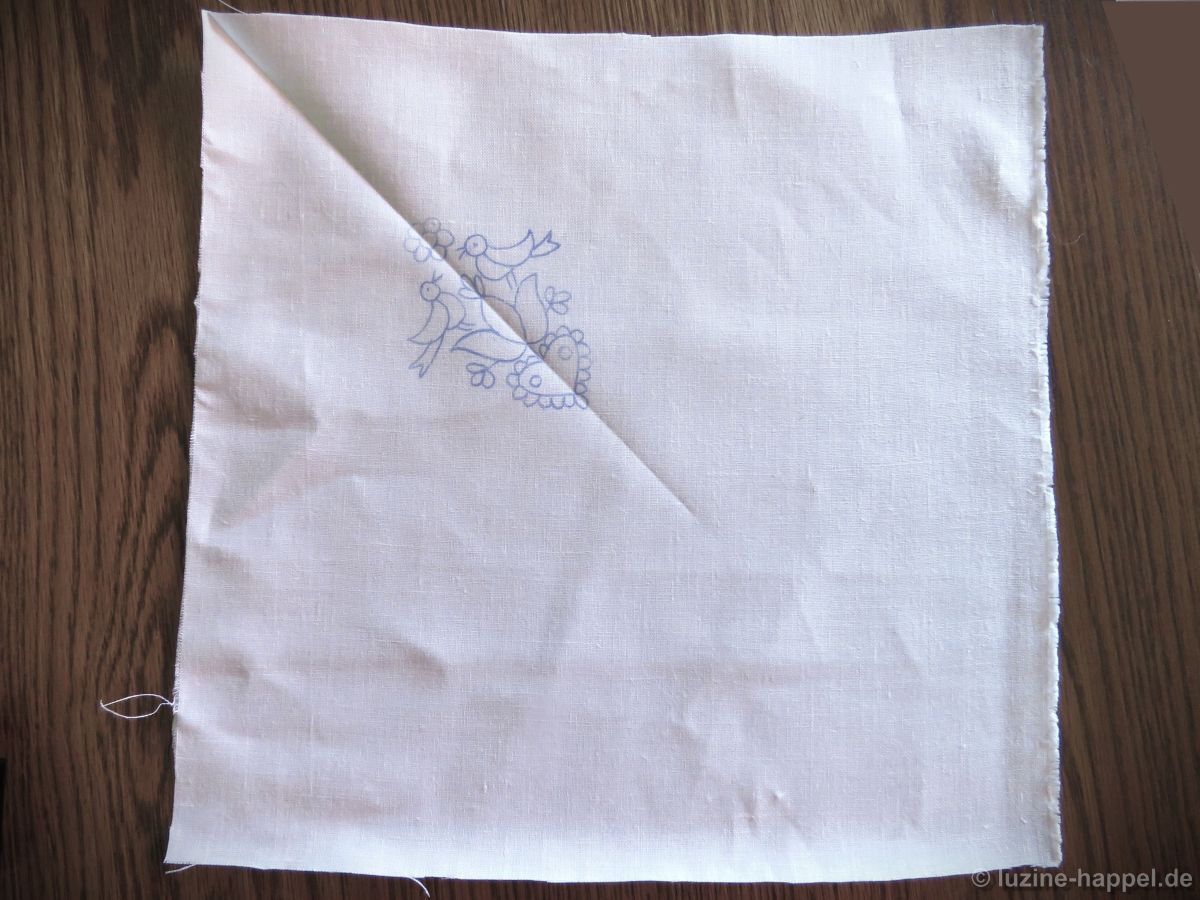
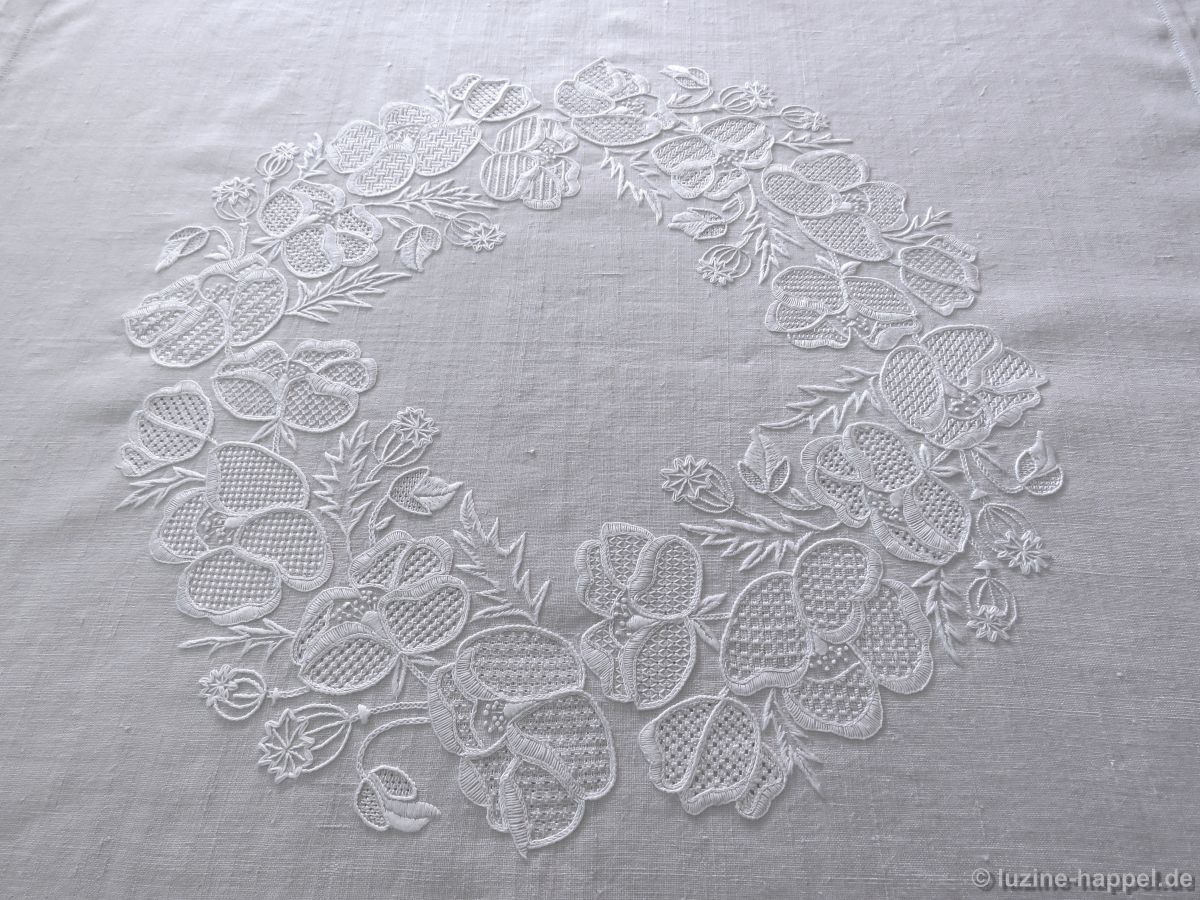
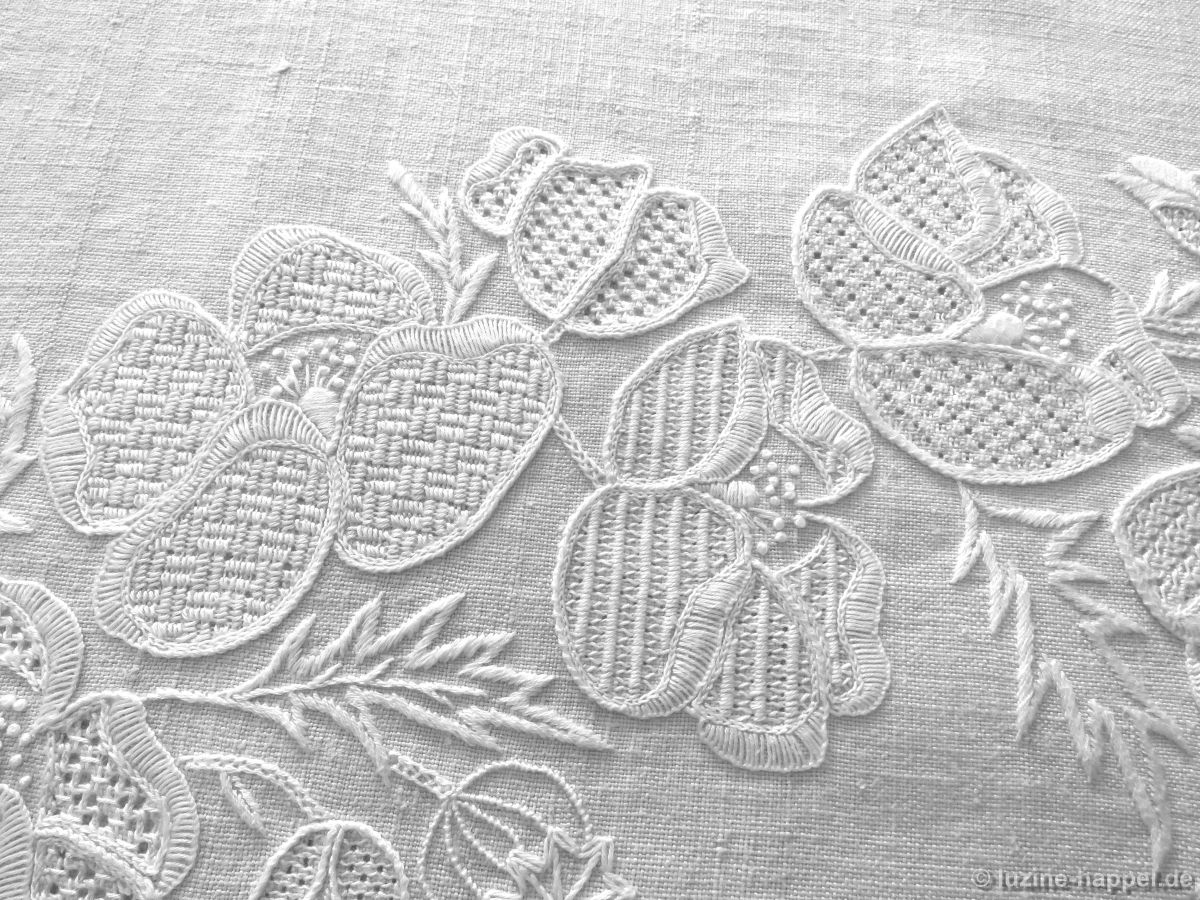
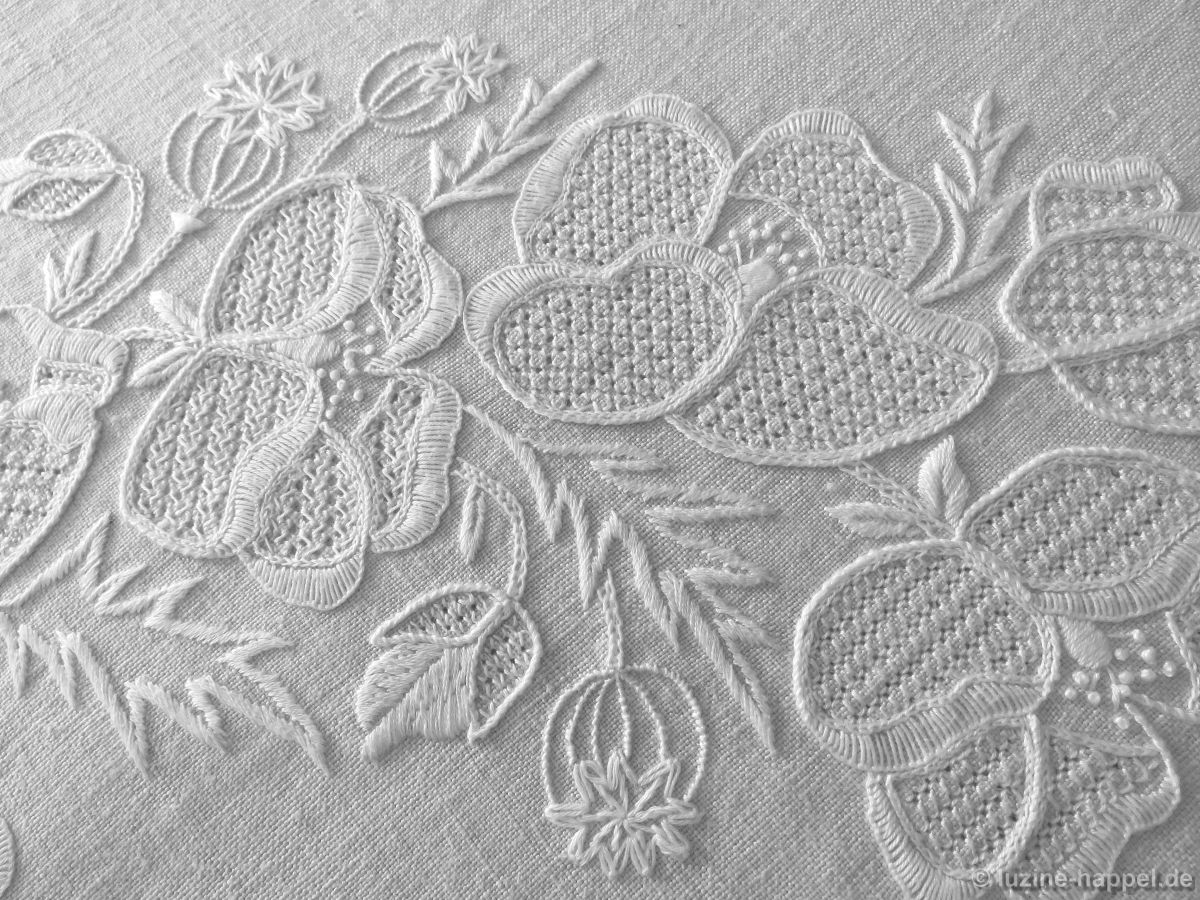
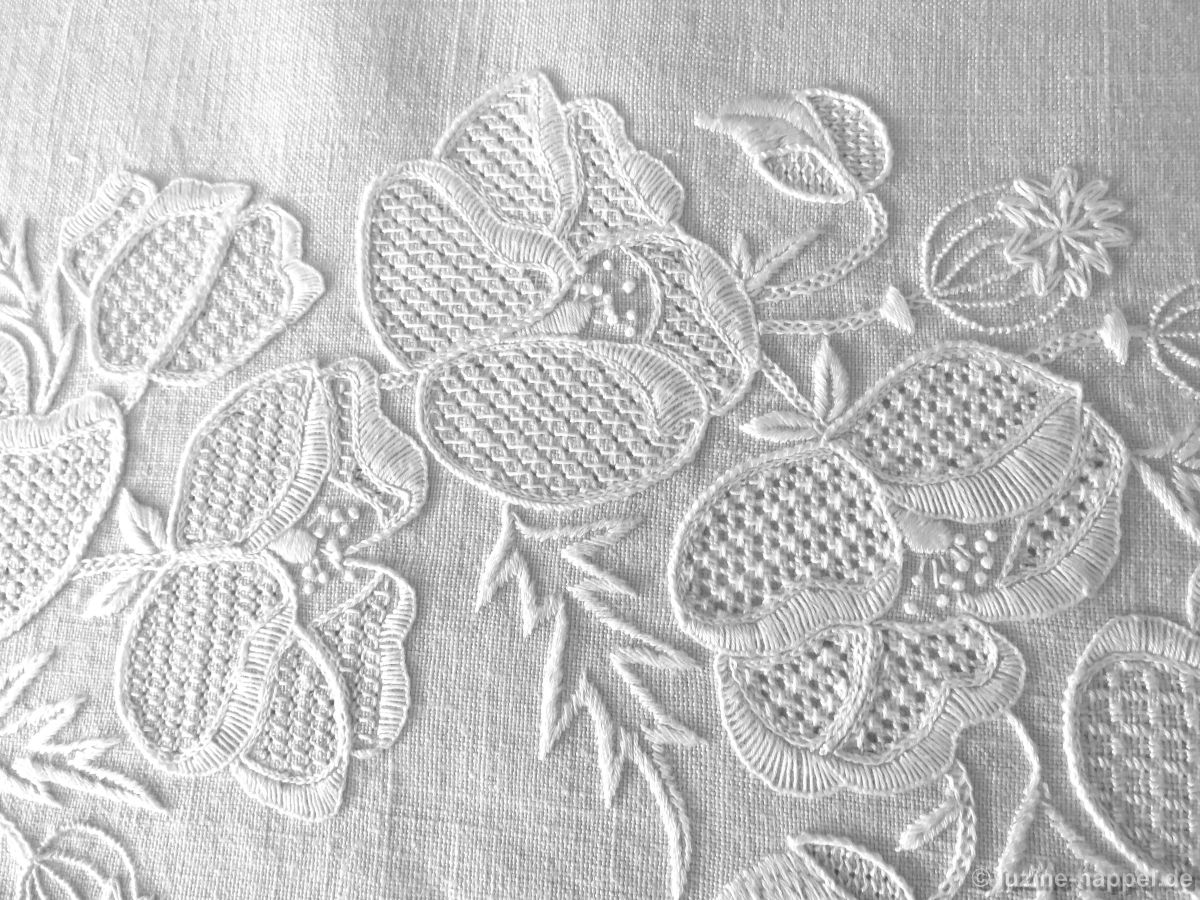
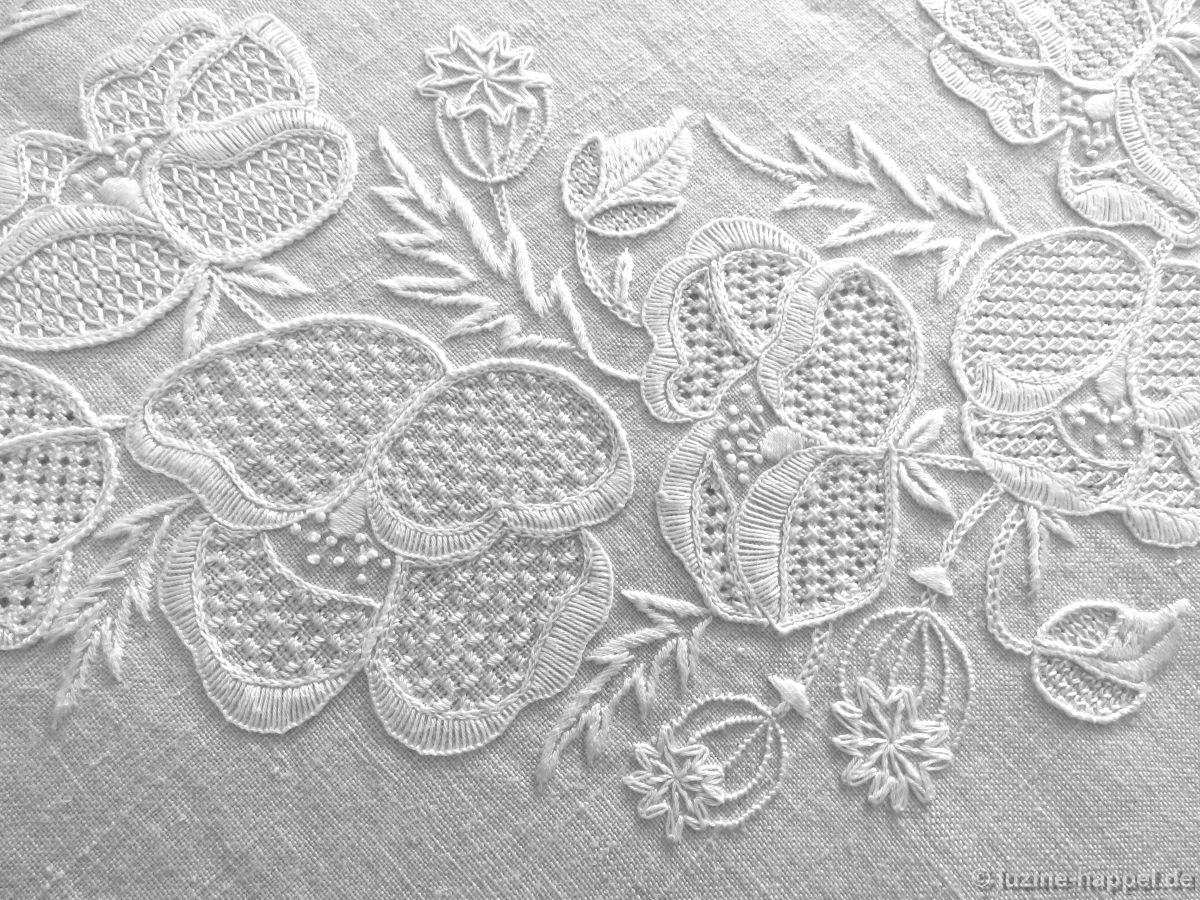
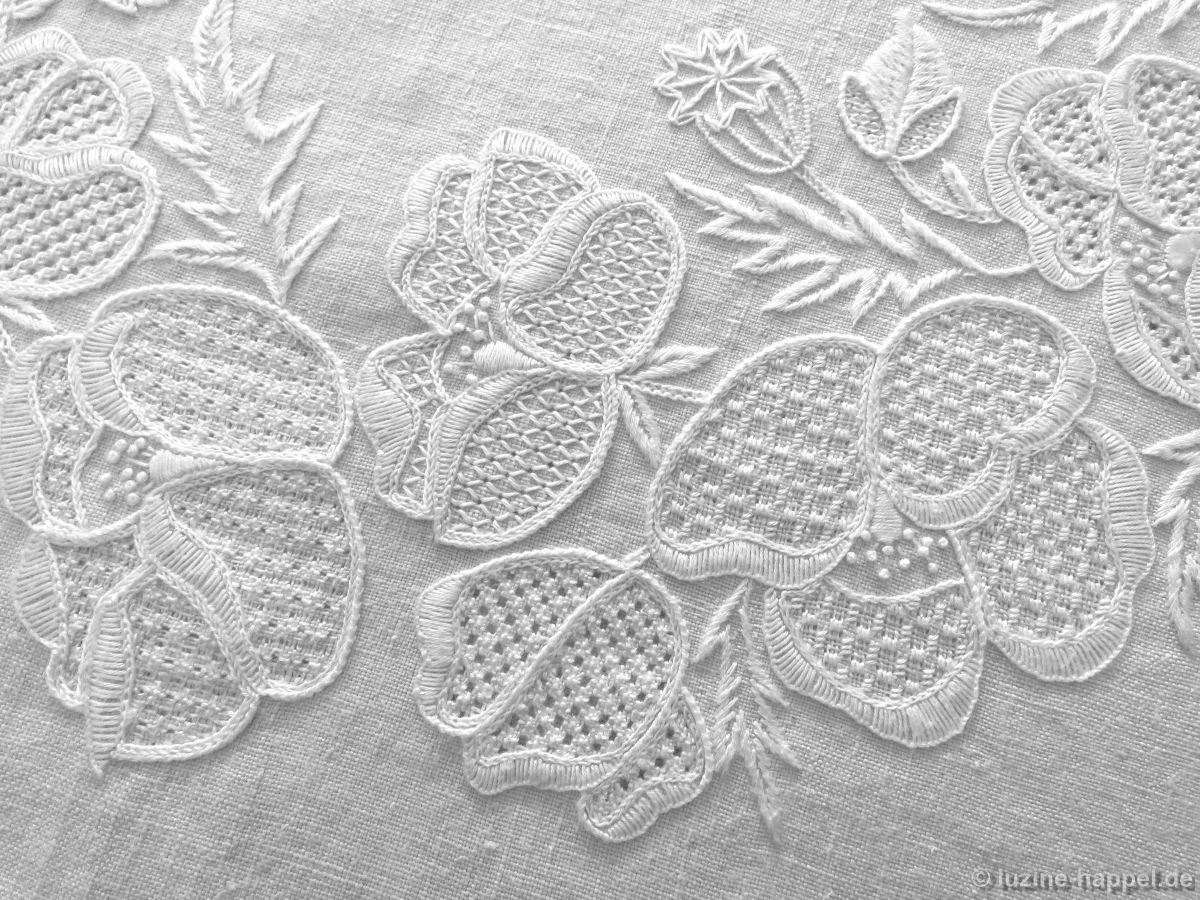
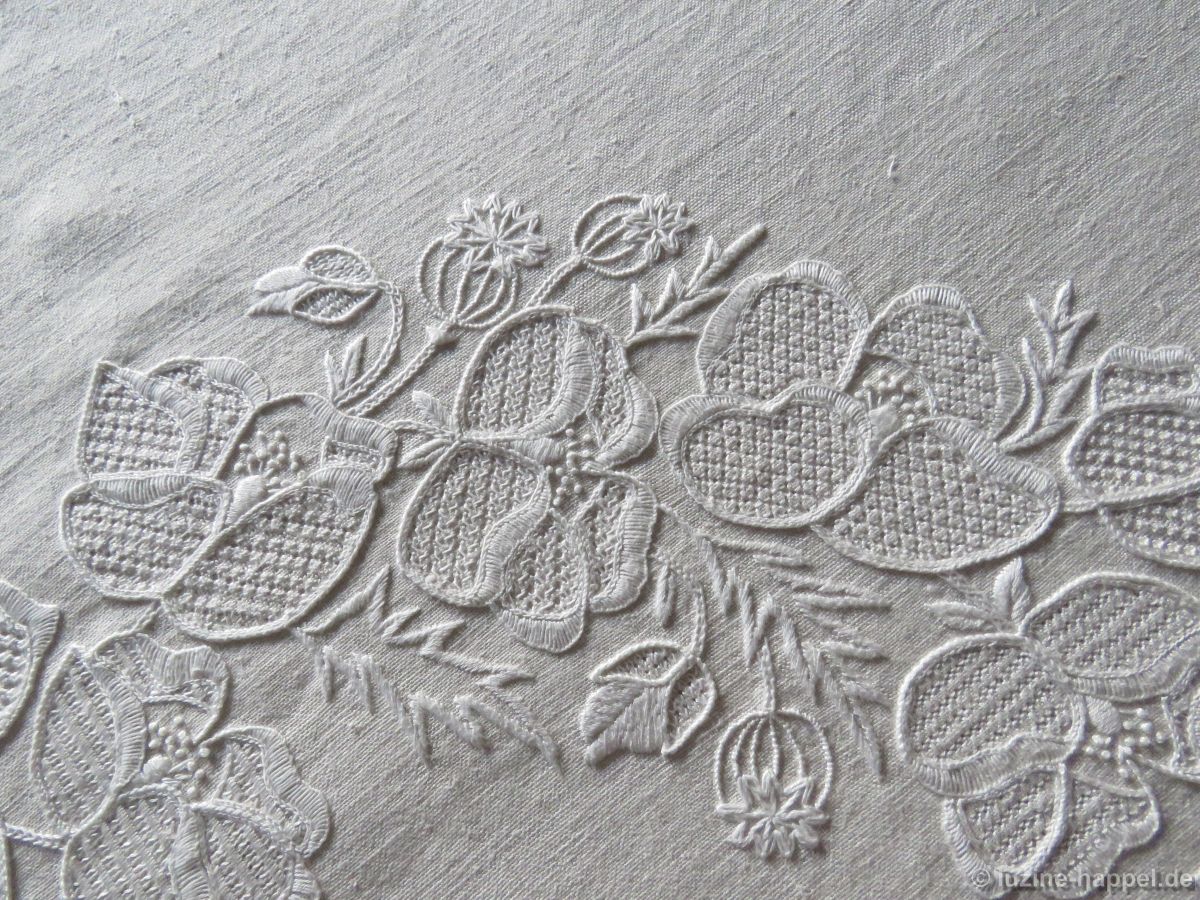
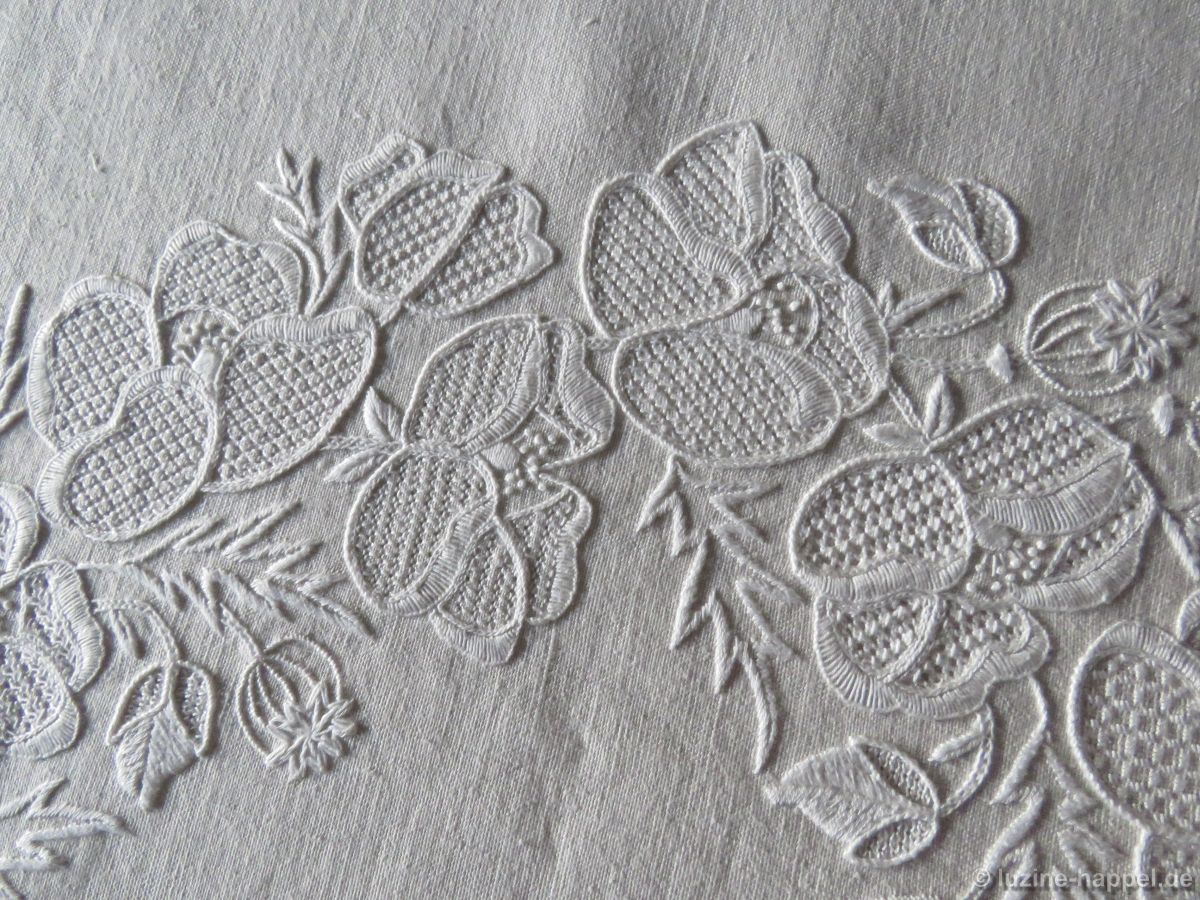
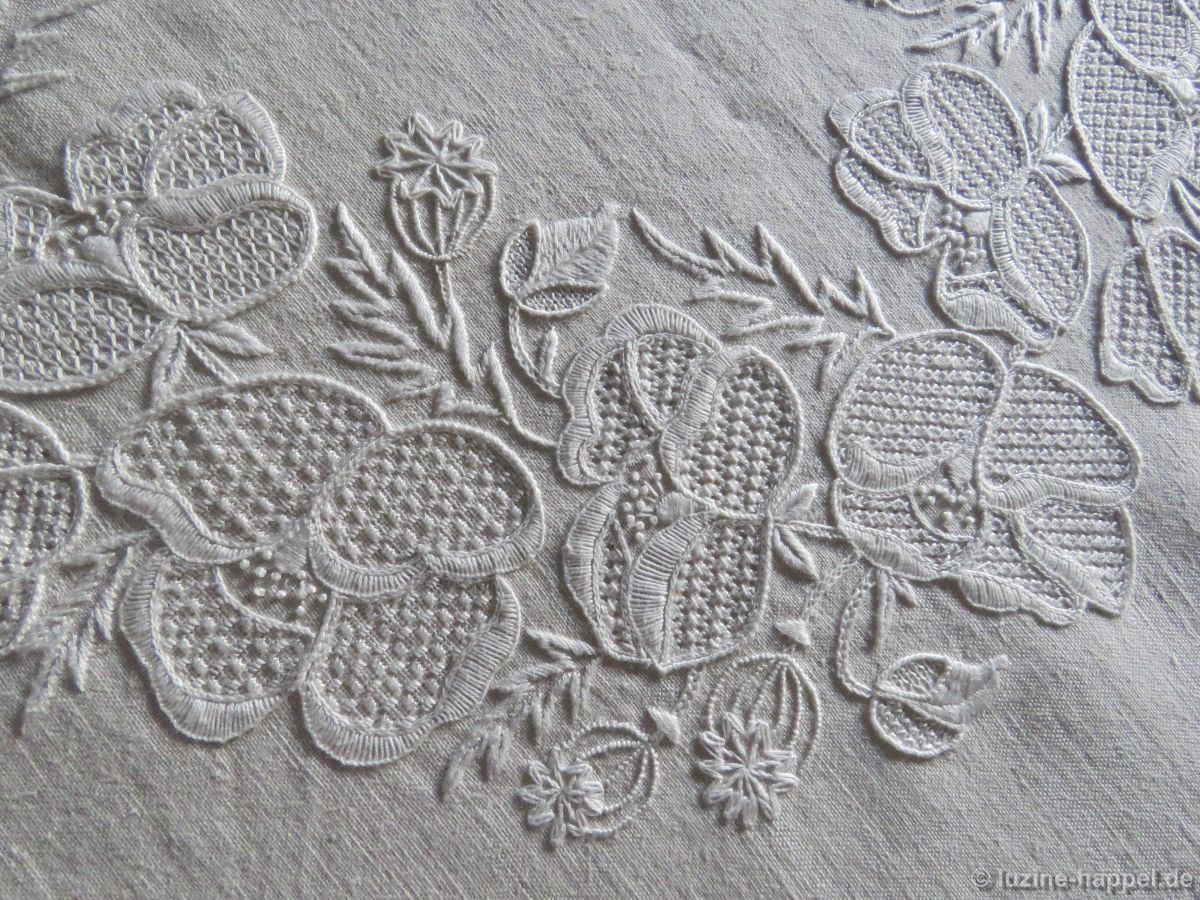
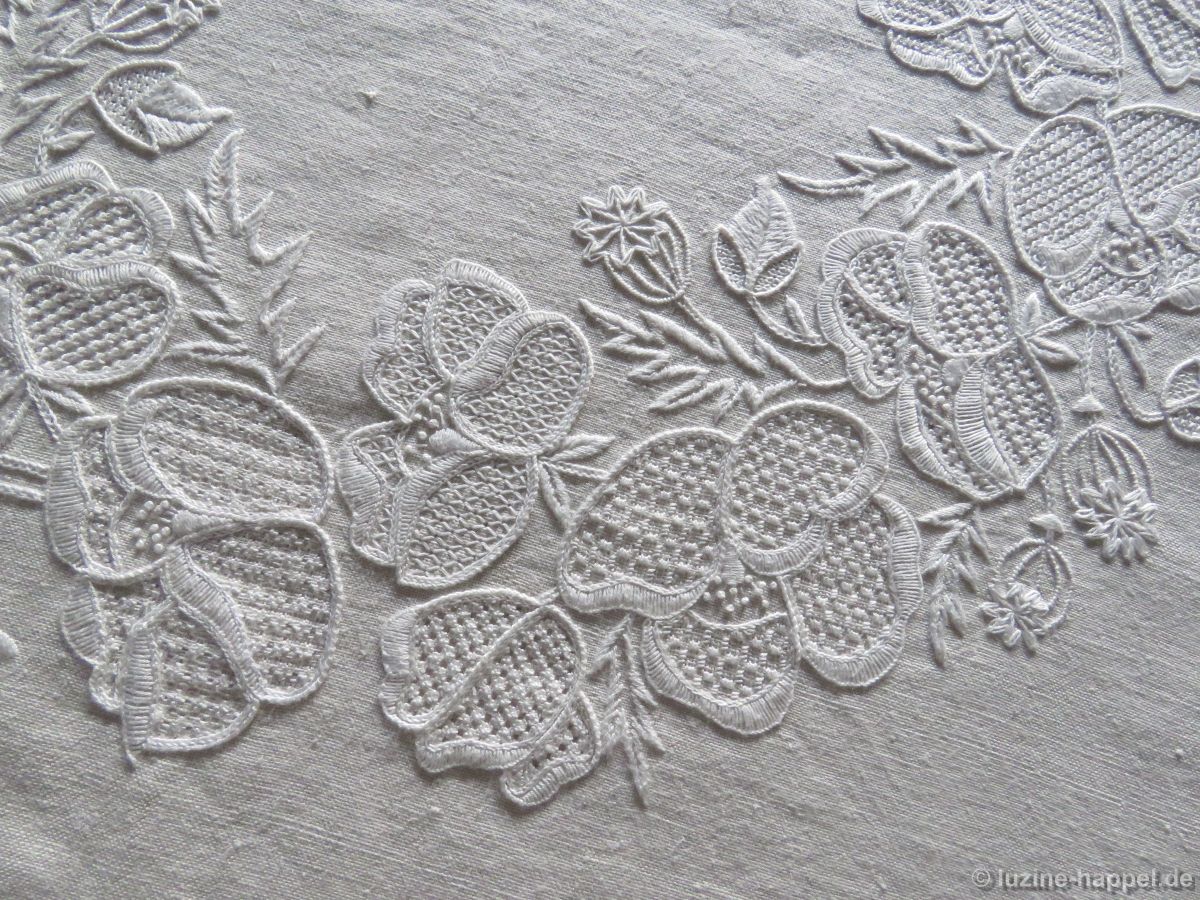
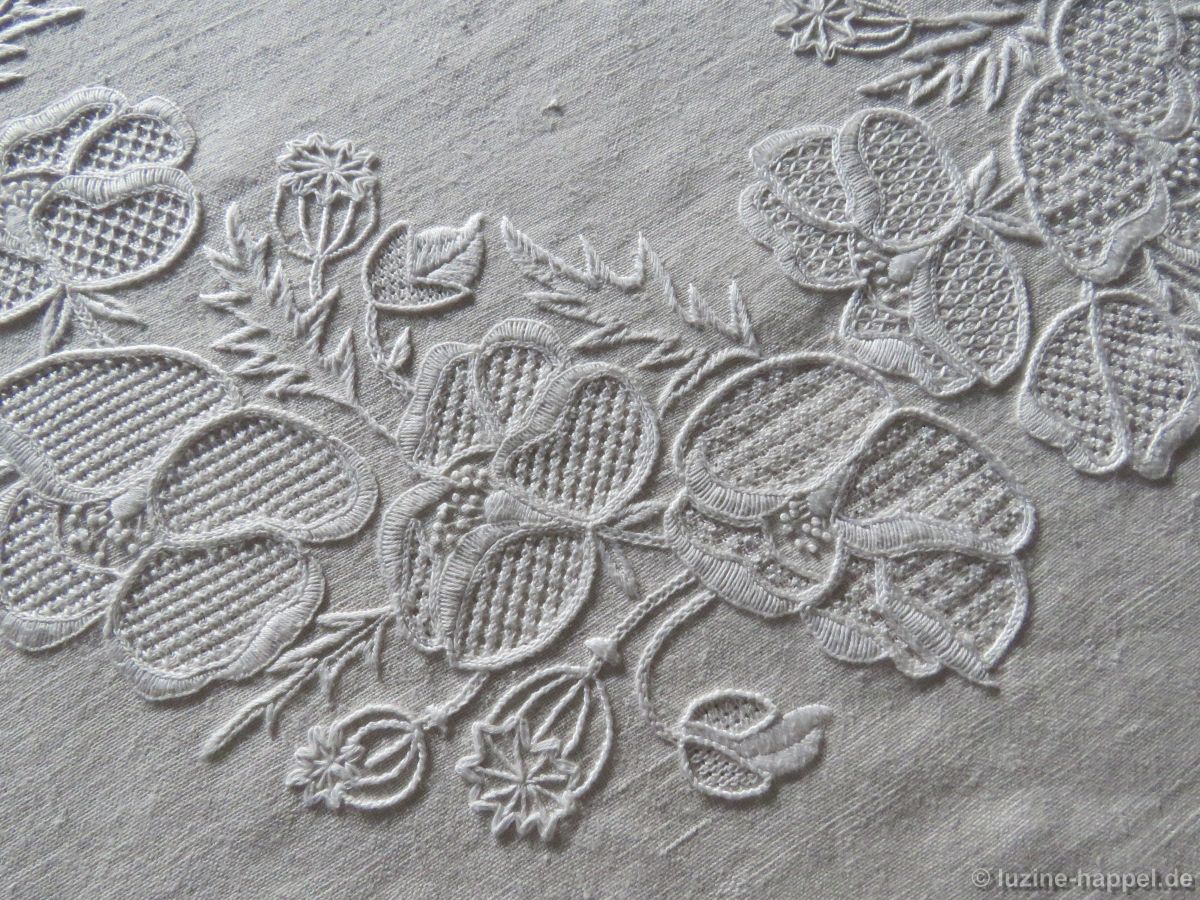
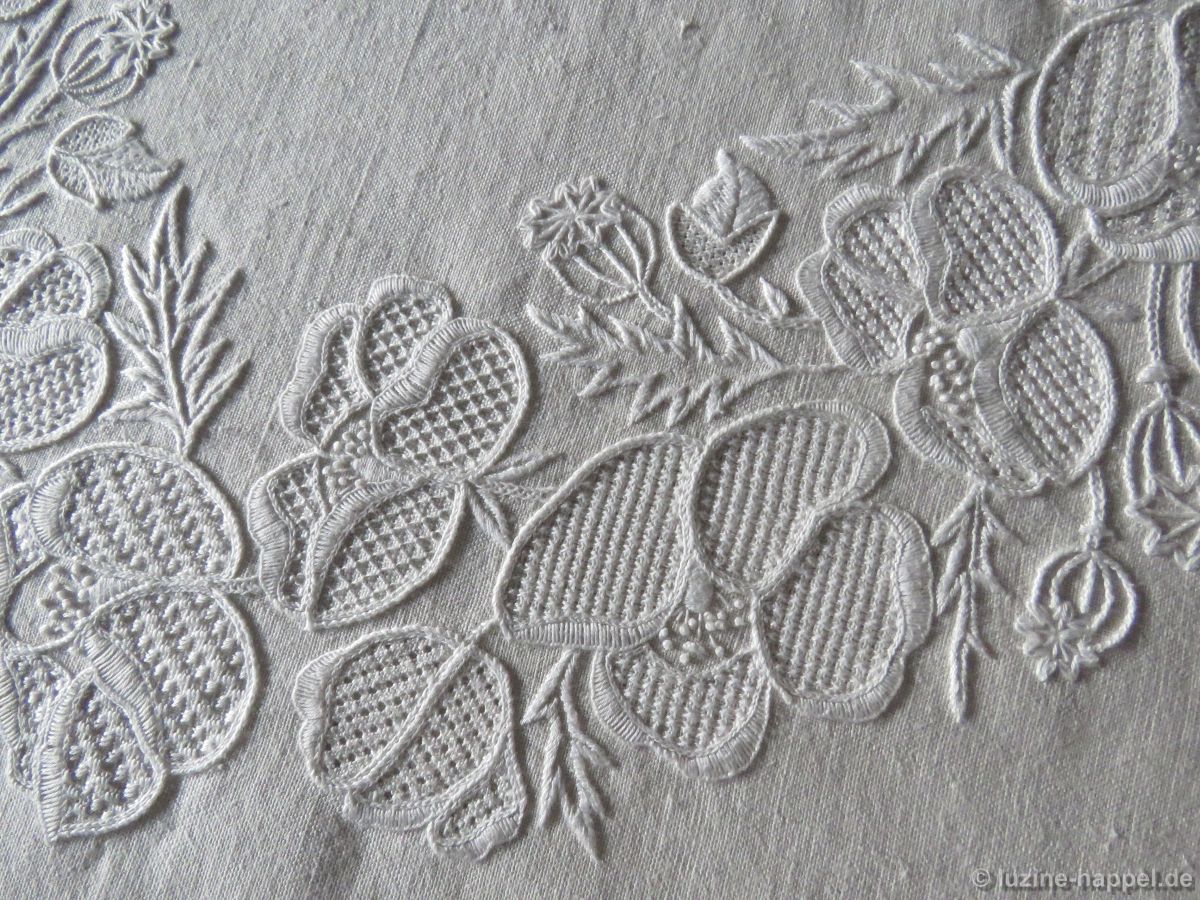
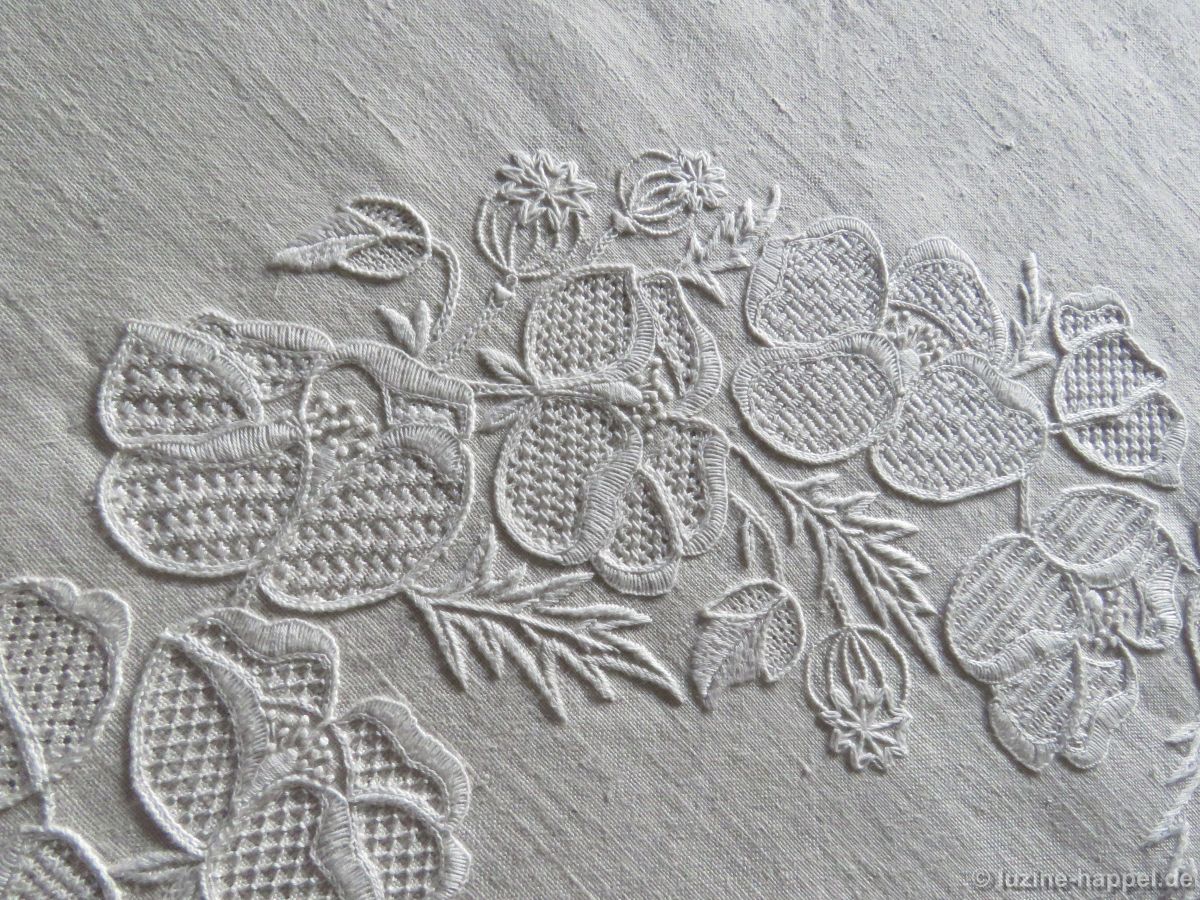
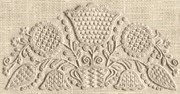
Decades ago, Irmgard Mengel, based on an idea by Maria Jung, cut a stencil for printing onto a tea cloth.

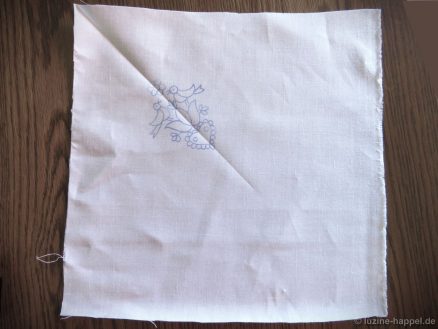
The motifs are arranged in a square pattern, leaving a rather circular area free in the center.
The pattern square measures approximately 50.5 cm x 50.5 cm, with an inner diameter of approximately 29.5 cm. It was transferred to a 90 cm x 90 cm piece of linen.

As I have since taken over Irmgard Mengel’s stencils, I can print such a pattern for you upon request.

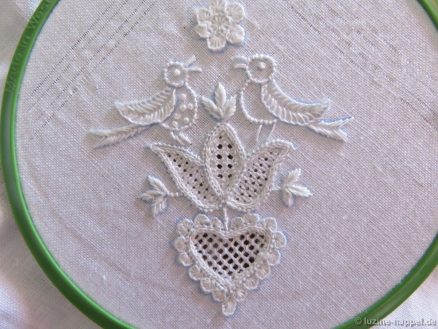
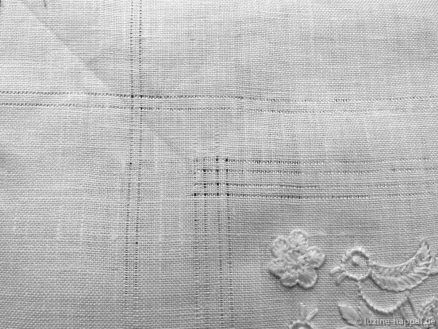
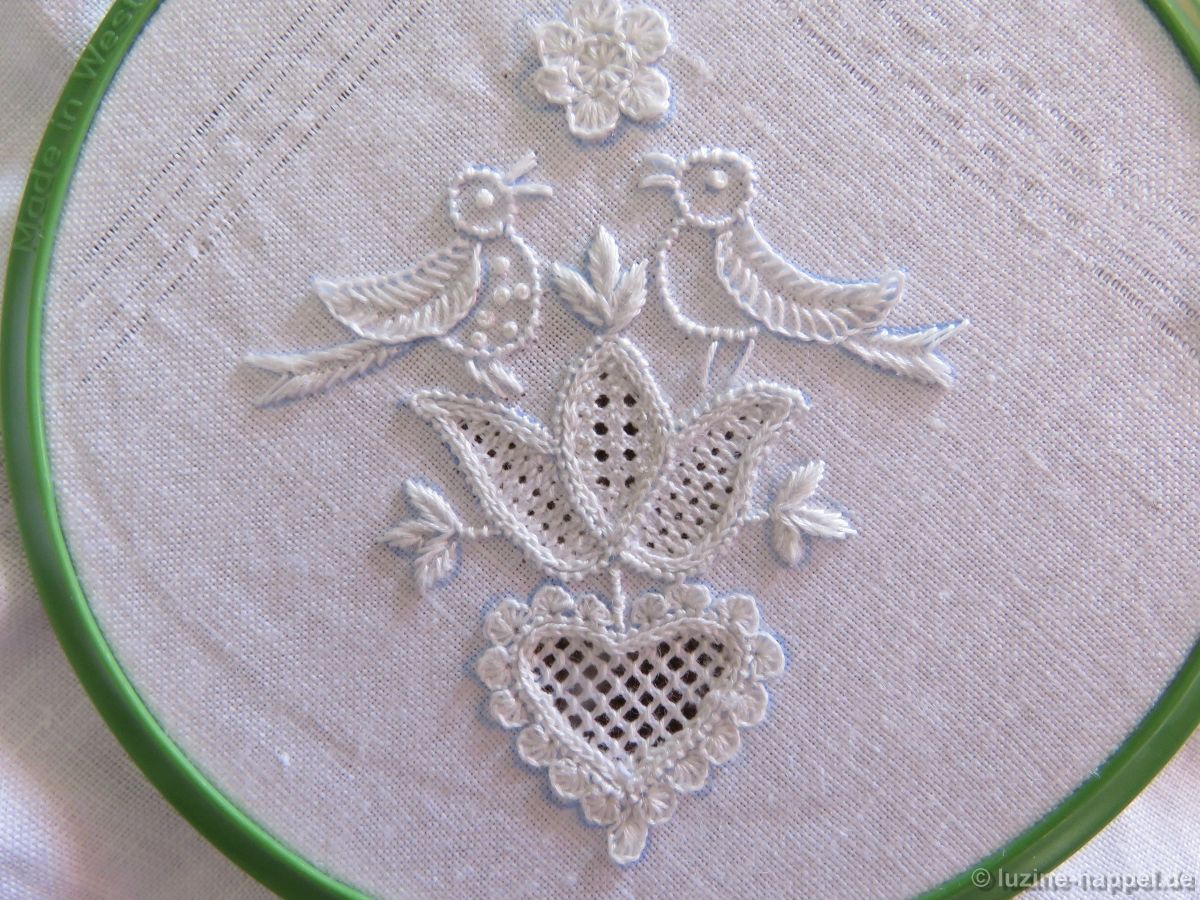
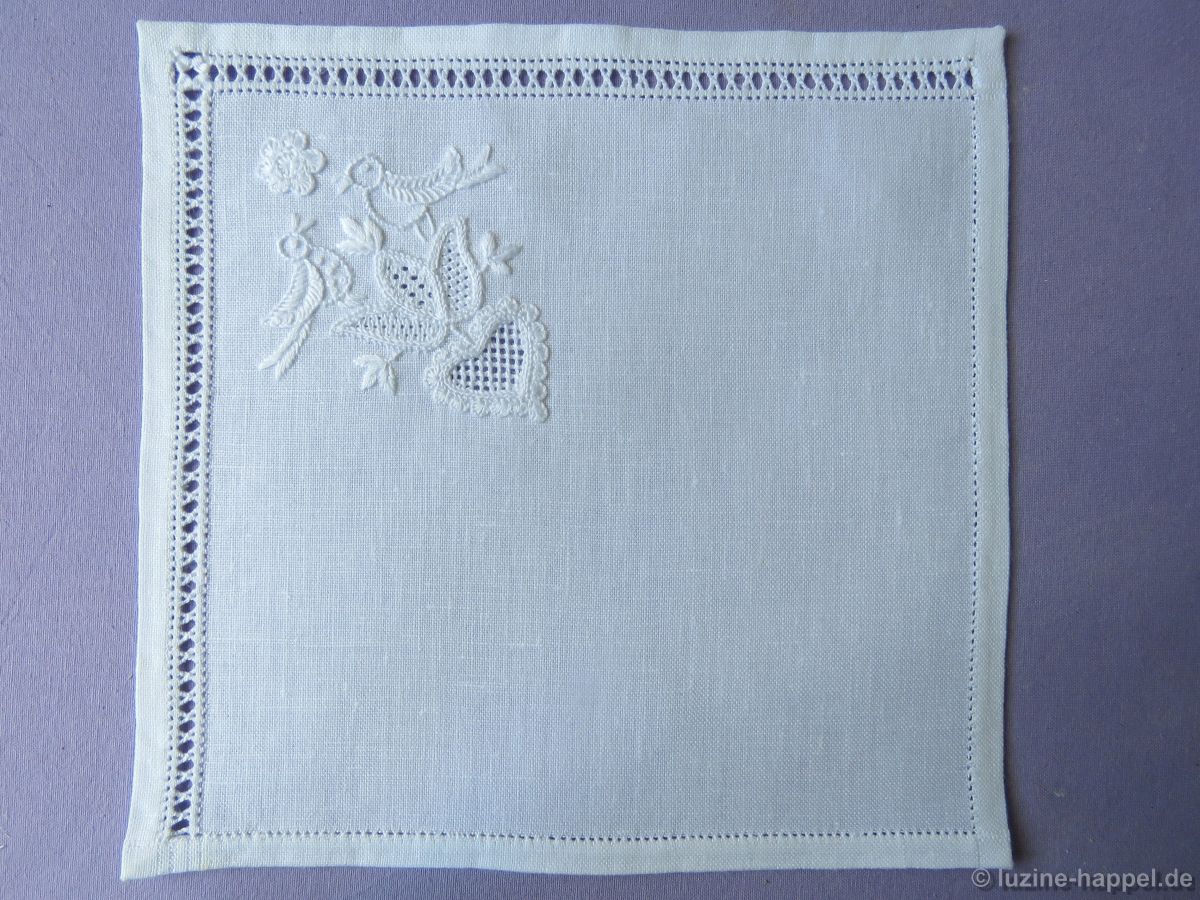
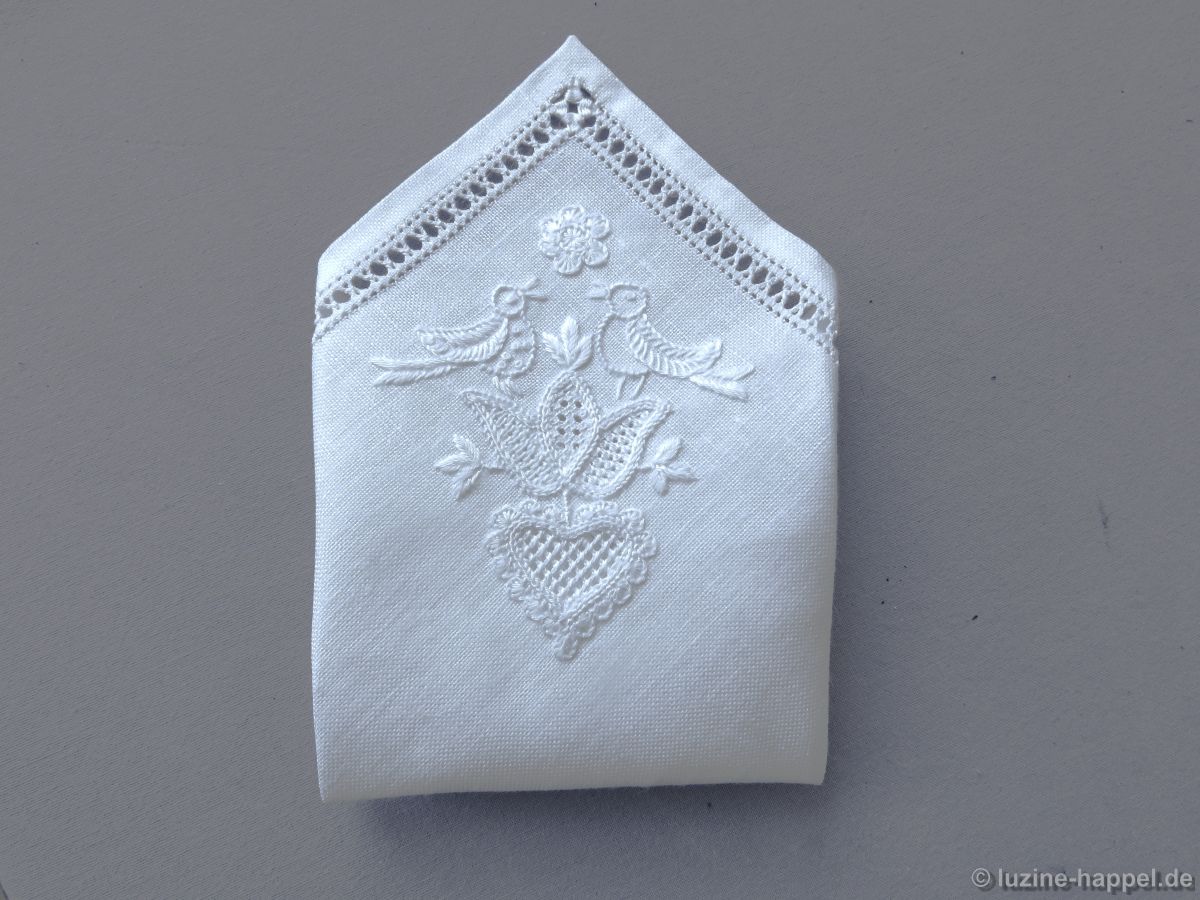
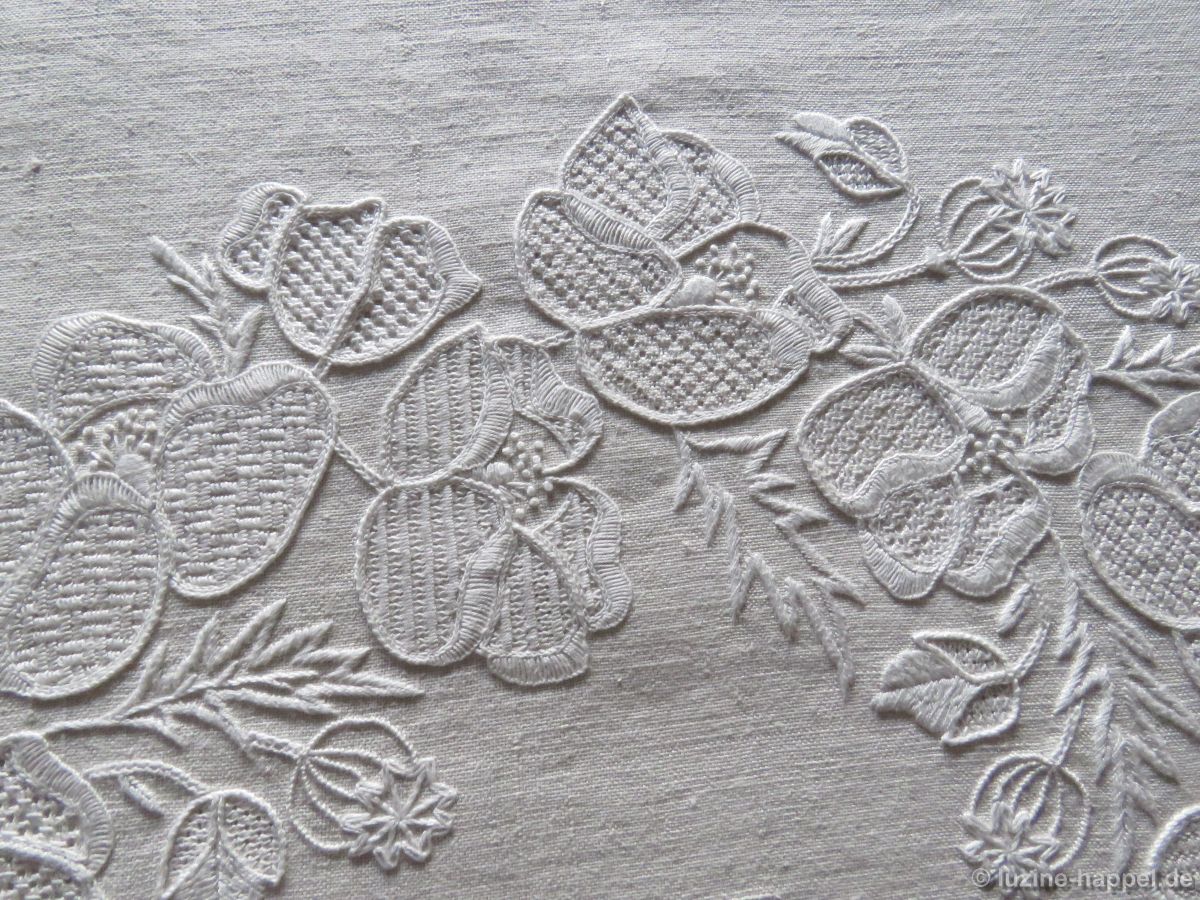
Maria Jung’s designs typically feature intricate patterns. What I particularly like about them is the contrast between rounded and pointed shapes. For this reason, I had this specific pattern printed onto hand-woven 19/20-count linen, embroidered it, and have now completed the piece. The cloth is currently drying on the line in the garden.

I will show details of the embroidery in upcoming blog posts.

How is a Pattern Printed Using a Stencil?

Double Outlines (9) – Lazy Daisy Stitches

Lazy daisy stitches can be used flexibly and in a wide variety of groupings to embroider double outlines around motifs. Here, pairs of lazy daisy stitches have been arranged to form a zigzag line.

You can come up with many more variations. Why not simply give it a try?

See also:
Double Outlines (1) – Remaining Free Areas
Double Outlines (2) – Interlaced Straight Stitches
Double Outlines (3) – Interlaced Herringbone Stitches
Double Outlines (4) – French Knots
Double Outlines (5) – Bullion Knots Knots
Double Outlines (6) – Blanket Stitches
Double Outlines (7) – Honeycomb Darning Stitches
Double Outlines (8) – Chain Stitch Variations
Double Outlines (9) – Coral Knot Stiches

Double Outlines (9) – Coral Knot Stitches

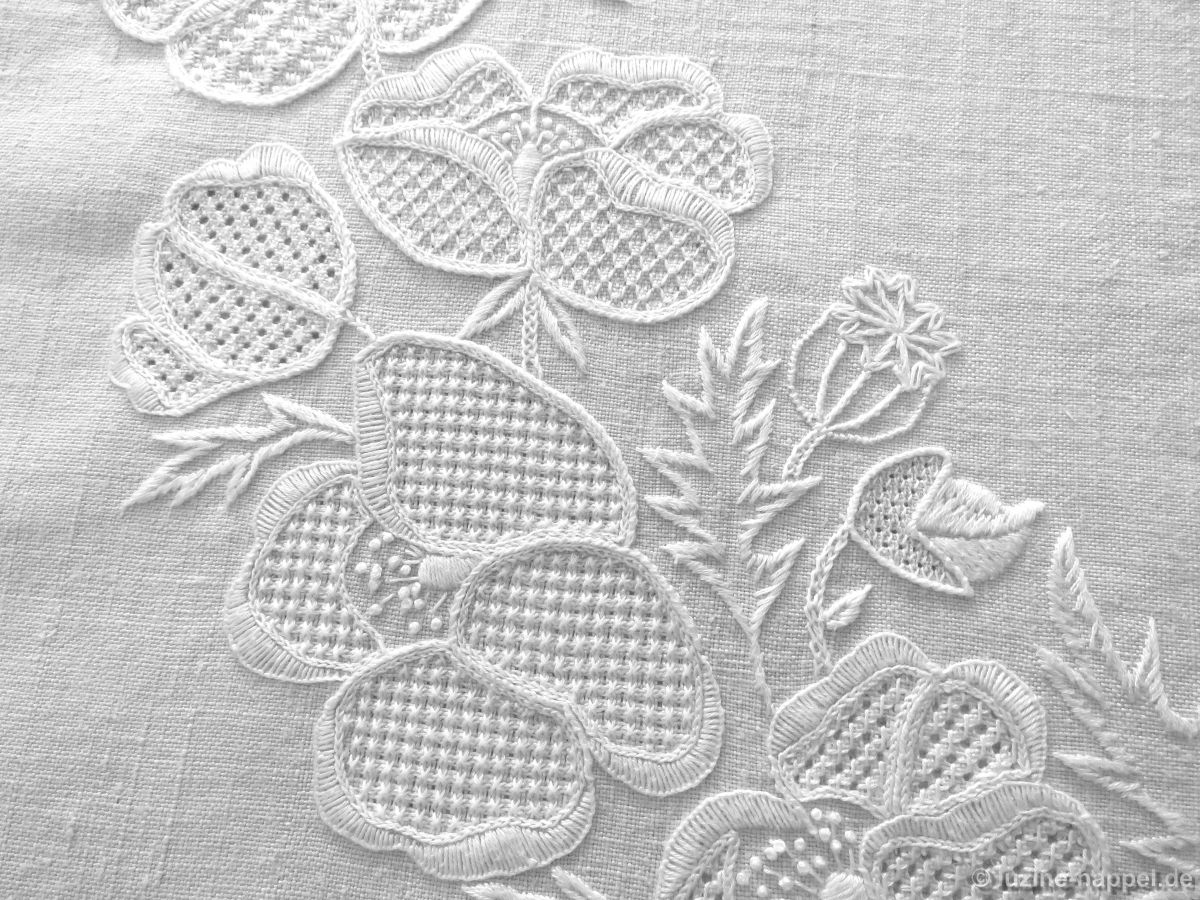
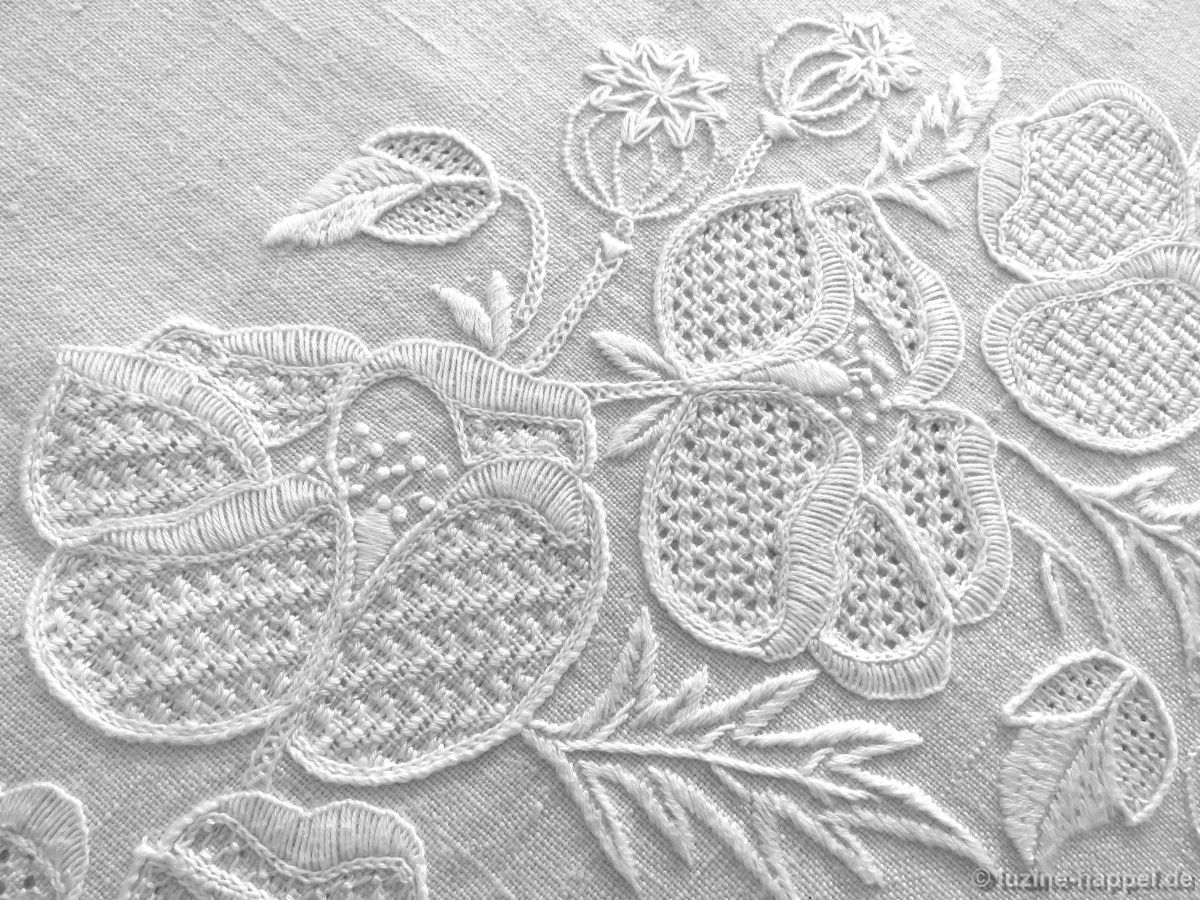
Another way to emphasize motif edges with double outlines is to embroider adjacent rows of coral knot stitches.

This variant can be found in many traditional models from the end of the 18th century onwards.
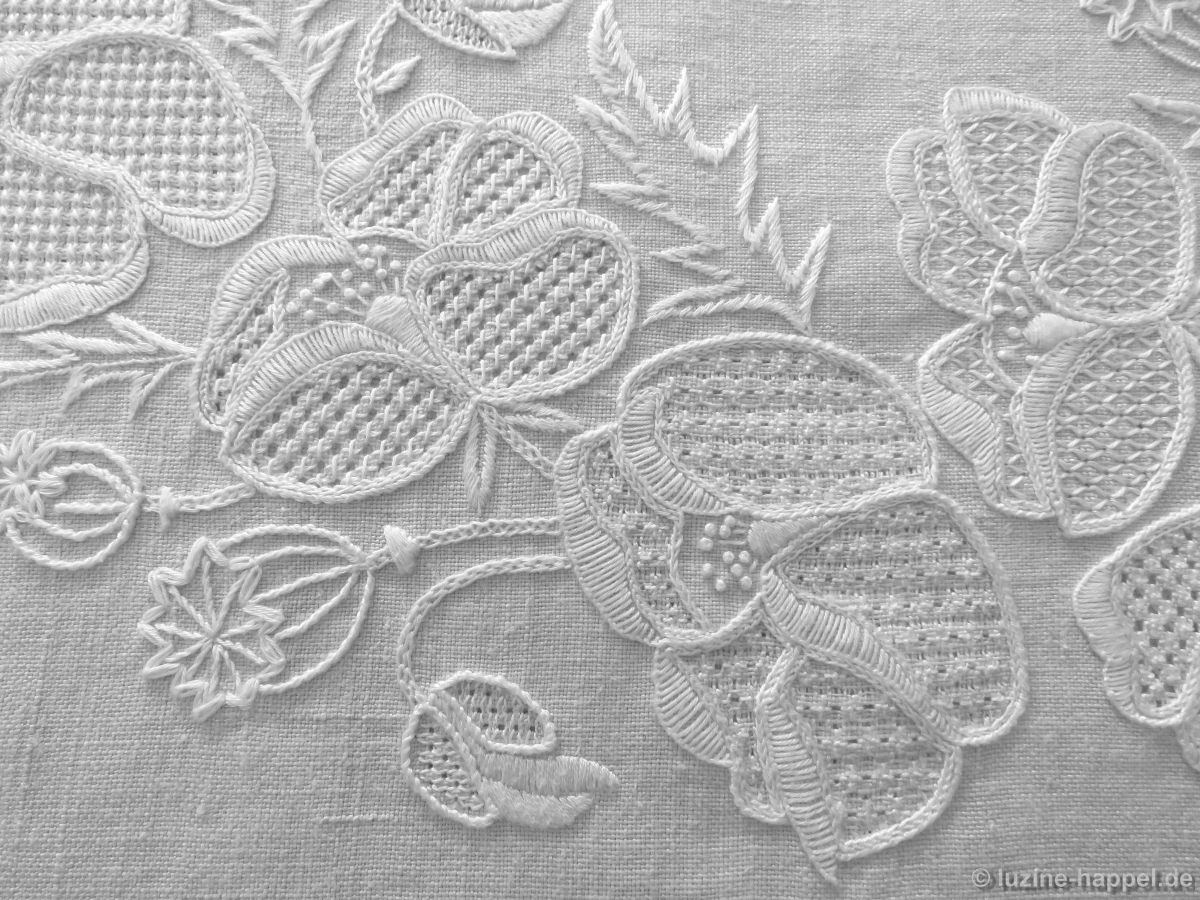
Many motifs were designed using this alternative on a densely embroidered bodice sleeve border.

The detailed photos show,

that a row of chain stitches with thick thread was often worked within the coral knot stitches.

These not only ensure a clean finish to the filling patterns, but also accentuate the edge.

However, there are also examples where the coral knot stitch double row forms the only border decoration.

Sometimes only part of the motif’s border is decorated in this way. The remaining edges are given a different design, as seen here with blanket stitches and – partially visible to the right – Interlaced Straight Stitches
See also:
Double Outlines (1) – Remaining Free Areas
Double Outlines (2) – Interlaced Straight Stitches
Double Outlines (3) – Interlaced Herringbone Stitches
Double Outlines (4) – French Knots
Double Outlines (5) – Bullion Knots Knots
Double Outlines (6) – Blanket Stitches
Double Outlines (7) – Honeycomb Darning Stitches
Double Outlines (8) – Chain Stitch Variations

Double Outlines (8) – Chain Stitch Variations

For large designs, the border is often finished with double lines spaced more or less widely.

Chain stitches are very well suited for filling the narrow space between two such lines. They are easy to stitch, very flexible, and offer a wide range of variations. Many variations can be achieved by using different thread weights and choosing the stitch length. Pay particular attention to these two characteristics in the following images.

In a parade cushion border from 1814, there are simply two adjacent rows of chain stitches around the edge of the motif.

Chain stitches, each stitched tightly within the coral knot stitches and with unworked space in between,

create a simple border decoration.

A single row of chain stitches in the middle between the coral knot stitches

fills the empty space.

Wide chain stitches, where the inserting and emerging points are not at the same point but slightly apart,

result in a different appearance.

A similar effect can be achieved with crossed chain stitcesh.

The emerging point of one chain link coincides with the inserting point of the following loop.

The working threads are alternately laid into loops to the left and to the right.

The crossed is more ample than the wide chain stitch.

It can also be used effectively to work with wide stems. One can vary the thread thickness, stitch width, and stitch length particularly well.

See also:
Double Outlines (1) – Remaining Free Areas
Double Outlines (2) – Interlaced Straight Stitches
Double Outlines (3) – Interlaced Herringbone Stitches
Double Outlines (4) – French Knots
Double Outlines (5) – Bullion Knots Knots
Double Outlines (6) – Blanket Stitches
Double Outlines (7) – Honeycomb Darning Stitches

Double Outlines (7) – Honeycomb Darning Stitches

Many designs with large motifs decorate their edges with double lines spaced more or less widely. One such design features a smaller heart placed inside a larger one. Its filling pattern also consists of Honeycomb Darning stitches.

It is therefore a good idea to also work Honeycomb Darning stitches between the outlines of the large heart. The distance between the lines is large enough to accommodate two rows of embroidery stitches.

It is advisable to start at one point and embroider the first row over half of the free area.

The second row is worked beside adapted to the shape.

This creates a pretty border decoration.

It adorns one of the “Apron Square Designs” on the edge of a tablecloth.

The Apron Square Designs are very diverse in design and are suitable for many different uses.

See also:
Double Outlines (1) – Remaining Free Areas
Double Outlines (2) – Interlaced Straight Stitches
Double Outlines (3) – Interlaced Herringbone Stitches
Double Outlines (4) – French Knots
Double Outlines (5) – Bullion Knots Knots
Double Outlines (6) – Blanket stitches