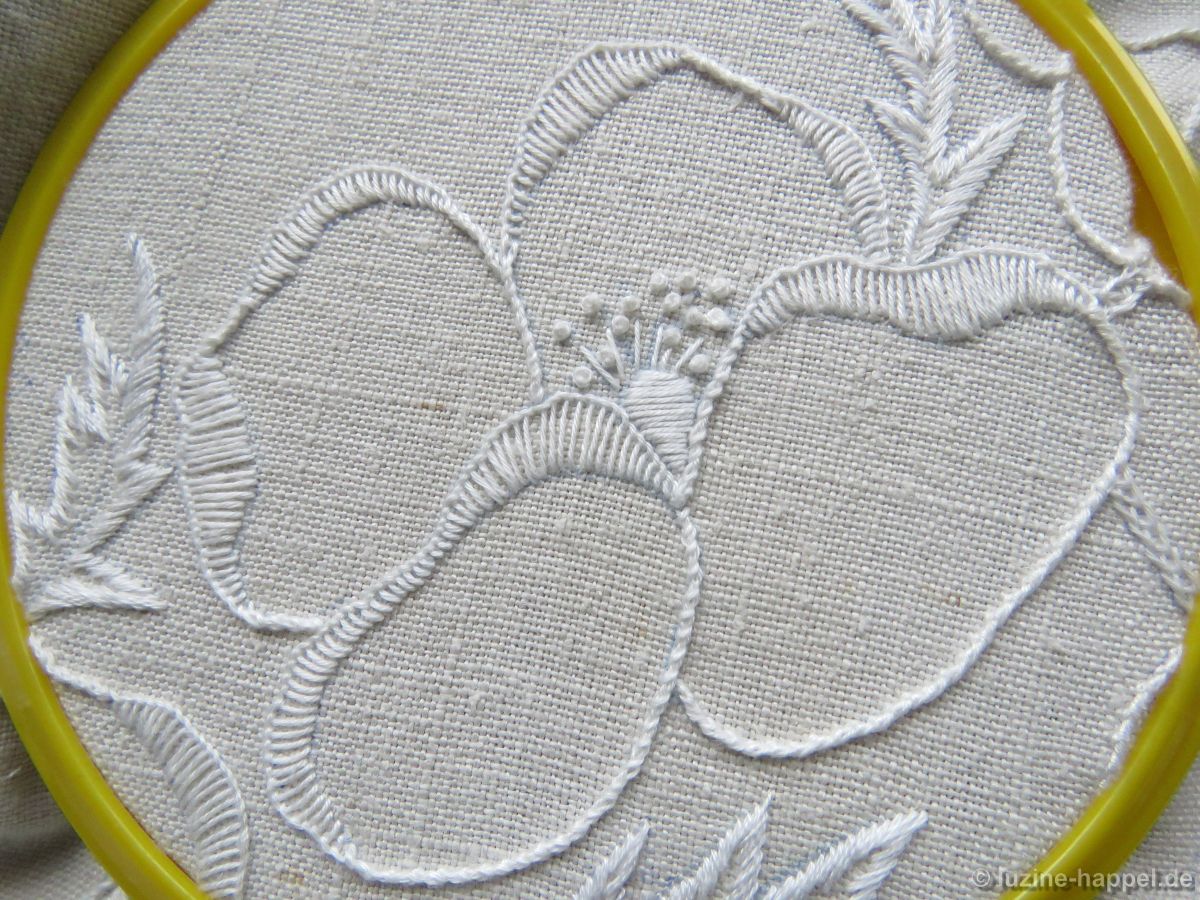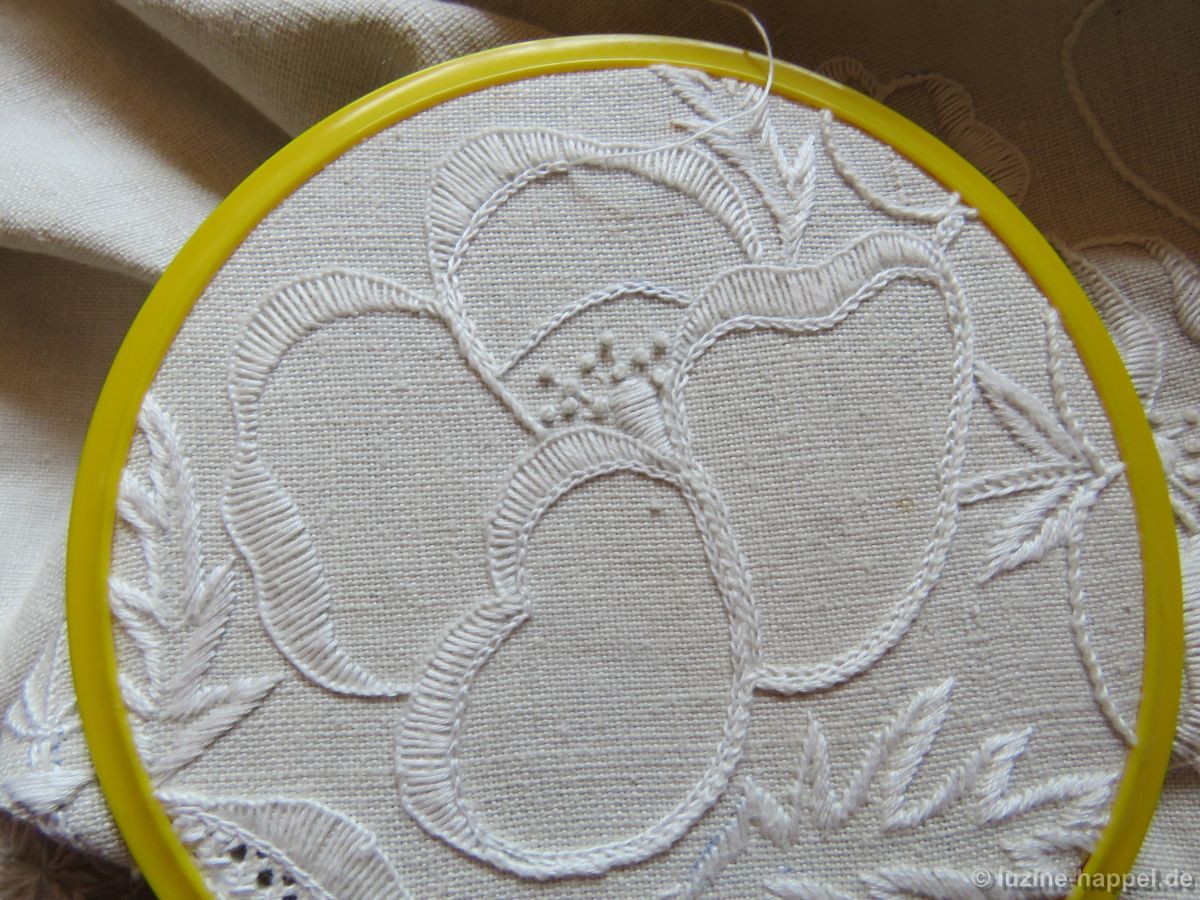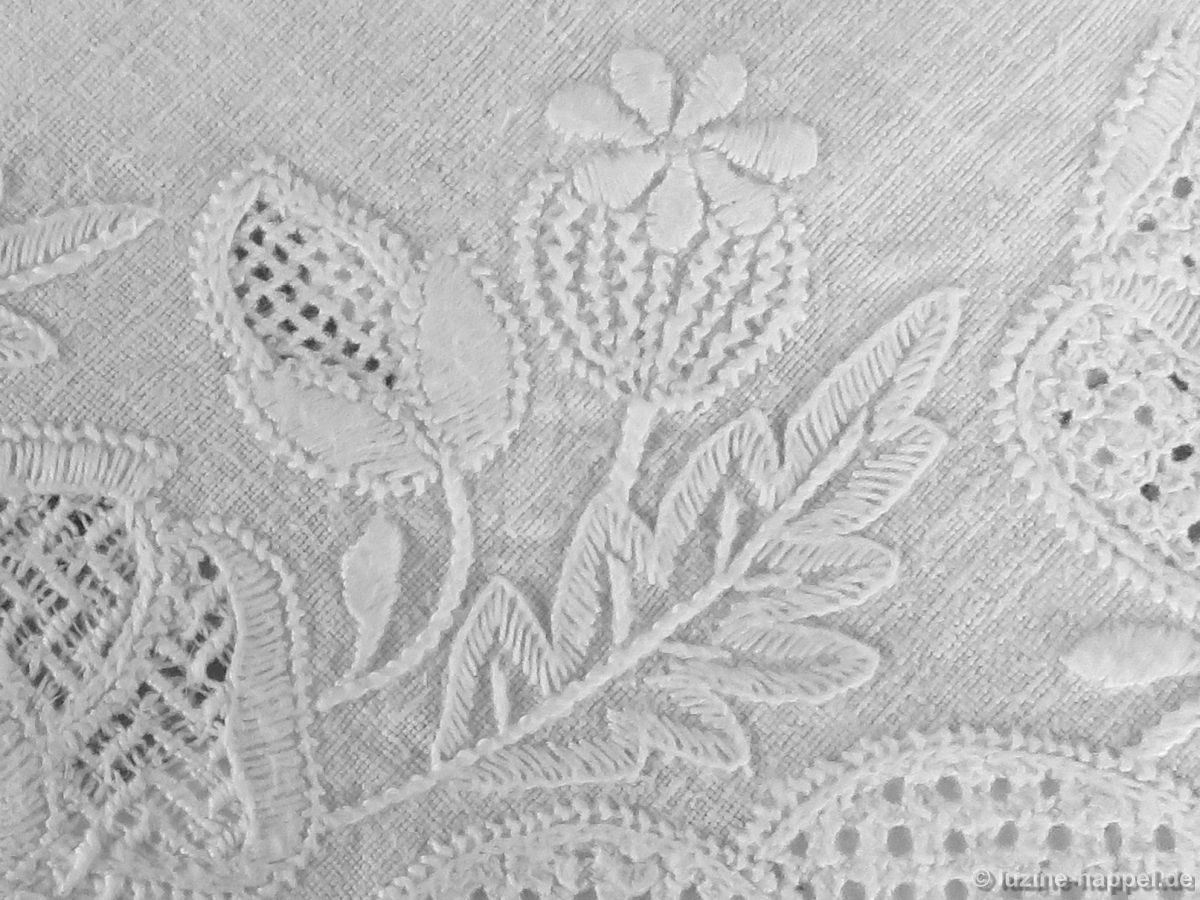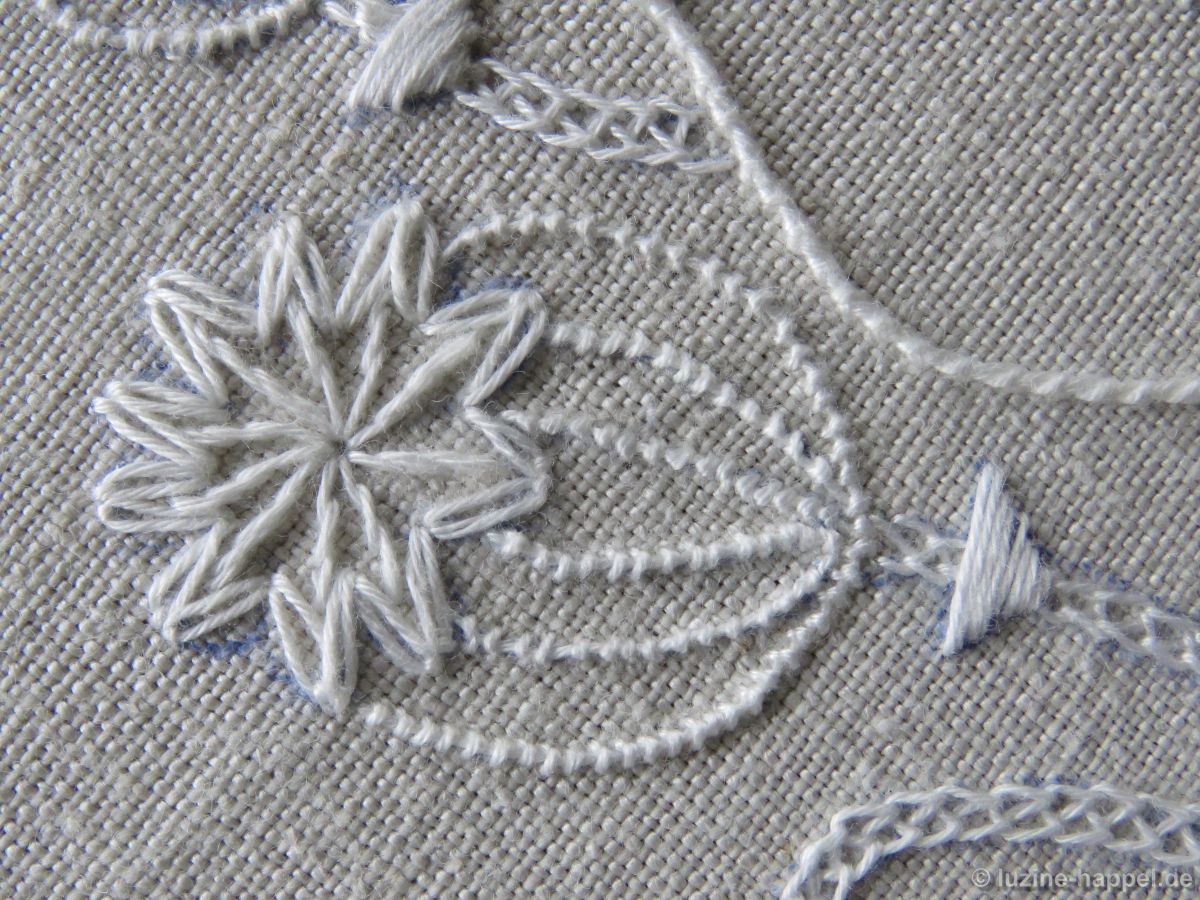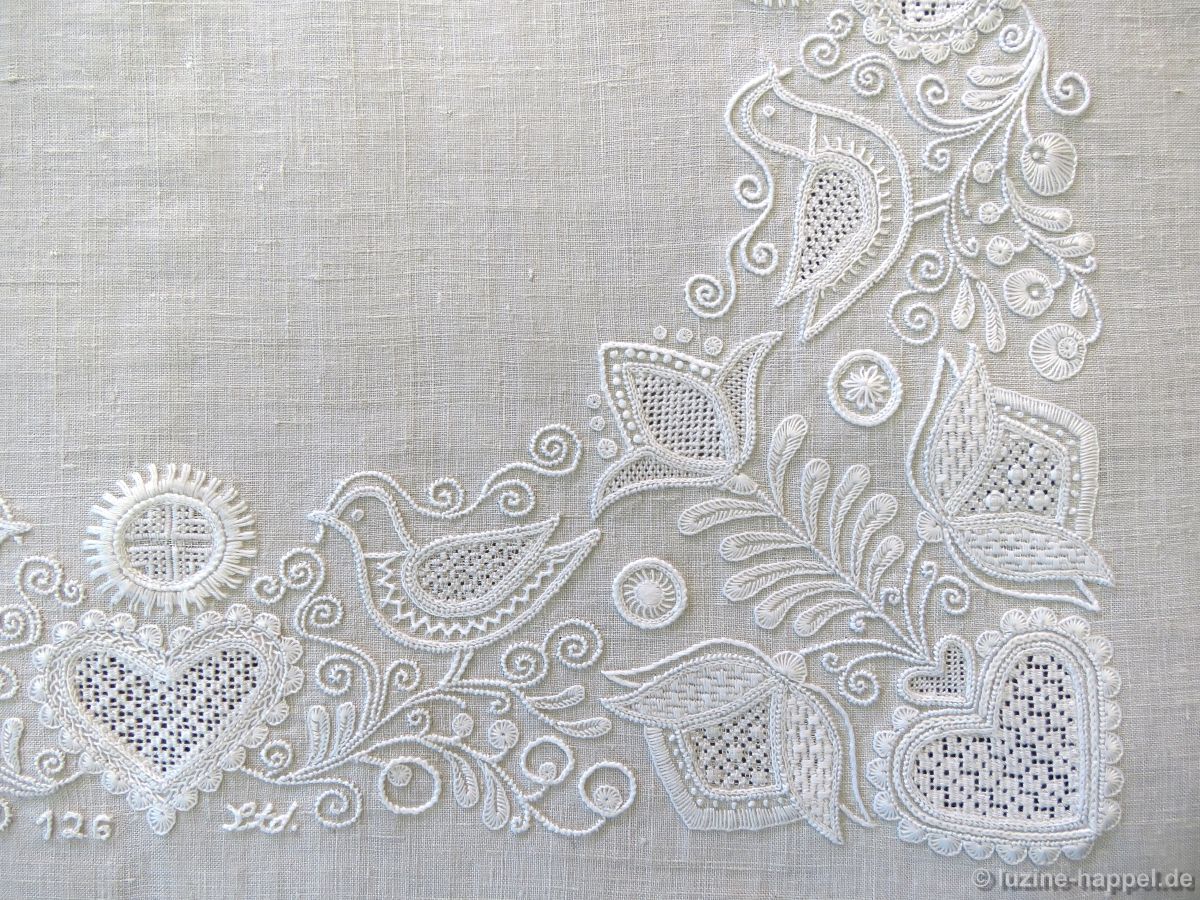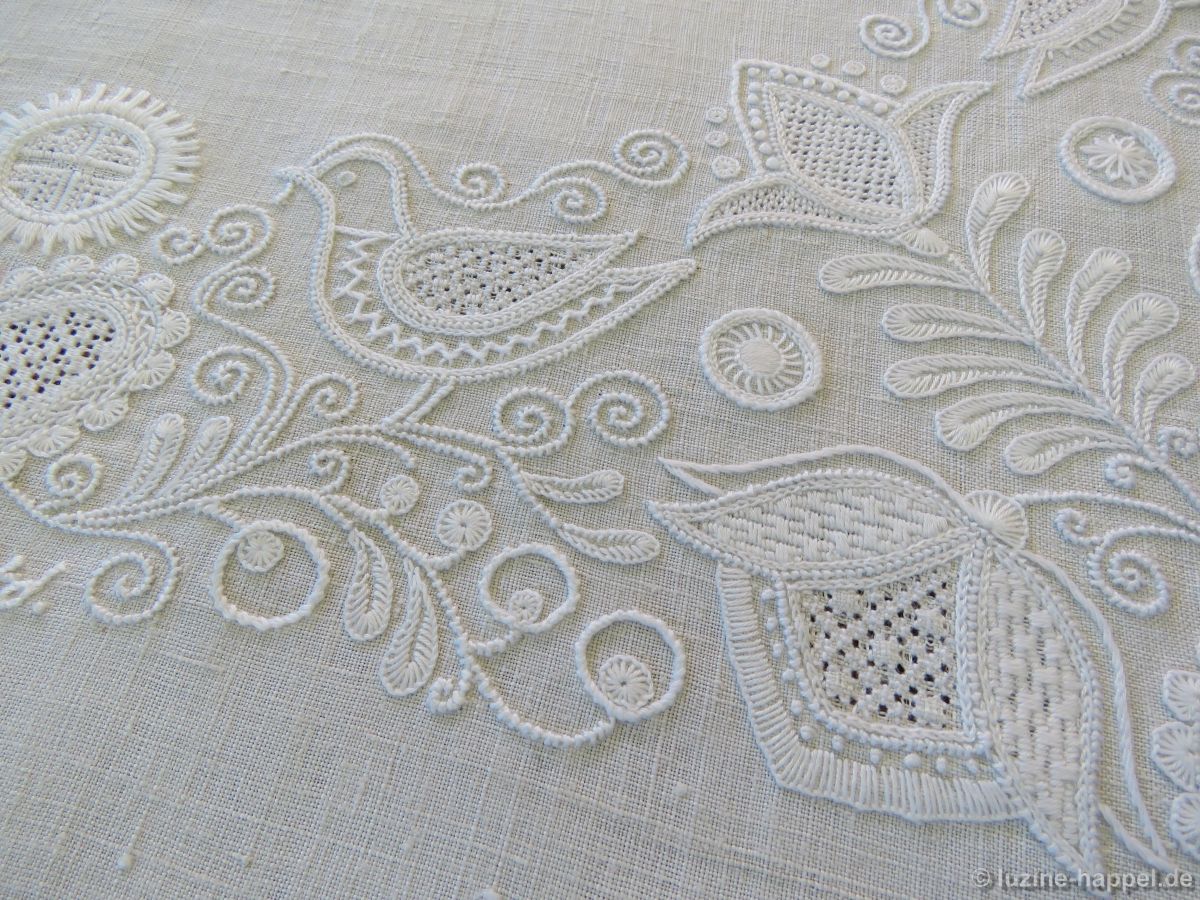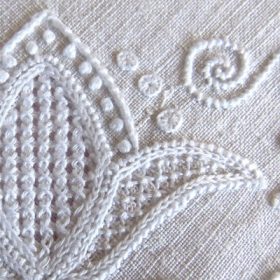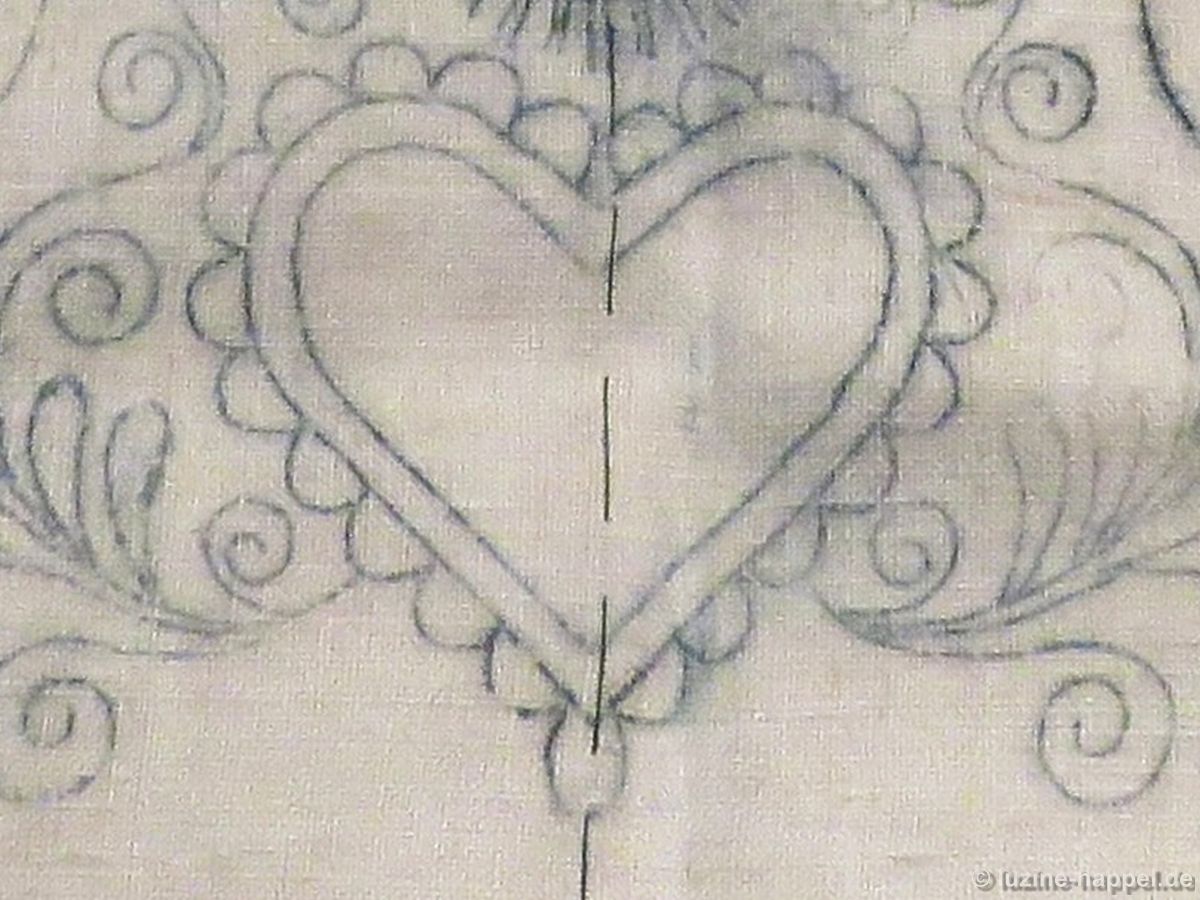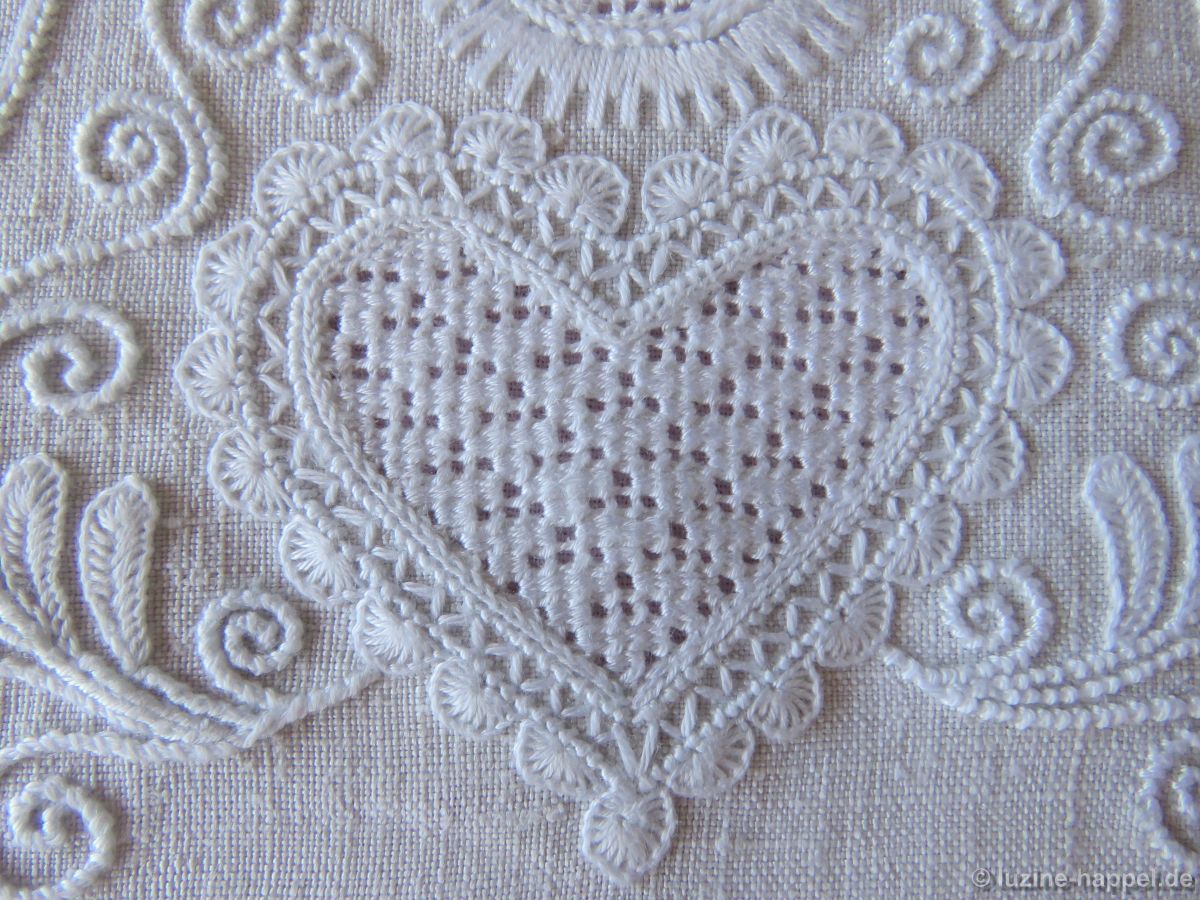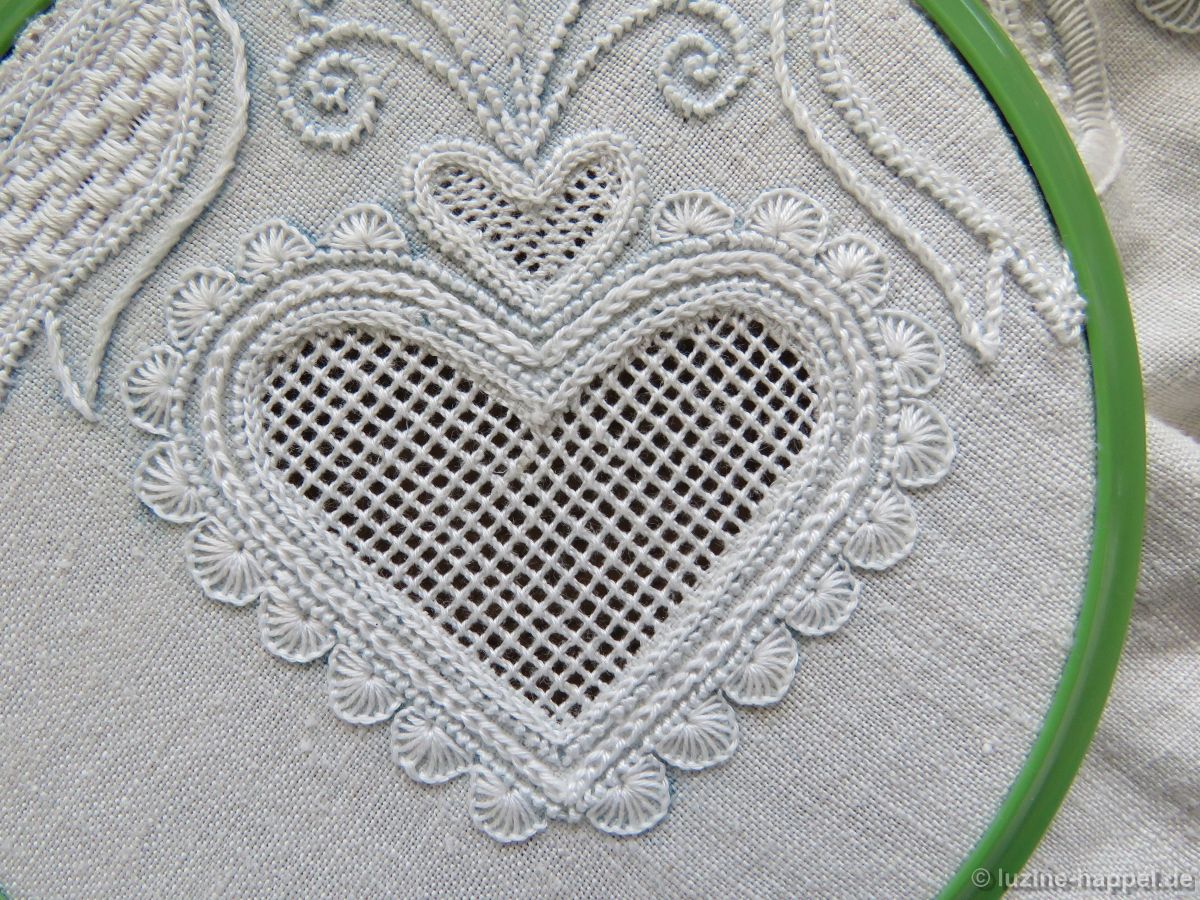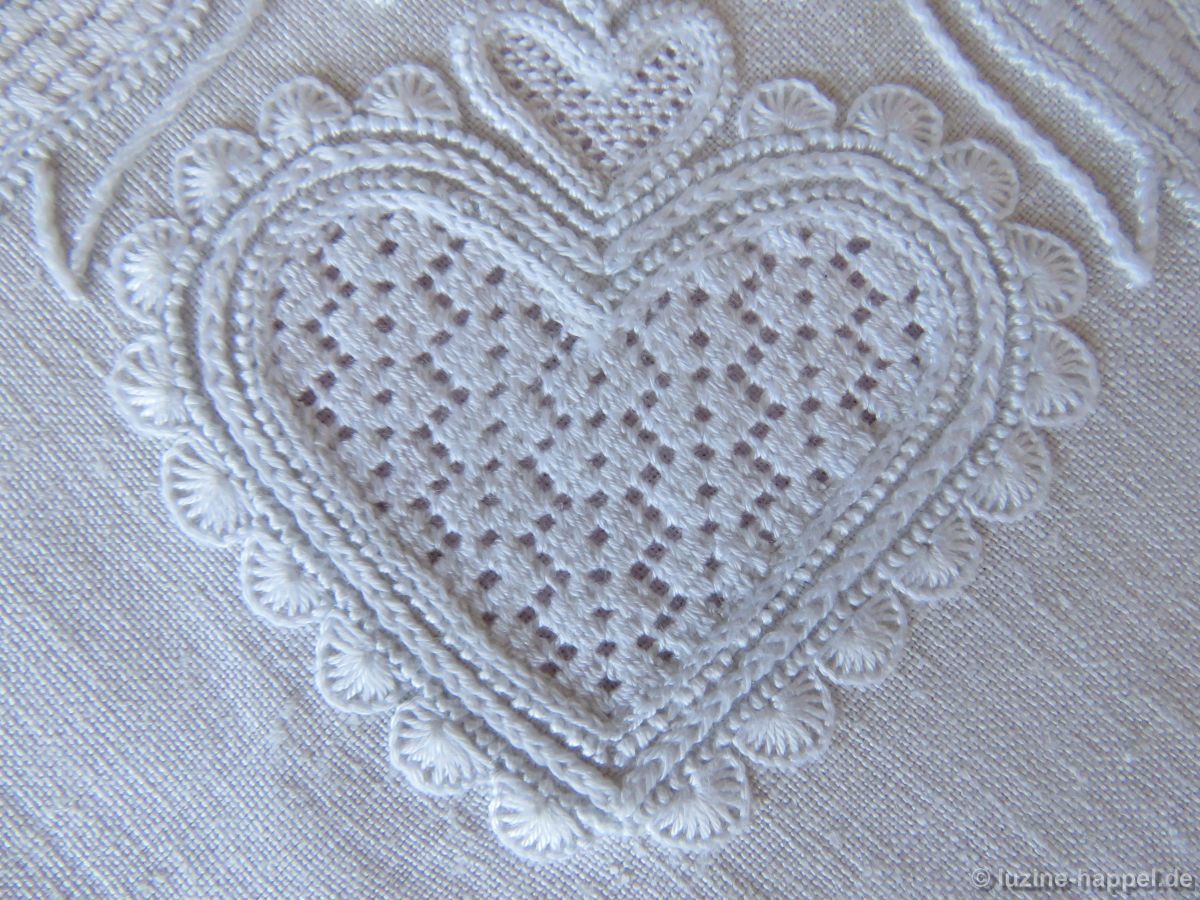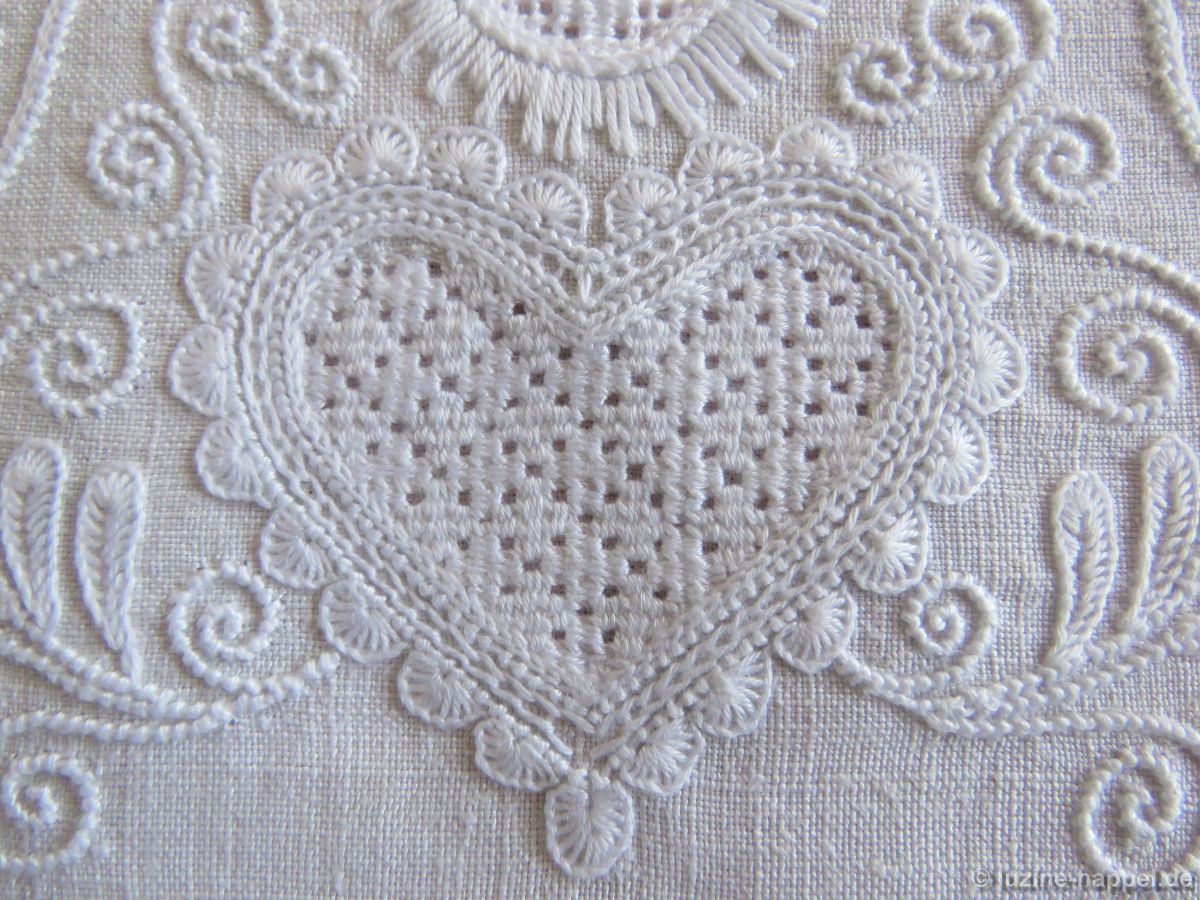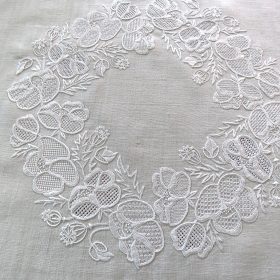
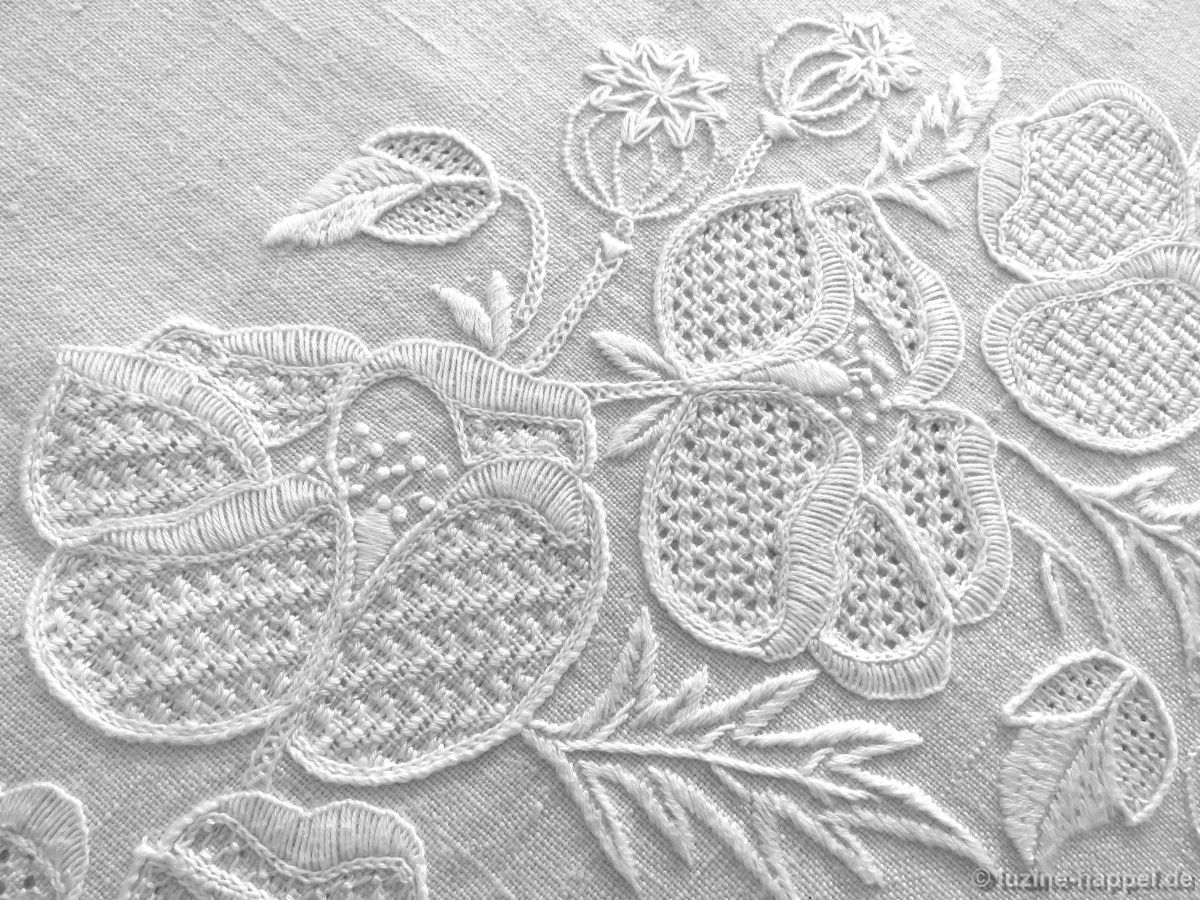
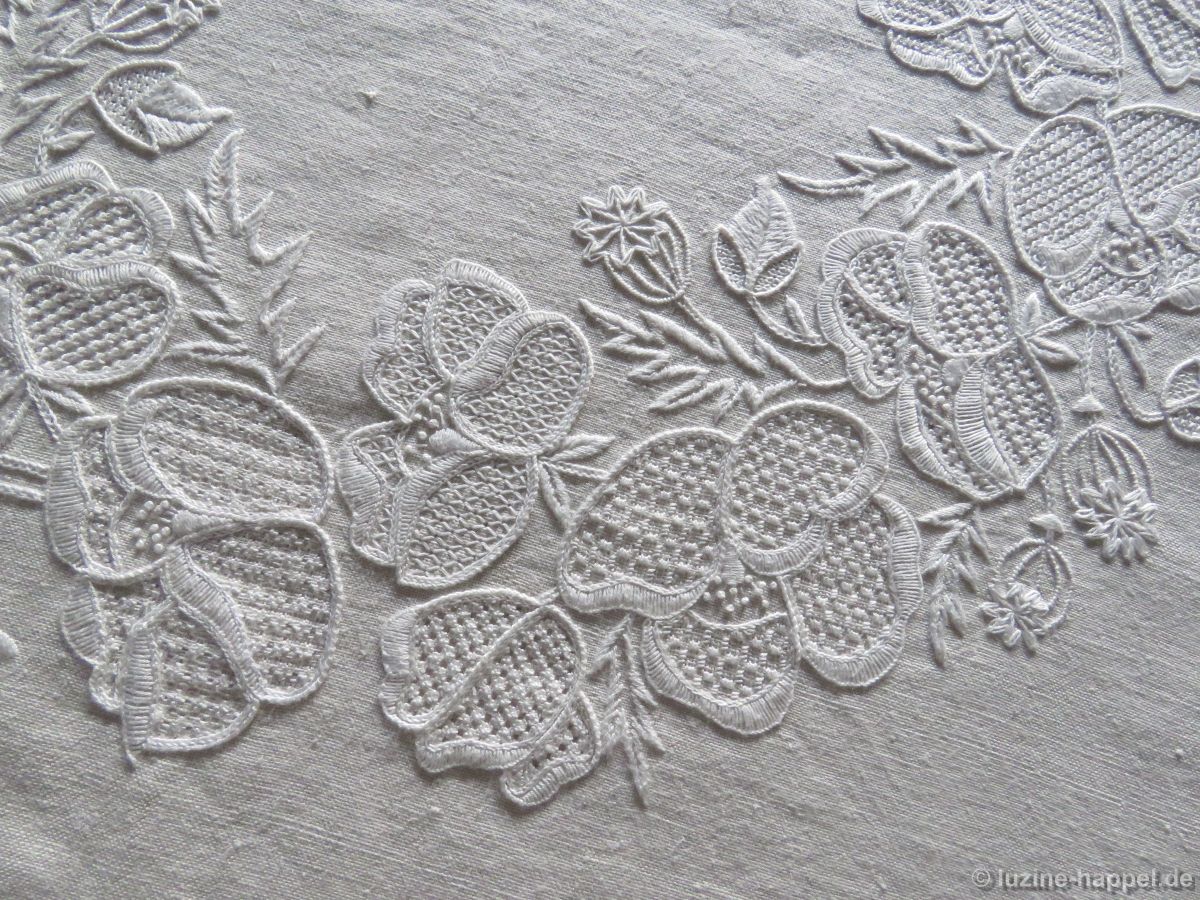
As promised, here are more pictures of the lovely, extraordinary, and striking poppy wreath.
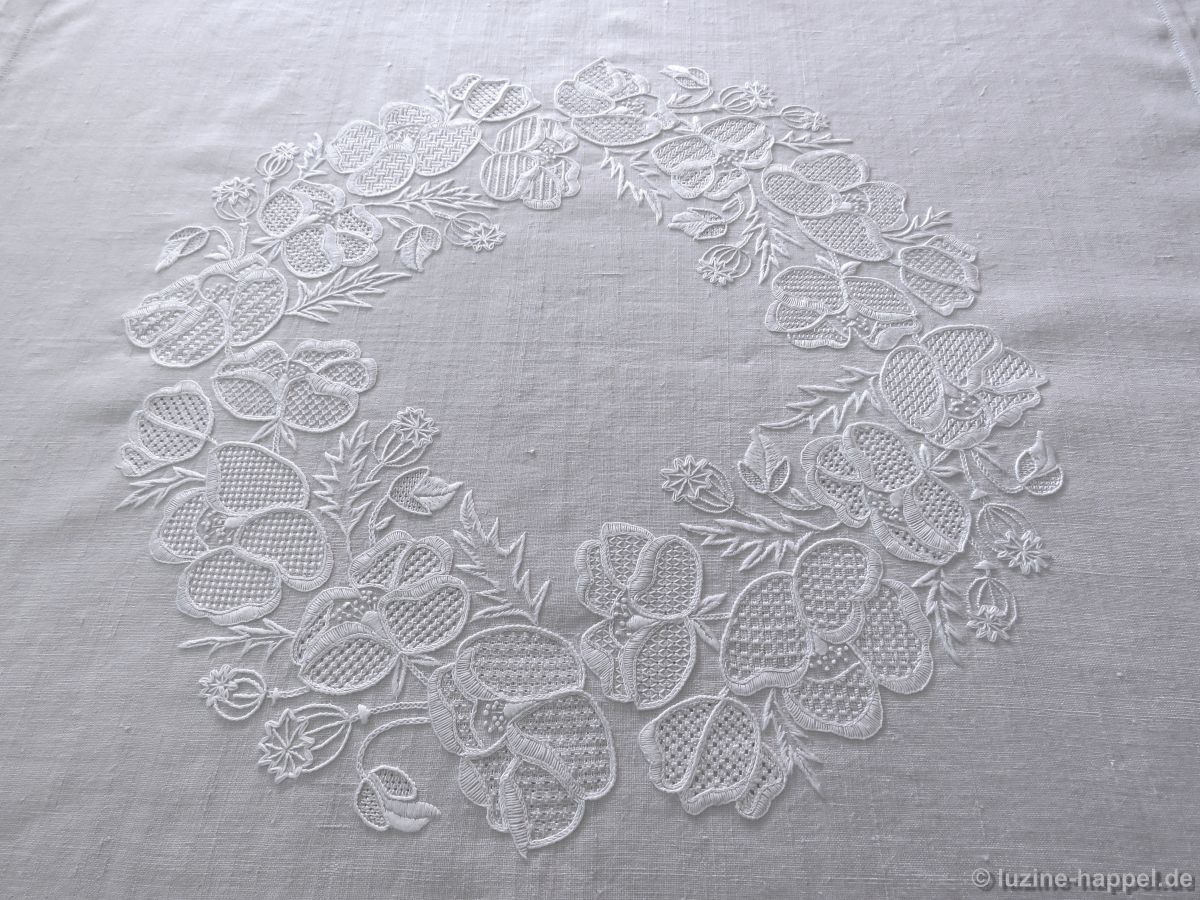
To explain the details, all the blossoms are shown moving clockwise around the circle.
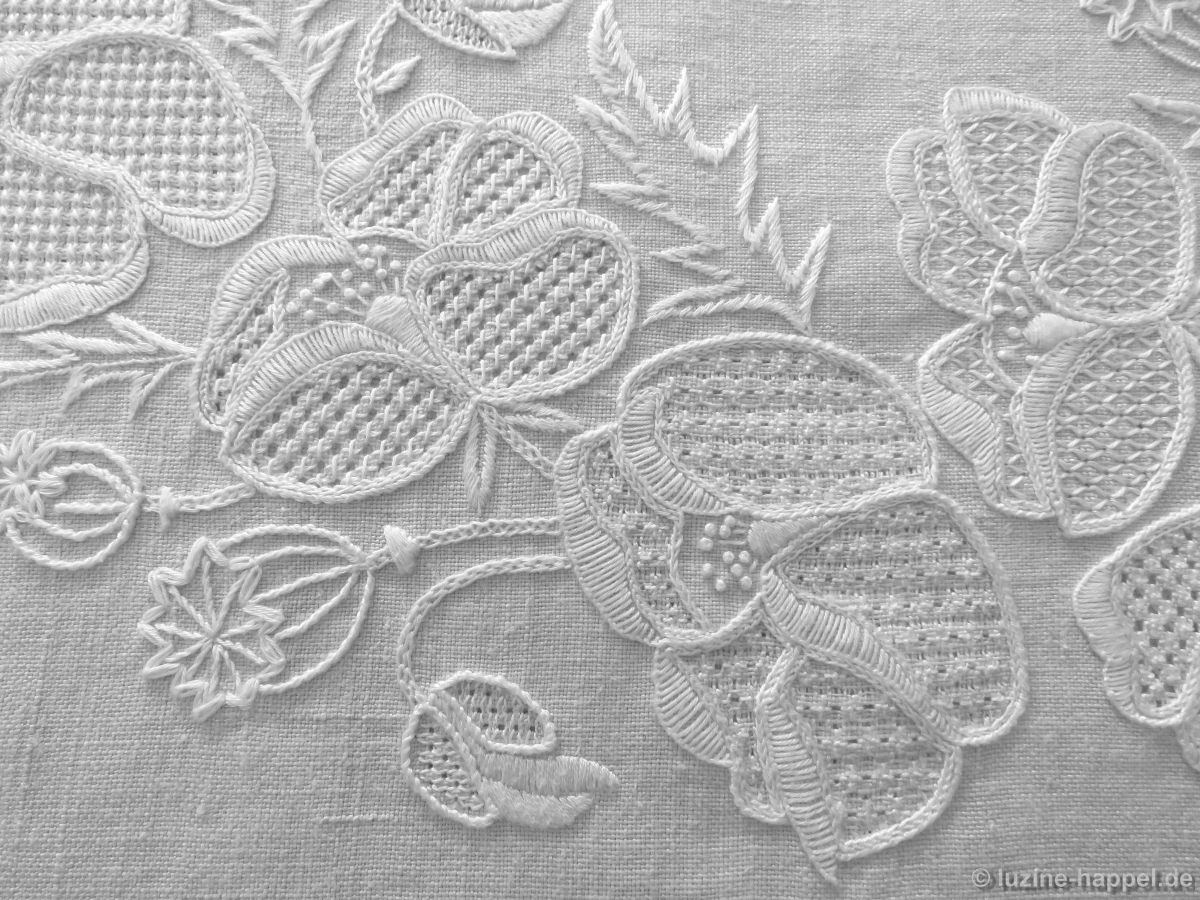
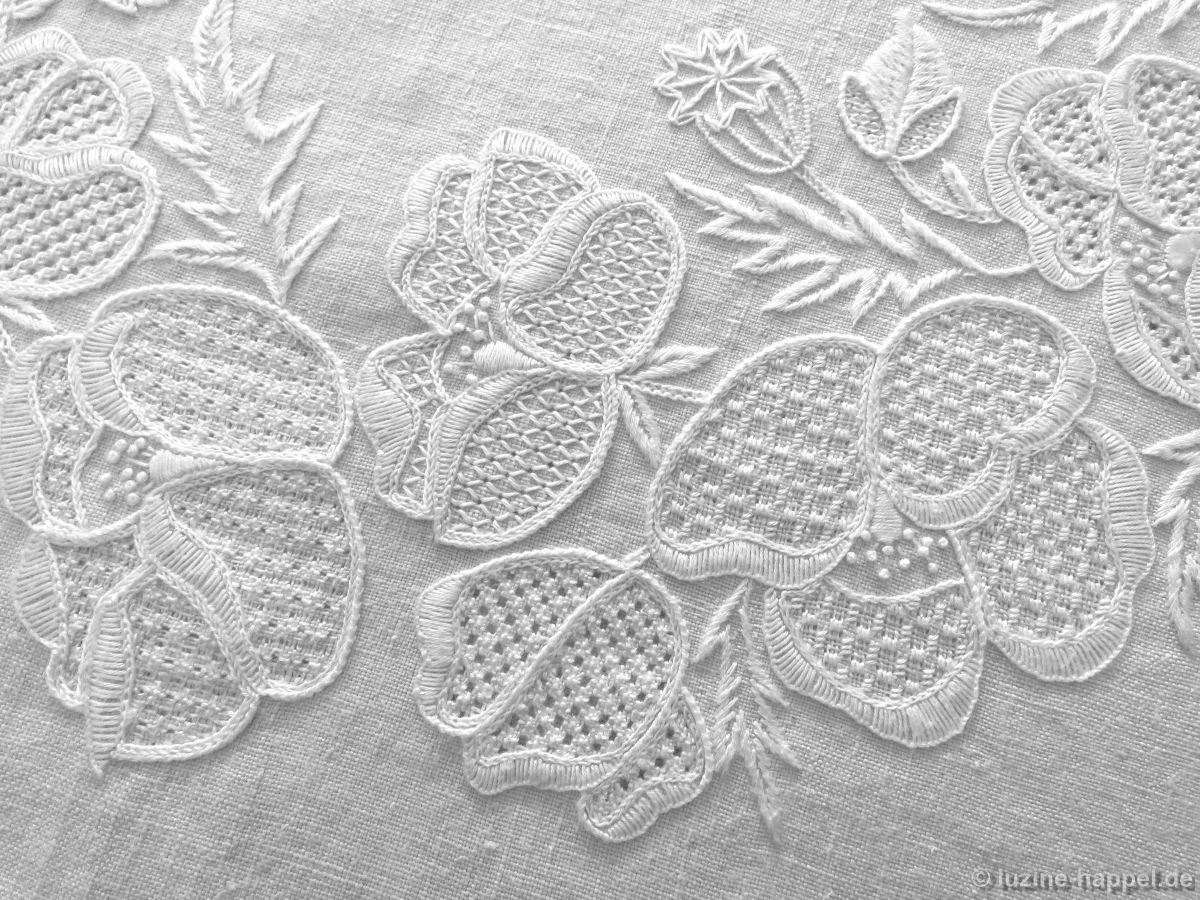
From right to left
1. without thread withdrawing; Wave stitches over 4 threads in height and 6 threads in width
2. Limet thread withdrawing 3:1; filling pattern No. 543
3. Bud: simple thread withdrawing 3:1 ; Wave stitches over 4 threads in width
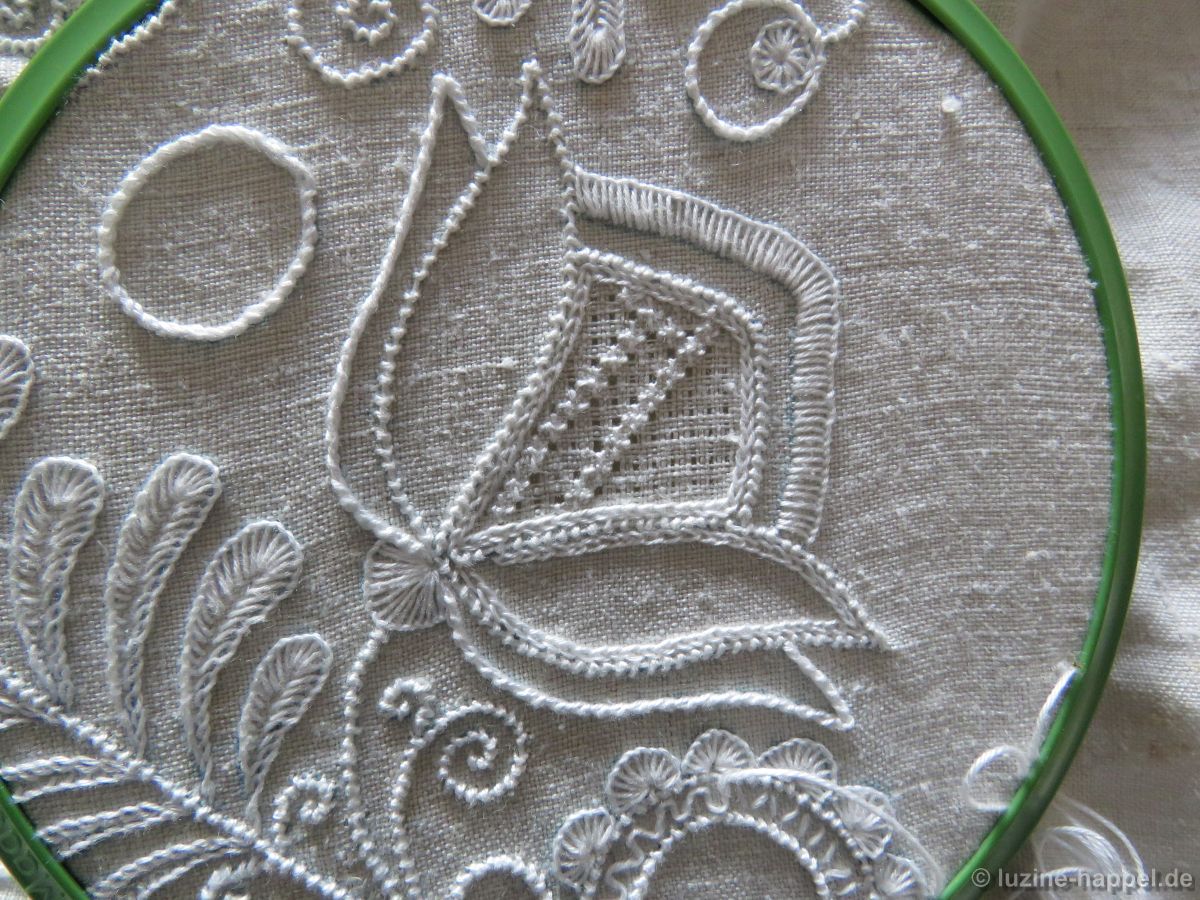
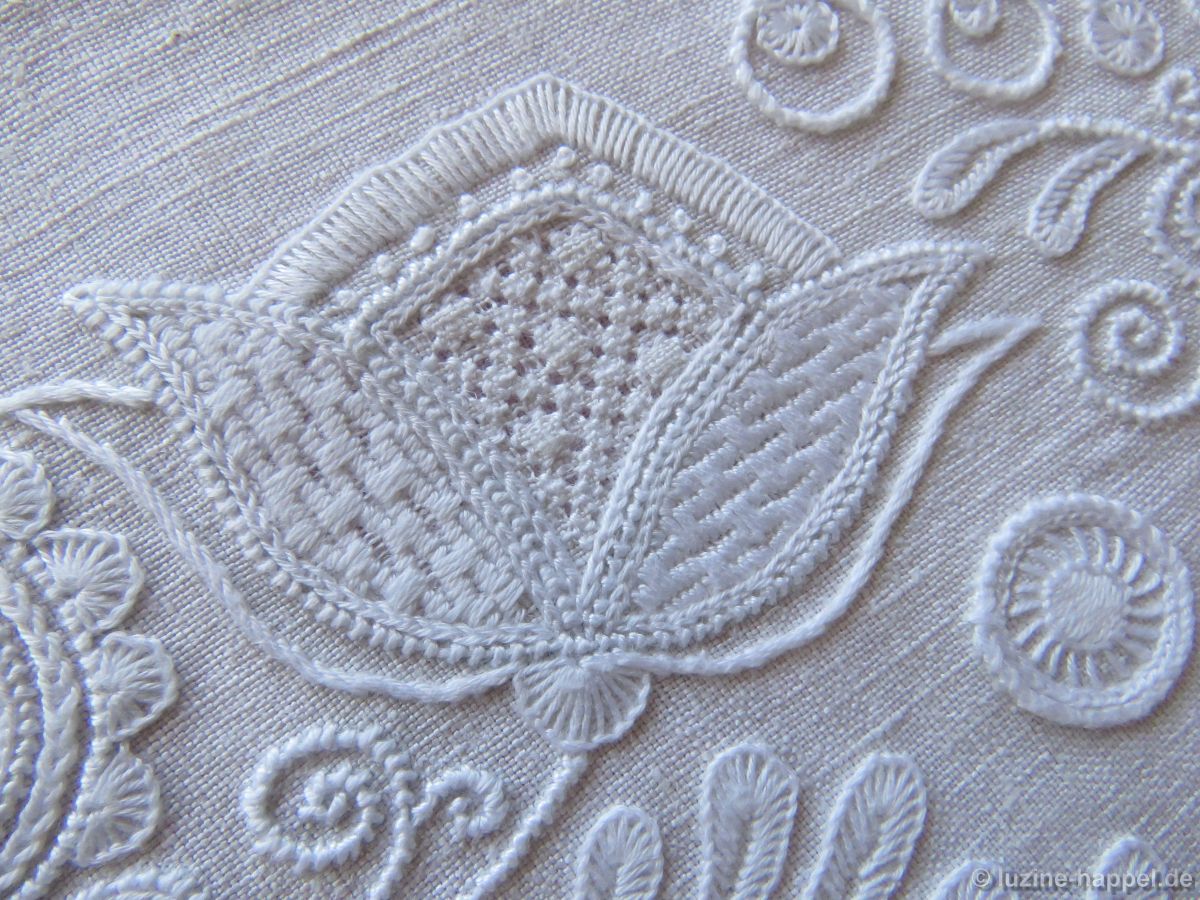
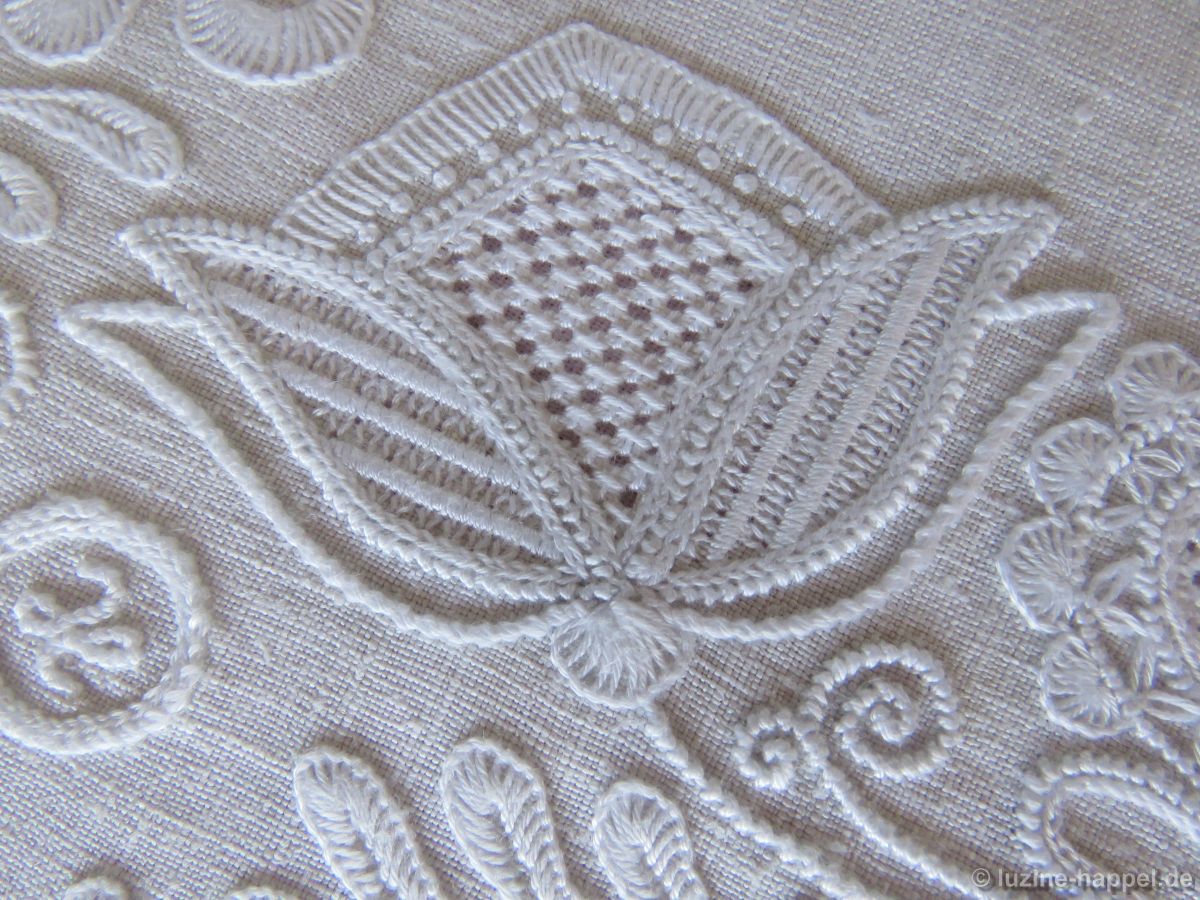
4. Openwork thread withdrawing 2:2; Diagonal Cross stitch
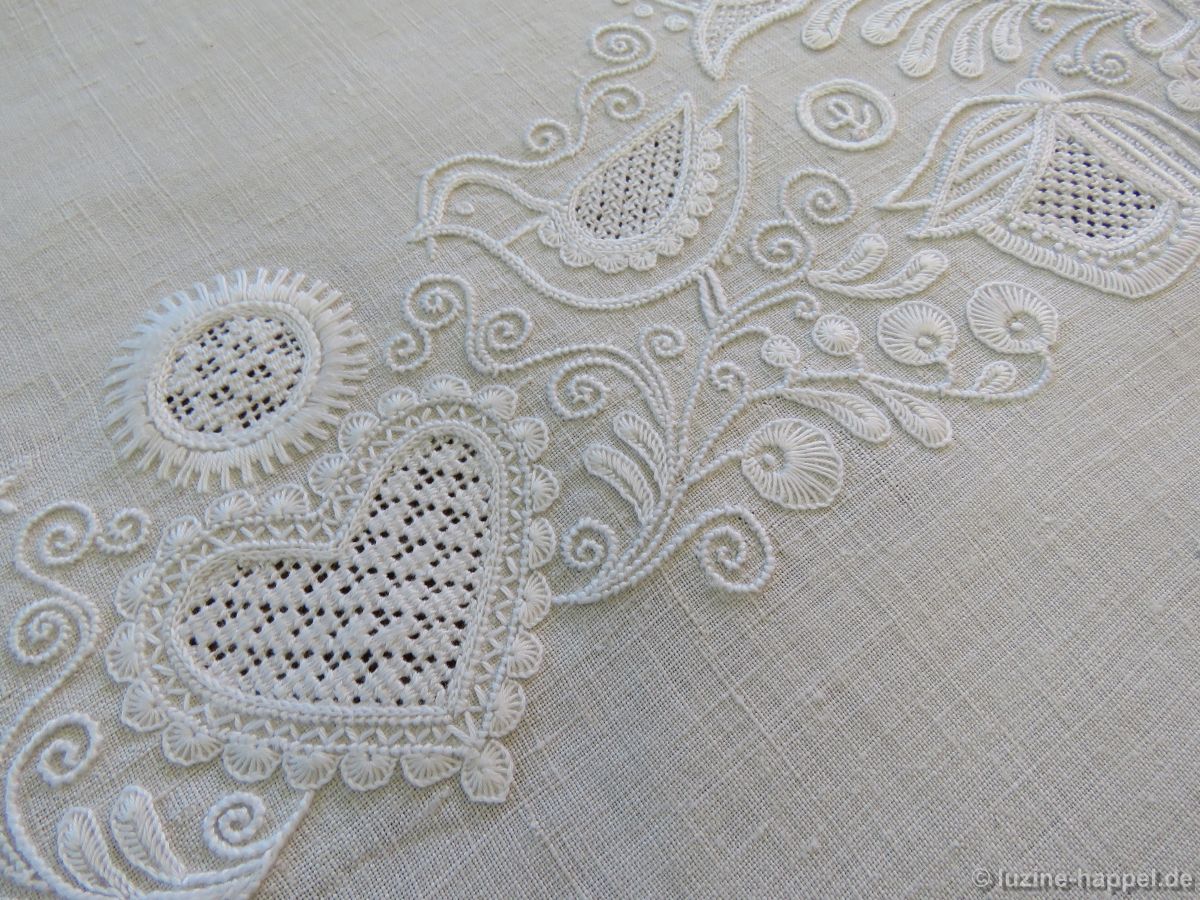
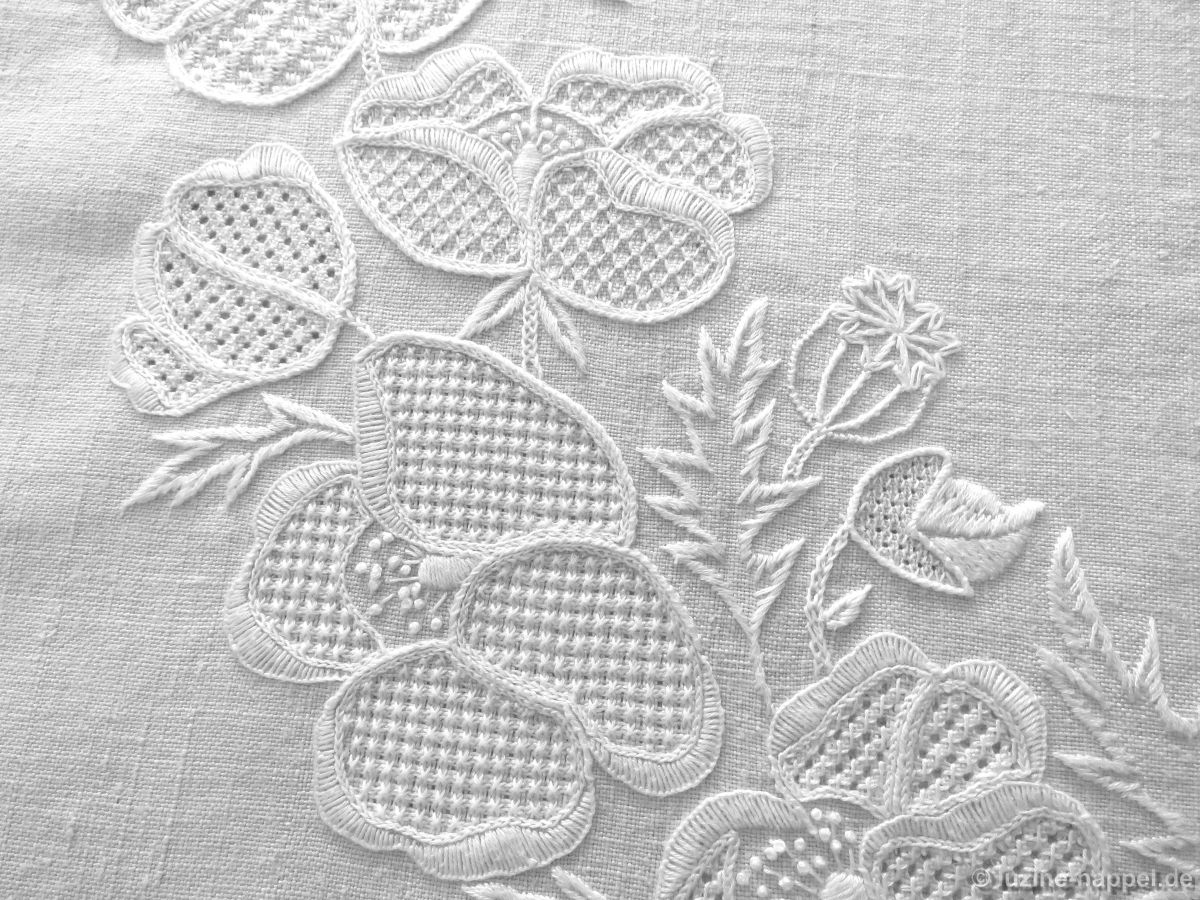
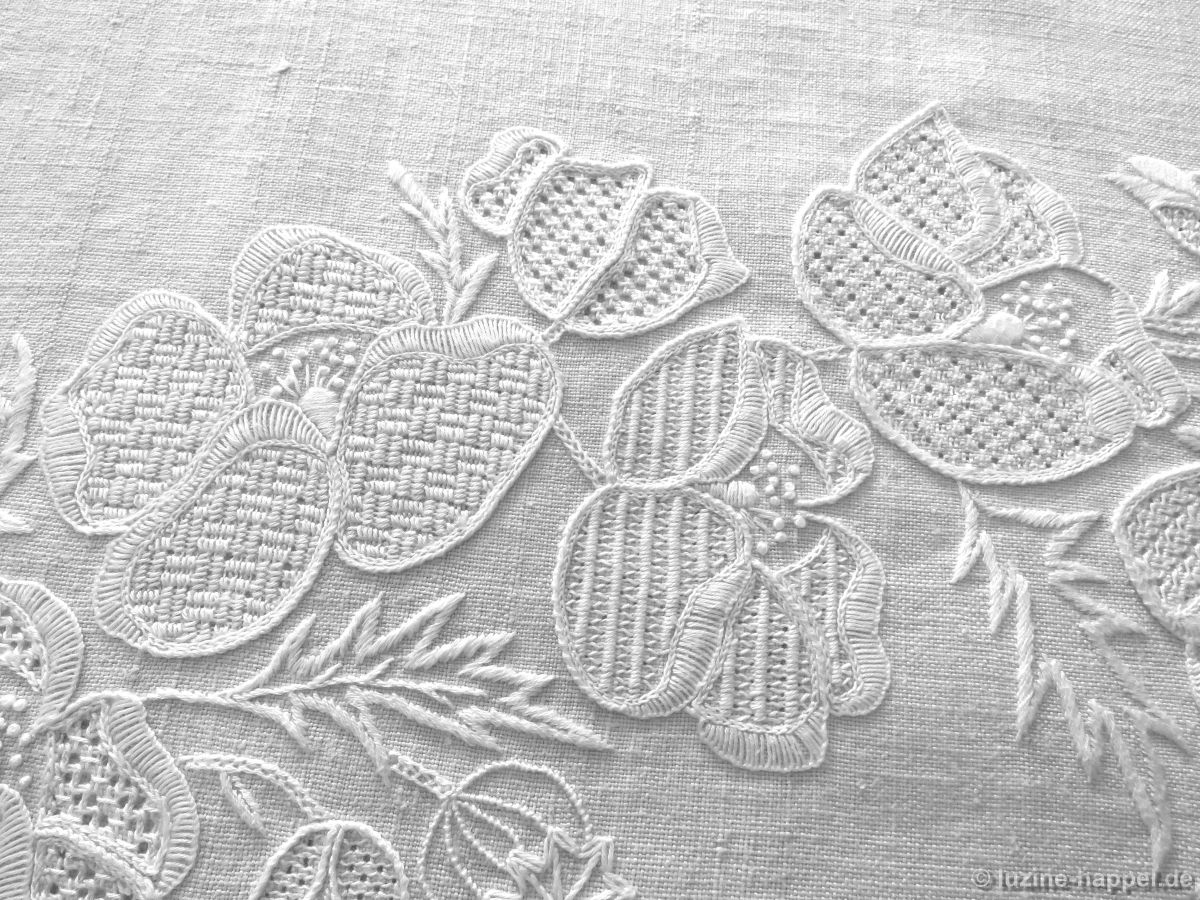
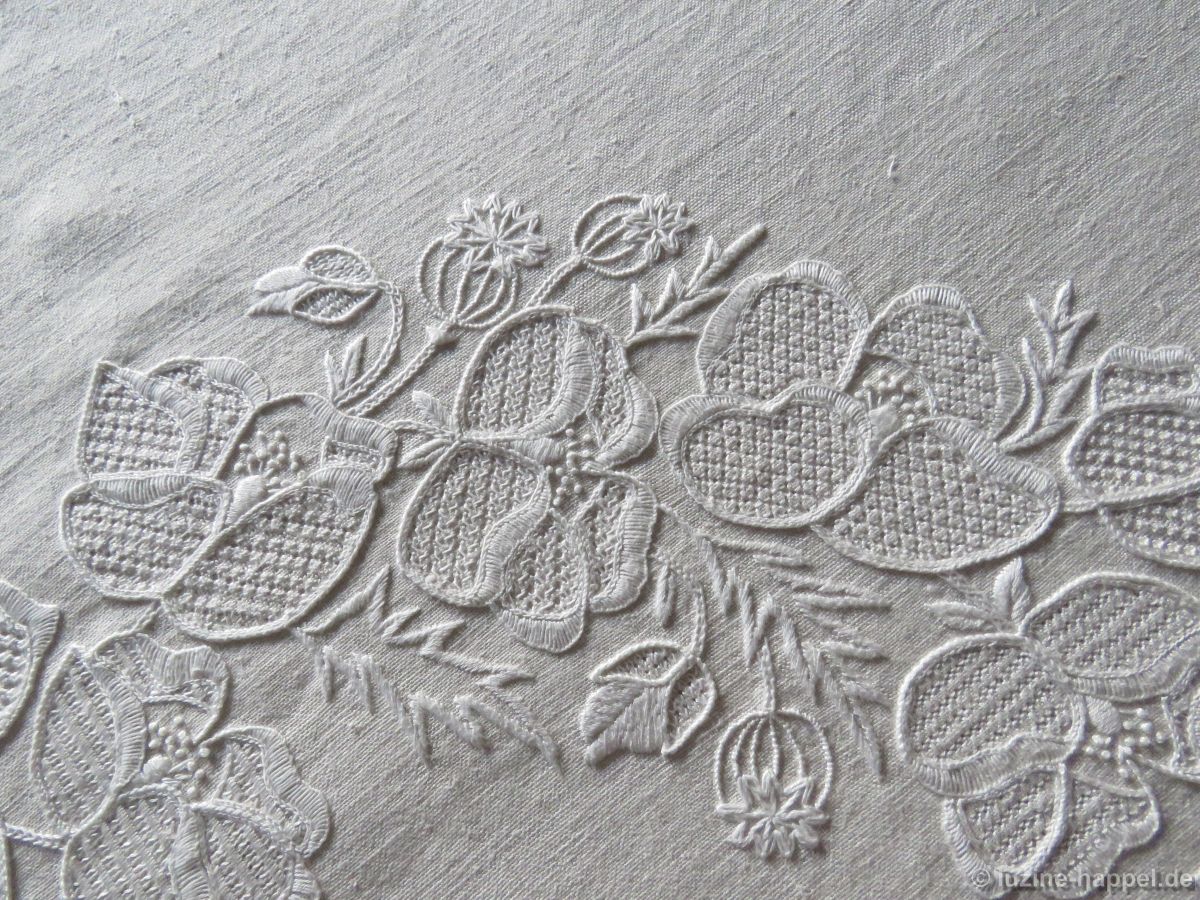
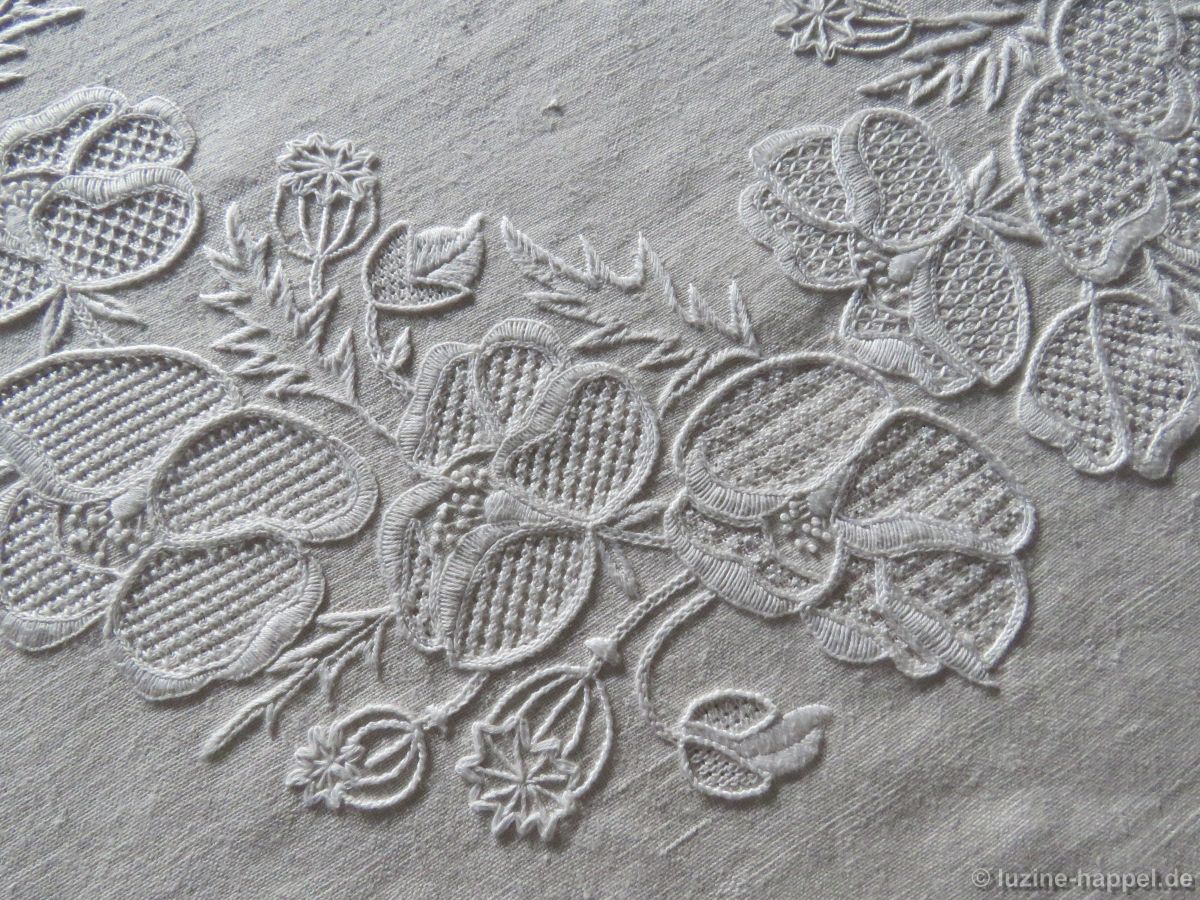
from bottom to top
5. Limet thread withdrawing 4:1; filling pattern No. 571
6. Bud: simple thread withdrawing 3:1; Wave stitches over a width of 4 threads
7. Limet thread withdrawing 3:1; Rose stitch
8. simple thread withdrawimg 3:1; Honeycomb Darning stitches over a width of 4 threads
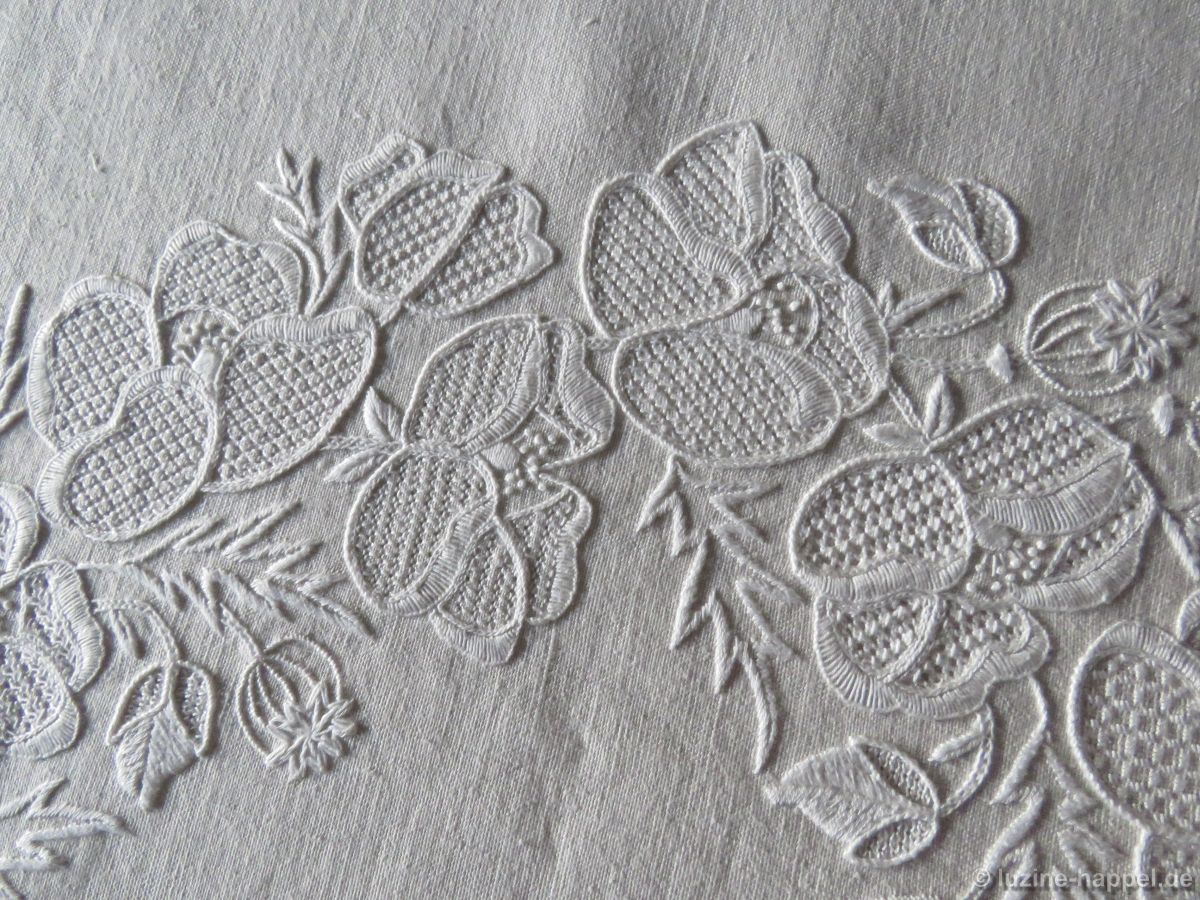
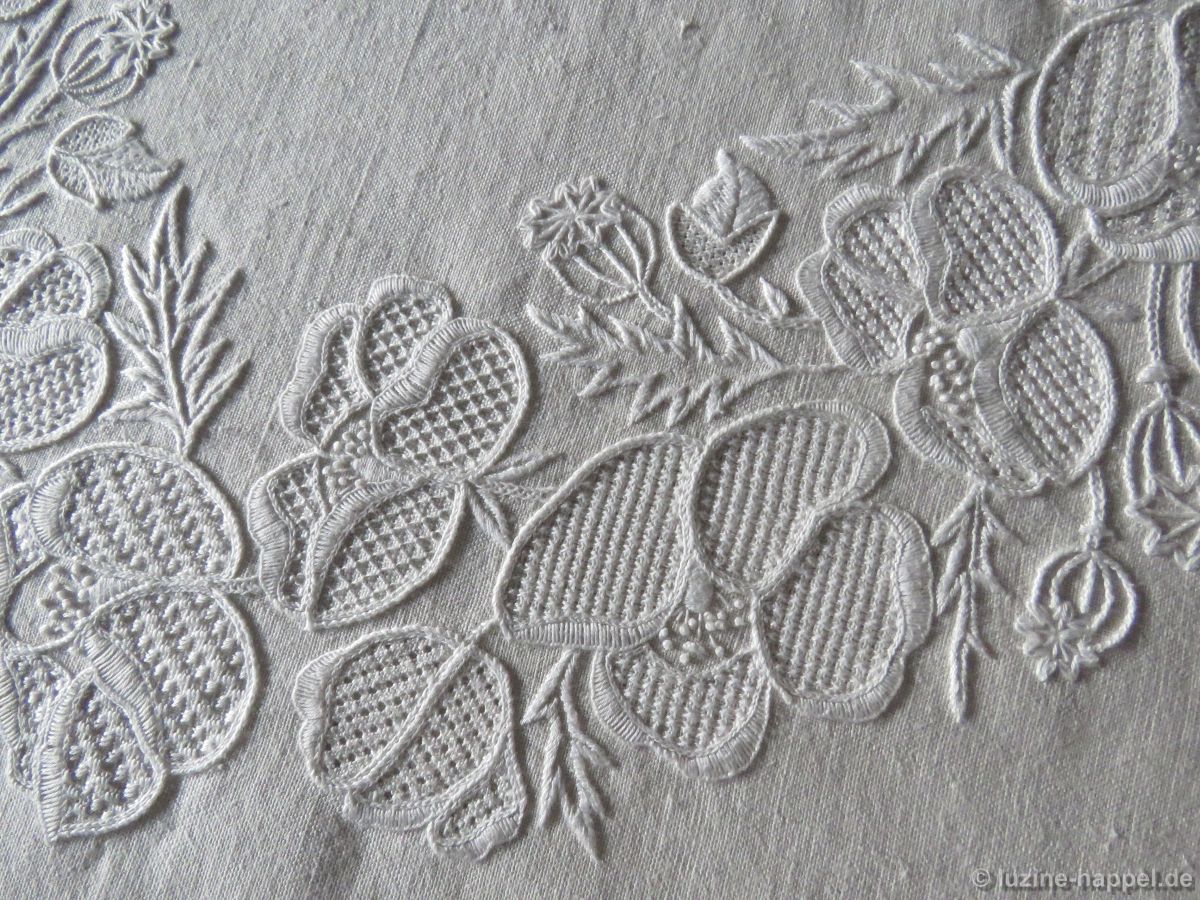
from left to right
9. Limet thread withdrawing 3:1; “Diagonal step over one plot” pattern using Satin stitches (Wickelstiche: page 22)
10. Bud: simple thread withdrawing 3:1; Wave stitches over 4 threads in width
11. Openwork thread withdrawing 2:2; alternating rows of Diagonal Cross stitch and Cable stitch
12. Bud: simple thread withdrawing 3:1; Wave stitches over 4 threads in width
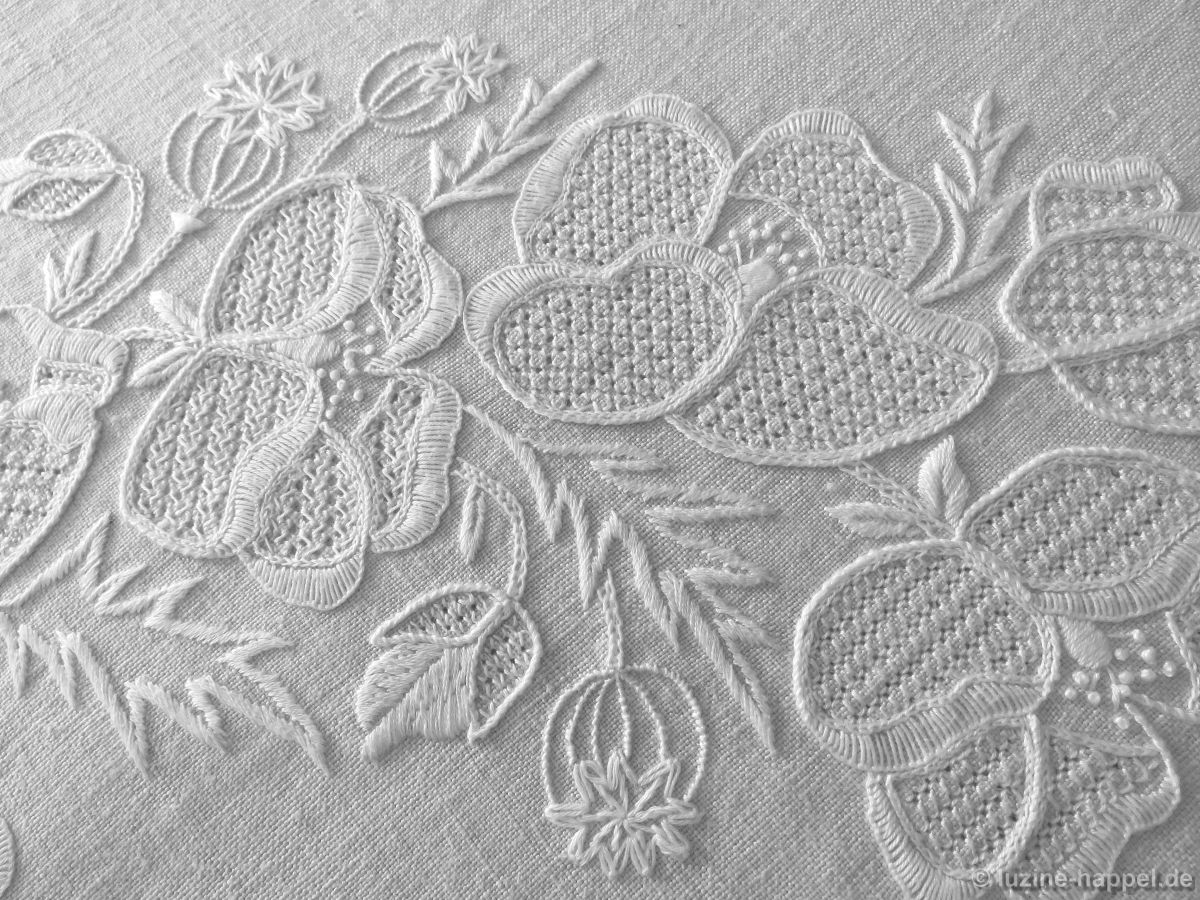
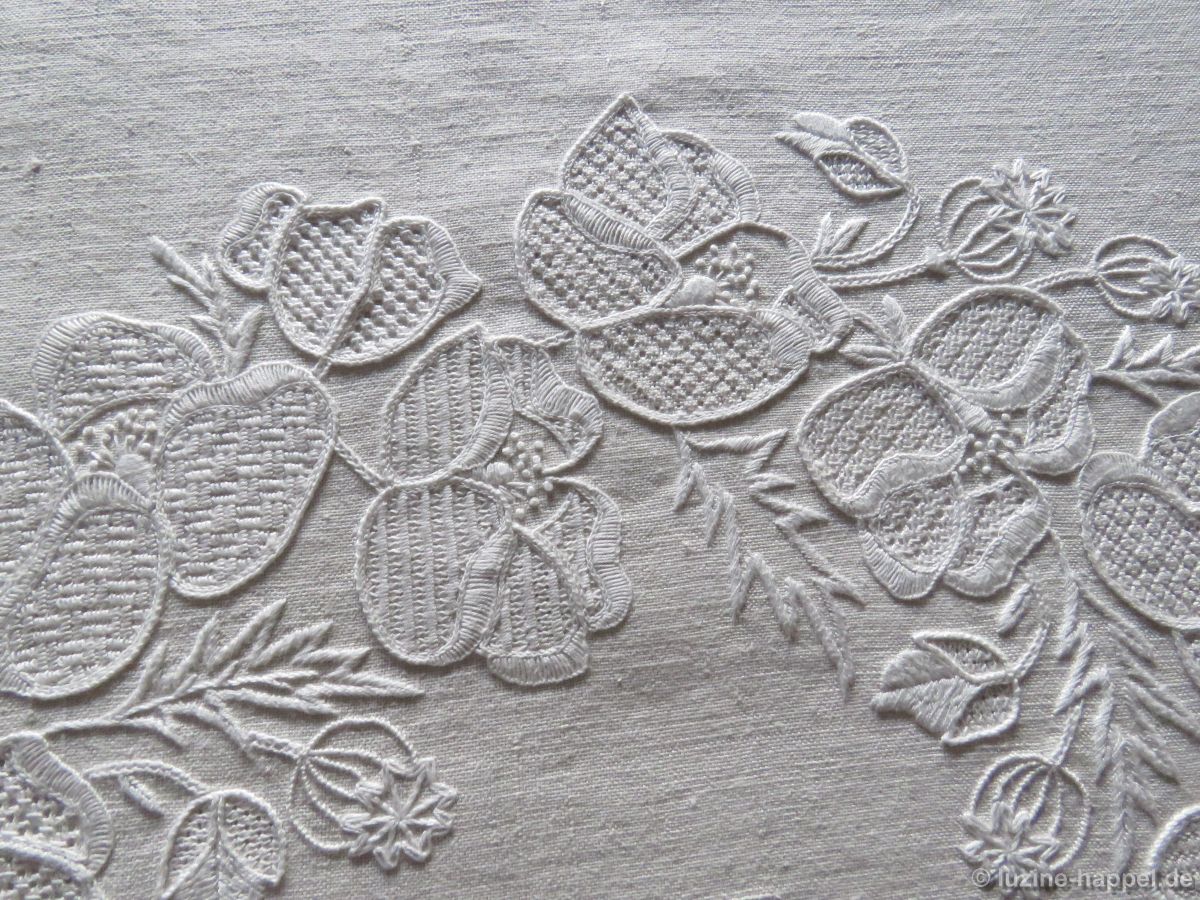
from left to right:
13. Limet thread withdrawing 3:1; Satin stitch “Two-Pattern” (Wickelstiche, page 16)
14. Openwork thread withdrawing 2:2; double Diagonal Cross stitch (Openwork Pattern Samplers)
15. Simple thread withdrawing 3:1; alternating rows of Satin stitch bars and Wave stitches
16. Limet thread withdrawing 3:1; filling pattern No. 572
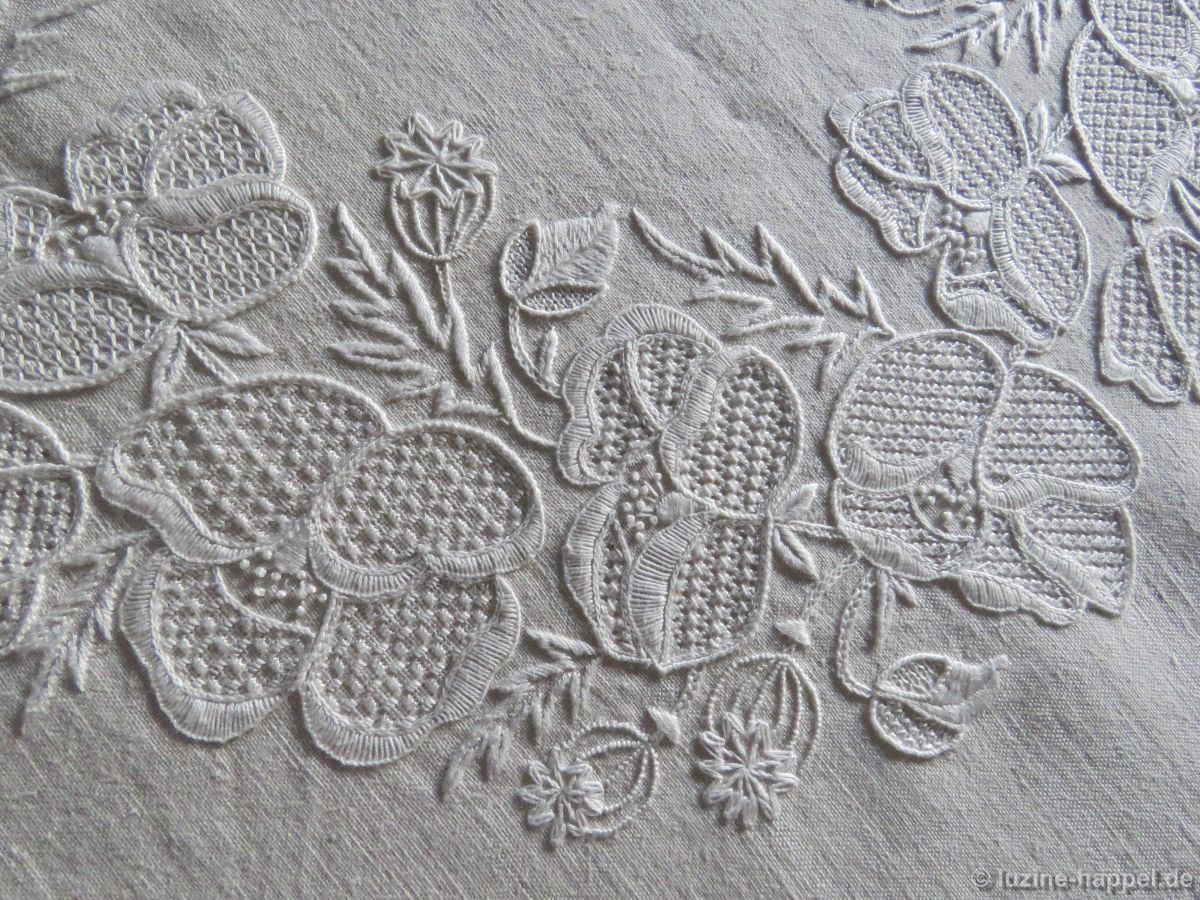
from left to right:
17. Openwork thread withdrawing 2:2; French stitch – half-stitch with gap (Openwork Pattern Samplers)
18. Bud: simple thread withdrawing 3:1; Wave stitches over a width of 2 threads
19. Limet thread withdrawing 3:1; filling pattern No. 549
from left to right:
20. Limet thread withdrawing 3:1; Rose stitch variation
21. Simple thread withdrawing 4:2; filling pattern No. 567
22. Limet thread withdrawing 3:1; Diagonal Cross stitches
23. Bud: simple thread withdrawing 3:1; Wave stitches over 2 threads in width
24. Openwork thread withdrawing 2:2; alternating rows of double Diagonal Cross stitch and Singe Faggot stitch

from right to left
25. Bud: simple thread withdrawing 3:1; Wave stitches over a width of 2 threads
26. Limet thread withdrawing 3:1; “Grid” Satin stitch pattern (Wickelstiche, page 37)
27. Openwork thread withdrawing 2:2; Rose stitches without a Cable stitch grid
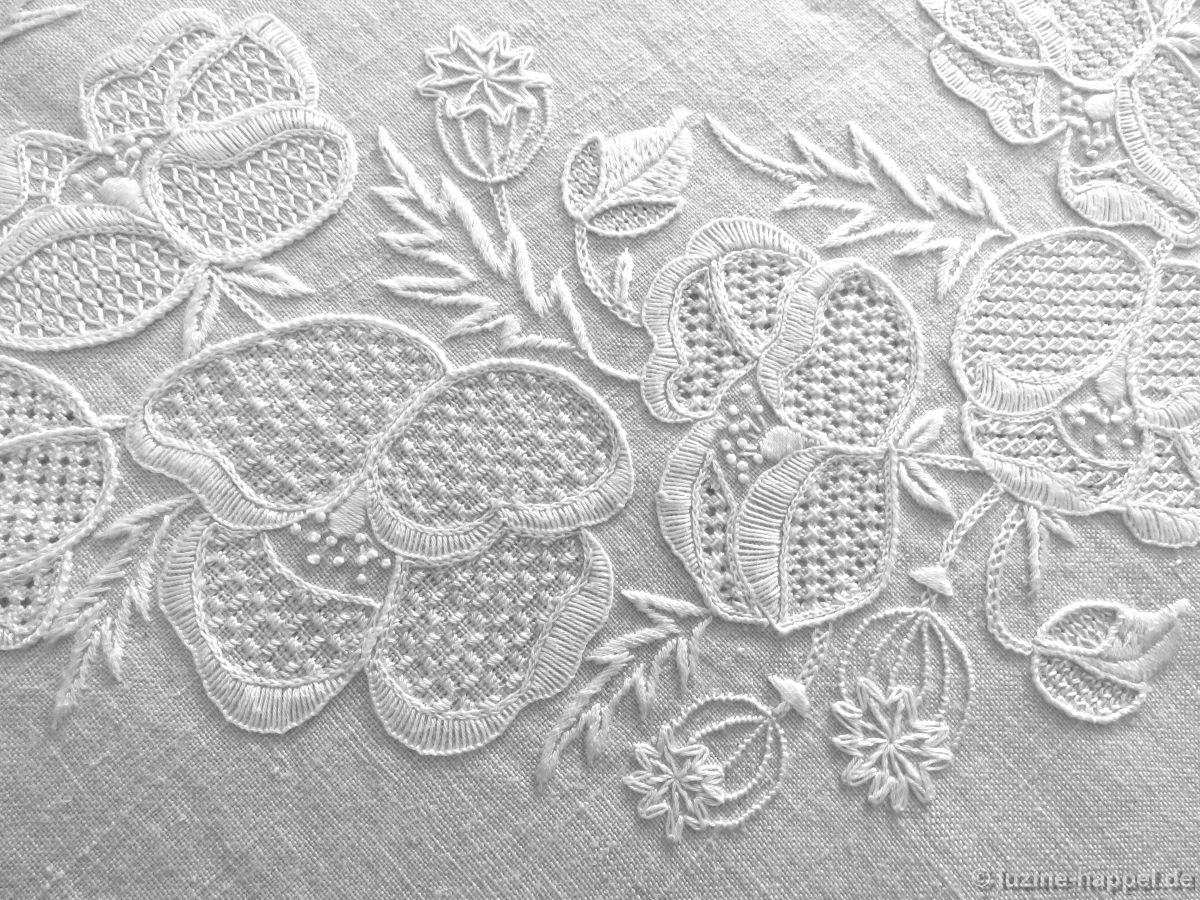
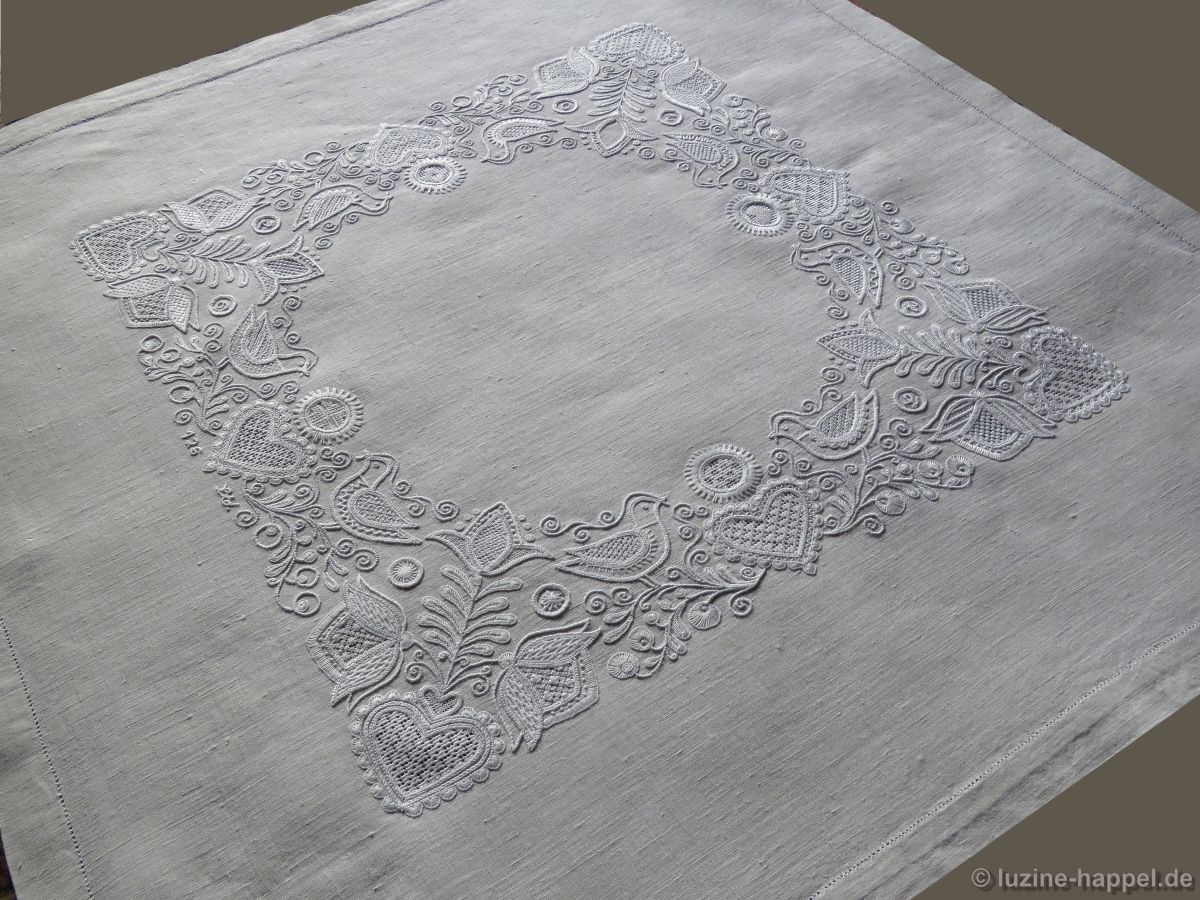
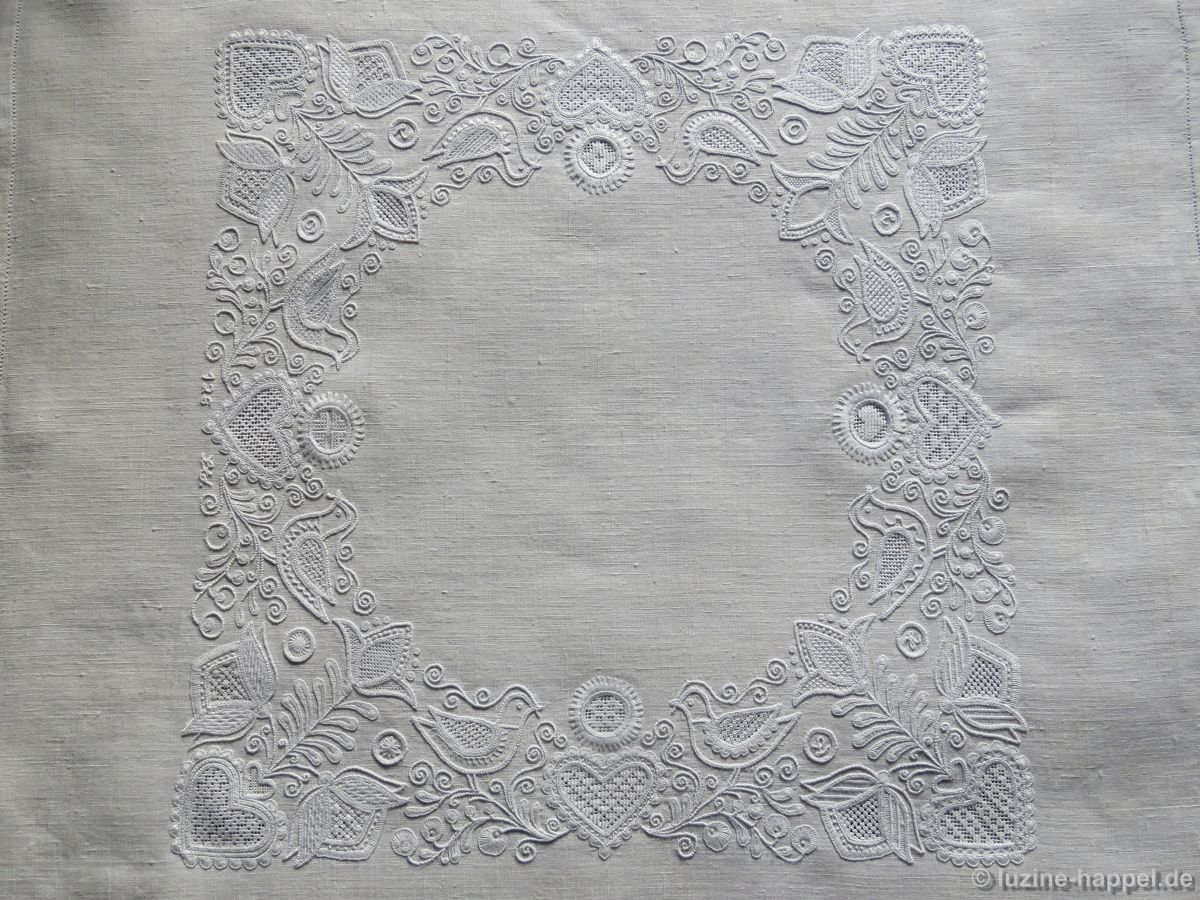
So the wreath was circled once
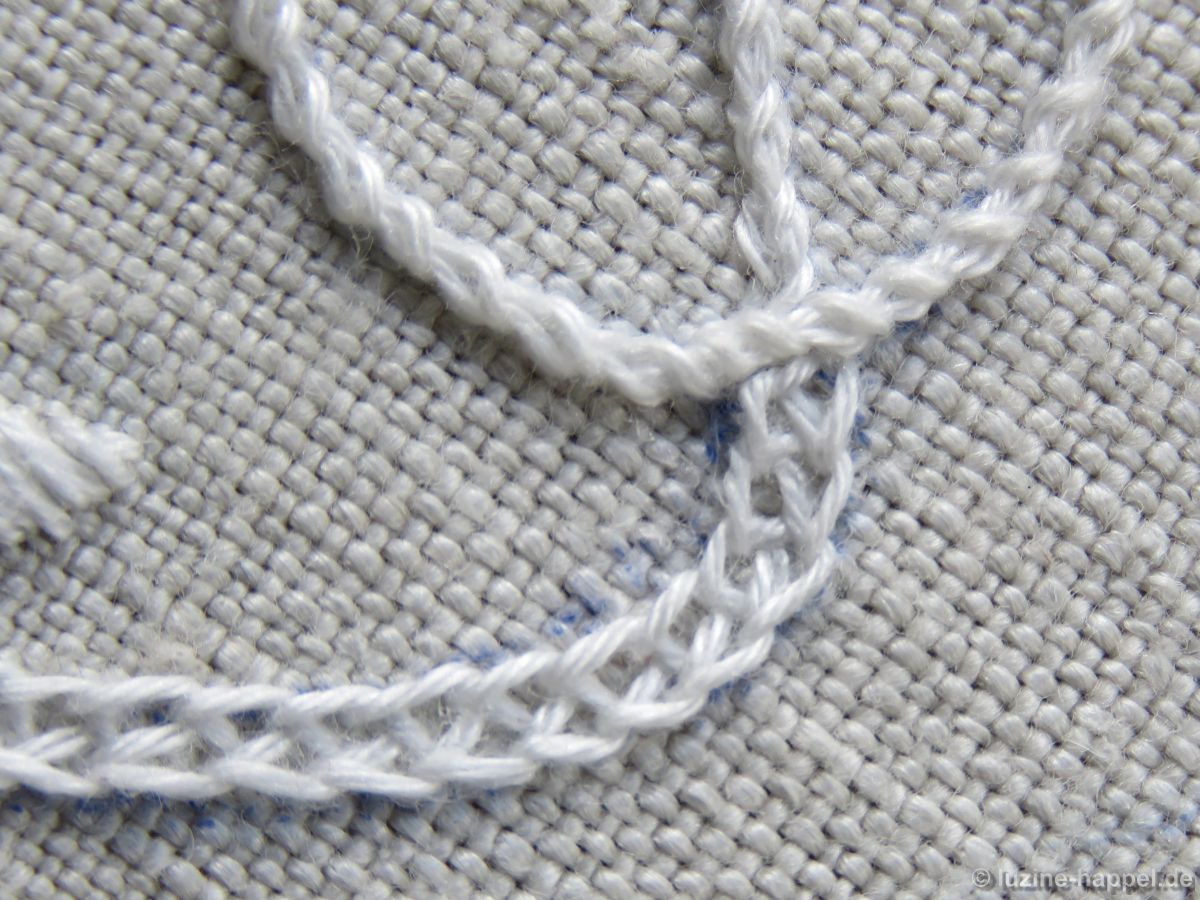
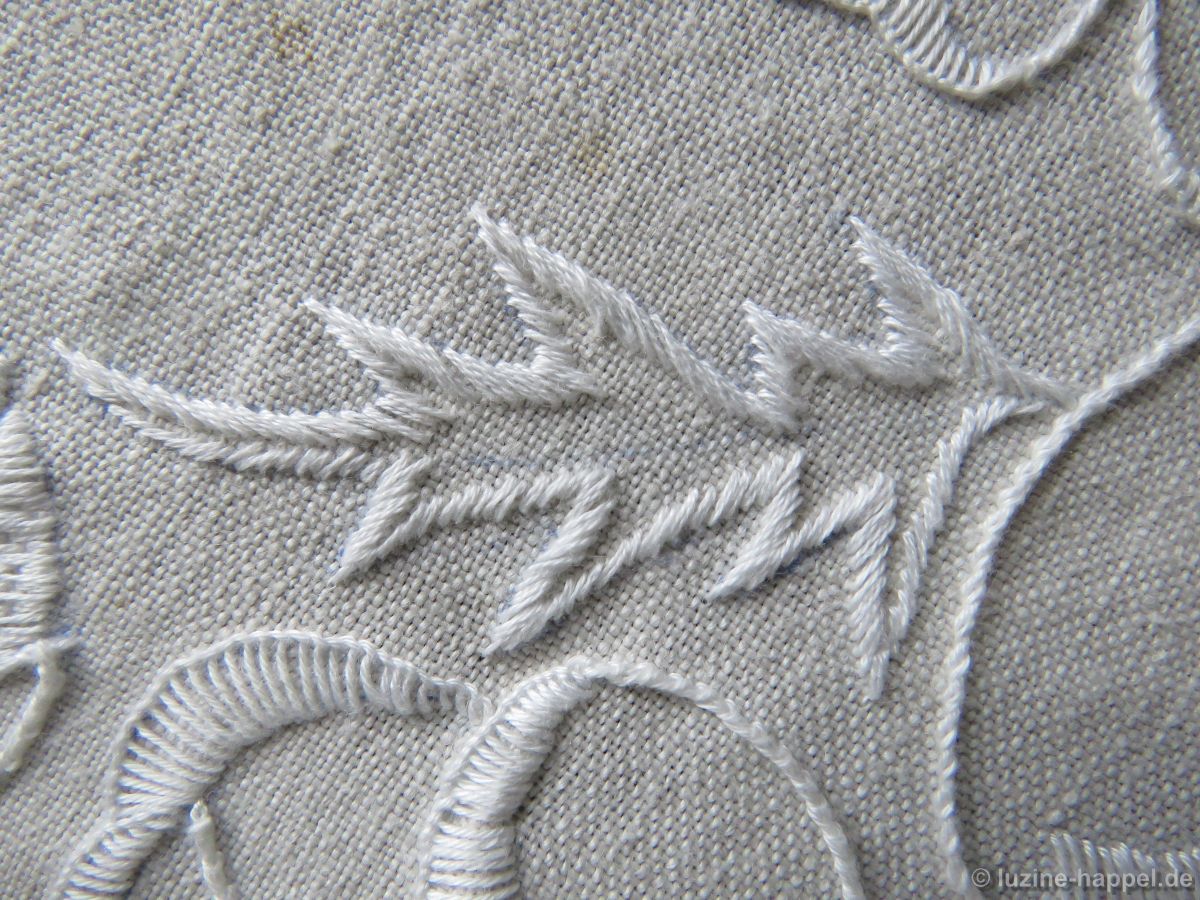
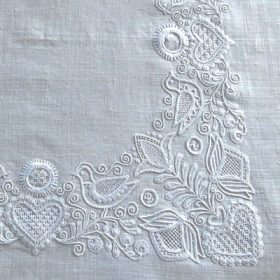
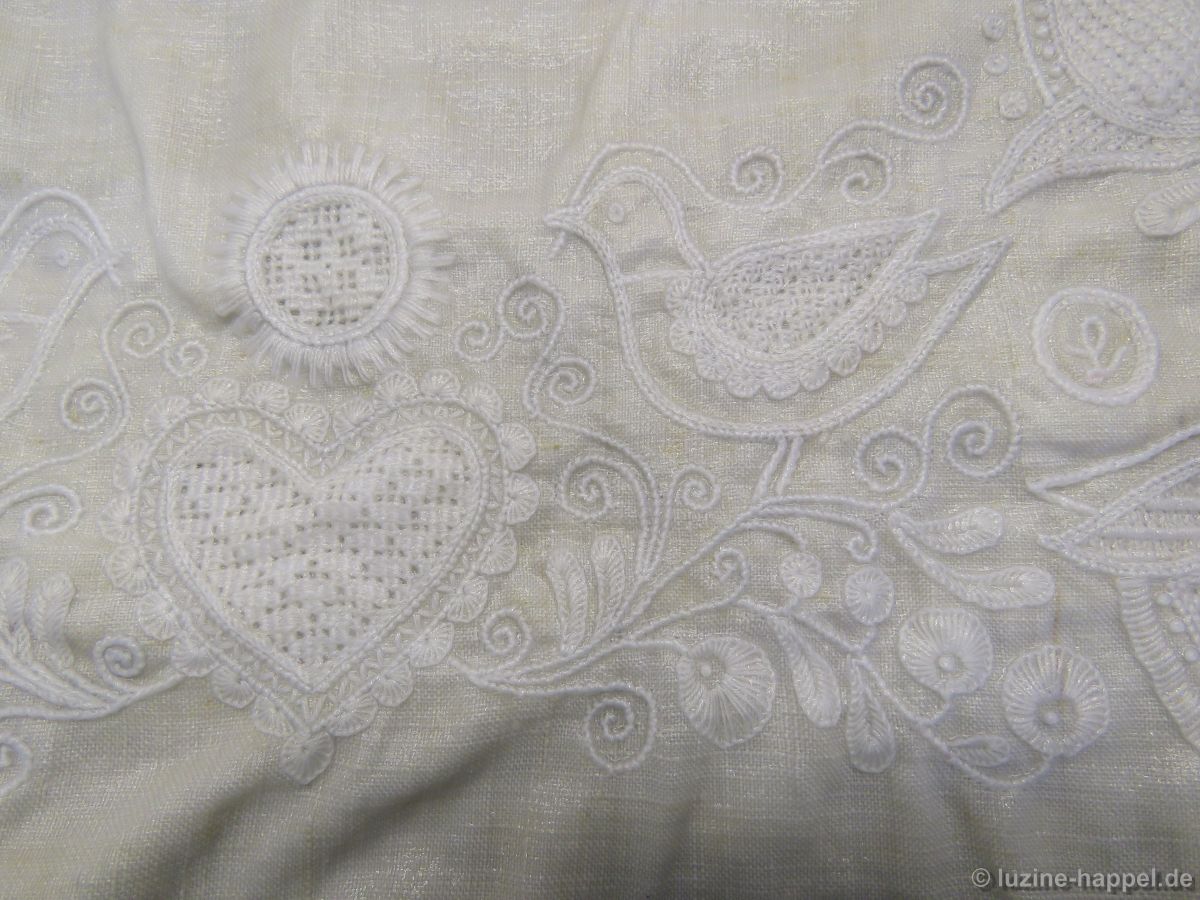
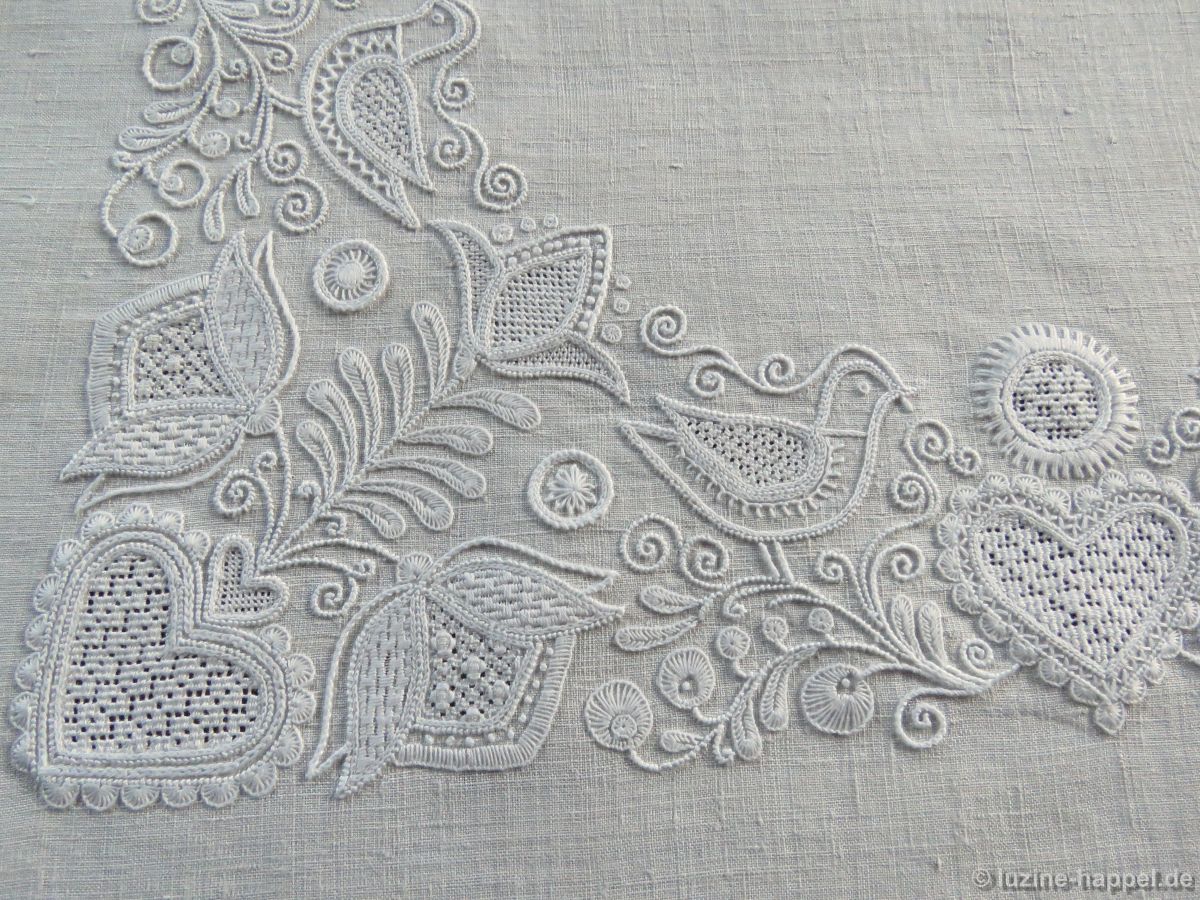
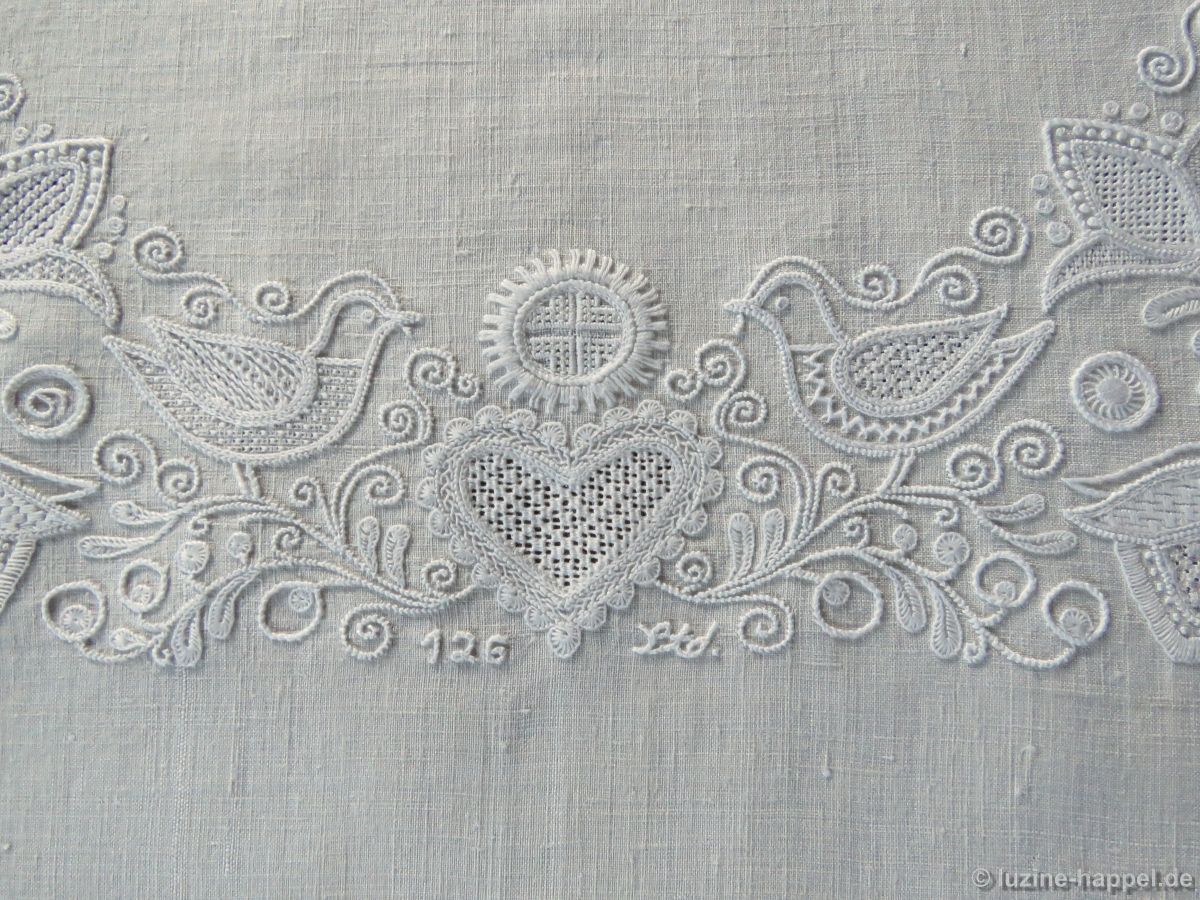
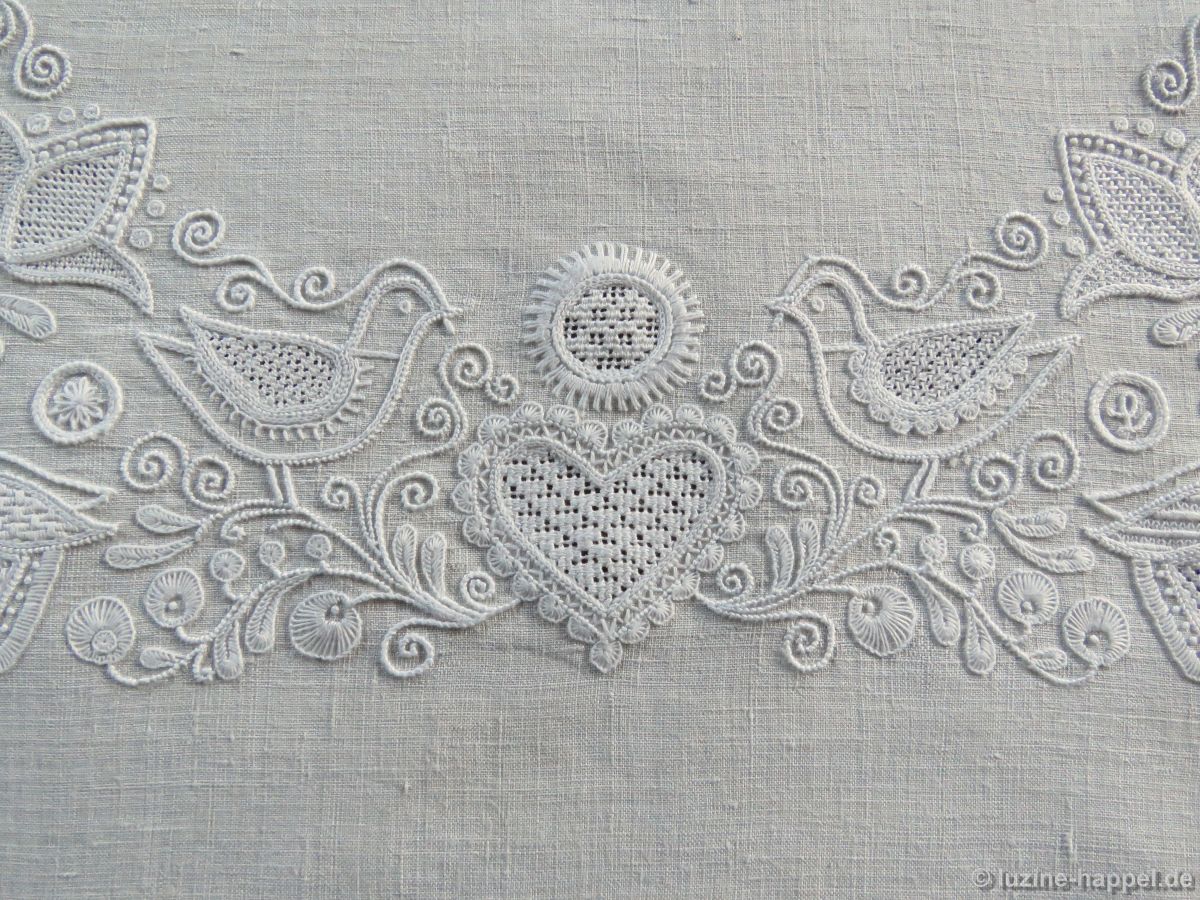
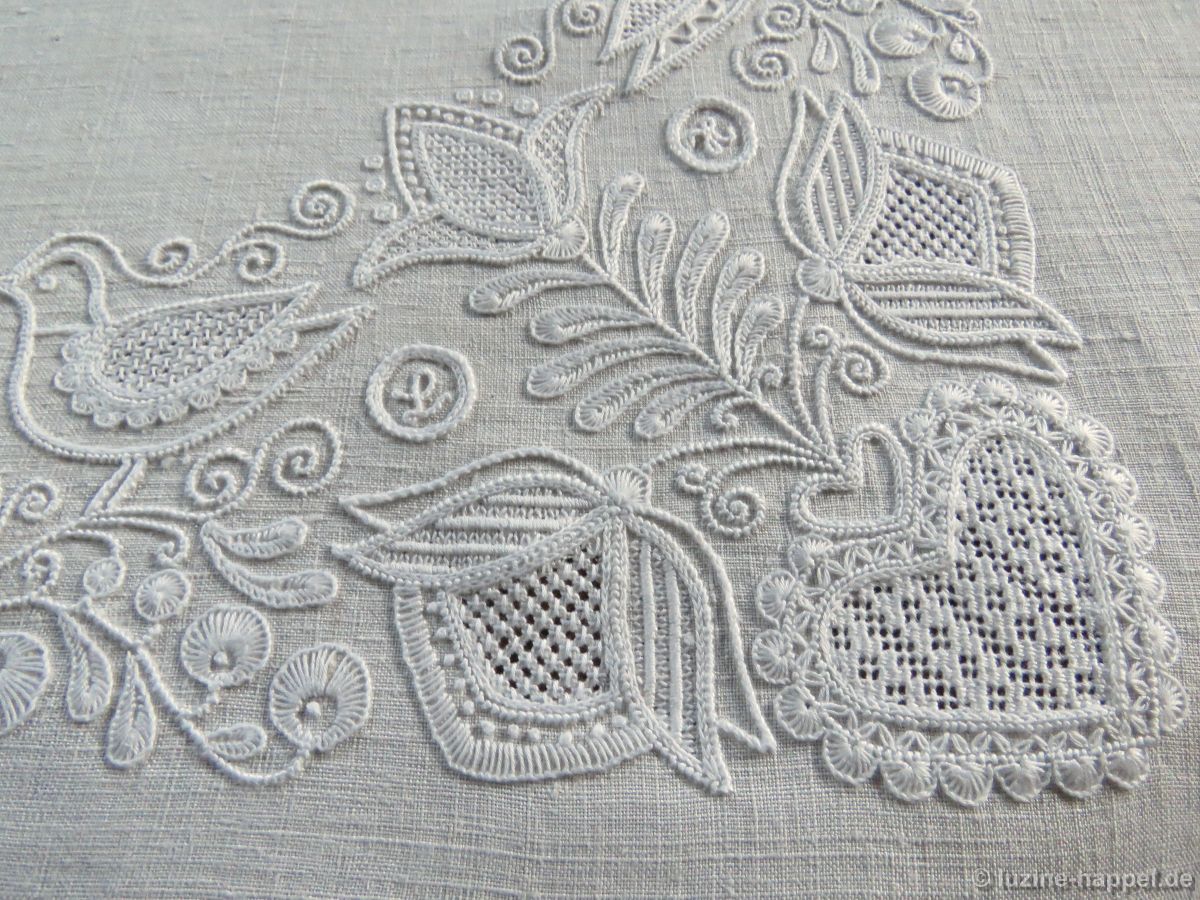
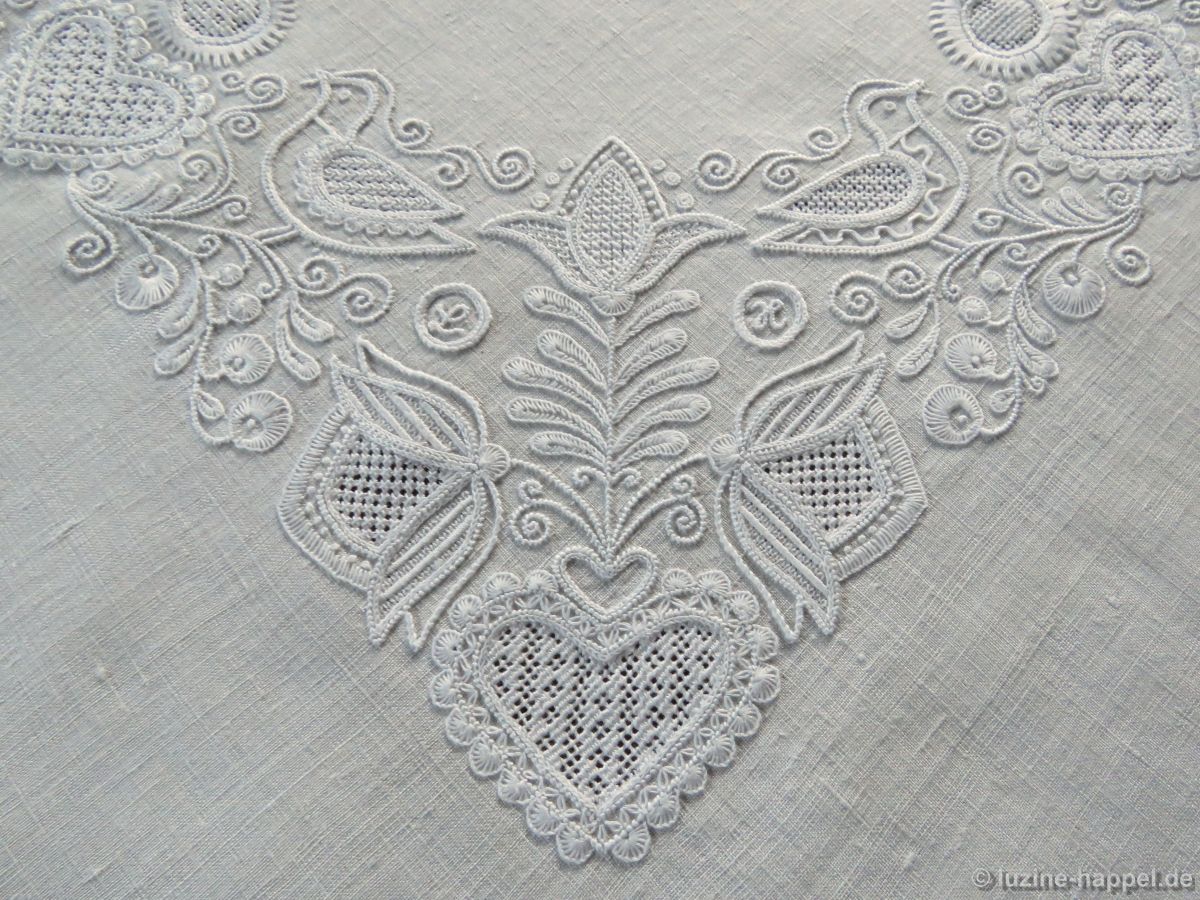
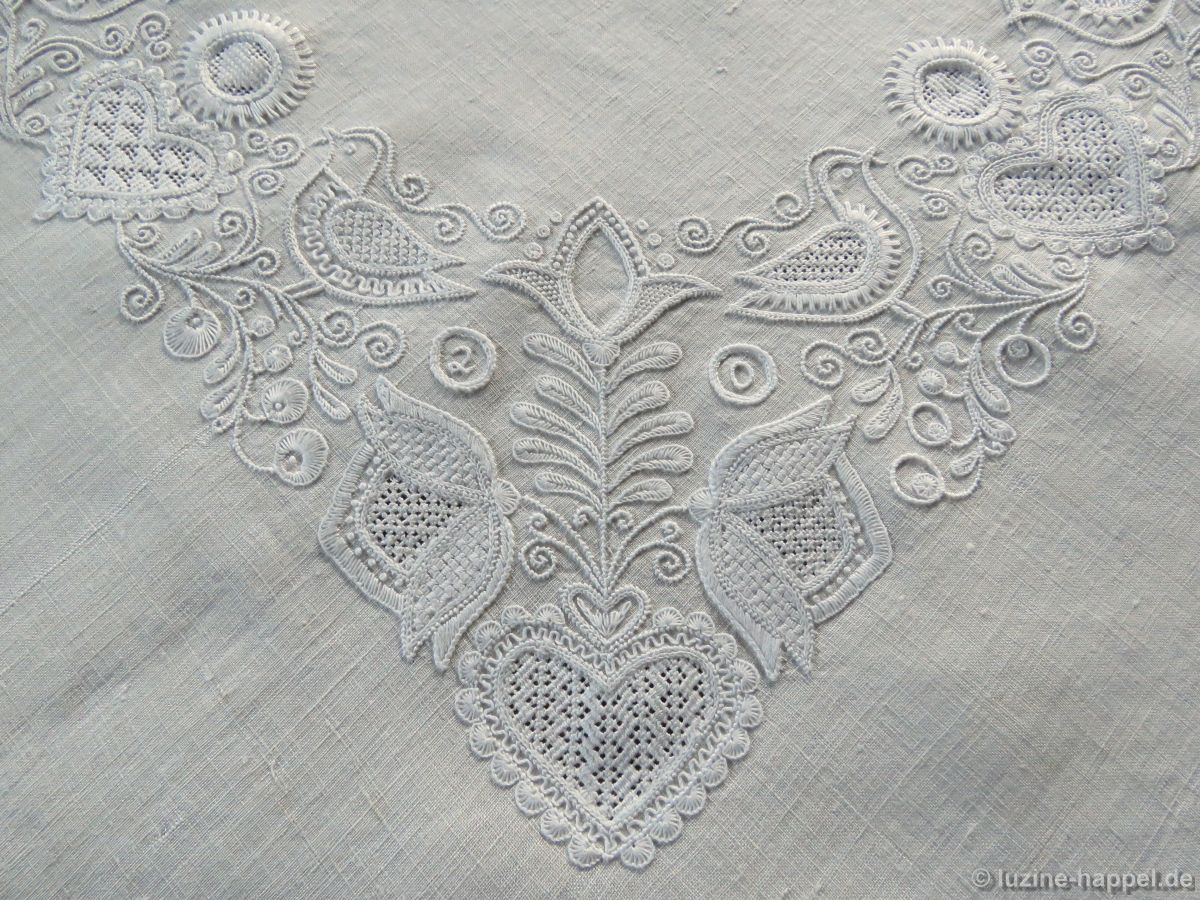
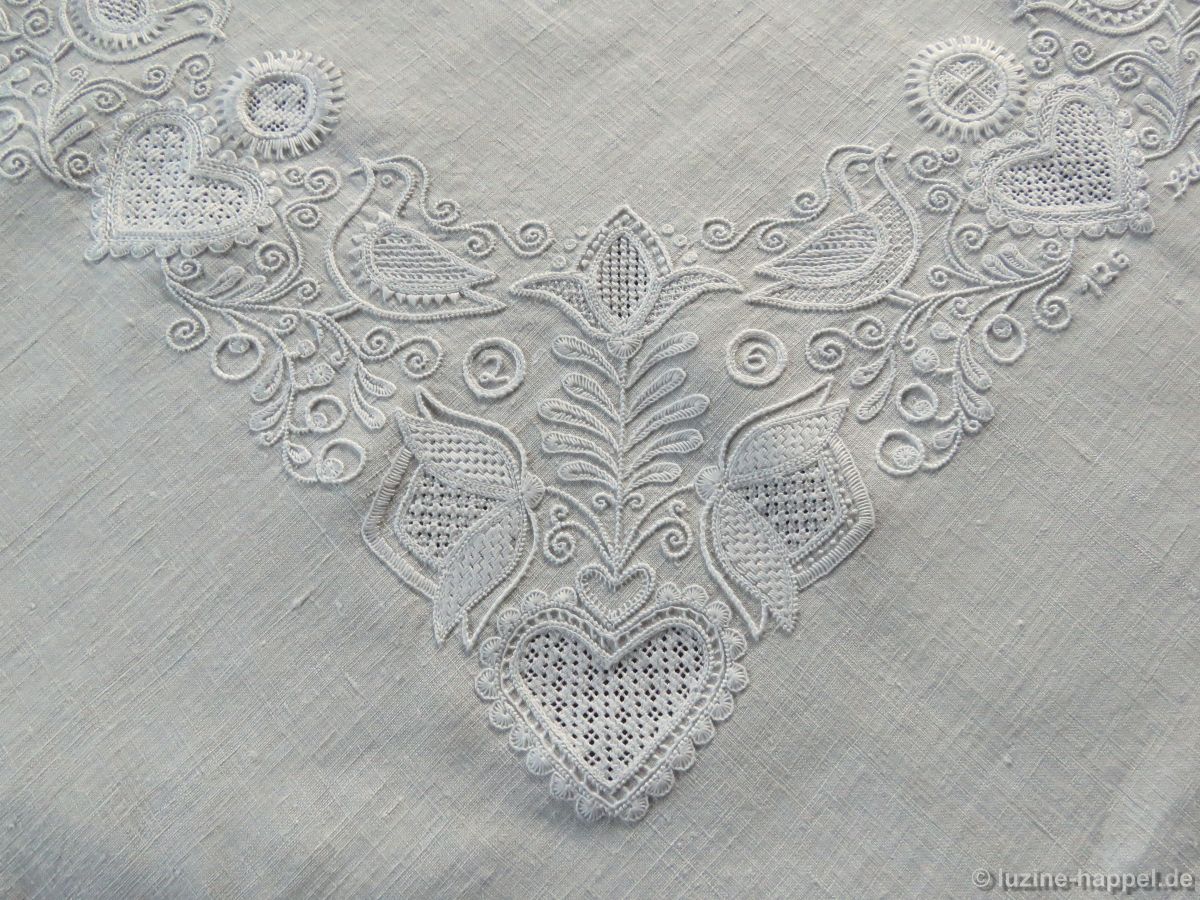
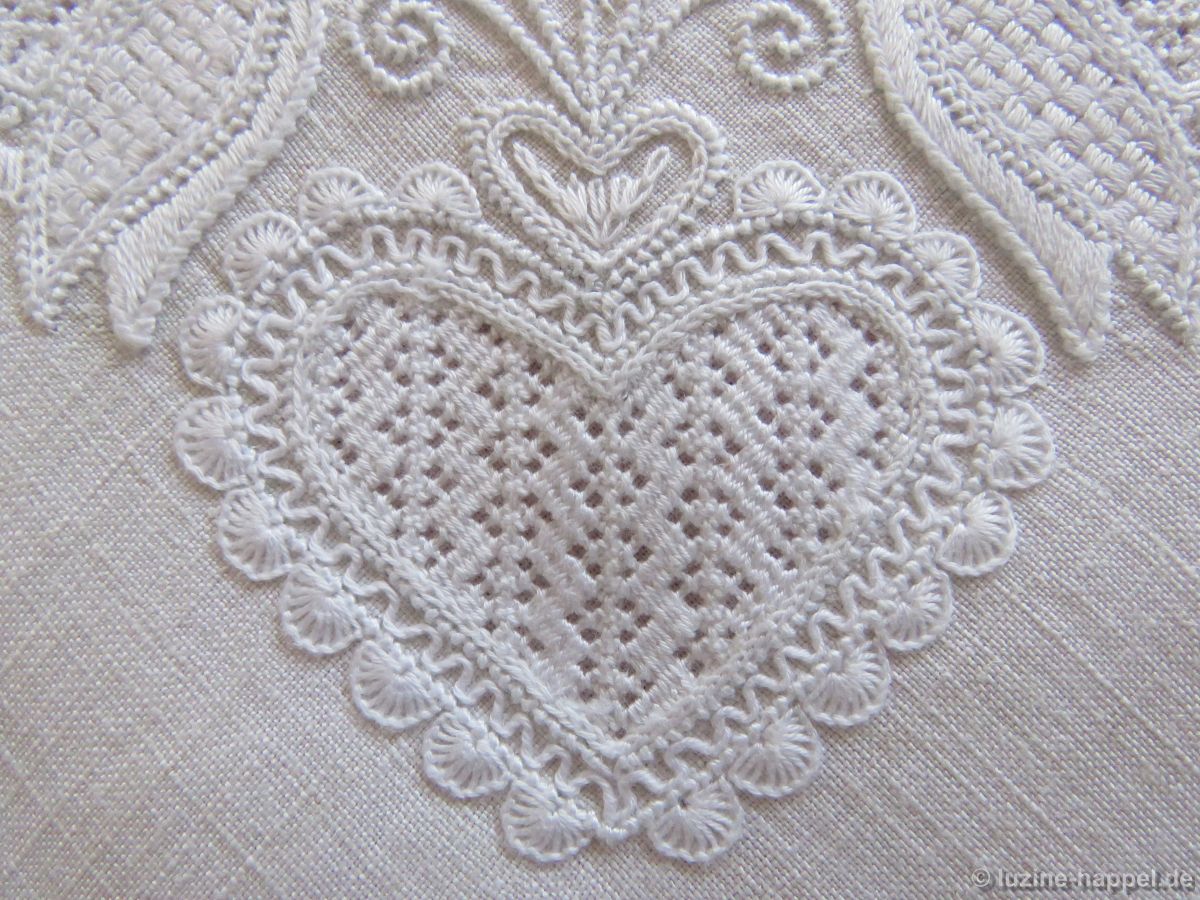
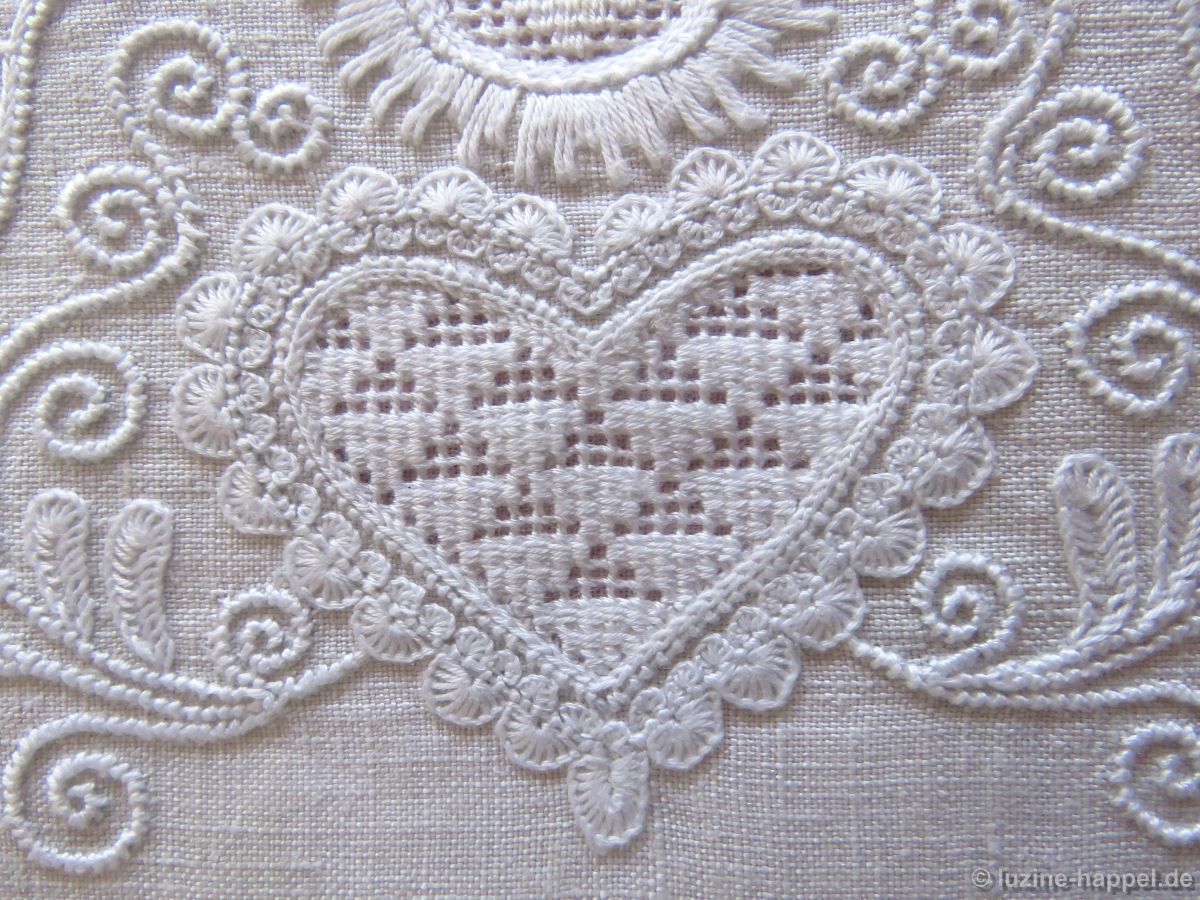
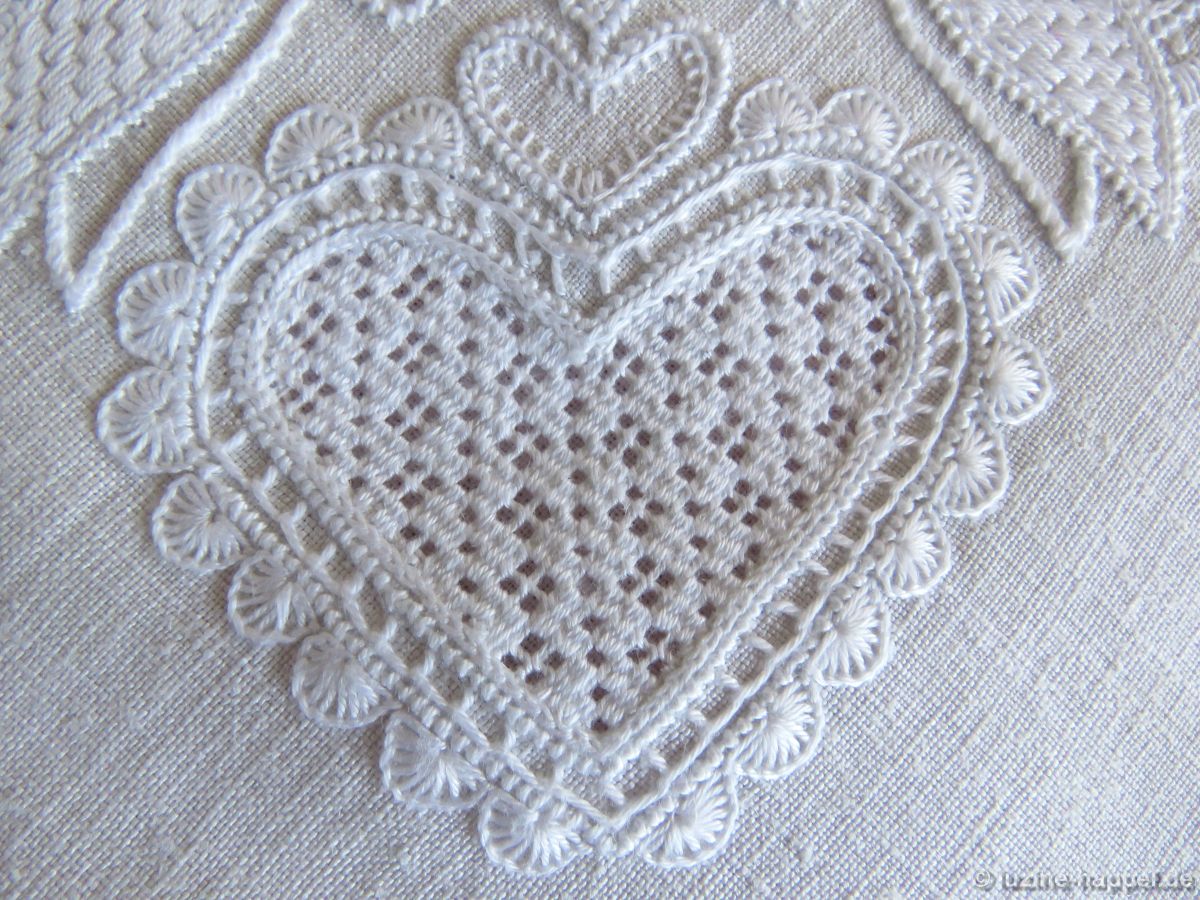
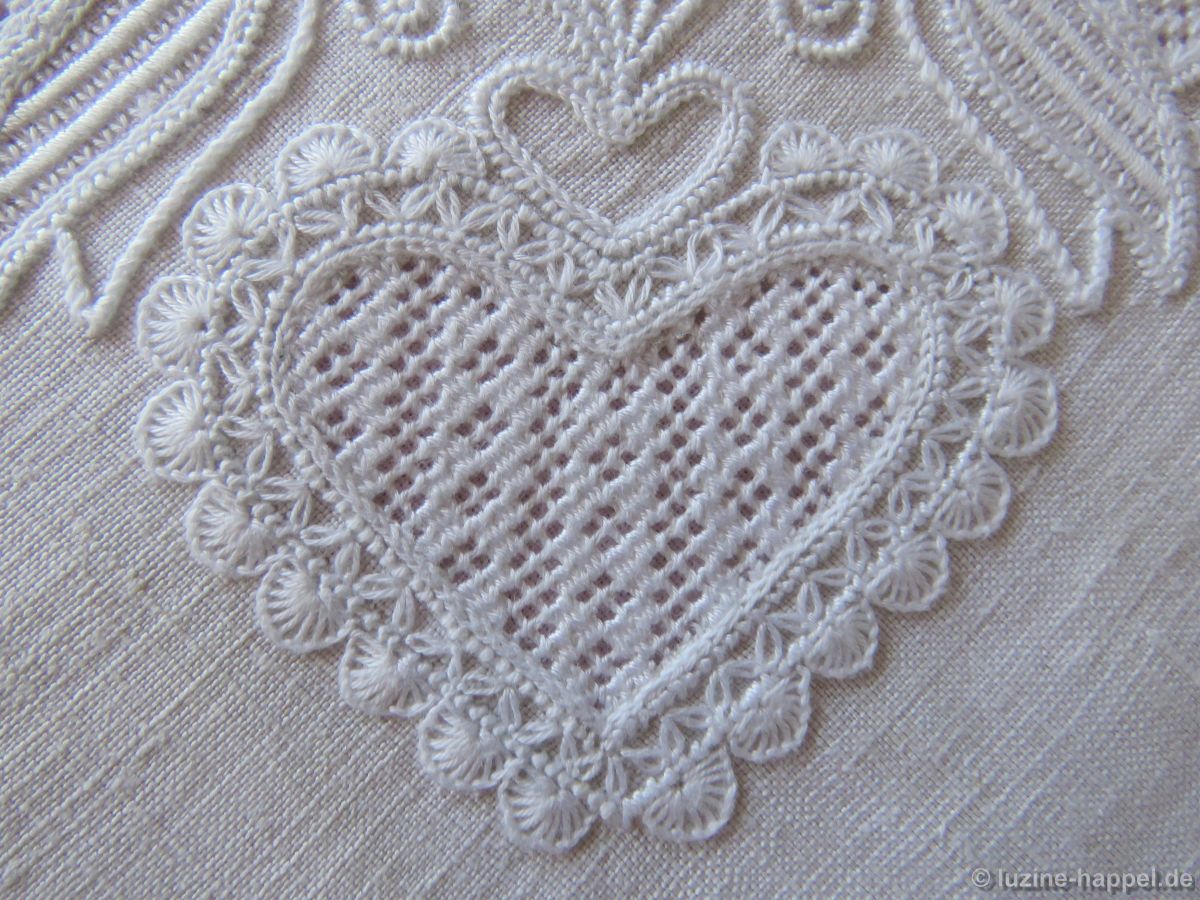
Here are a few more impressions:

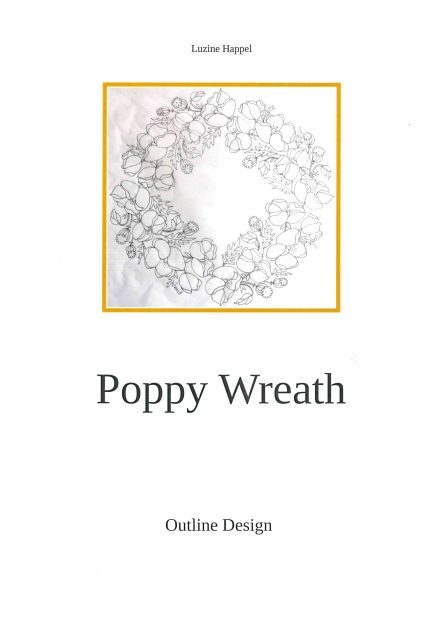
You can download the pattern as a PDF file here:
Shop