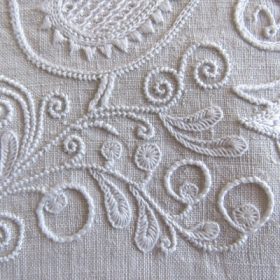
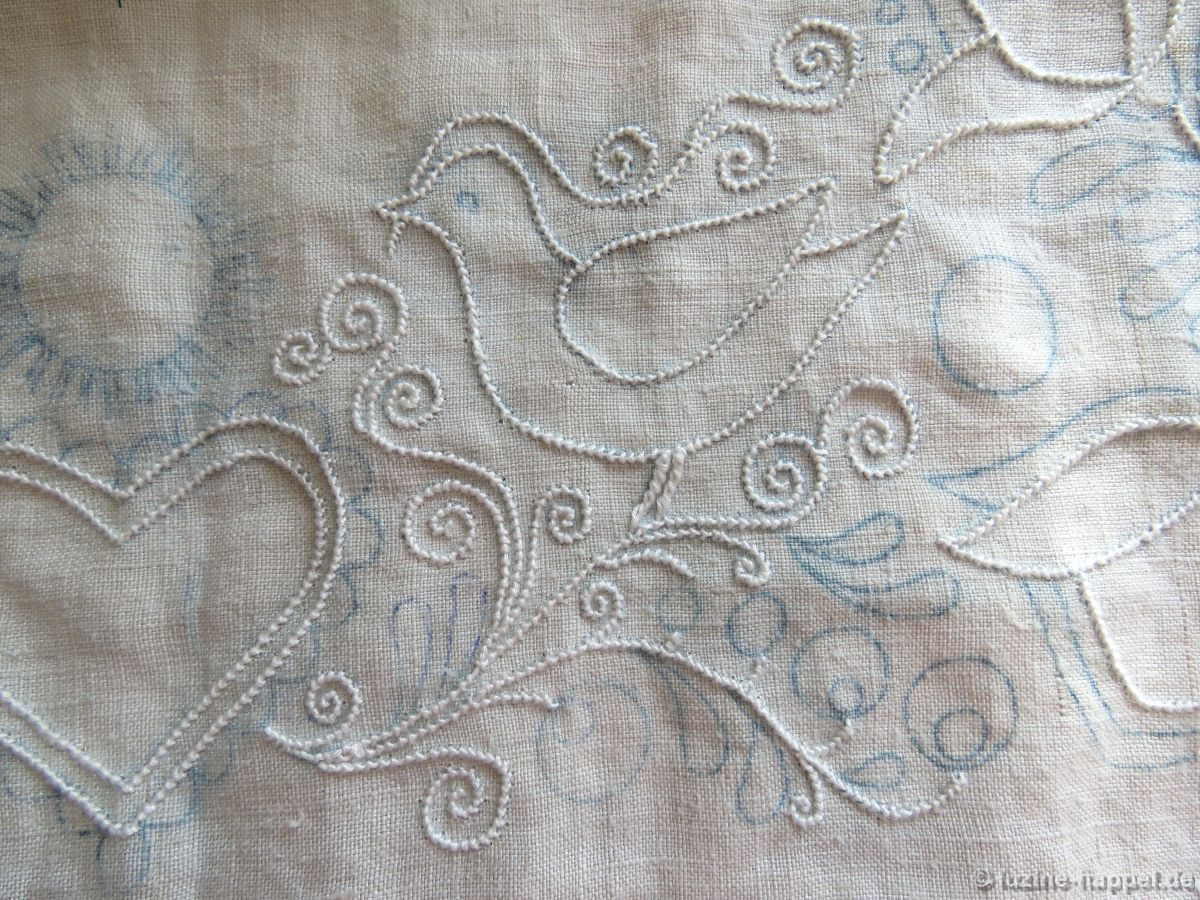
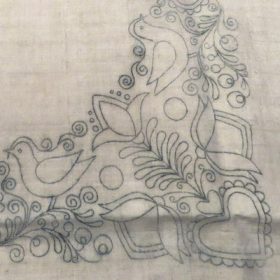
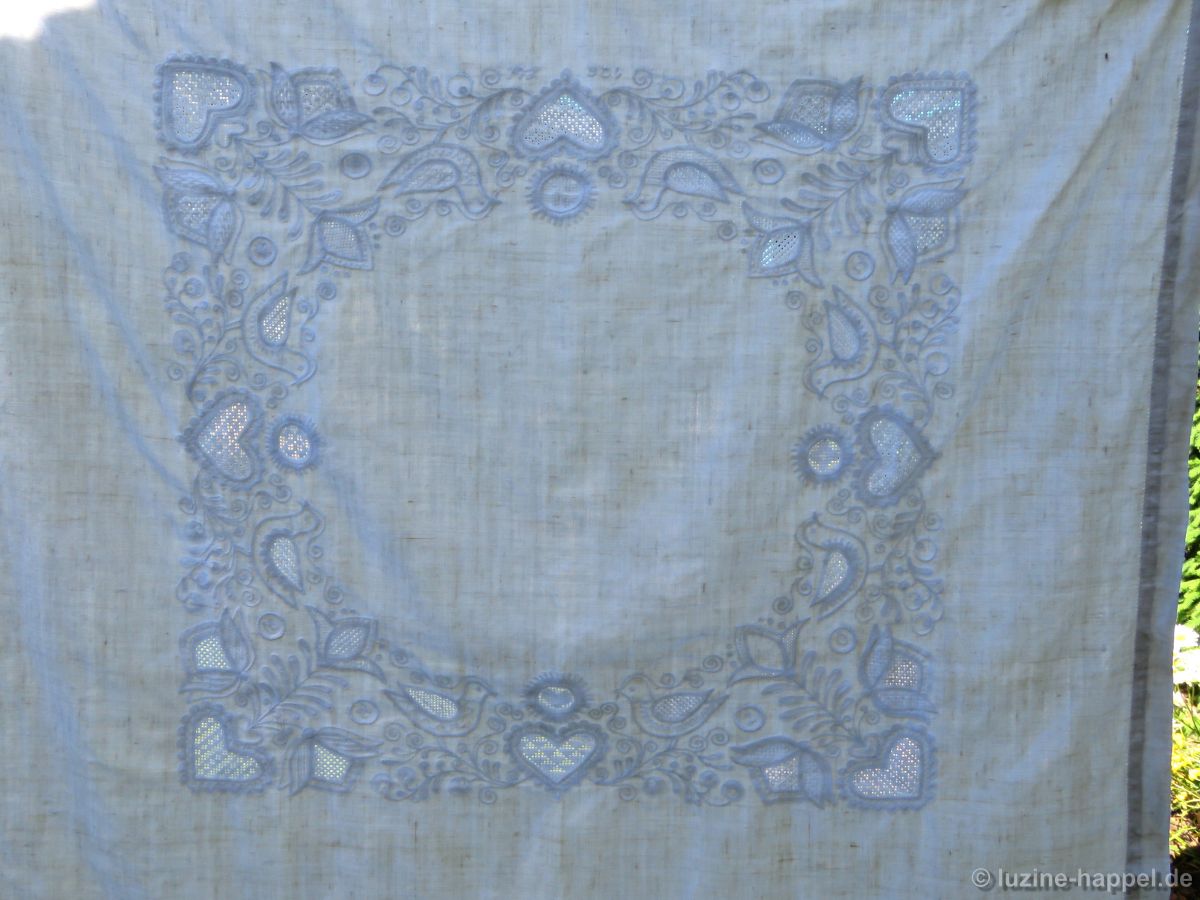
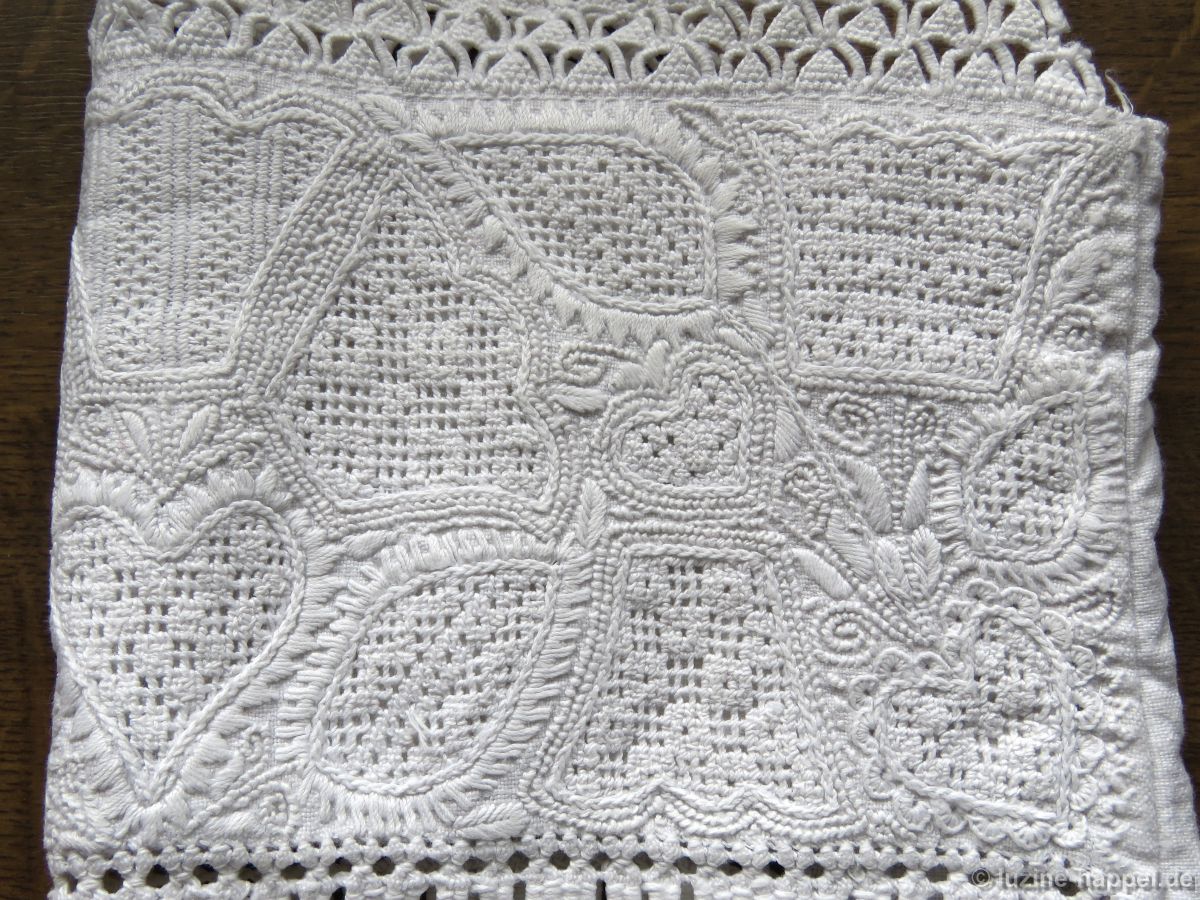
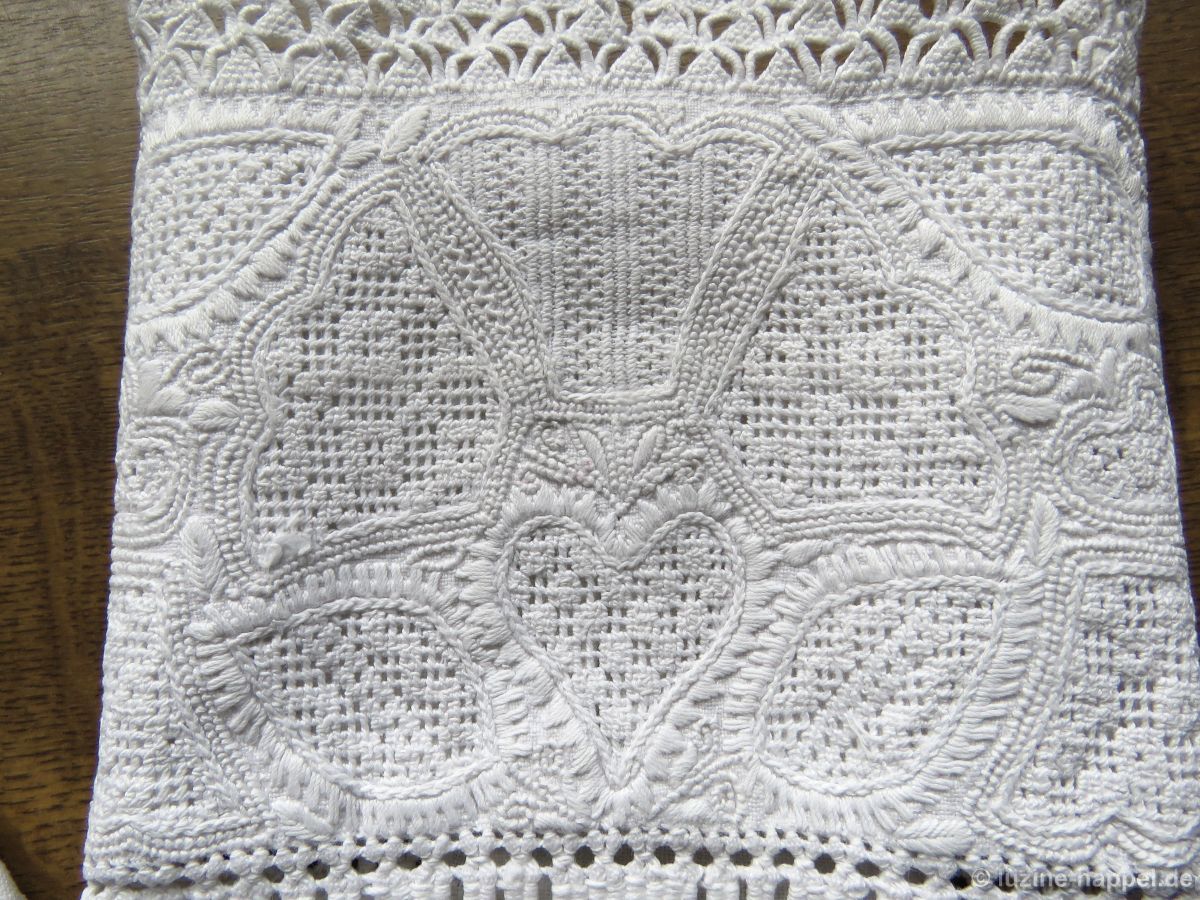
The design of the tea cloth features a bird motif that appears a total of eight times.
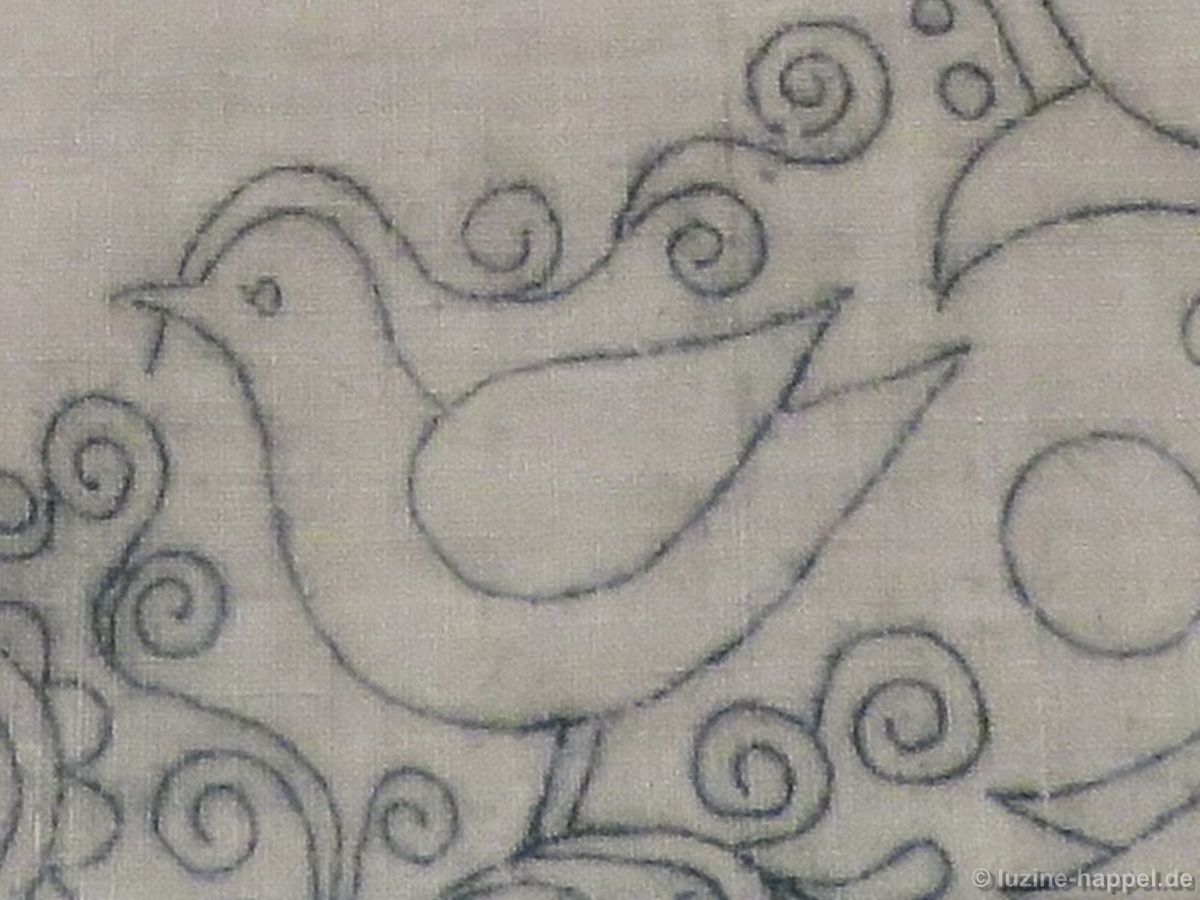
These birds could all be decorated in the same way, but they also lend themselves to experimenting with different stitches.
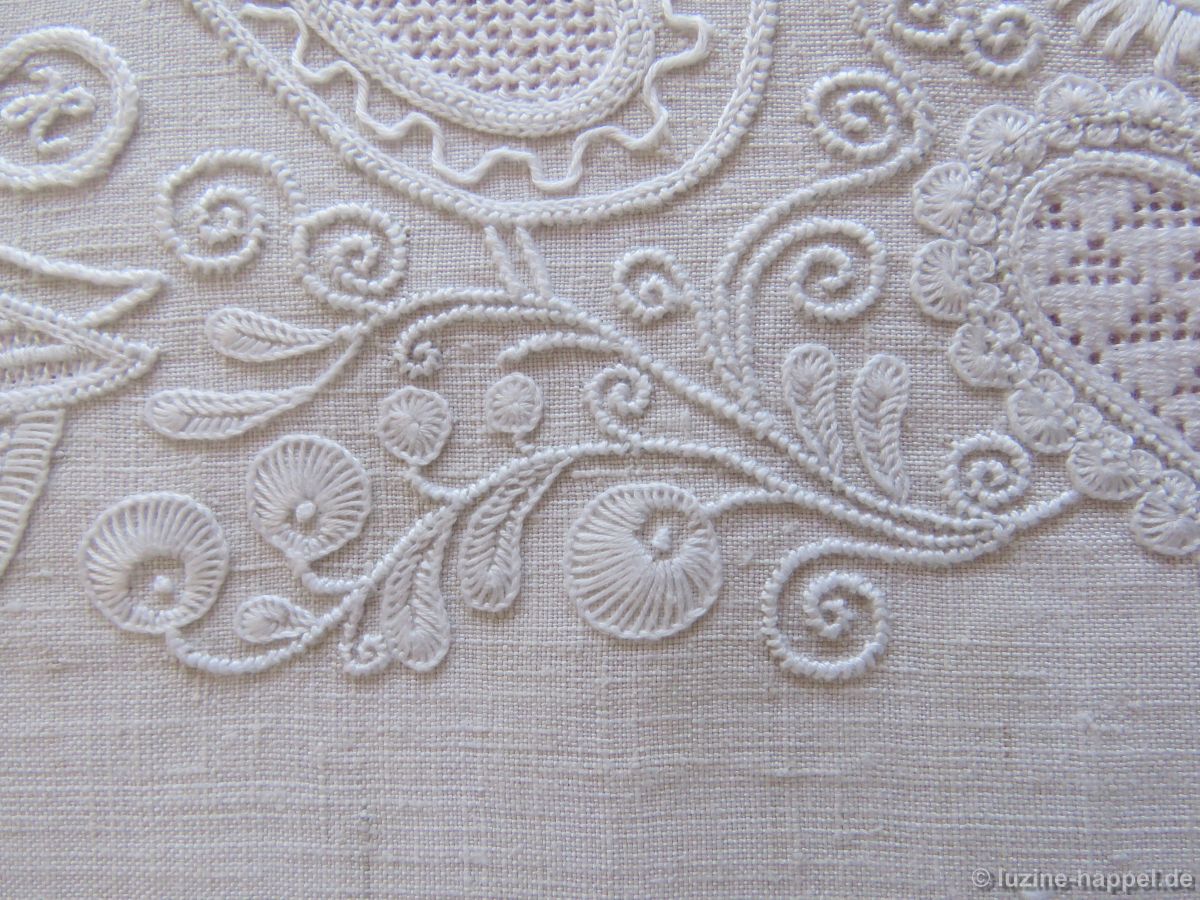
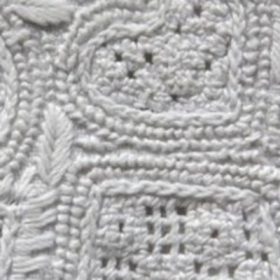
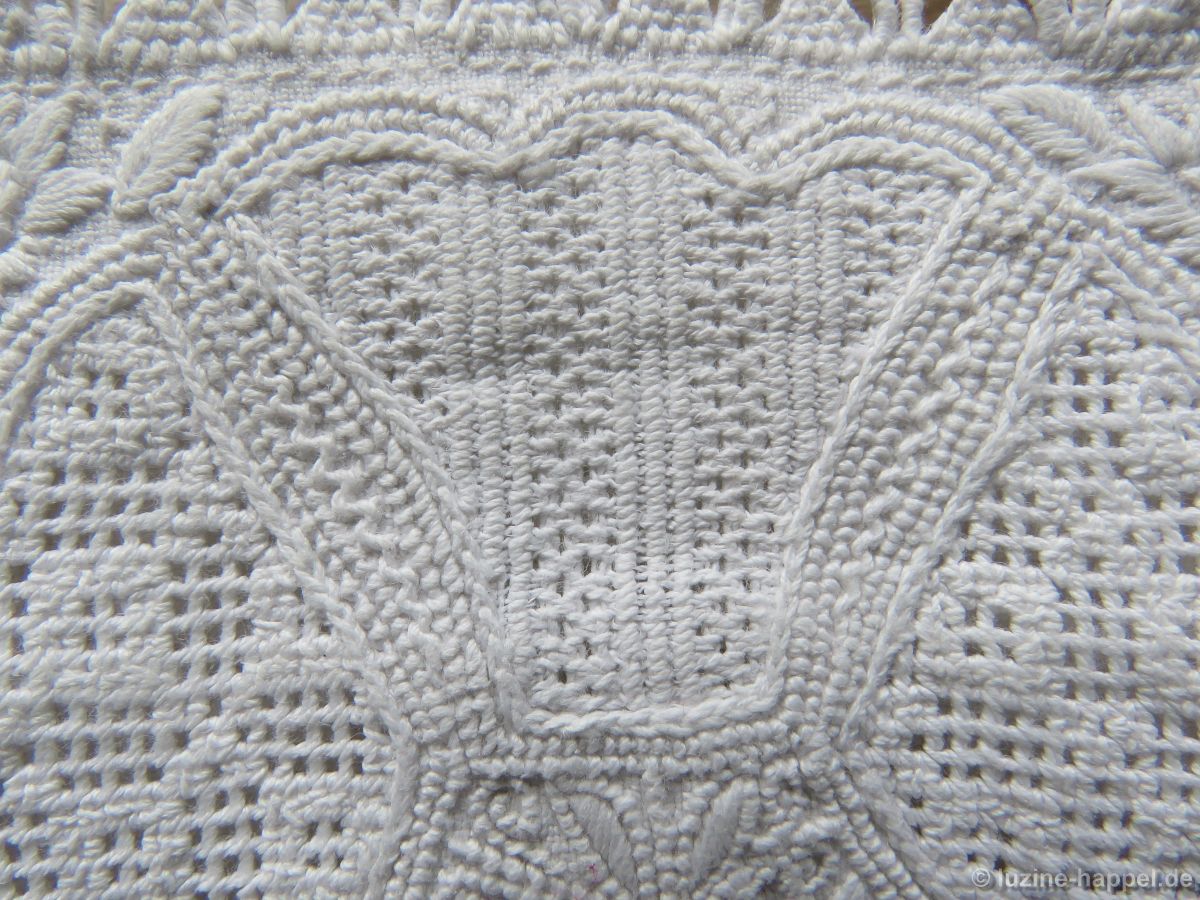
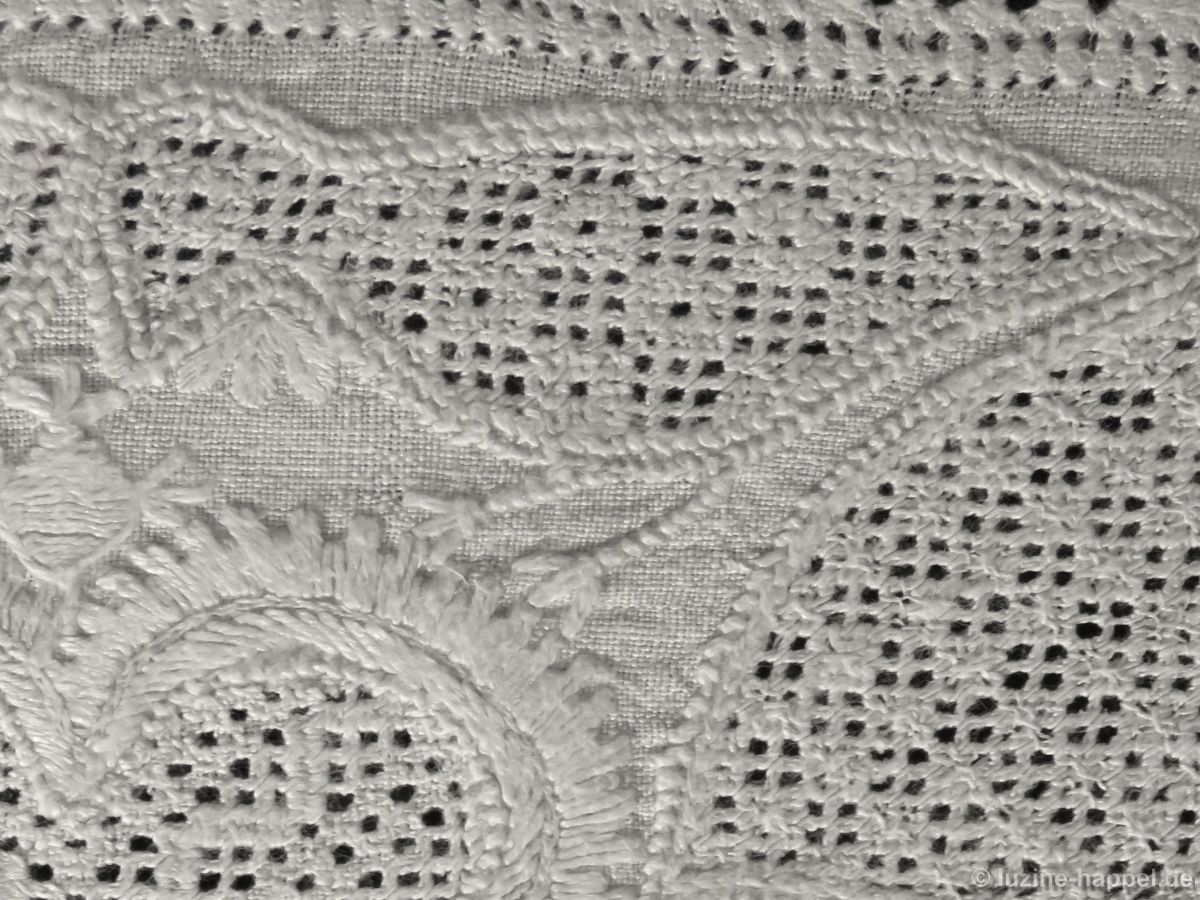
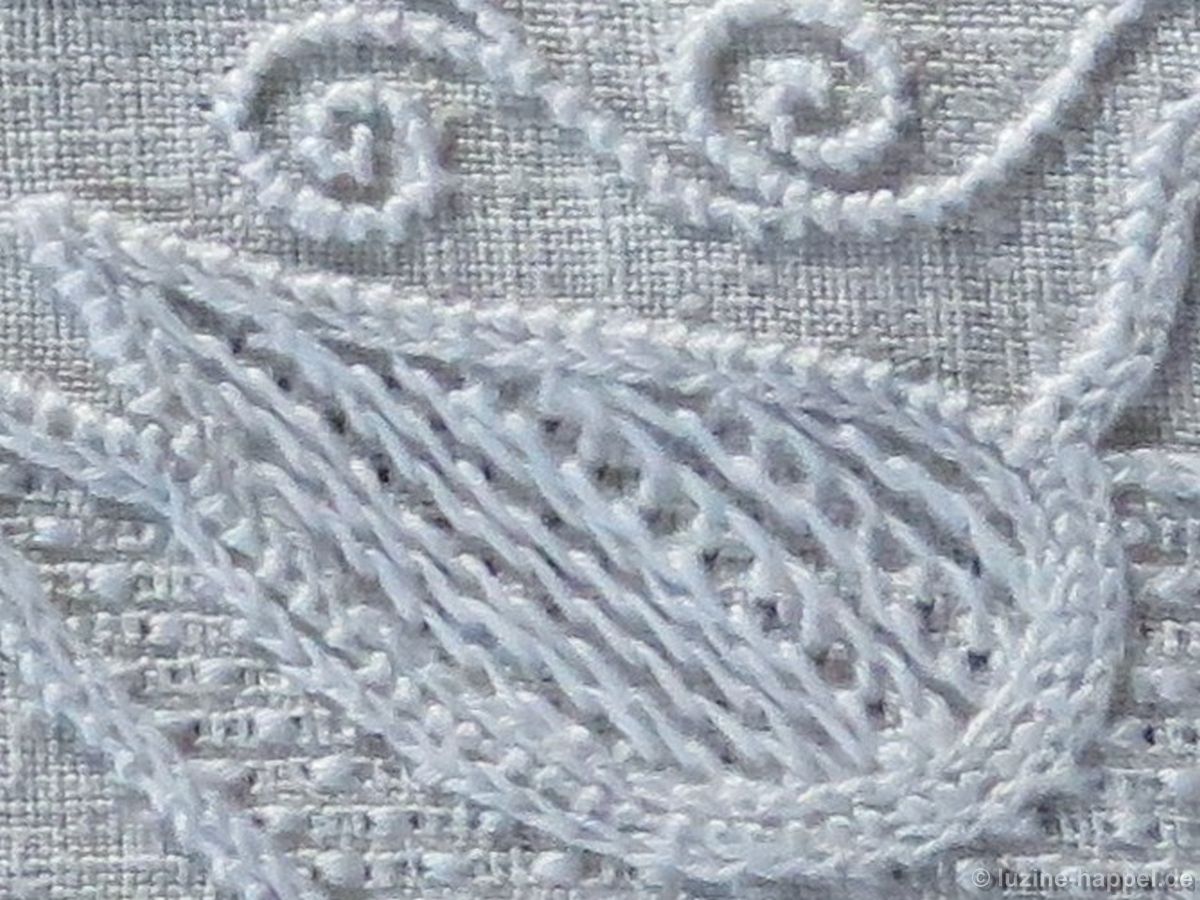
The shape of the wings lends itself well to stitching diagonal filling patterns.
In doing so, I came up with yet another new pattern using diagonally arranged blanket stitches.
In this process, two rows are placed facing each other.
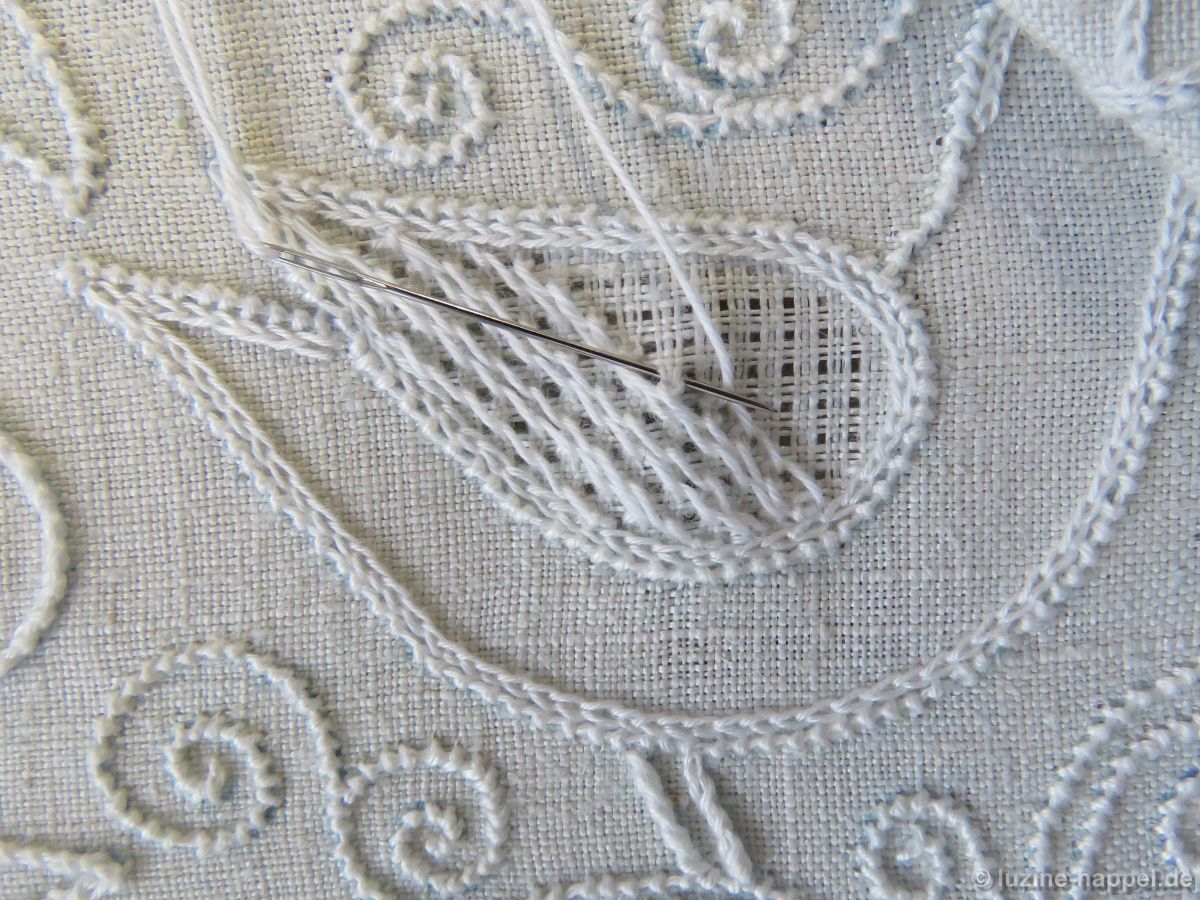
If the stitches passing underneath are worked beneath the same square, the loops lie closer together than if the stitches are passed beneath two adjacent squares.
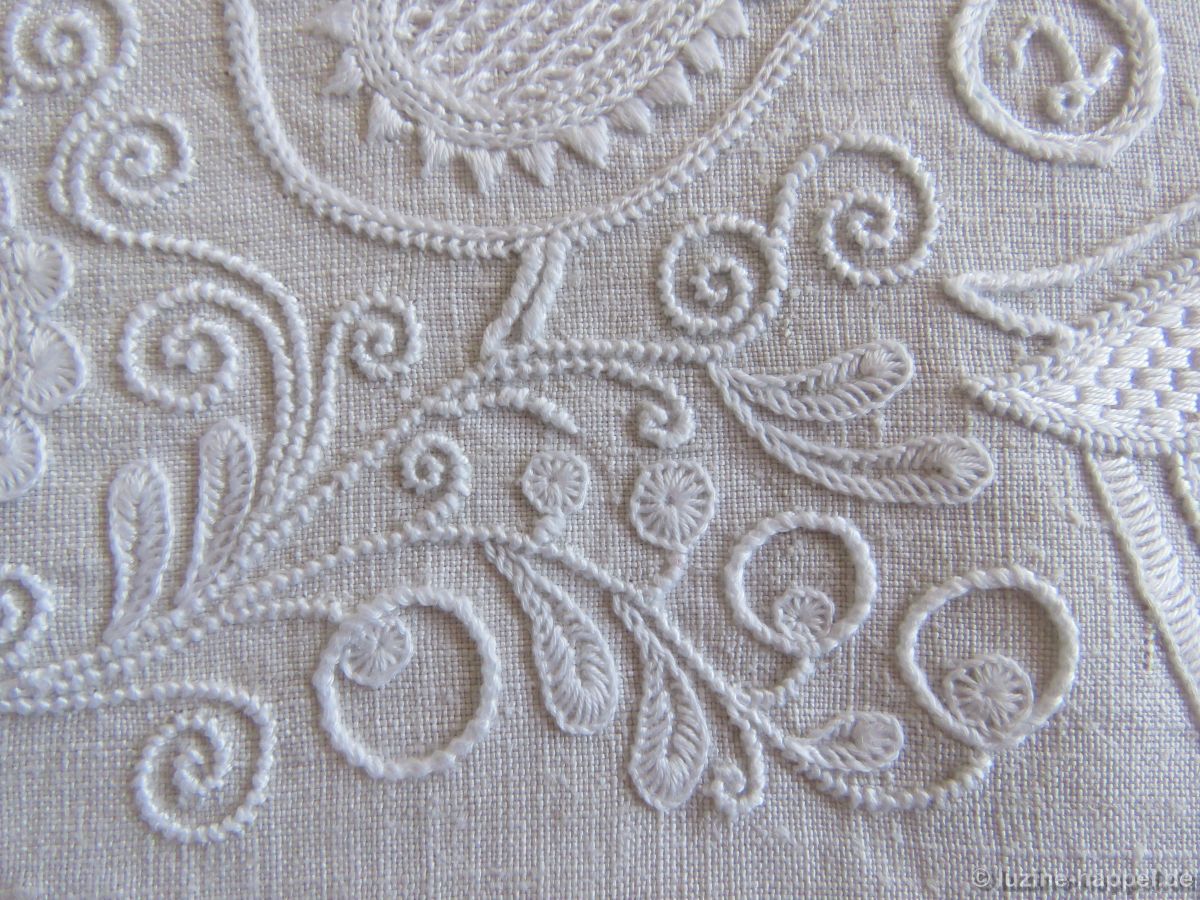
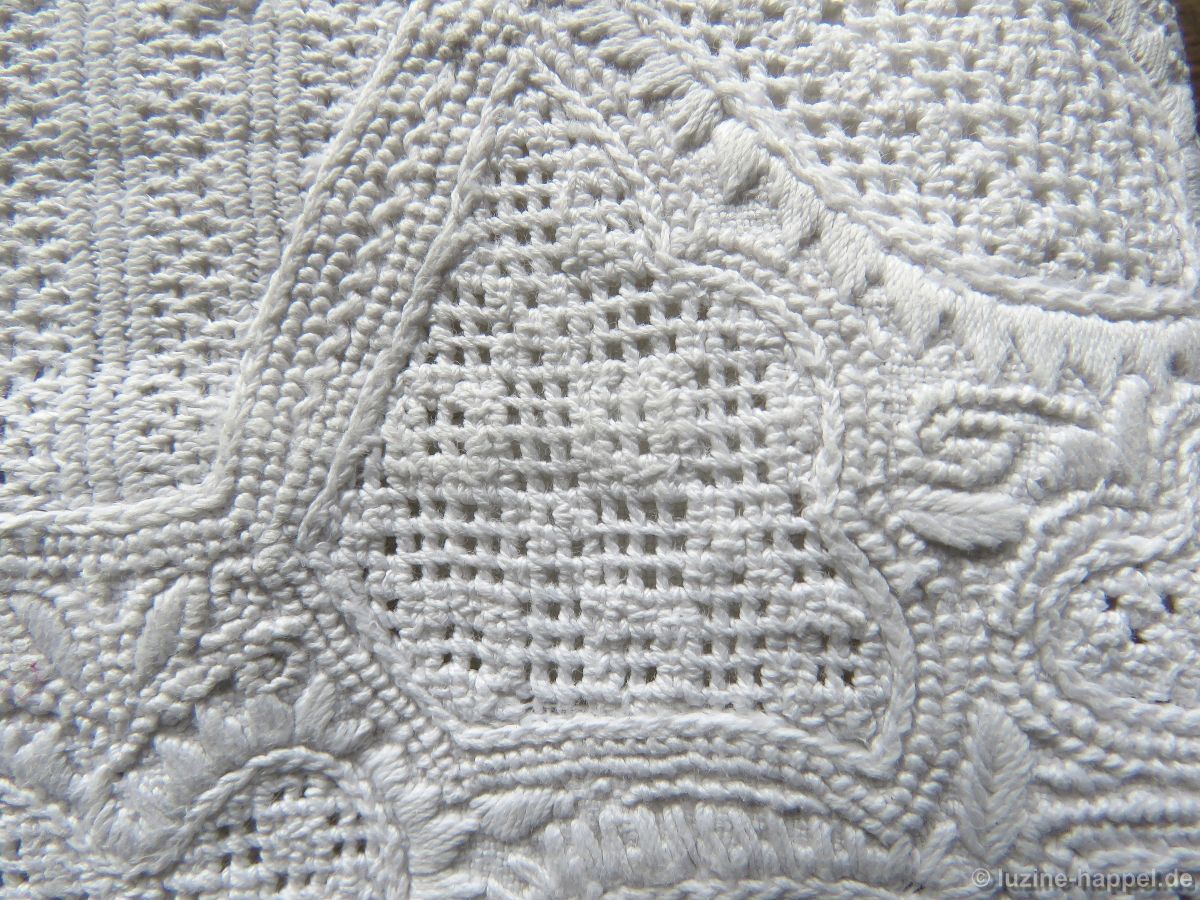
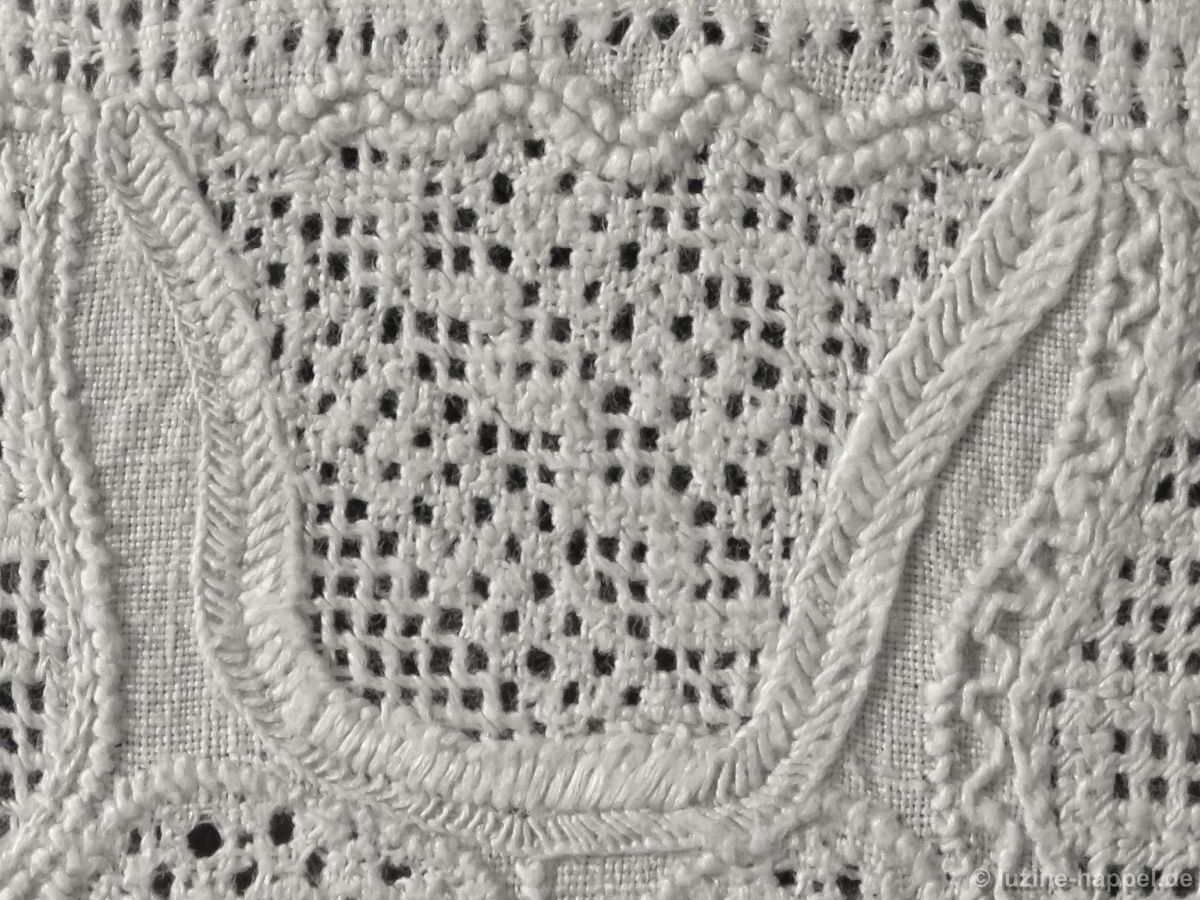
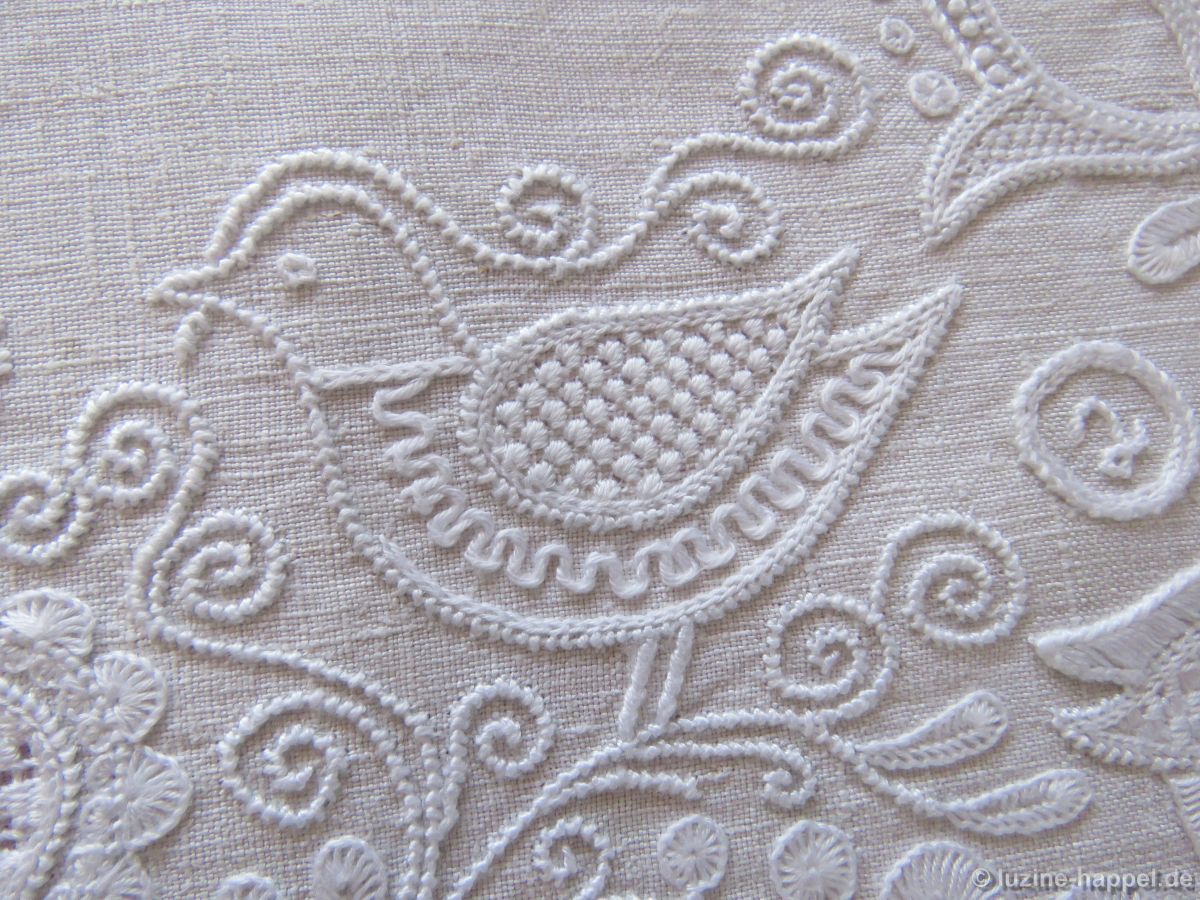
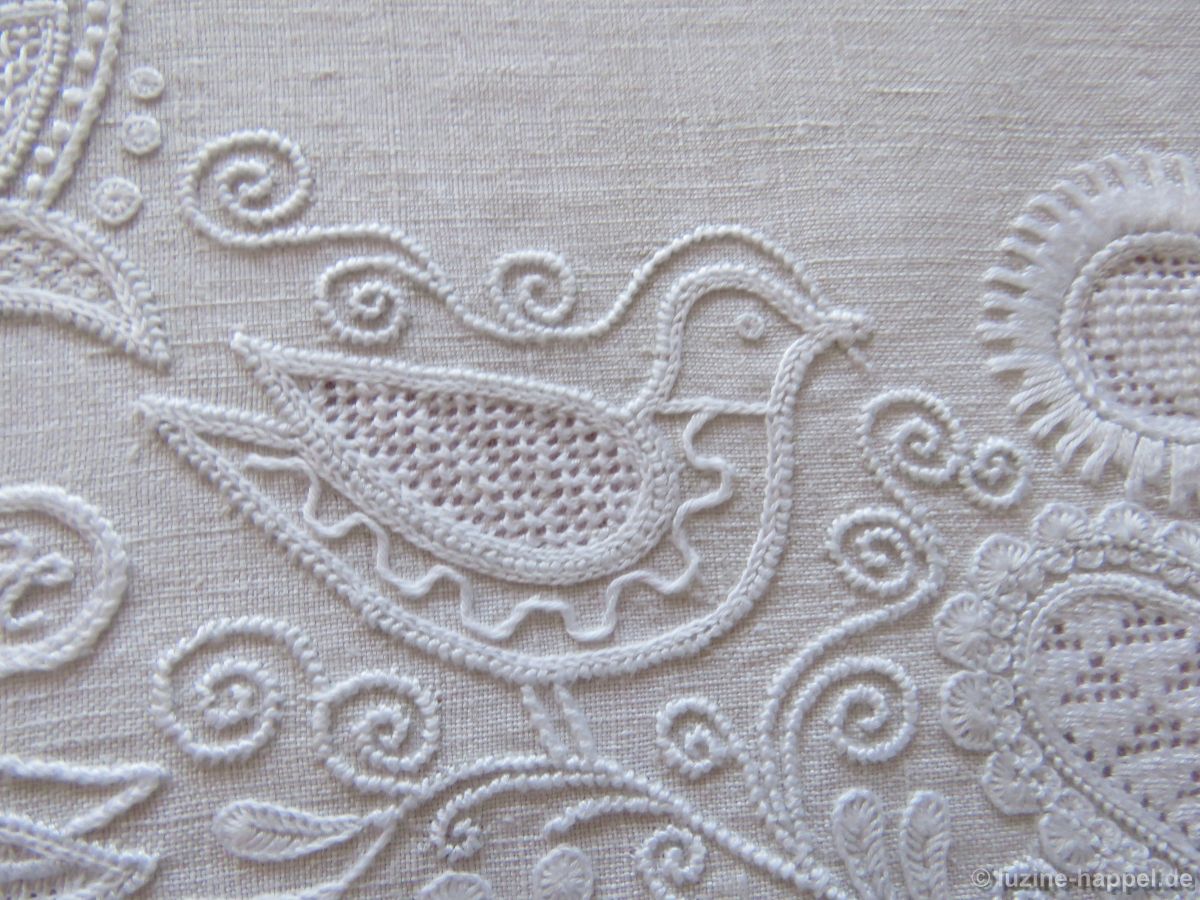
In my first course on learning Schwalm whitework, which I took more than 40 years ago, I learned to decorate “bird bellies” with the *Schlängchen*—interlaced herringbone stitches. These are easy to stitch and can be readily adapted to the curve, even by beginners.
The wing was embroidered with a Limet pattern consisting of alternating rows of rose stitches and stepped satin stitches, each over a single grid square.
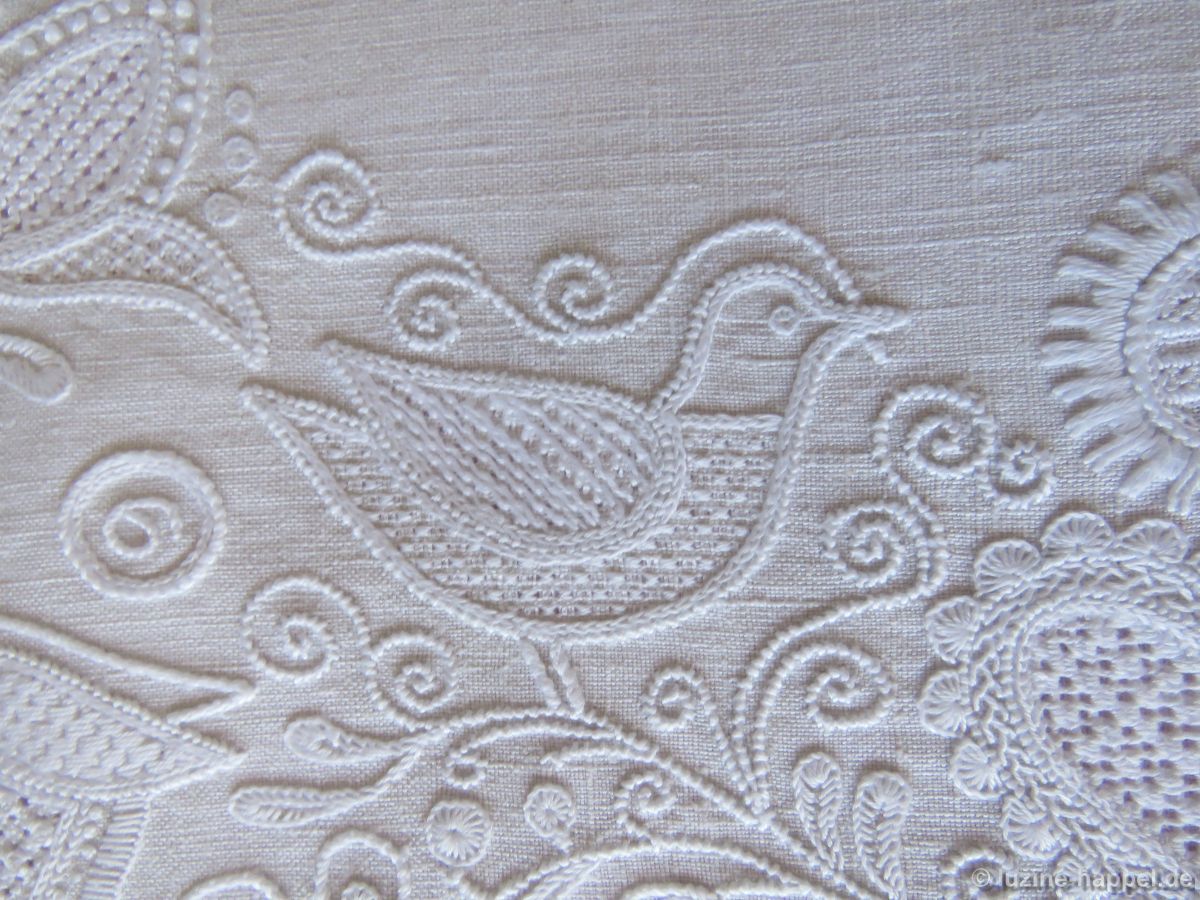
A similar effect to that of the herringbone “curved lines” can also be achieved using interlaced straight stitches known as “Kerrercher.” These can be found on pages 6–14 of my publication Schwalm Curved Lines, Narrow Borders, and Ornamental Stitches. (Wings/“Plumage” – Limetrosen I, page 15.)
Depending on how closely spaced or how slanted the straight stitches are, the serpentine lines appear quite different. (Wings: double rows of cable stitches, worked alternately from the front and back:)
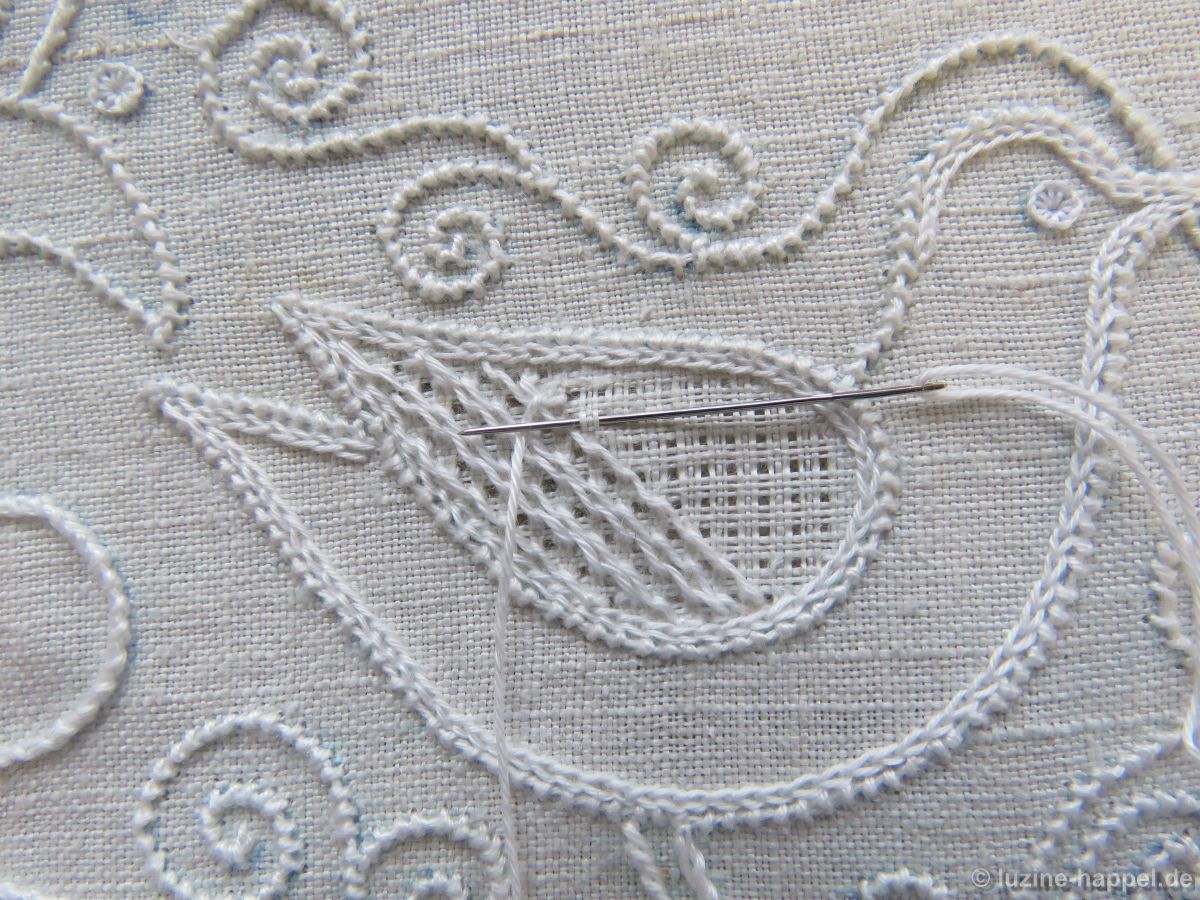
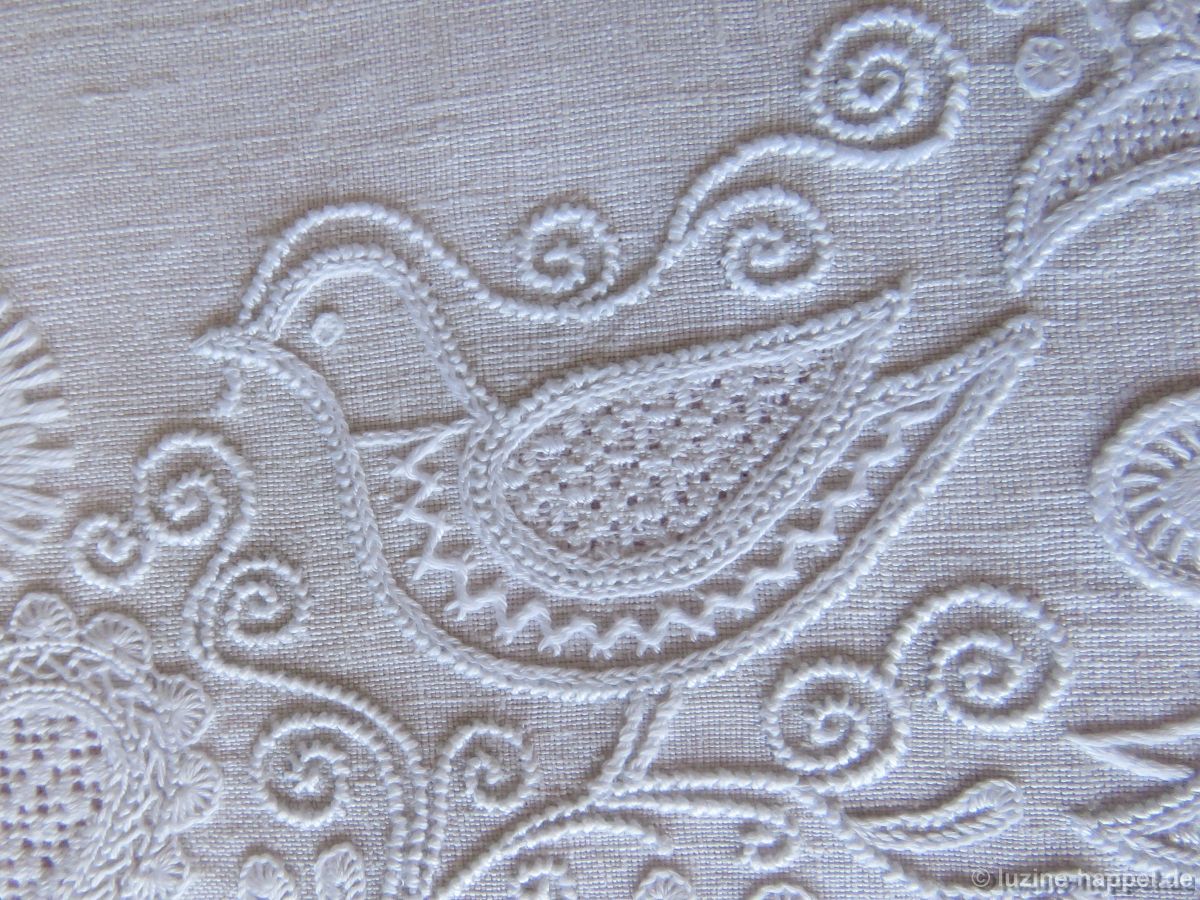
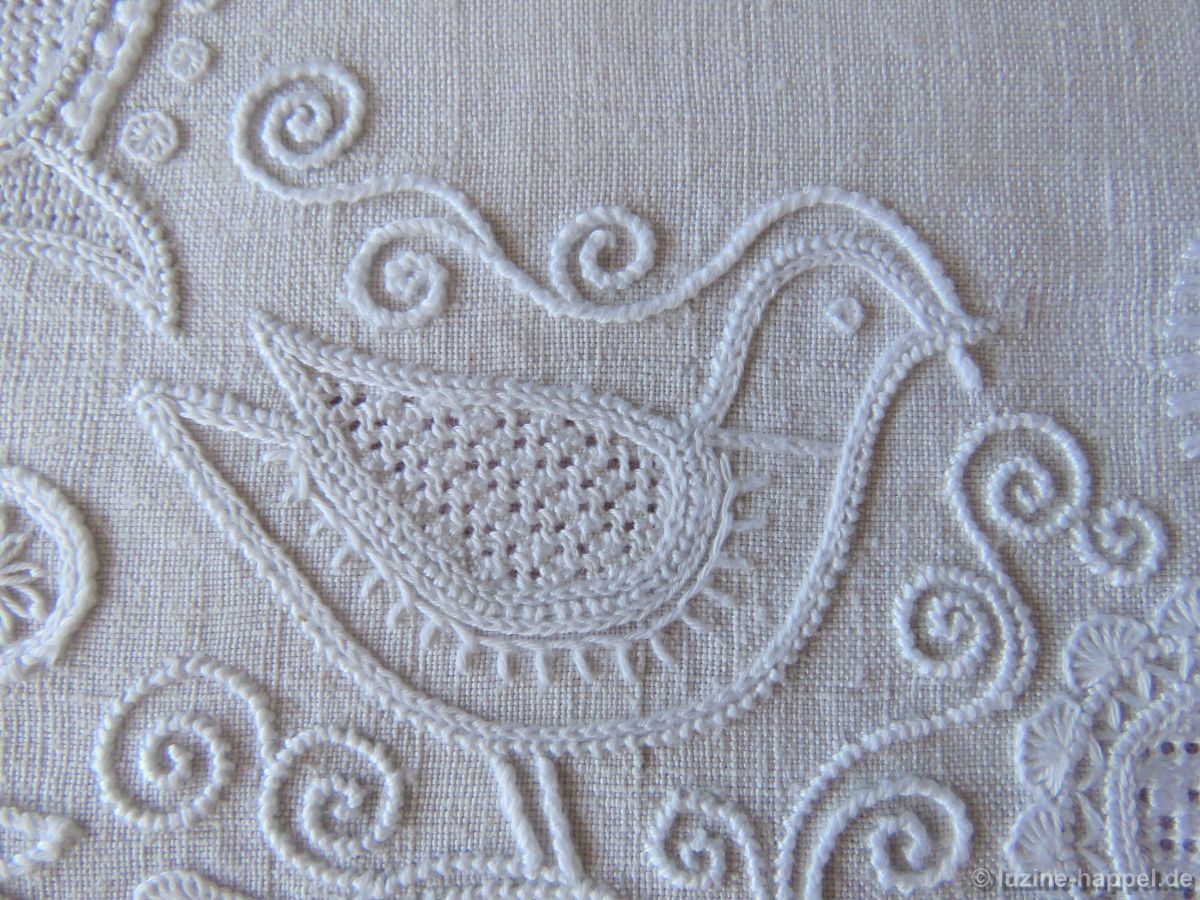
The bird’s belly can also be decorated with filling patterns, though the patterns must be very small. Here, a simple openwork pattern was stitched using a horizontal 2:1 thread-withdrawal technique. Honeycomb Darniung stitches were worked from the back.
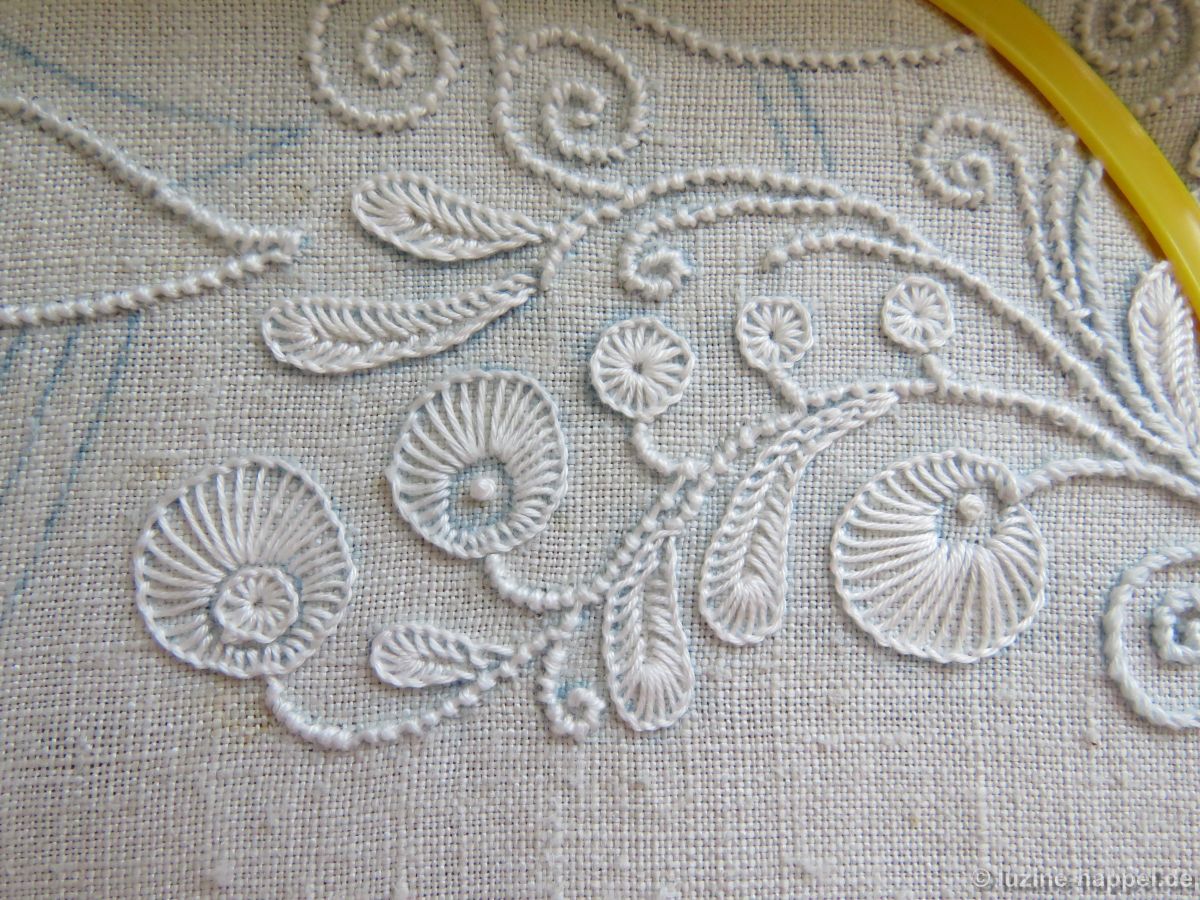
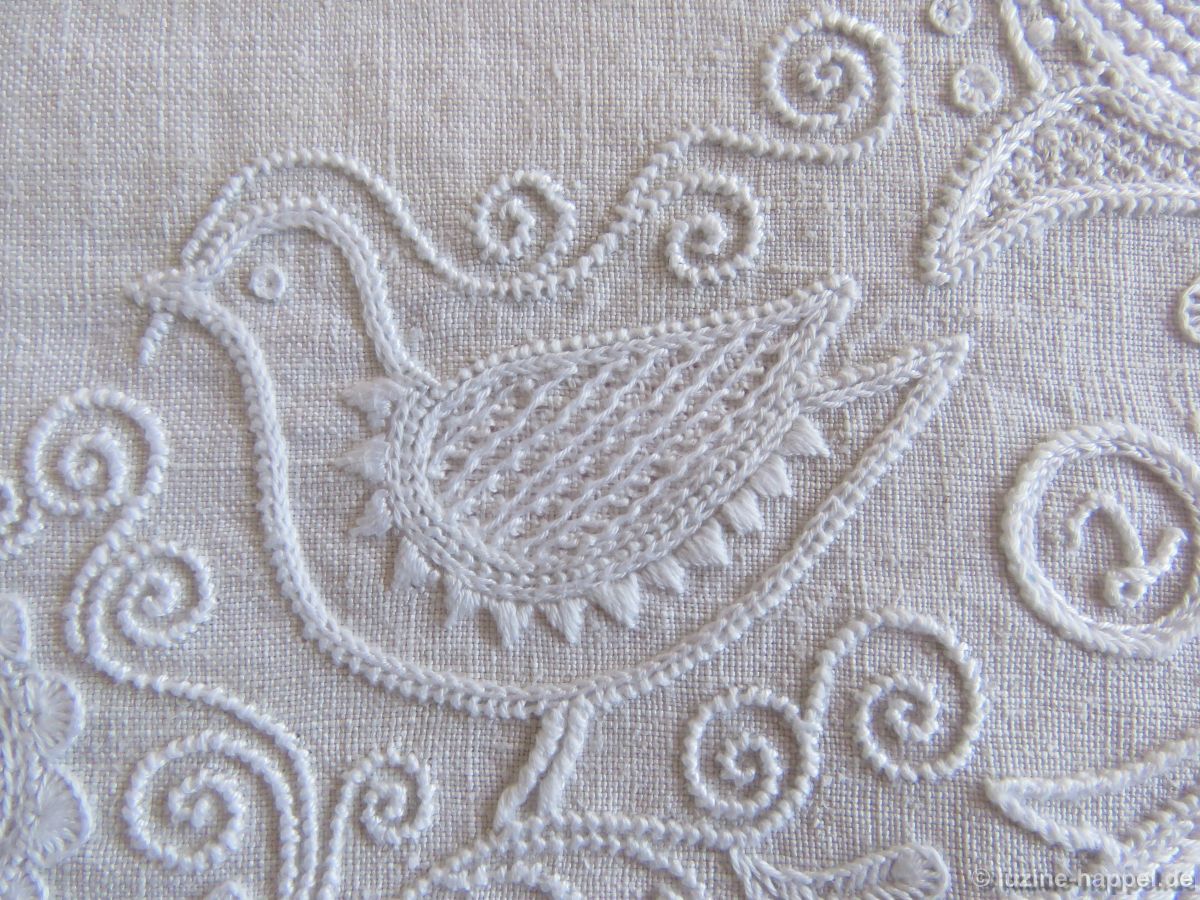
Instead of filling patterns or curved lines, you can also stitch decorative stitches along the wing on the bird’s belly.
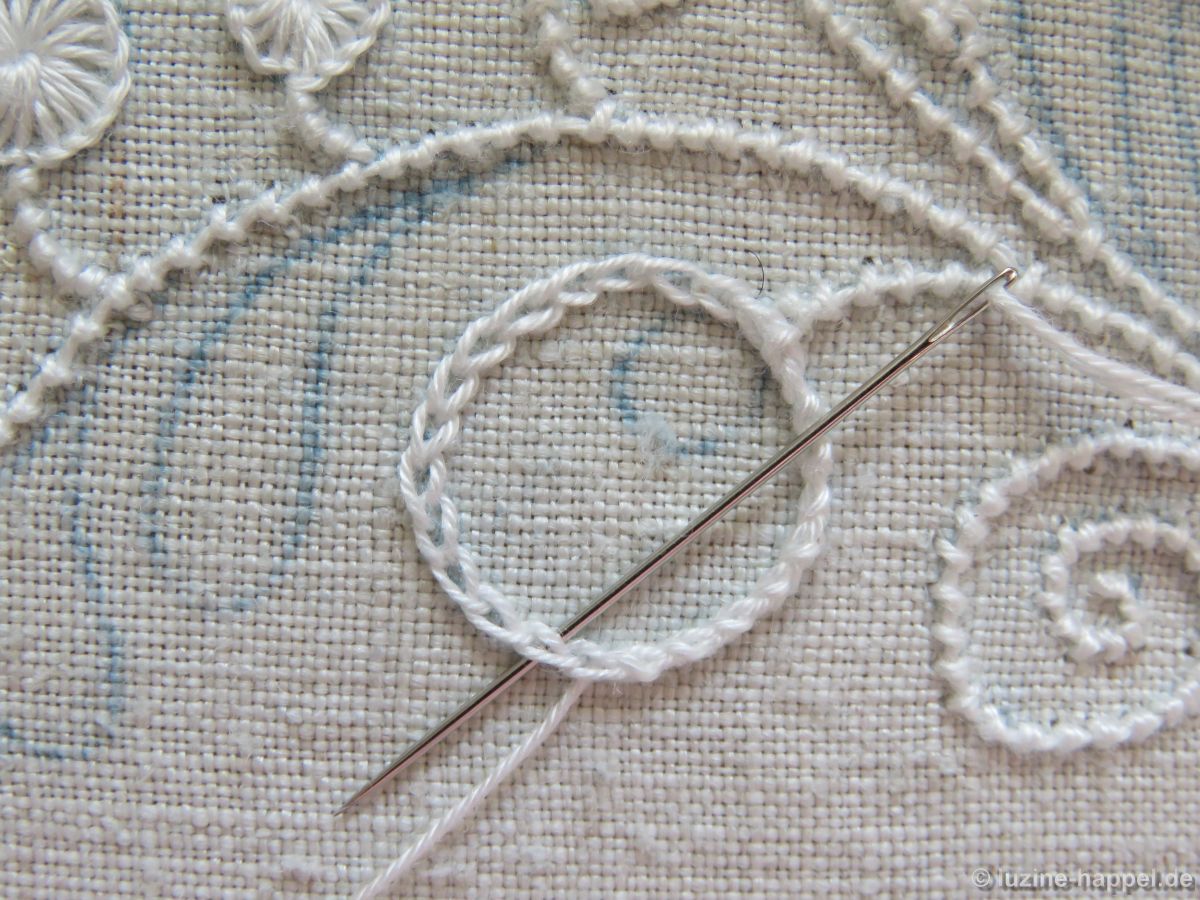
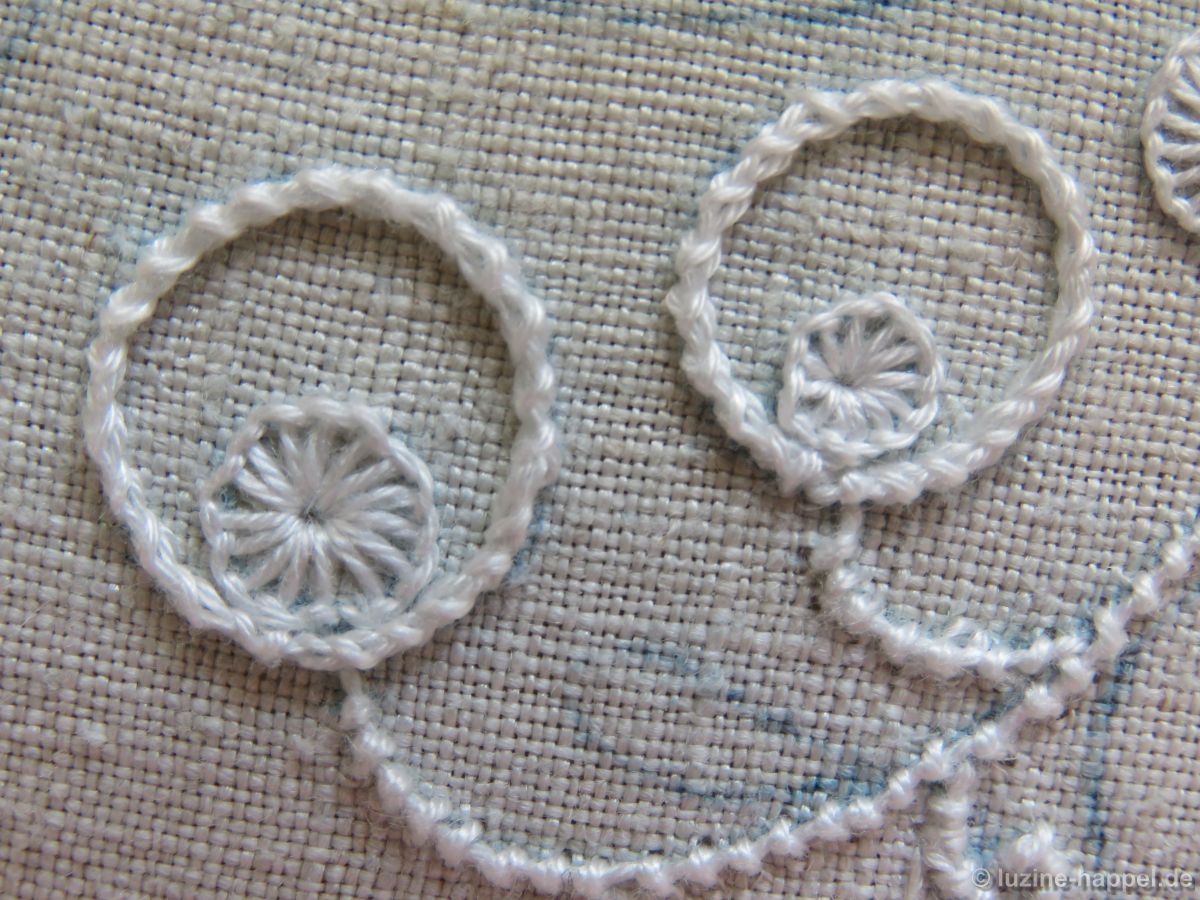
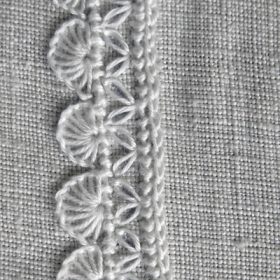
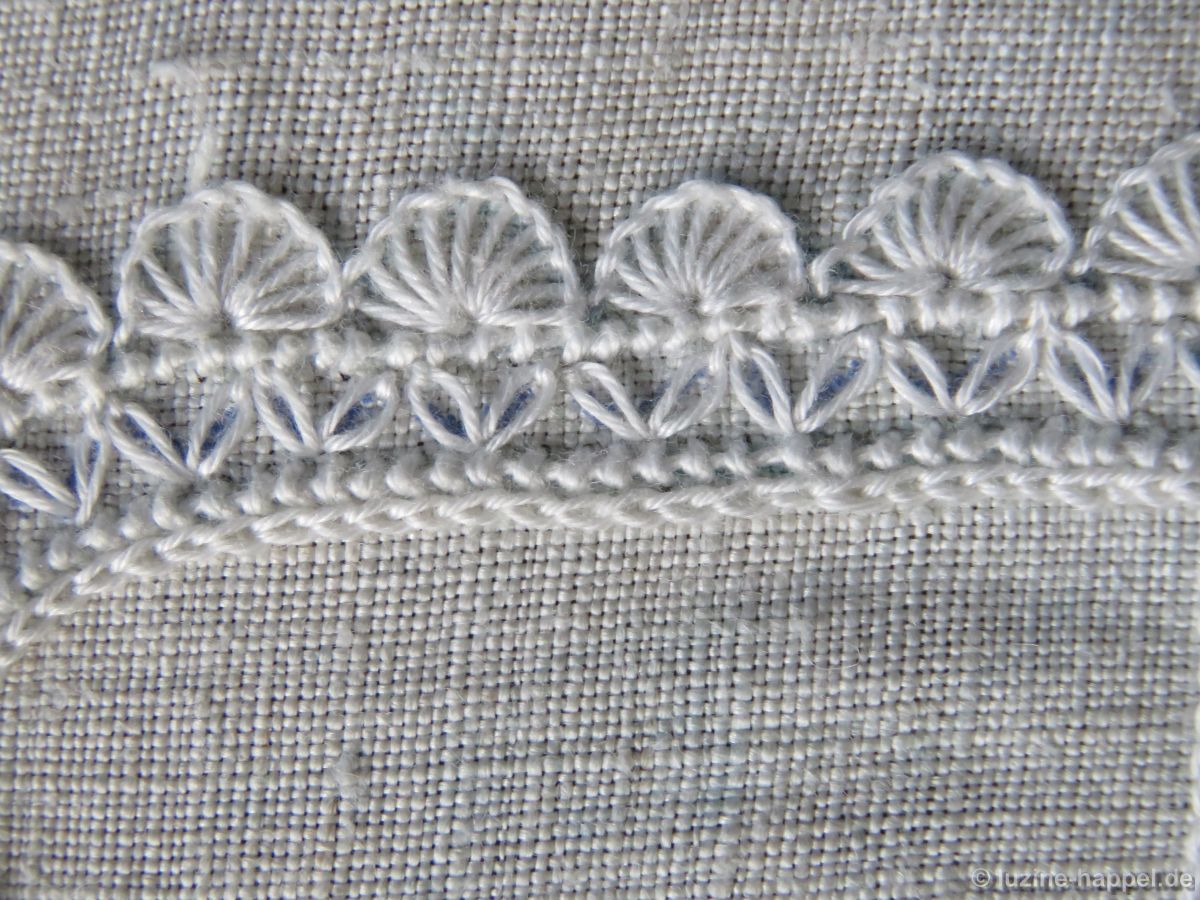
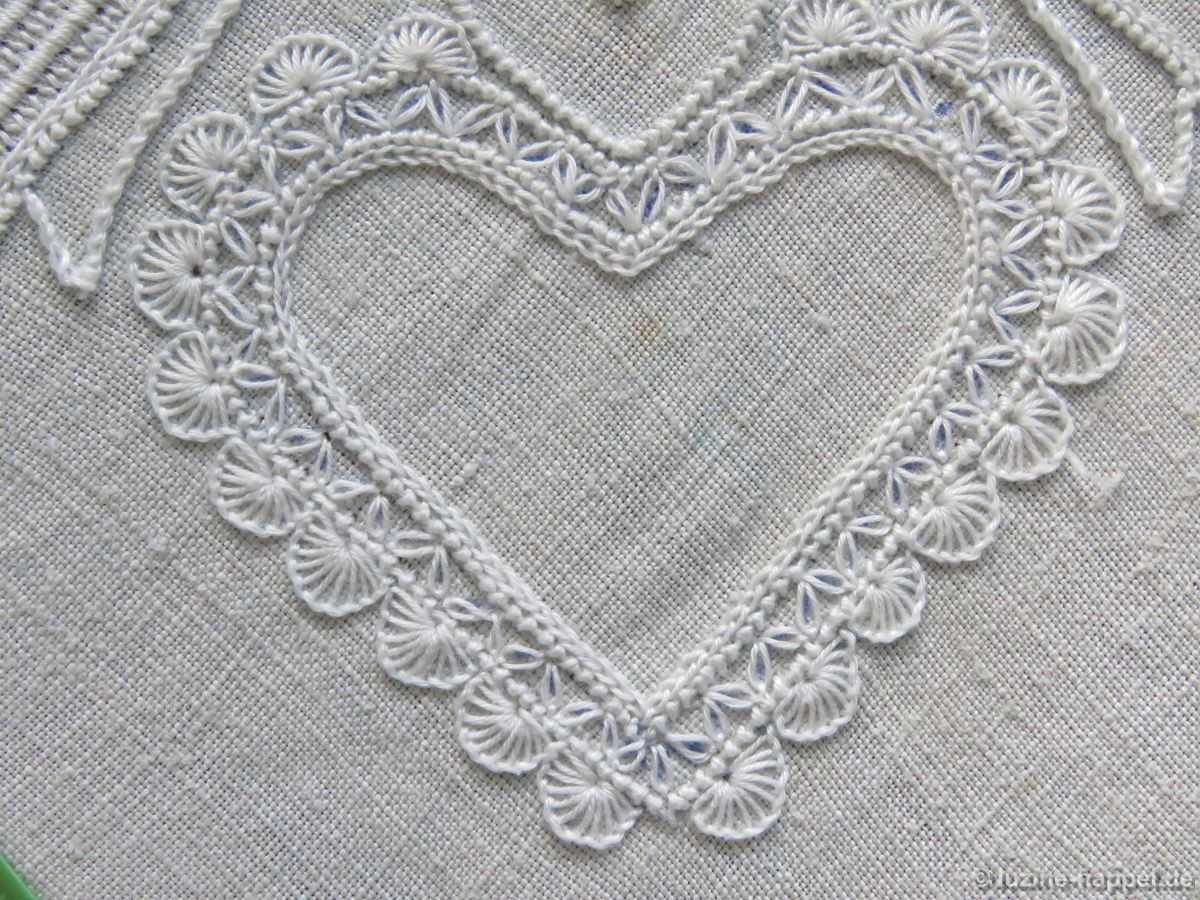
Blanket stitch eyelets are an alternative,

Knife-points are another variation. (Wings: French stitch—half-stitch with a gap; Openwork Pattern Samplers, pp. 35–37.)
2short-2long is also suitable for this type of design (wings: alternating rows of diagonal cross stitches and cable stitches).

as well as eyelash stitches. (Wings: a variation of filling pattern 550, but alternating between just one row of rose stitches and one row of base stitches.)
The next blog post focuses on the design of the hearts arranged diagonally to and in the straight of grain of the fabric.
Please see also:
Bird motifs (1)
Bird motifs (2)