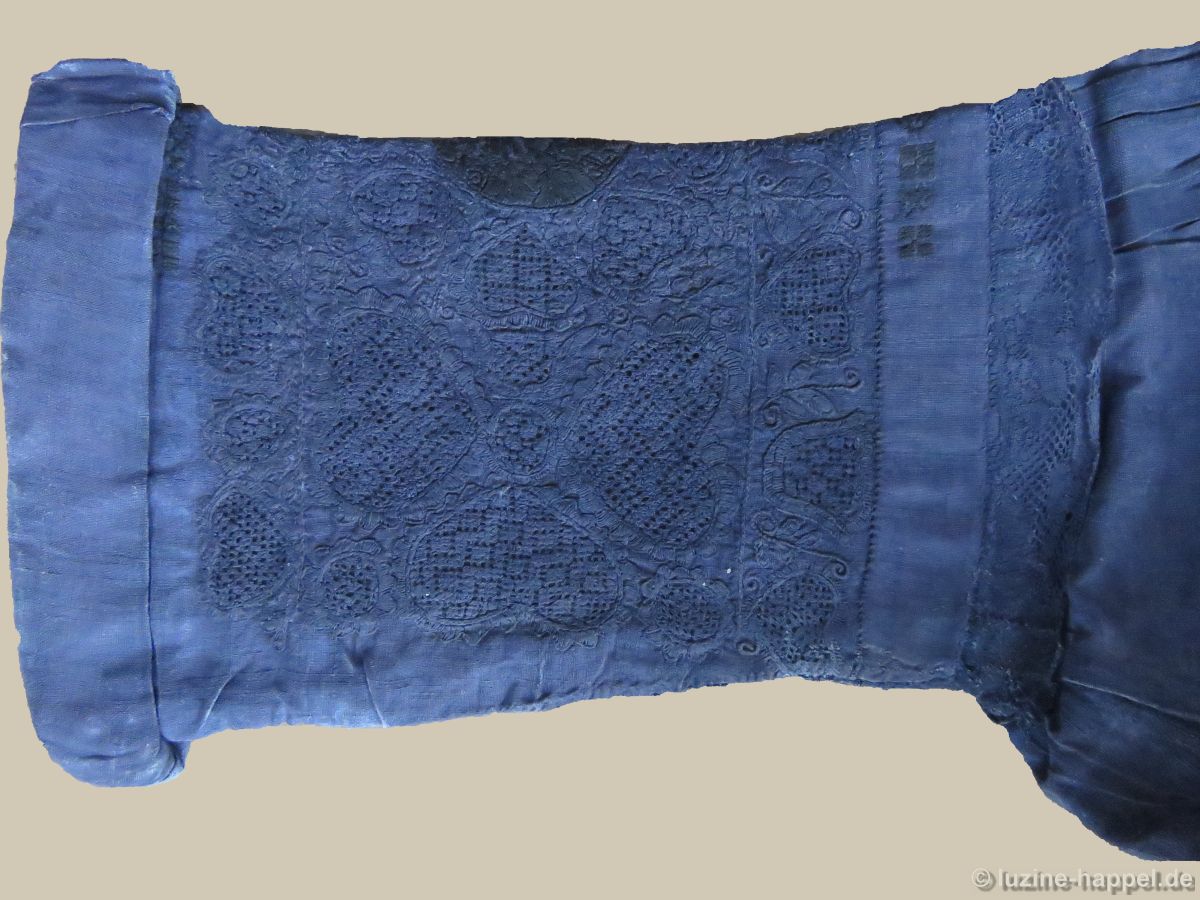
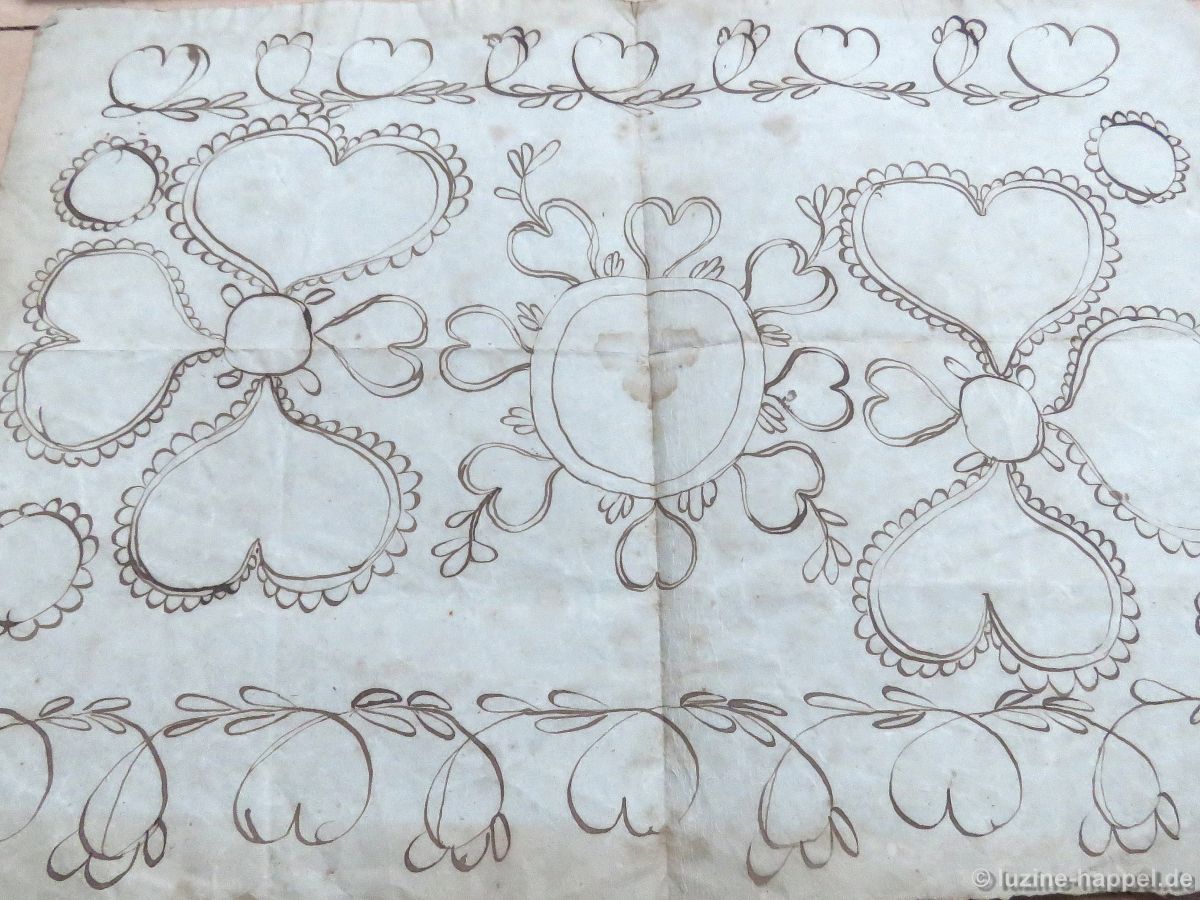
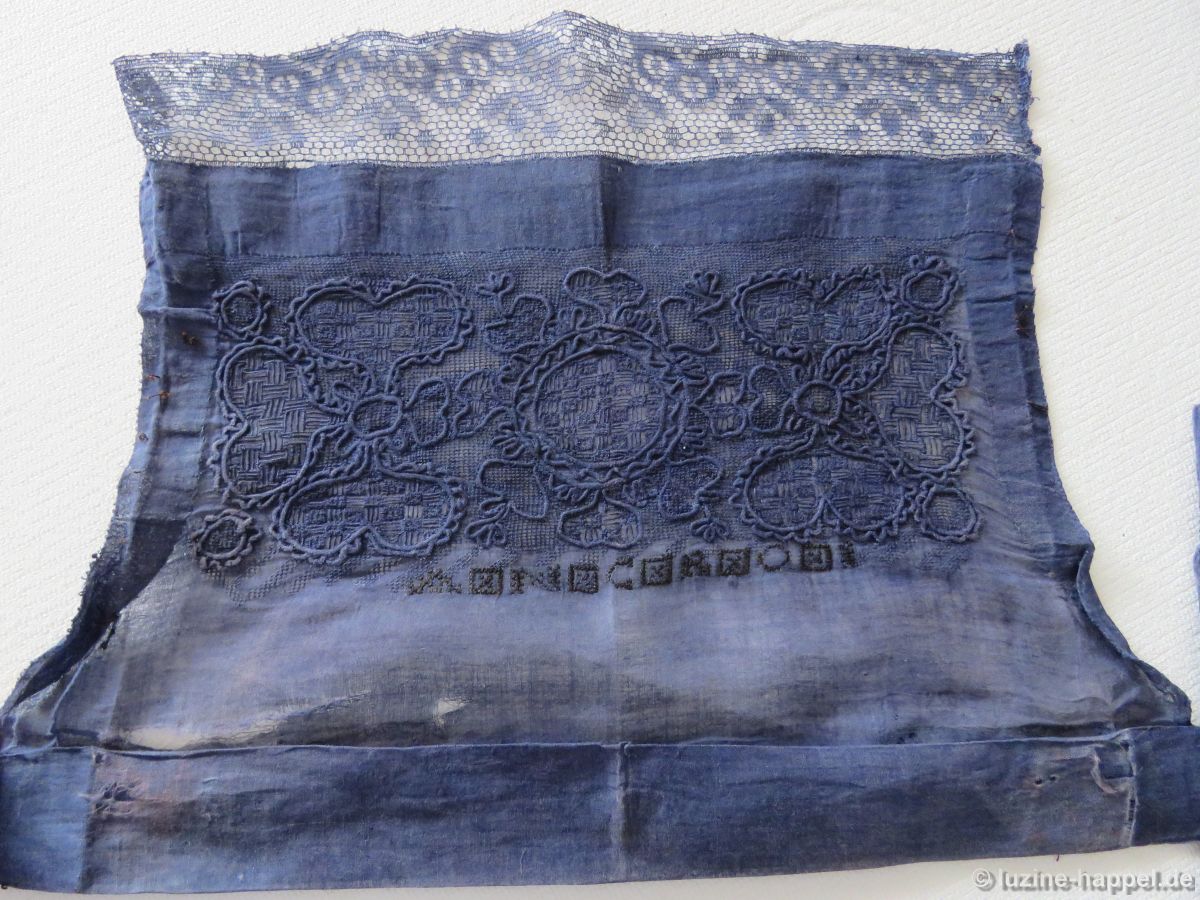
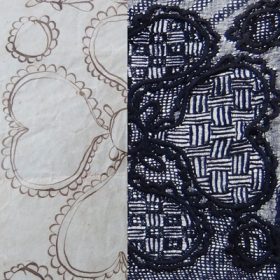
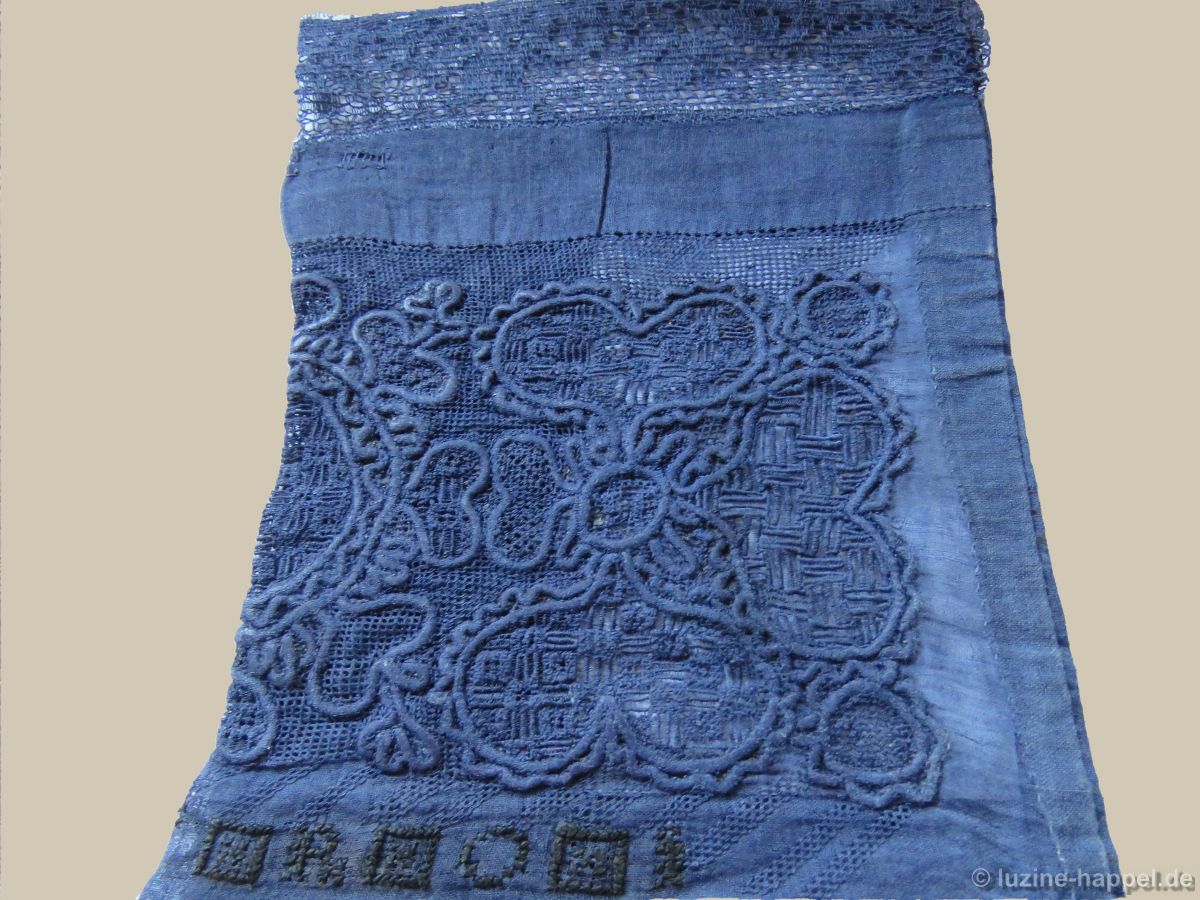
As already mentioned in the blog post Chance Encounter, there is a blue-dyed bodice,

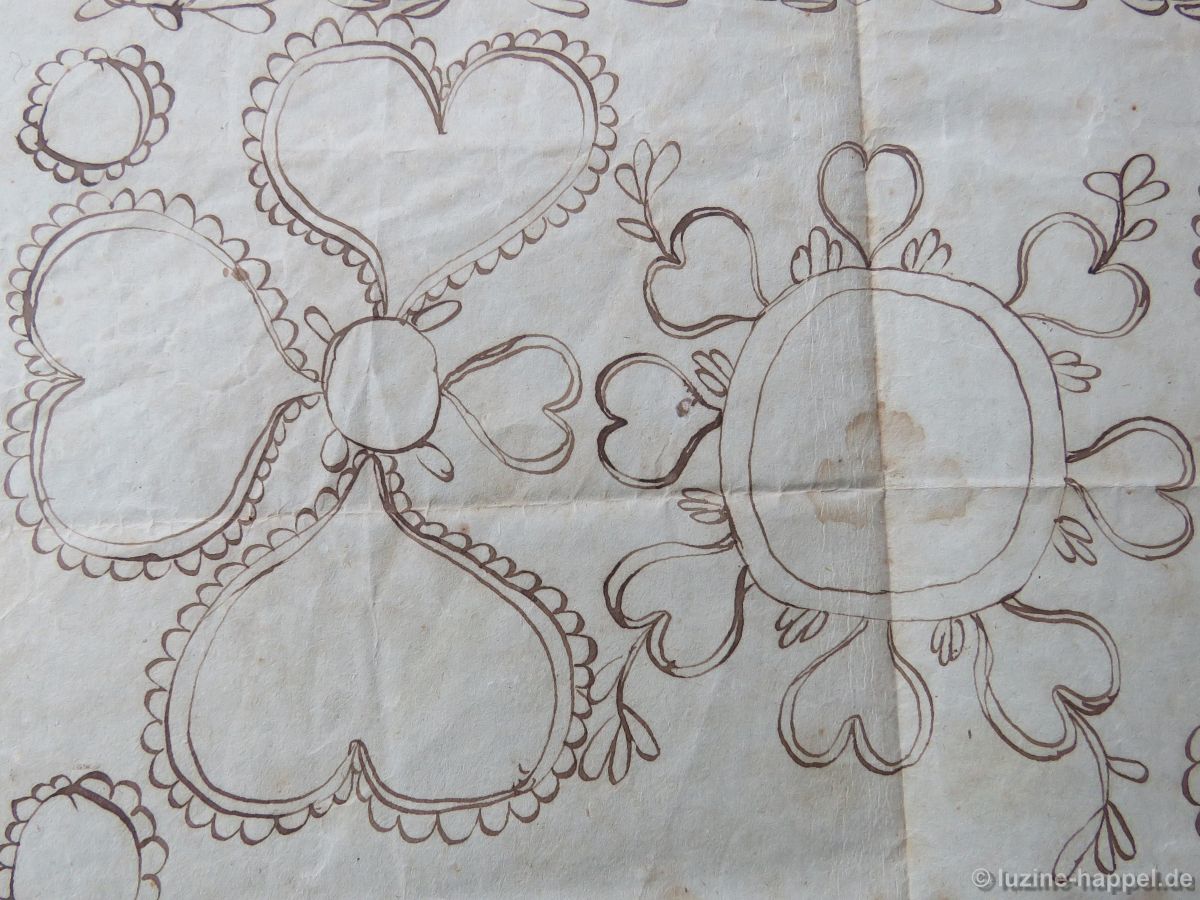
whose sleeve embroidery is based on the sketch that is more than 200 years old.
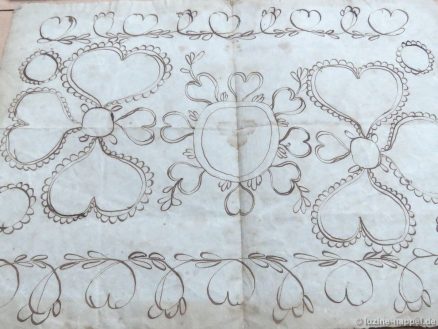
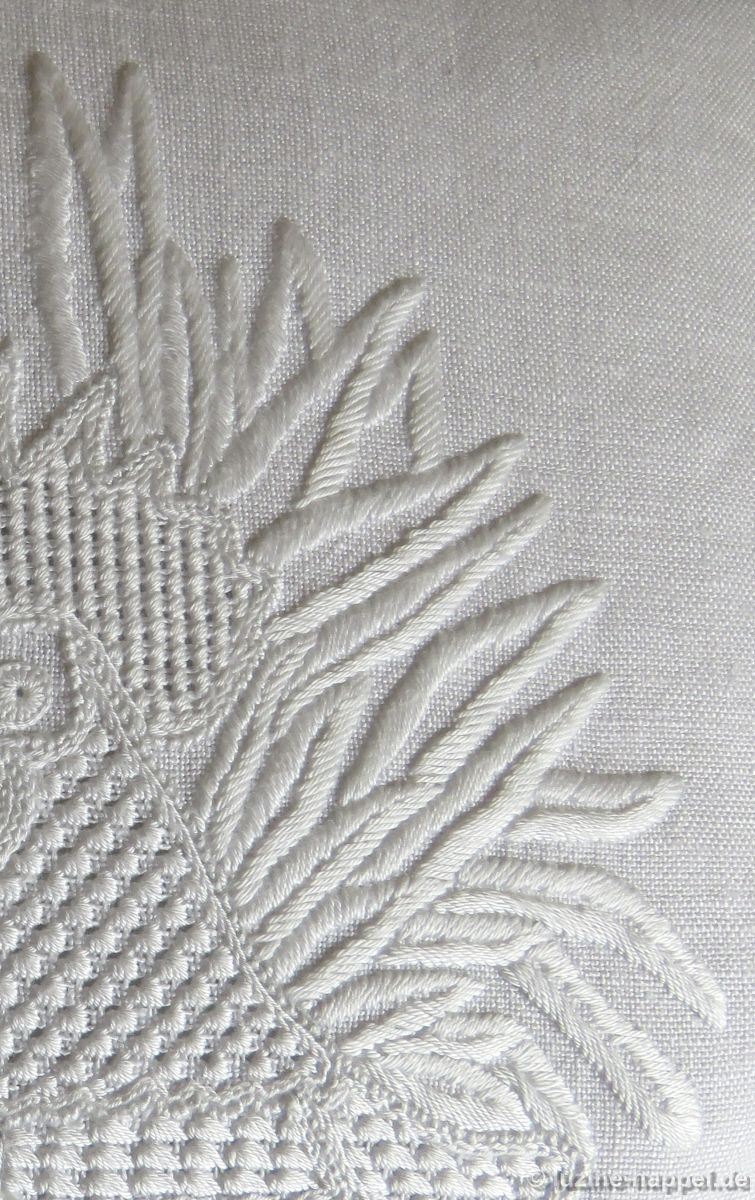
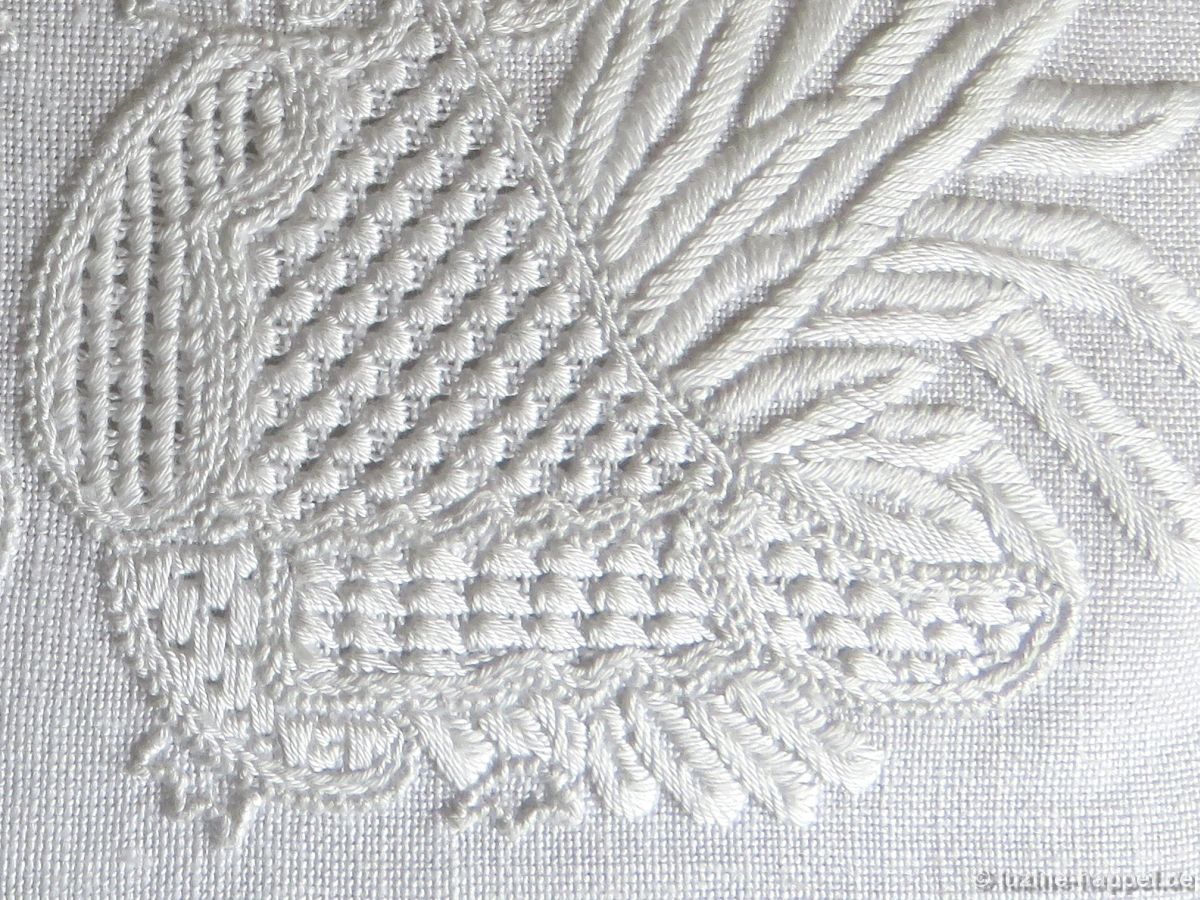
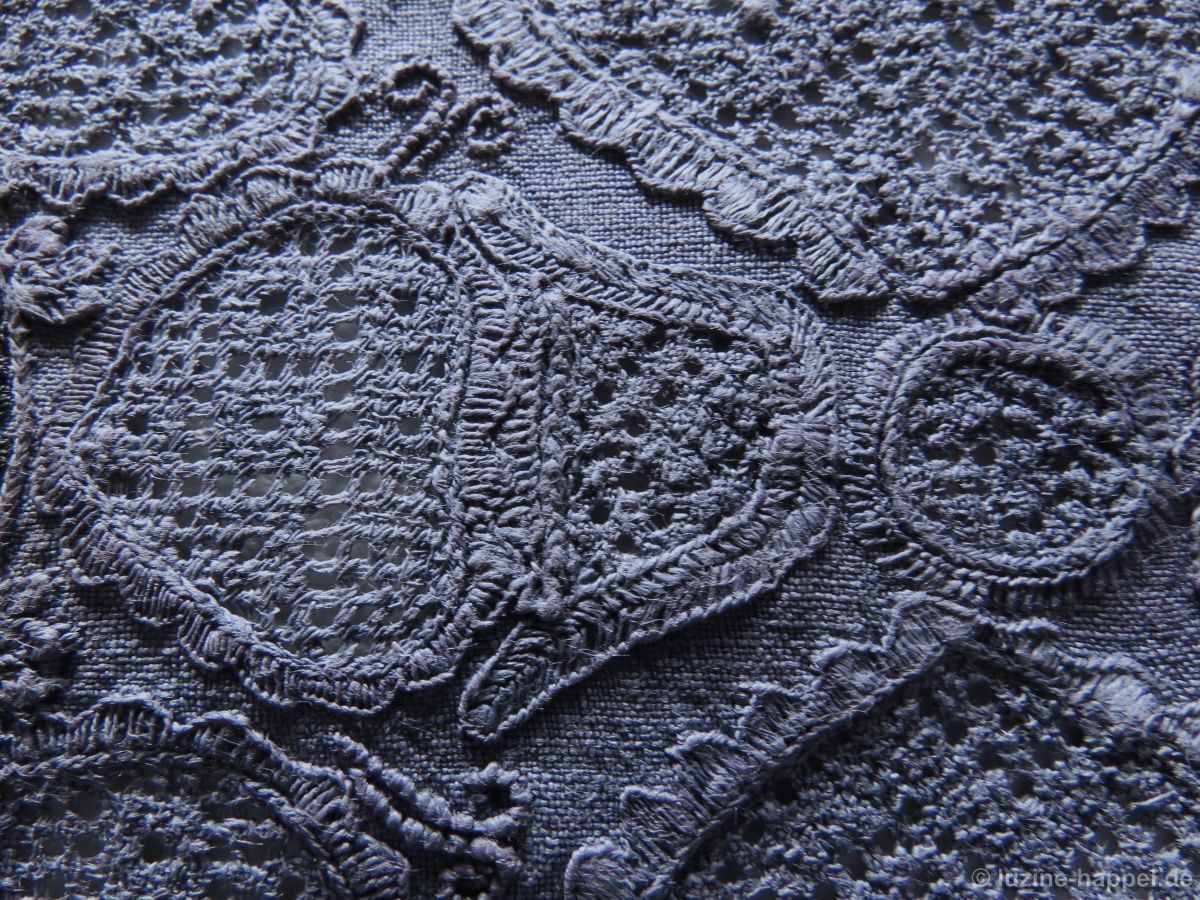
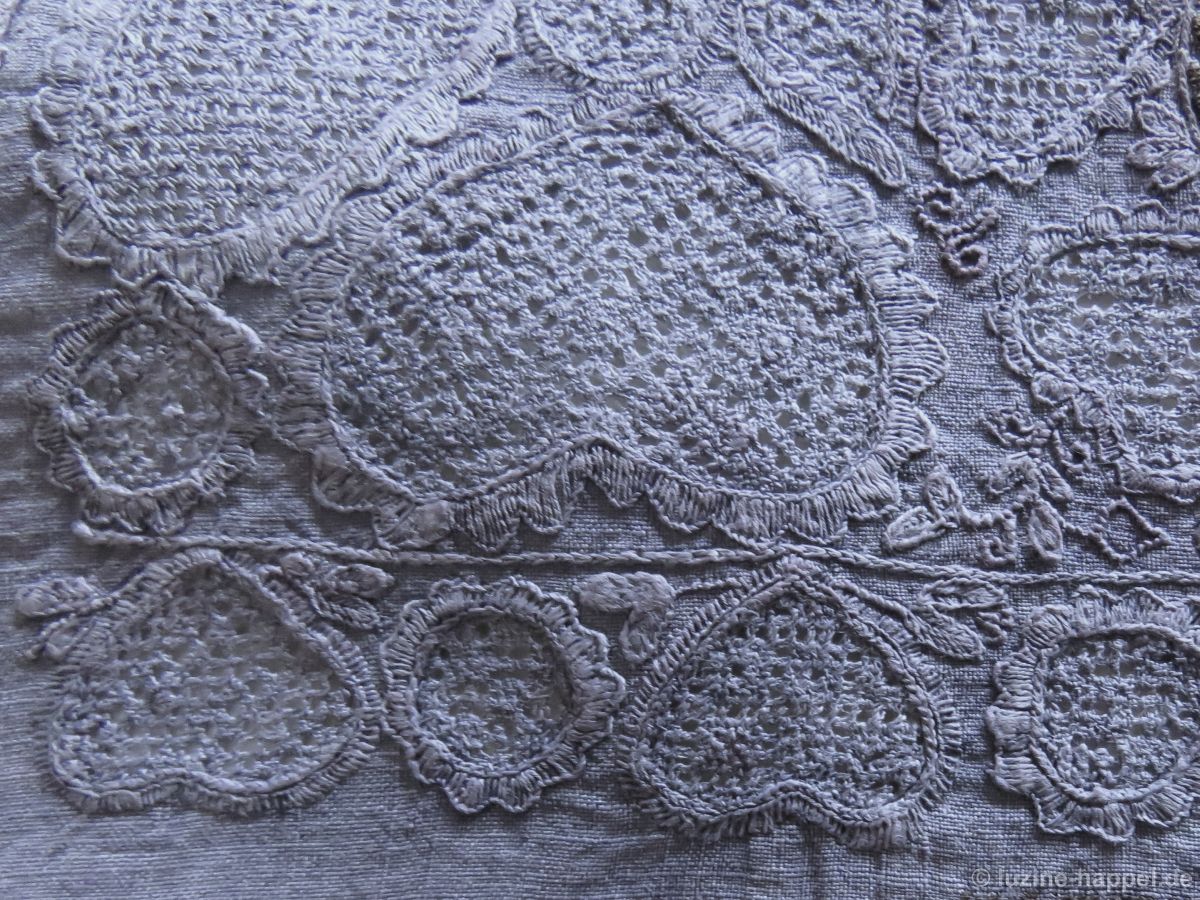
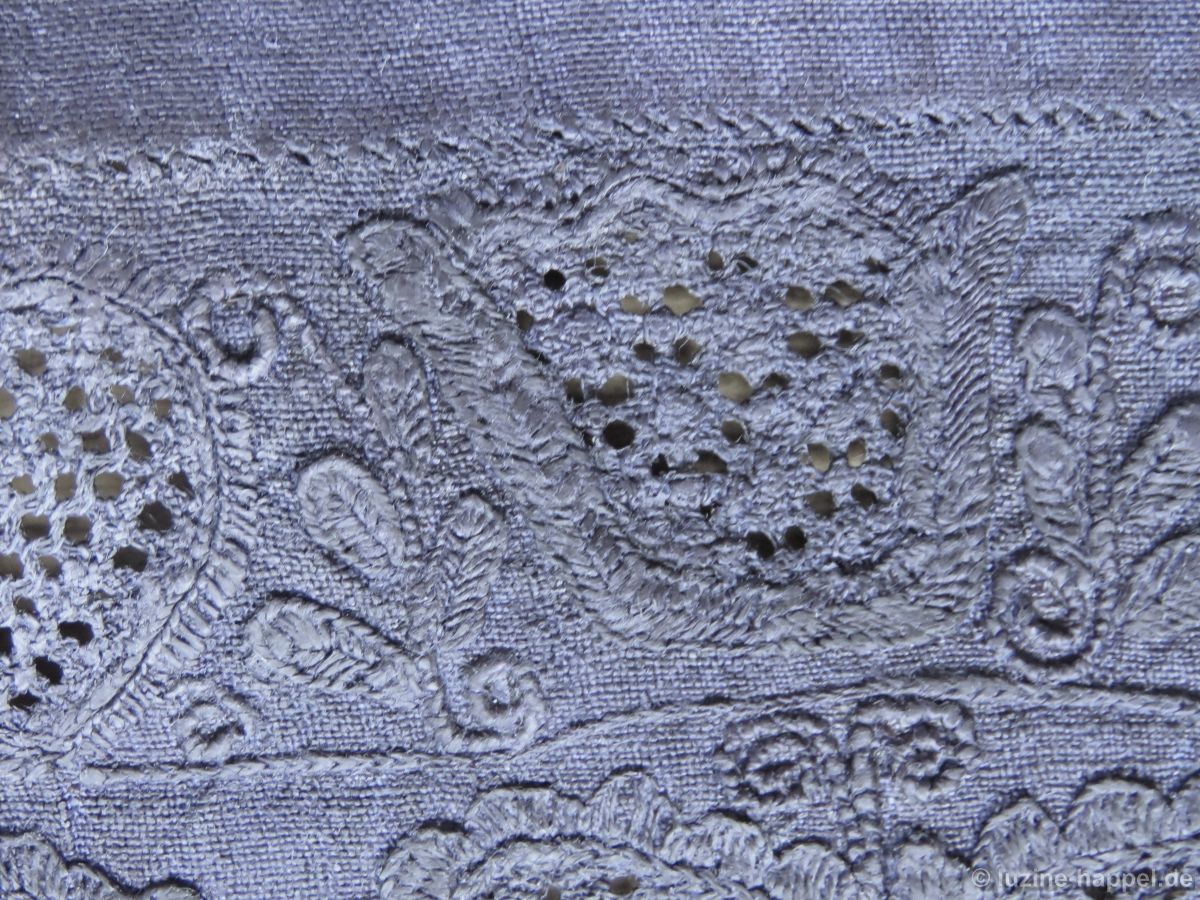
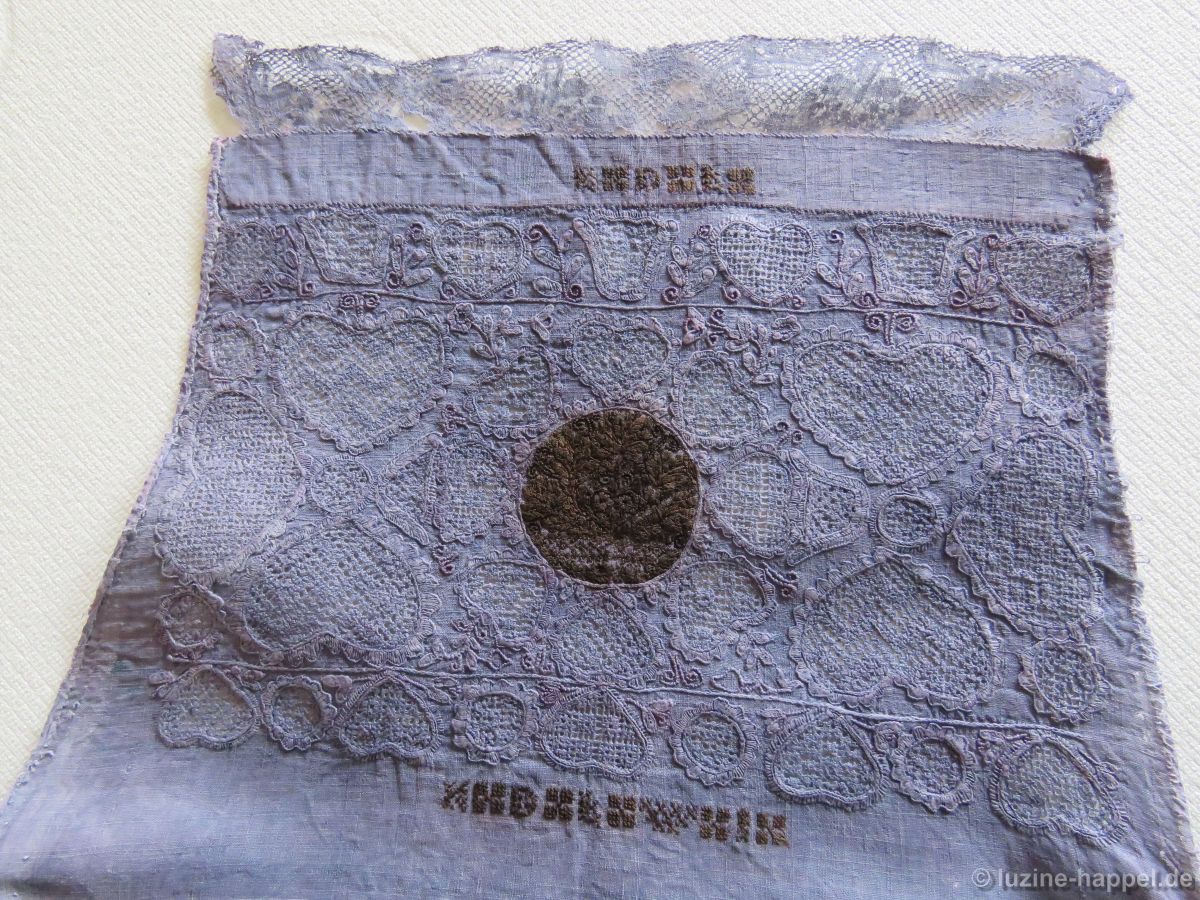
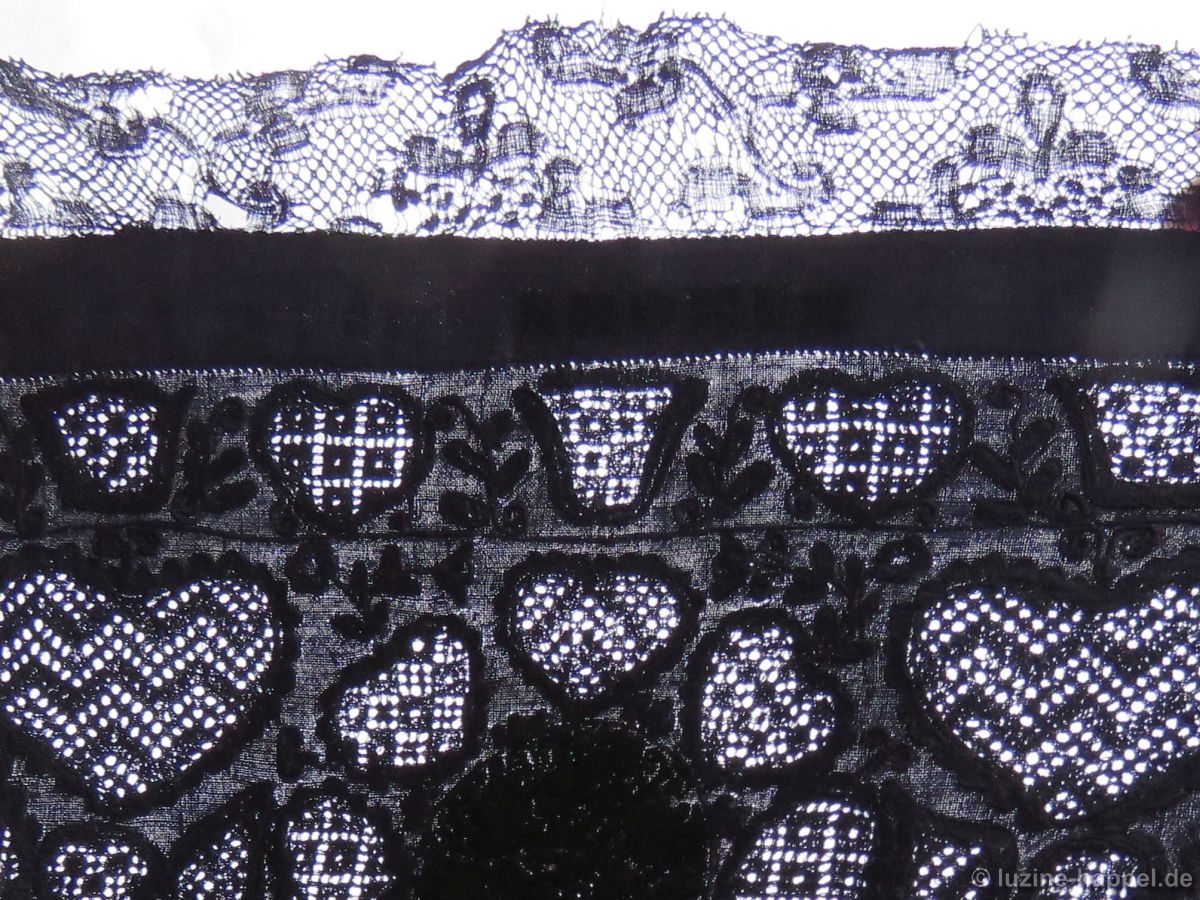
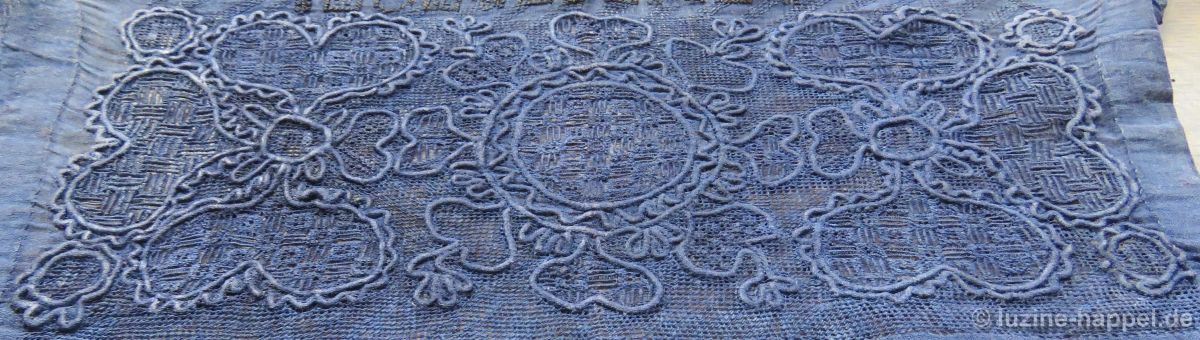
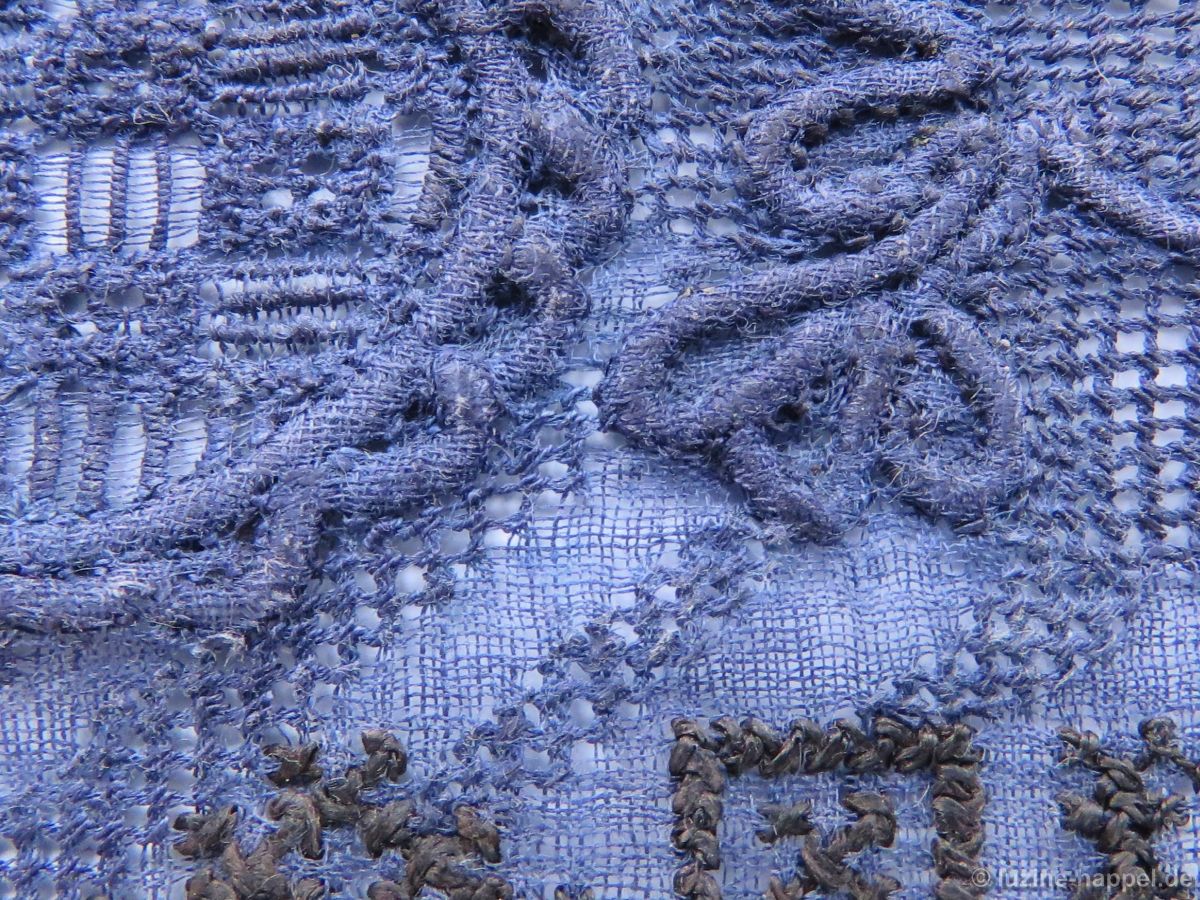
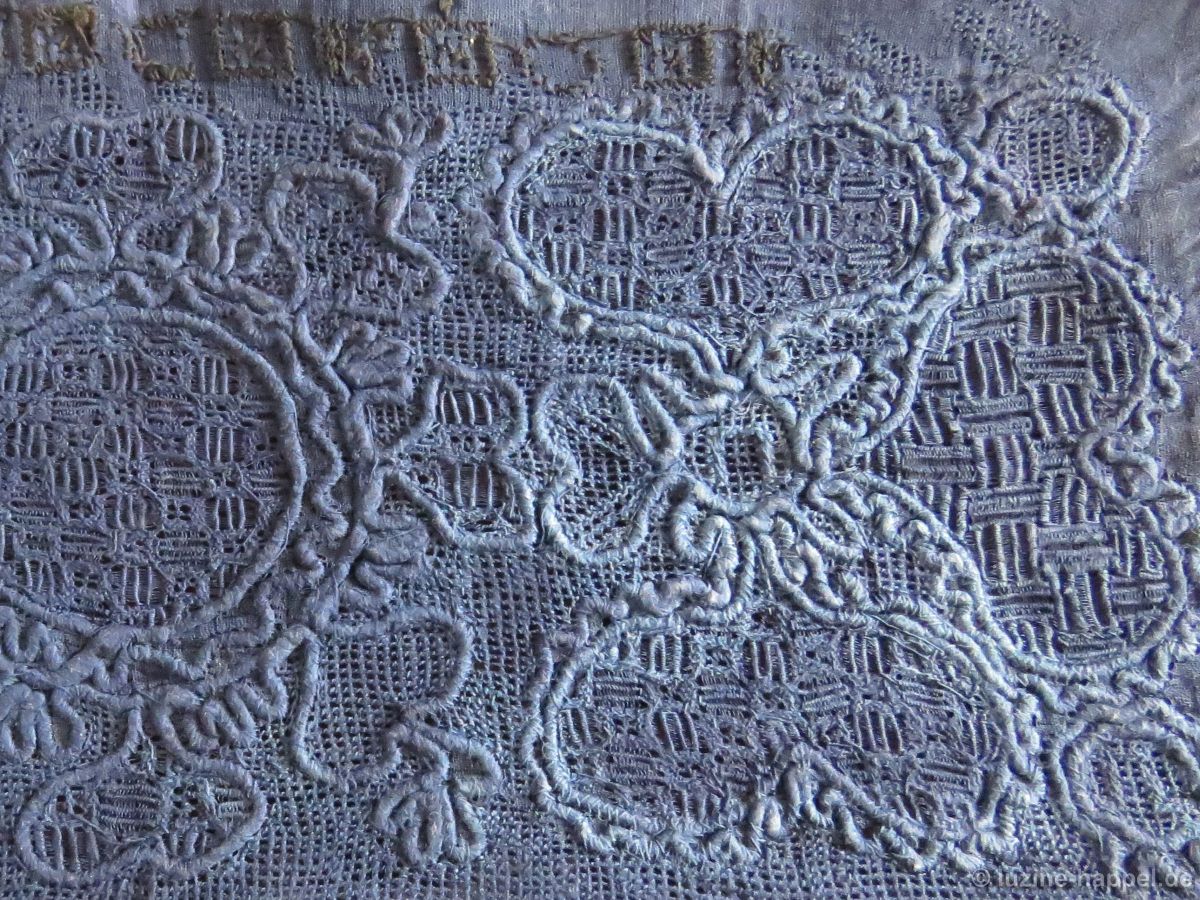
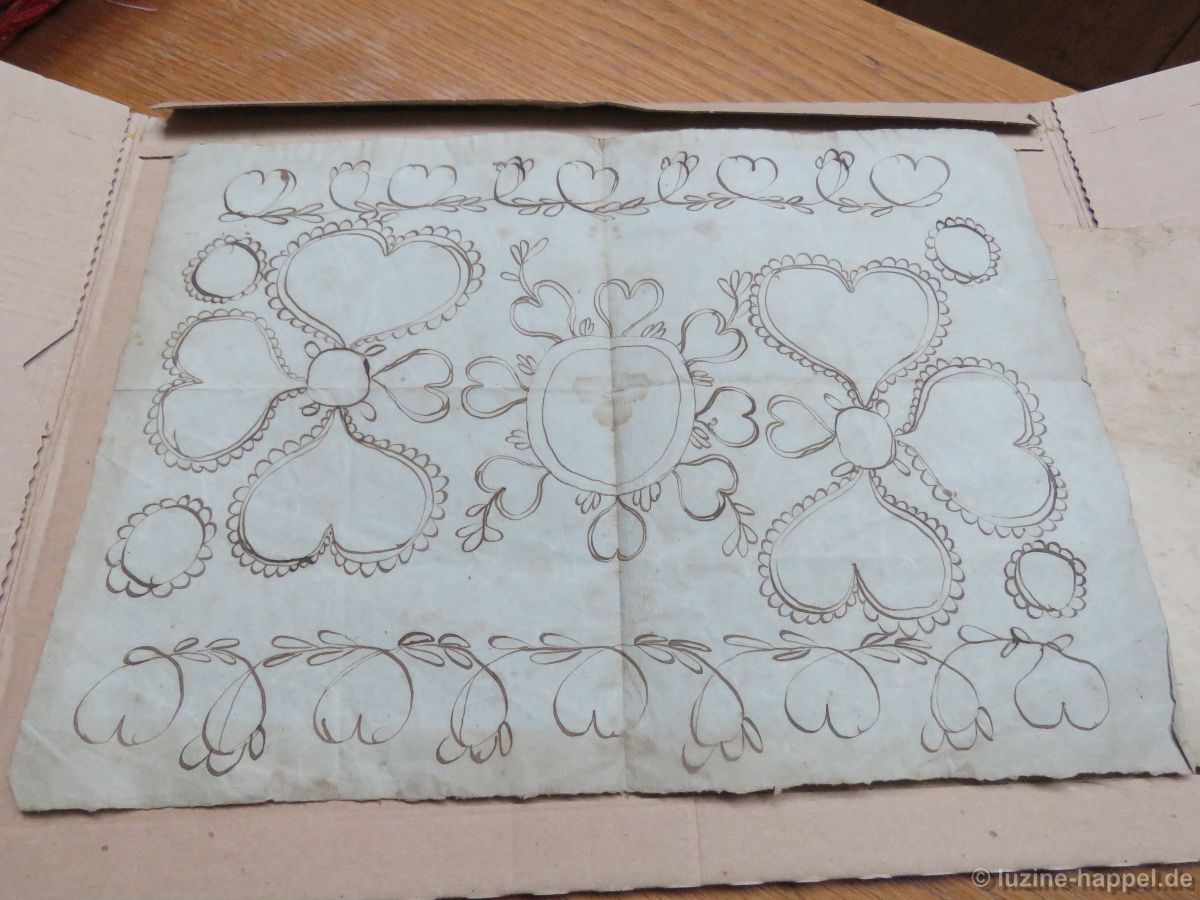
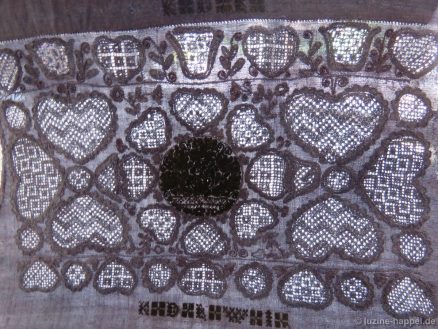
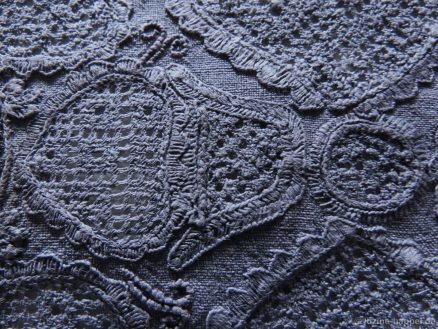
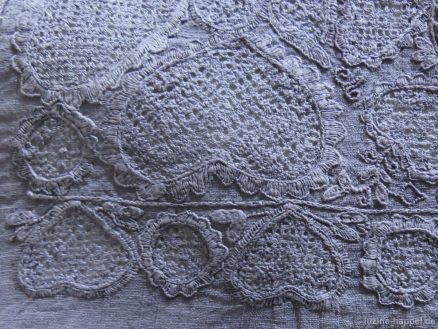
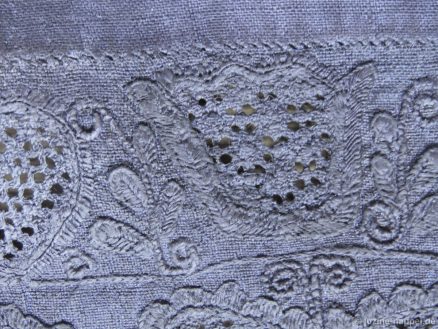
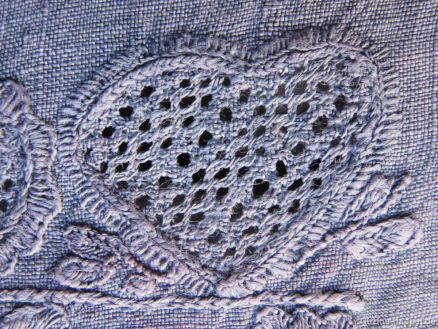
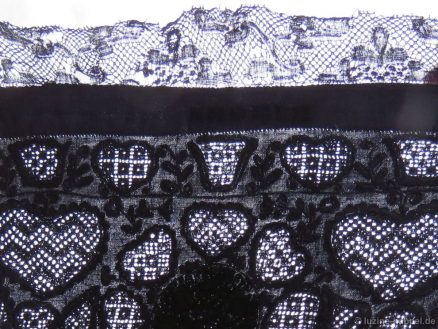
To illustrate this, I unstitched a sleeve seam. In the backlit photo, you can clearly see the central circle with the eight surrounding hearts and the arrangement of three large hearts around a small circle found on both sides.
The only difference is that the transition from the central circle to this arrangement is not achieved, as in the sketch, by another heart, but by a tulip. The border stitches of both motifs interlock.
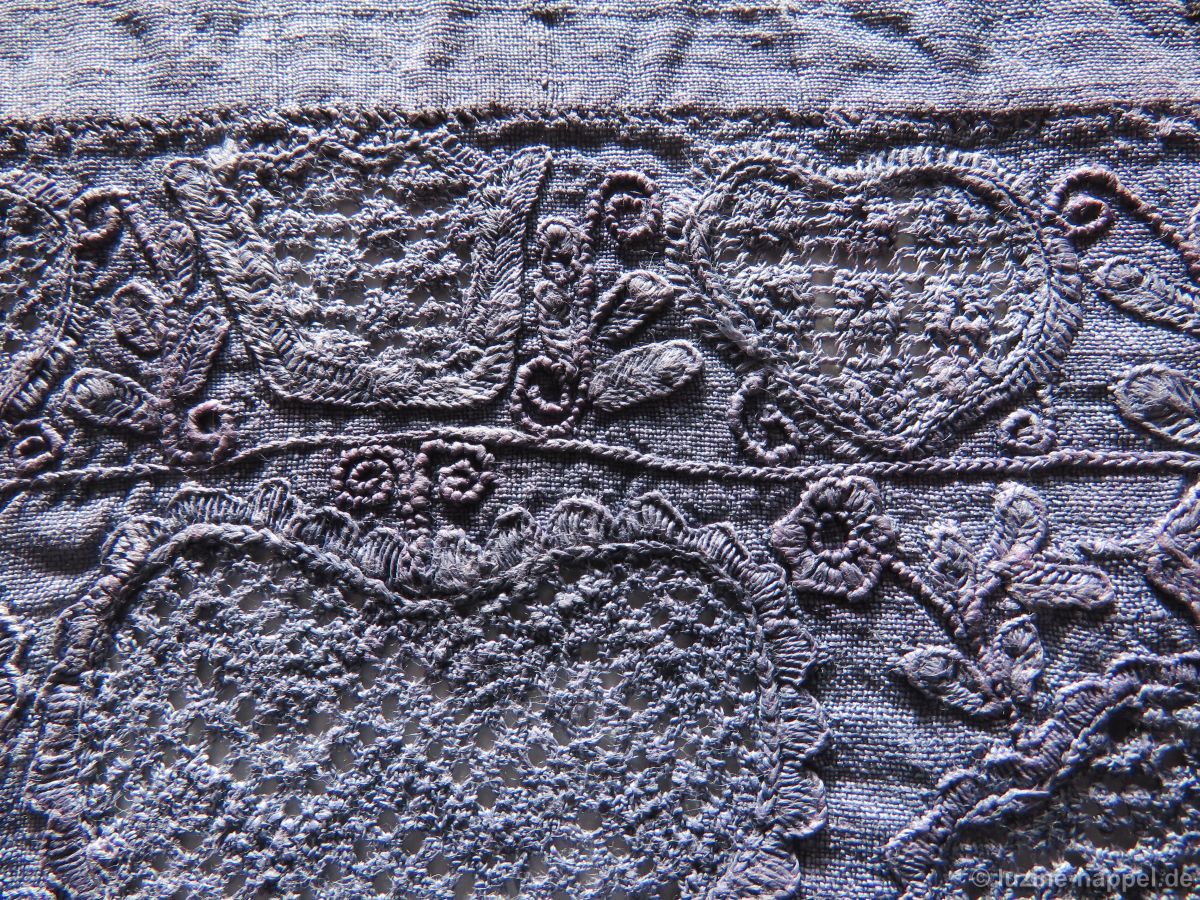
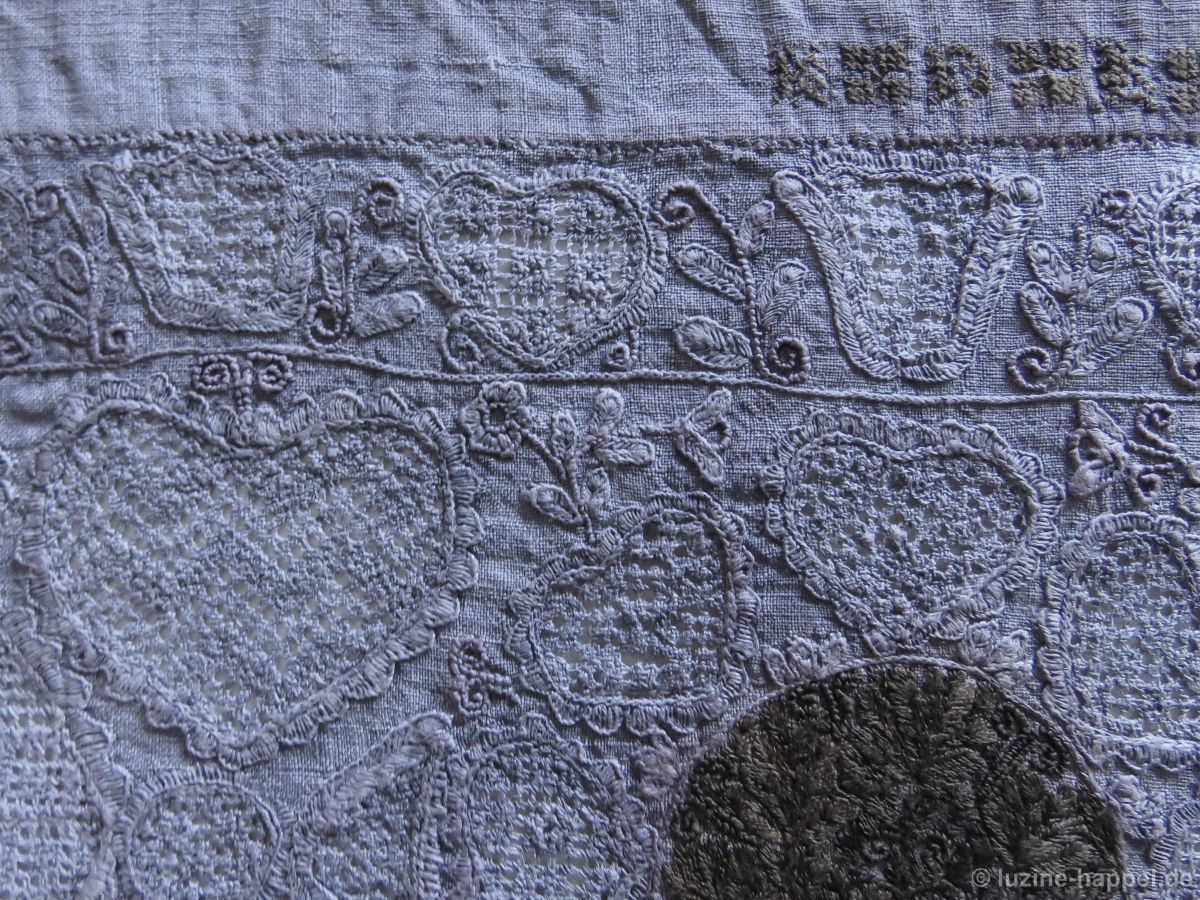
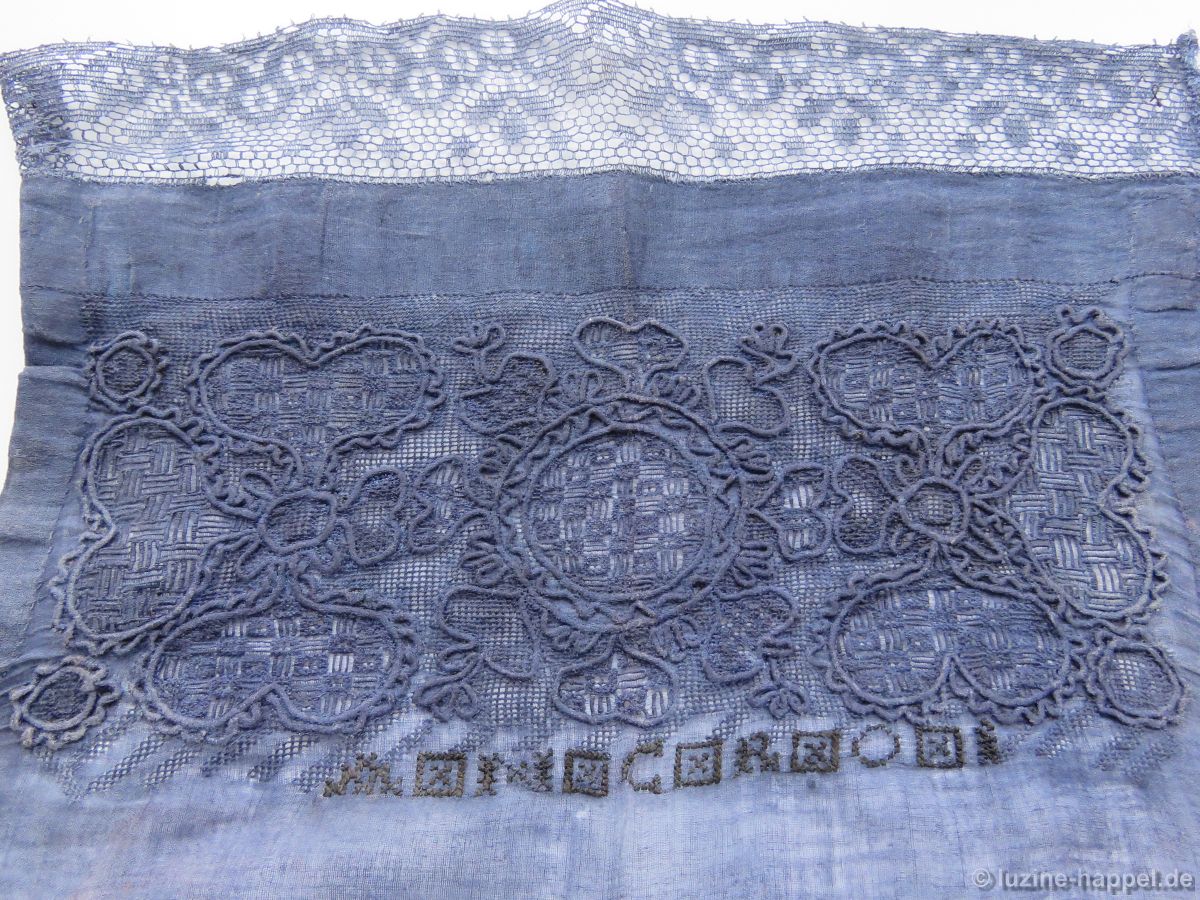
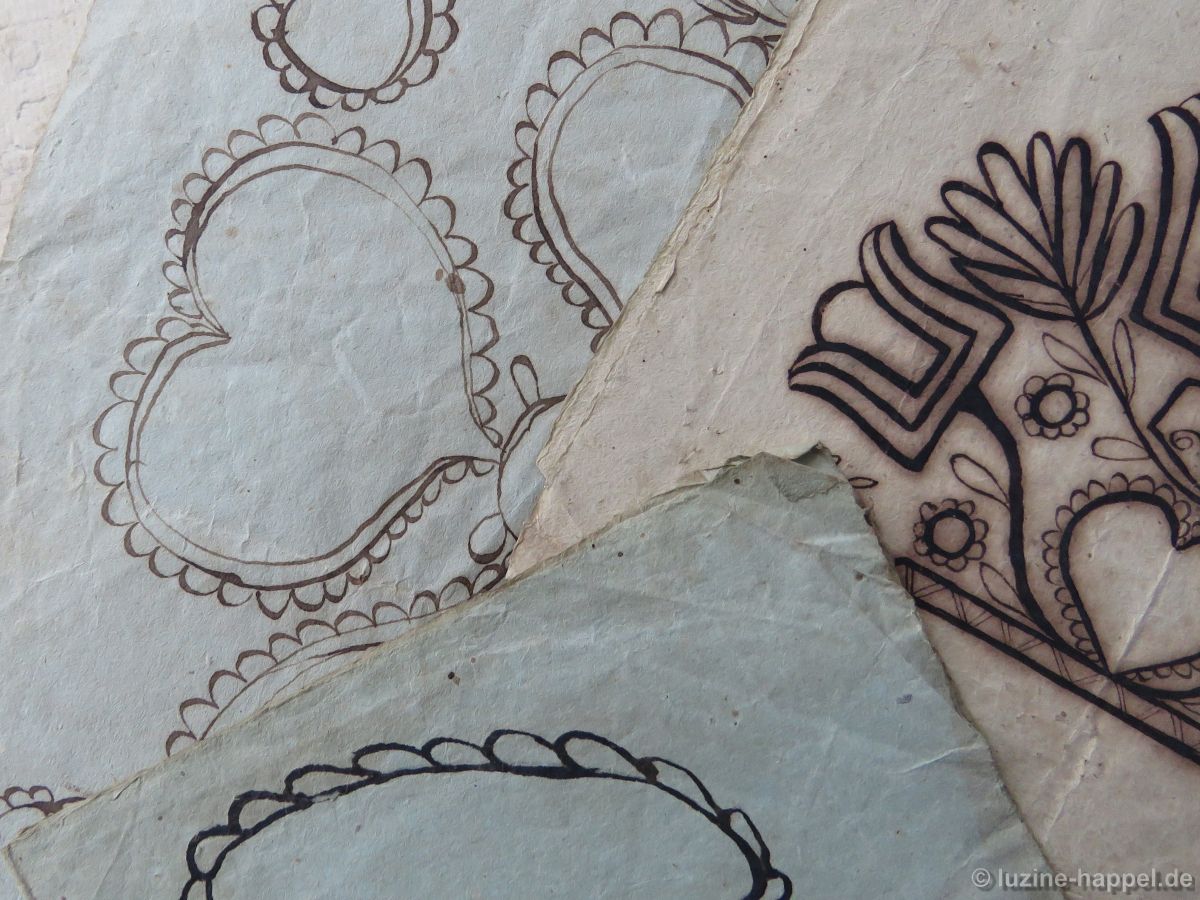
The edge borders, which are only sketched in the drawing, are constructed at the top by tulips with hearts in between and at the bottom by hearts with circles in between.
The center and outer borders are separated by a row of chain stitches.
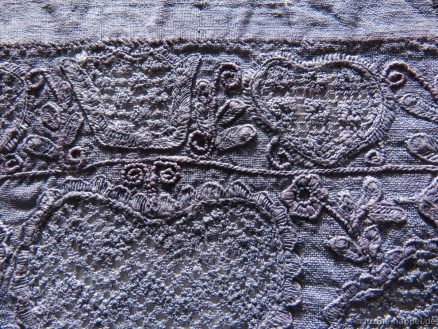
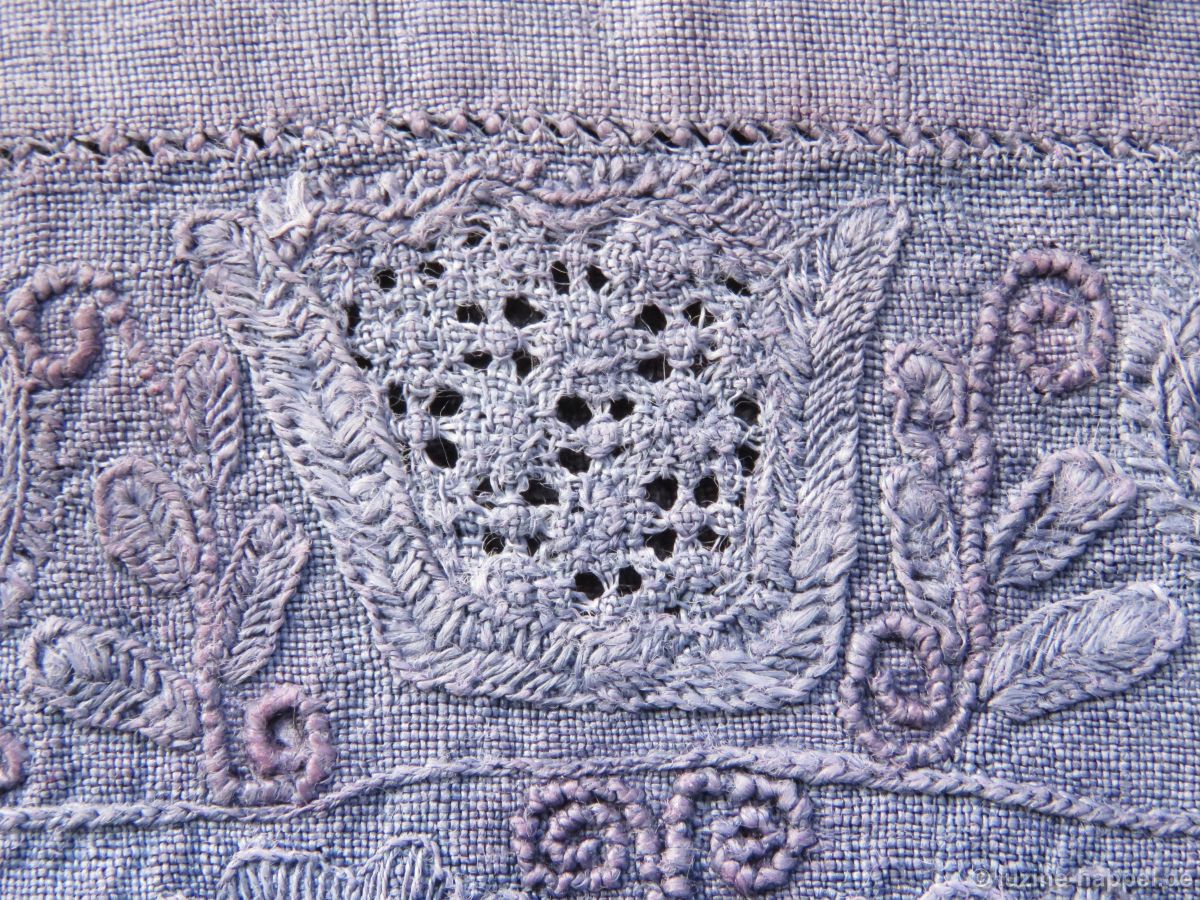
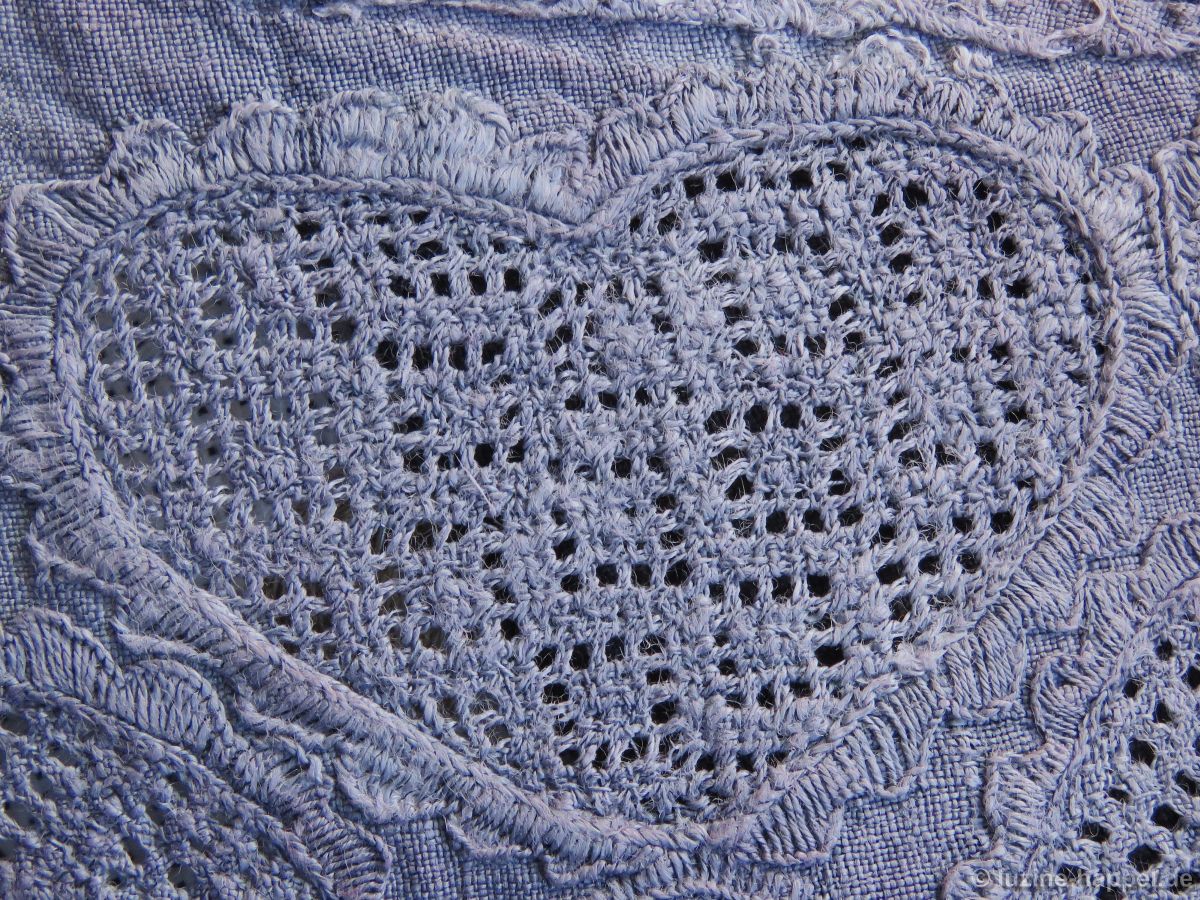
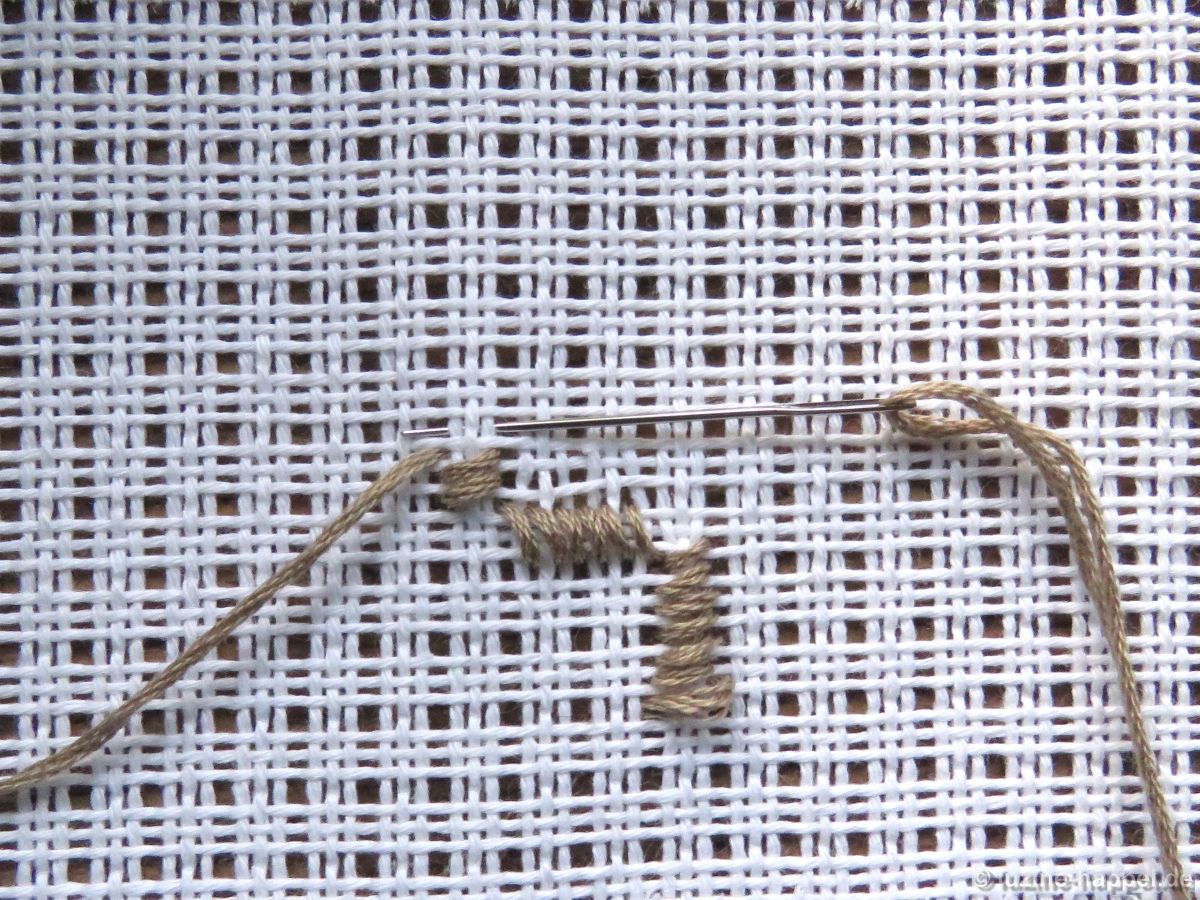
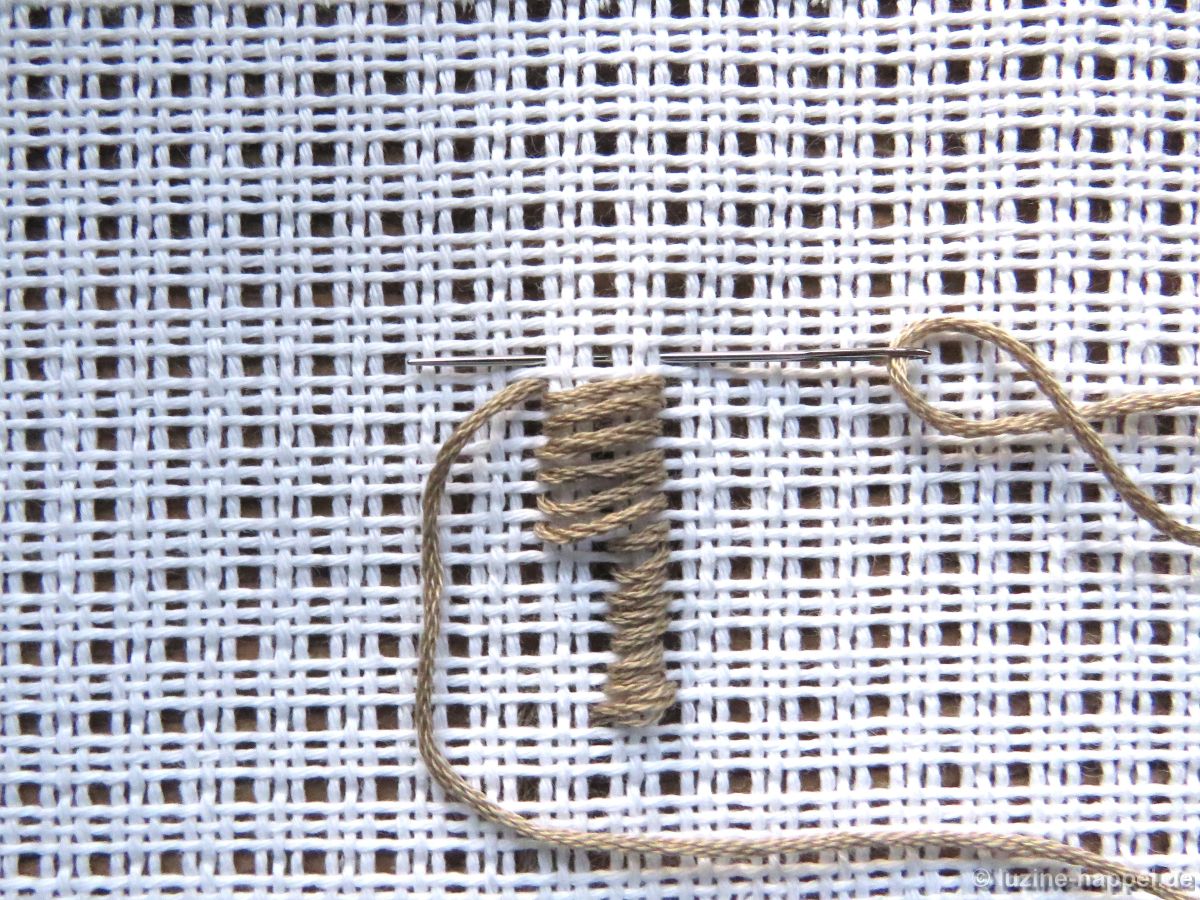
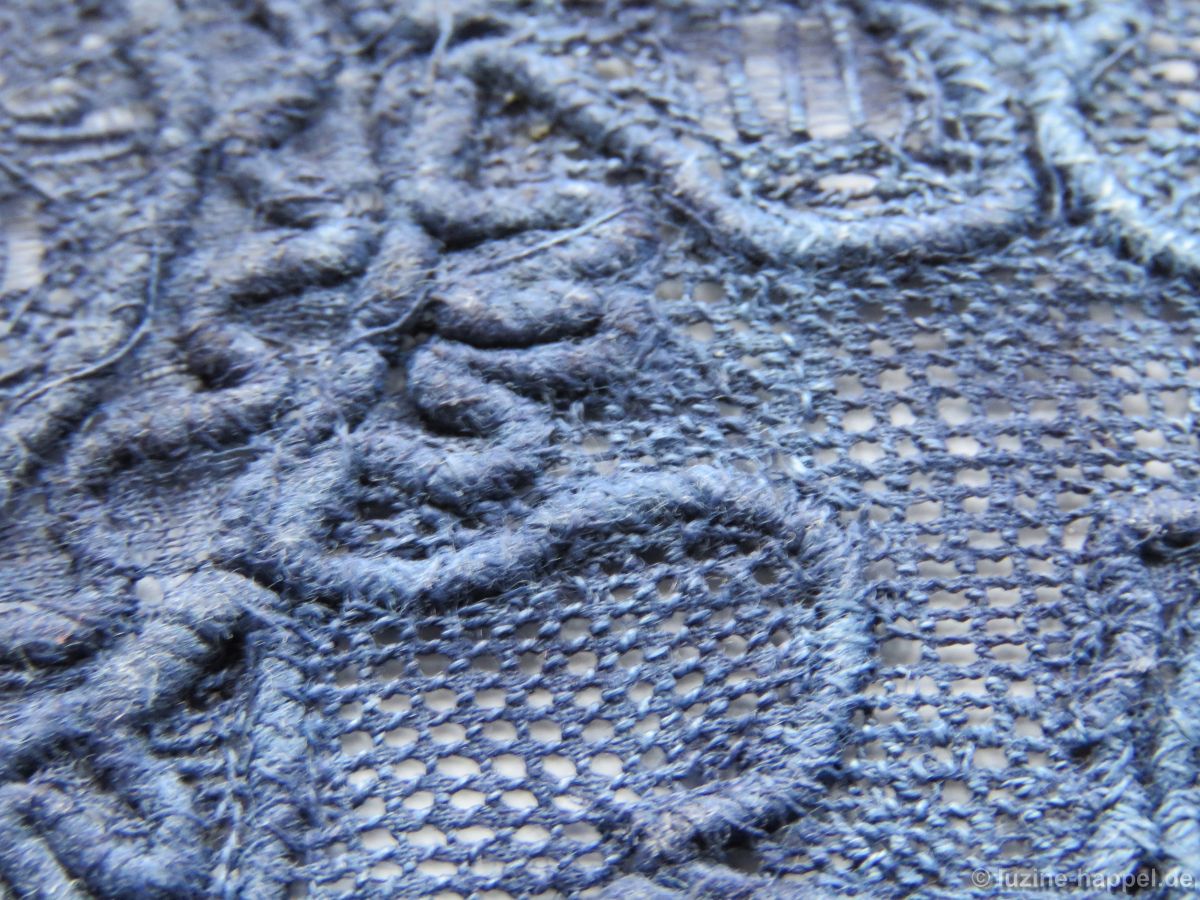
It is noticeable that the motifs are only outlined with chain stitches and decorative stitches. Coral knot stitches are only found in the few stems and tendrils.
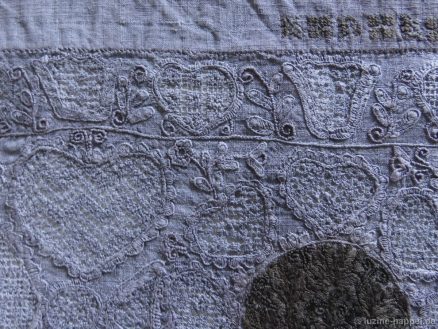
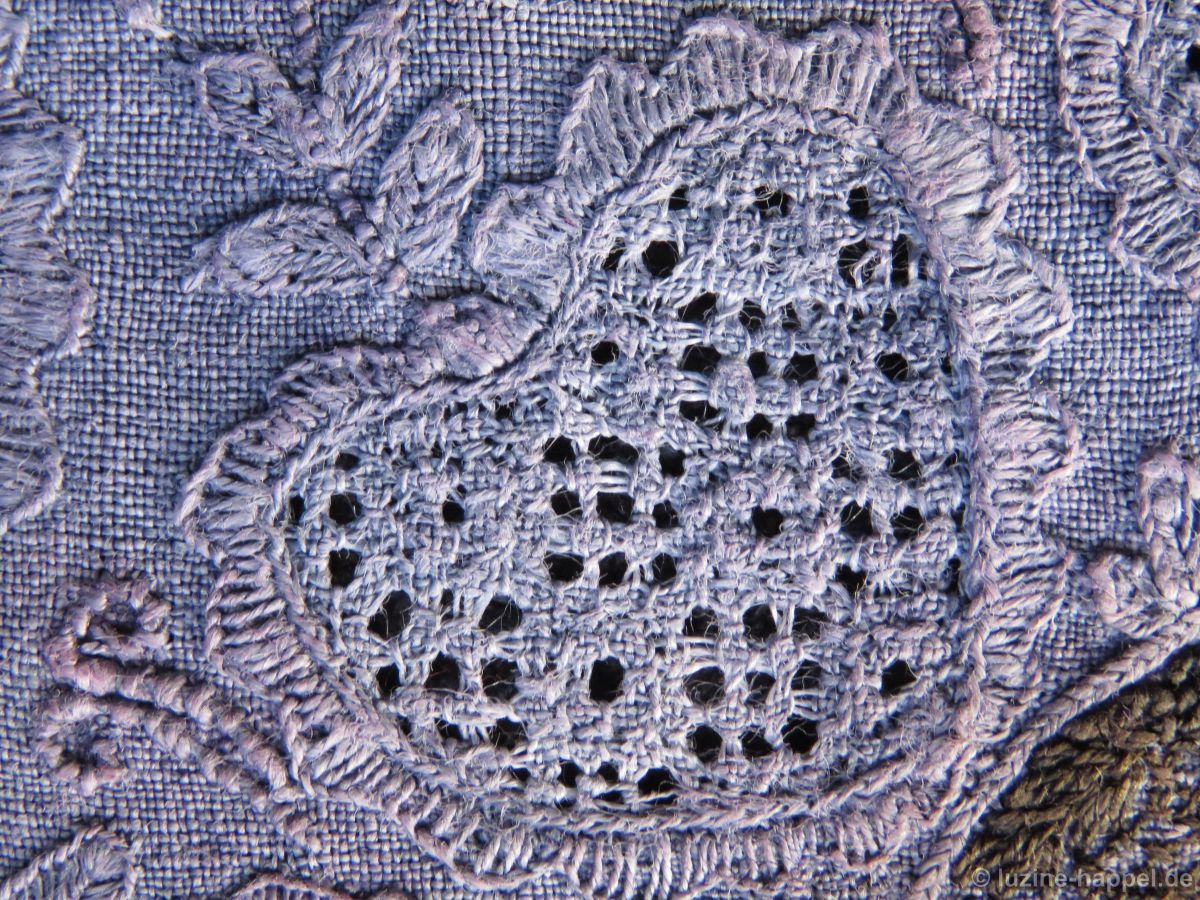
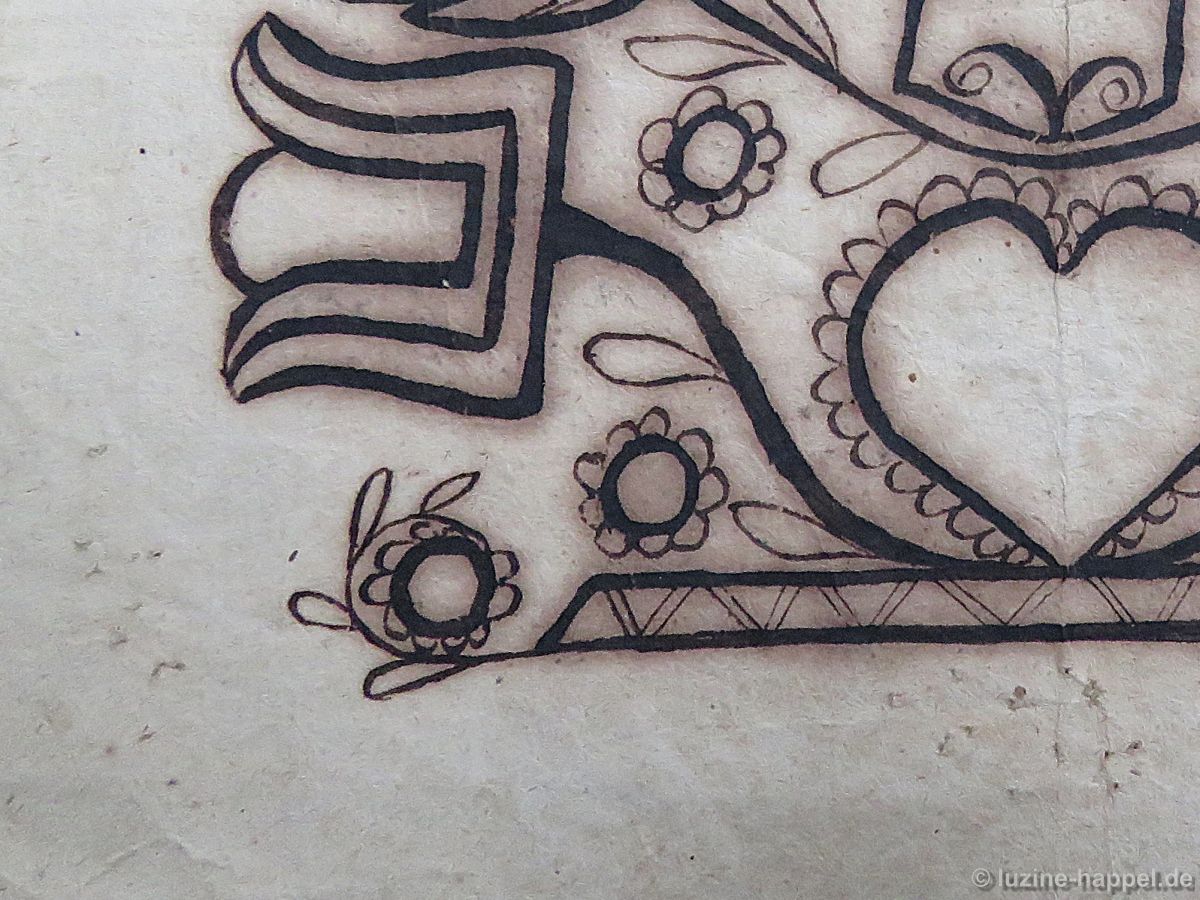
All hearts of the central border are surrounded by blanket stitch scallops, those of the outer borders by eyelash stitches.
All tulips are edged at the bottom and sides with decorative diagonal blanket stitches.
Leaves and small flowers are embroidered with blanket stitches.
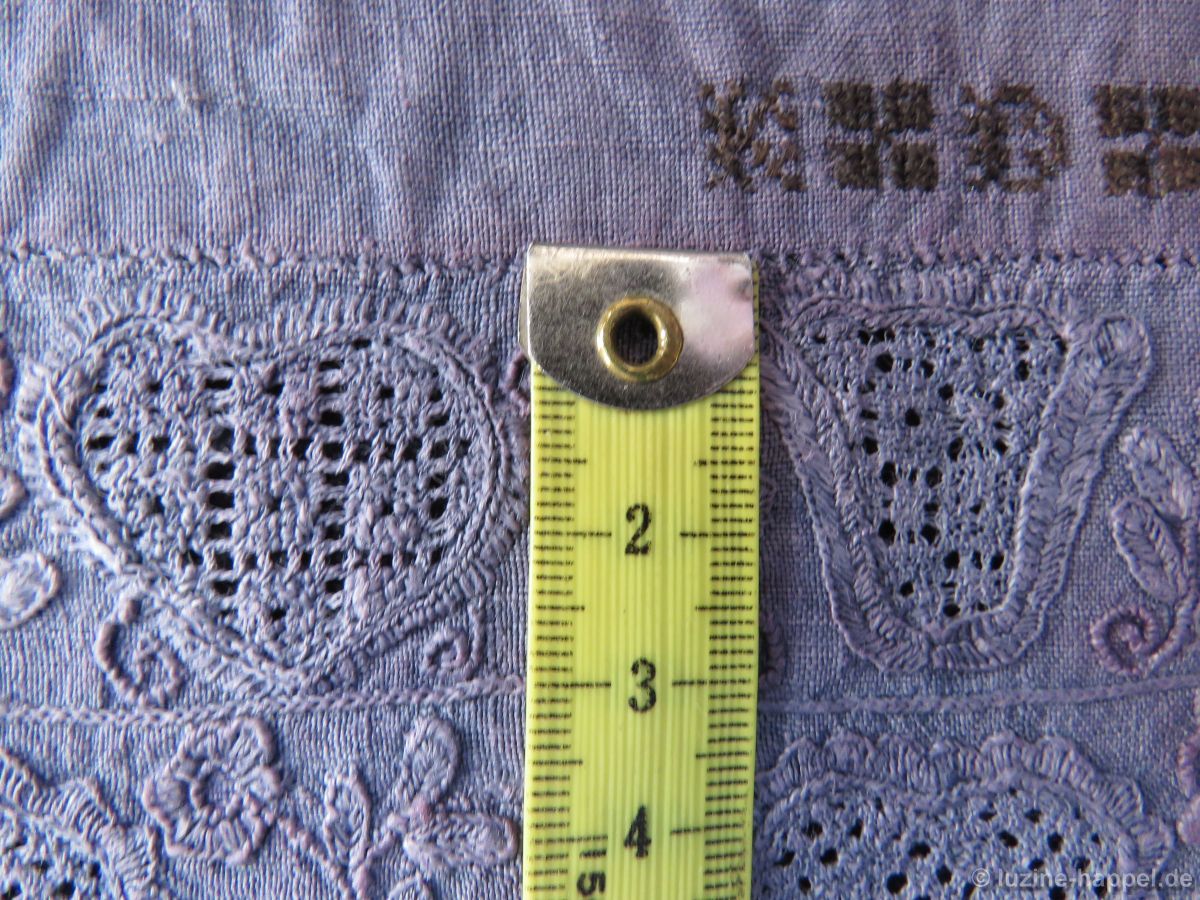
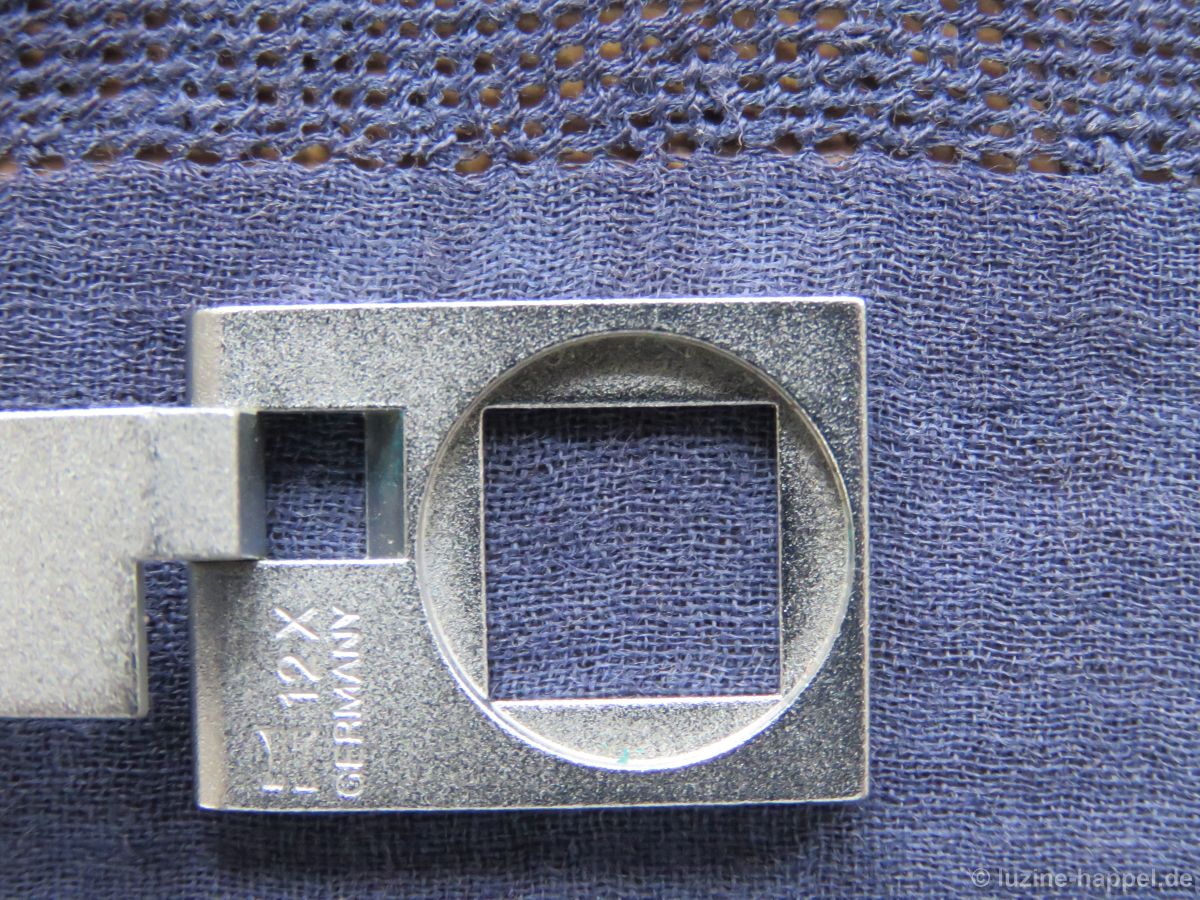
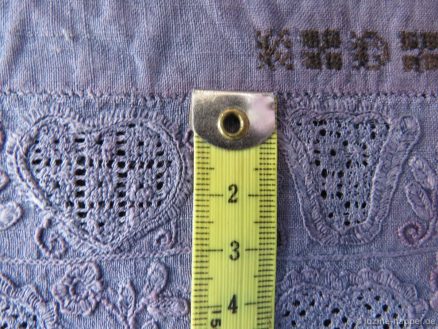
The embroidery was done with the finest threads on 23/24-thread linen, as can be seen from the 1 cm x 1 cm area of the thread counter.
To illustrate the fineness, I placed a centimeter next to the embroidery.
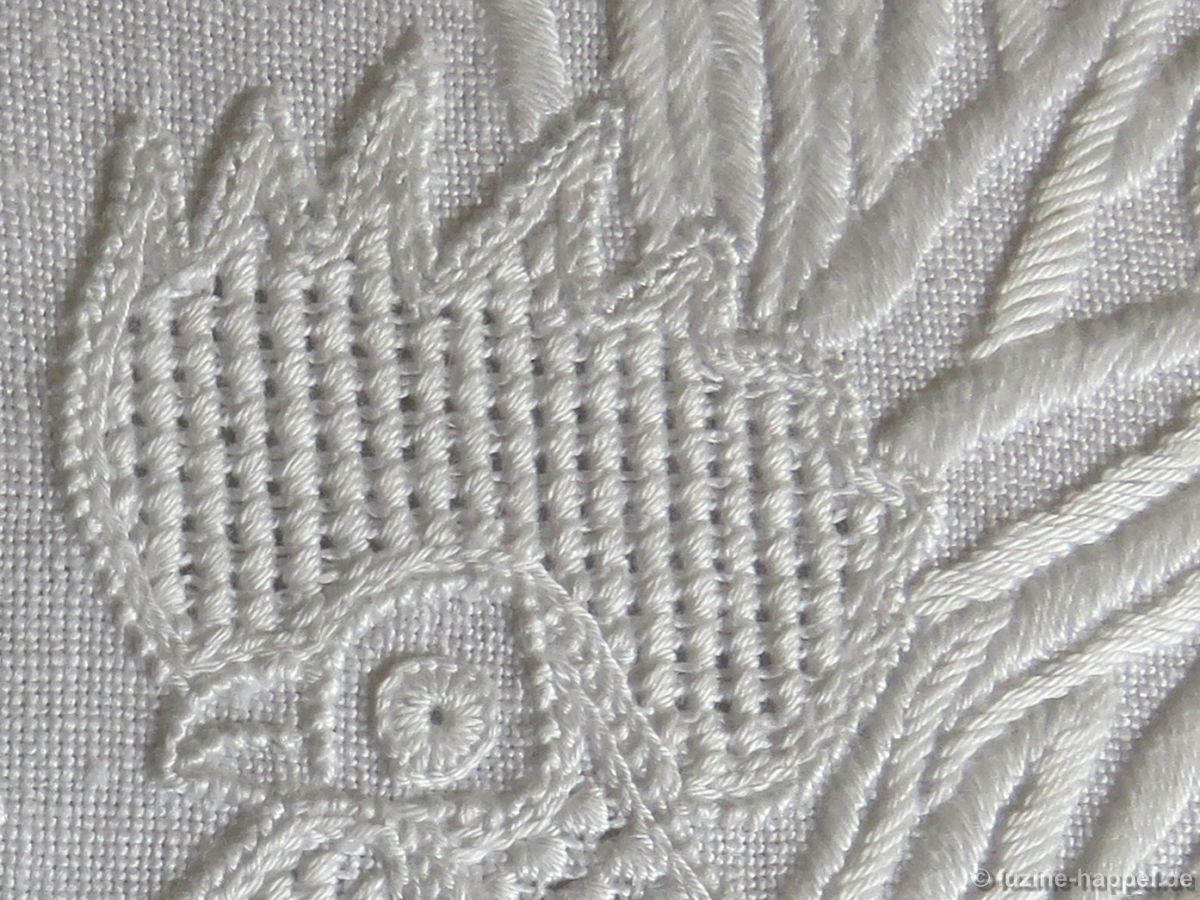
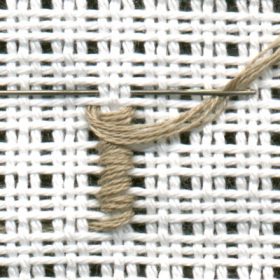
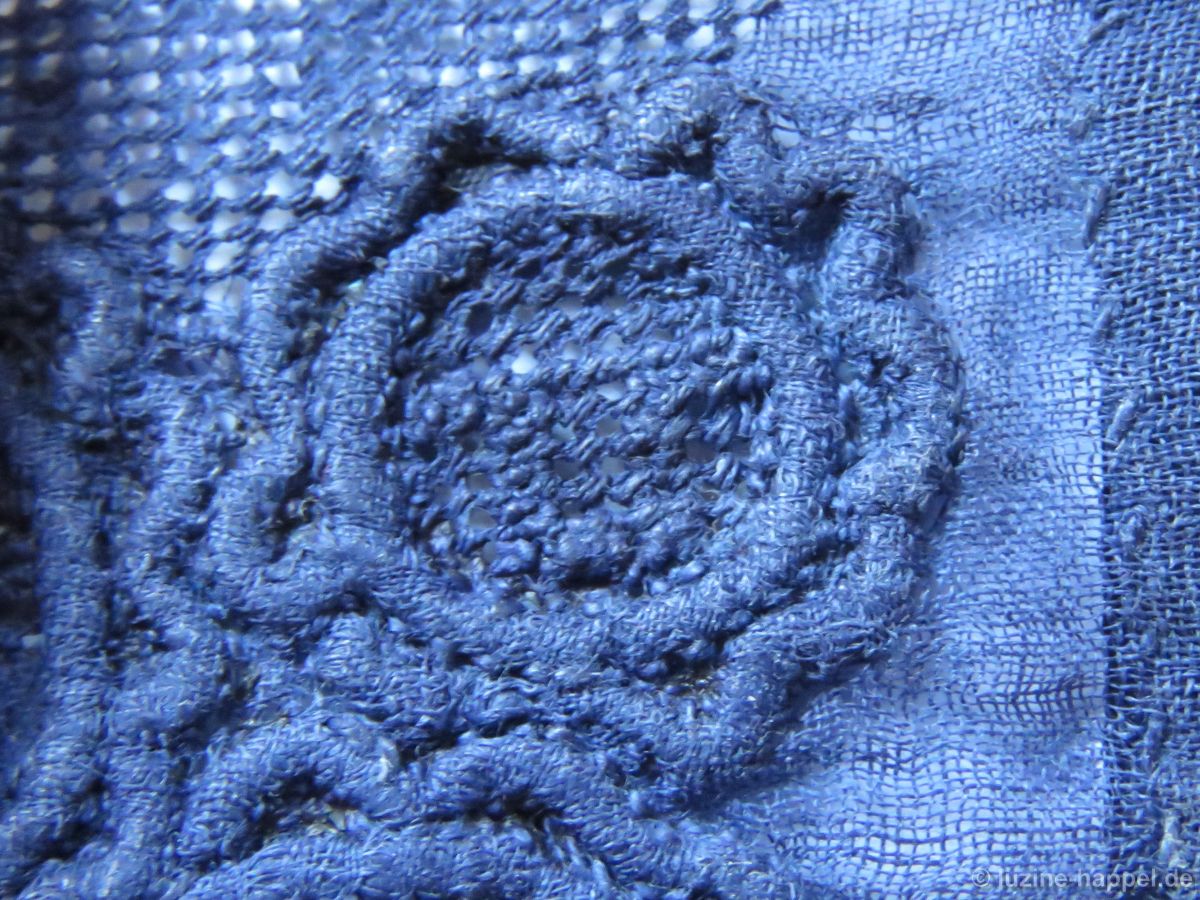
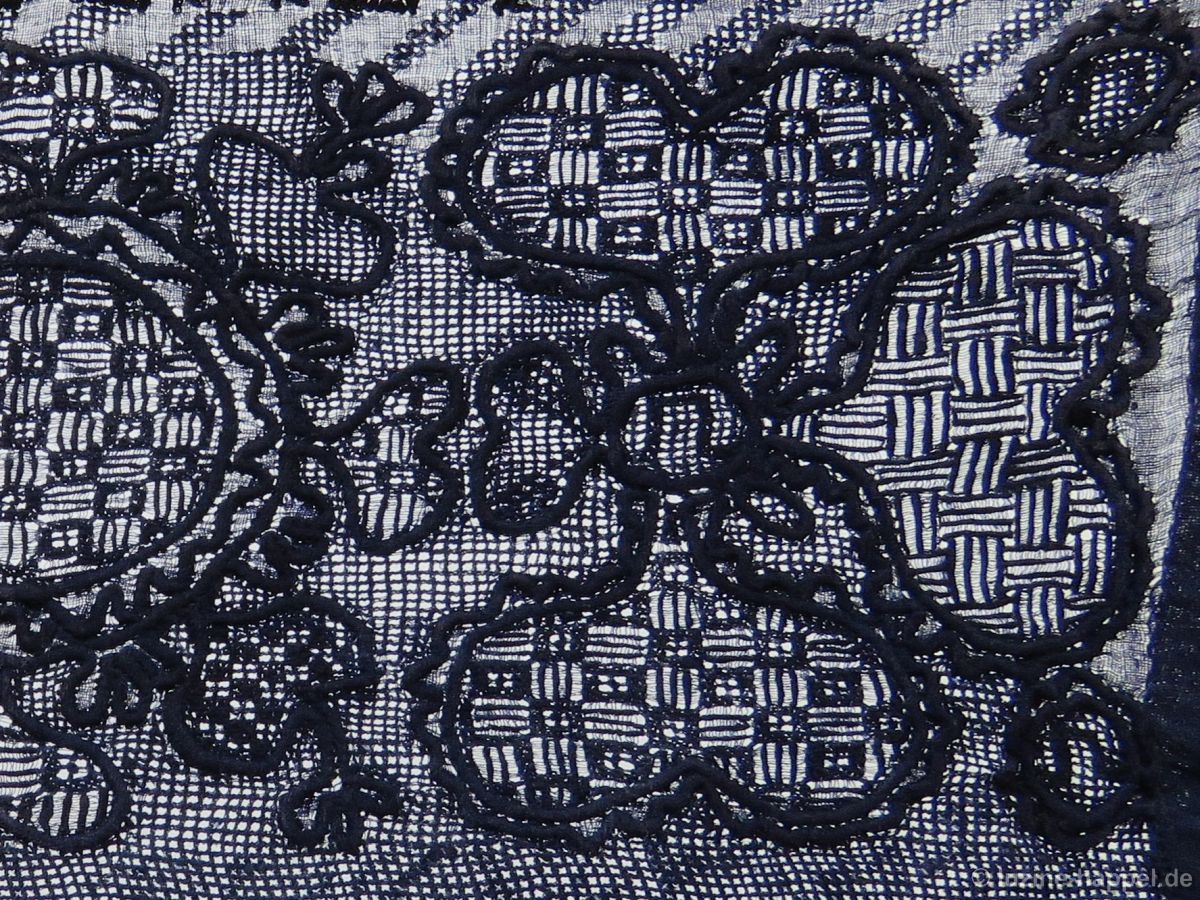
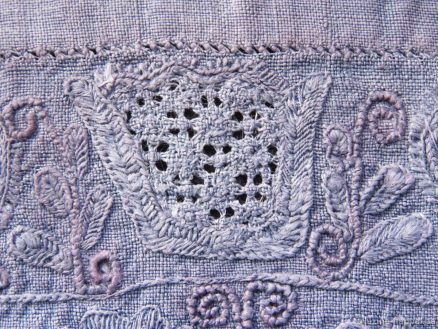
Only openwork patterns were chosen to fill the areas – I count seven different ones. These are mostly rose stitch patterns – sometimes combined with four-sided stitches, cable stitches or double back stitches. The image above shows squares made of 3 X 3 rose stitches with a free center in the cable stitch grid; in the upper right, checkerboard-like offset squares made of 3 X 3 rose stitches with a free center and interspersed double back stitches were embroidered. (Double Back stitch see Filling Pattern No. 469.)
A similar pattern is formed by checkerboard-like staggered squares of 3 X 3 rose stitches with a free center and 2 X 2 four-sided stitches in between.
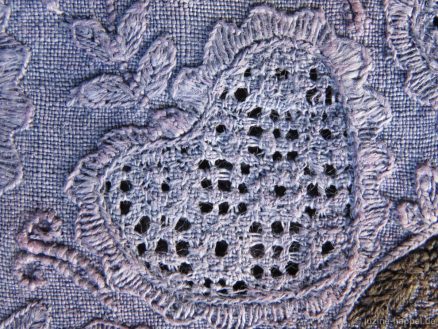
The checkerboard-like staggered squares made of 2 X 2 rose stitches with single four-sided stitches in between can be found as pattern 541 also on my blog.
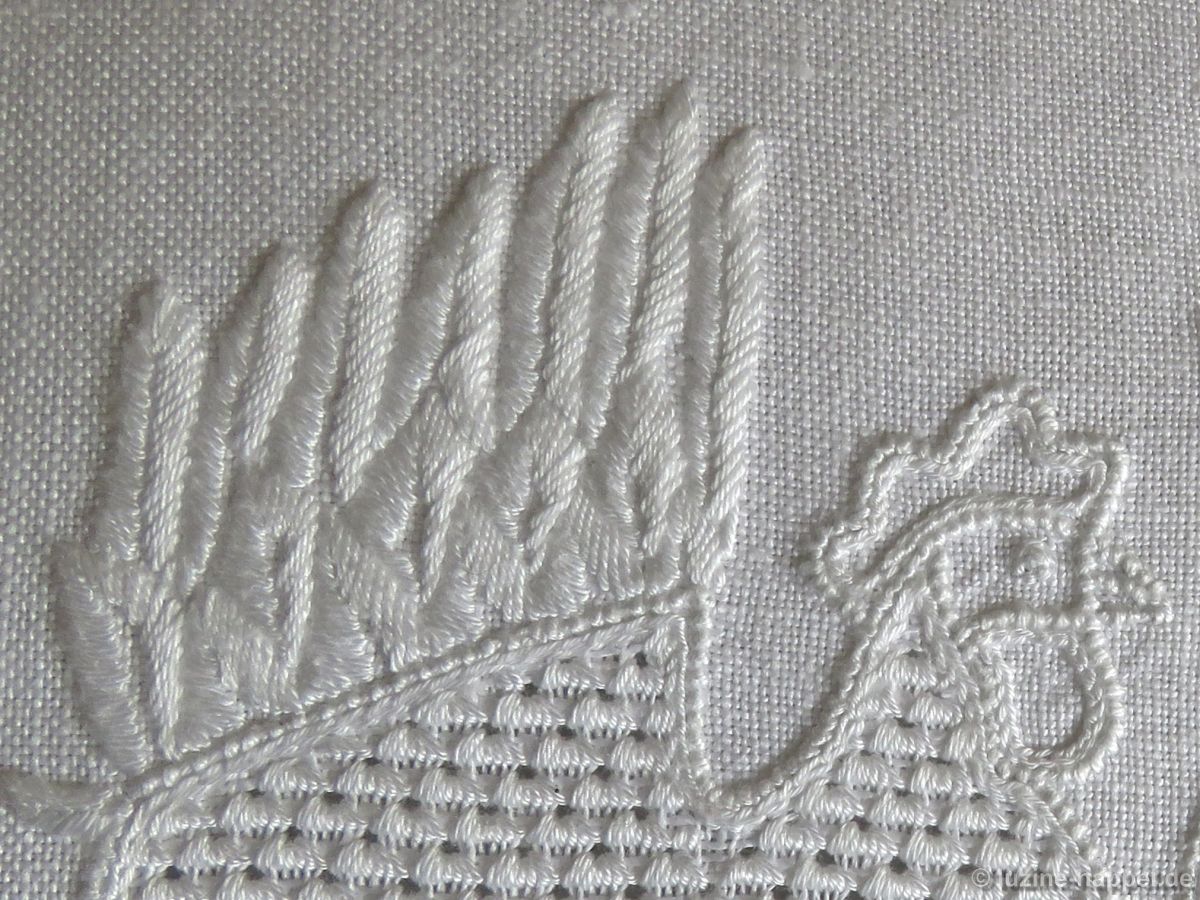
Zigzag-shaped single rows of rose stitches alternate with three rows of interlocking rose stitches.
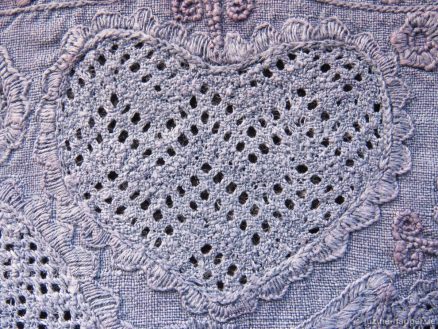
Stair-like arrangements of rose stitch rows in the cable stitch grid offer space for 2 X 2 rose stitch squares.
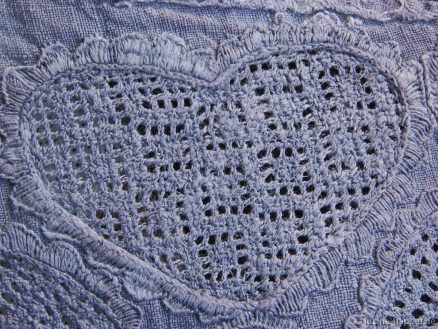
Two rows of rose stitches alternating with two rows of cable stitches (similar to Filling Pattern No. 550) complete the variety of patterns.
The entire border is 17.5 cm high, the central section at 11.5 cm only slightly higher than that of the separate bodice sleeve.
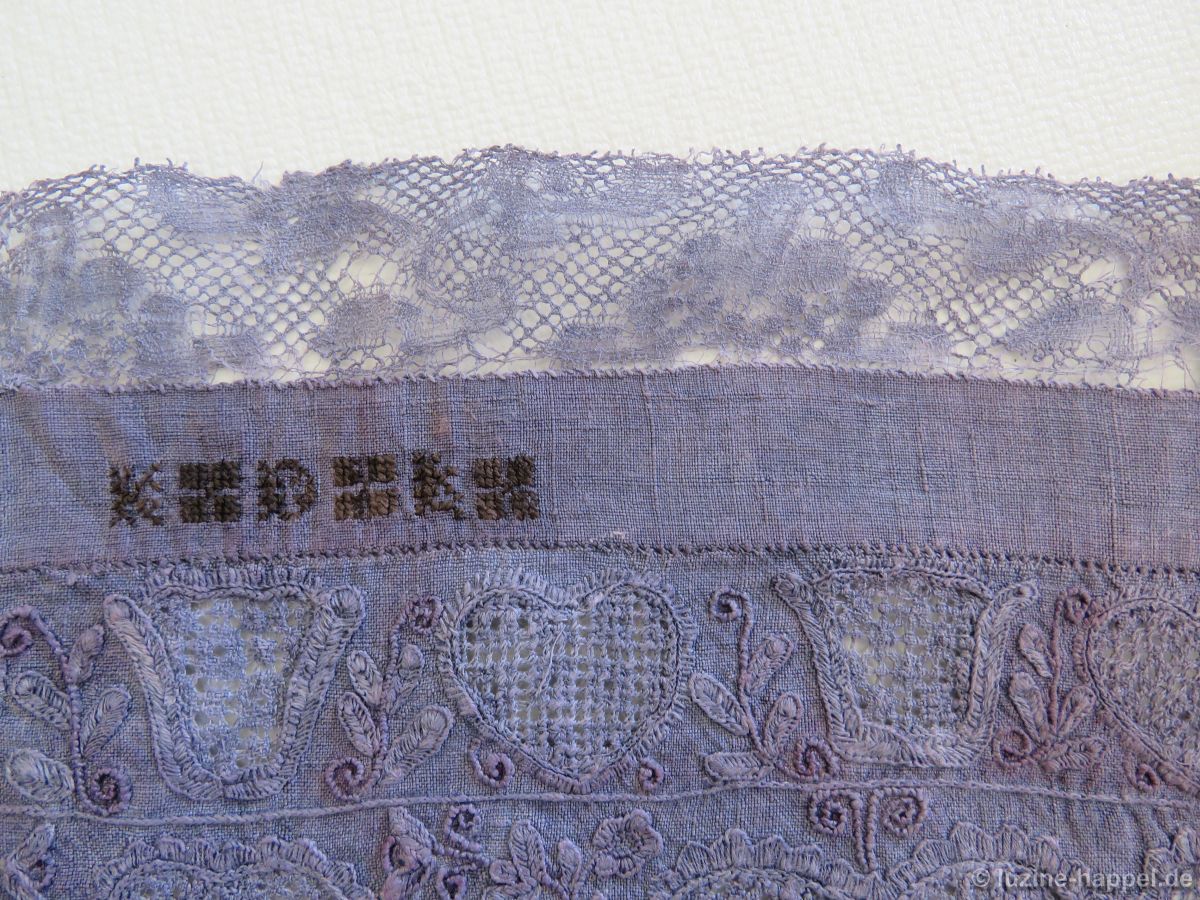
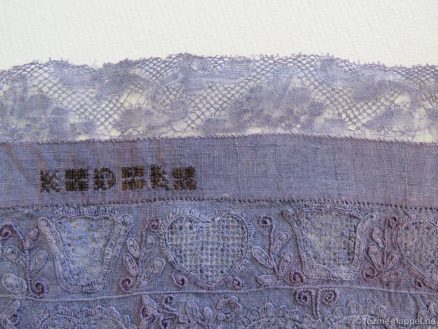
The initial s K D L W I and K D L are visible.
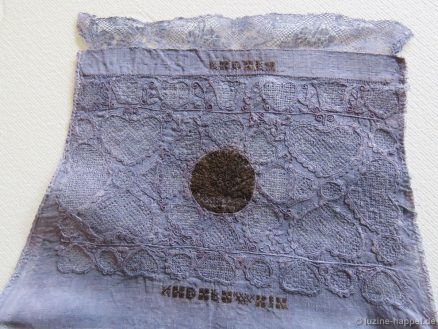
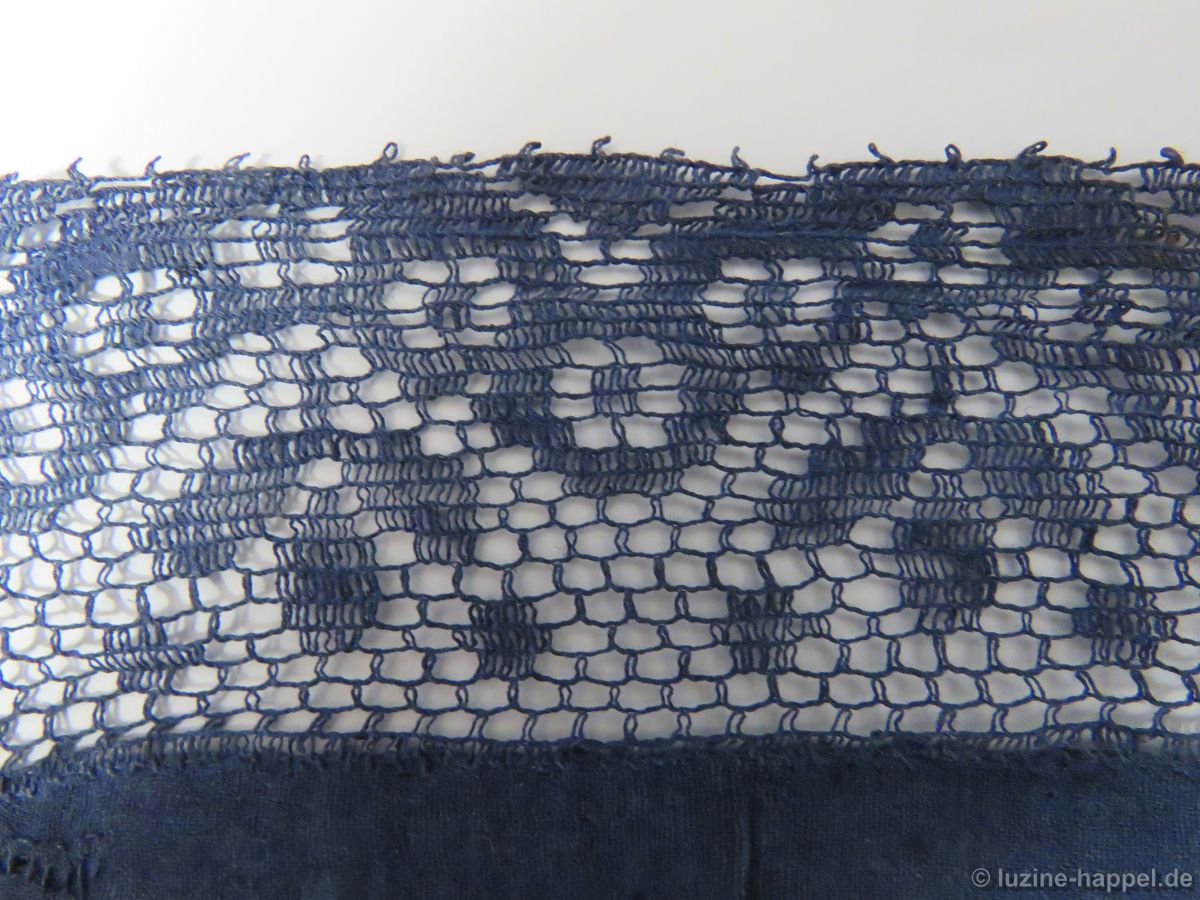
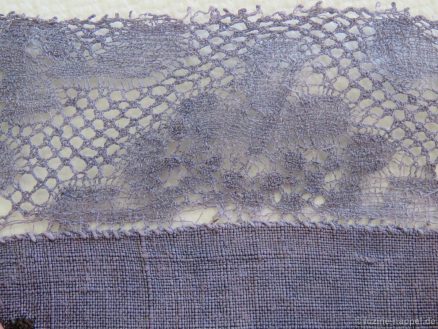
The sleeve edge is finished with a 3.5 cm high, very fine bobbin lace.
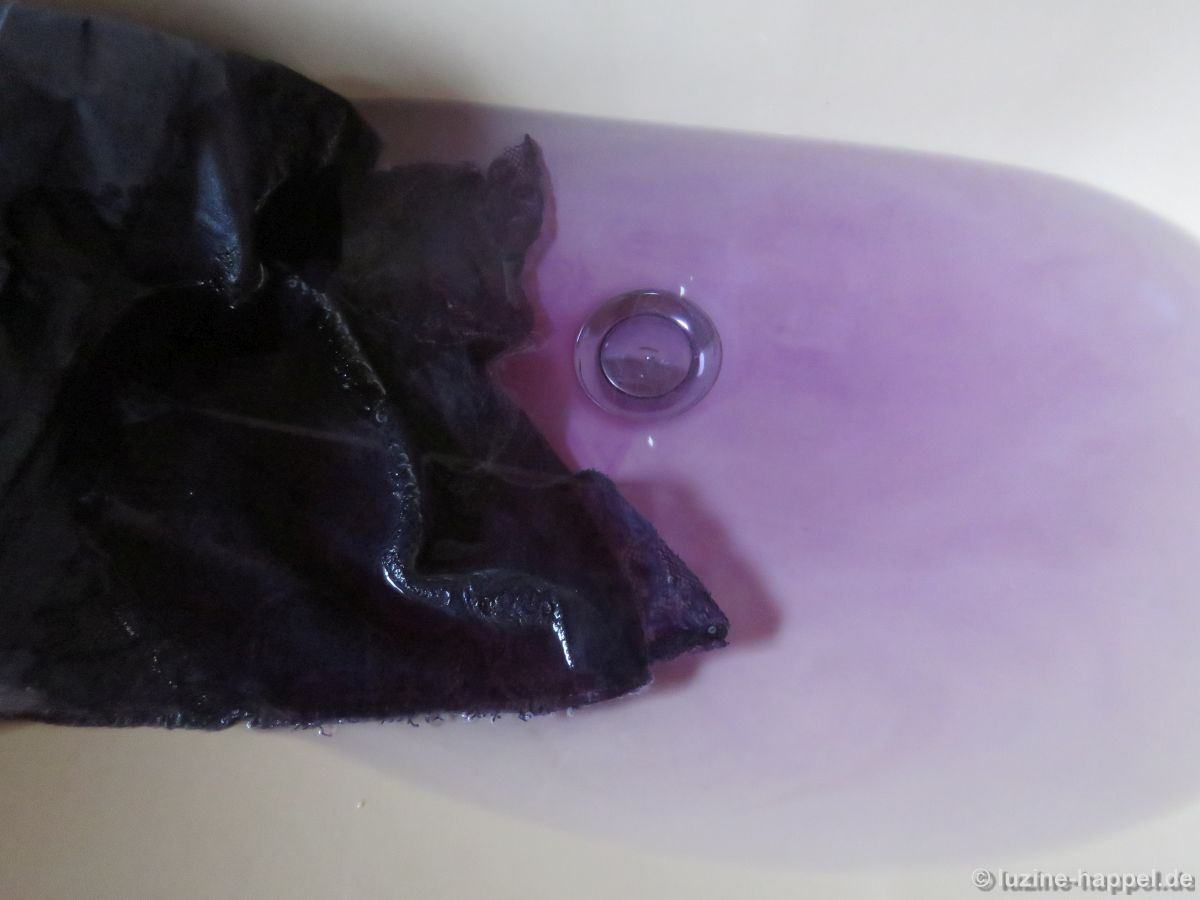
Like all blue-dyed parts of the Schwalm costume, this bodice was also provided with the so-called “preservation starch”, meaning it was reinforced with starch so much that the fine embroidery could suffer little damage.
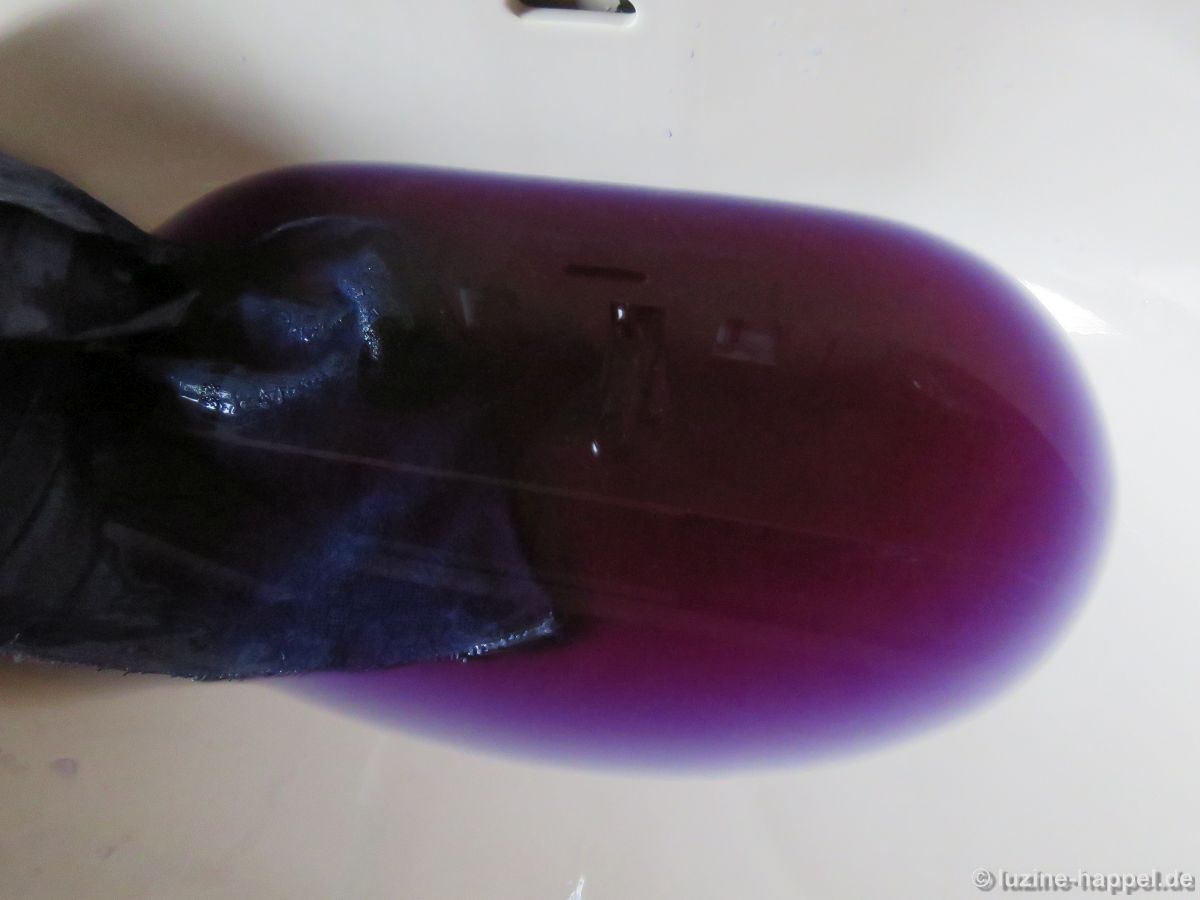
However, since the starch also caused the layers to stick together, I wanted to wash them out. The wash water naturally absorbed some of the dye,

so after a short time the liquid looked dark blue-red.

The part of the bodice has become somewhat lighter, as you can see in the pictures. But after five careful washes, the linen still becomes stiff after drying. This suggests that enormous amounts of starch must have been added in the past.
A truly unique feature is the crown integrated into the border embroidery. This will be discussed in another blog post.
See also:
Traditional Schwalm Bodice (D) Embroidery
Bobbin Lace in the Schwalm (2)
Schwalm Bodices (3)