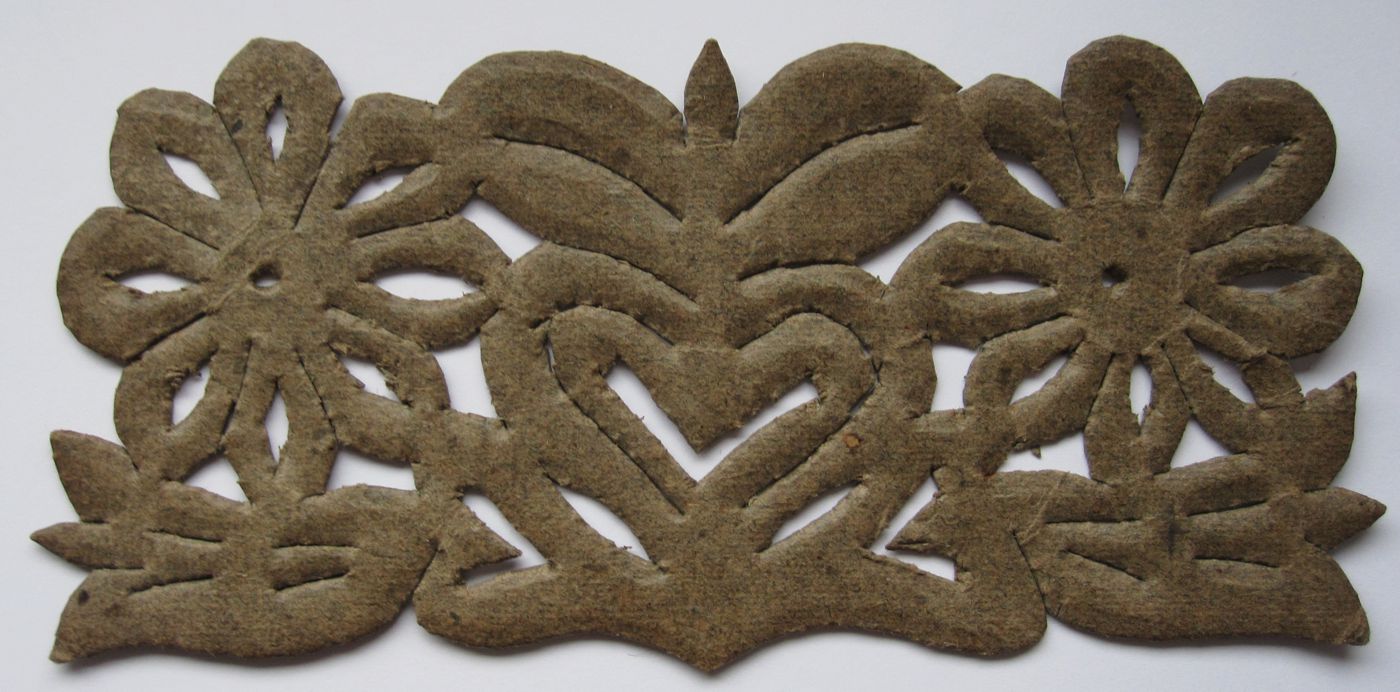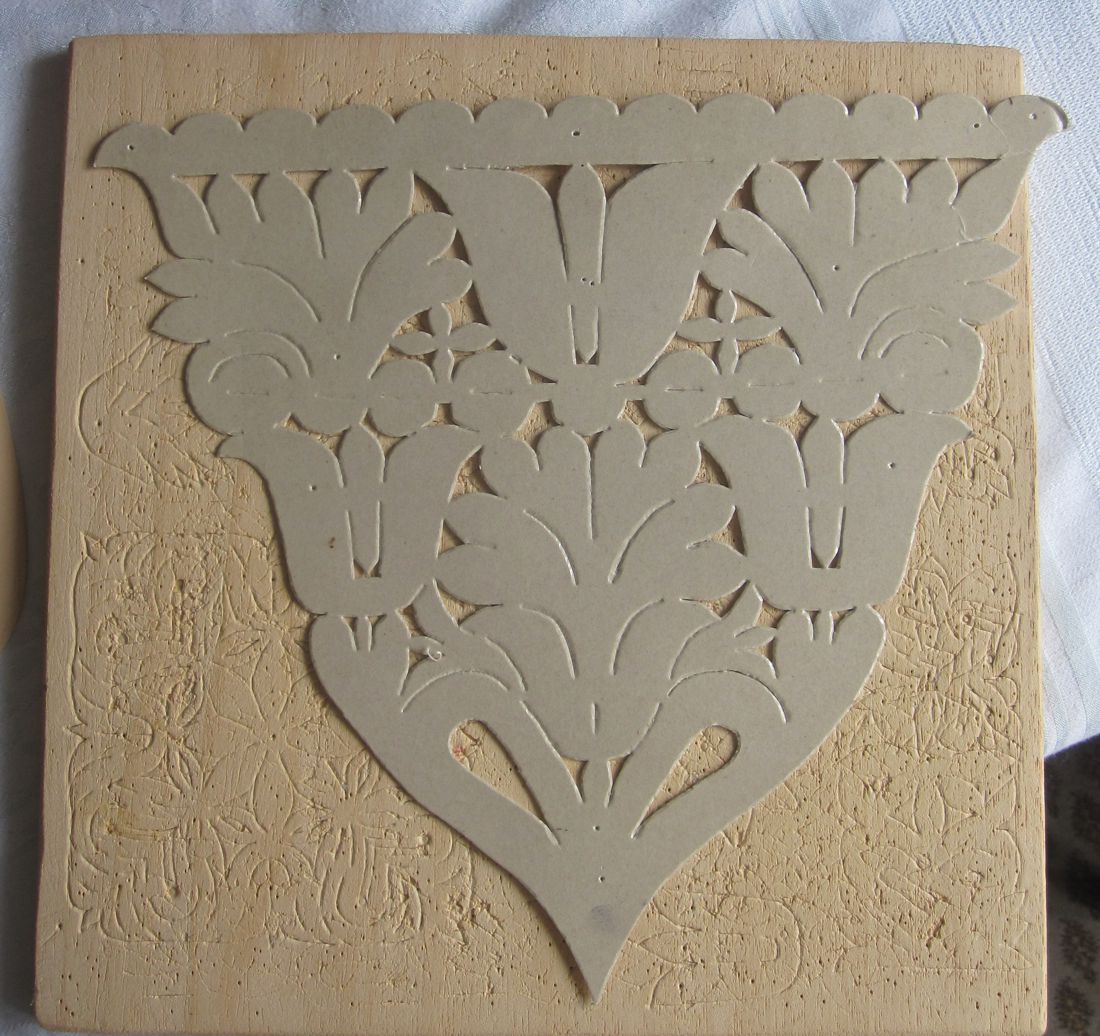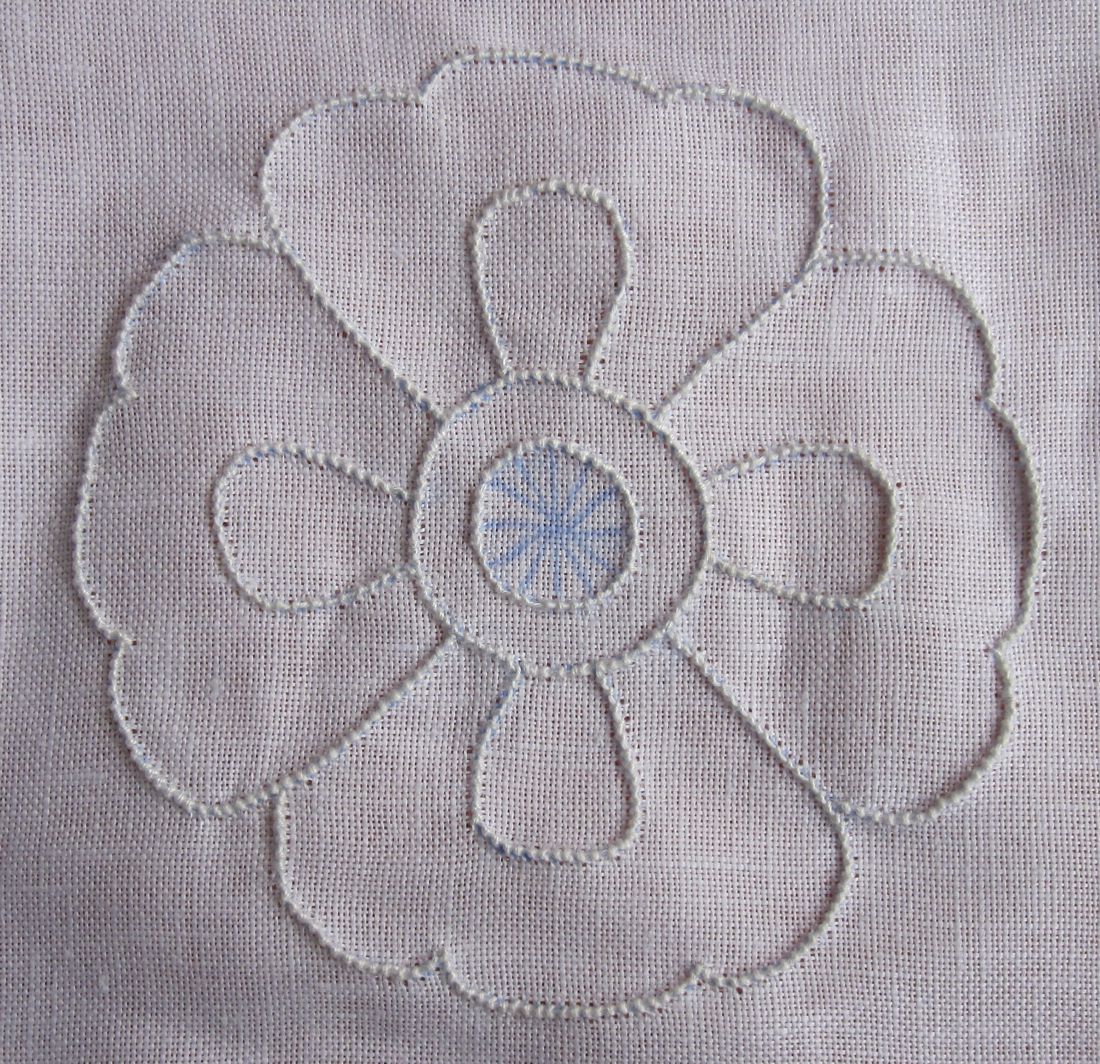
As already mentioned in the article about the template maker, in Schwalm templates were used as inserts for the colour embroidery.
Also needed:
- a piece of fabric for the basic foundation – primarily linen was used, but later solid cotton fabric was also used
- a piece of silk fabric in the main colour of the planned embroidery
- silk threads in the vibrant colours red, green, purple and yellow, as well as black and white sewing thread in matching colours
- Chenille needles
- sometimes, added embellishments
- gold and silver thread
- gold and silver bullion
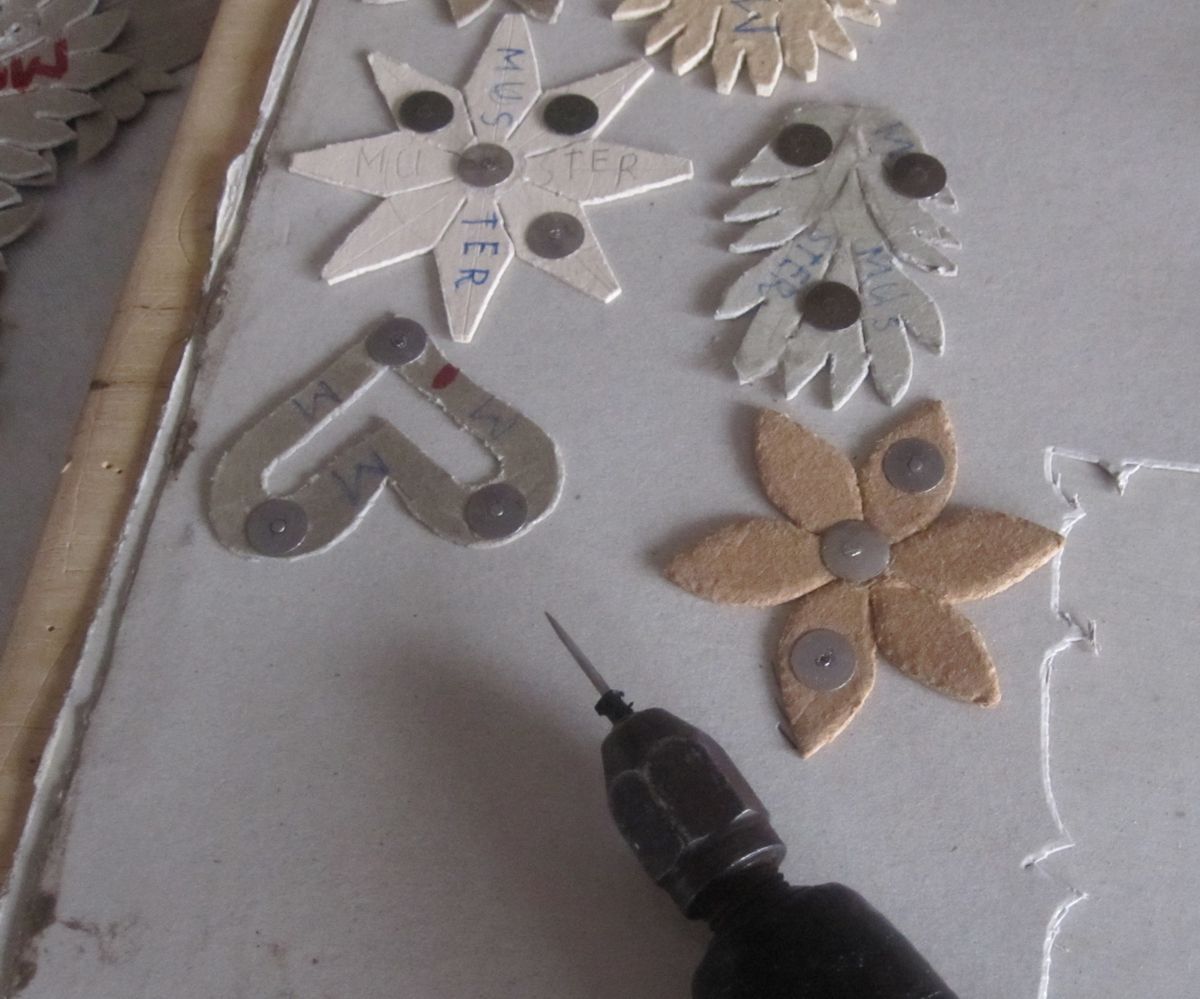
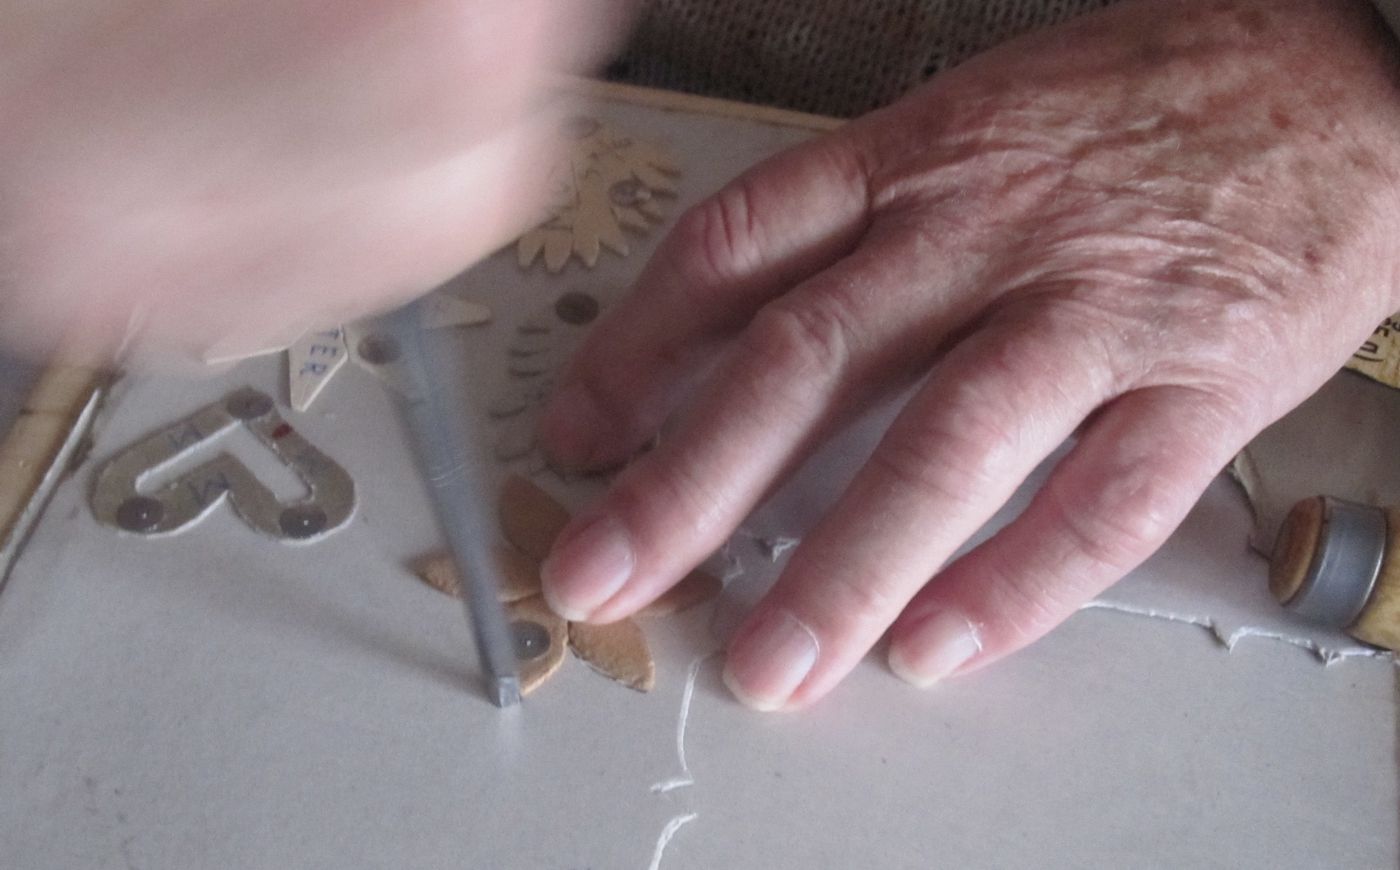
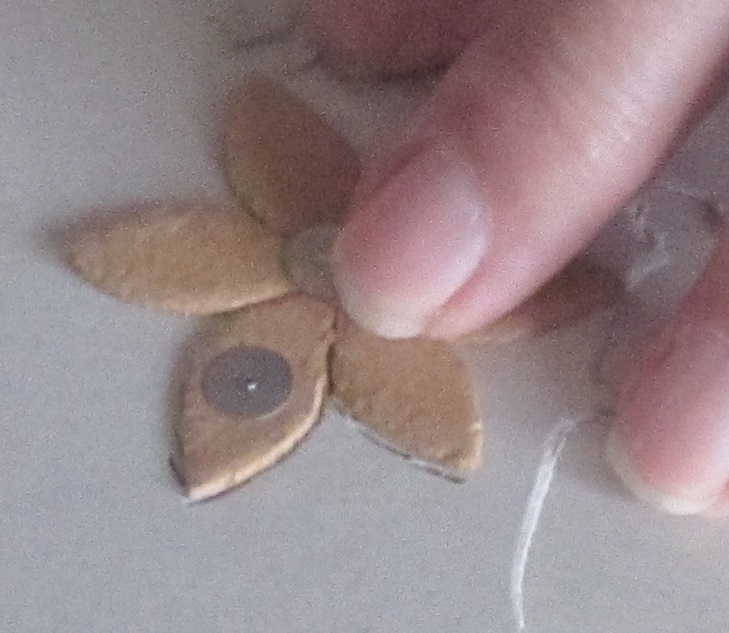
- gold, silver and coloured sequins
- narrow coloured flowers or stars of metal.
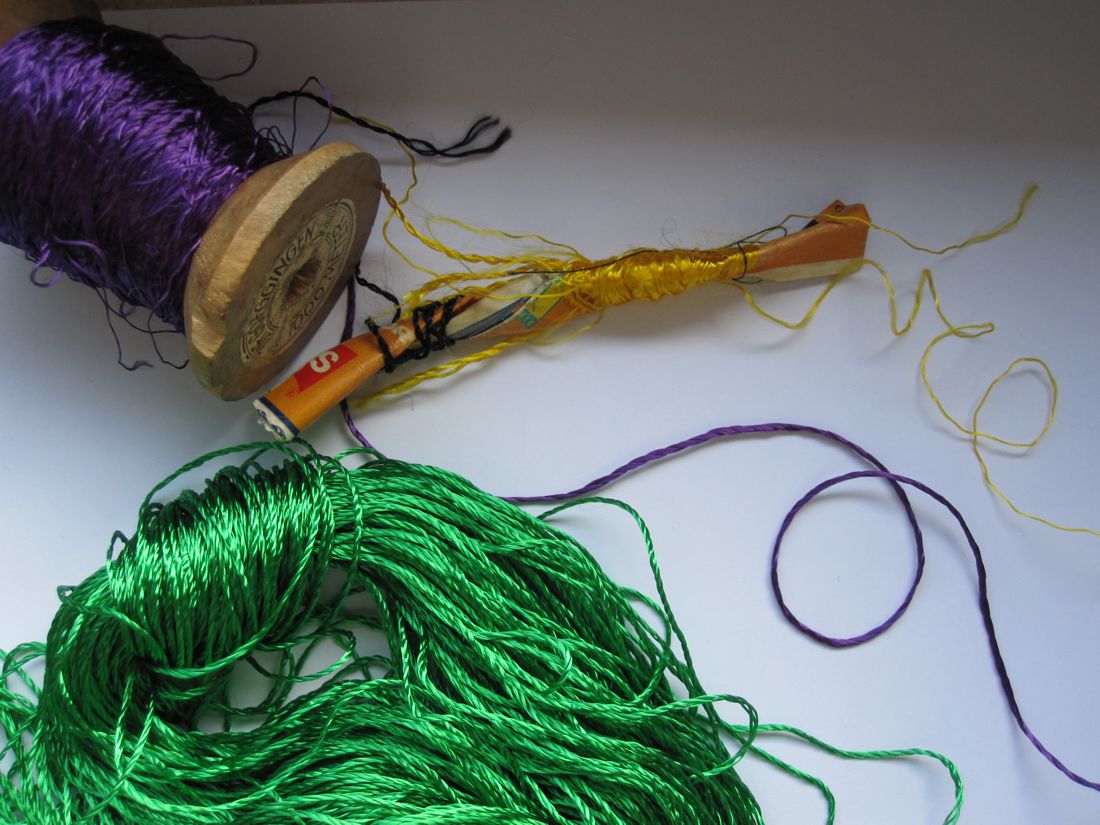
silk threads in different vibrant colours
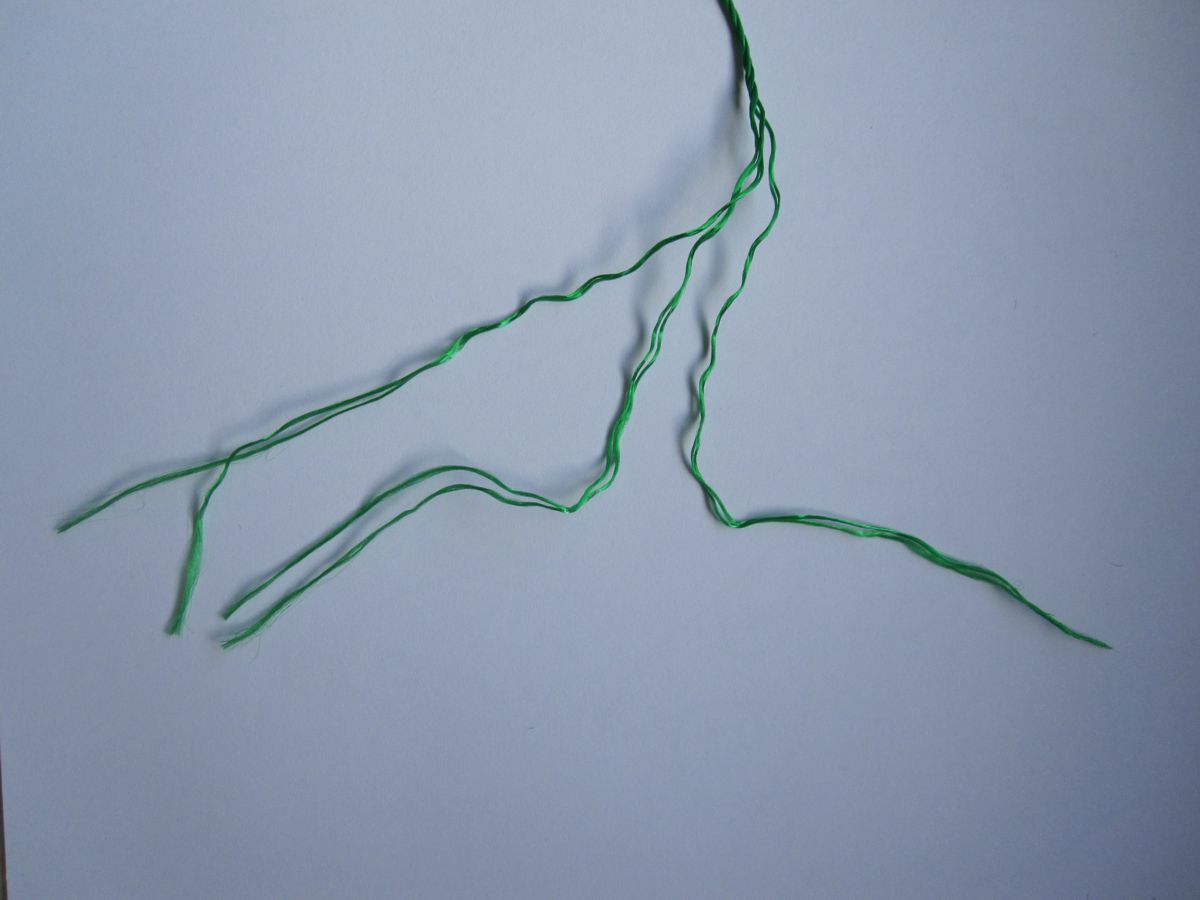
Silk thread is made with 3 X 2 strands;
used for the embroidery are 2 X 2 strands
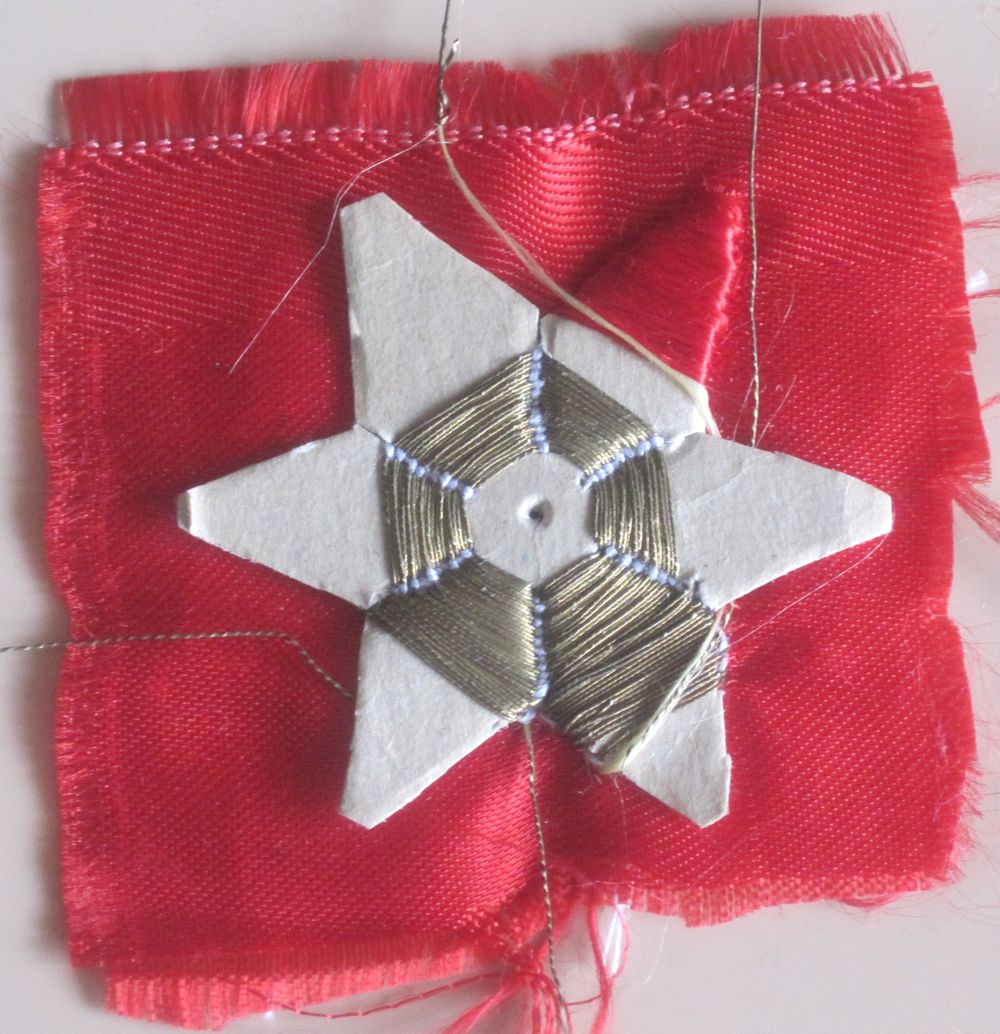
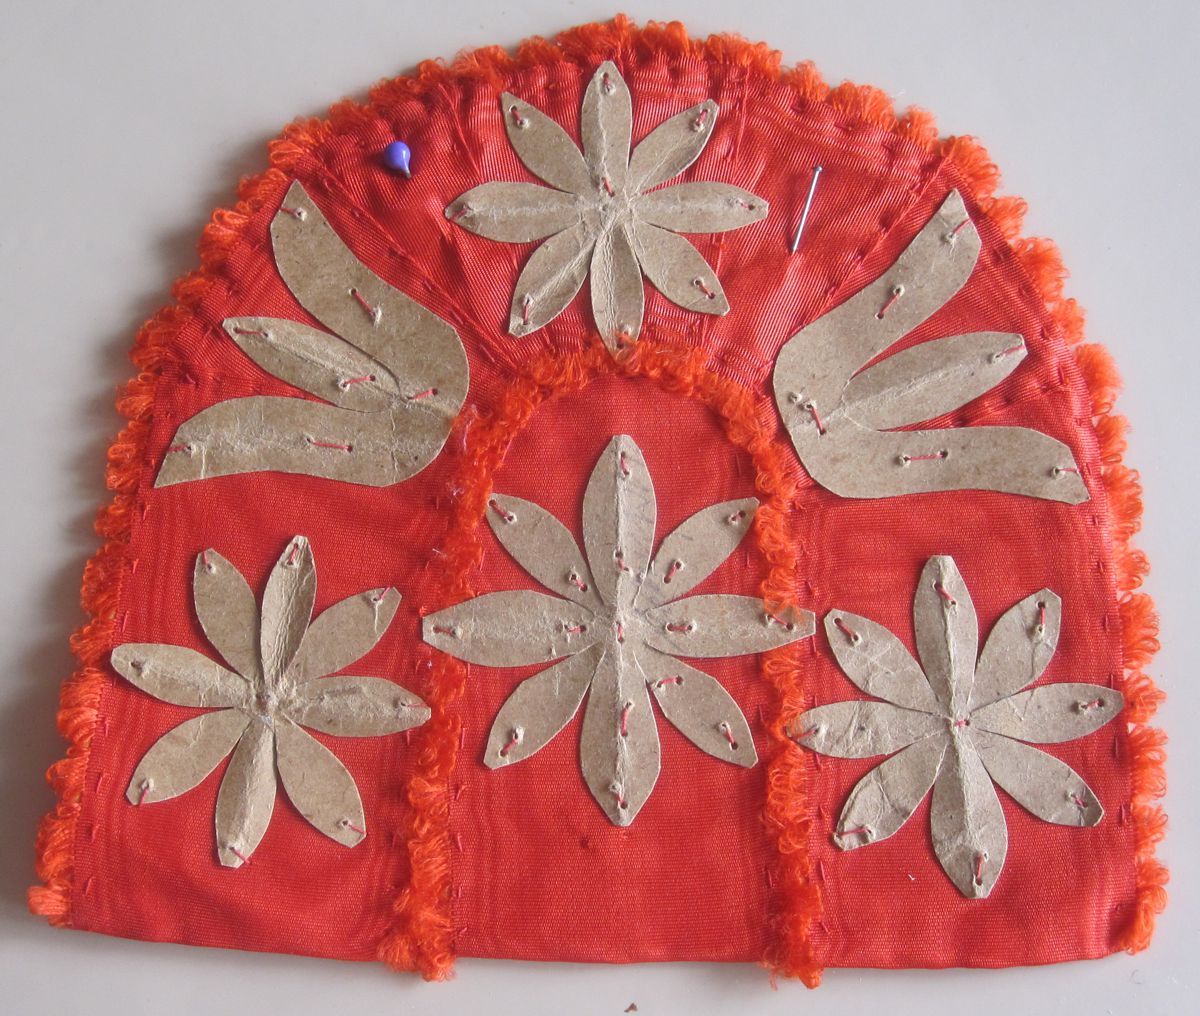
The silk fabric is placed on the linen or coton fabric, and the template is placed on top of the silk. It is secured with some stitches through both layers.
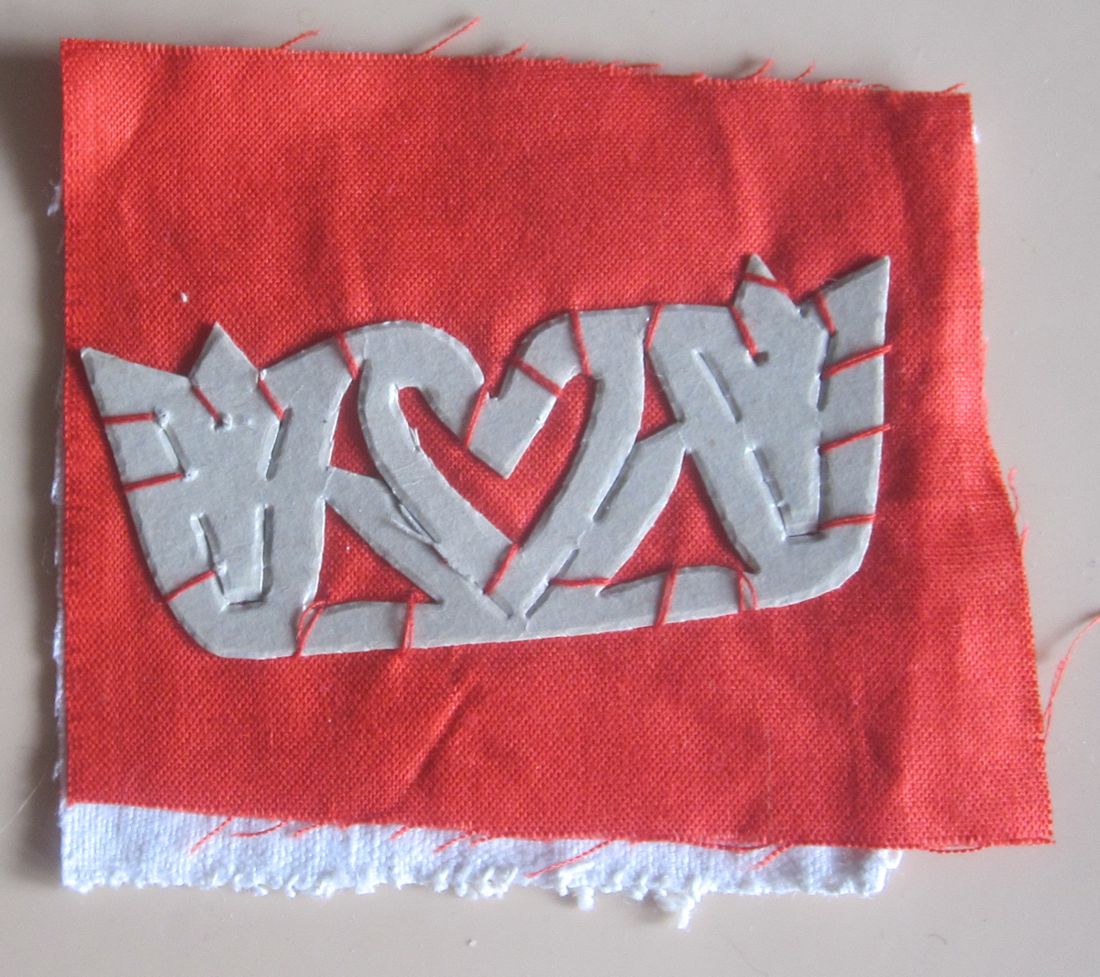
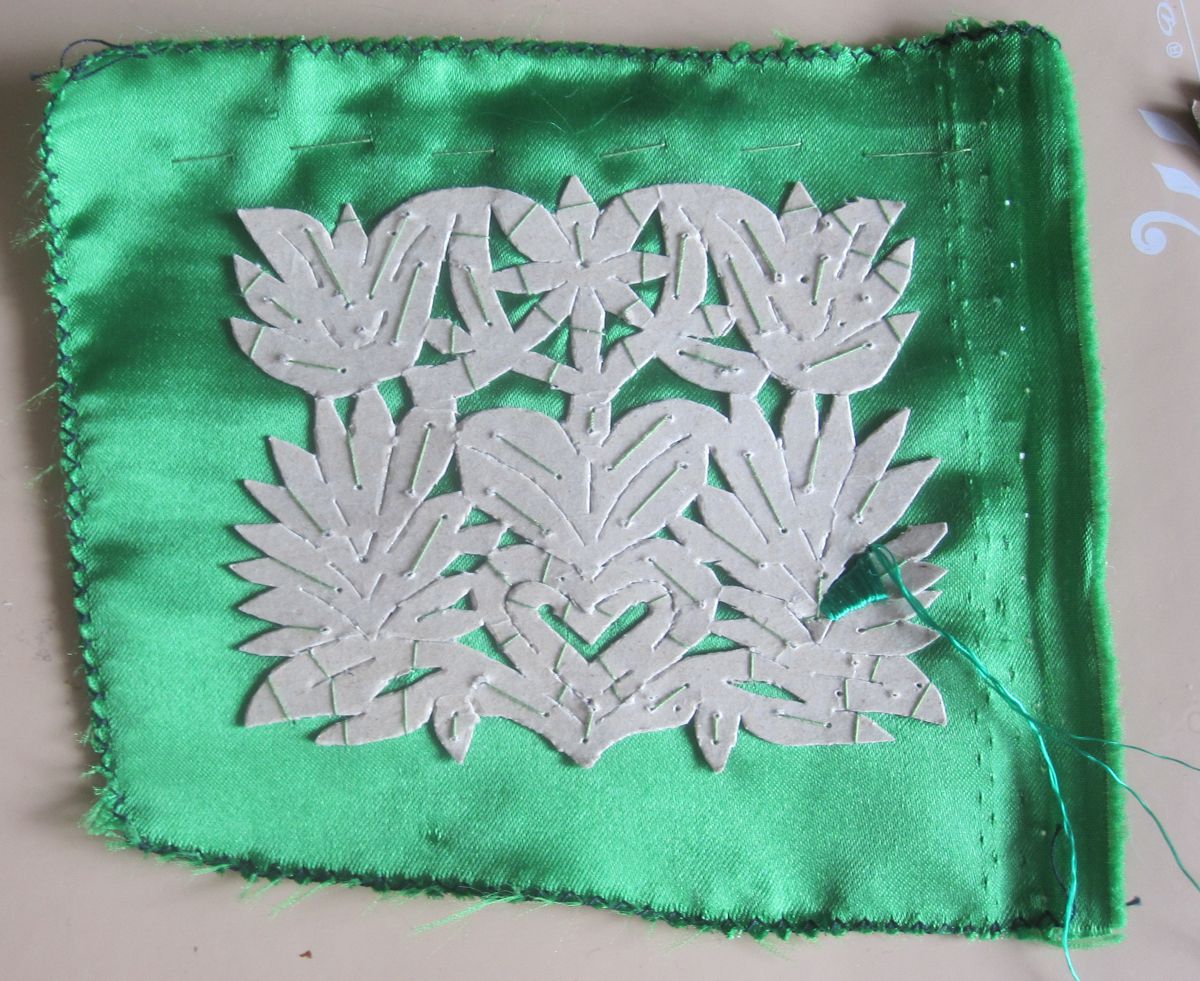
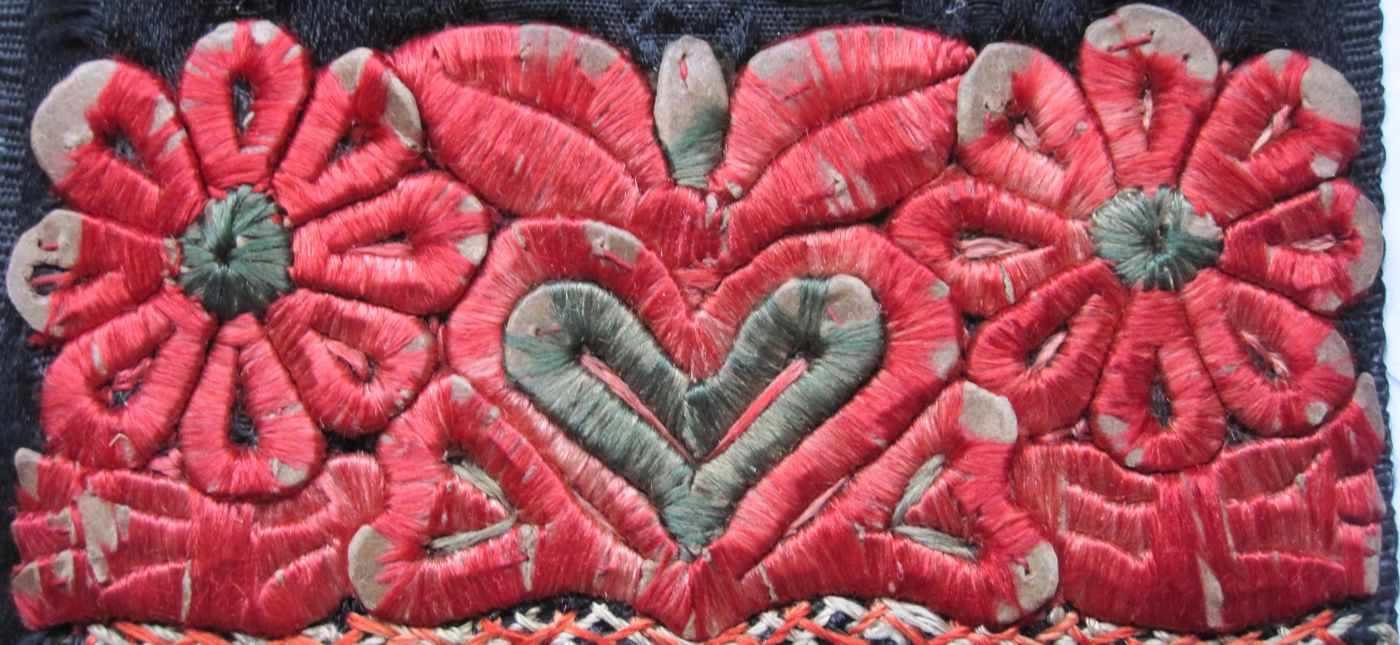
The backside is shown in the picture above.
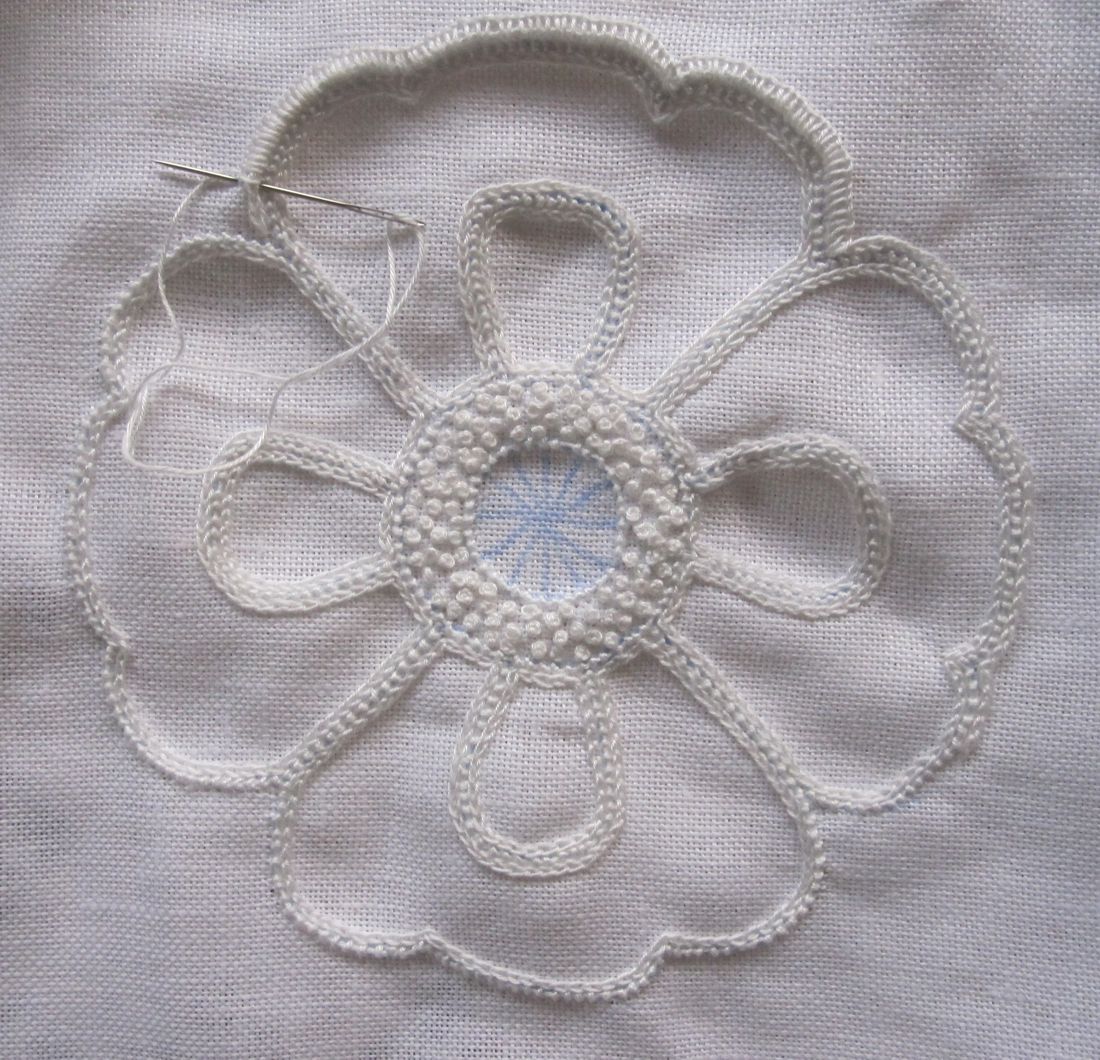
The templates were embroidered by traditional patterns. The stitching is dense; the thread moves through both fabric layers and around template sections, as the above pictures from front and backside show.


To make the work easier, the template maker, Ludwig Schmerer, constructed a special rotating frame for his wife, Christine. The special frame enabled her to use both hands to embroider. She worked the colour embroidery up to her death some years ago.
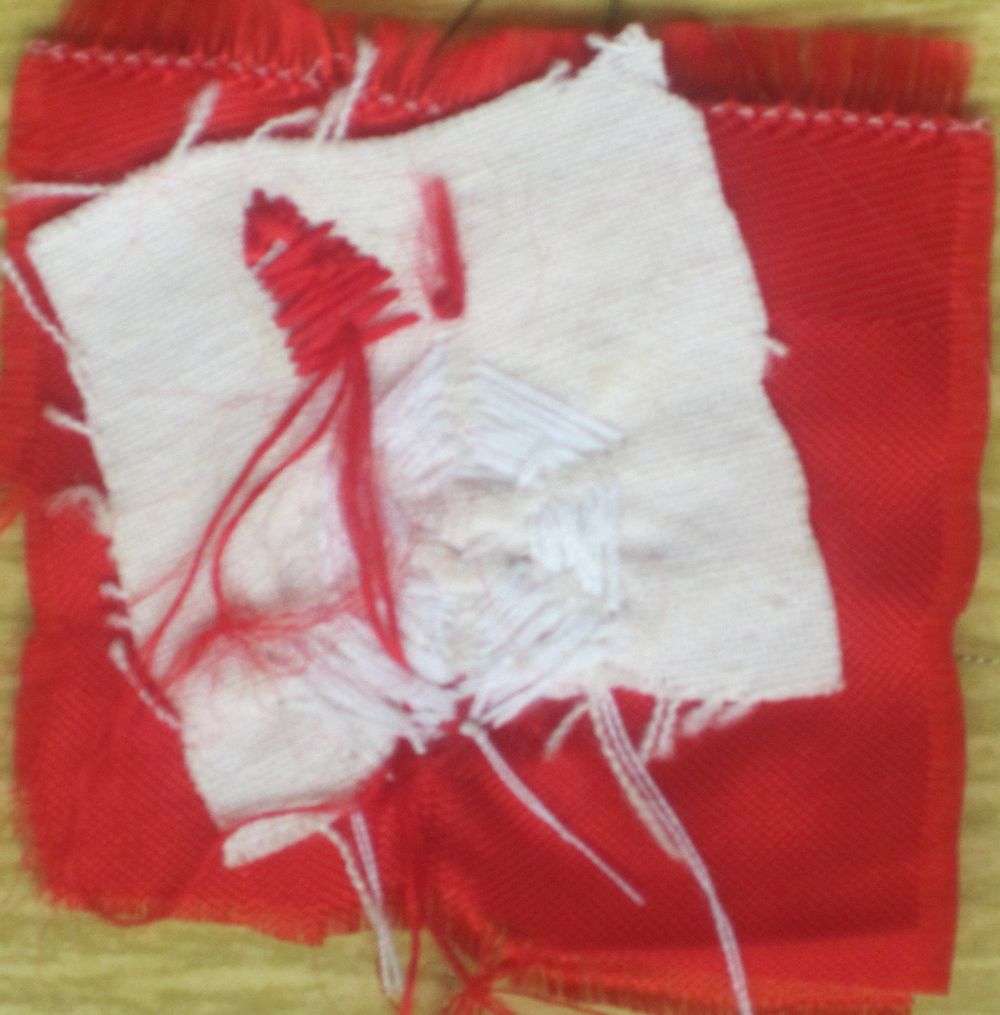
When silk thread was precious and valuable, it was used on the front side only. For the back a cheaper thread was used. This thread couched the silk thread at the edges. This couching method, shown in the pictures above, is also used today for securing metal threads. (Metal threads are too inelastic. They would break by a sharp turn.)
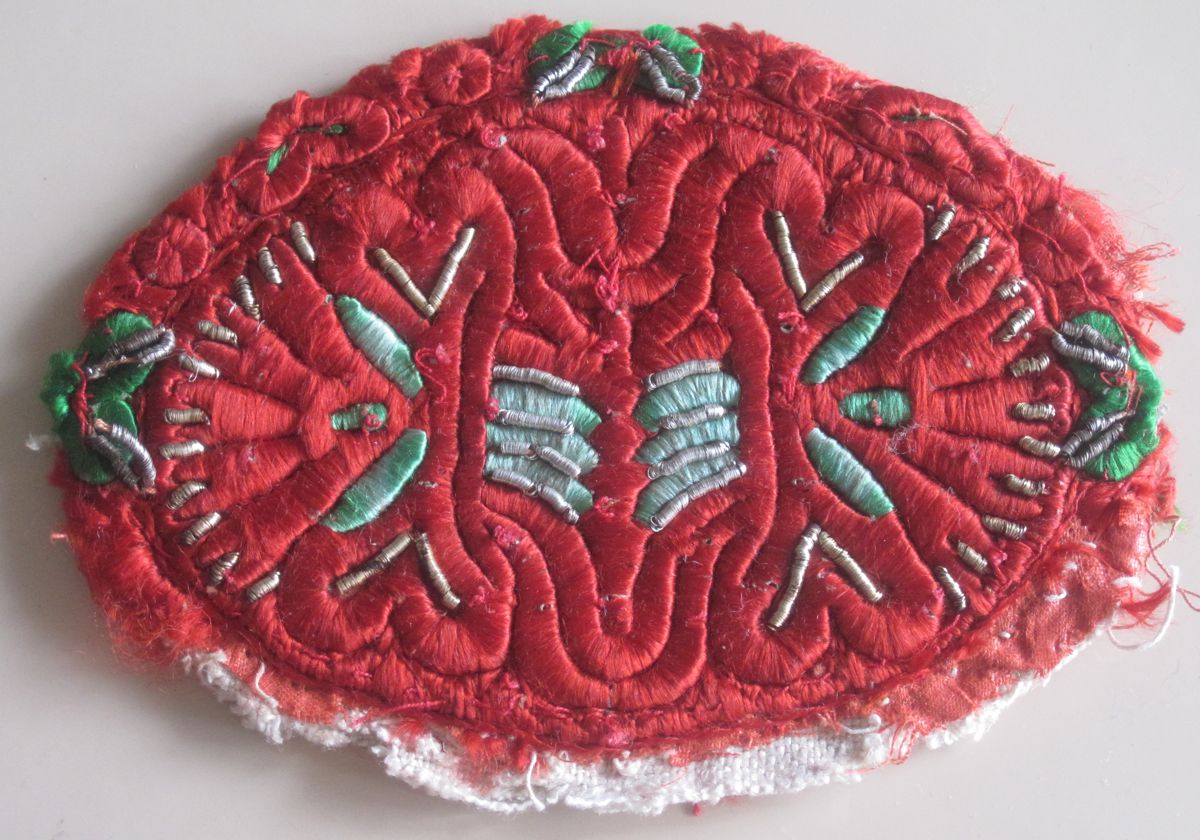
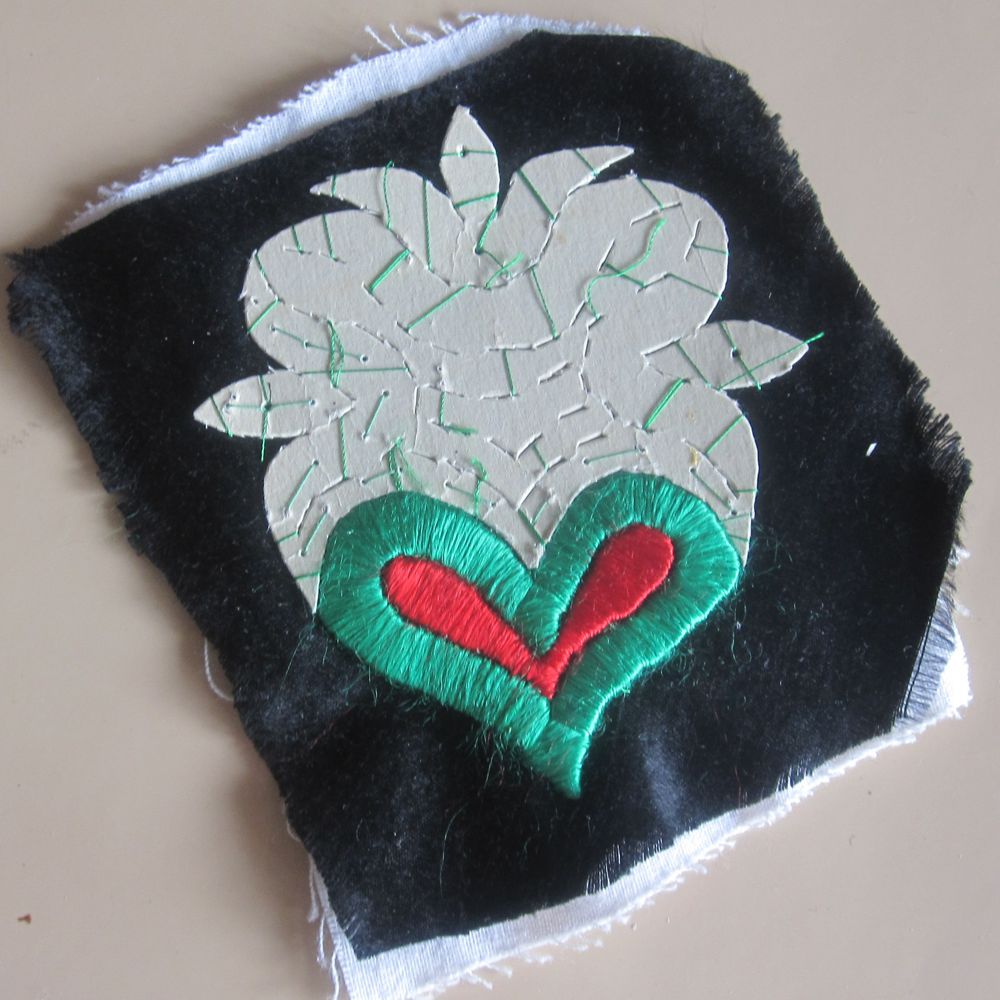
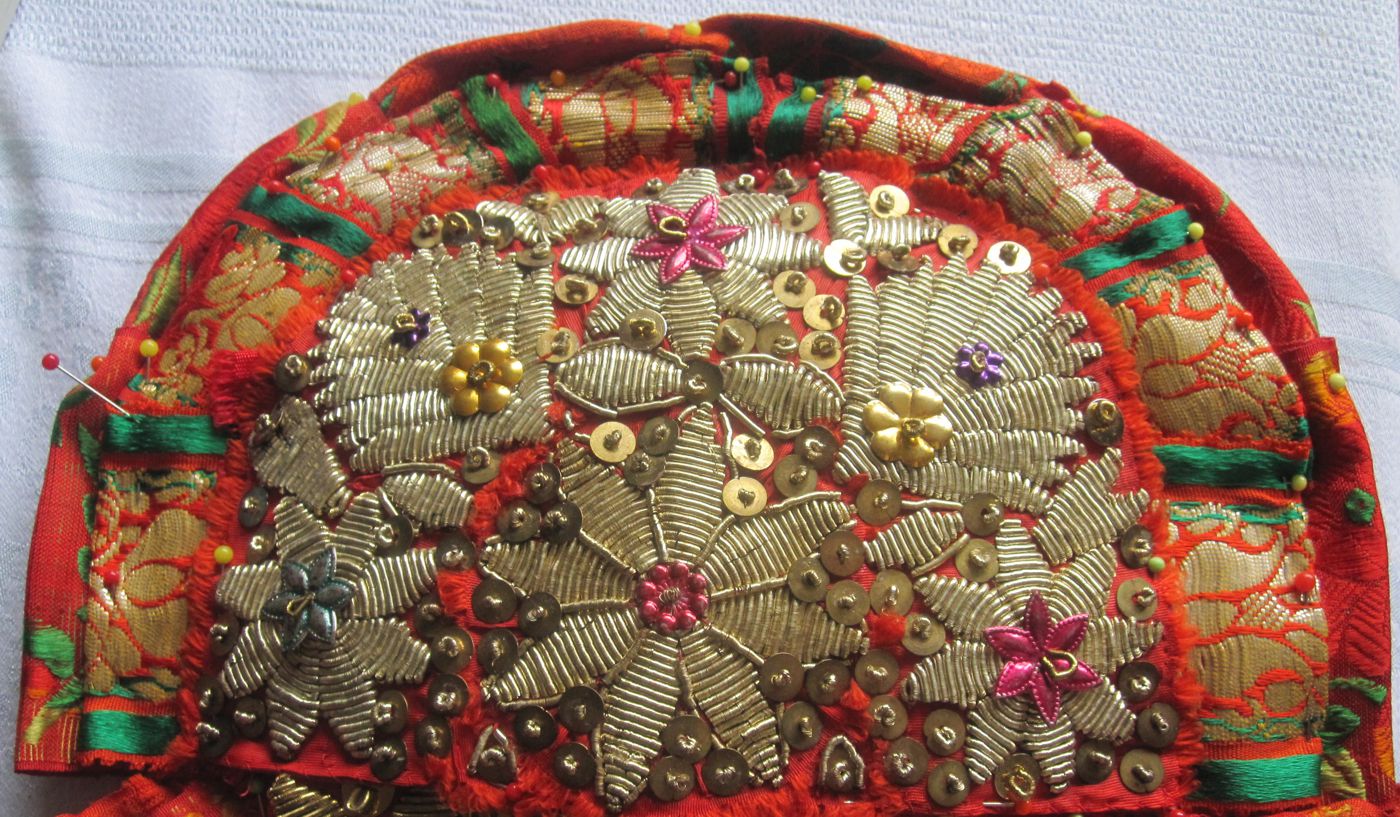
Small remaining parts between the template sections were filled with Satin stitches. Sometimes these were also covered with gold or silver threads, gold or silver bullion, gold, silver and coloured sequins or narrow coloured flowers or metal stars. In the end the fabric was trimmed to the edge and the edges were covered. With further steps the silk embroidered pieces were brought to their respective use.
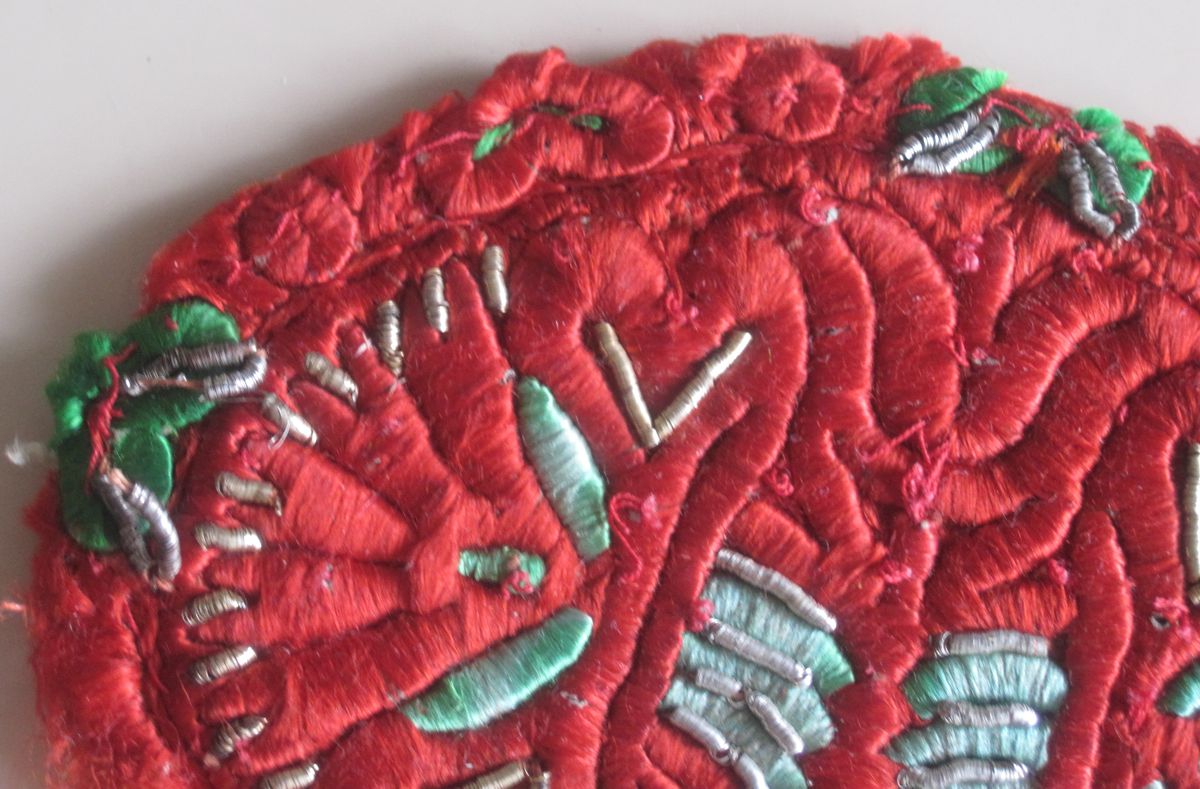
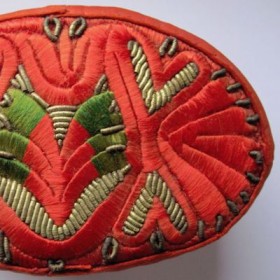
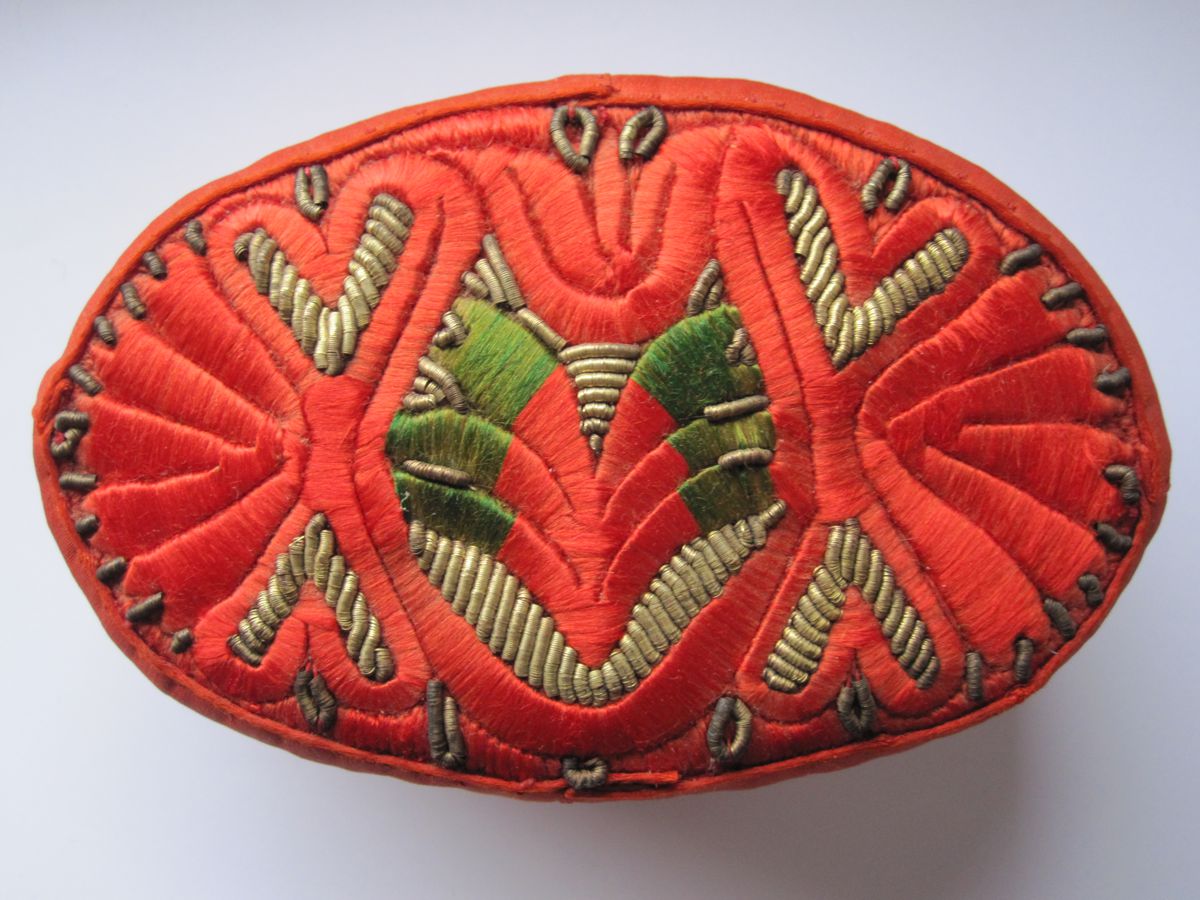
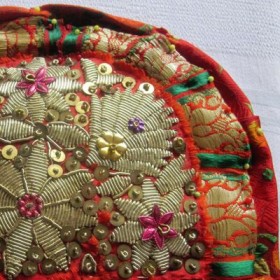
The most superior pieces, such as this very old top of a cap, have additional decoration of tiny embroidered templates at the edge.
Special costume components, such as this “board” (Brett) are embroidered directly on to a silk band that has been formed to the desired shape.
As always, I welcome your comments.