
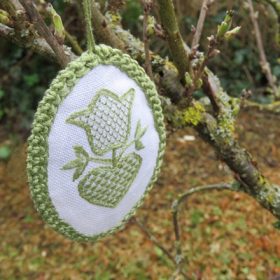
For some, assembling small, embroidered motifs of the Schwalm whitework on plastic eggs the size of chicken eggs is too challenging.
So I looked for other ways to use these pretty motifs as hanging decorations for the Easter bouquet. At first, I worked with embroidered pieces, but later – to make faster progress – I preferred unembroidered linen for testing.
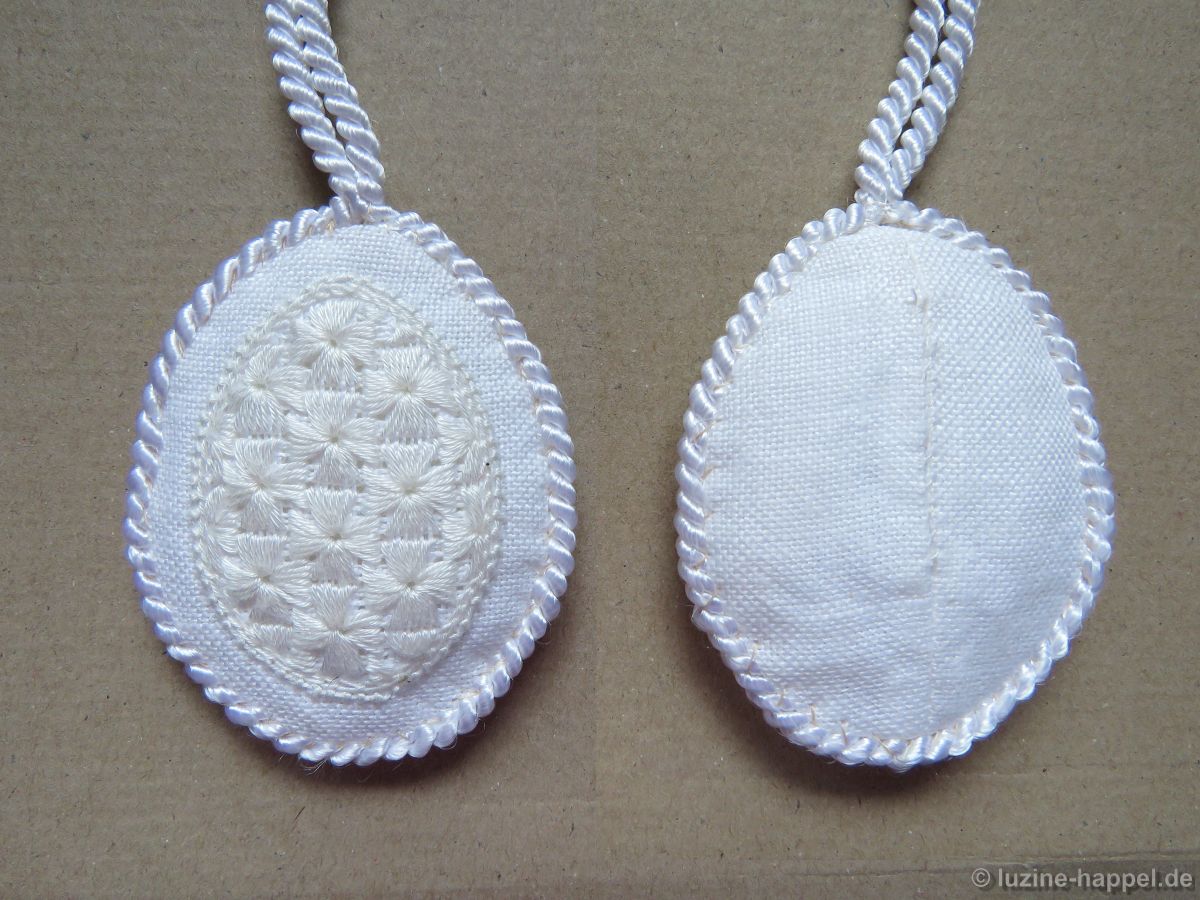
For my first attempt, I embroidered the front of the fabric and added a center seam with a wide opening to the back. Both pieces were placed right sides together and sewn in an egg shape. The seams were pressed firmly, the excess fabric at the curves was clipped up to the seam, and the excess was trimmed all around. The piece was turned right side out. The seams were pressed firmly again. The egg was stuffed with fiberfill. The opening of the back seam was closed. The edge was finished with a twisted cord.
Disadvantage:
These eggs can only be embroidered from one side:
After turning them over, small irregularities can occur at the edge due to the curvature of the shape.
The cord cannot conceal small irregularities at the edge.
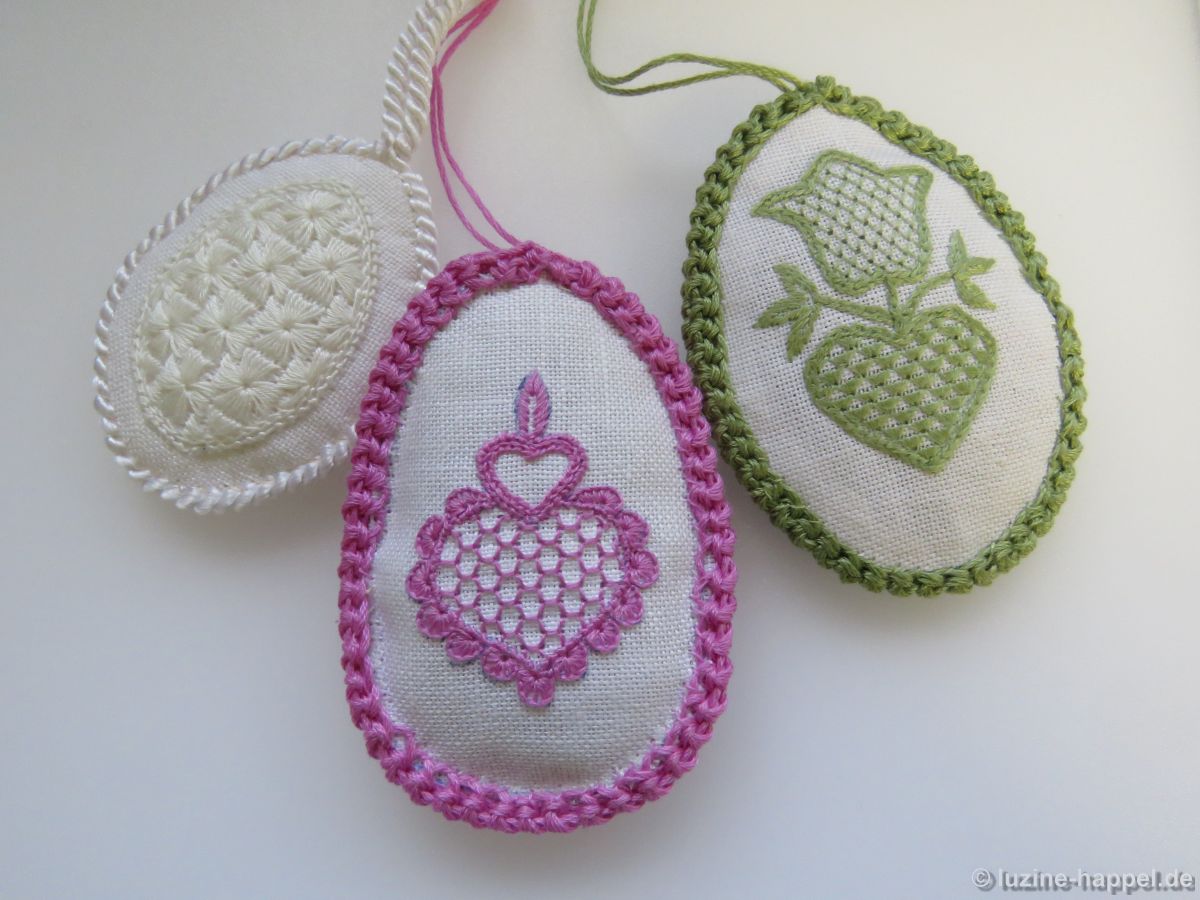
For the second attempt, I proceeded similarly. Only this time I used two embroidered pieces and left an opening along the long side for stuffing.
The edge was covered with a crocheted border.
Disadvantage:
After turning, the curvature of the shape creates small irregularities at the edge.
Closing the edge opening is not entirely easy due to the slight curvature.
Advantage:
You can embroider the egg on both sides.
The crocheted trim conceals any small irregularities along the edge.
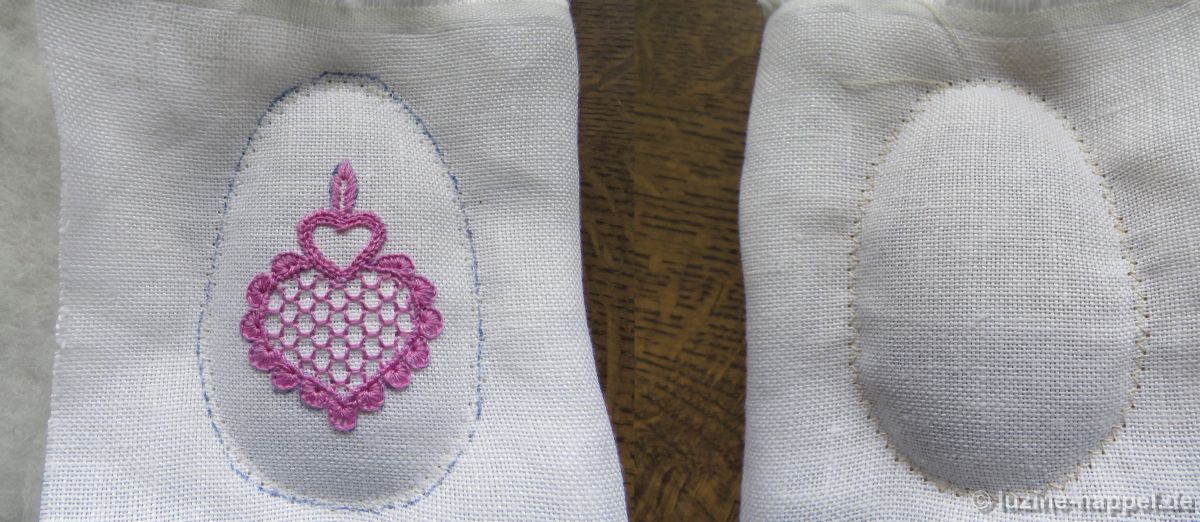
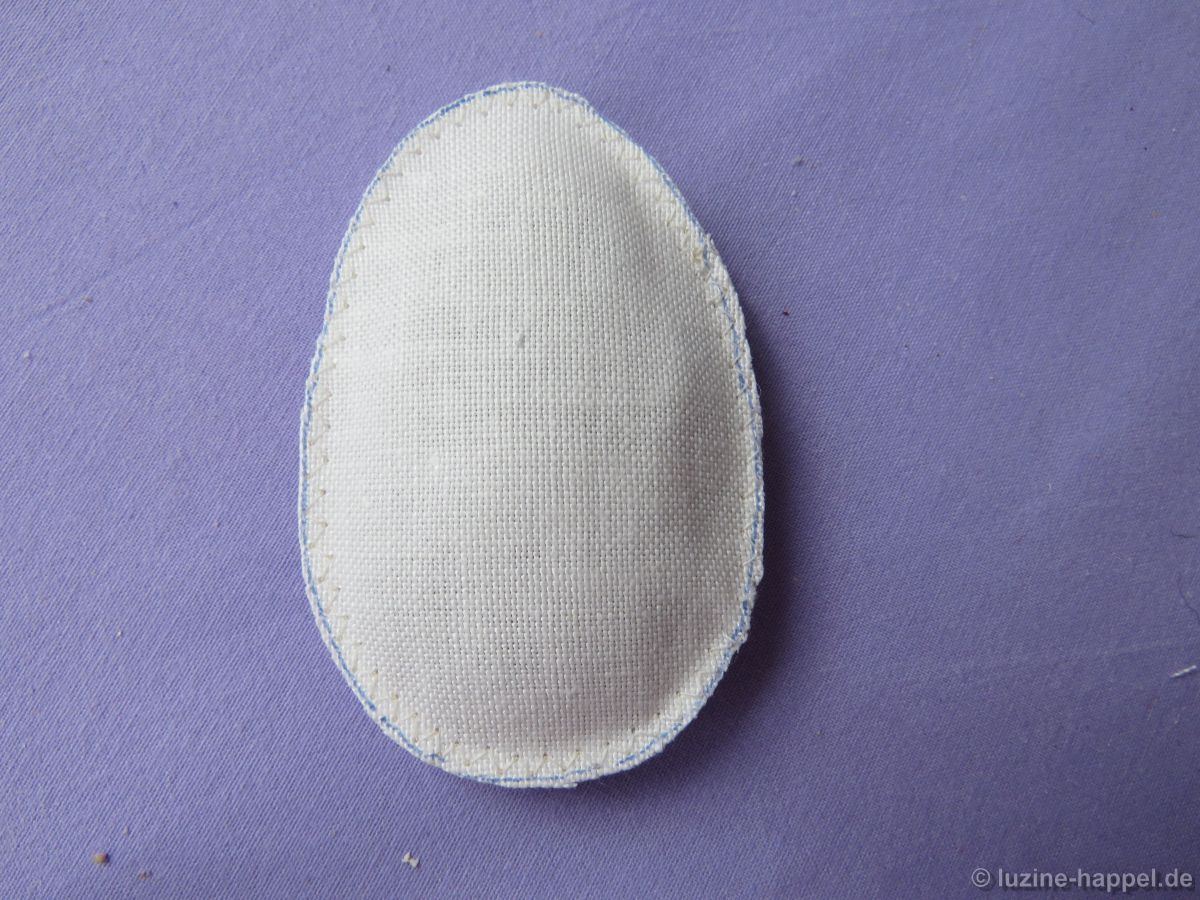
In a third attempt, I placed a fleece between the two pieces of linen and sewed the layers together in an egg shape using narrow zigzag stitches (picture: front and back).
After cutting, the edge is also slightly more voluminous due to the fleece. This makes attaching the crocheted trim a little more difficult.
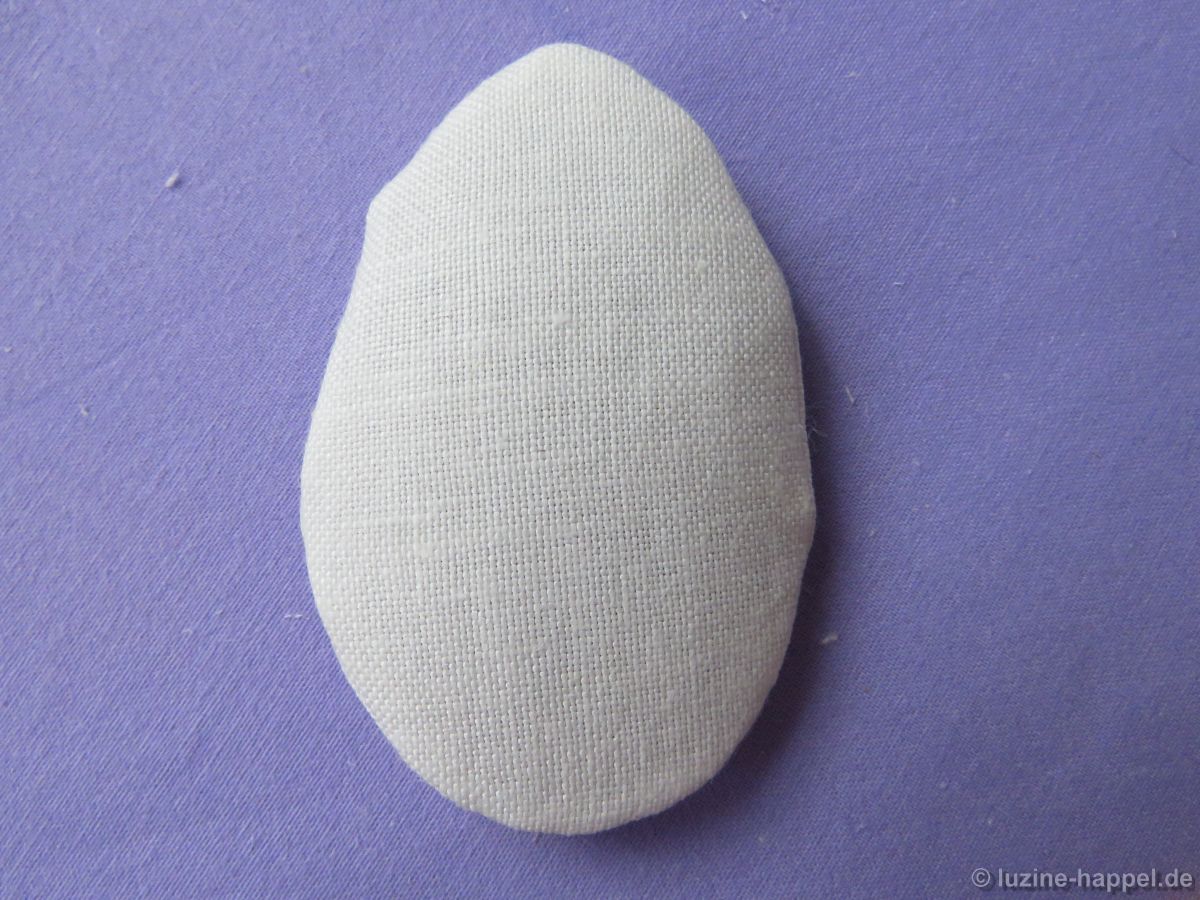
My last attempt is the most promising. The two pieces of fabric are sewn together along a marked line with small zigzag stitches – leaving an opening along the long side. The excess fabric is then trimmed along the outer seam line – except for the area at the opening.
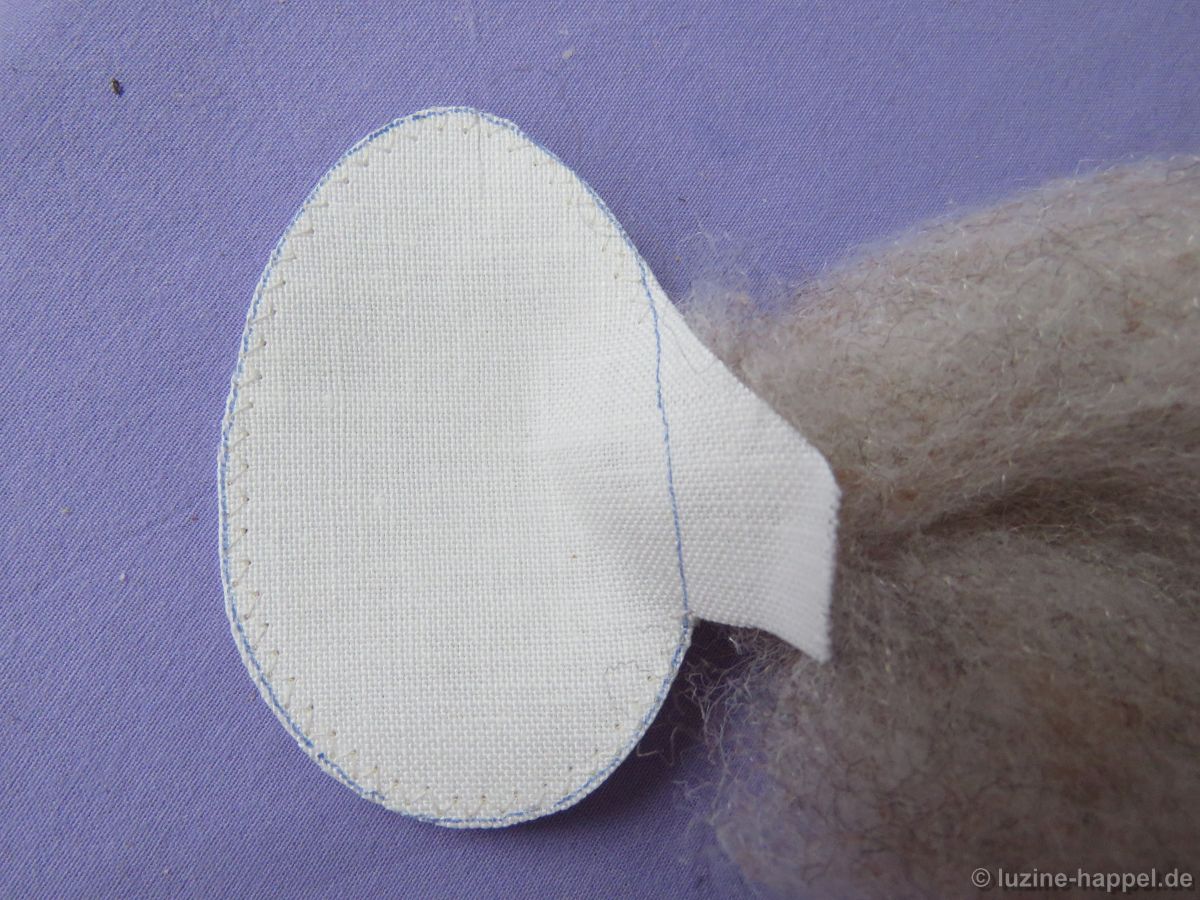
The piece is filled and the opening is closed with the machine. The excess fabric remaining there helps to position the seam correctly. This will also be trimmed later.
What remains is a slightly arched egg with a relatively clean edge, which can easily be covered with a crocheted border.
So, if you want to make such eggs, you need:
- Linen – 13.5-cm Thread count is well suited. 15 cm X 15 cm per side is good; pieces that are too small are difficult to embroider.
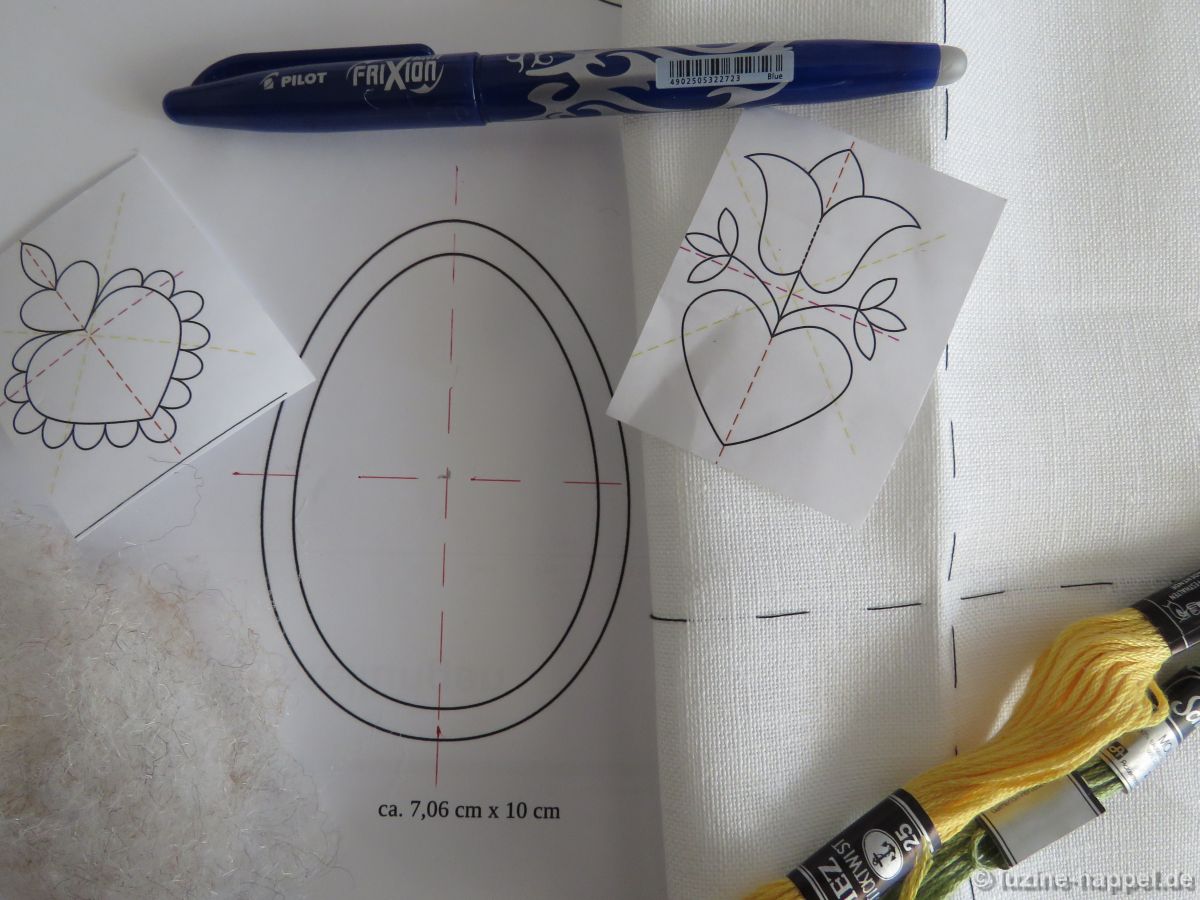
- small designs
- egg-shaped outline measuring 7.06 cm X 10 cm – for a border made of single crochet stitches, use the inner outline; for a border made of double crochet stitches, use the outer outline.
- some sewing thread to mark the center lines
- strandes cotton – depending on the chosen embroidery pattern, approx. 1.5 m for the embroidery, approx. 6 m for the crochet border made of single stitches and approx. 9 m for the border madeof double stitches
- Pen for transferring the pattern onto the fabric – here I used a heat-soluble pen, so that the linen doesn’t need to be washed after the embroidery.
- fiberfill
- sewing machine
- spray starch
- iron
- crochet hook 2.5
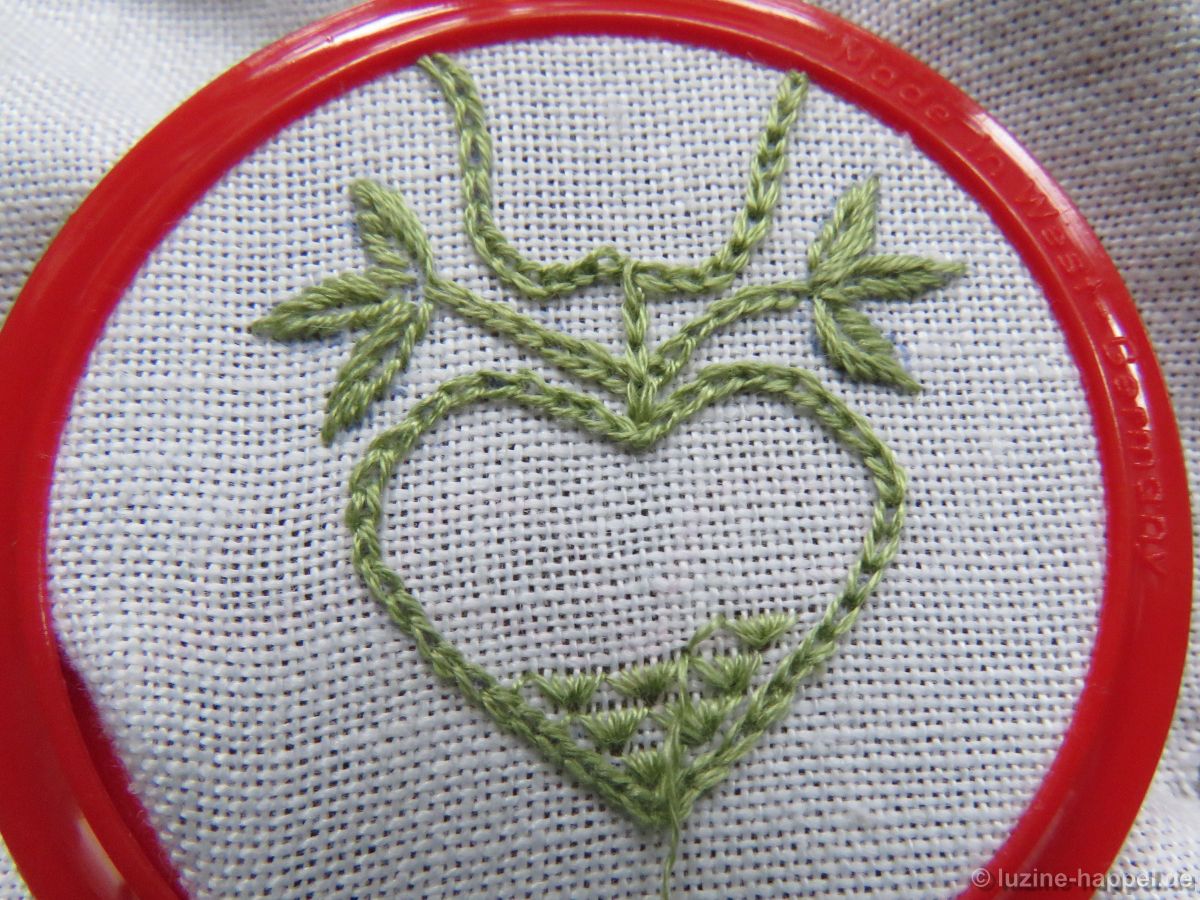
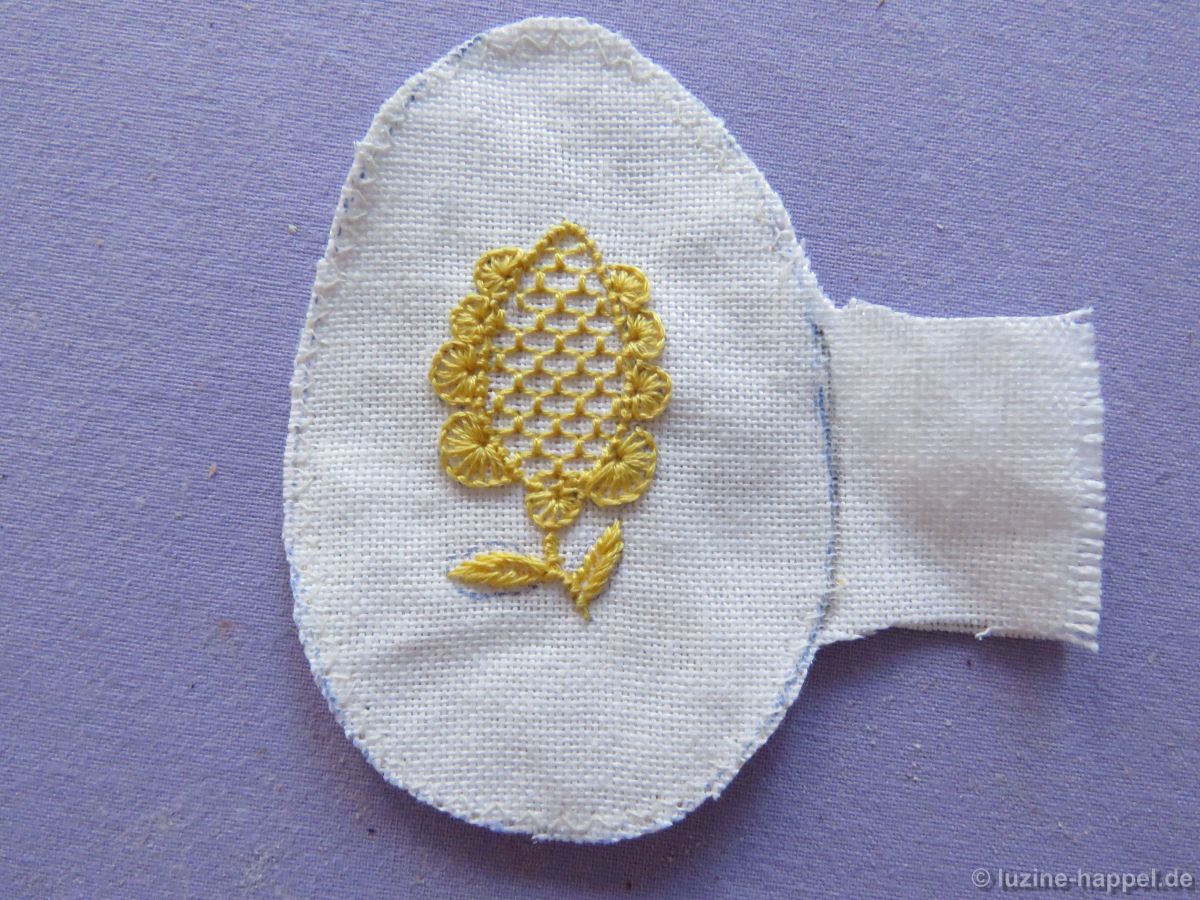
The pattern is transferred and stitched. Since threads cannot be withdrawn due to the small areas, the fabric threads must be counted.
For the outlines, half-eyelets, and leaves, I used two strands of embroidery floss; for the patterns, often only one strand.
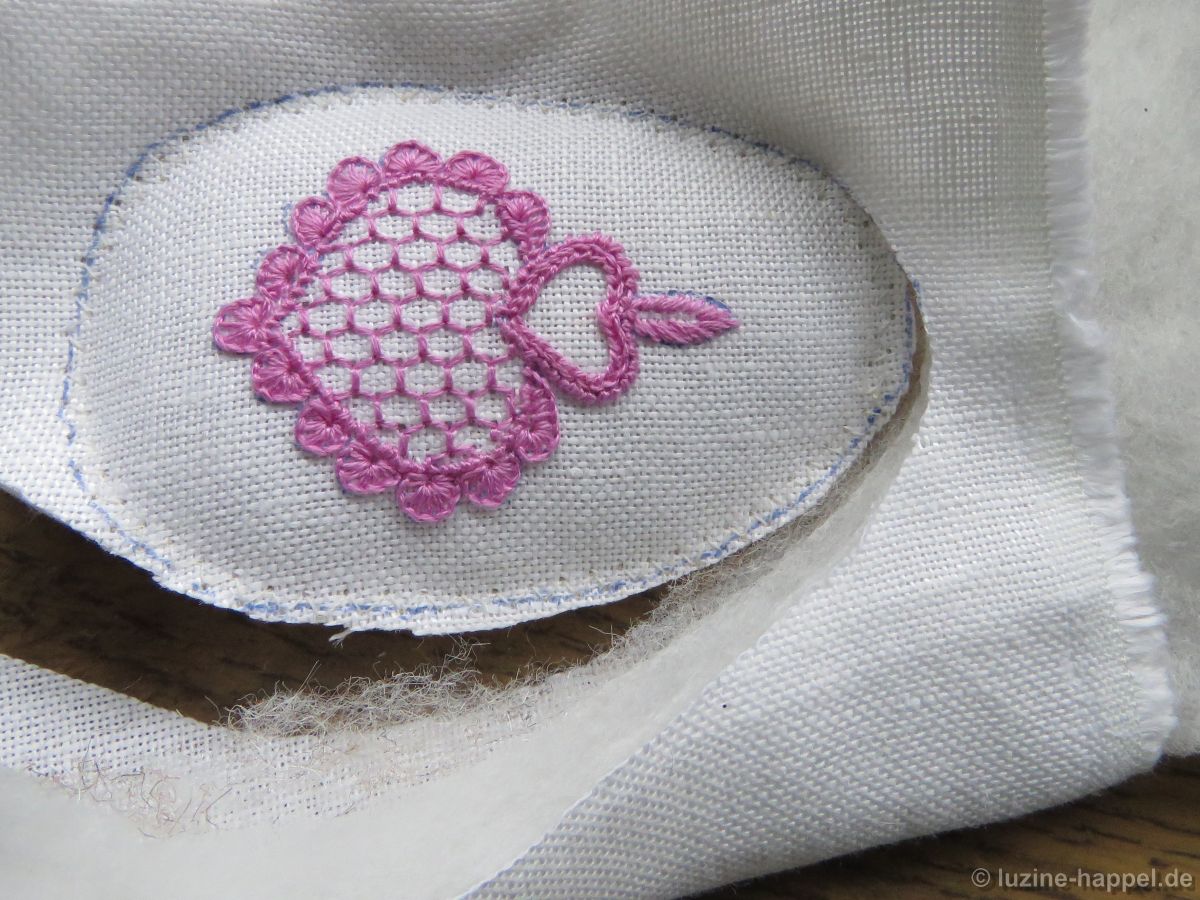
The finished embroidered pattern pieces are sewn together with the right sides facing outwards, leaving an opening along a long side of the egg. The excess fabric is then trimmed back as shown in the picture.
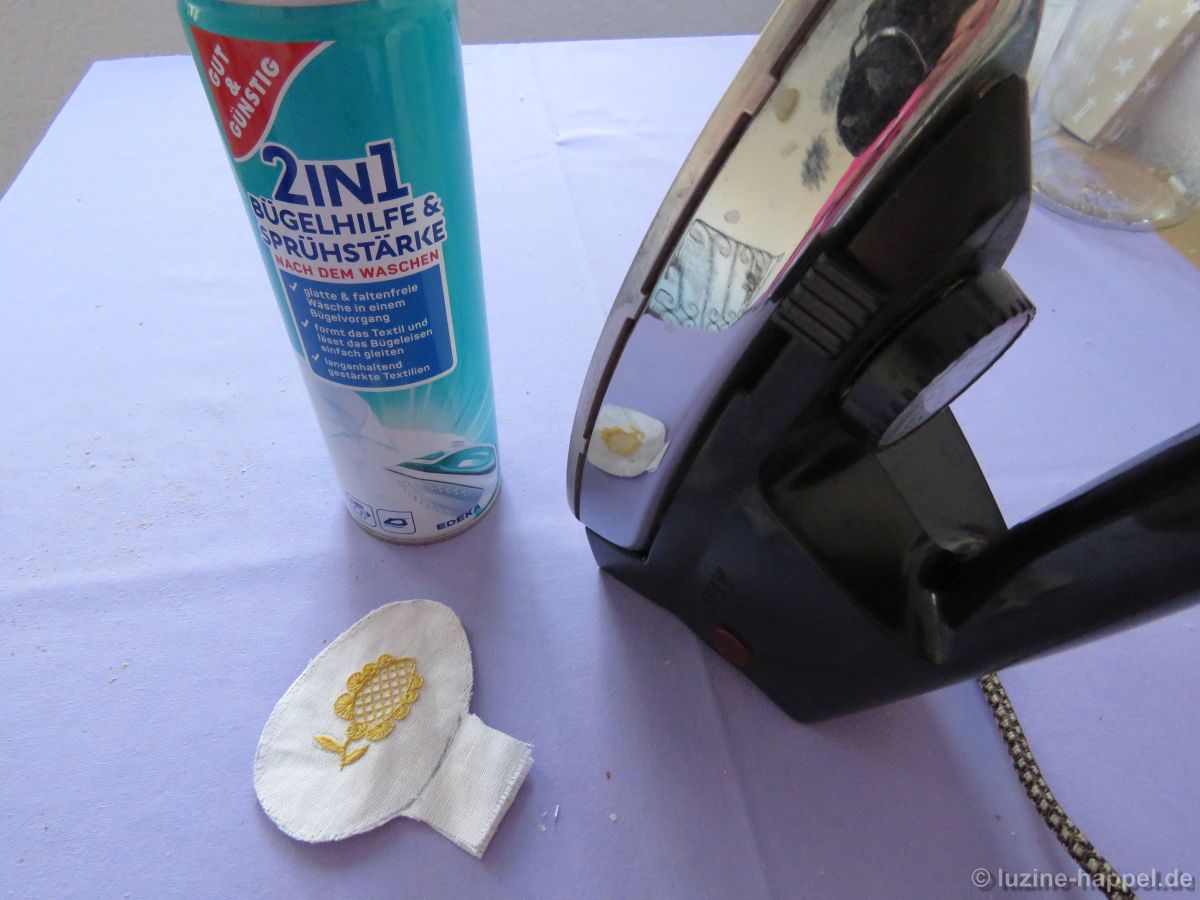
Using a little spray starch, iron the piece smooth. Beforehand, trace the outline at the opening with a pencil, as the heat-soluble line may disappear during ironing. Starch not only helps with smoothing but also protects the egg from getting dirty quickly later on.
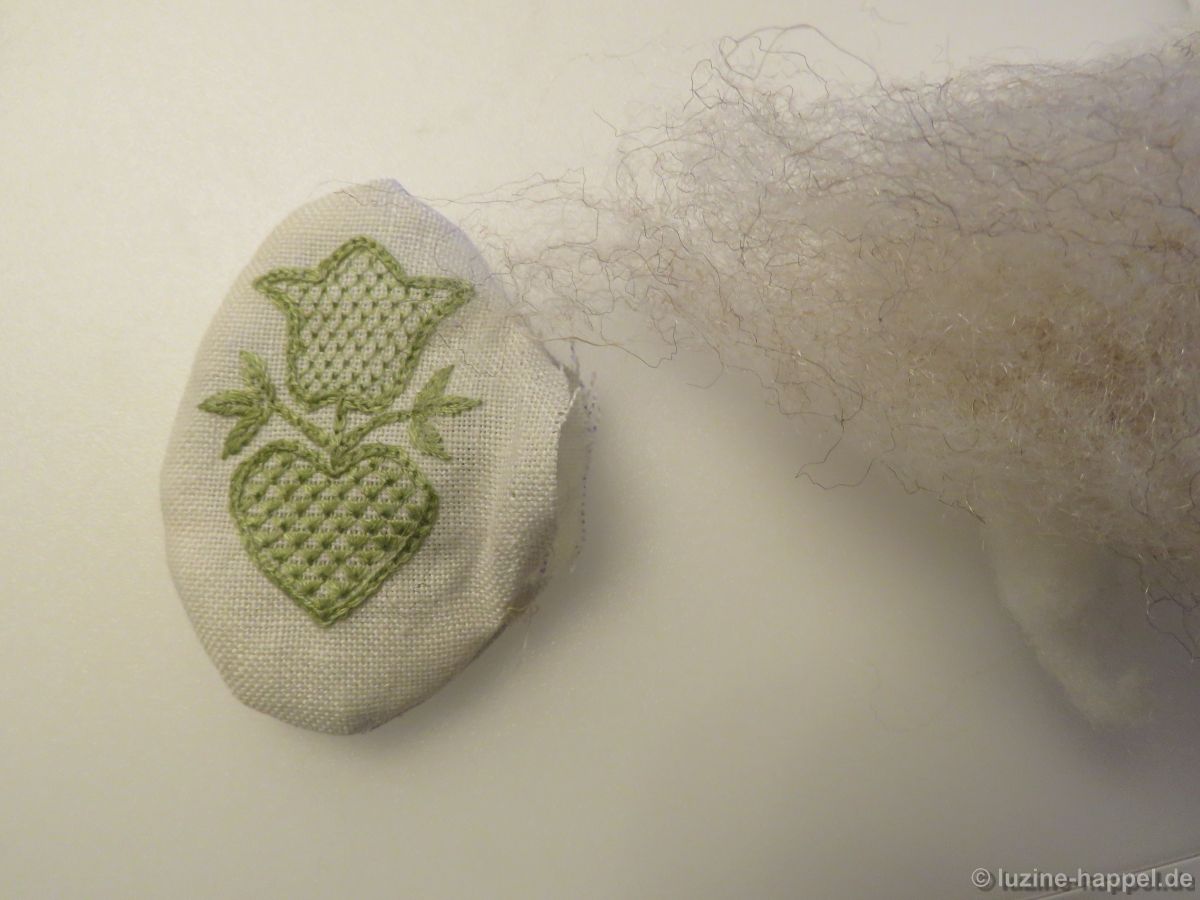
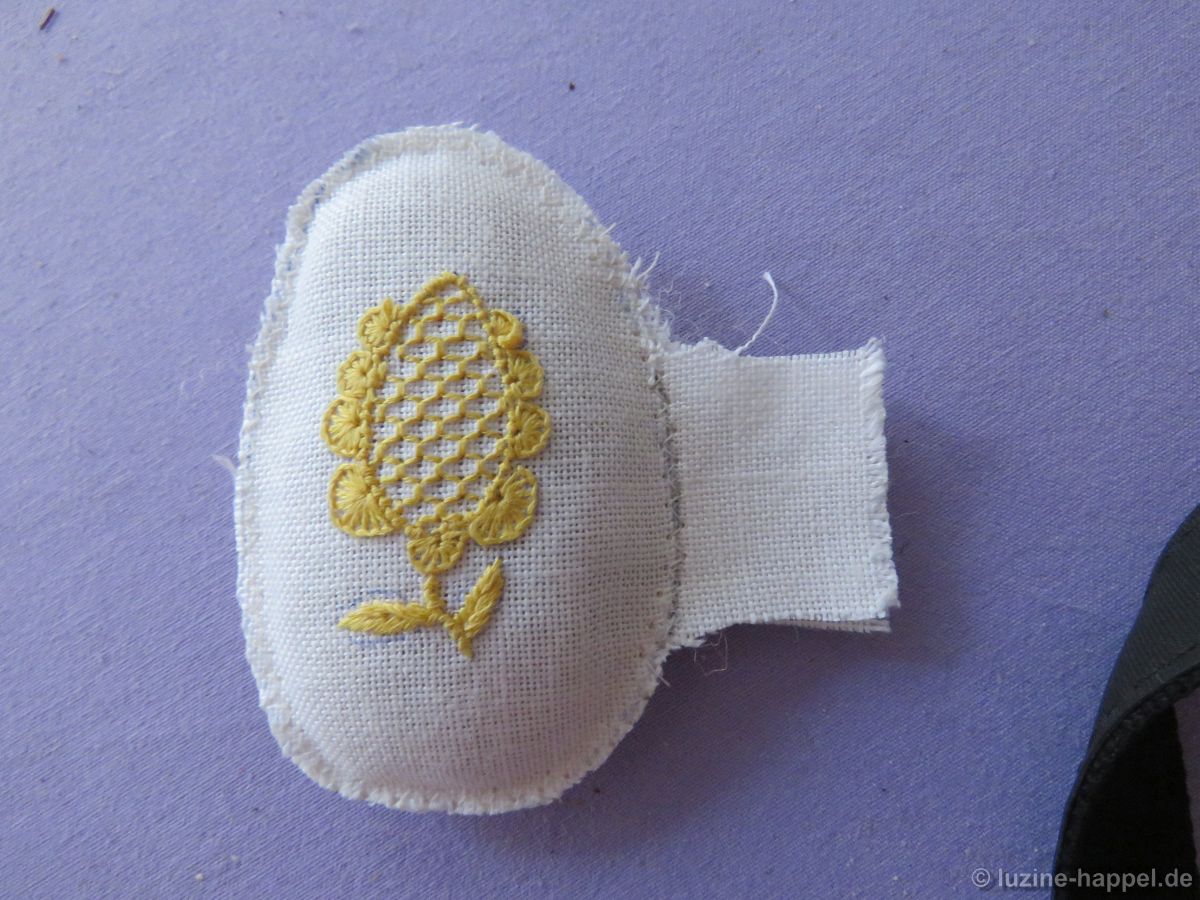
Then the egg is stuffed with fiberfill. I don’t have much experience with this yet, but I think it’s better to only fill the egg lightly. The opening is sewn closed and the excess fabric is trimmed.
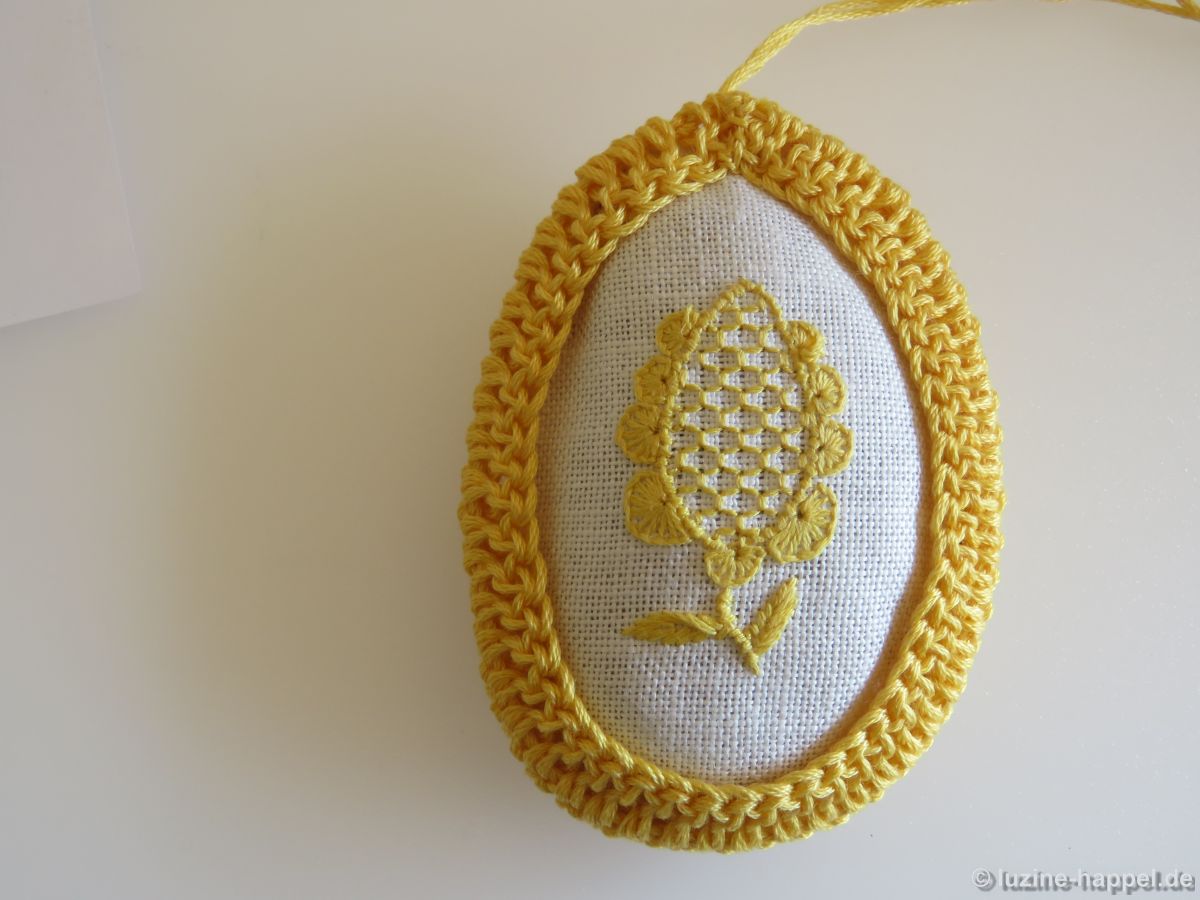
For the edge, you can either crochet a border using single crochet stitches. To do this, I crocheted a chain of 52 stitches and then worked single crochet stitches into it from both sides. The beginning and end threads will later serve as hanging loop.
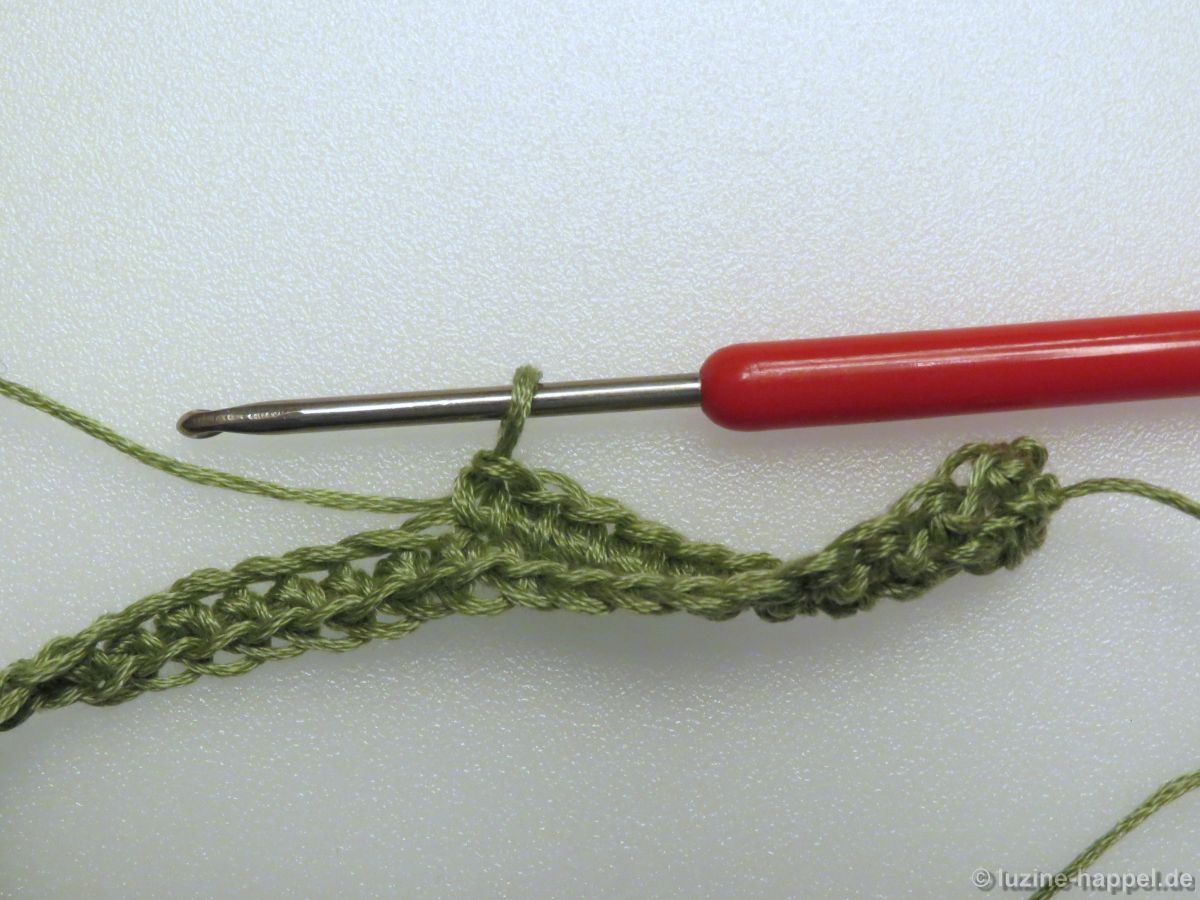
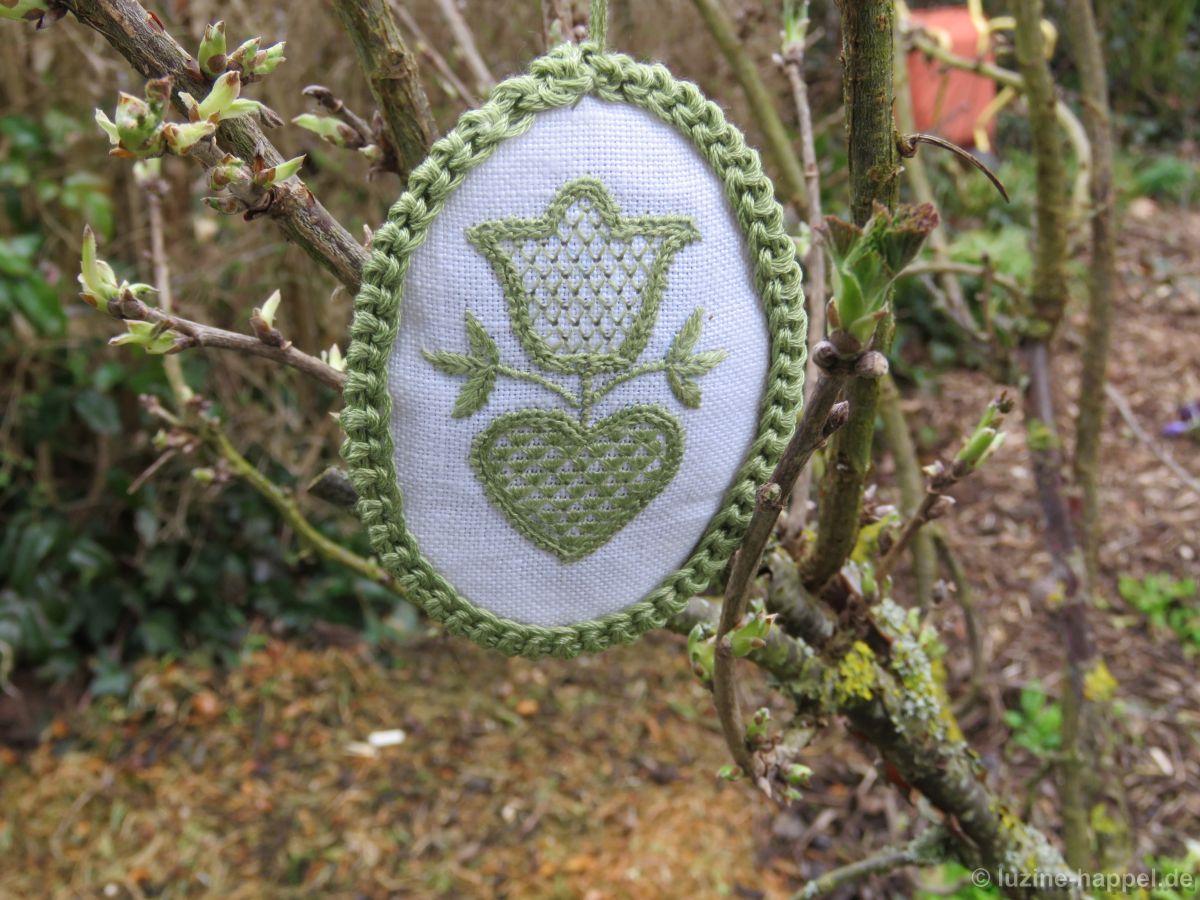
A border made of double crochet stitches is crocheted similarly – with both rows of double crochet stitches starting from the chain stitches. This creates a kind of fold in the middle, which makes attaching it to the edge easy. The double crochet border covers the edge better. However, since it covers more of the surface, it should be placed around the larger egg shape. For this, you need approximately 55 chain stitches and more than 8 meters of embroidery floss. (I used a whole strand of floss.)

The border made of double crochet stitches fits nicely around the egg and only needs to be secured at the top with a few stitches.
As with all miniature work, a certain amount of dexterity is required, but you will be rewarded with a pretty and individual decoration.
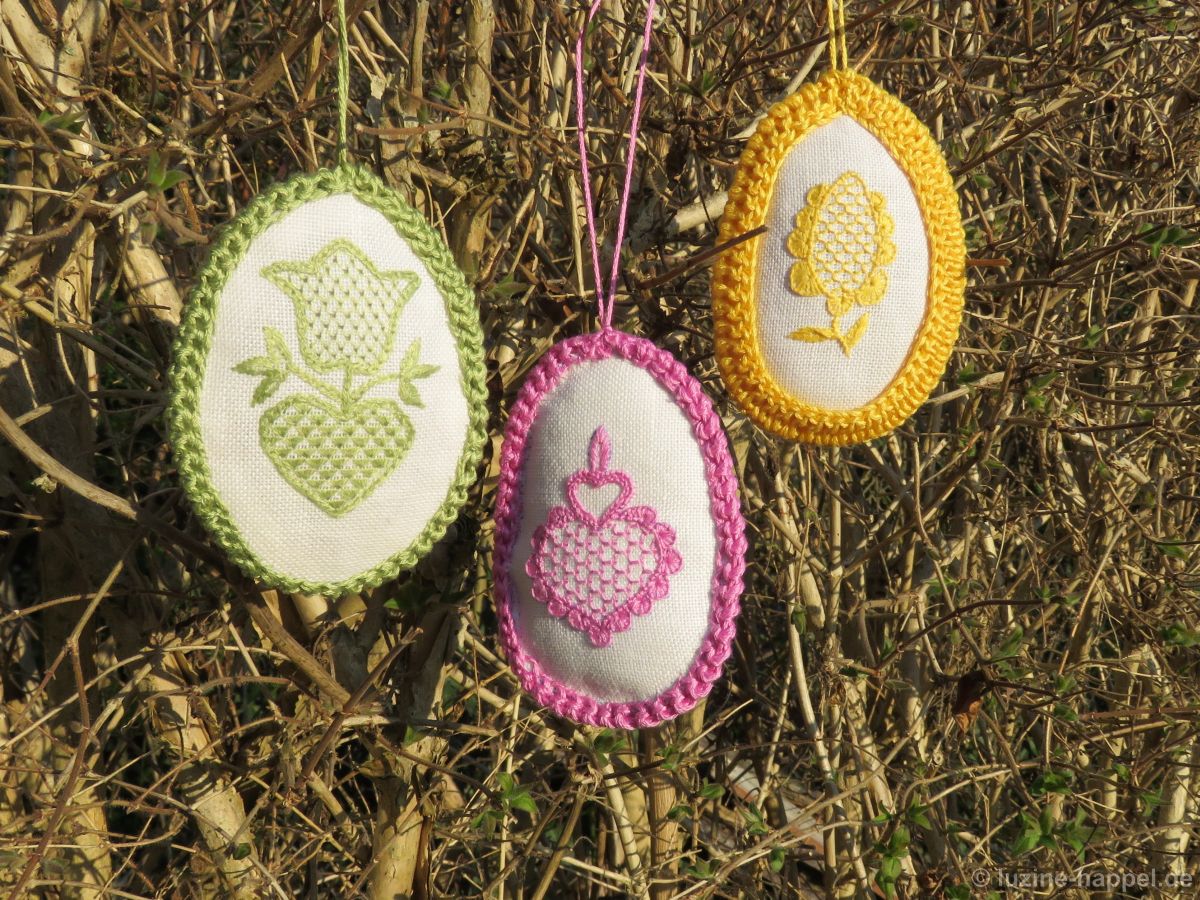

Das ist eine farbenvolle und gute Idee
Frohe Ostern !!