Closures of Pillowcases (1)

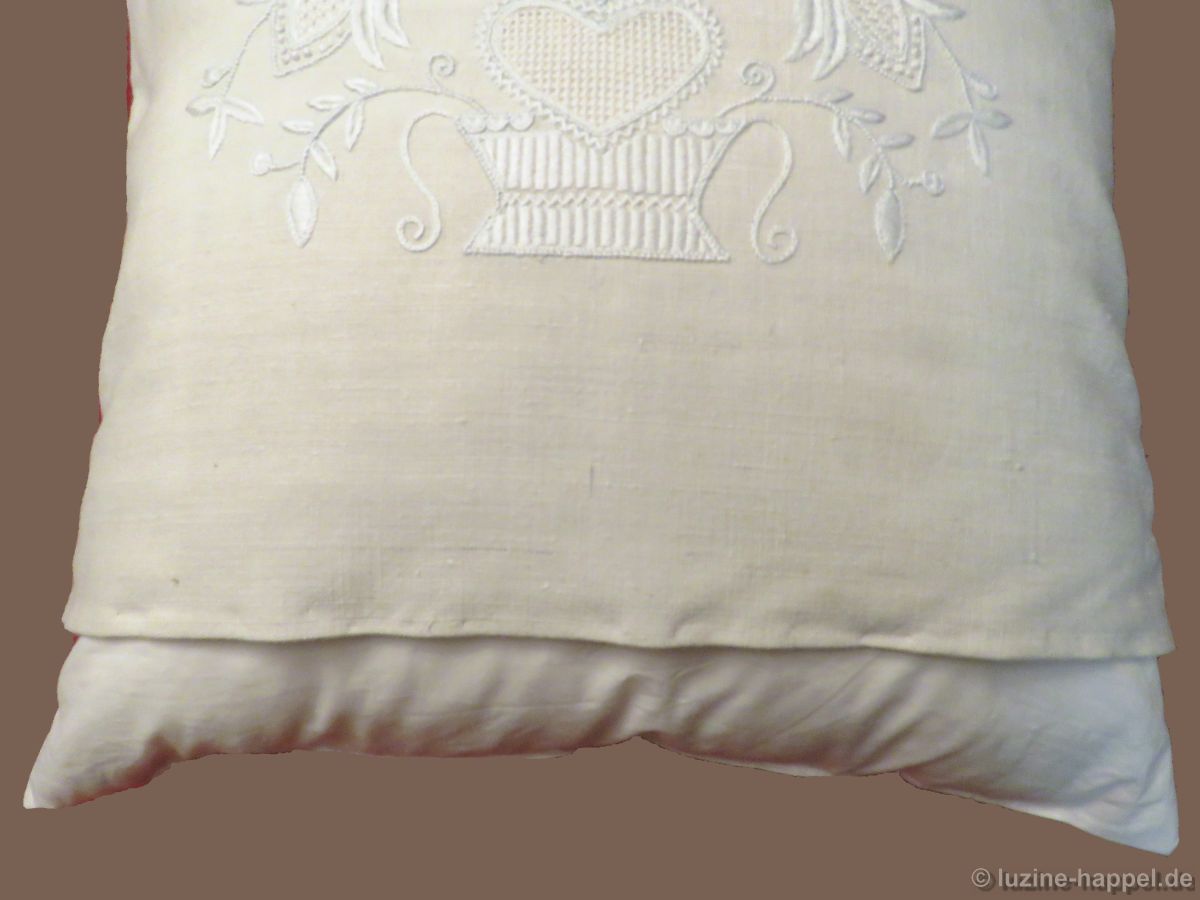
Cushions are easiest to obtain when the opening is at the bottom edge and across the entire width.

There are different ways to close these openings. The simplest version is sewing – preferably by whipstitching.

However, this type of closure is only recommended for covers that are rarely striped. Because often repeated unstitching and sewing damages the fabric over time.

In order for the closure edges to be clean and stable, it is advisable to provide them with a narrow hem.

One can proceed as follows:
After completion of the embroidery, the piece is washed to bring the fabric by shrinking to the final expansion. Then the linen is ironed and then cut to the required size.

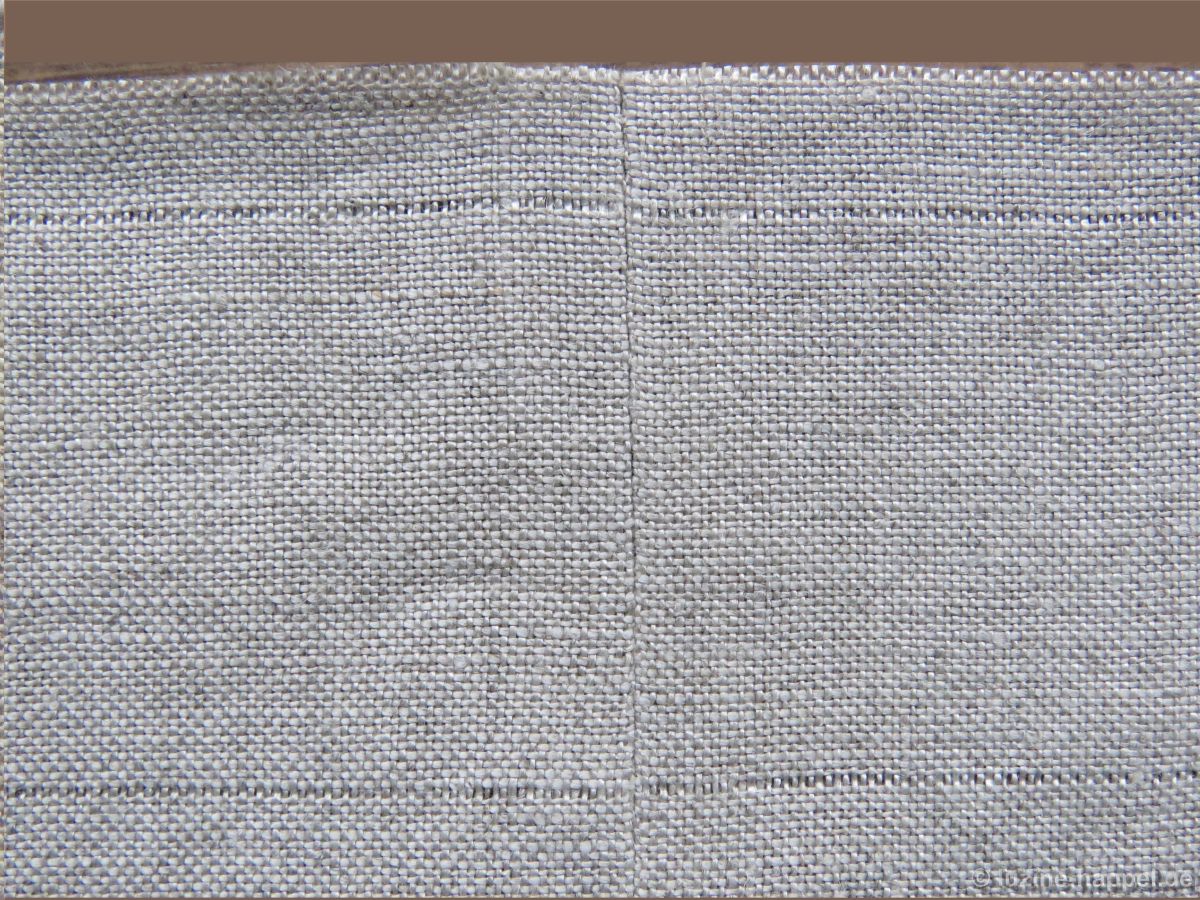
The pillowcase should have a 2 cm wide hem. It is cut from a piece of linen and folded at the top edge. Before the sides are sewn together, the pillowcase is brought to the required height – here: 2 x (desired finished height + 1 cm fold + 2 cm inside hem width). Then two threads are withdrawn – one 1 cm, the second 5 cm from the lower edge, both on the front and the back.

Before closing the side seams, the withdrawn-thread lines of the front and the back are placed exactly on top of each other and held in place with pins.

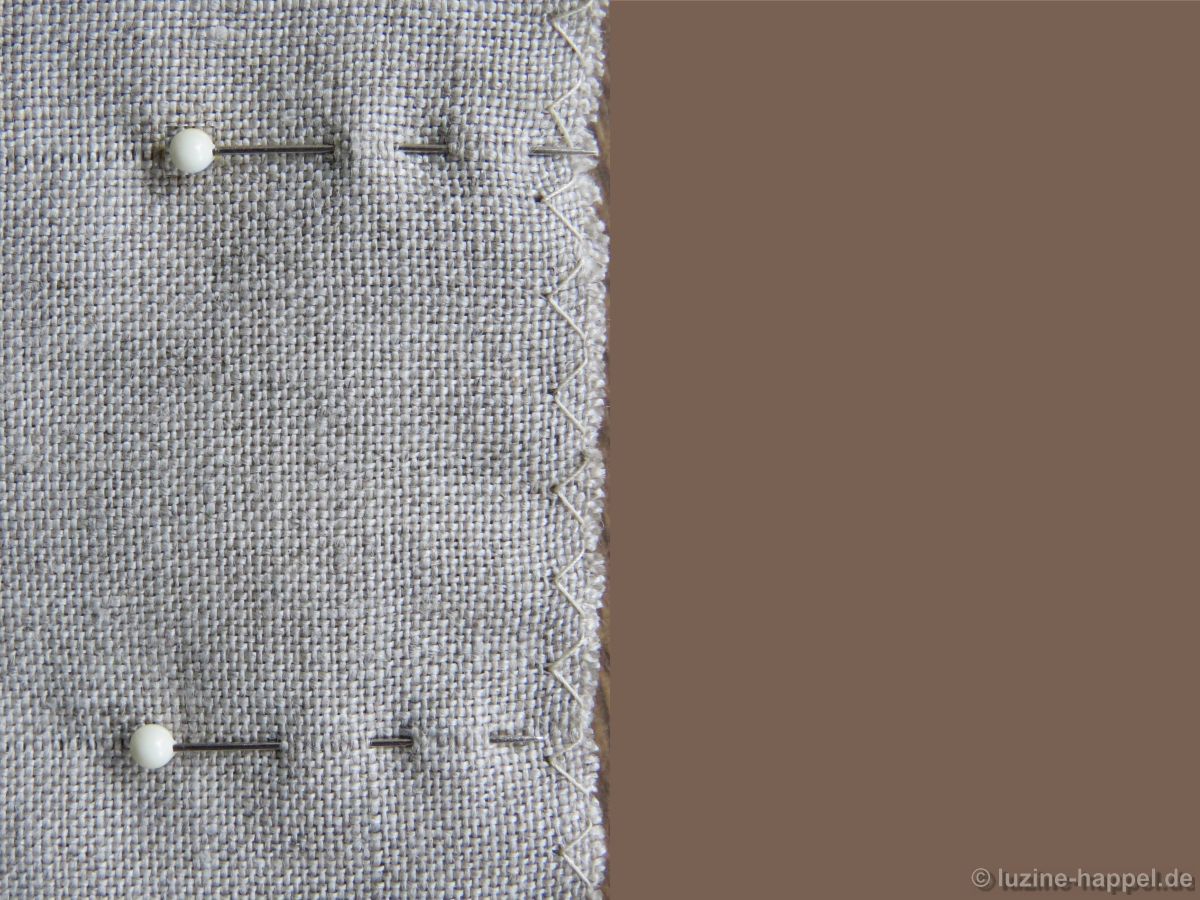
One should check on the back whether the pins have also meet the withdrawn-thread lines there.

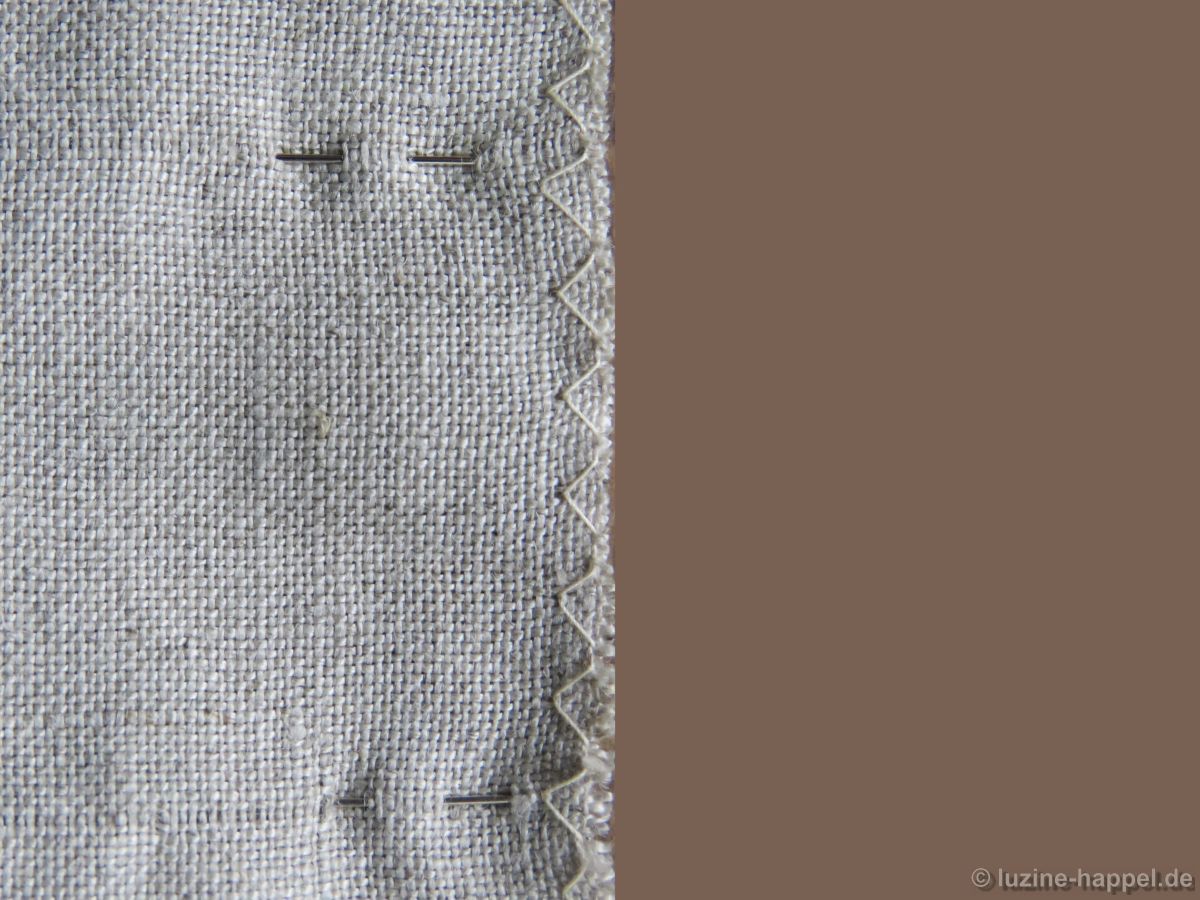
Also holding against the light facilitates the precise assembly.

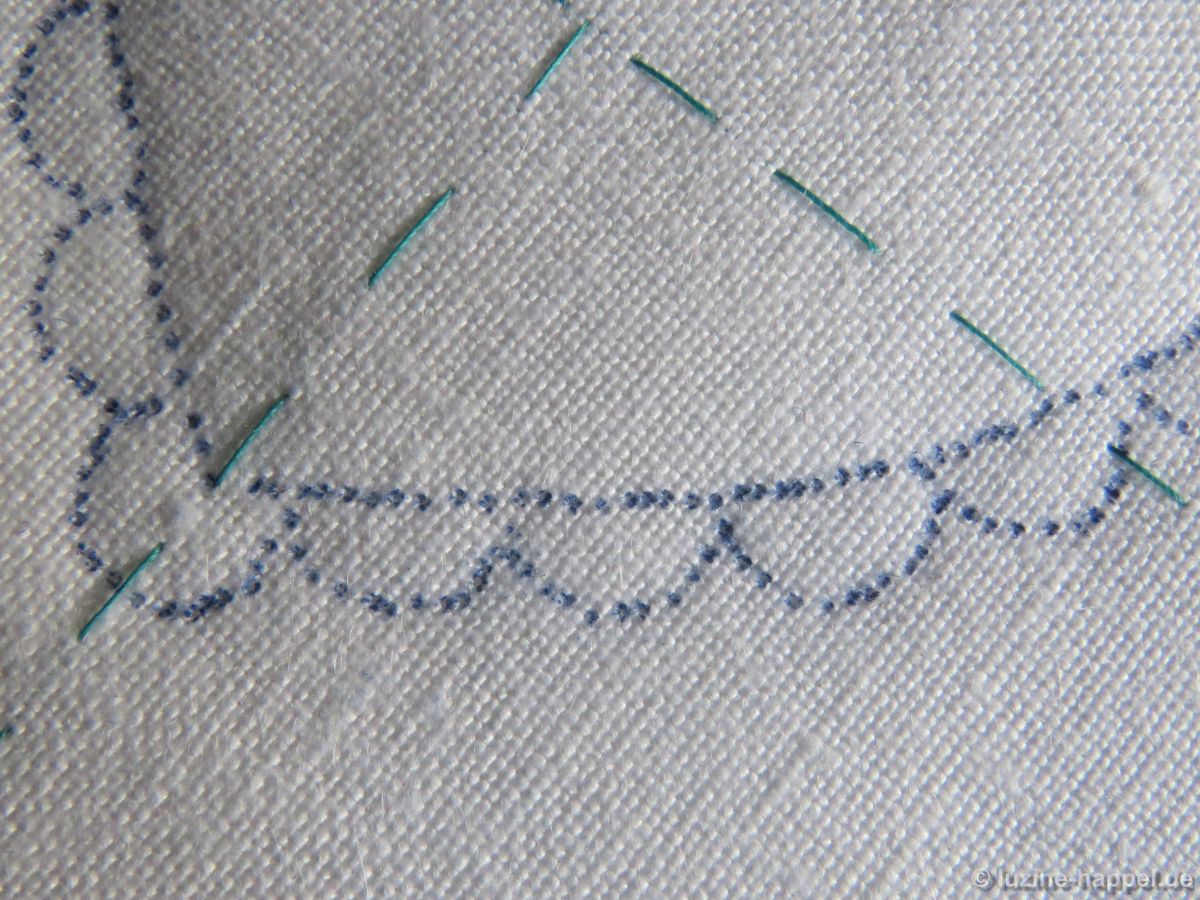
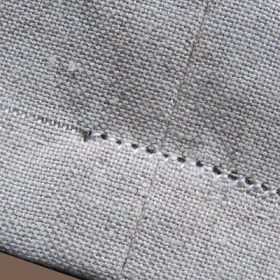
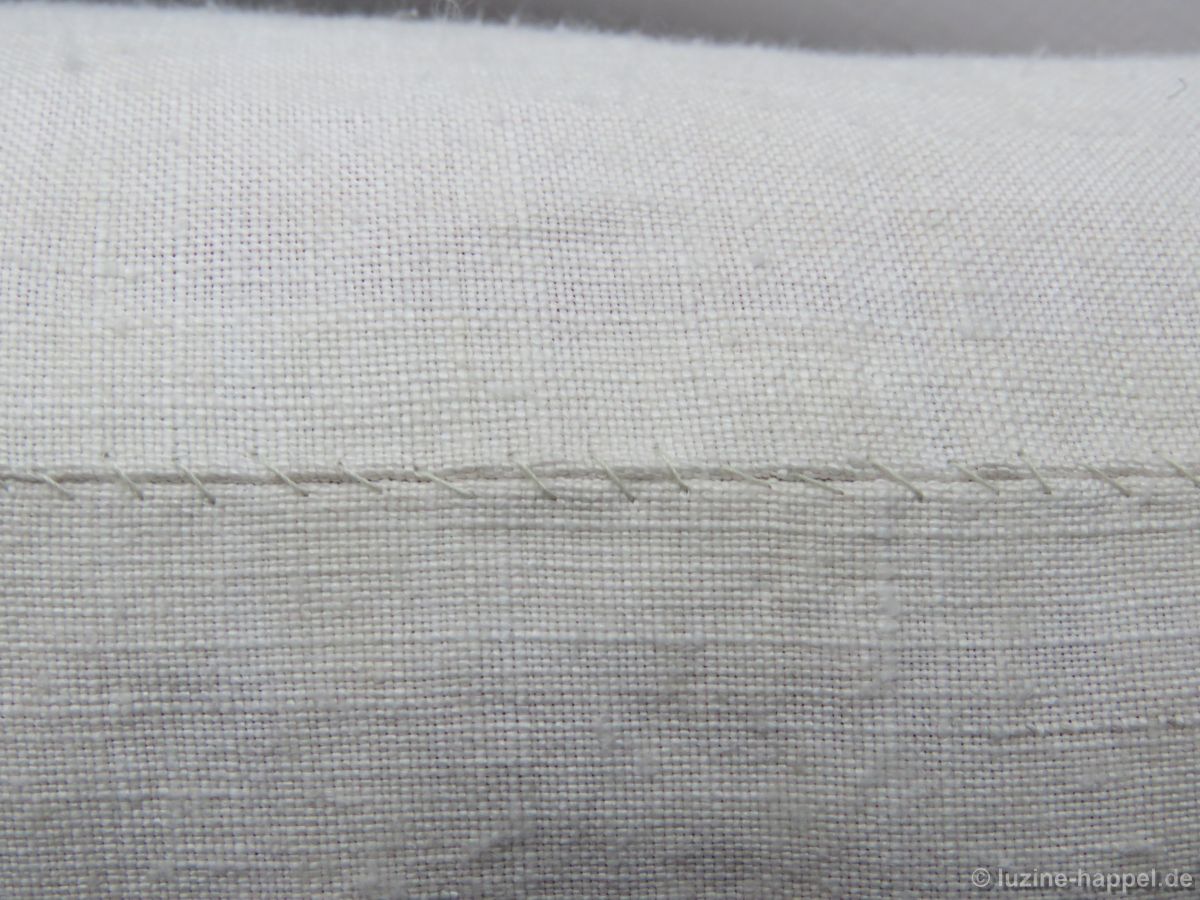
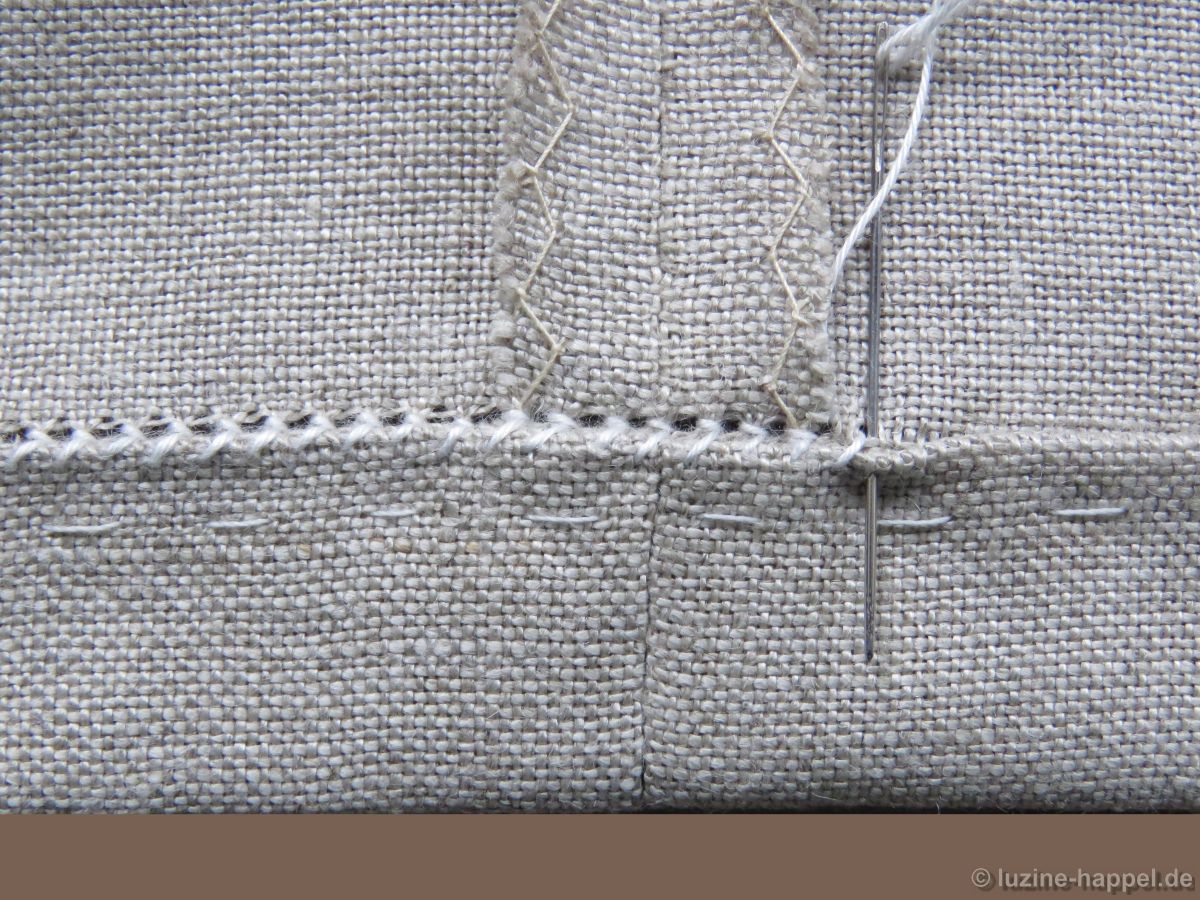
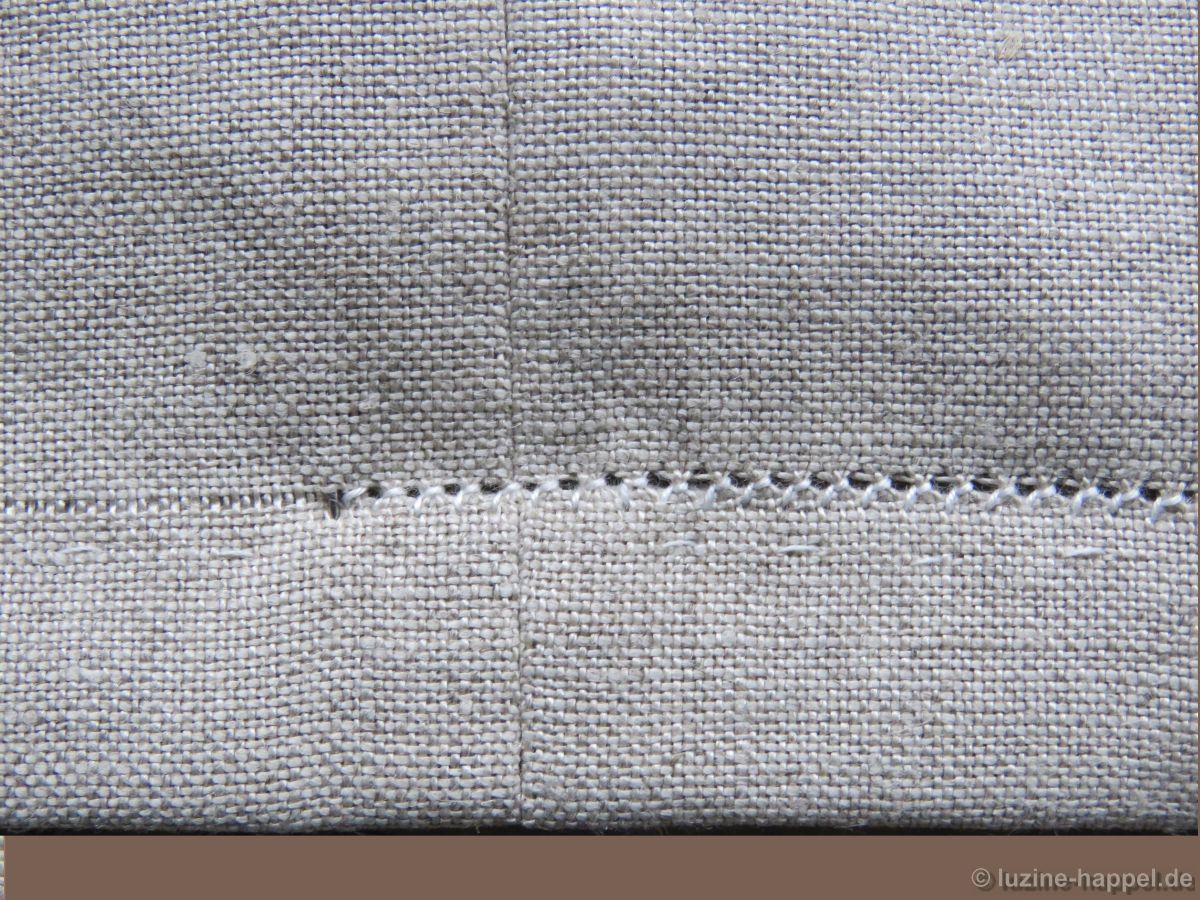
Both layers of fabric are carefully basted in the seam area and then sewn together with the machine. After the seam has been applied, the following image appears from the right side of the fabric:

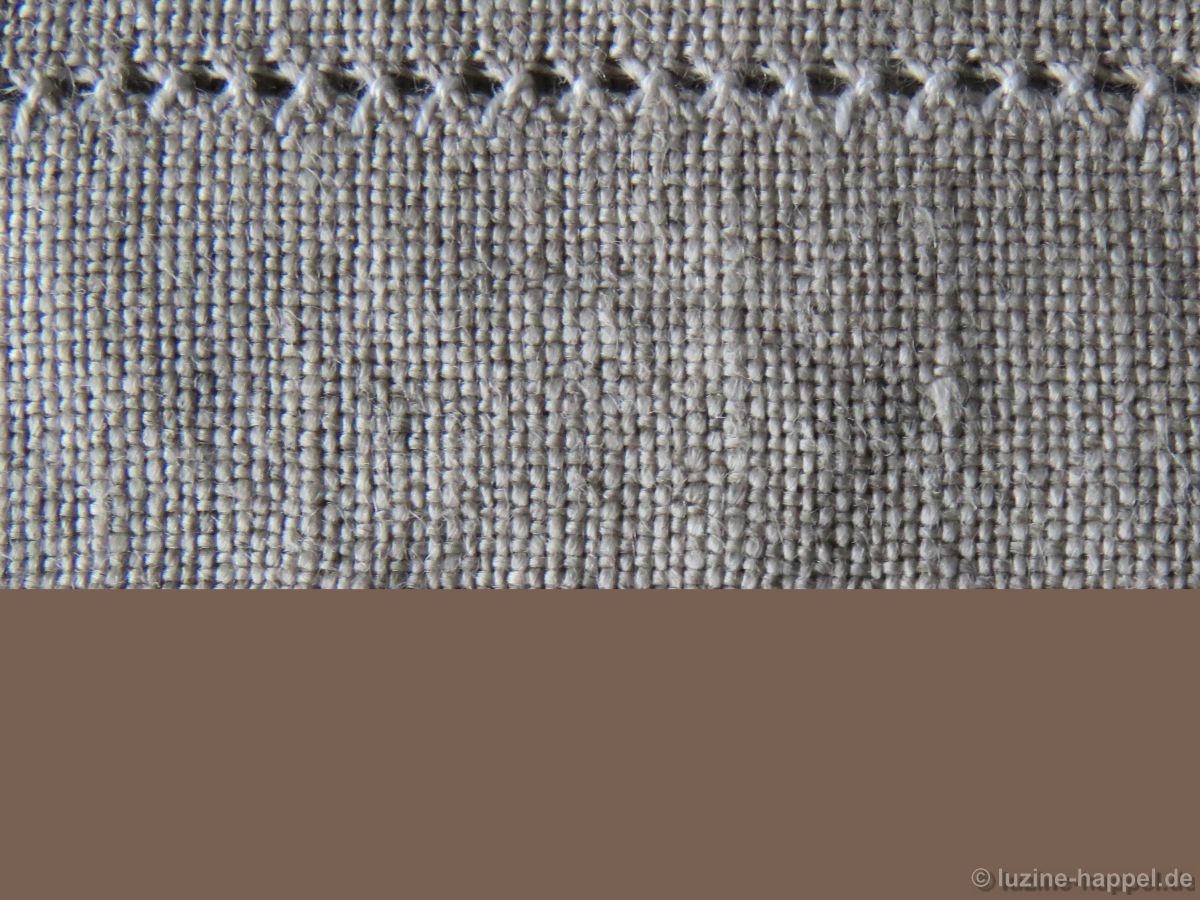
The fold is folded along the withdrawn-thread linel to the inside. Thread line is placed on thread line. The hem is pinned, basted in place and then fastened using Antique hem stitches. In the area of the side seam allowance, one has to check the run of the stitches on the outside with each stitch.

In this way, you get an all around clean hem.

Pillowcases prepared in this way can be closed in different ways. This one, as already mentioned, is to be sewn by hand with overwhelming stitches. Due to the hem, the lower edge remains stable; if the hand stitches are not too fine and not too invisible, the pillowcase can be unstitched, washed and sewn close again without any problems.

Merry Christmas

With a pictorial representation of the Christmas Eve in the Schwalm many decades ago to all of you I wish a

Merry Christmas and a Happy New Year!

Embroideries by Rosemarie Landsiedel-Eicken (7)

You, too, will be delighted by Rosemarie Landsiedel-Eicken’s last embroidery project!

Shortly after completing her impressive wall hanging, she began another unique and complex project.

Based on illustrations by Ruth Koser-Michaëls, Rosemarie artistically arranged scenes from various fairy tales by the Brothers Grimm to embroider as a wide border around the perimeter of a blanket.

You can see representations from the following fairy tales:

The Bremen Town Musicians

The Six Servants

Hansel and Gretel

The Frog King


The Hare and the Hedgehog

Snow White

The White Snake

Rumpelstiltskin

The Star Money

The Wolf and the Seven Young Goats

The Fisherman and His Wife
Clever Elsie

Little Red Riding Hood

Cinderella
The Spirit in the Bottle

The Blue Light

Doctor Know-all
The Singing Bone

The Wolf and the Fox

Looking closely at the work of an artist and observing the development of a talented embroiderer has certainly been very informative. I would like to thank the Landsiedel-Eicken couple very much for making the many photos available and for allowing me to share them with you.

Design Transfer – Test 5

I liked the method with the blue paper transfer, only I found the somewhat jittery and shaky lines not optimal. So I tried a similar method using a prick needle.

My pricking needle has only a short tip that tapers off very strongly at the end. Placed on a relatively solid surface and then pierced,

the marks obtained with it appeared very weak. But even on a softer surface, the marking points were not clearer with this needle.

So I made another attempt, which I will now explain in more detail.

The linen marked on the horizontal and vertical center axis was placed on a non-slip surface – a tablecloth pad – and positioned so that the marking lines were really at right angles.

Sufficiently large blue paper for the desired pattern was laid over it and fixed with removable adhesive tape.

The pattern sheet was placed over it, matching the markings on the linen, and also attached

The paper was perforated along the lines with a slightly thicker tapestry needle.

The linen then had a clearly recognizable outline pattern,

which in my opinion turned out to be a bit more exact than the same pattern traced with a pen (here on different linen qualities).

However, the effort is more elaborate – it takes longer to prick all of the many points. Pricking is more relaxed for the hand, as you don’t have to press firmly and pull on at the same time. For the eyes, however, working with the prick needle is more strenuous.

Natural Coloured Linen of the Übelhör Linen Mill

Unfortunately the Weddigen company no longer weaves natural coloured linen. For some special projects I looked for another source.

The Übelhör linen mill from Austria weaves a natural coloured linen. It is pure linen, but durable pressed (i.e., processed to resist wrinkles).This linen comes in two different thread counts – 14/cm and 16/cm. It is nearly evenweave.

The linen is not as heavy as the linen I commonly use. The fabric has a pleasant, soft feel. Meanwhile I embroidered a couple of projects using the 16/cm thread count linen. Embroidering it is nice. Thread withdrawing is easy, but one has to be careful that not further thread slips out then the wanted thread part or the weave of the remaining fabric gets damages.

The advantage of this linen is its durable pressing. This makes it unsusceptible to creases. It should not get a laundry of more than 60° C. However, after the first wash I got a slight shock: Although only washed lukewarm by hand, gently squeezed out and immediately spread out to dry flat, many wrinkles appeared. Sprayed with a little “ironing aid”, the linen became perfectly smooth during ironing.

In the near future I will show details of one of my projects worked on this linen.