
I liked the method with the blue paper transfer, only I found the somewhat jittery and shaky lines not optimal. So I tried a similar method using a prick needle.
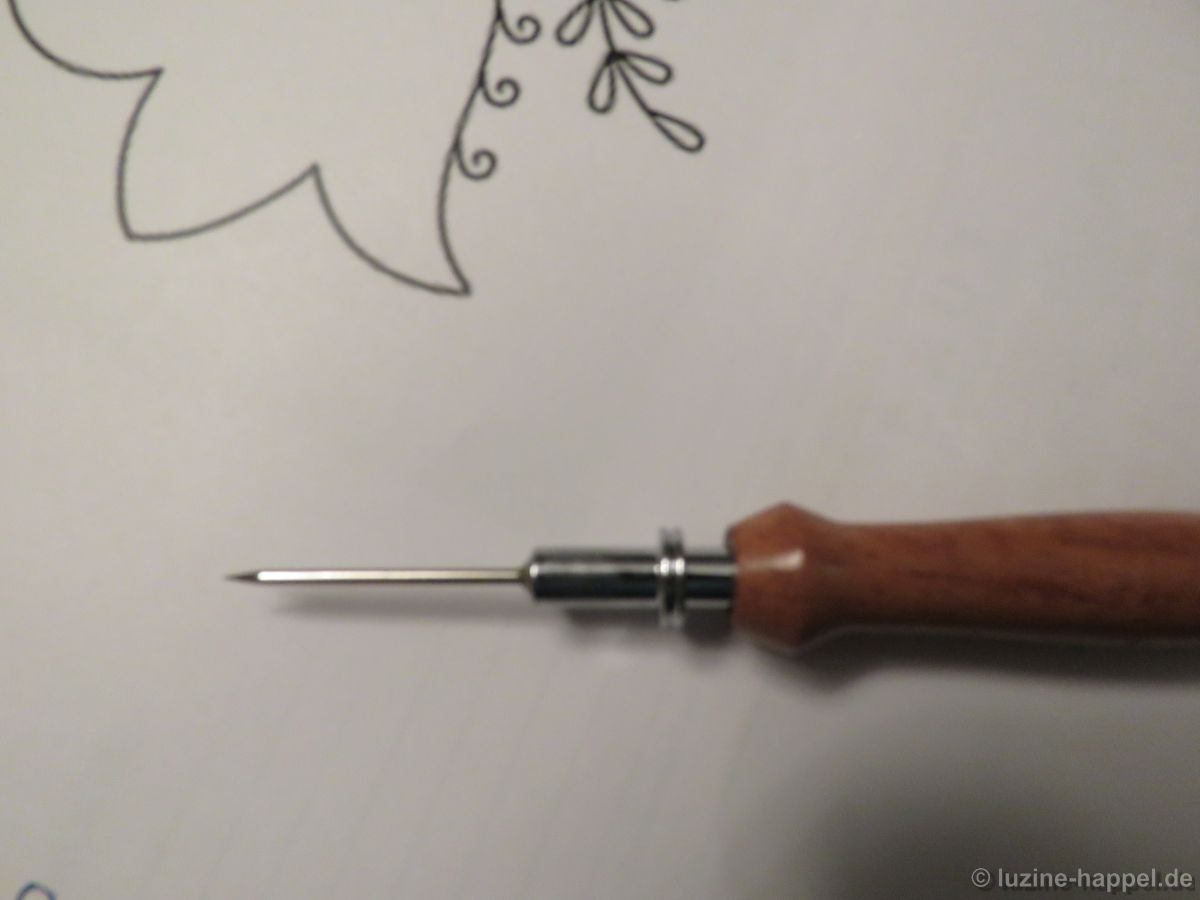
My pricking needle has only a short tip that tapers off very strongly at the end. Placed on a relatively solid surface and then pierced,
the marks obtained with it appeared very weak. But even on a softer surface, the marking points were not clearer with this needle.
So I made another attempt, which I will now explain in more detail.
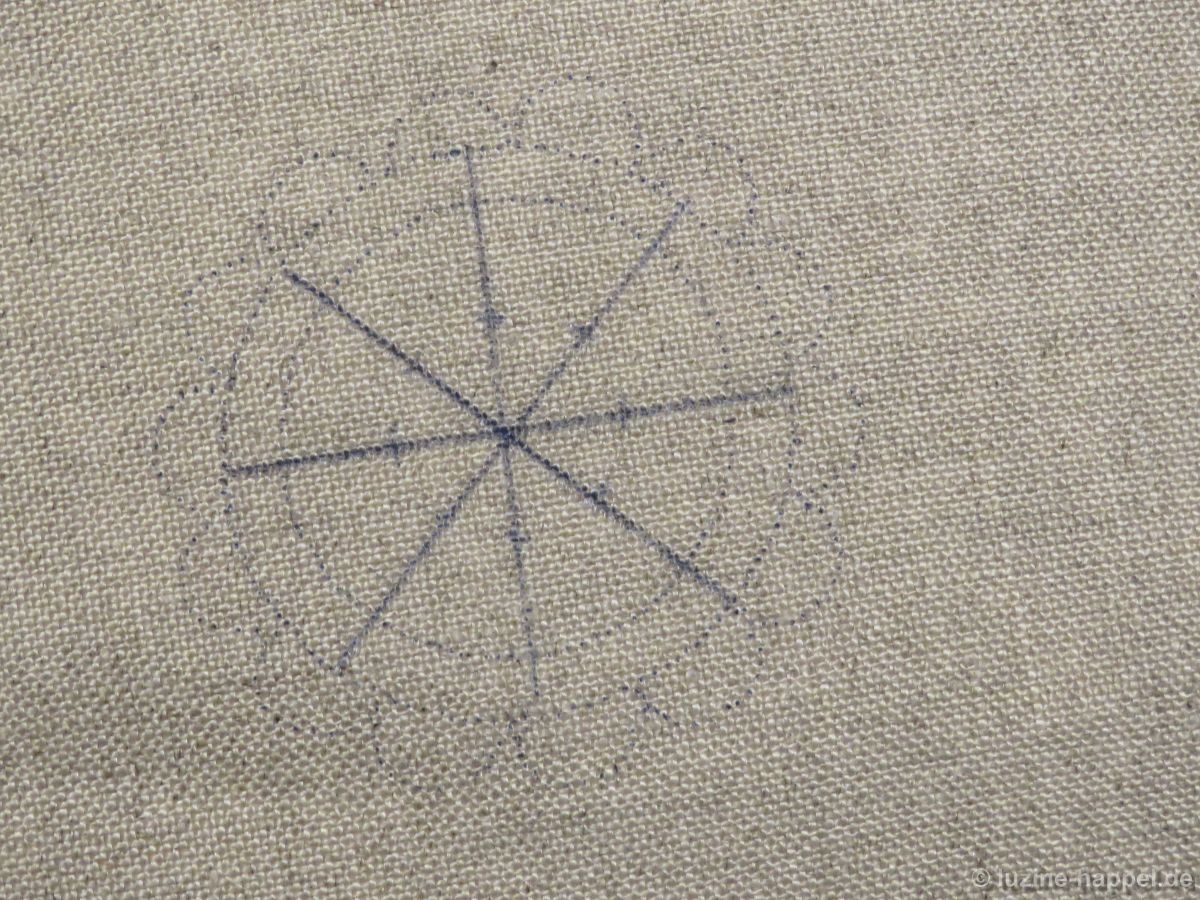
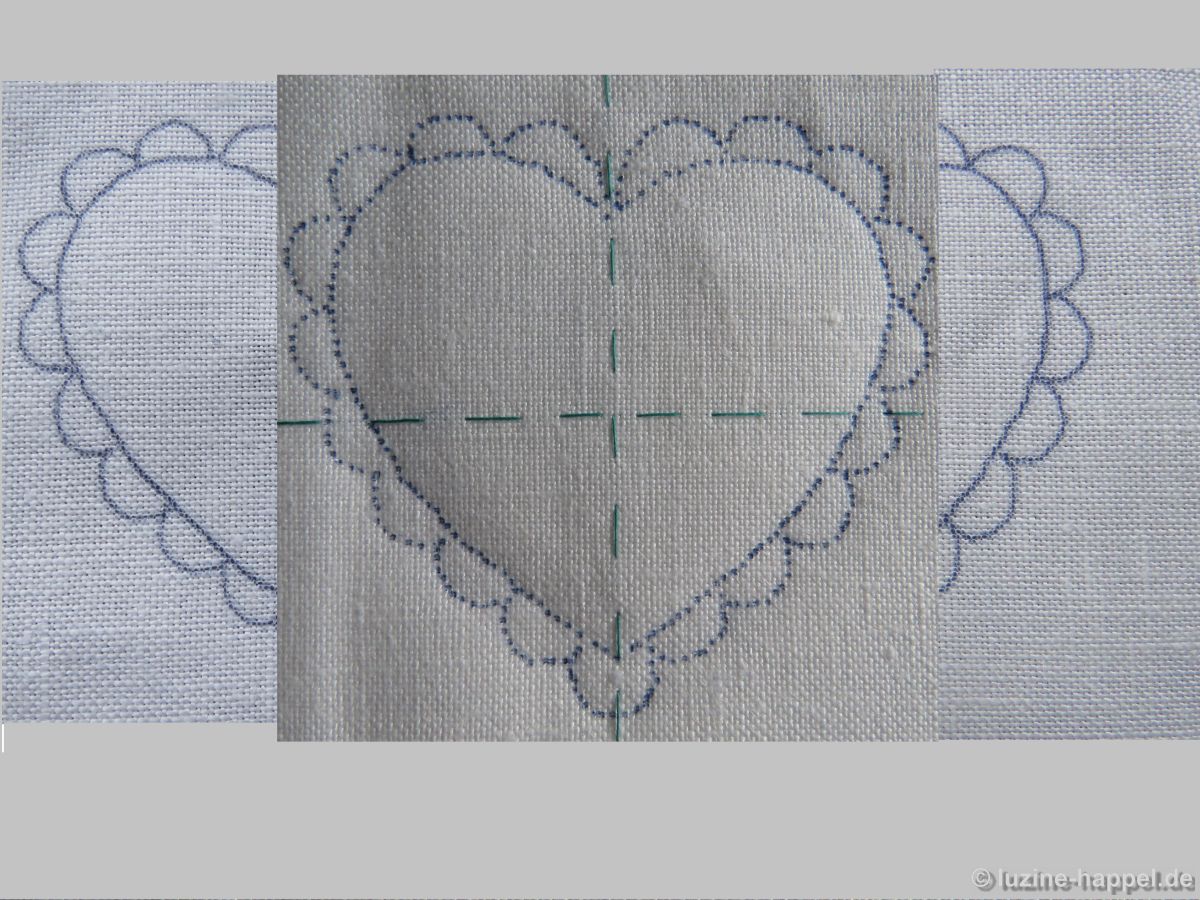
The linen marked on the horizontal and vertical center axis was placed on a non-slip surface – a tablecloth pad – and positioned so that the marking lines were really at right angles.
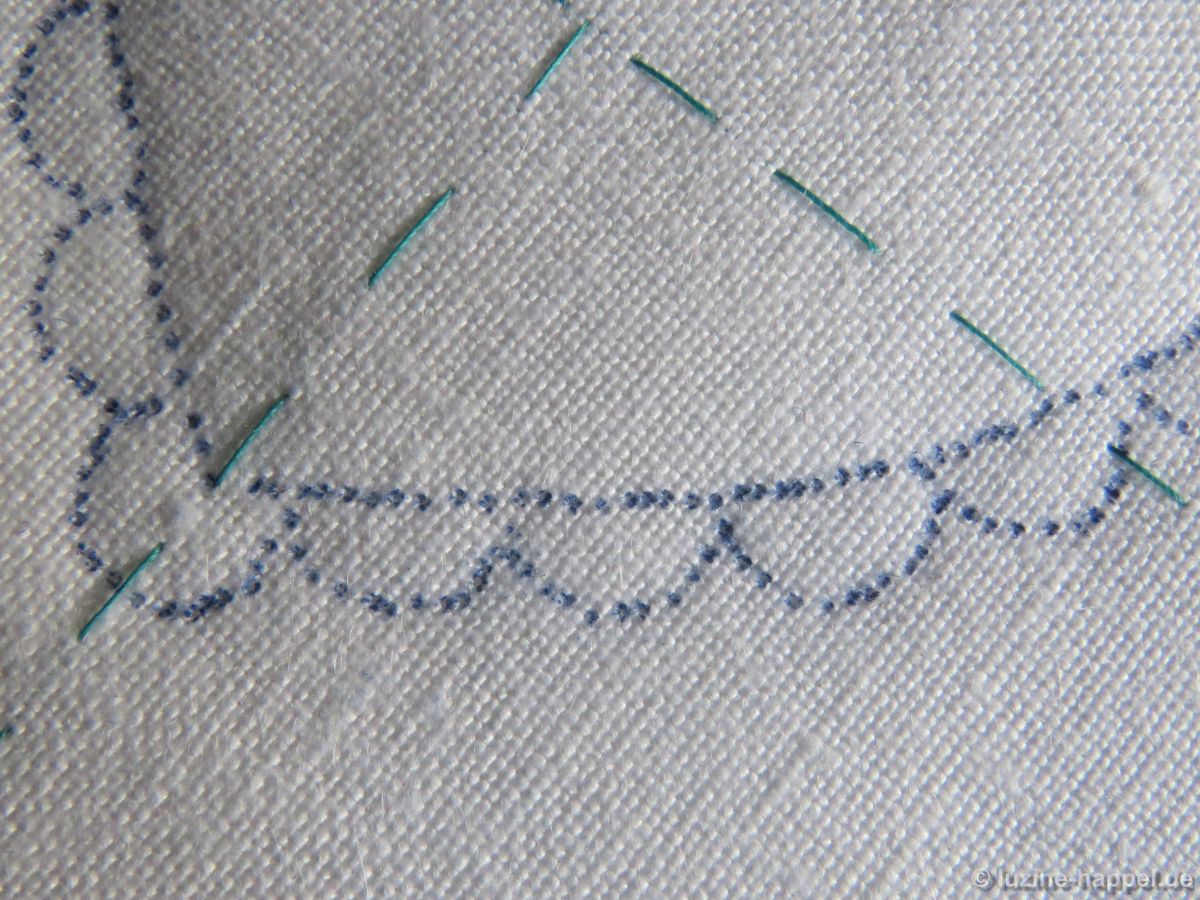
Sufficiently large blue paper for the desired pattern was laid over it and fixed with removable adhesive tape.
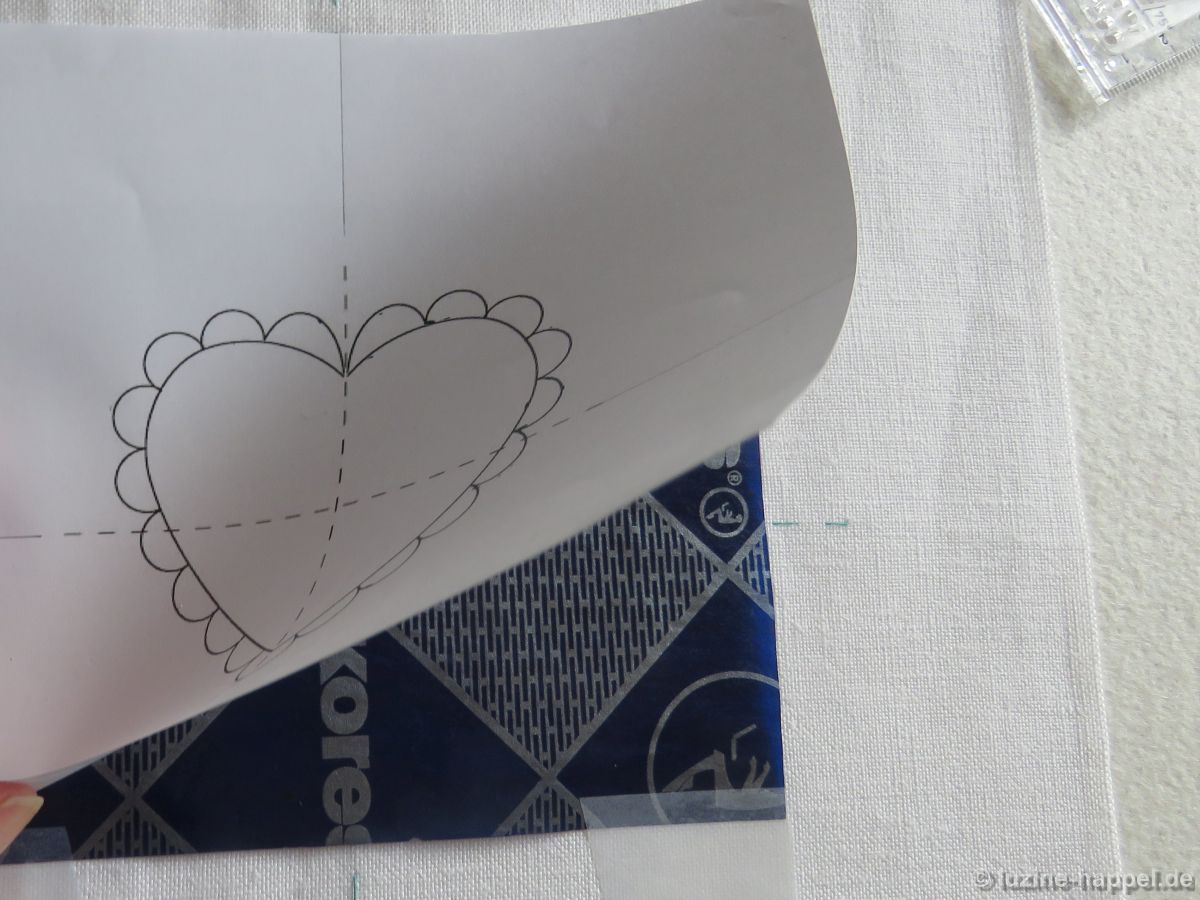
The pattern sheet was placed over it, matching the markings on the linen, and also attached
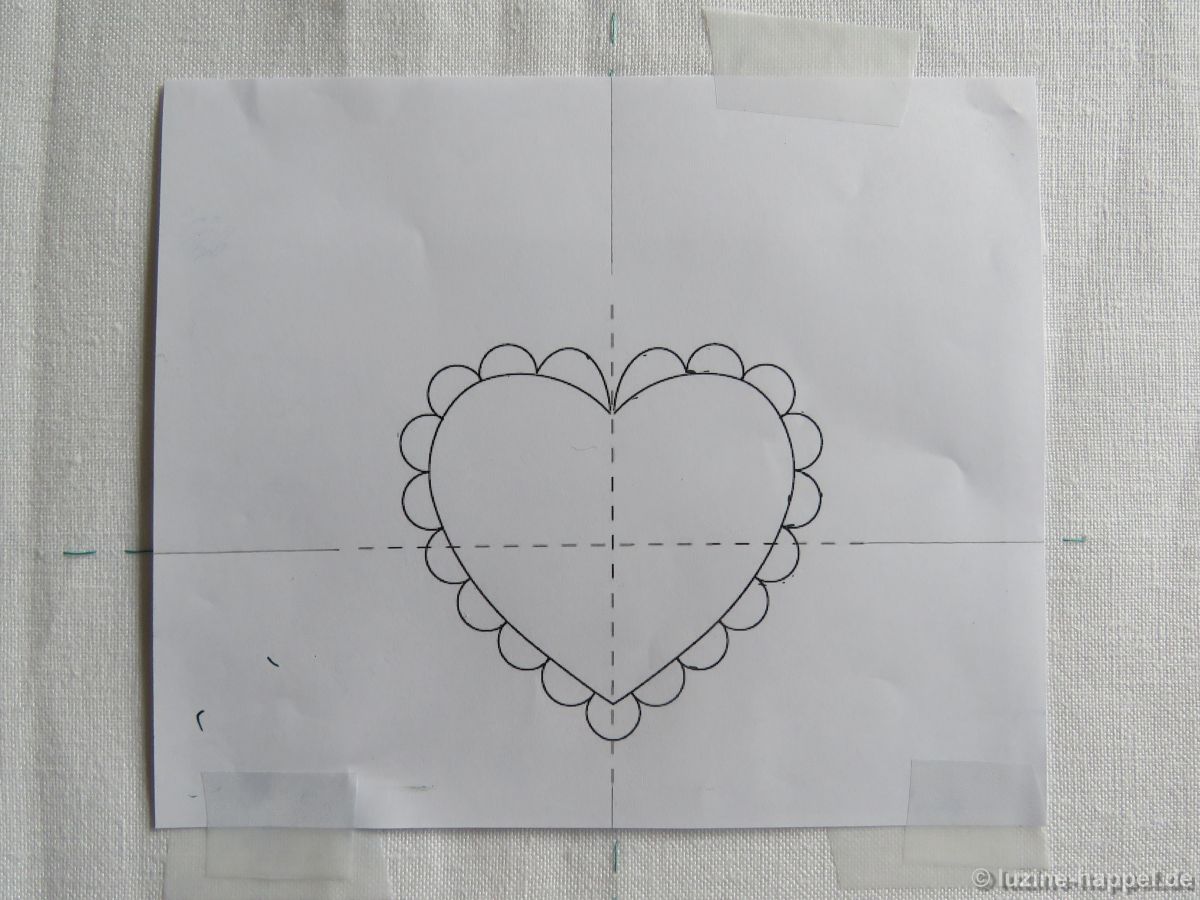
The paper was perforated along the lines with a slightly thicker tapestry needle.
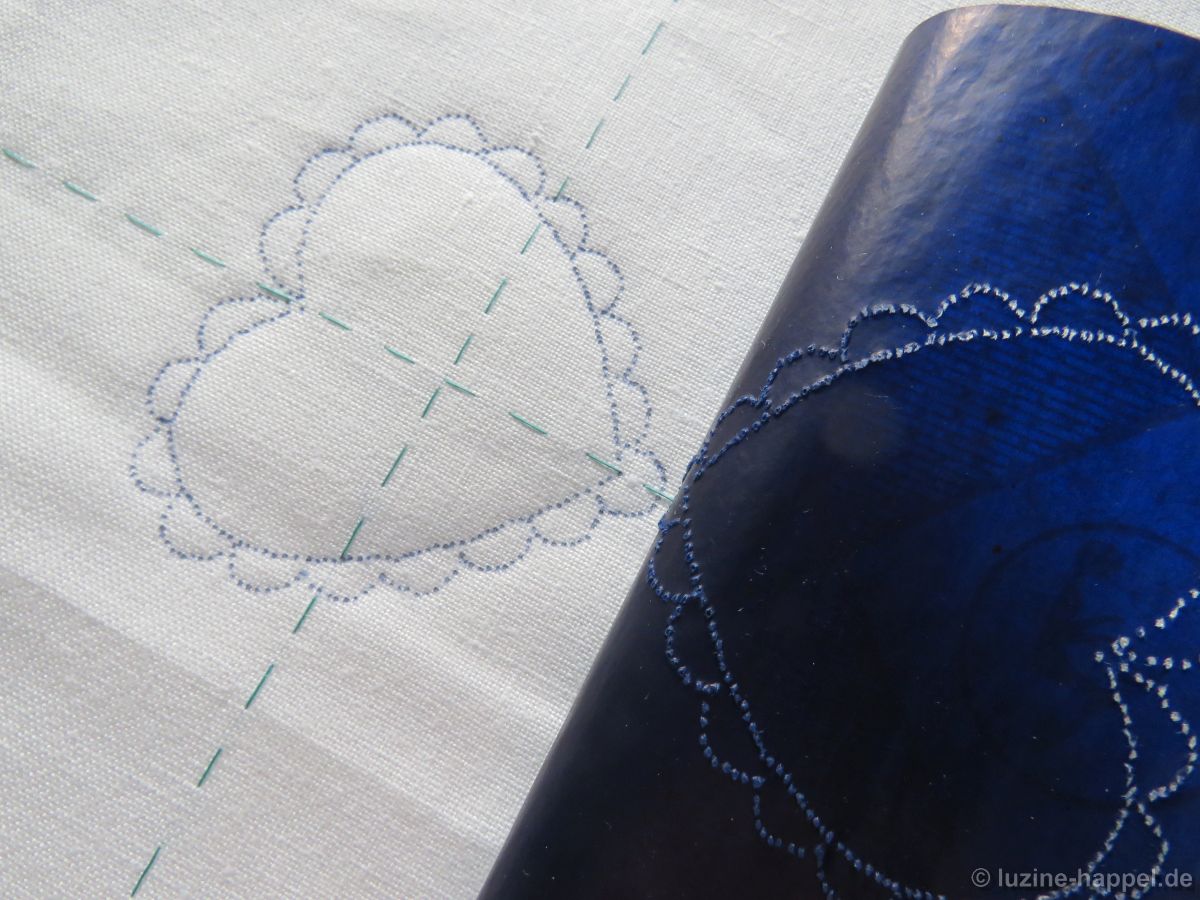
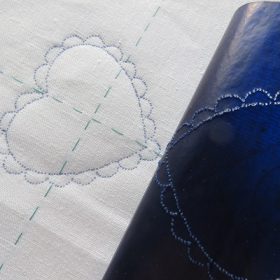
The linen then had a clearly recognizable outline pattern,
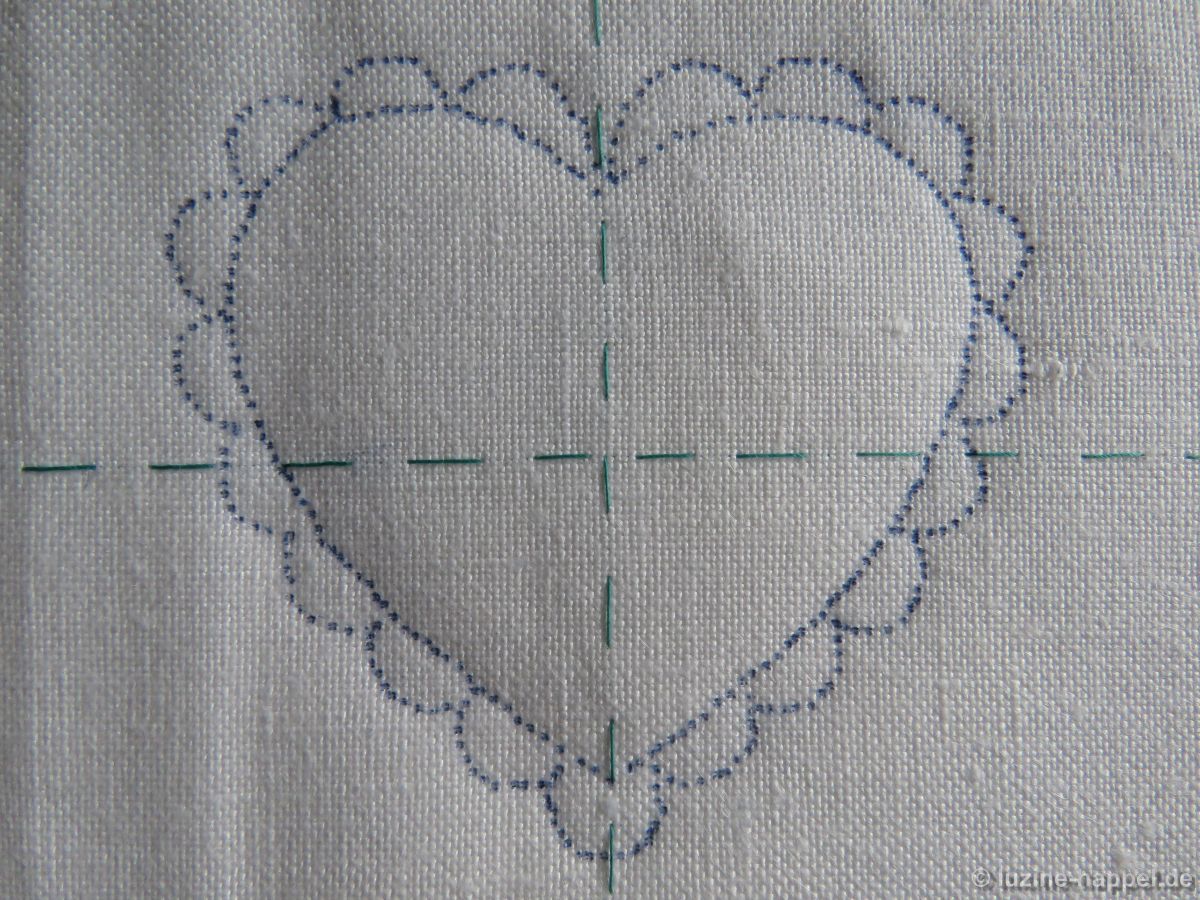
which in my opinion turned out to be a bit more exact than the same pattern traced with a pen (here on different linen qualities).
However, the effort is more elaborate – it takes longer to prick all of the many points. Pricking is more relaxed for the hand, as you don’t have to press firmly and pull on at the same time. For the eyes, however, working with the prick needle is more strenuous.

Hallo Luzine,
Thanks for showing yet another method.
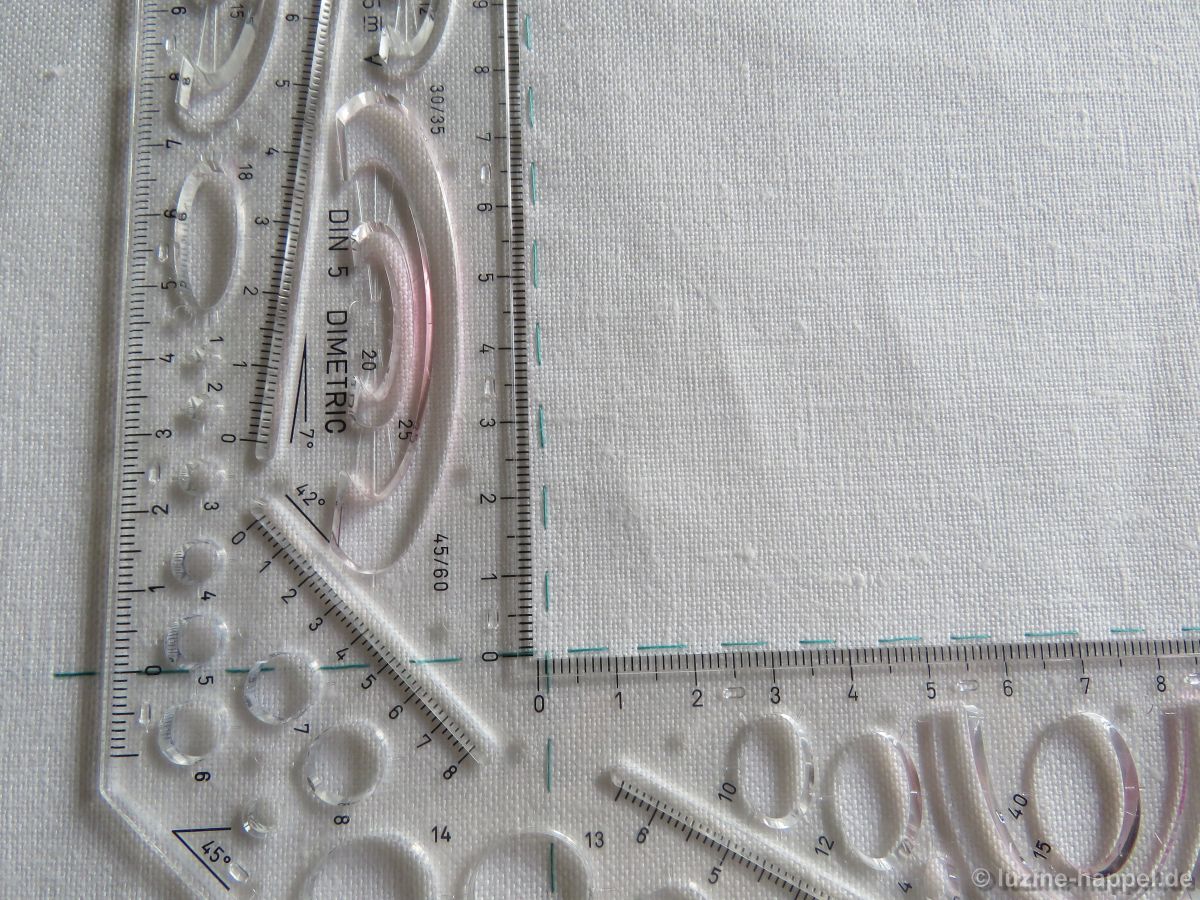
I have a question about the ruler pictured: It looks like a fabulous one for all kinds of embroidery design. What kind of ruler is it ? I don’t think I have seen one like it here in the US