In my 4th test I used a traditional method that is still used in some courses today: the transfer of patterns using blueprint paper.
For this I used blue carbon paper from the Kores company. Black paper is not suitable because the lines cannot be washed out.

Since I hadn’t used this method for a very long time and wasn’t sure whether the blue lines of today’s paper could be washed out, I first tried it without embroidery. Lines of various intensities were traced on a remnant of linen.
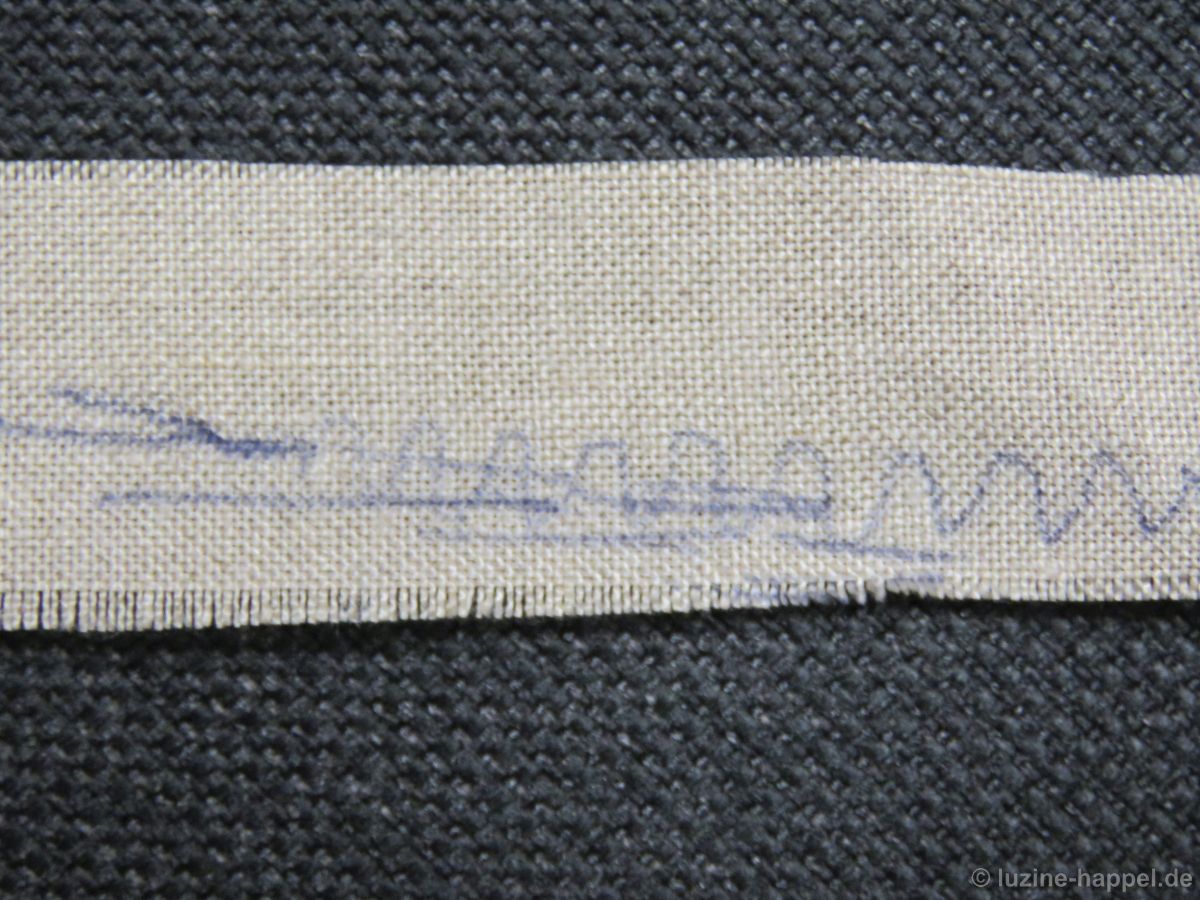
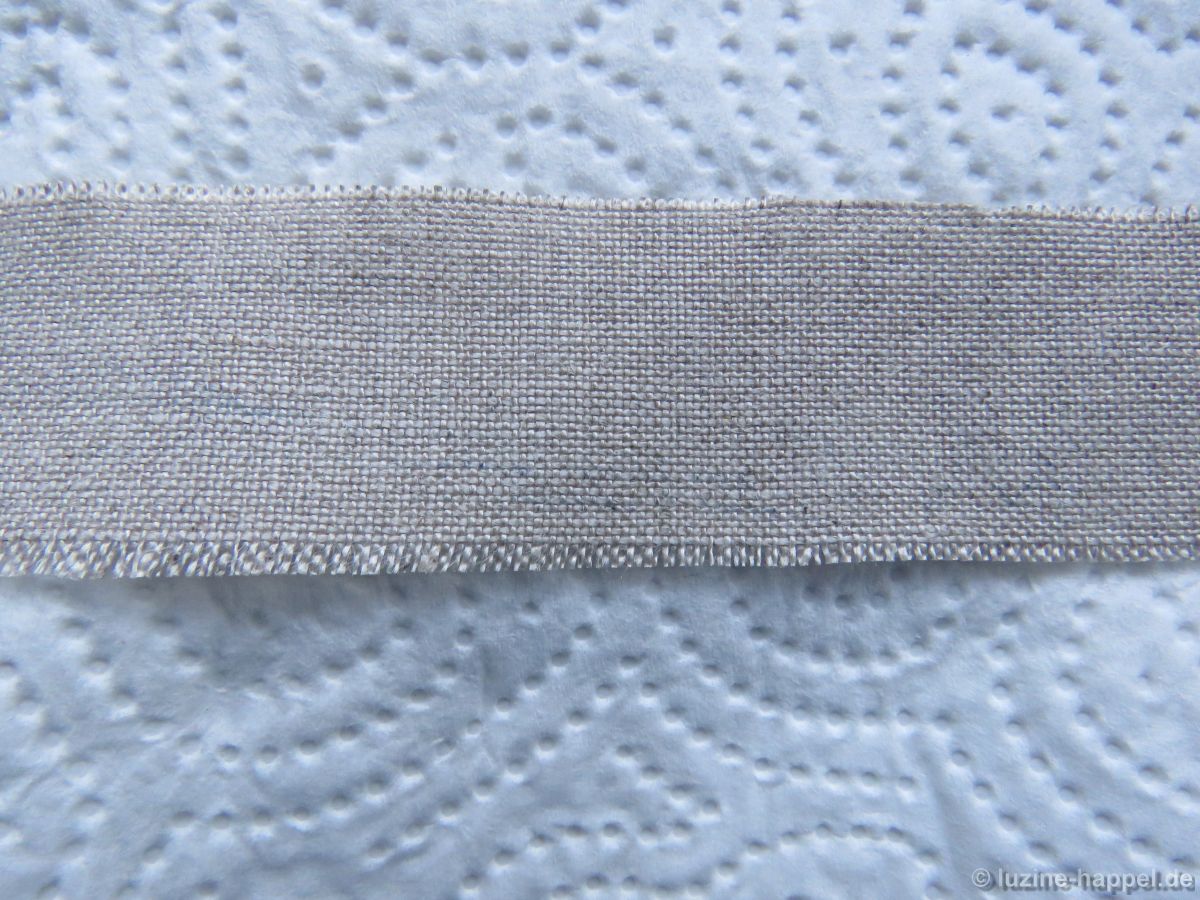
In the short laundery with lukewarm water, the weaker lines disappeared immediately. A very slight shimmer remained from the stronger lines, which is barely noticeable on the natural-coloured linen.
Encouraged by this, I made further attempts. The blueprint paper – large enough for the design area – was positioned on the linen marked with Running stitch lines, and attached with removable tape.
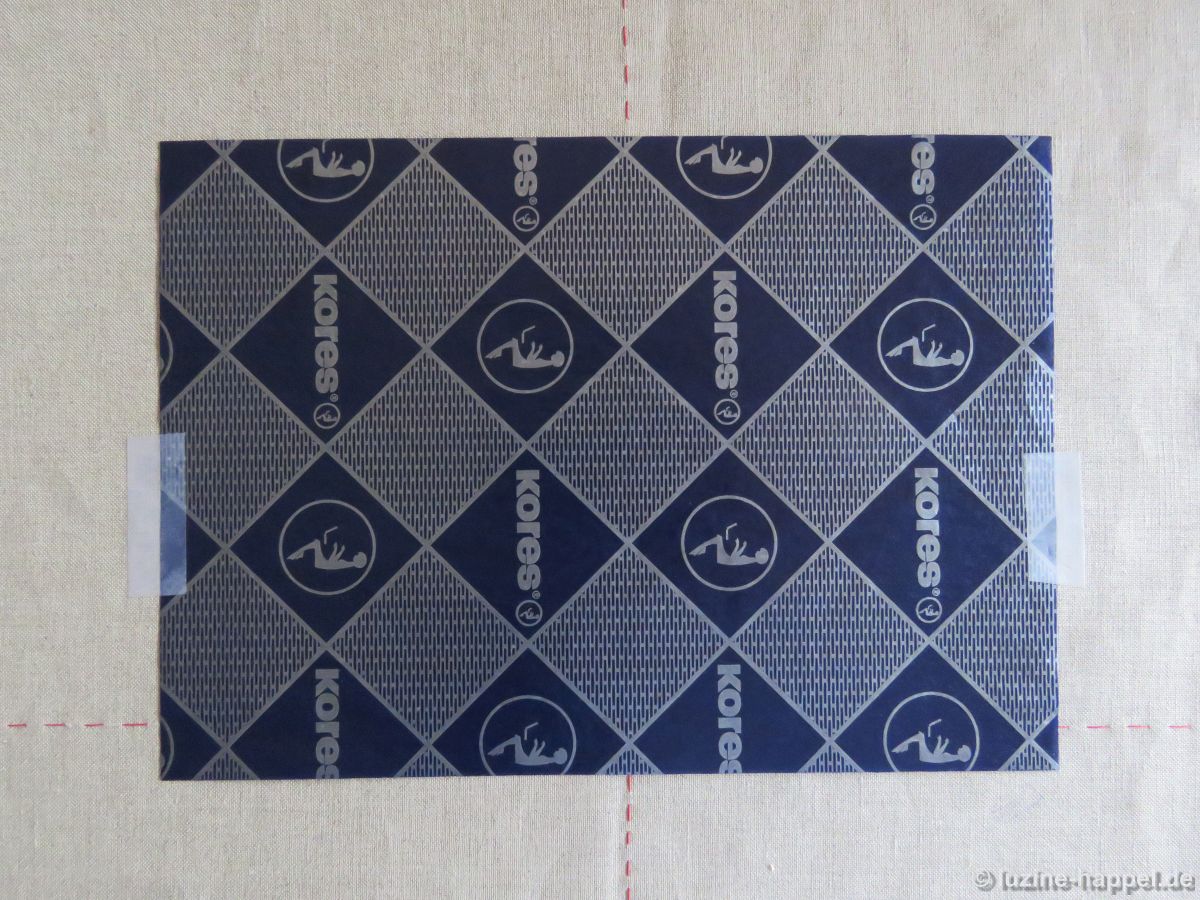
The sheet with the design – here 90 g tracing paper – was placed on top meeting the marking lines and also attached with removable tape.
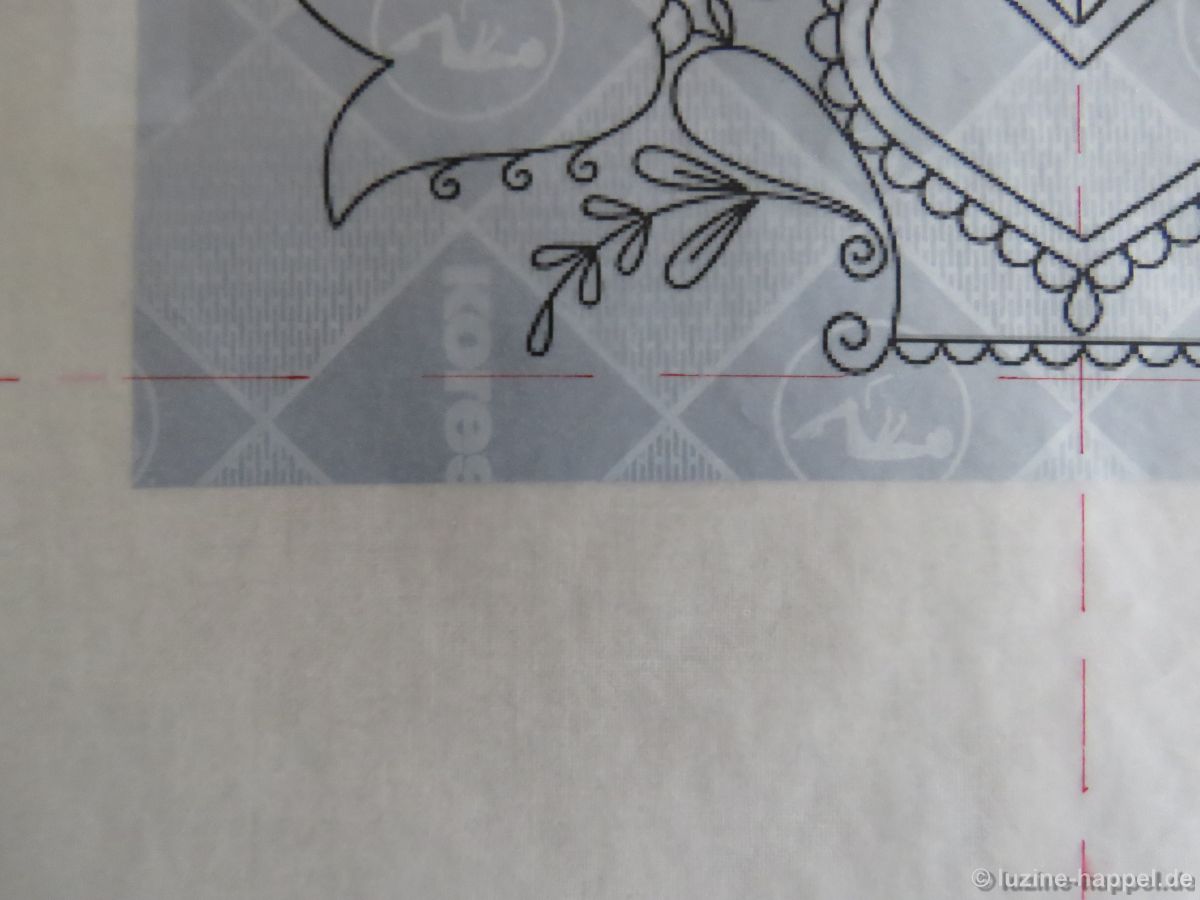
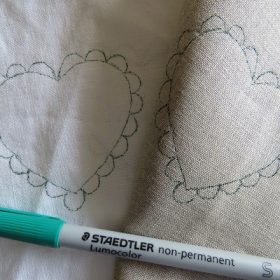
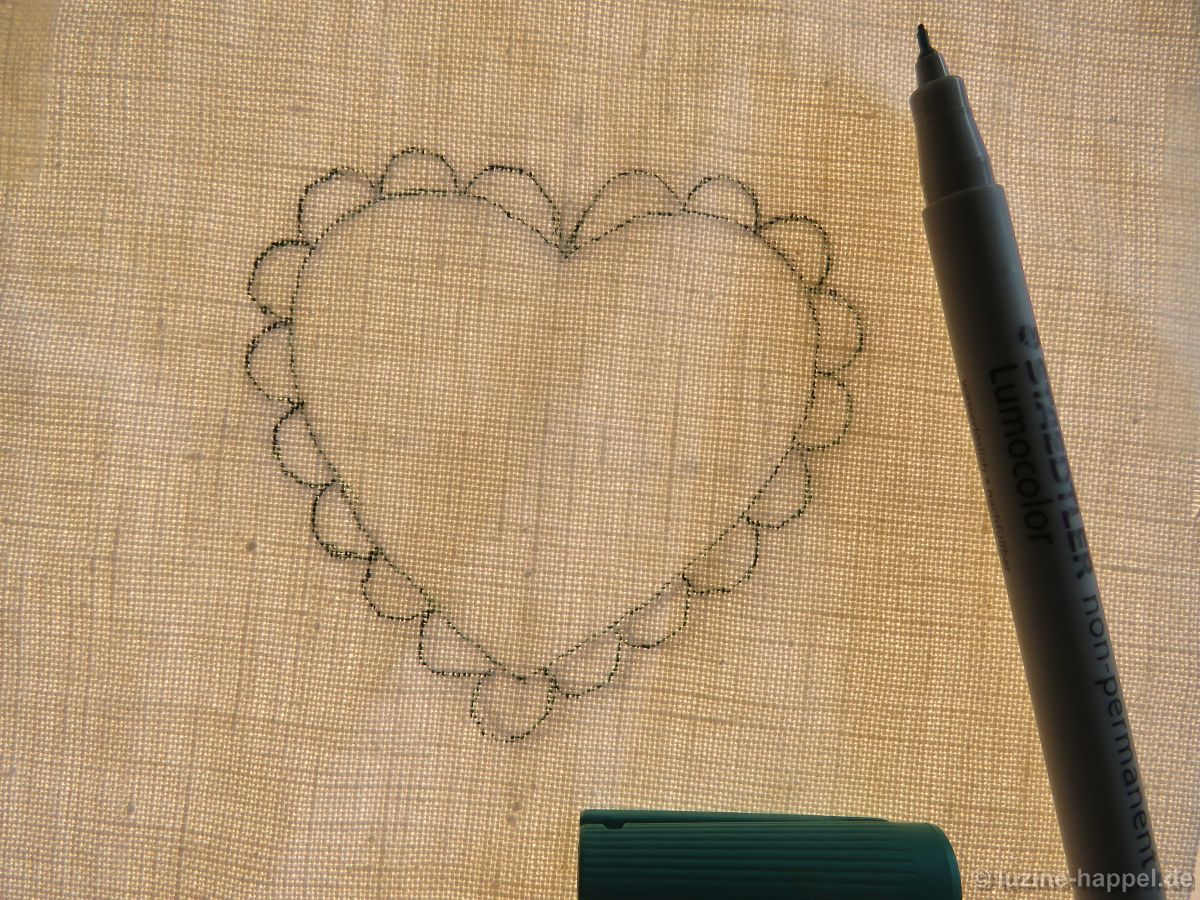
For my first attempt – see below – I chose a medium-soft surface. Also, I didn’t press very hard when tracing the lines. This made the outlines appear rather weak. Nevertheless, I was able to recognize them until the end and to embroider along them. The pen did not drill its way through the design paper. If you use thinner paper with the design on it, you can prevent it from breaking through by putting a piece of a thin transparent folder over it.
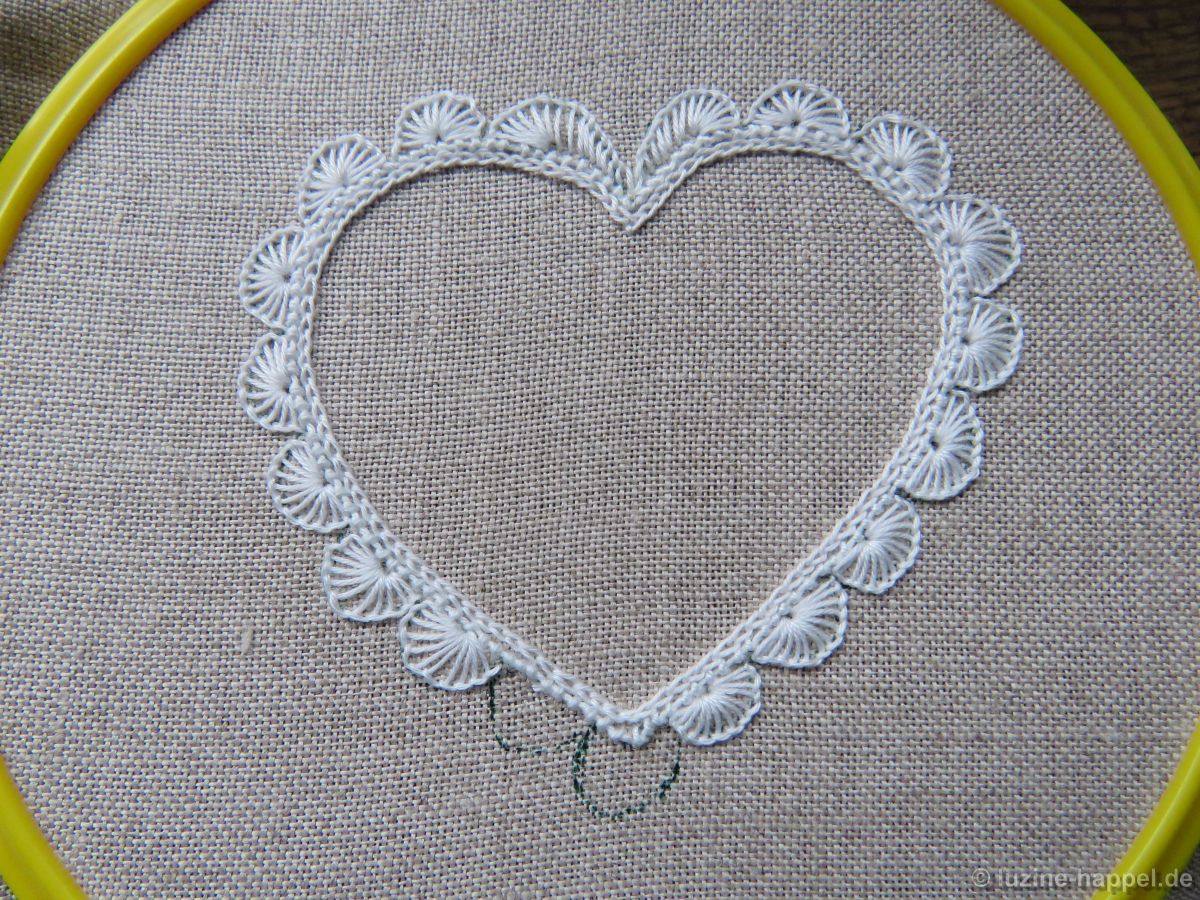
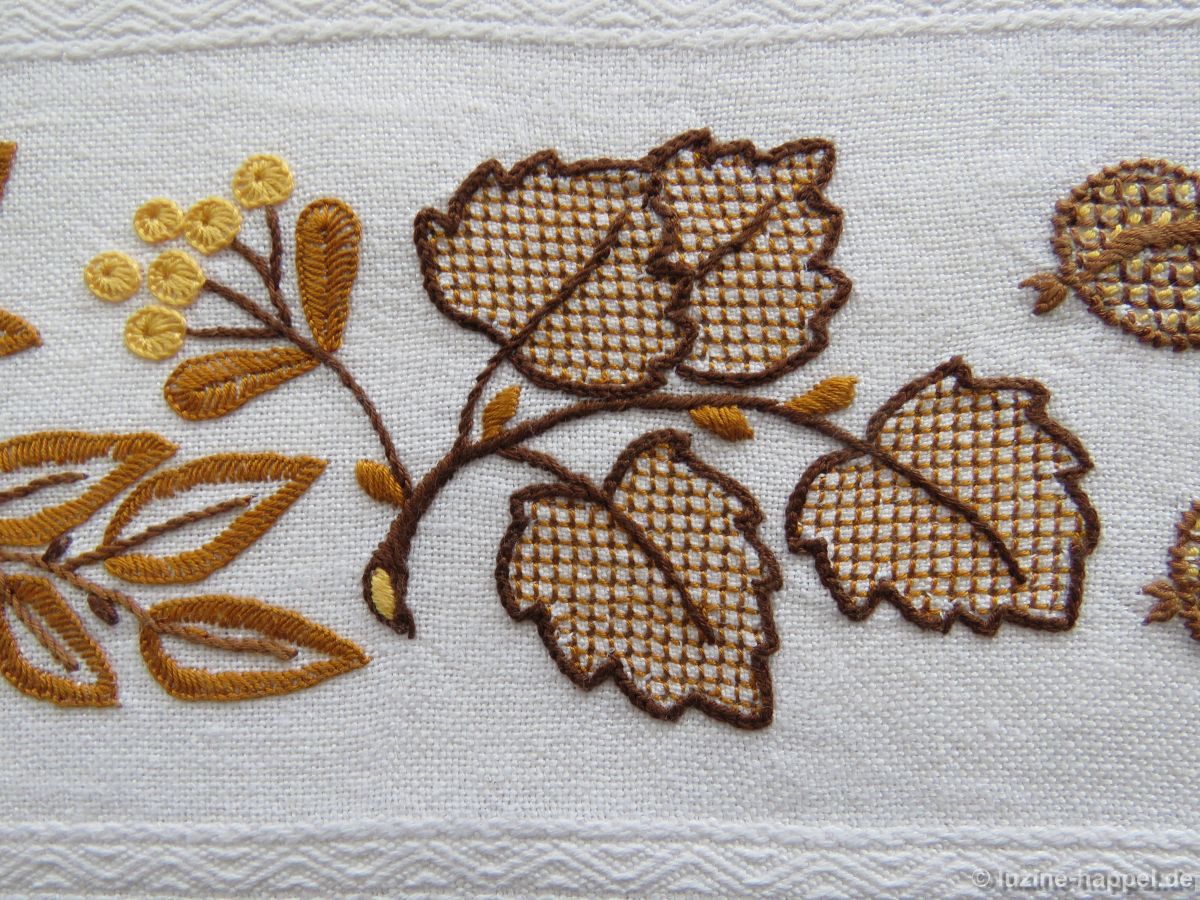
In some places the outlines ran clearly next to the embroidery.
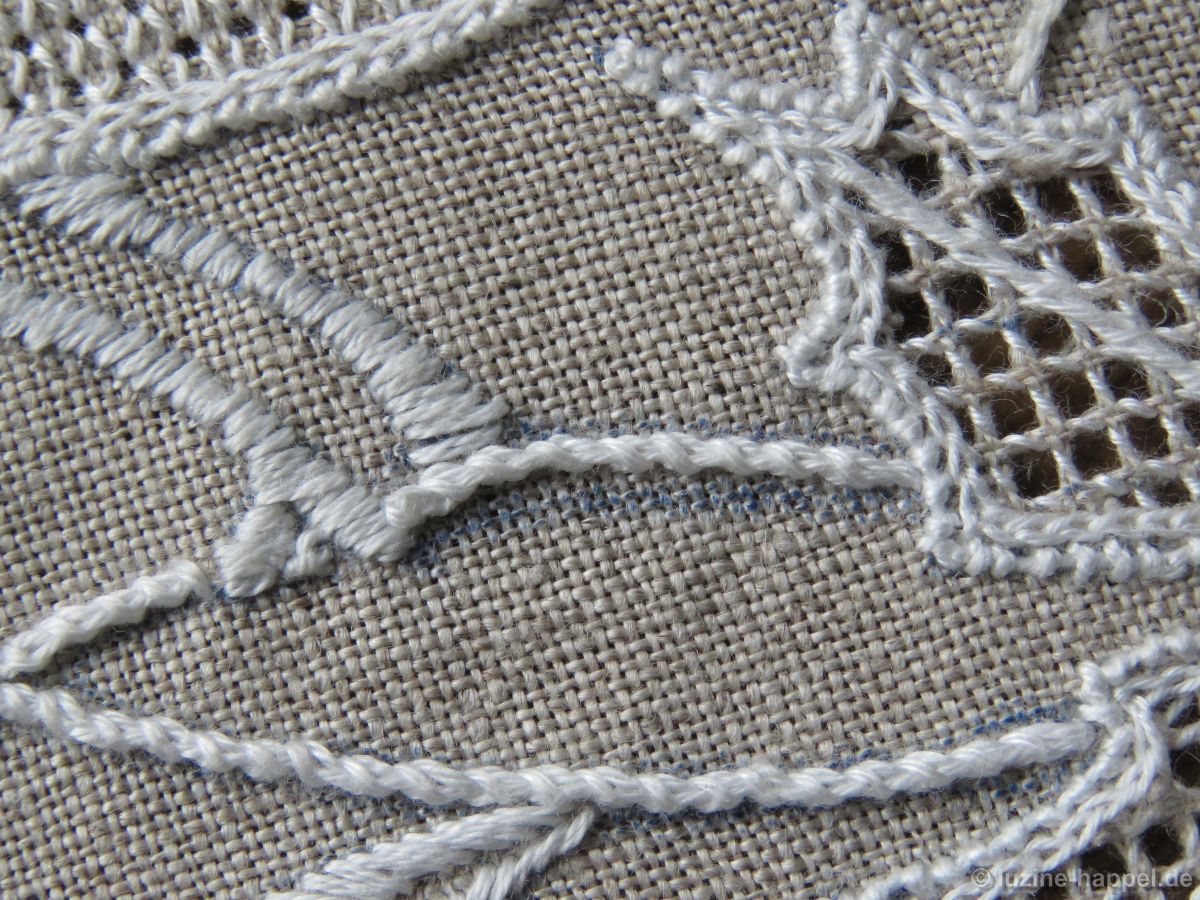
After a short hand-warm laundry with mild detergent and a little rubbing, the lines were only vaguely visible.
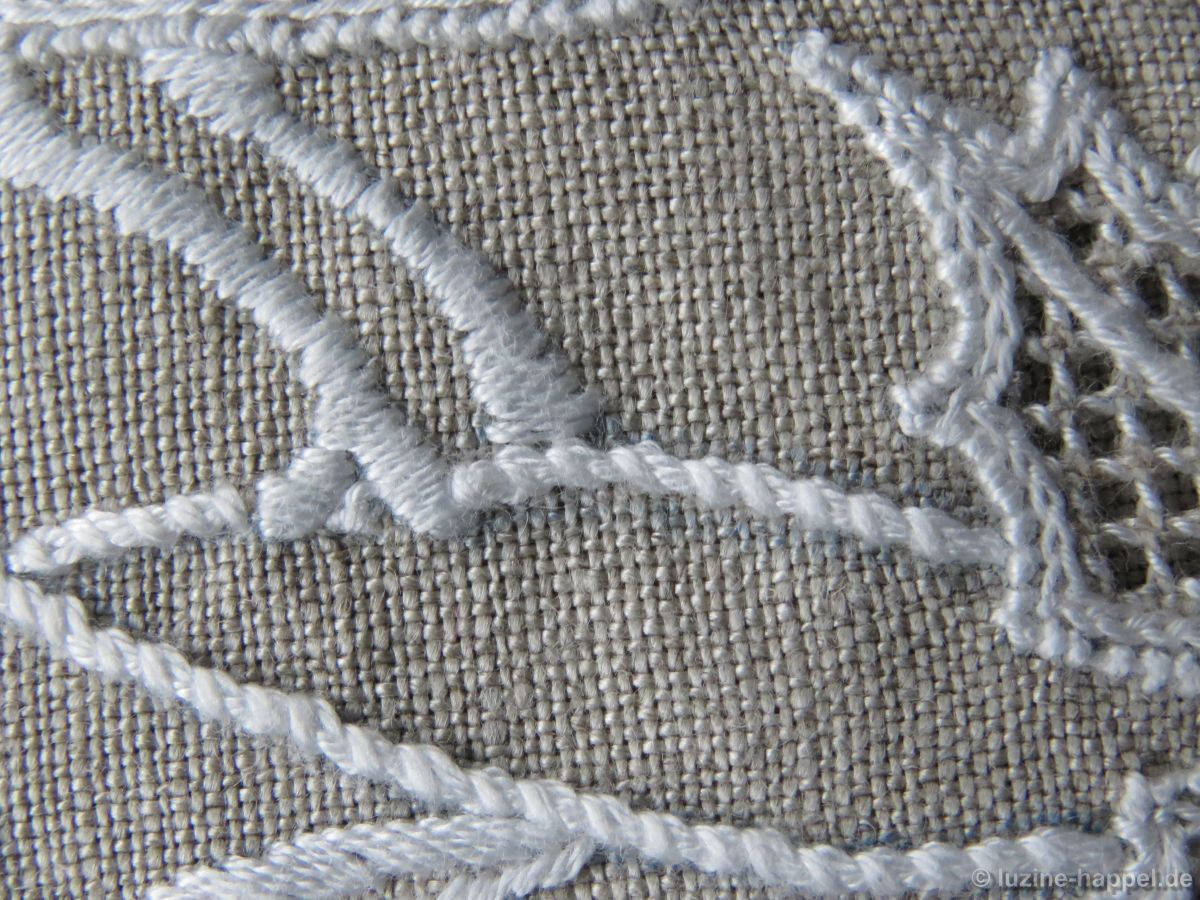
After drying, they were completely gone.

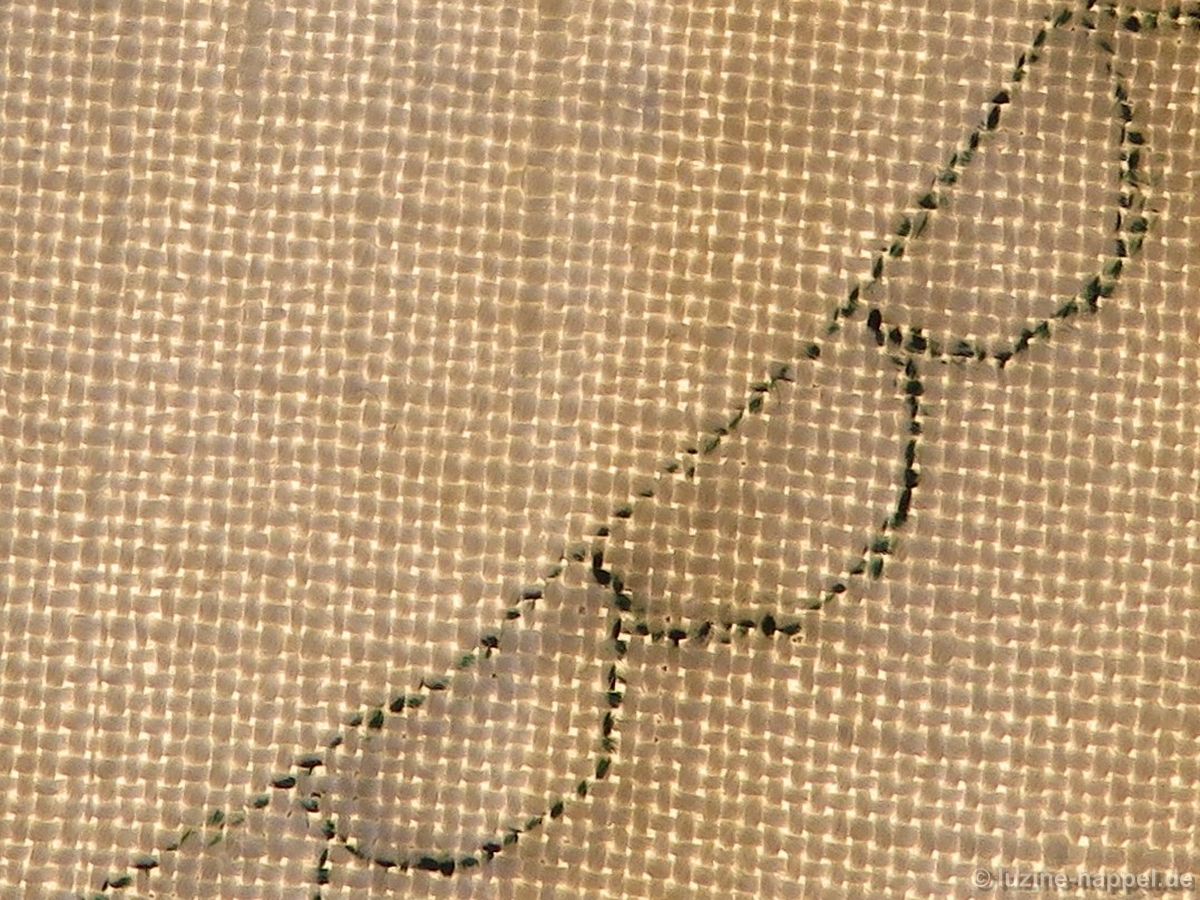
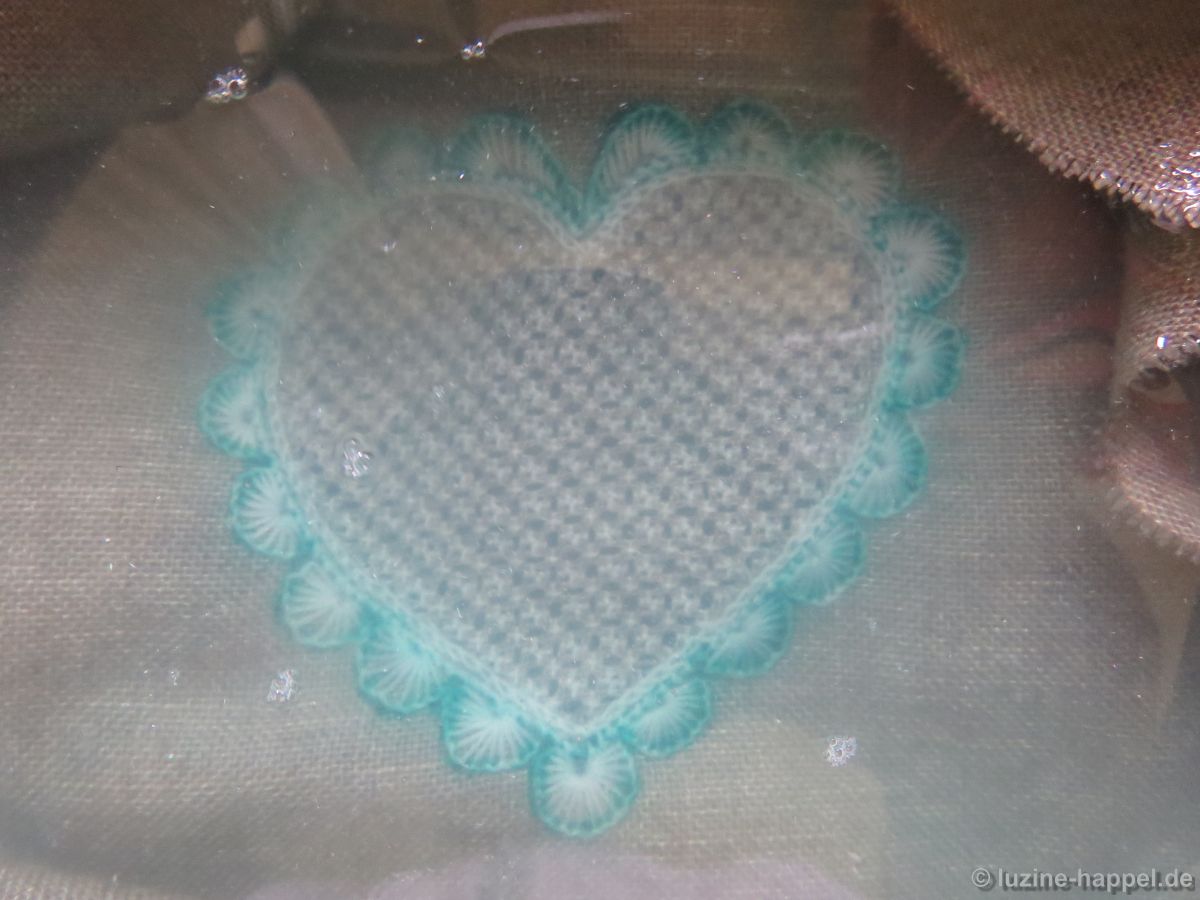
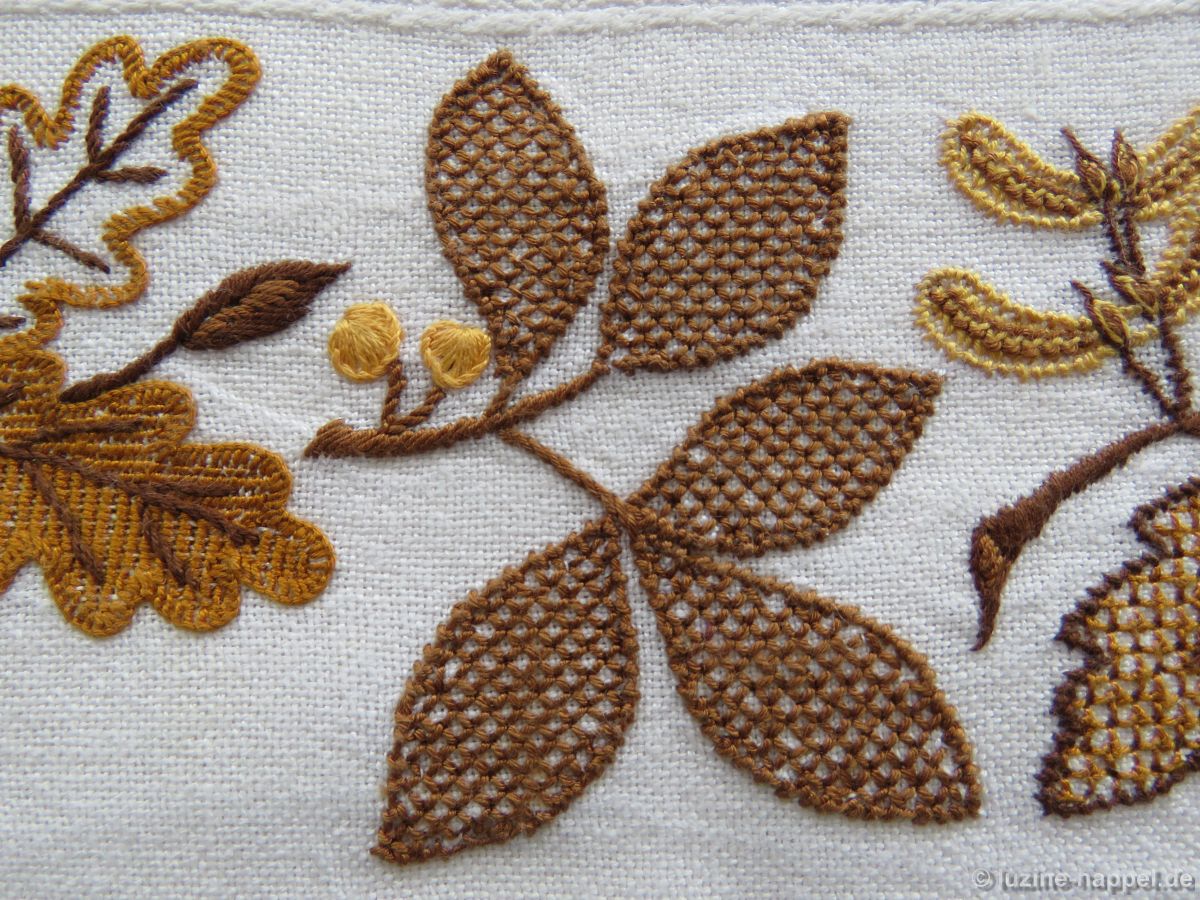
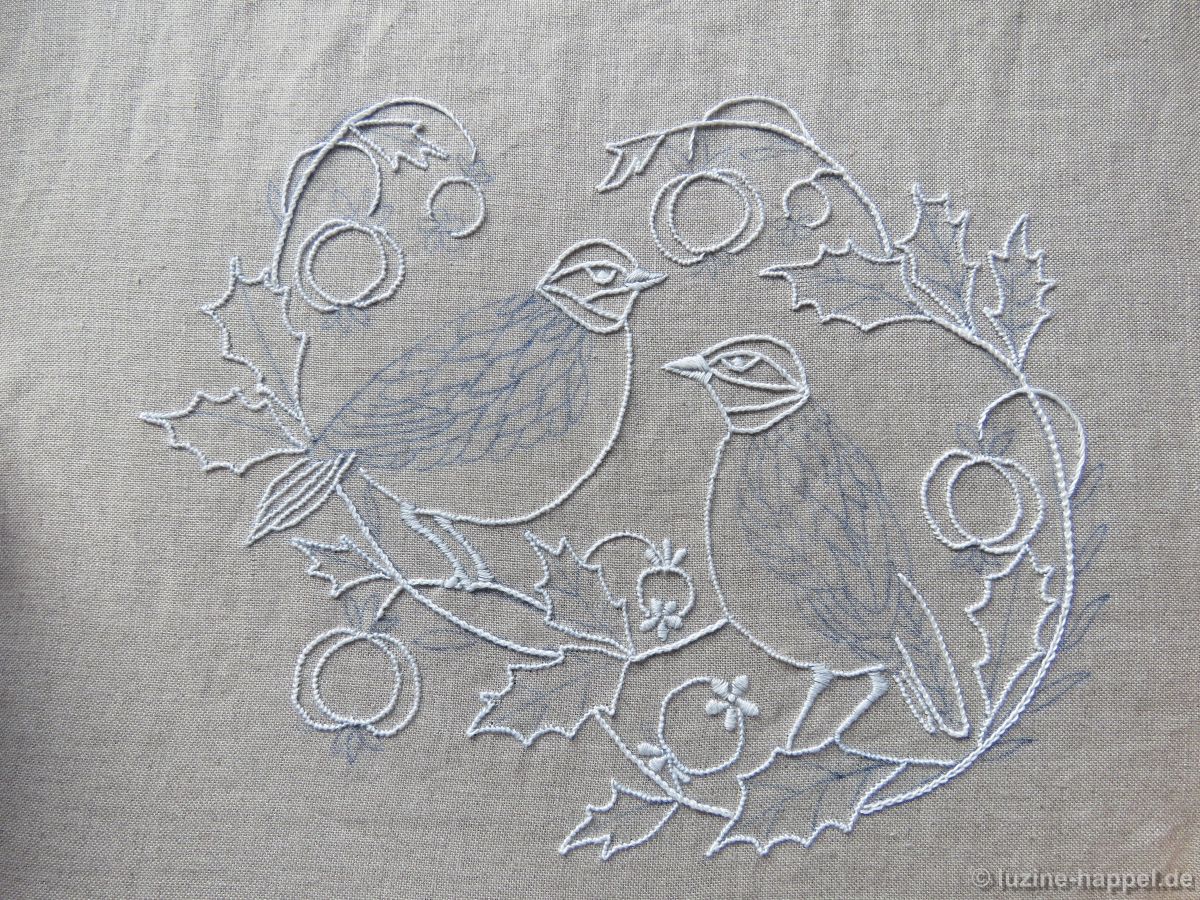
On my second attempt, I worked on a hard surface and pressed very hard. As a result, I felt the many small jumps again while recording, which were caused by the constant up and down of the pen tip when crossing the fabric threads. That had a disruptive effect on the lines, which in some places seem quite wobbly.
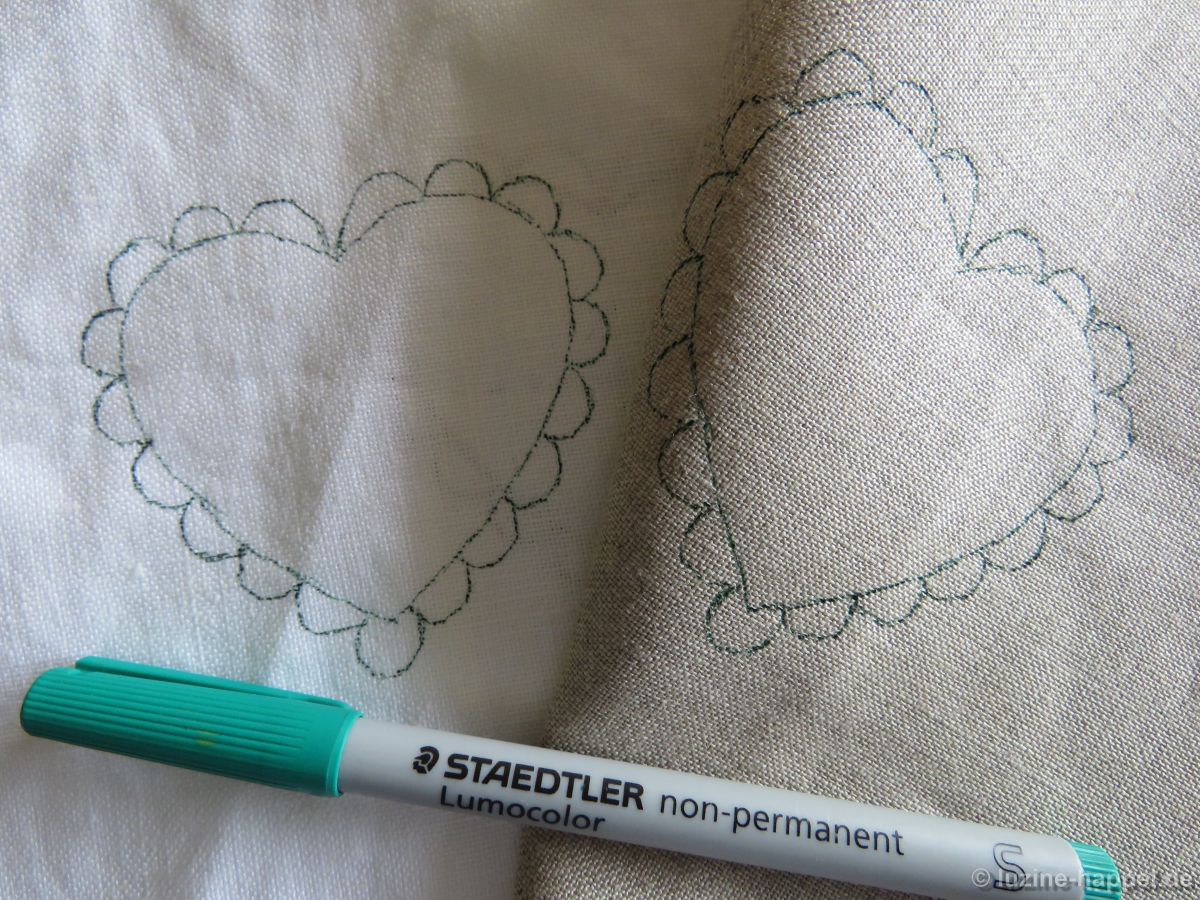
Overall, however, I was very satisfied with the result – the lines are fine and yet clearly visible.

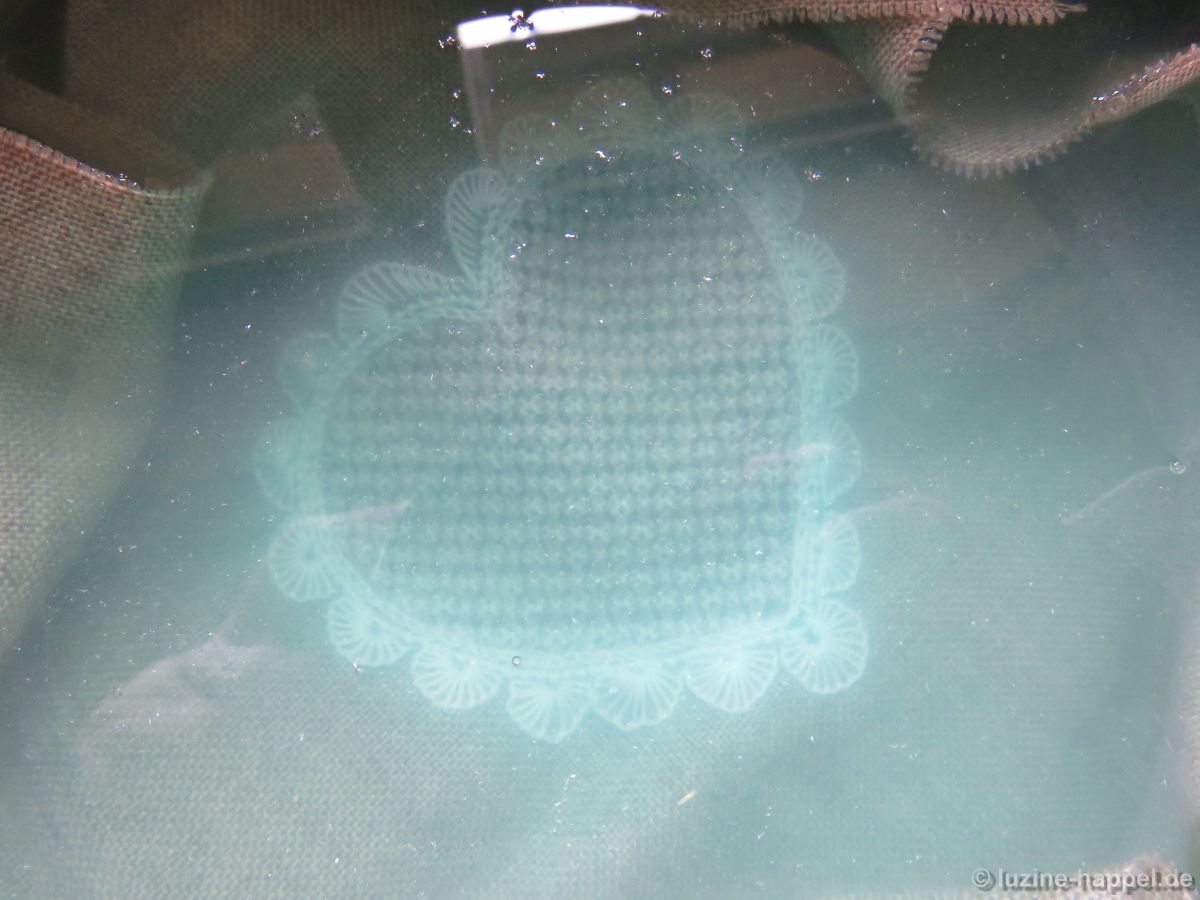
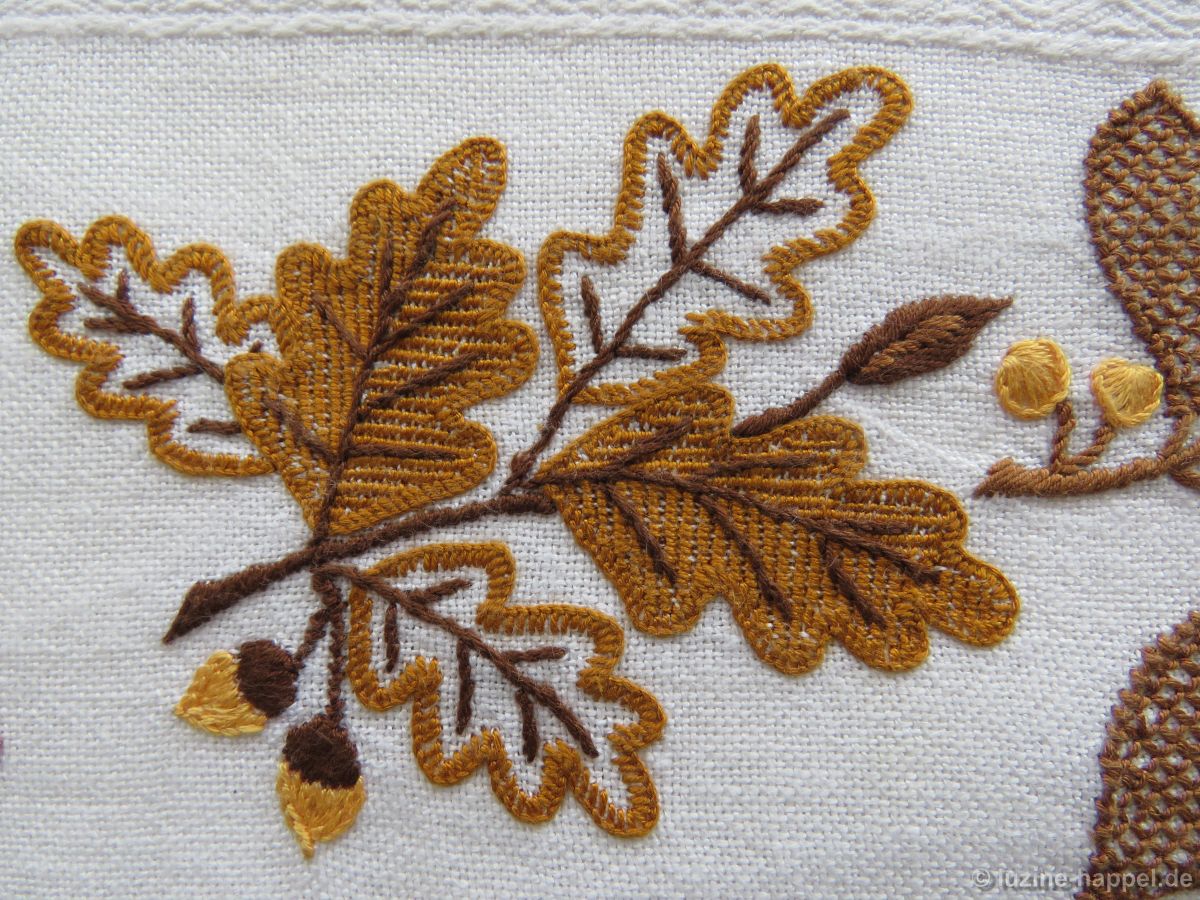
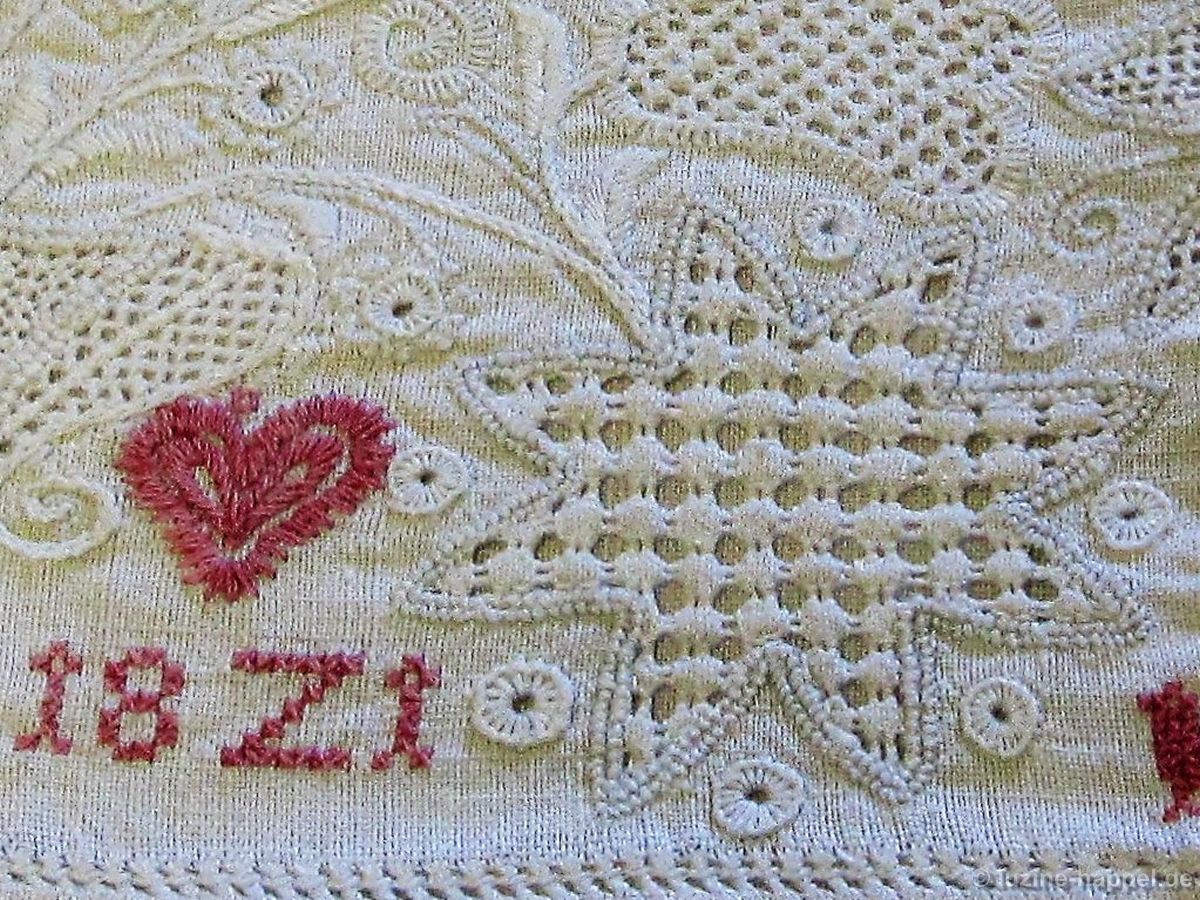
To see if the lines smudge or fade over time, against all common practice, I almost completely finished the embroidery before working on the last branch.
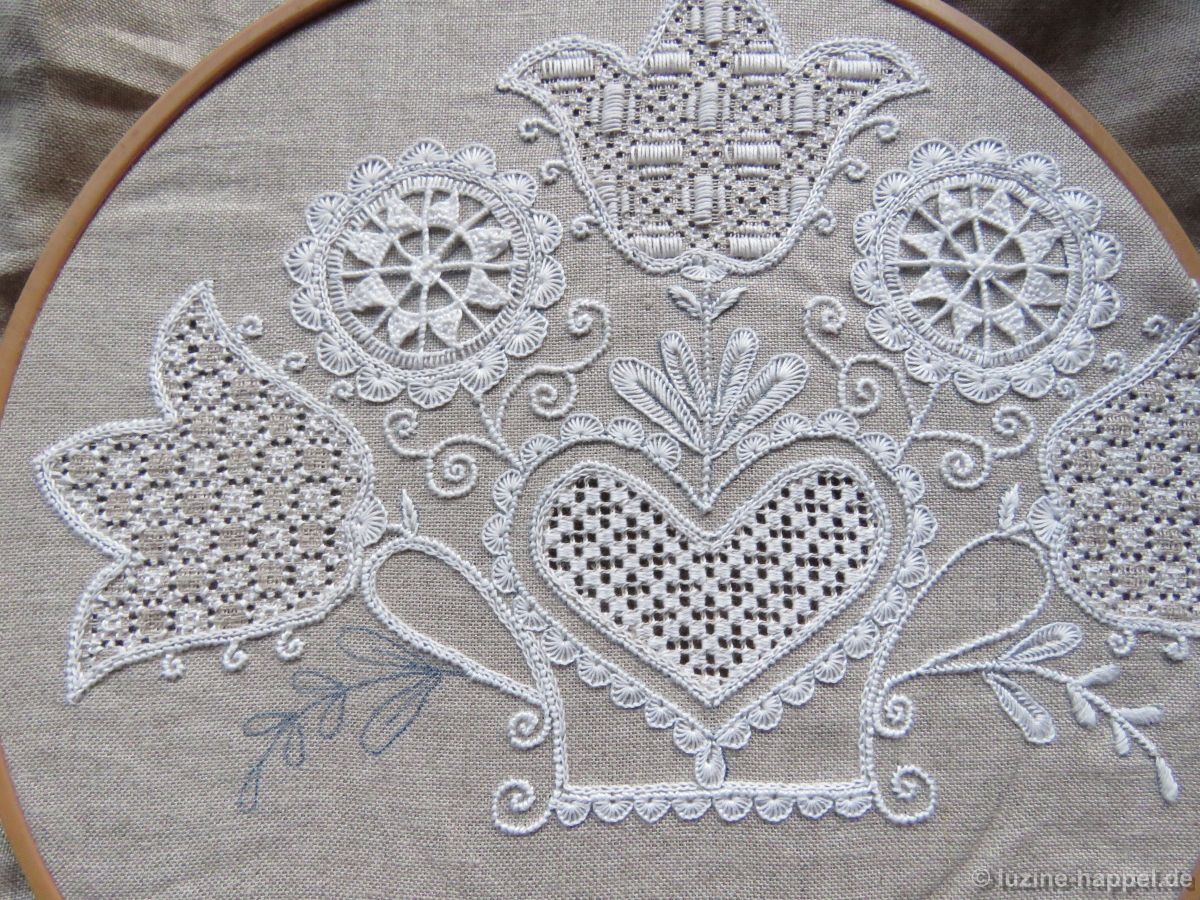
The outlines had lost none of their clarity.
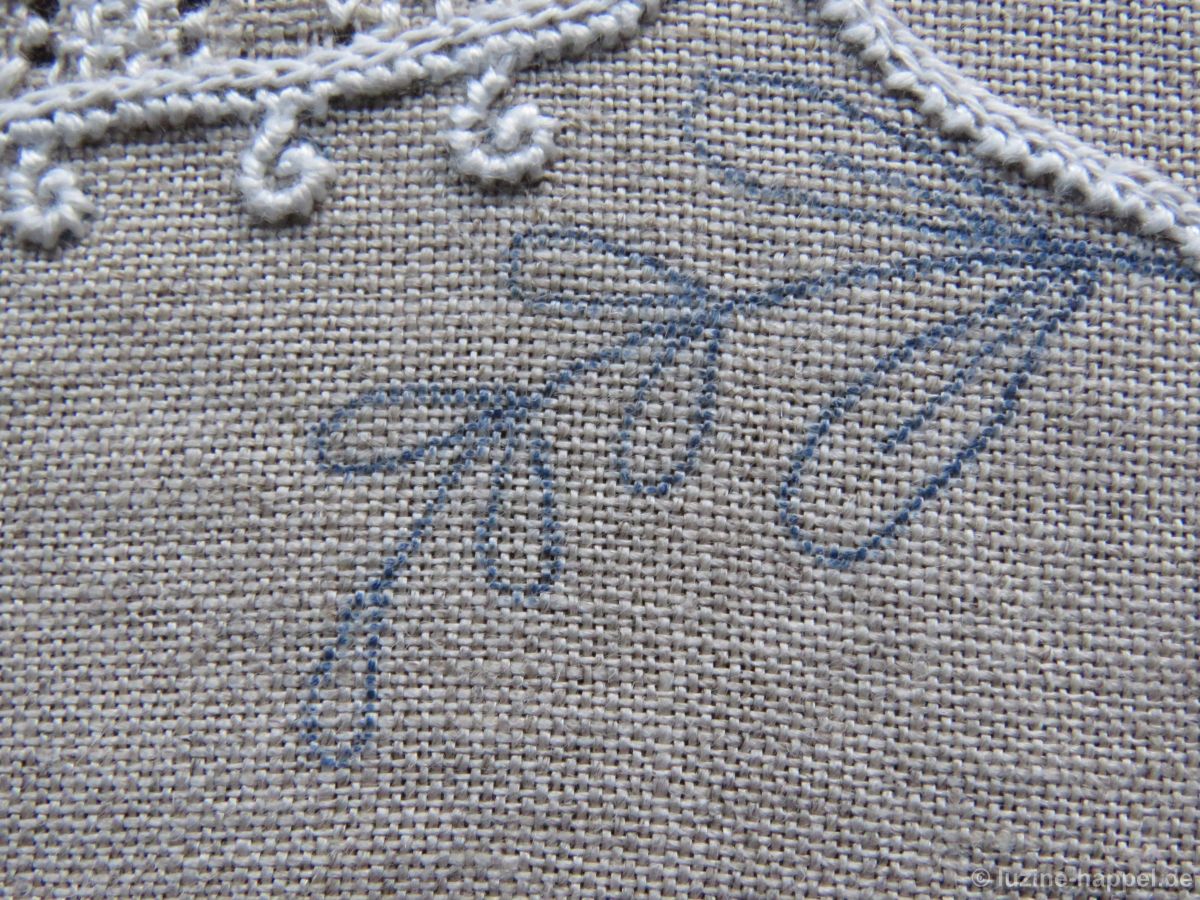
Before washing, one could clearly see the lines not covered by the embroidery in some places.

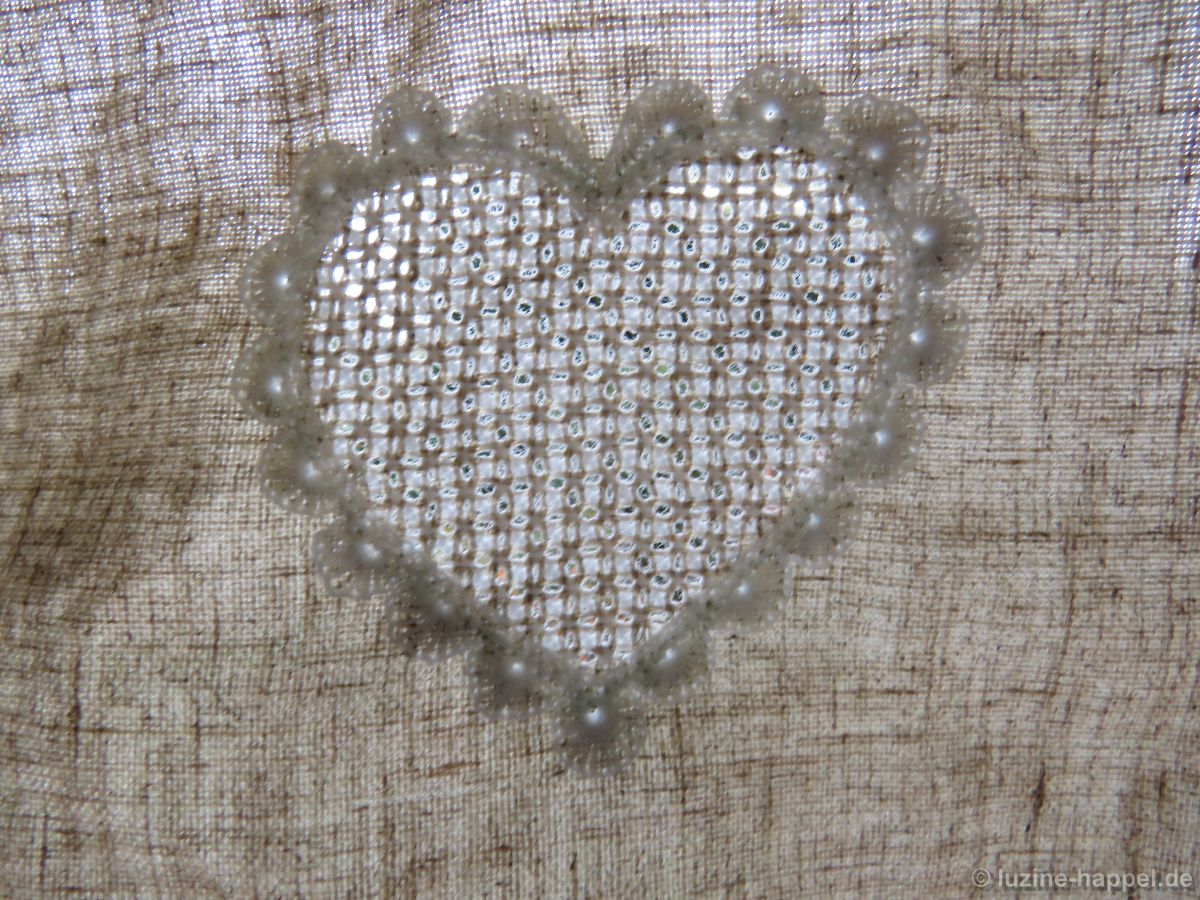
After a short hand-warm wash with mild detergent, the lines have disappeared without a trace.

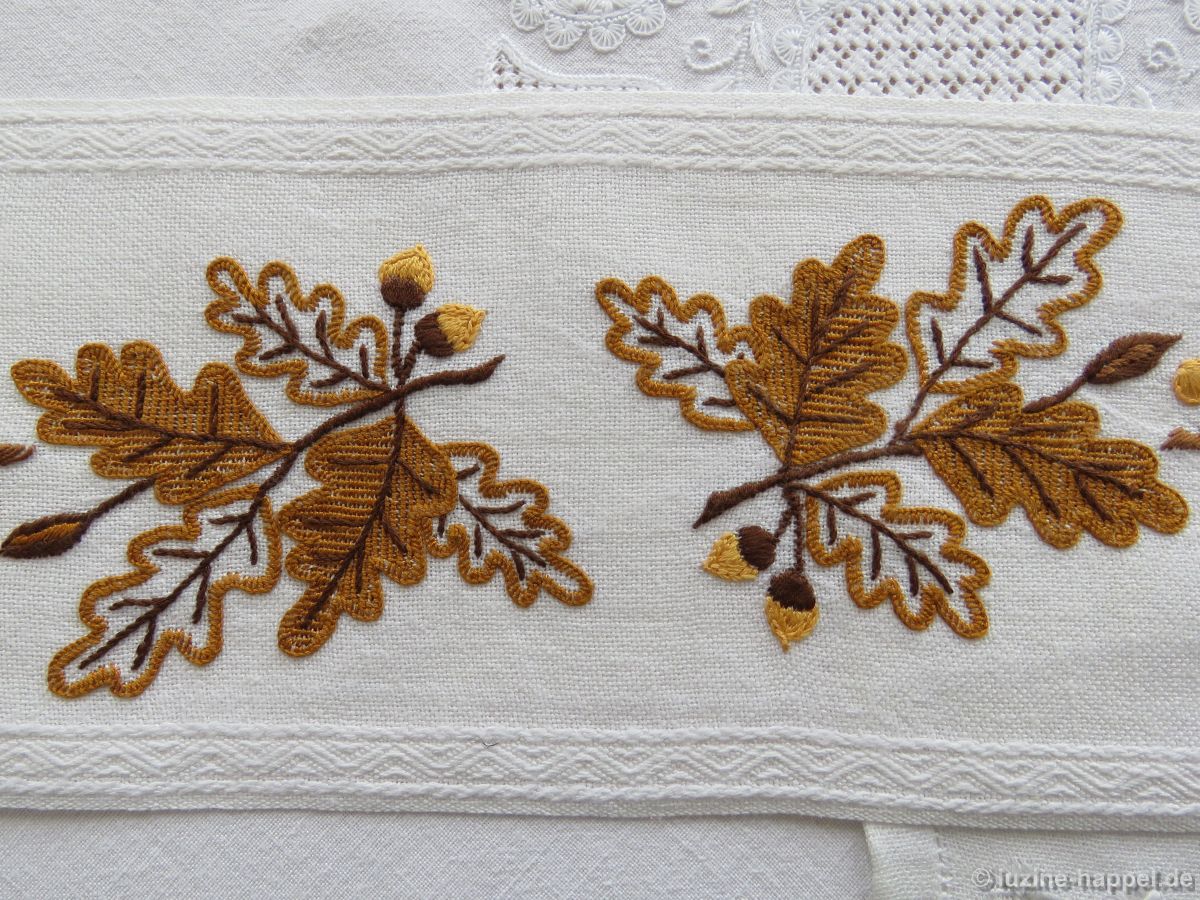
The transfer of a design using blue carbon paper is therefore quite possible. However, I have only tested this method here on natural coloured, durable pressed linen. A test on white linen is still pending.