Schwalm Whitework – What is it and how is it done?
October 17 is the International Day of Intangible Cultural Heritage. Bearers are encouraged to use this day to showcase their respective cultural heritage.
Therefore, this blog post will briefly explain to interested visitors what Schwalm whitework is, how it is worked and what huge possibilities for individual design it offers.
The embroidery got its name because it flourished in the small Schwalm region of Hesse, Germany, and survived there for centuries.
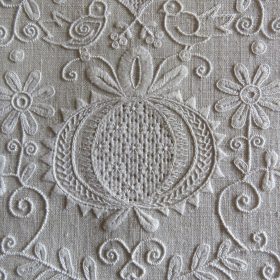
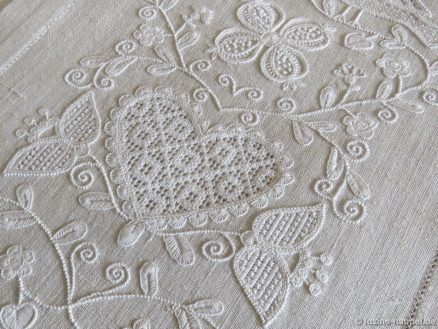
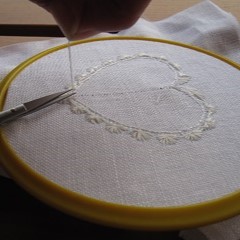
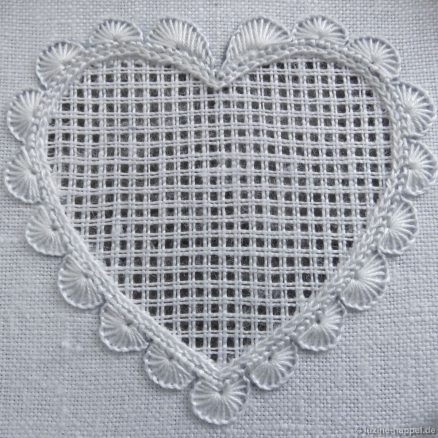
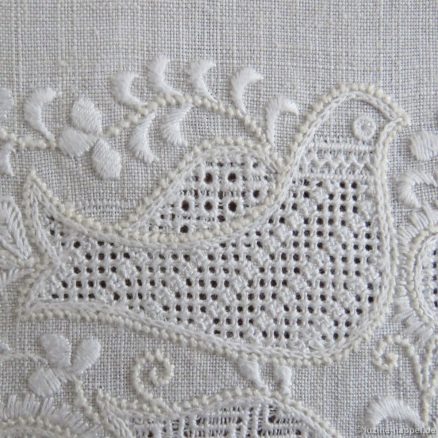
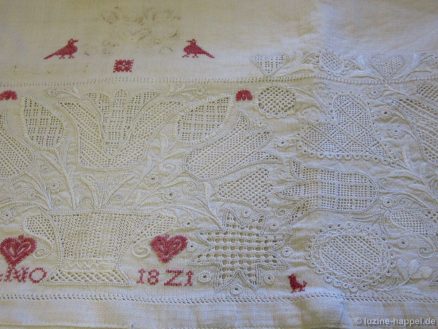
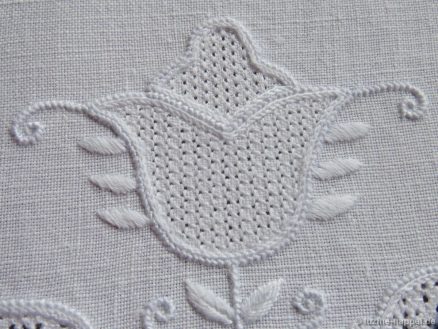
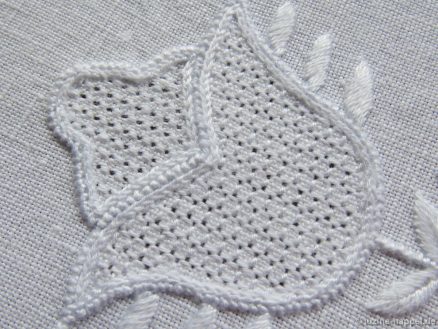
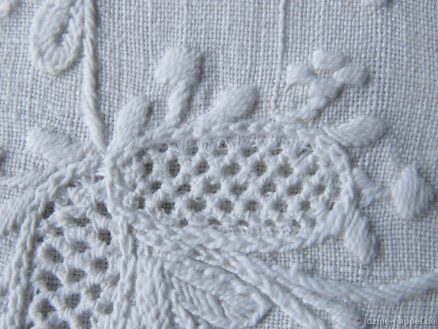
Schwalm whitework is worked with white thread on white linen. It is still not machine-produced today. It is a combination of different techniques.
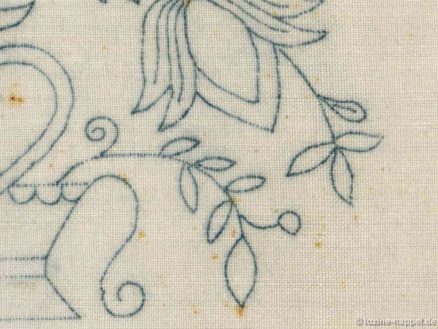
To begin embroidery, one first needs an outline pattern. This consists of large motifs of simple shapes and small elements in the spaces between them.
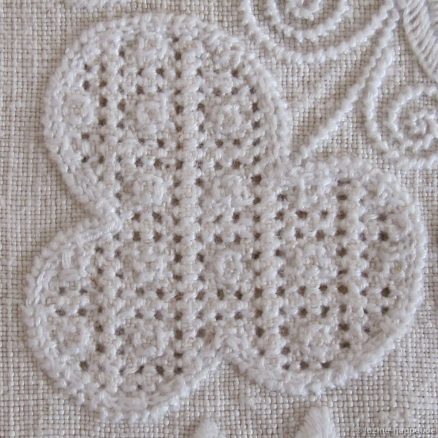
The fabric remains undamaged in the spaces between the motifs. It is covered with decorative stitches — so-called surface embroidery.
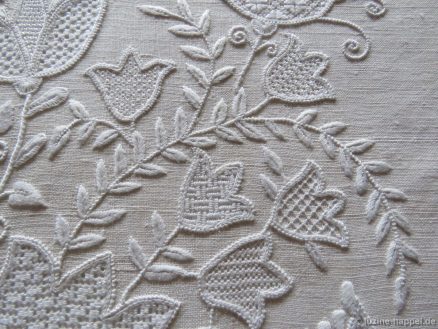
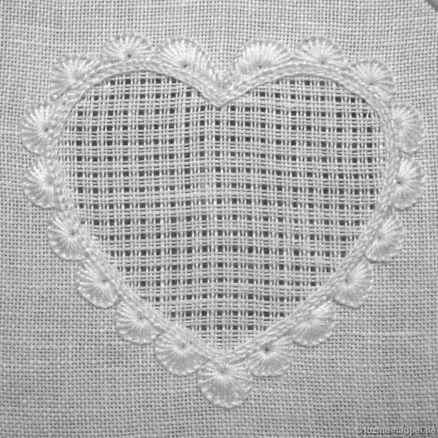
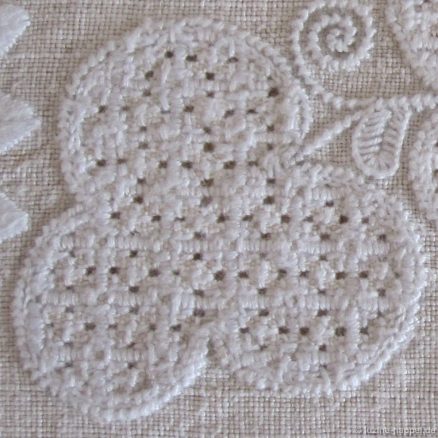
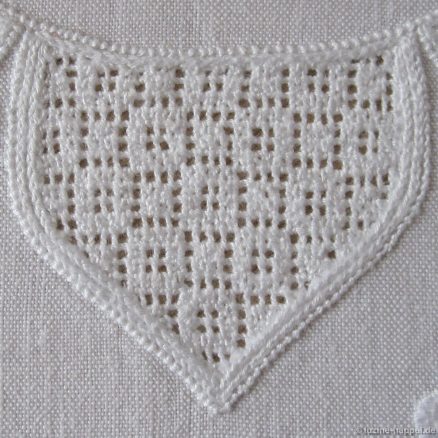
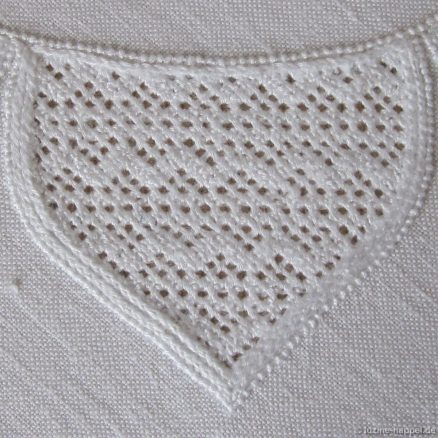
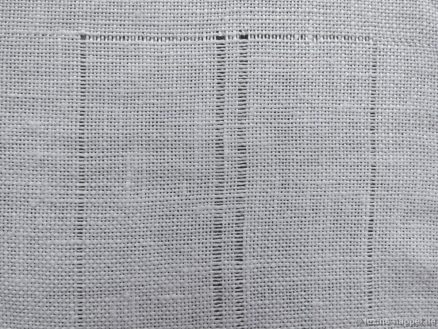
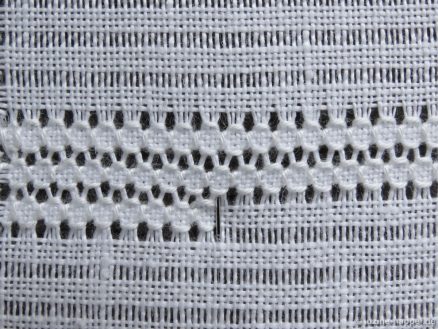
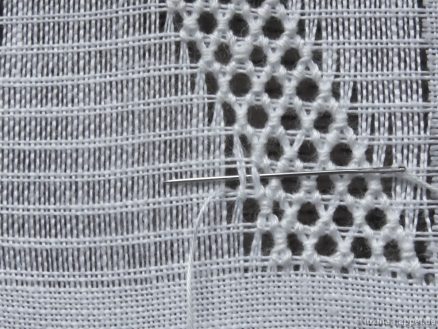
Within the motifs, threads are taken from the fabric. The number depends on the intended pattern that will be stitched into the resulting grid. This technique is called withdrawn-thread embroidery.
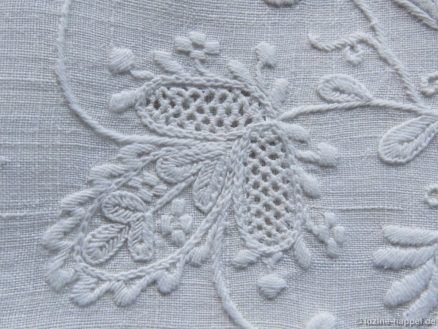
The third technique used is cut work. Here, the fabric within the motifs is completely cut away and replaced with embroidery stitches — so-called needlelace.
One only needs to know 13 different stitches to perform Schwalm whitework. By combining these stitches, however, one can access a treasure trove of approximately 1,000 filling patterns. This enormous variety, combined with the infinitely variable outline patterns, makes the embroidery so varied and incredibly interesting.
Depending on one´s mood, one can embroider small items, tackle larger projects, create outstanding embroidery, or even work on collaborative projects.
The career of withdrawn-thread embroidery, the necessary stitches and the difference between the filling pattern categories
First, the outlines of the desired motif must be transferred onto the fabric.
There are various options for this:
• Iron on using an iron-on transfer pencil
• Recording using a Light-Pad and a water– or heatsoluble pen
• Pressing or prickingwith blue carbon paper
• Printing using a stencil
(See also: Schwalm Band (1) Design Transfer )
First, all lines are covered with stitches, as they may fade or disappear over time.
One uses coton à broder thread and work with three, sometimes four different thread weights, depending on the fineness of the fabric.
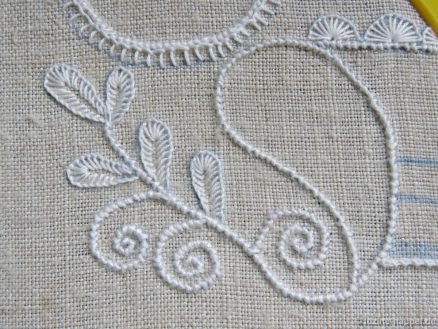
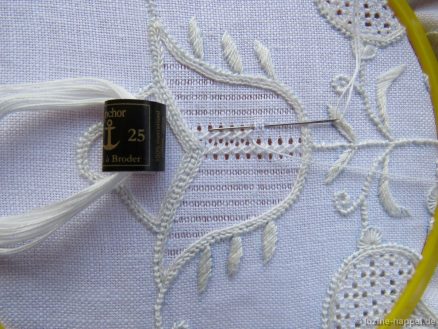
Using the thickest thread, first work the Coral Knot stitches over the main outlines, the stems and tendrils. These serve both to define the outliness and to secure the fabric edges of the motif during subsequent thread withdrawal.
(Since it would be too long to explain all the stitches in detail in this blog post, you will soon find a separate blog post for each stitch.)
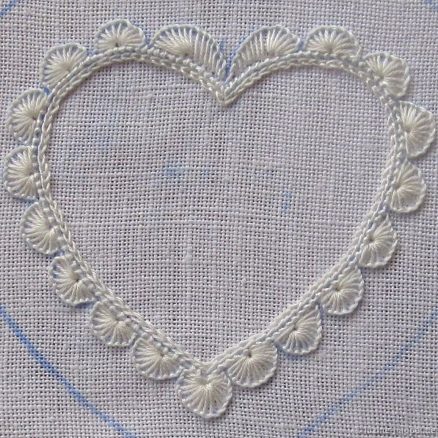
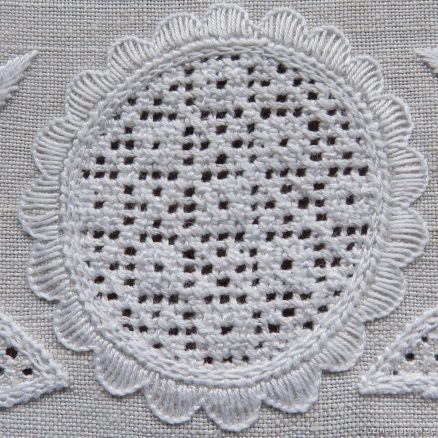
Rounded leaves are usually worked with Blanket stitches, as are semicircular arches (so-called scallops), small circles (so-called eyelets) and triangular points (so-called knife points.
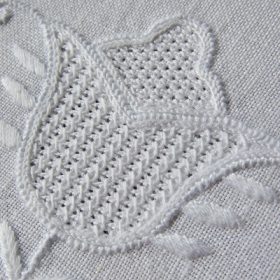
In addition to rounded leaves, Schwalm whitework also includes small pointed leaves, which can be embroidered divided or undivided, and heart-shaped leaves. All of these are worked with Satin stitches.
Once all lines have been covered with stitches, one can begin designing the motif areas.
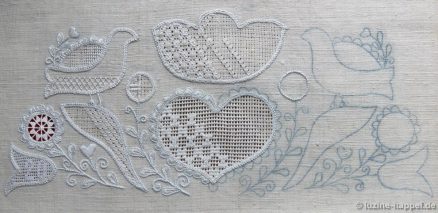
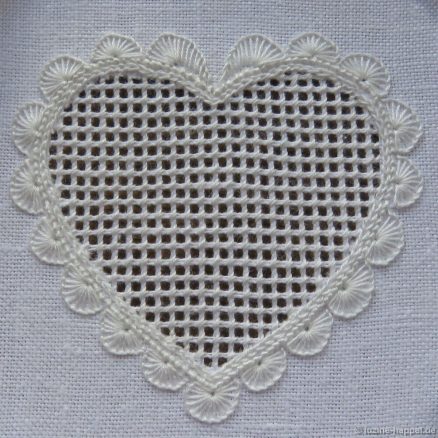
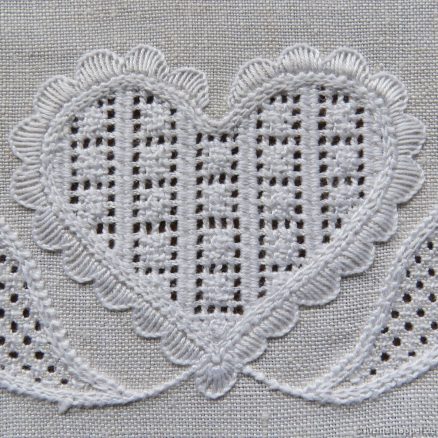
Decorative stitch borders – here: “Blanket stitch half-eyelets” – make the motifs appear more pleasing, but do not necessarily have to enclose all shapes.
In order to cover the ends of the fabric threads that will later be withdrawn, Chain stitches are embroidered close together within the Coral Knot stitches.
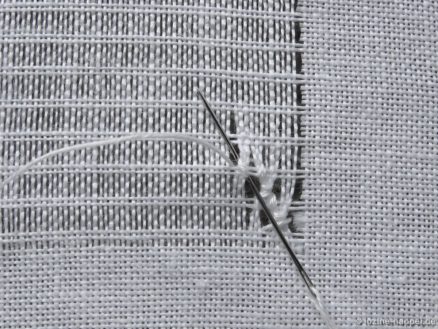
To prepare withdrawn-thread patterns, fabric threads are pulled out from the back of the work within the motif areas and cut close to the Chain stitches.
There are three types of withdrawn-thread patterns – simple and double withdrawn-thread patterns. The latter are divided into Limet- and openwork patterns.
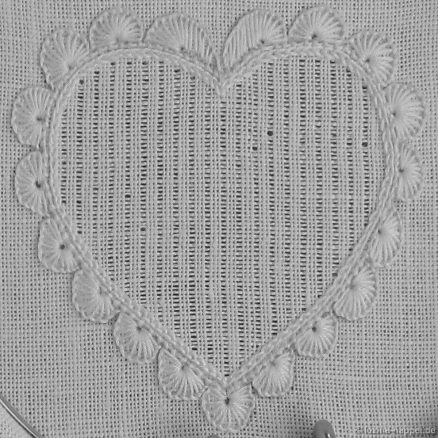
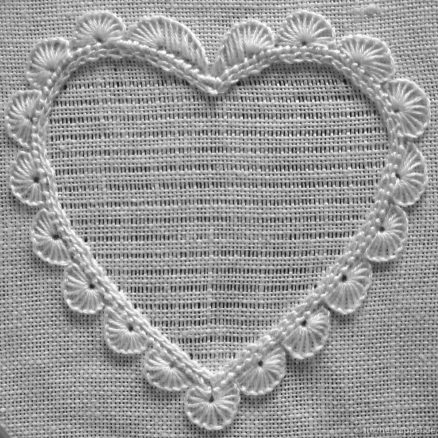
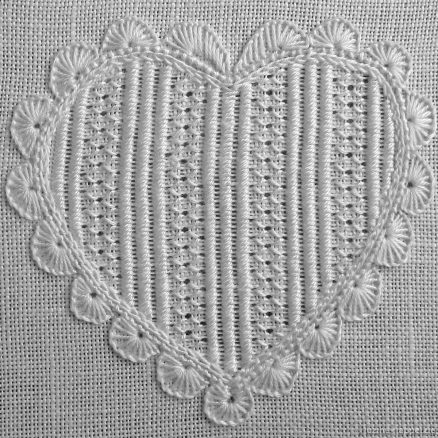
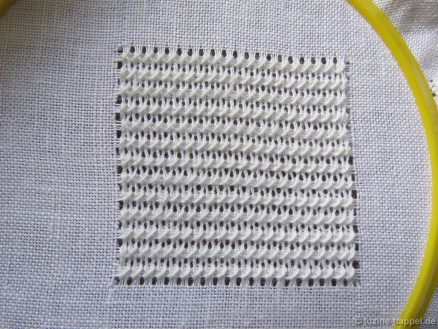
For a simple withdrawn-thread pattern – either vertically
or horizontally – every fourth fabric thread is pulled out.
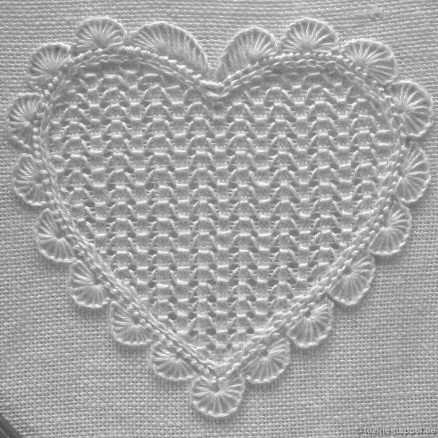
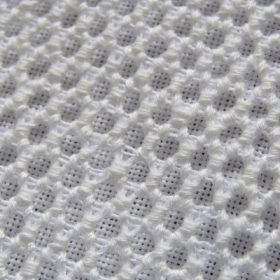
In the ground prepared in this way, one mainly embroiders Wave stitches and
Honey Comb Darning stitches as well as
Satin stitches in “bars” or combinations of these stitches.
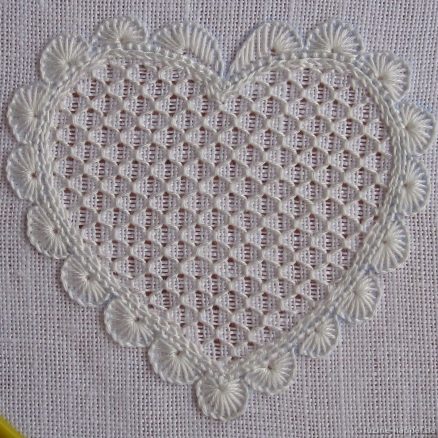
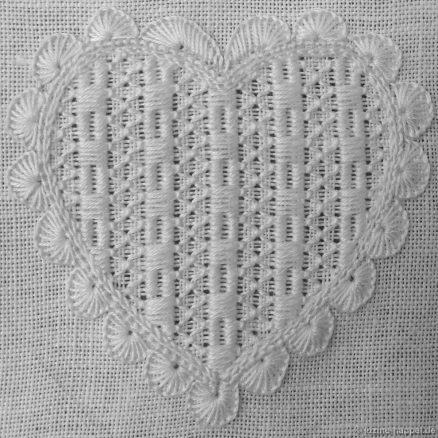
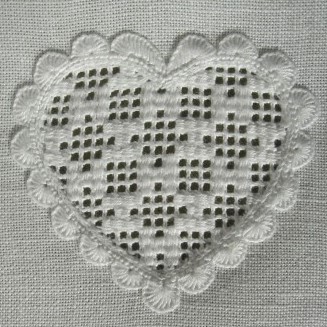
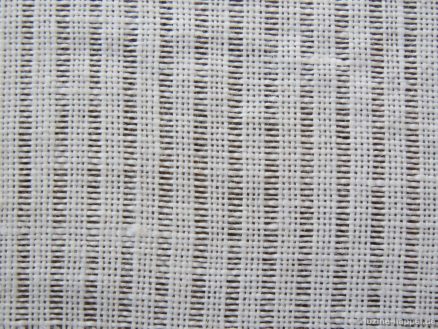
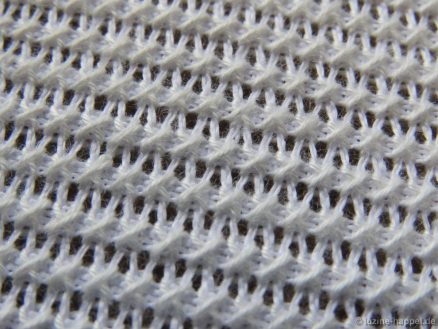
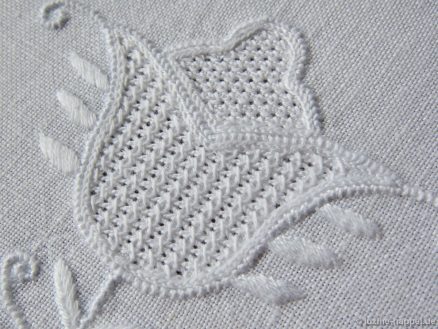
For a Limet withdrawn-thread pattern, one usually removes every fourth thread both horizontally and vertically.
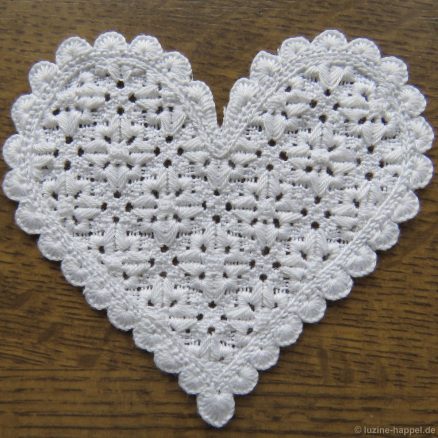
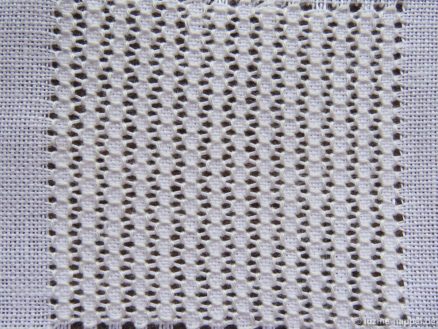
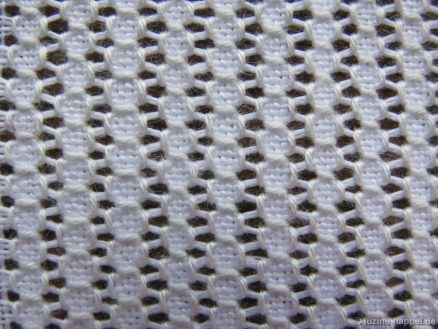
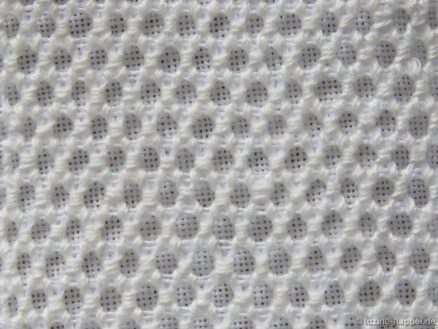
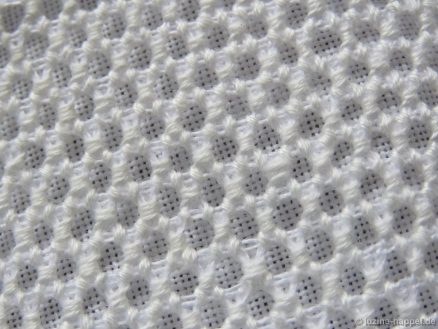
The resulting Limet grid is primarily stitched with Four-Sided stitches, Diagonal Cross stitches, Rose stitches, Square Eyelets, and Satin stitches. Combining these stitches results in a huge number of different filling patterns, which can create completely different appearances.
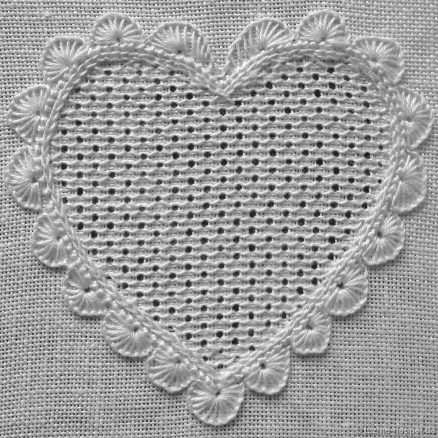
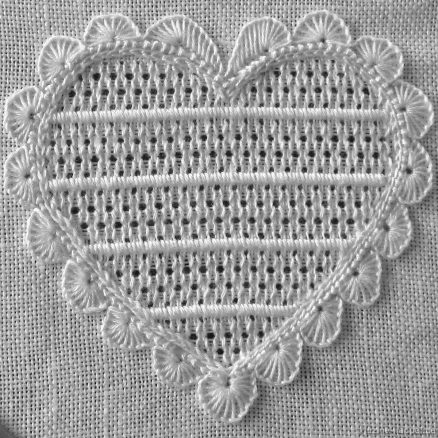
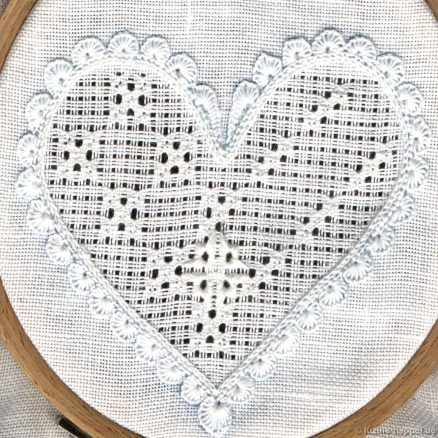
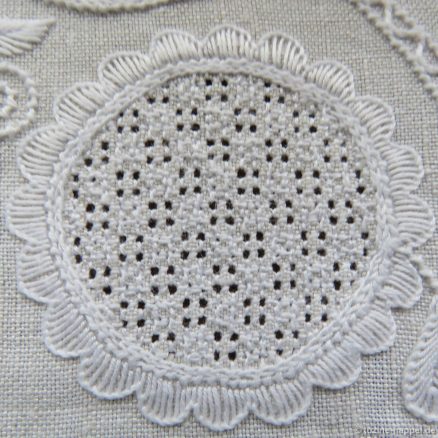
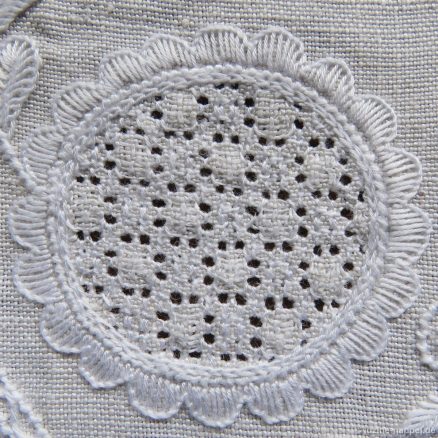
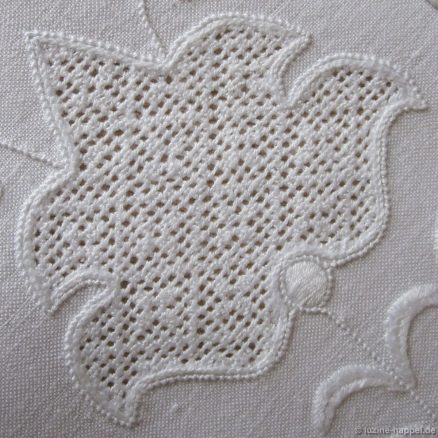
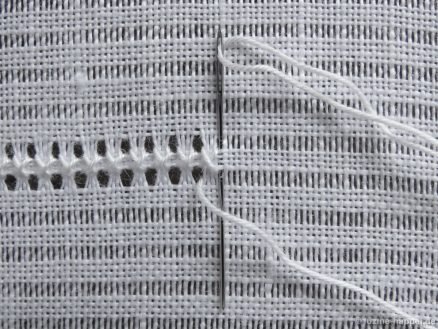
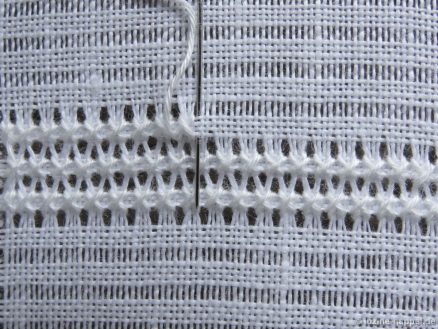
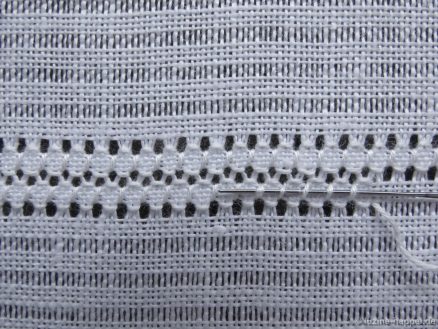
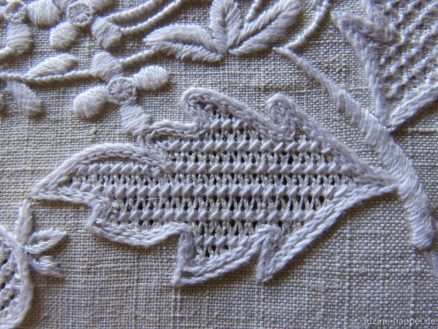
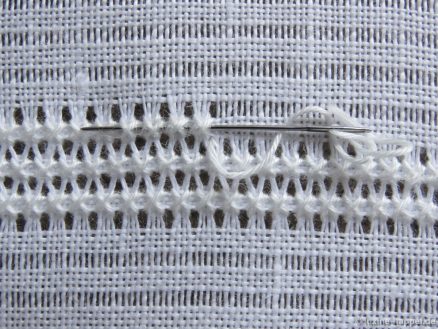
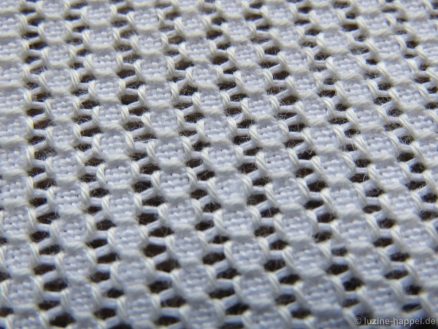
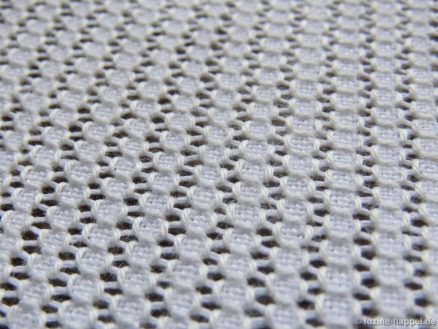
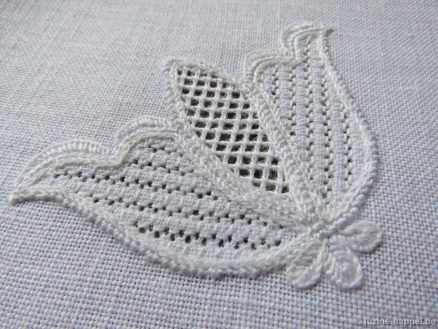
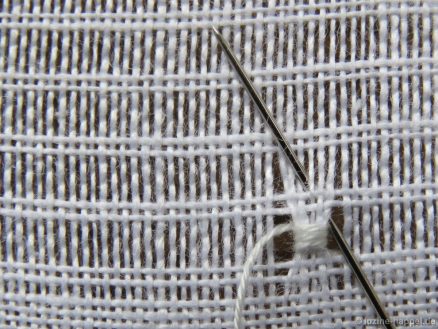
For an openwork pattern, threads are pulled out in pairs between two remaining threads – both horizontally and vertically. Removing half of the fabric threads makes the fabric translucent, or “light” and open.
Some patterns are embroidered directly into this openwork grid,
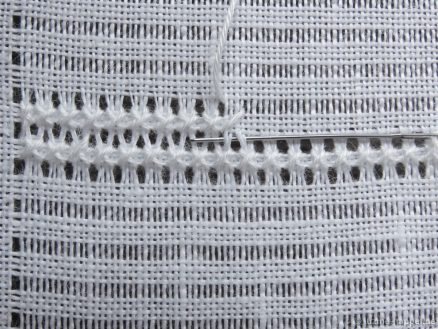
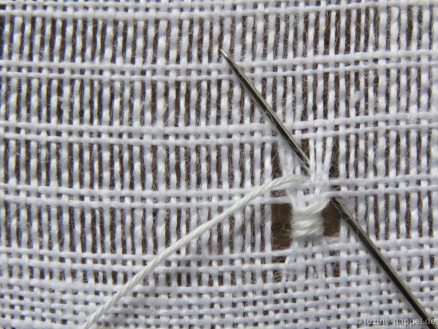
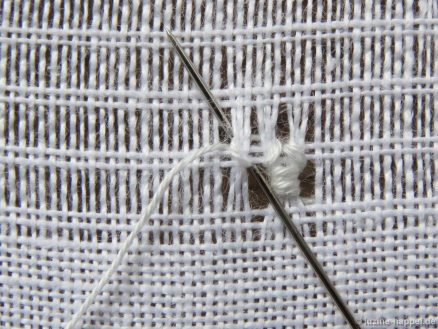
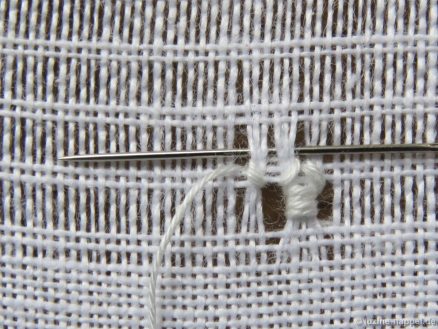
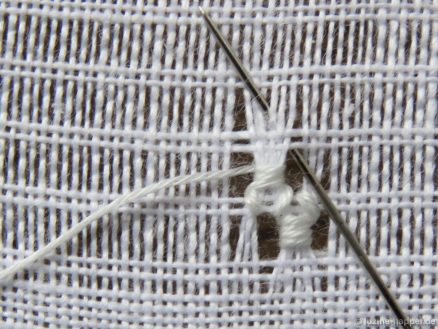
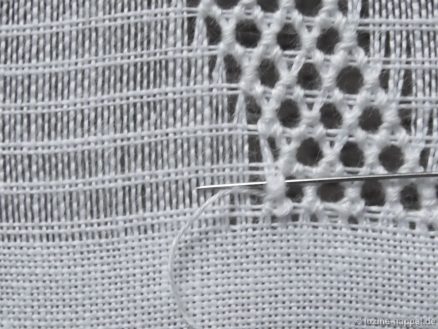
mostly, however, the grid is completely secured with Cable stitches.
In the openwork grid with Cable stitches usually , Needle-Weaving stitches
or Rose stitches
or combinations of both are embroidered.
There are several hundred openwork patterns.
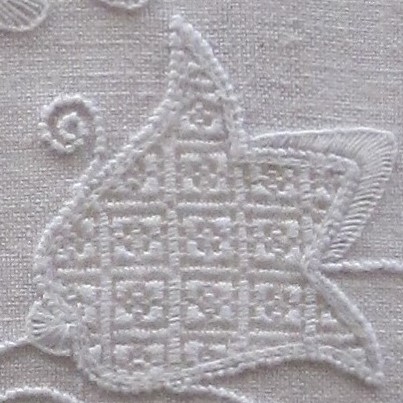
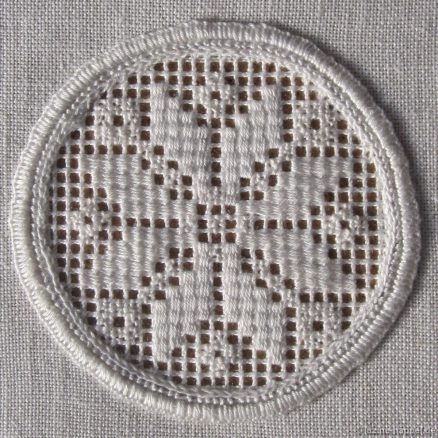
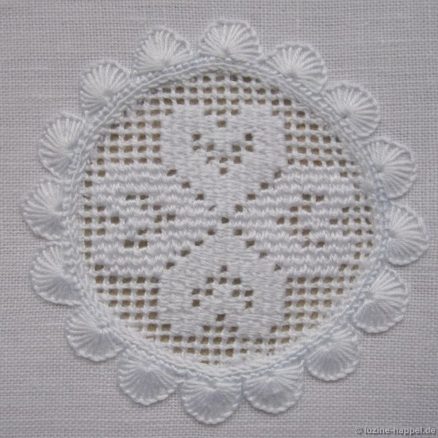
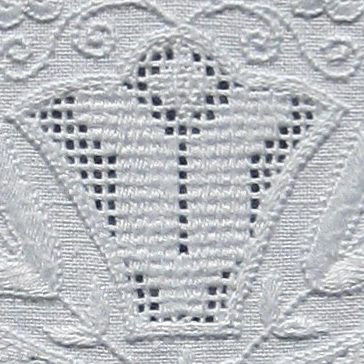
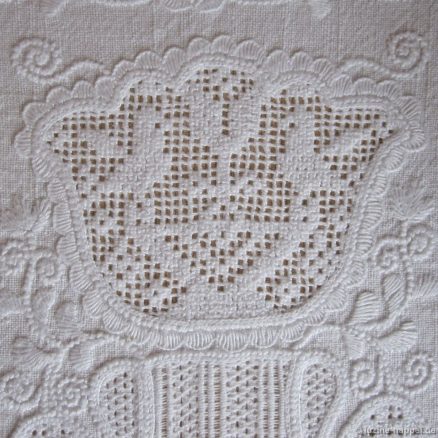
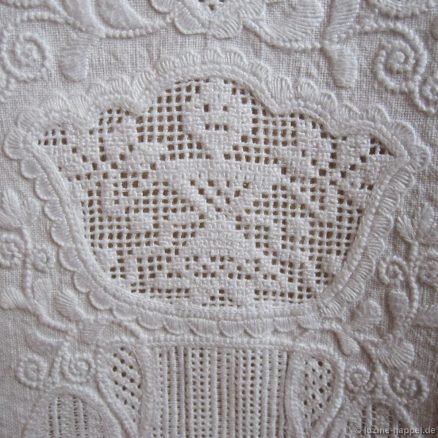
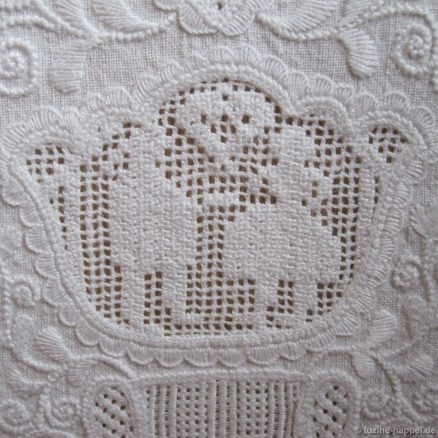
In addition to the endless patterns shown above, openwork grids with Cable stitches in the Schwalm are also often decorated with figurative patterns.
Stars and
play a big role here, but tulips, birds and other animals as well as males and females can also be found.
In combination with the extremely large number of Limet patterns and the variety of simple withdrawn-thread patterns, one can choose from almost 1000 different area filling patterns.
With the endlessly variable outline patterns, the wide range of area filling patterns and the type of objects to be embroidered, every stitching project can become absolutely unique.
This possibility is once again highly valued today.
The health benefits shouldn’t be overlooked either. Being able to hold a tangible result of one’s work in one’s hands at the end of the day strengthens the psyche. Using both hands is important for maintaining brain function.
An overview of possible Schwalm whitework designs can be obtained through the thumbnails. Clicking on an interesting image will take you deeper into the respective subject matter.
