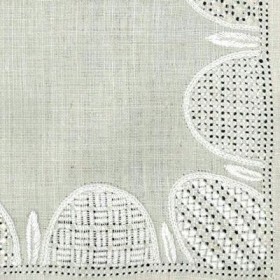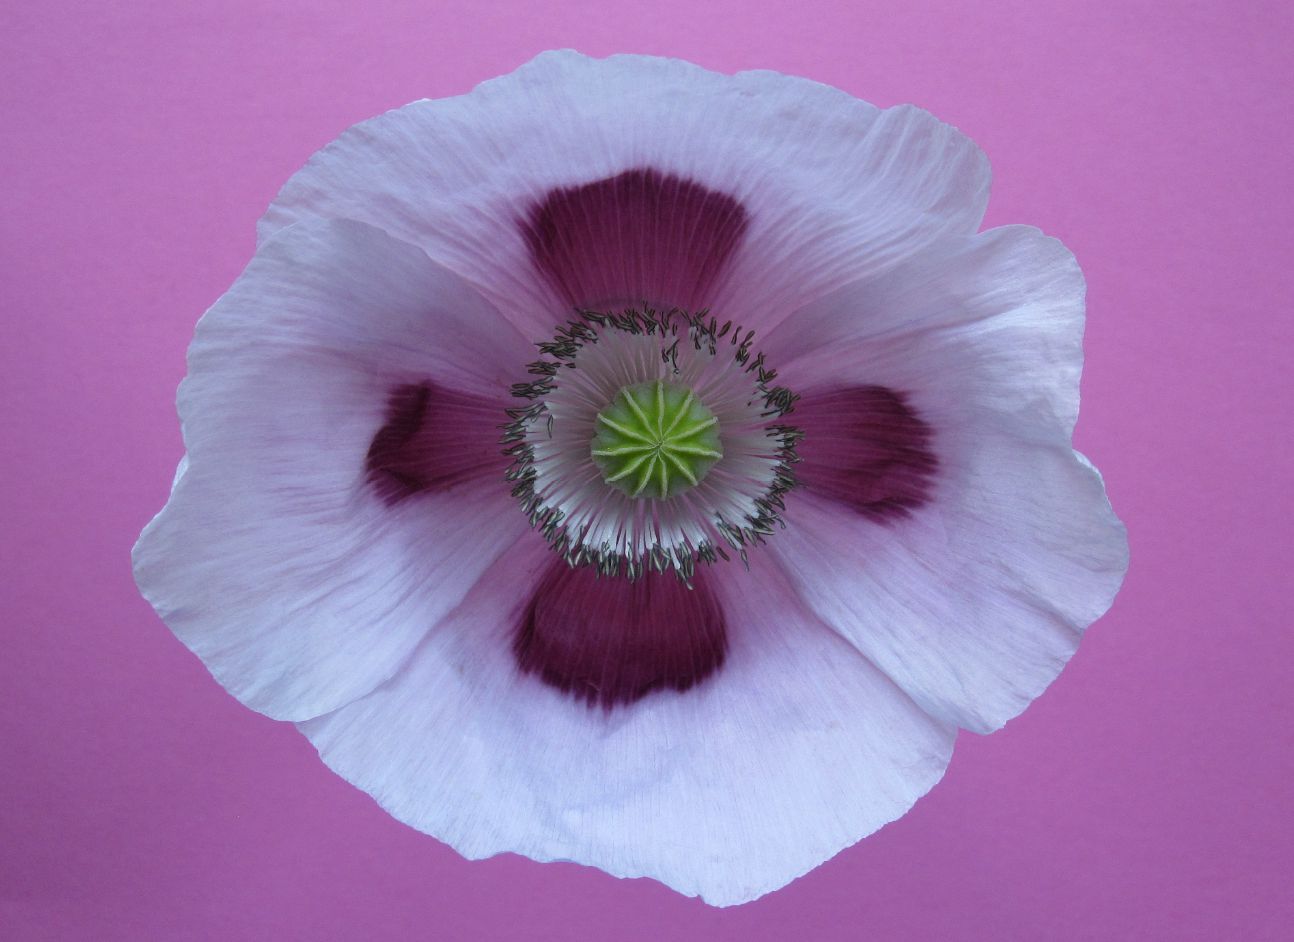
In August the summer climaxes. At this pinnacle, nature once again puts on a show with beautiful flowers of endless diversity. Sunflowers can be seen everywhere – in some places entire fields are turned into golden carpets, and in others a single tall specimen reaches to the sky.
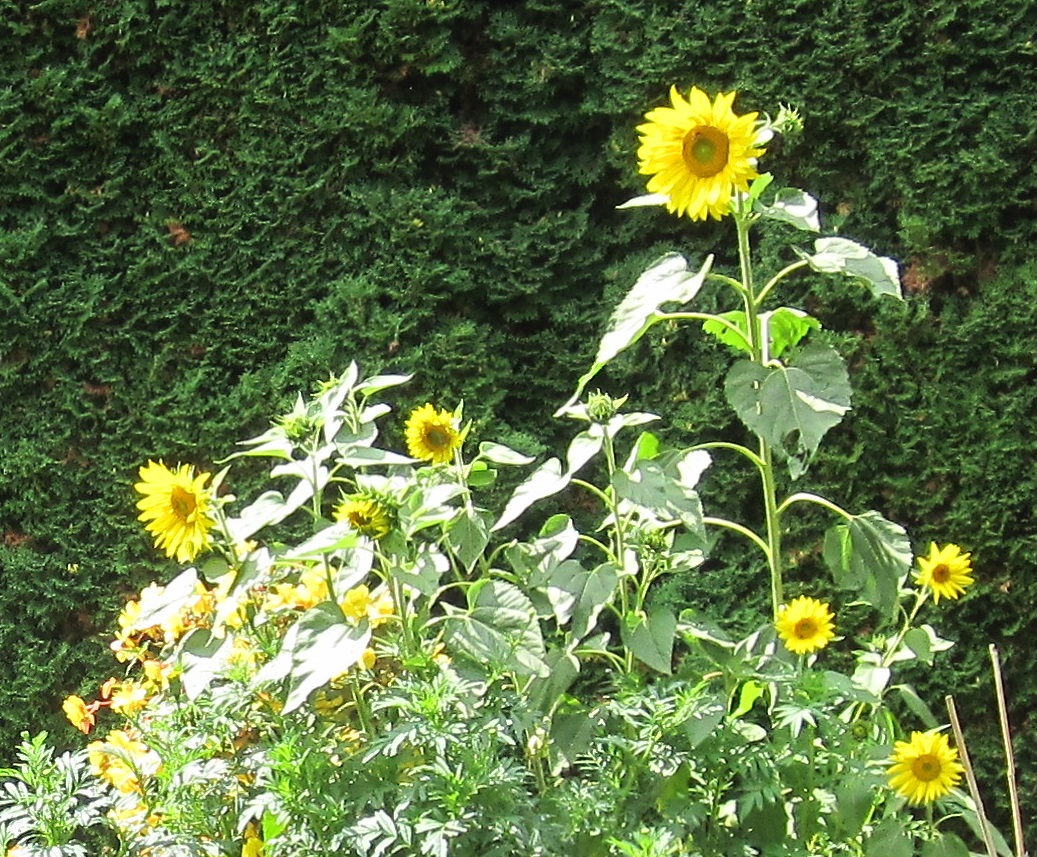 So, I chose the sunflower for August.
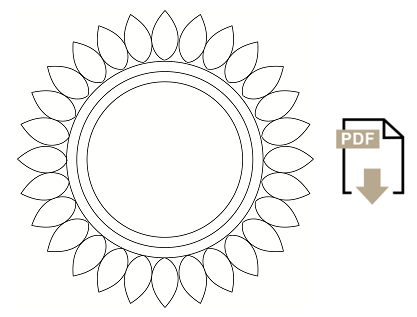
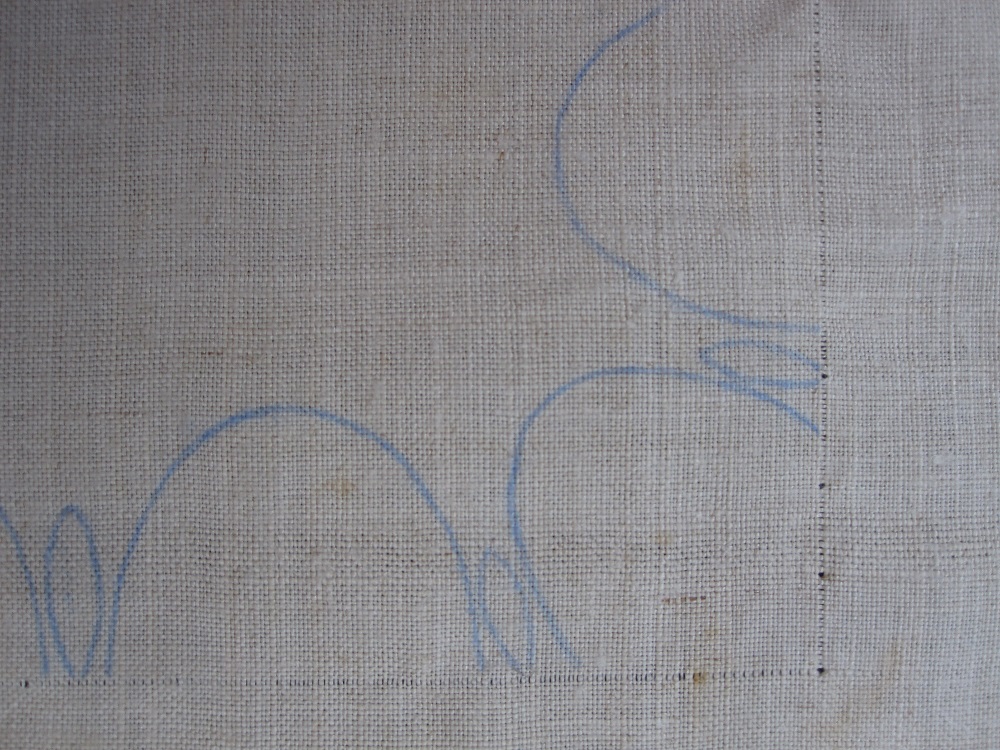
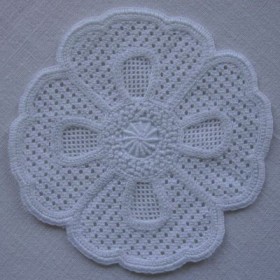
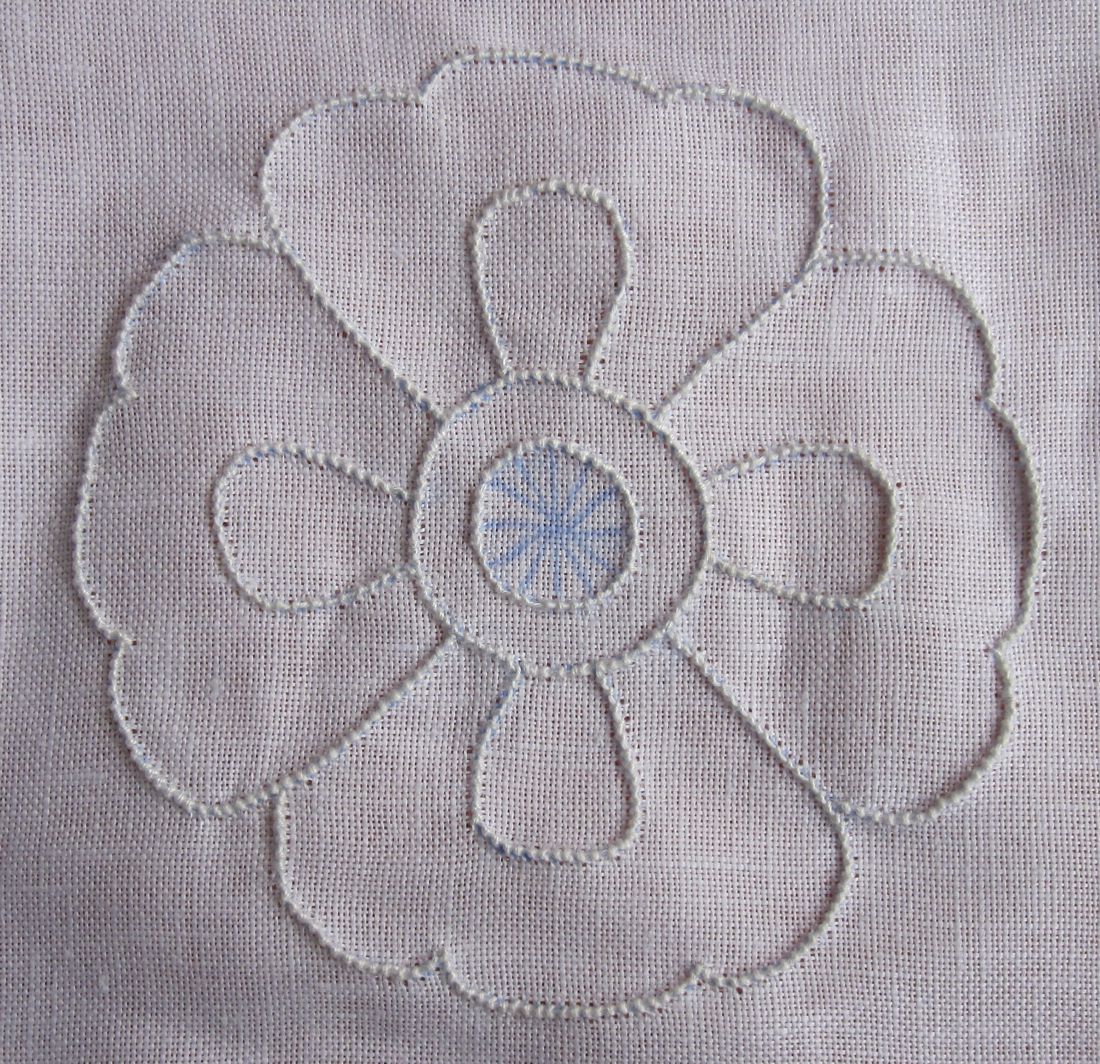
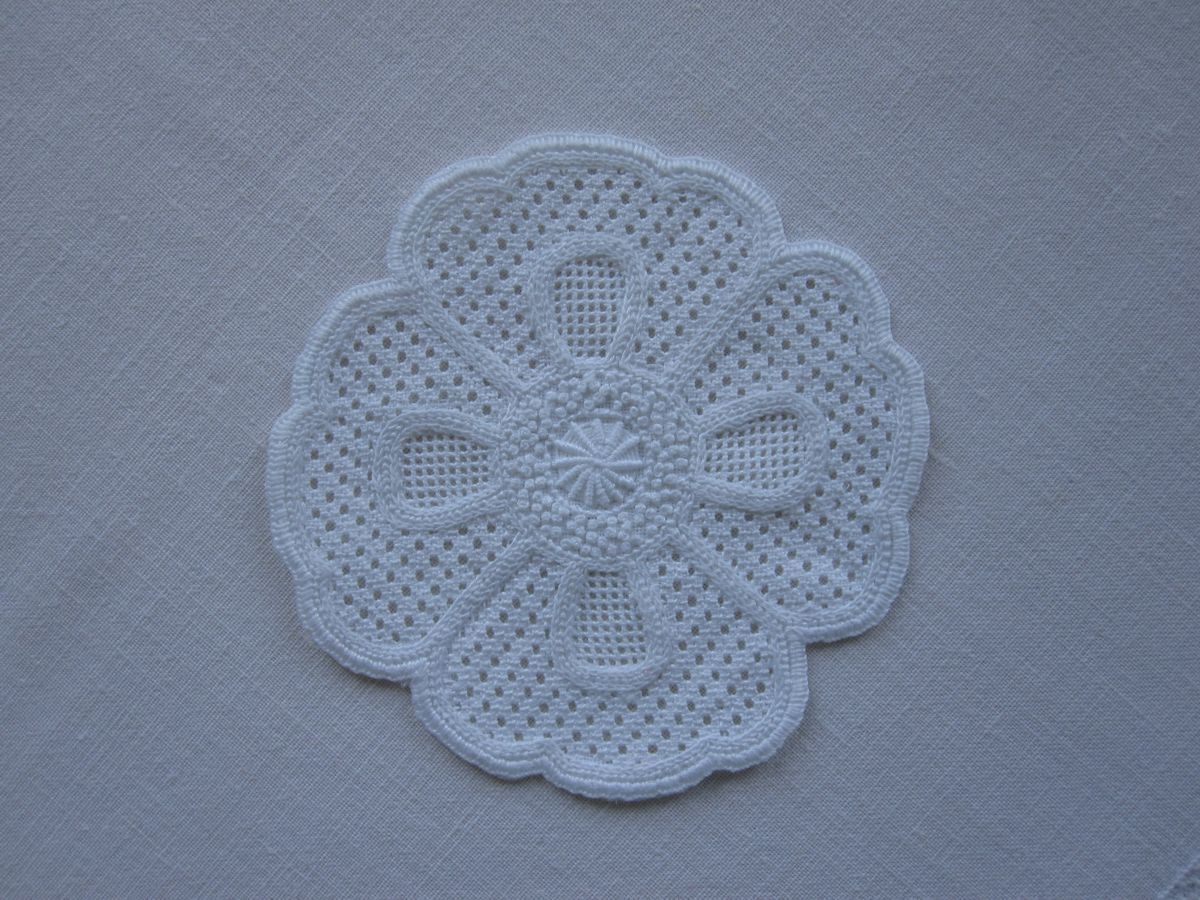
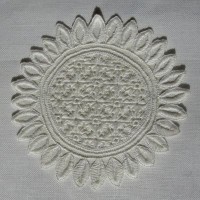
Originally the shape measures 14 cm in diameter.
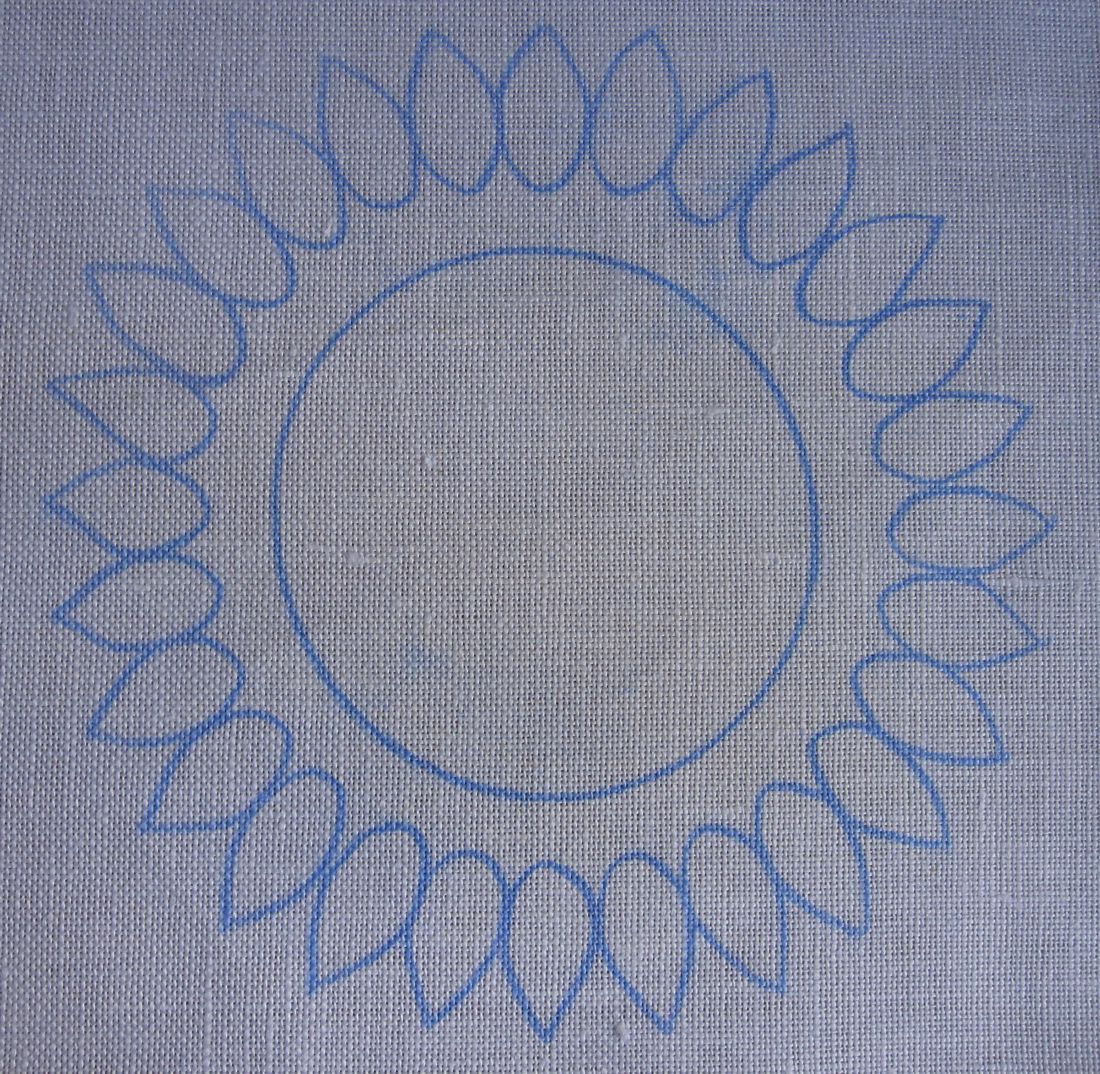 First the line drawing has to be transferred onto paper using an iron transfer pencil. The circle turns out better if one uses a round template, pair of compasses, or a glass rim of the correct size.
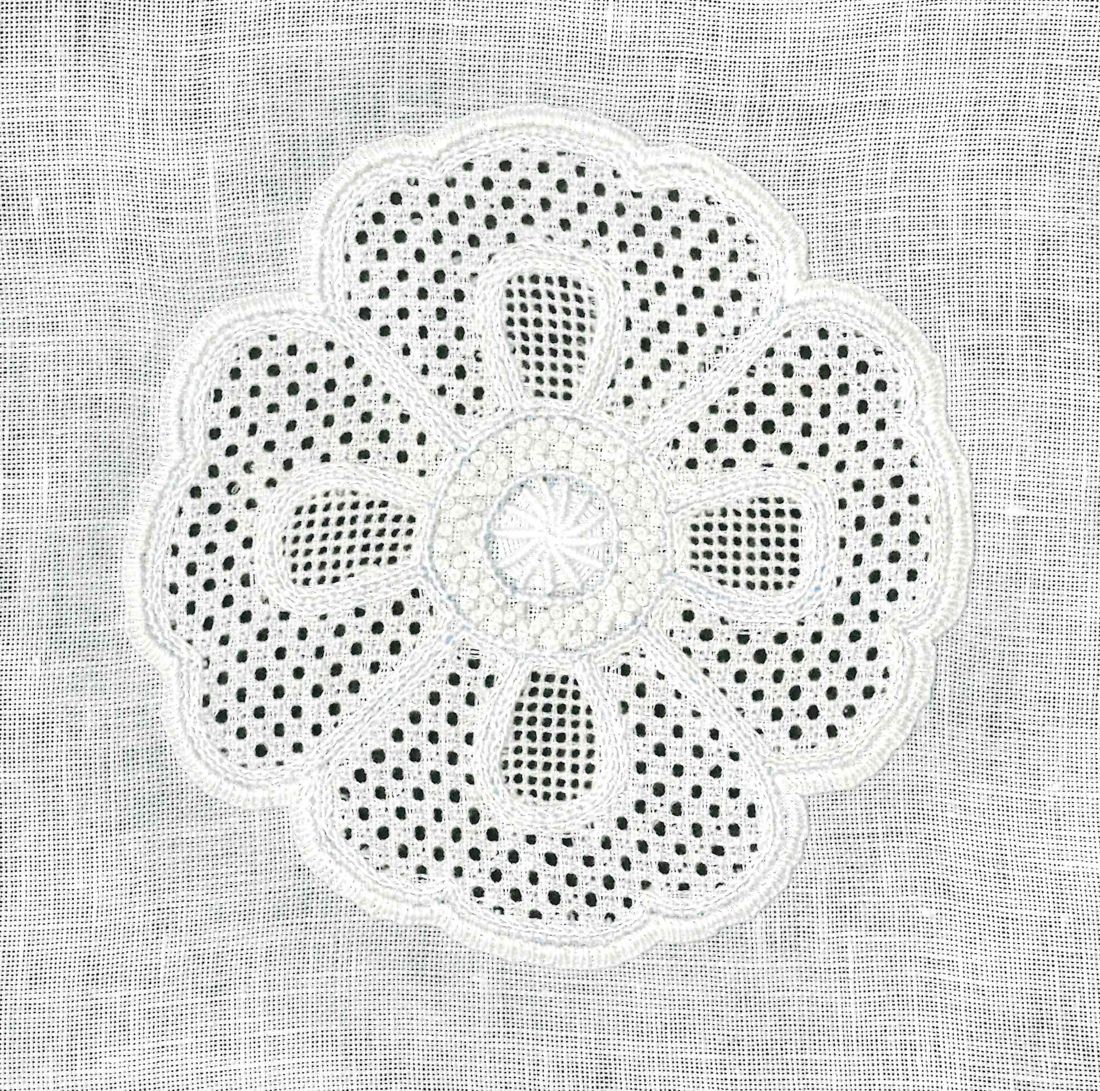
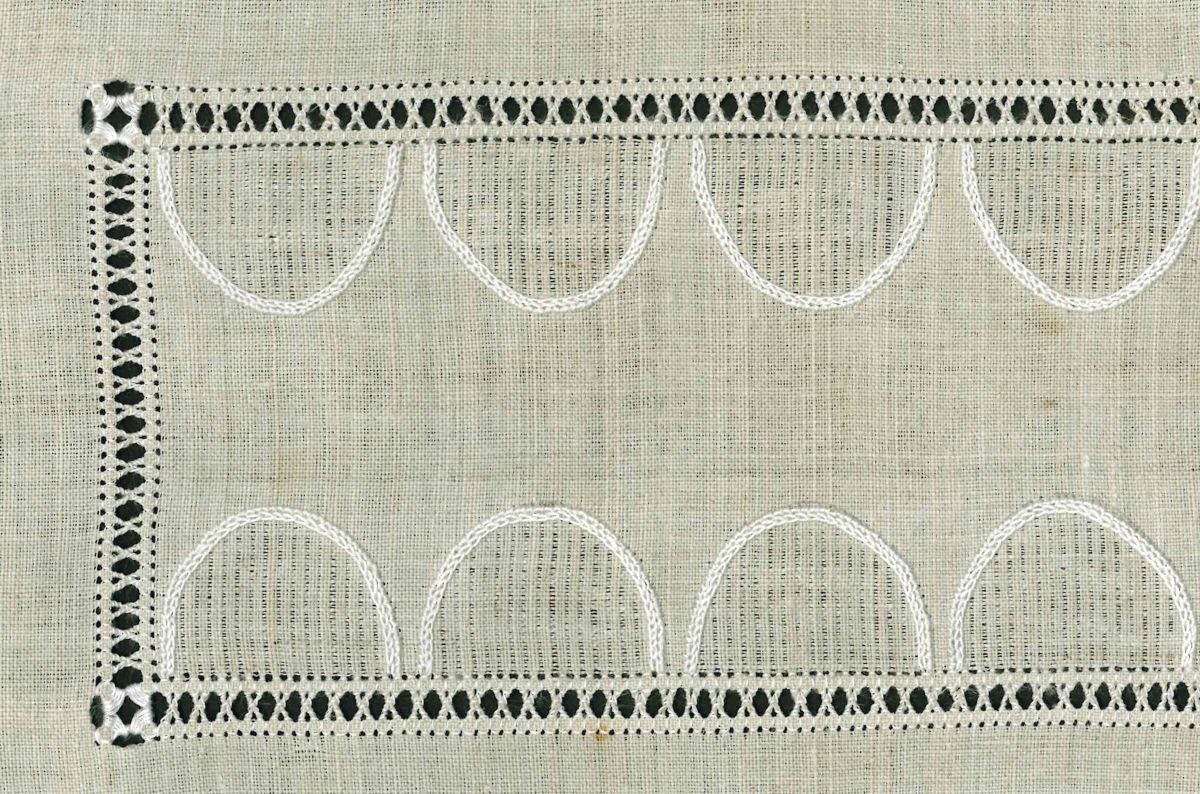
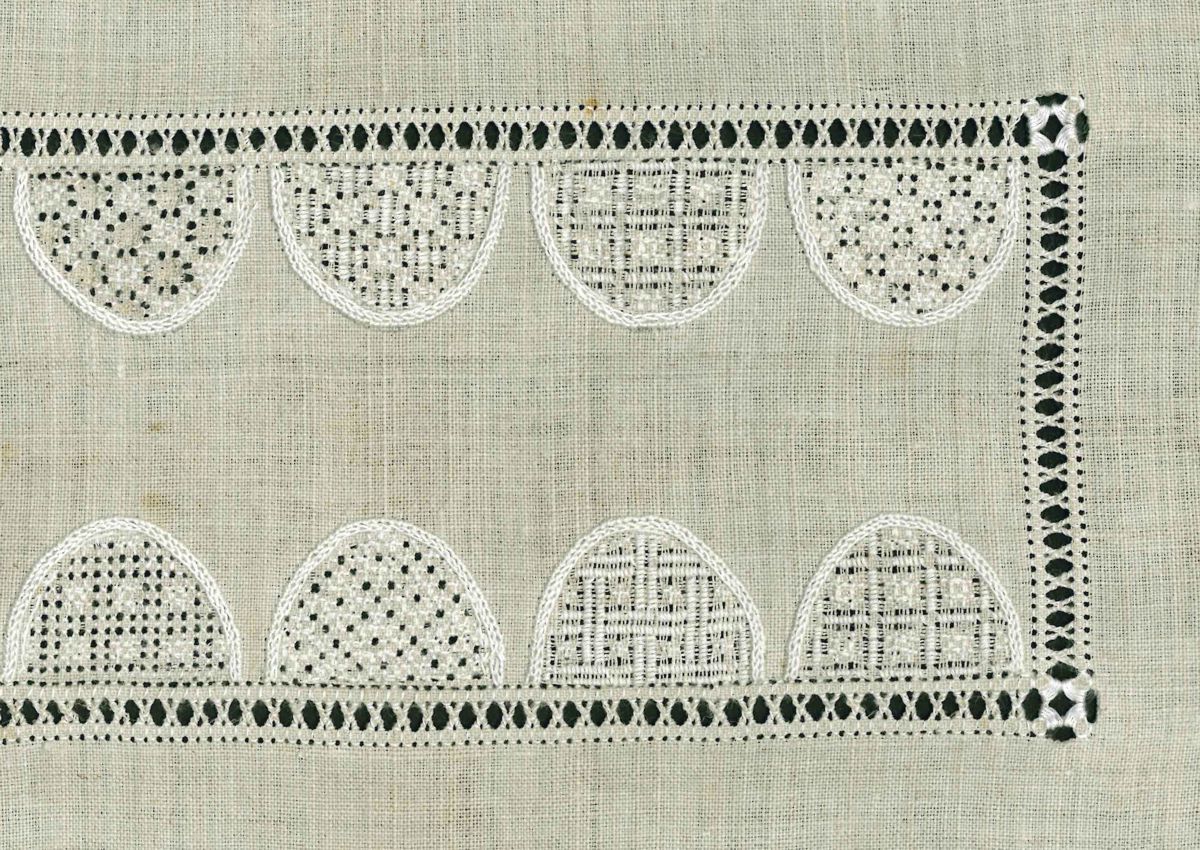
Depending on the desired decoration at the inner edge of the petals, one or more rings can be arranged. If using more than one ring, the area of the innermost ring can be embellished with a filling pattern. The space between the outermost ring and the petals can remain unembroidered.
However, the area between the outer and inner rings can be filled with ornamental stitches (for example curved lines or “Kerrercher”) or with a narrow filling pattern (for example Cable stitch). An idea is to use three (or more) rings and to cover these with Coral Knot stitches. Or, perhaps, only the outside ring is used so to accommodate a spacious filling pattern.
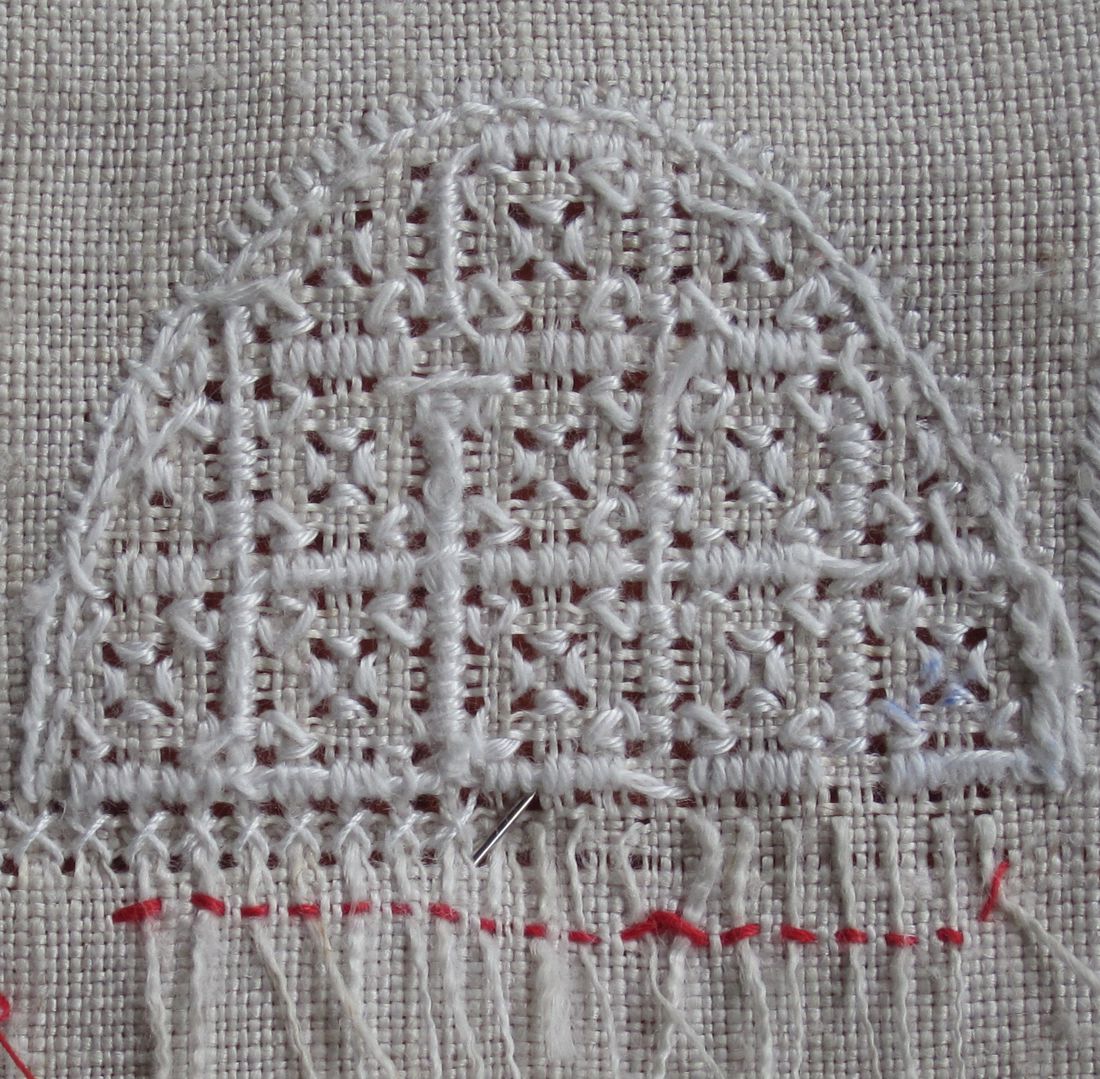
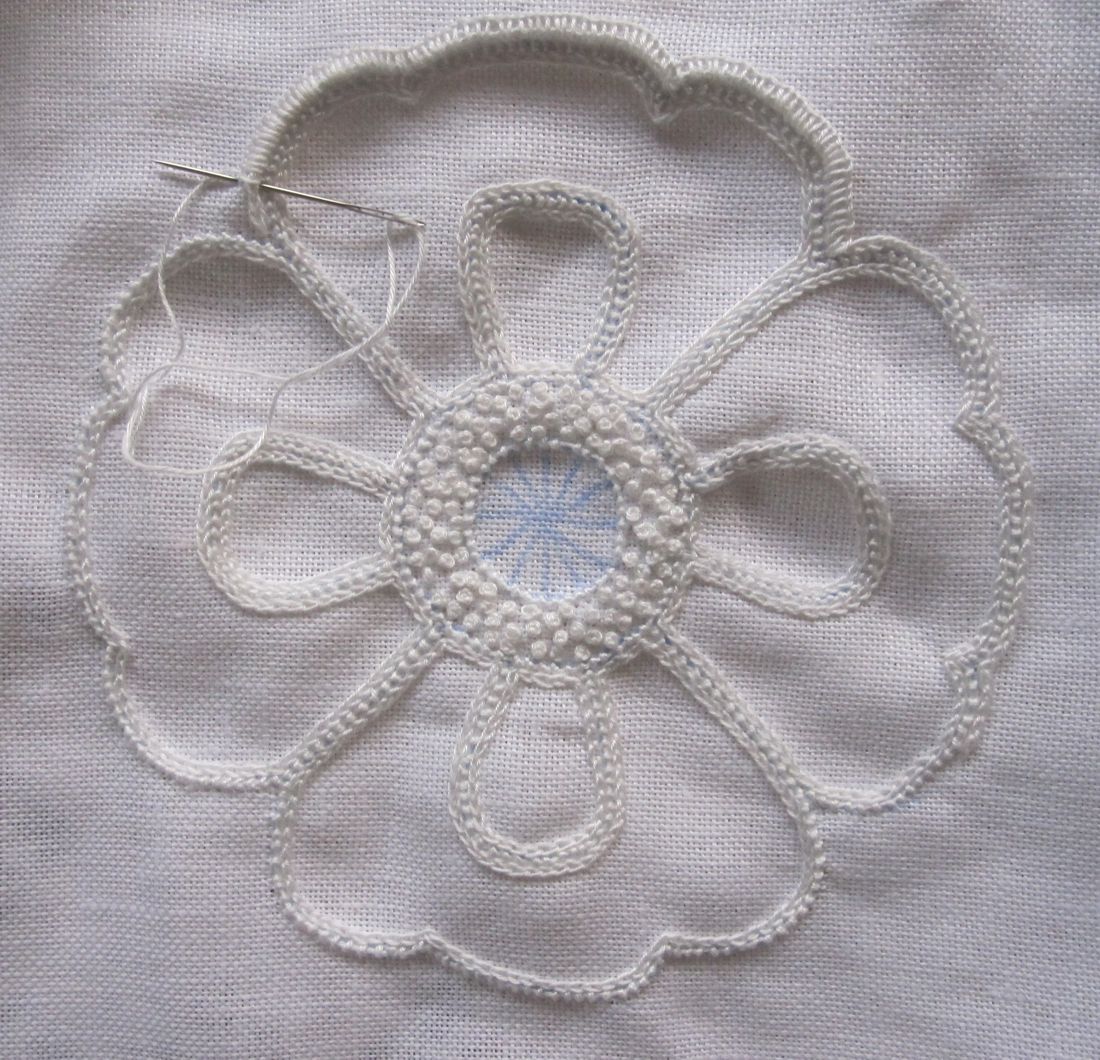
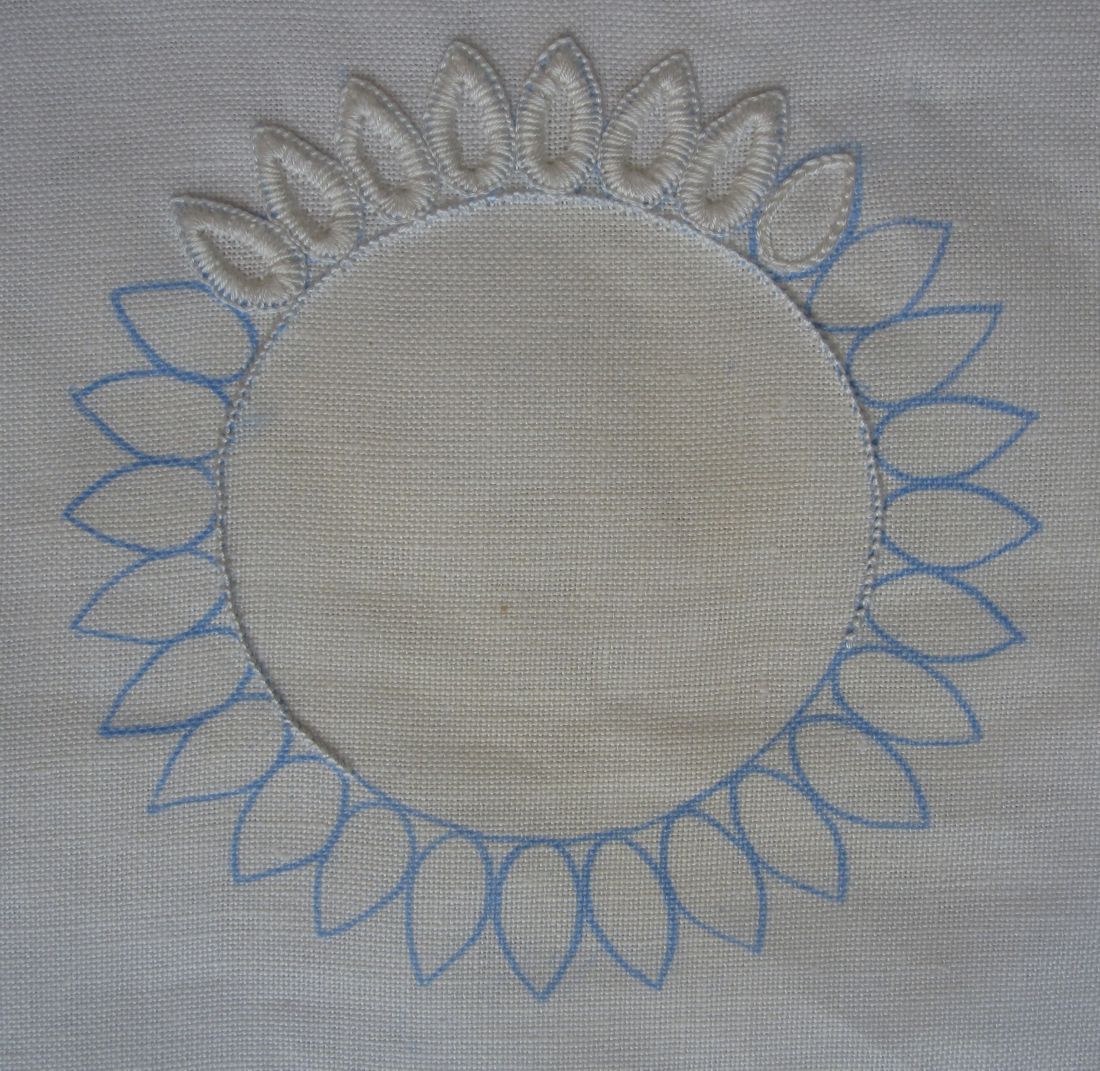 On Weddigen linen, 13.5/cm thread count, Coral Knot stitches were worked along the circle line(s) using Coton à broder No. 16. Using Coton à broder No. 20 Chain stitches were worked a small distance inside the lines of the petals. The Chain stitches were covered with densely worked Blanket stitches, also using Coton à broder No. 20. So that the blanket stitches do not get too long, a small space in the middle of the petal remains unembroidered.
Using Coton à broder No. 30 Chain stitches were worked directly inside the Coral Knot stitches.
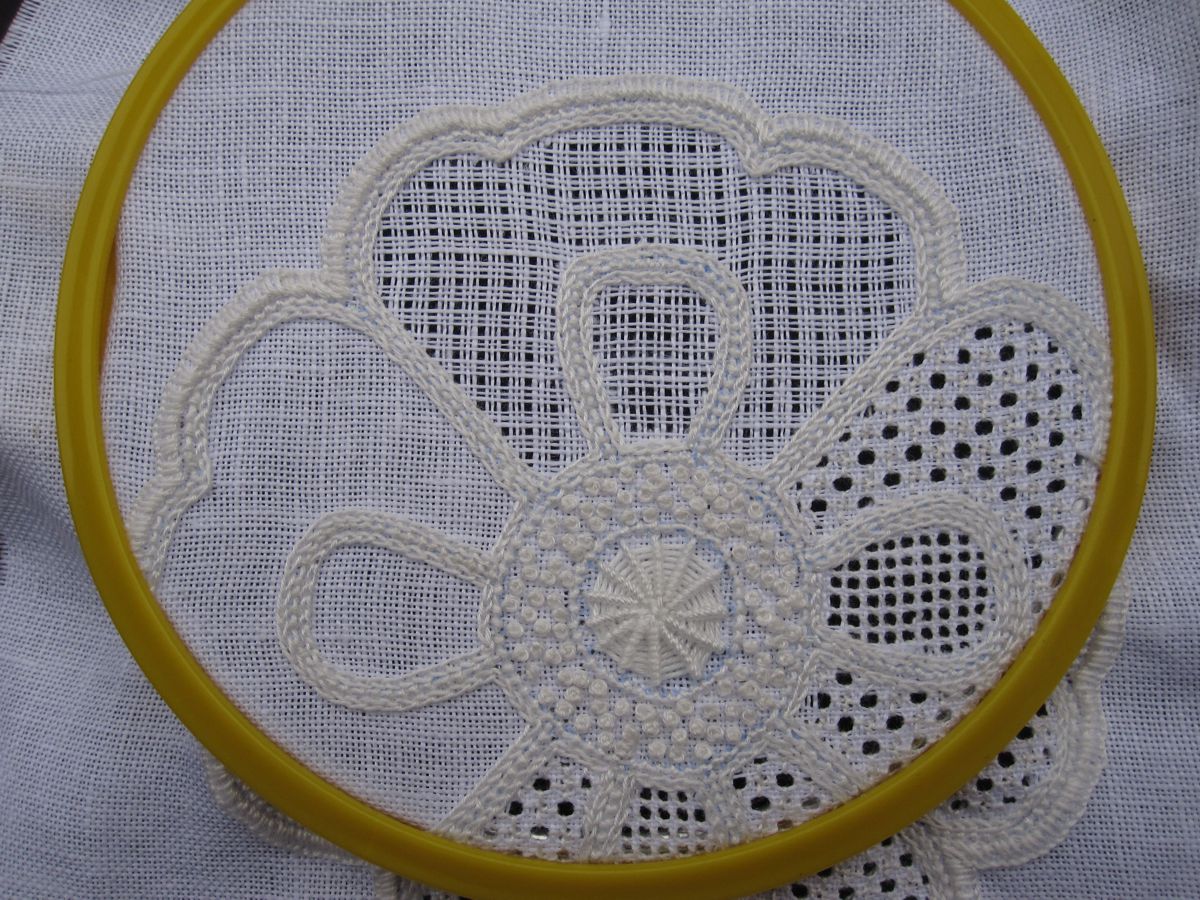
The shape was filled with the pattern “sunflowers” (Limetrosen II, pages 86-89). Many other filling patterns are also suitable for this motif.
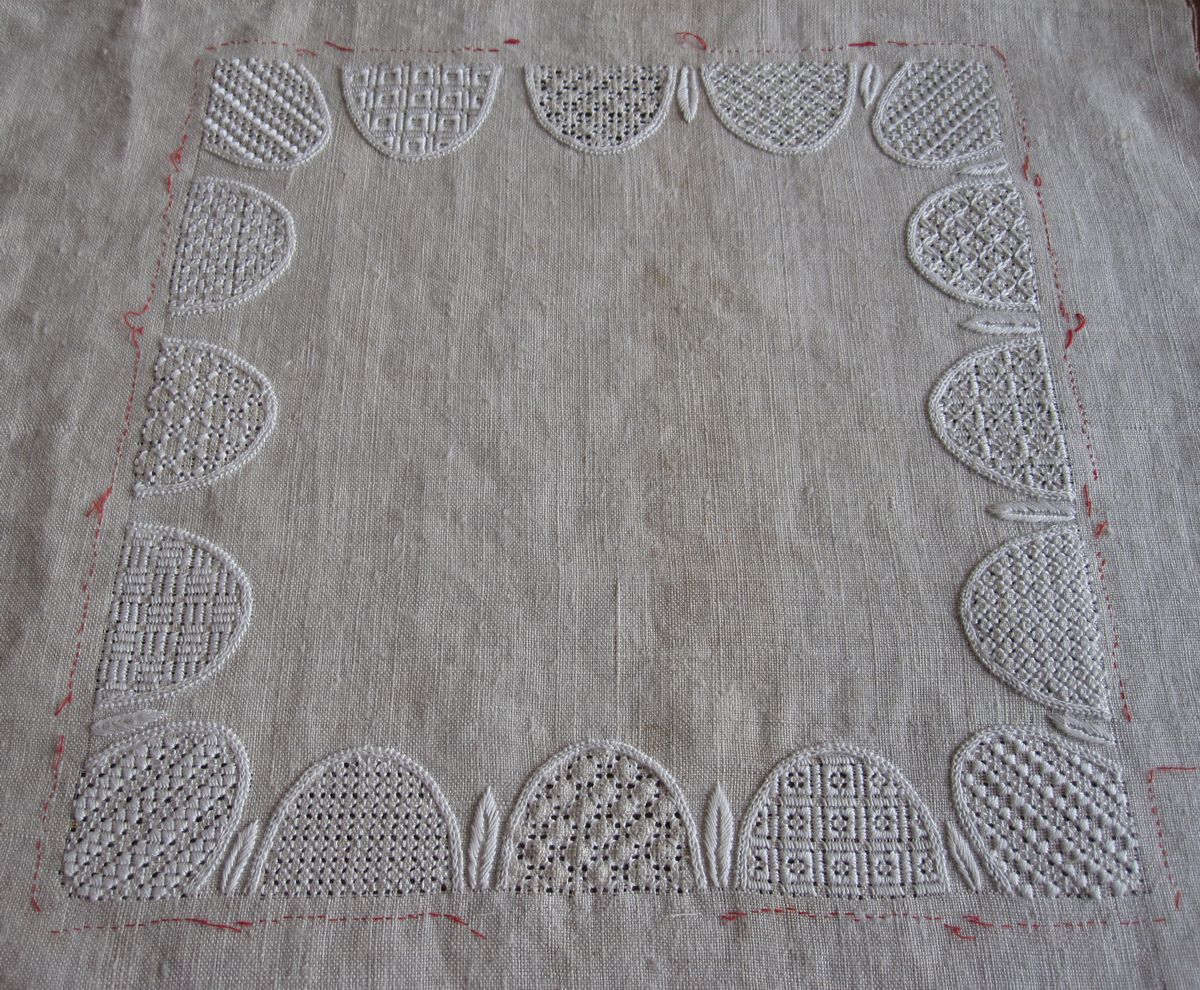
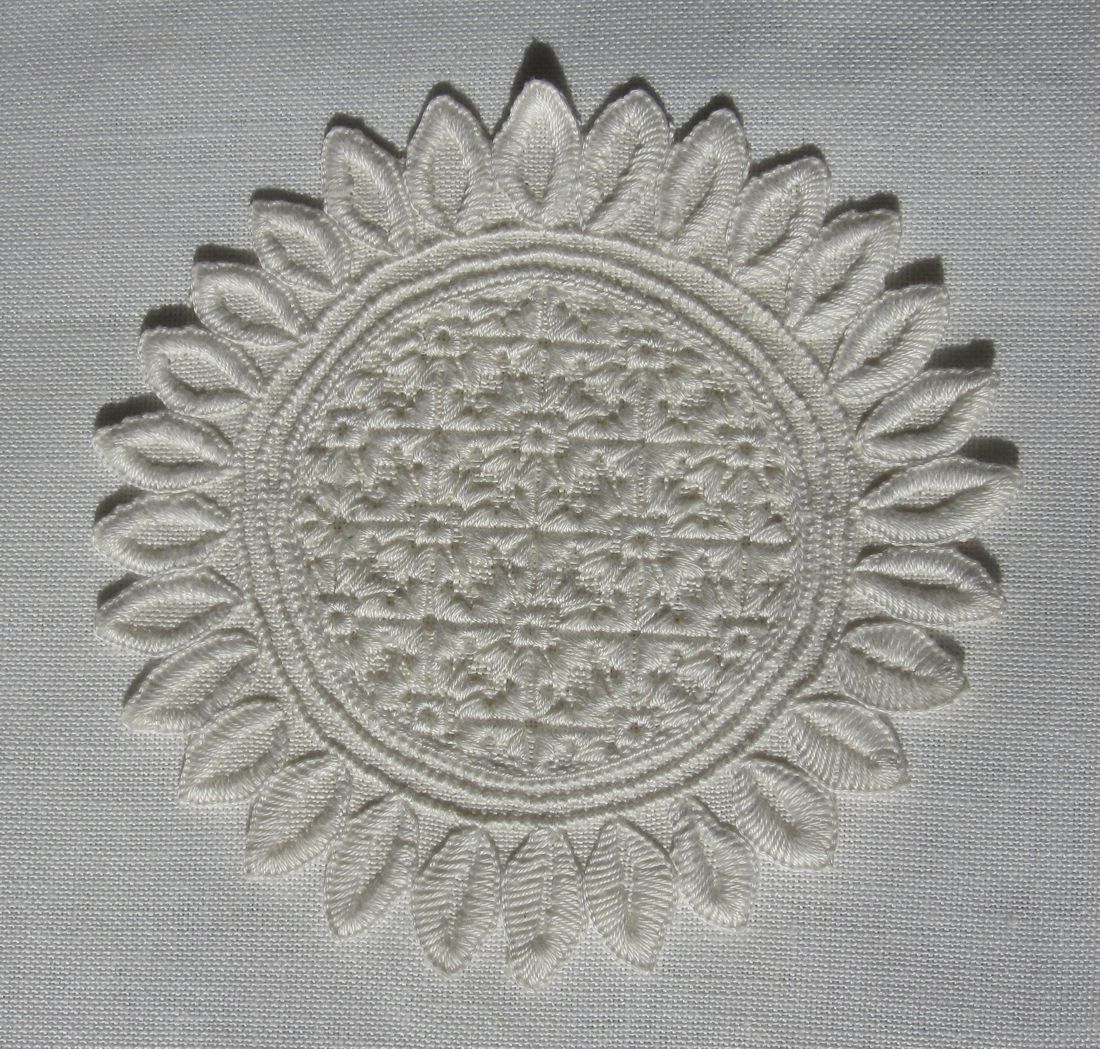 After finishing, the embroidered piece was washed (boiled), starched and ironed. Then, the sunflower was cut. If needed, such closely trimmed embroidery can be washed and ironed – quick and easy – at any time, but never spun in a washing machine!
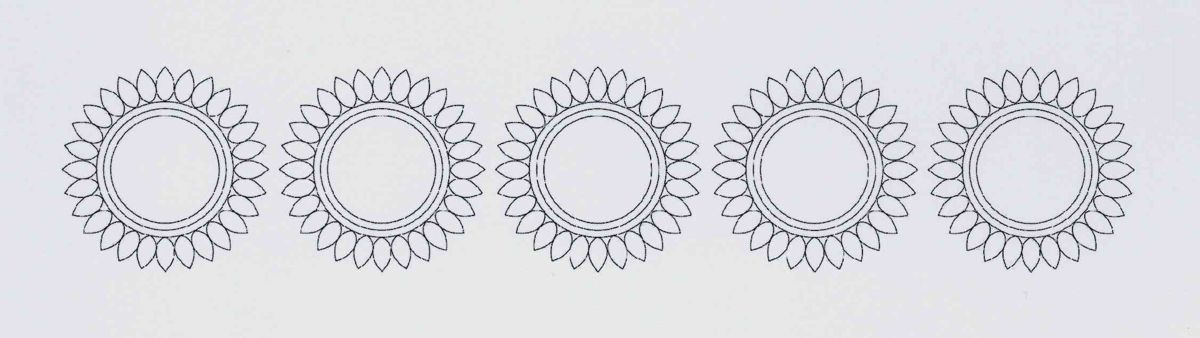 Already with four or five such sunflowers one can establish a nice decoration.
 Using some more sunflowers one can get a small wreath.
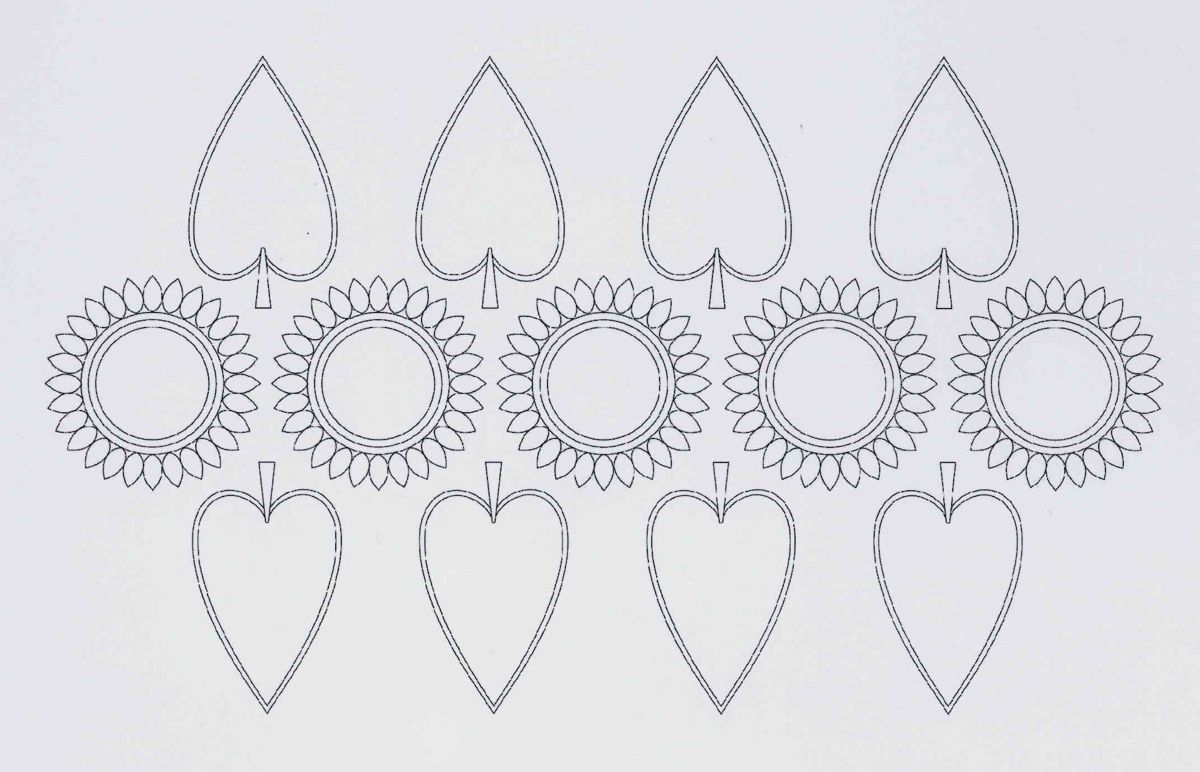 Combined with leaves in a band or a wreath looks even prettier.
 Also small groups can be nicely arranged.