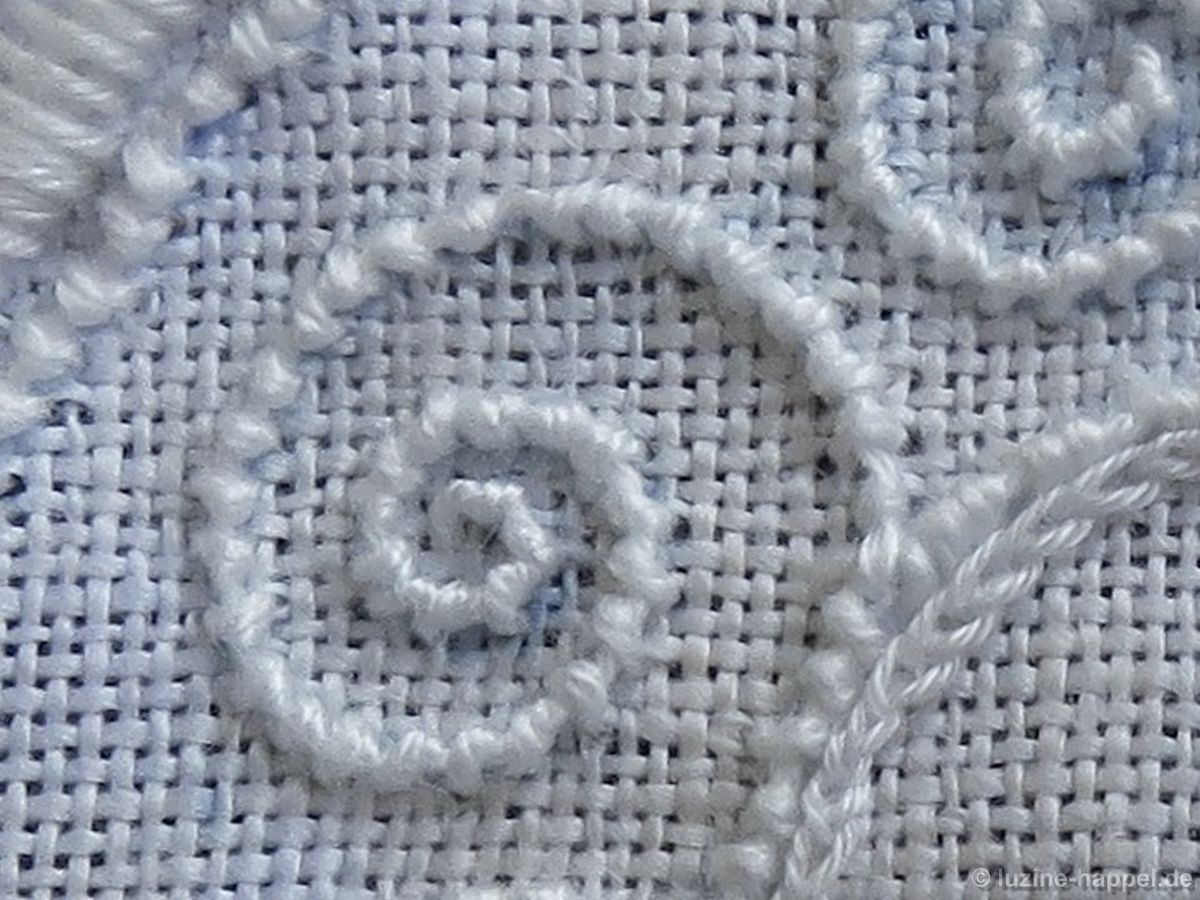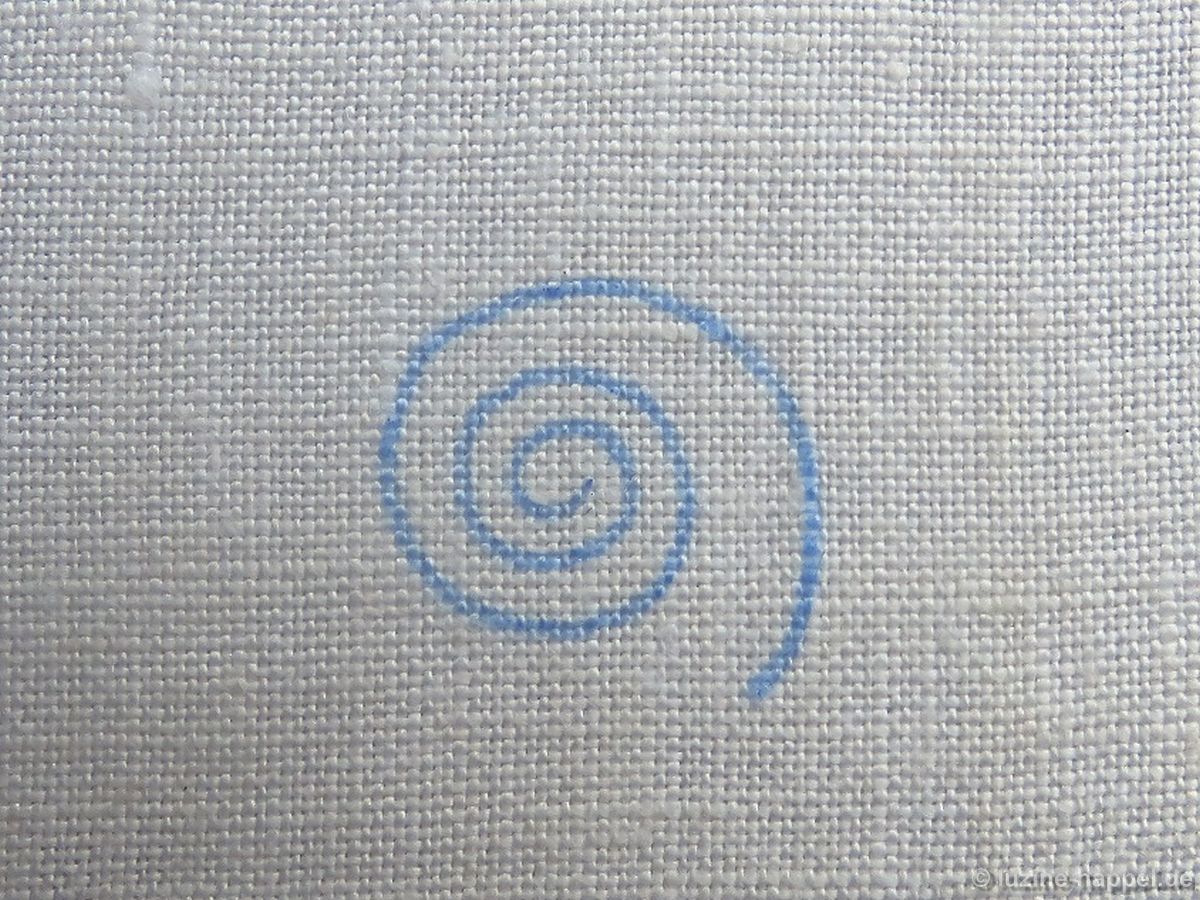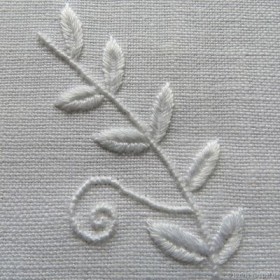
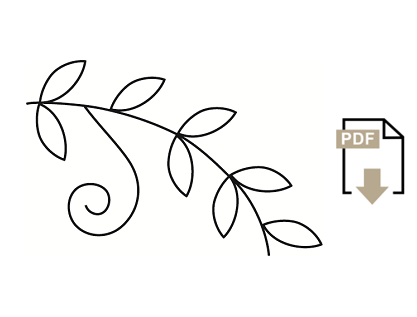
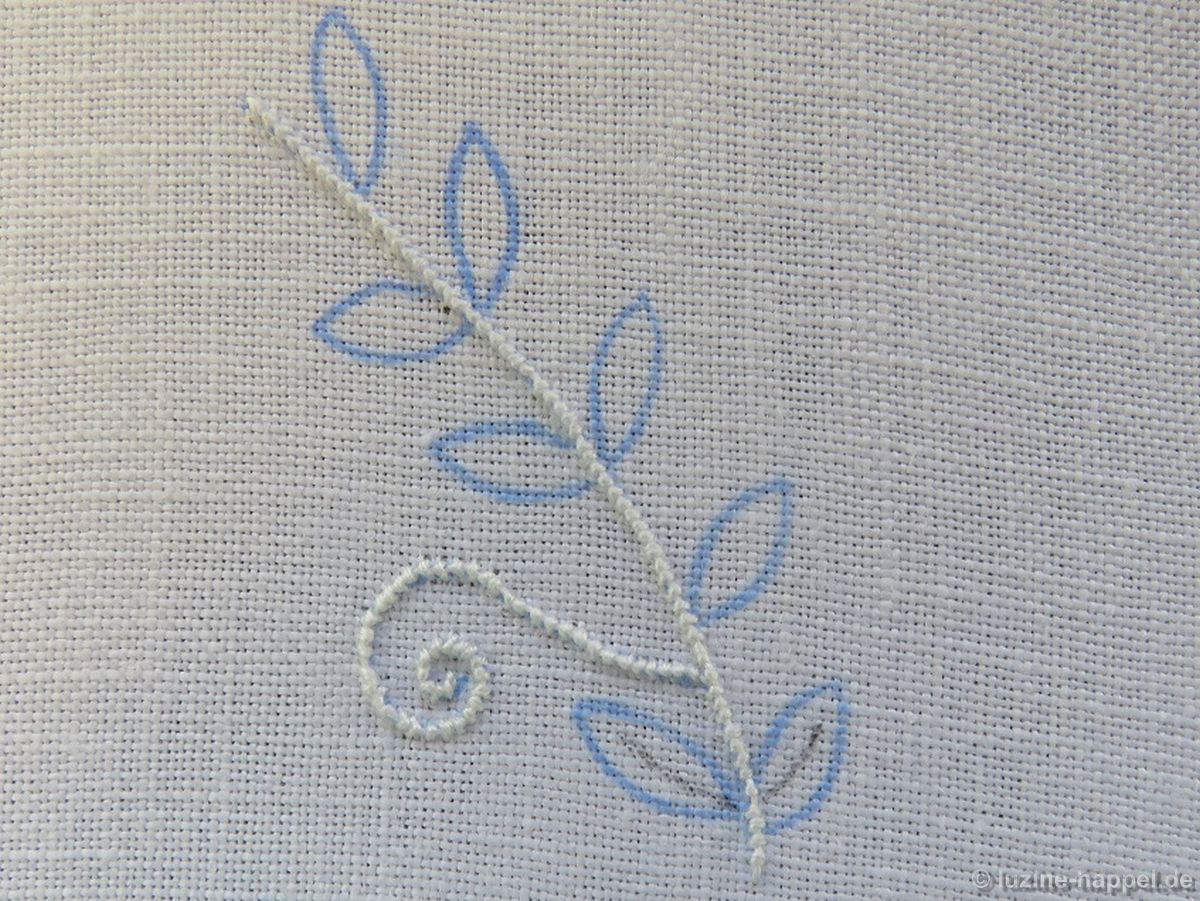
Small leaves pointed on both ends and approximately elliptic are common elements of Schwalm whitework. Some embroiderers have told me about their difficulties while working these leaves. So here are detailed instructions for working them. The examples shown here are worked on 16/cm thread count linen using coton à broder No. 25. I have provided two line drawings of different sizes.
The smaller one (about 4.5 cm X 3 cm) is for the advanced stitcher. Beginners should use the larger design (about 5.9 X 3.9 cm) for practicing. So that you get the designs in the right sizes, you can use my new service and download for free a pdf document with the line drawings.
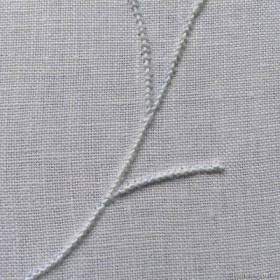
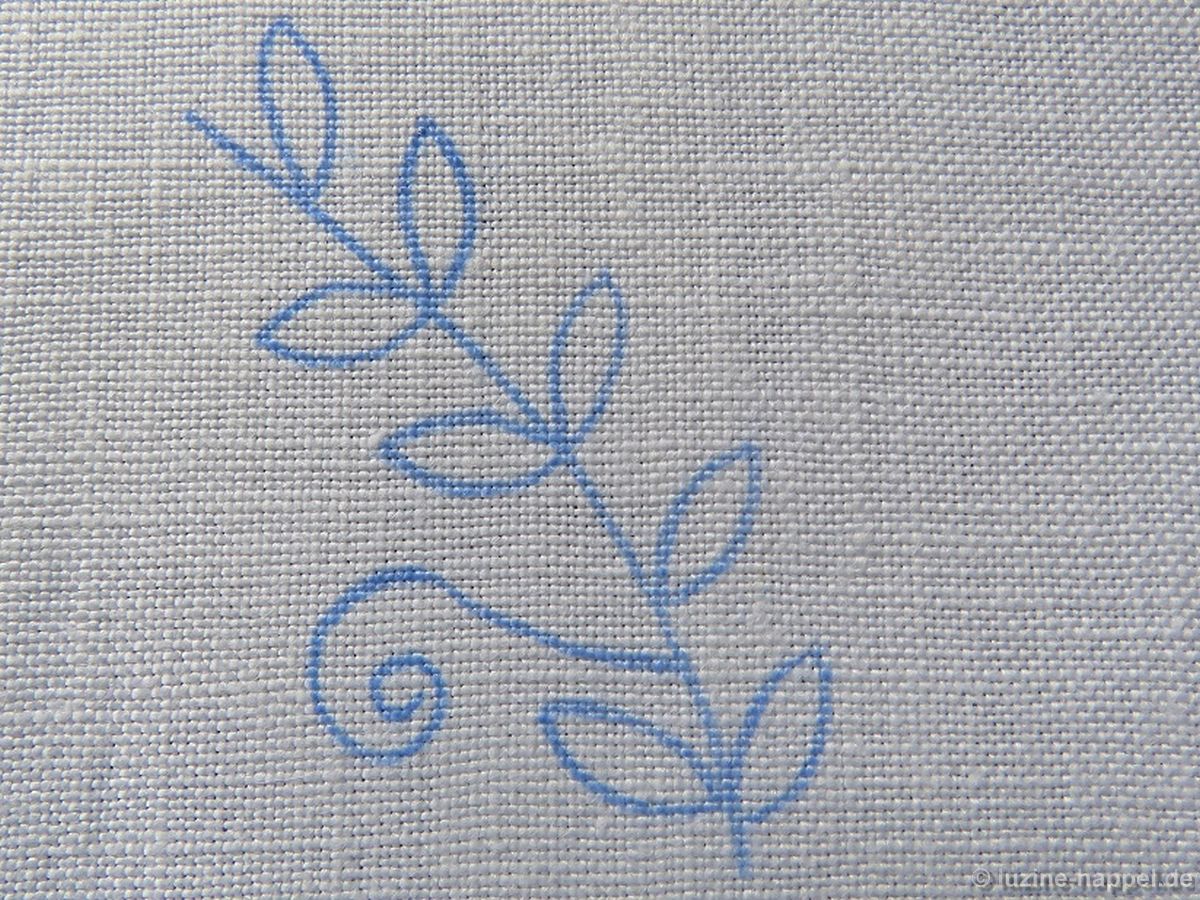
Transfer the design to the linen – keeping in mind that when ironing it to the linen, the design ends up mirrored.
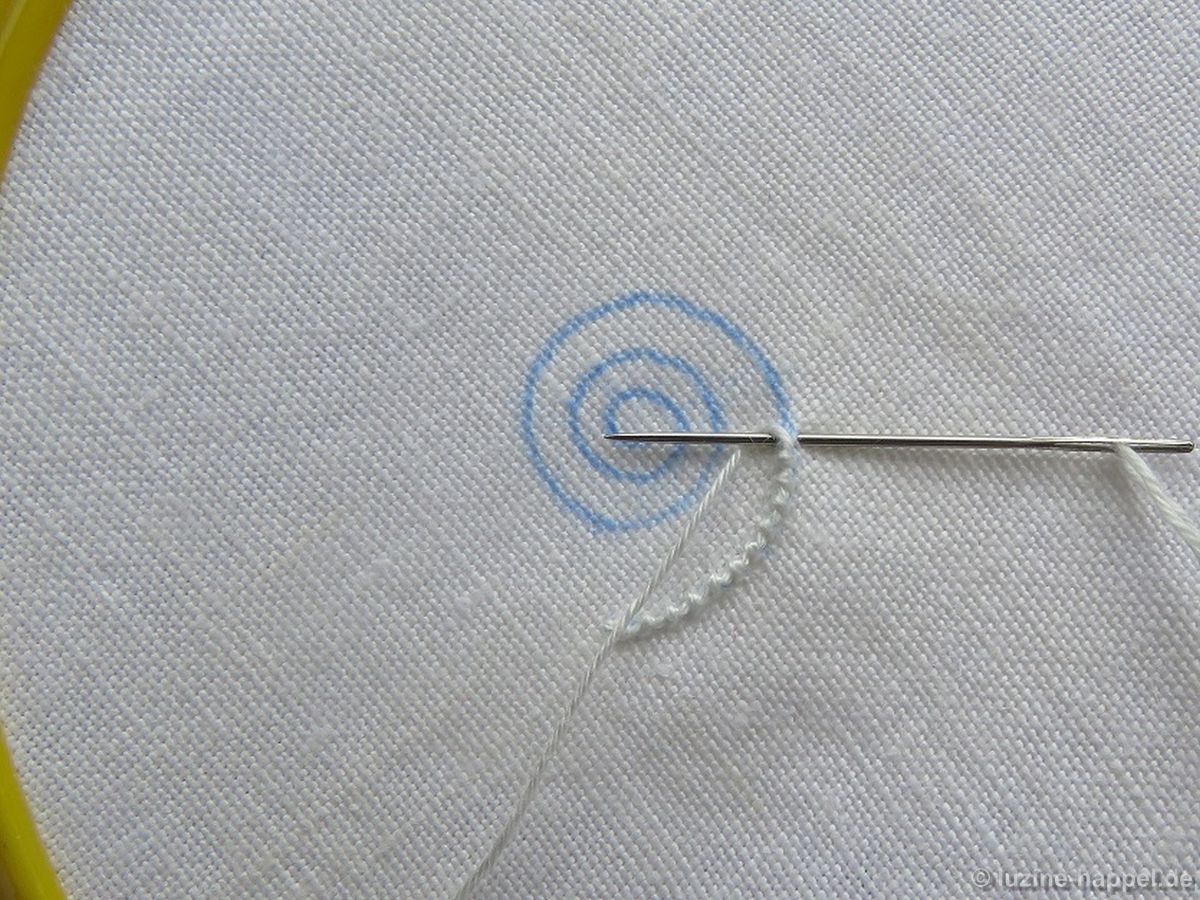
 Stretch the piece in a hoop.
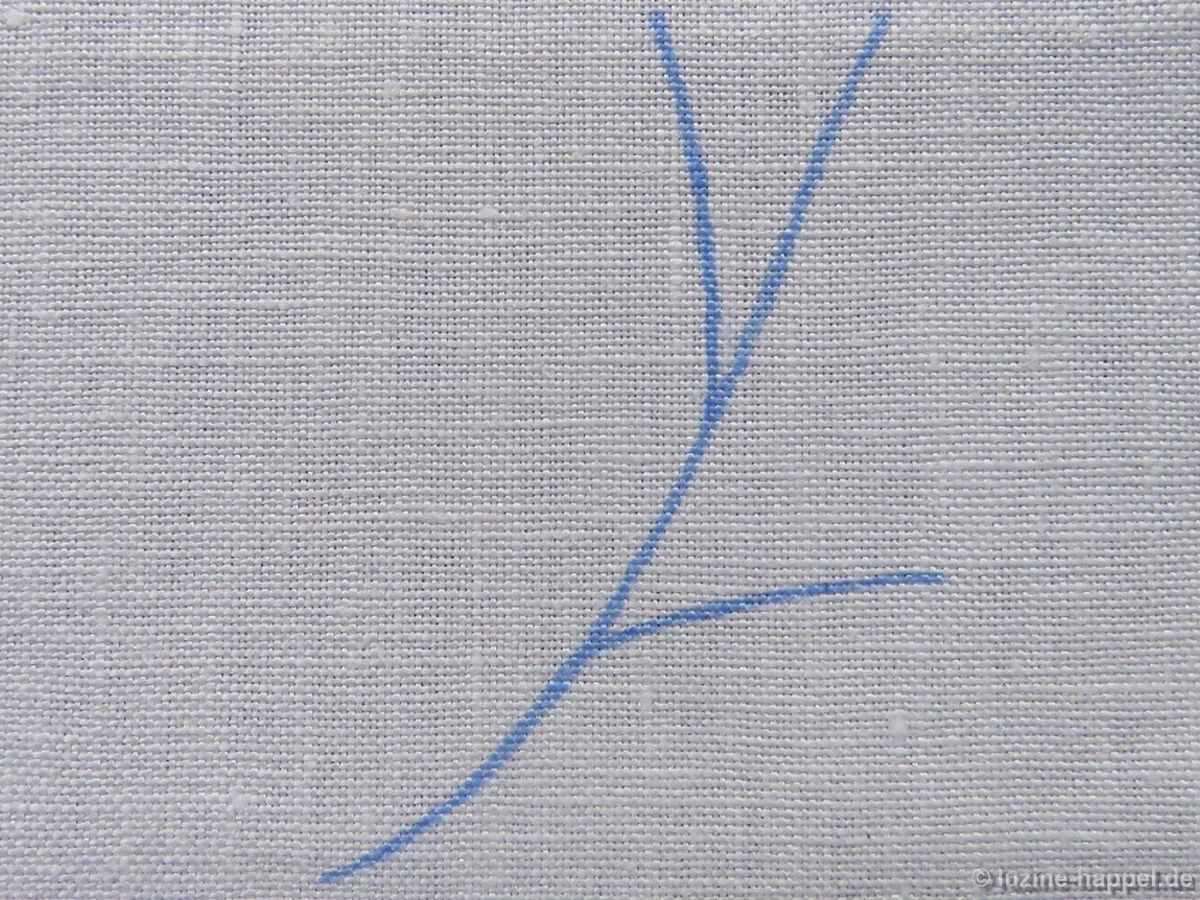
 First, draw a line in the middle of the leaves; do this by starting at the stem and ending at about the same distance from the top point as from the sides.
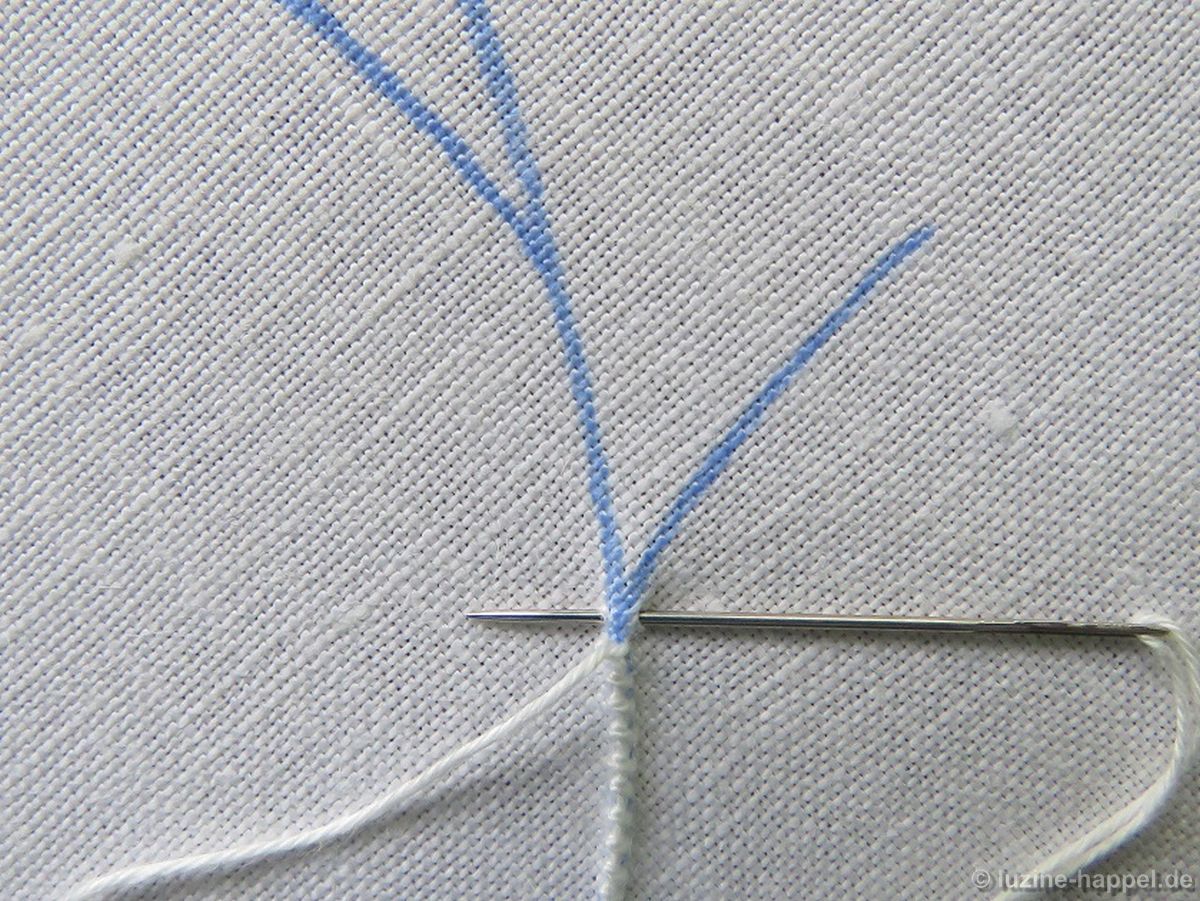
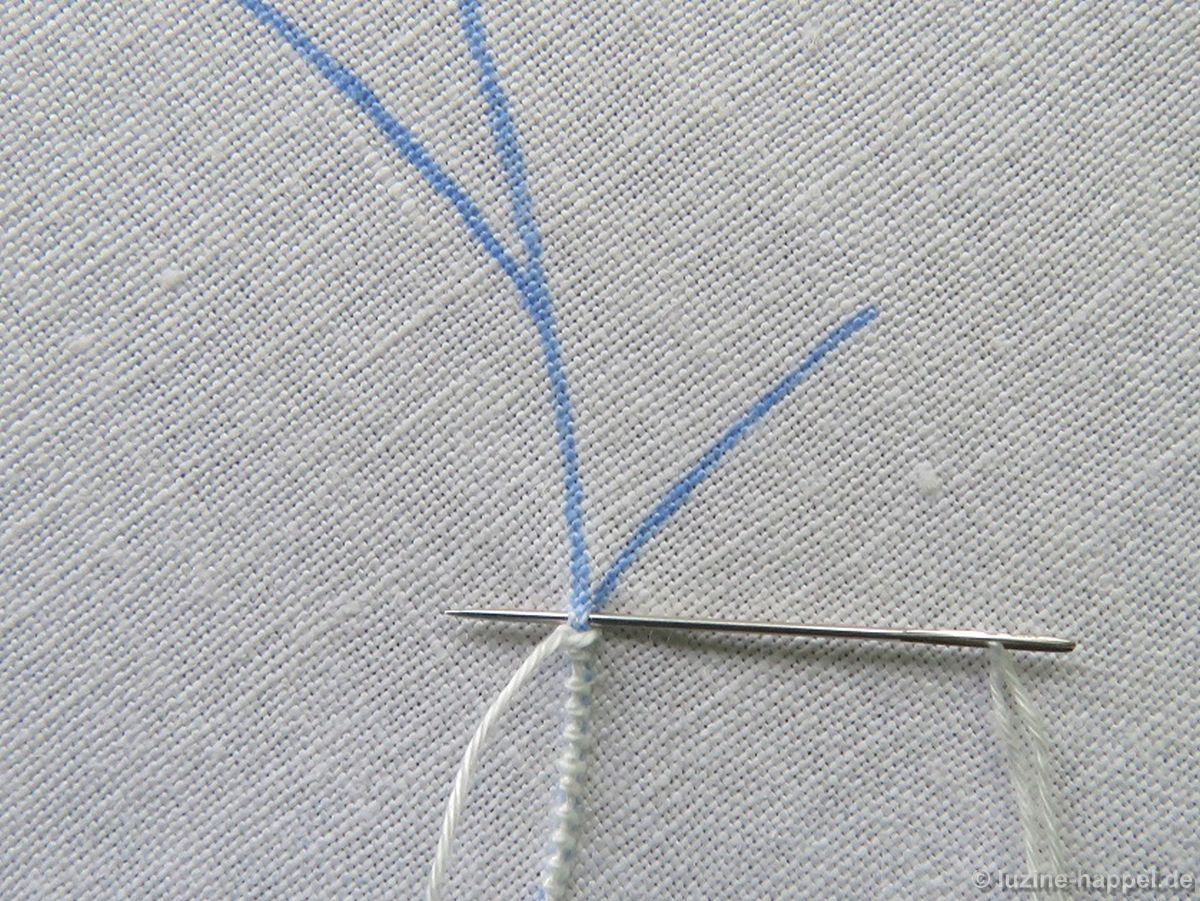
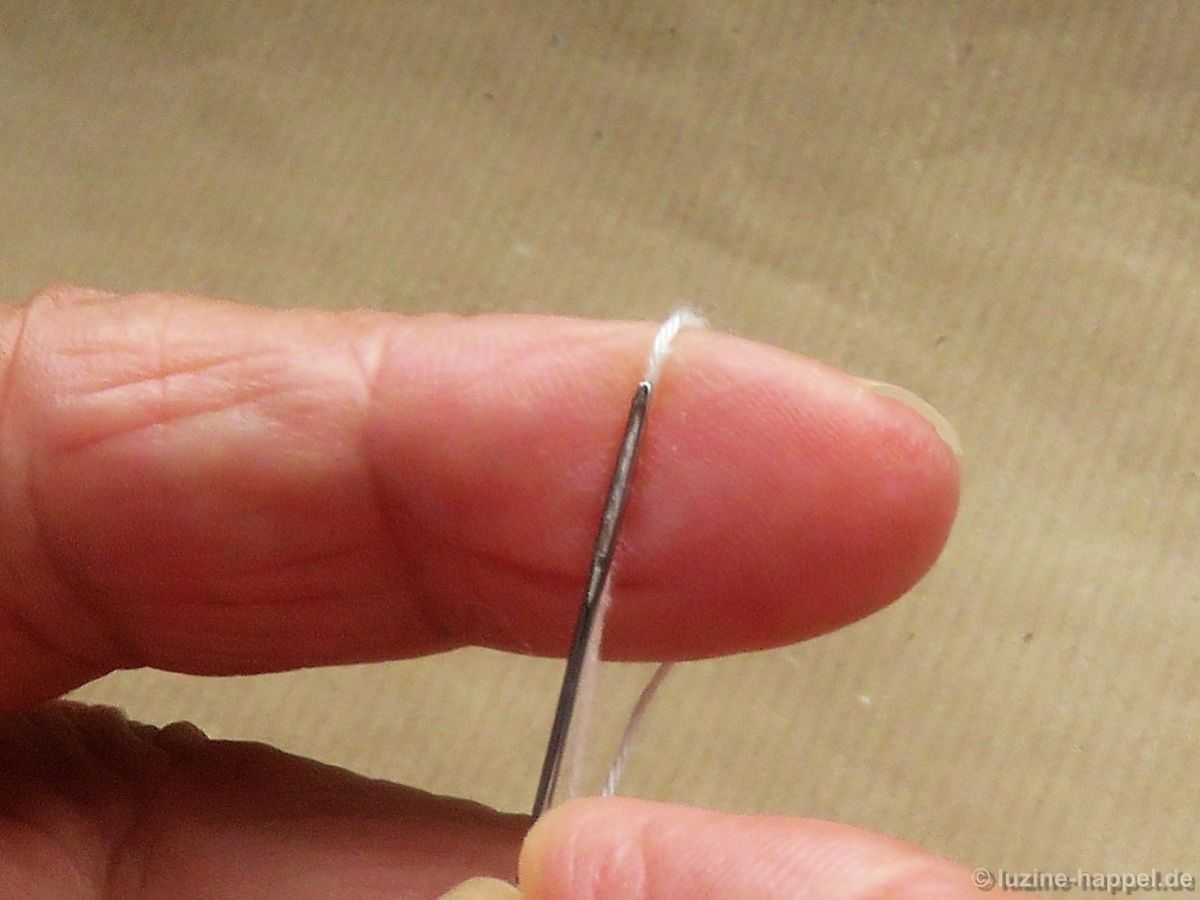
 Secure the thread, and bring the needle up where the outline of the leaf meets the stem. Work a first small Satin stitch directly along the outline.
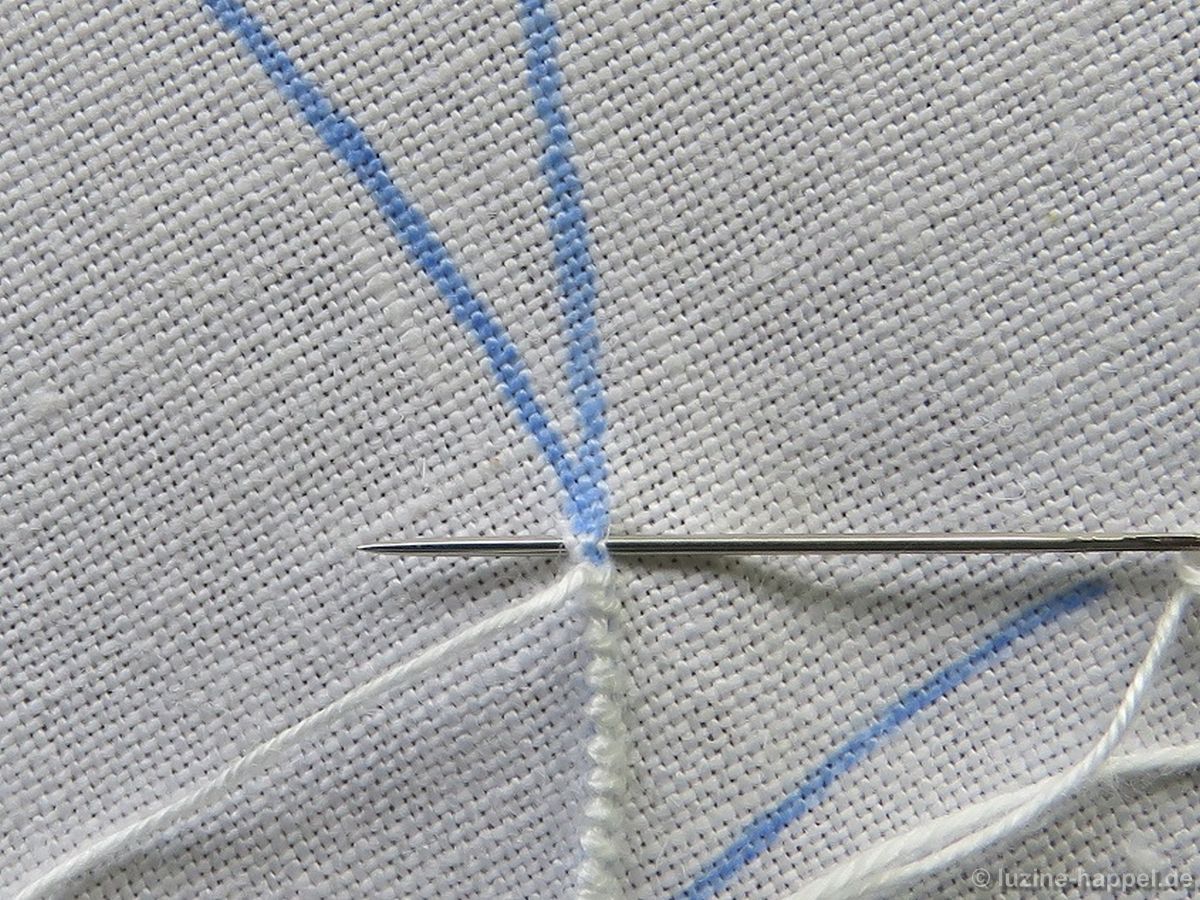
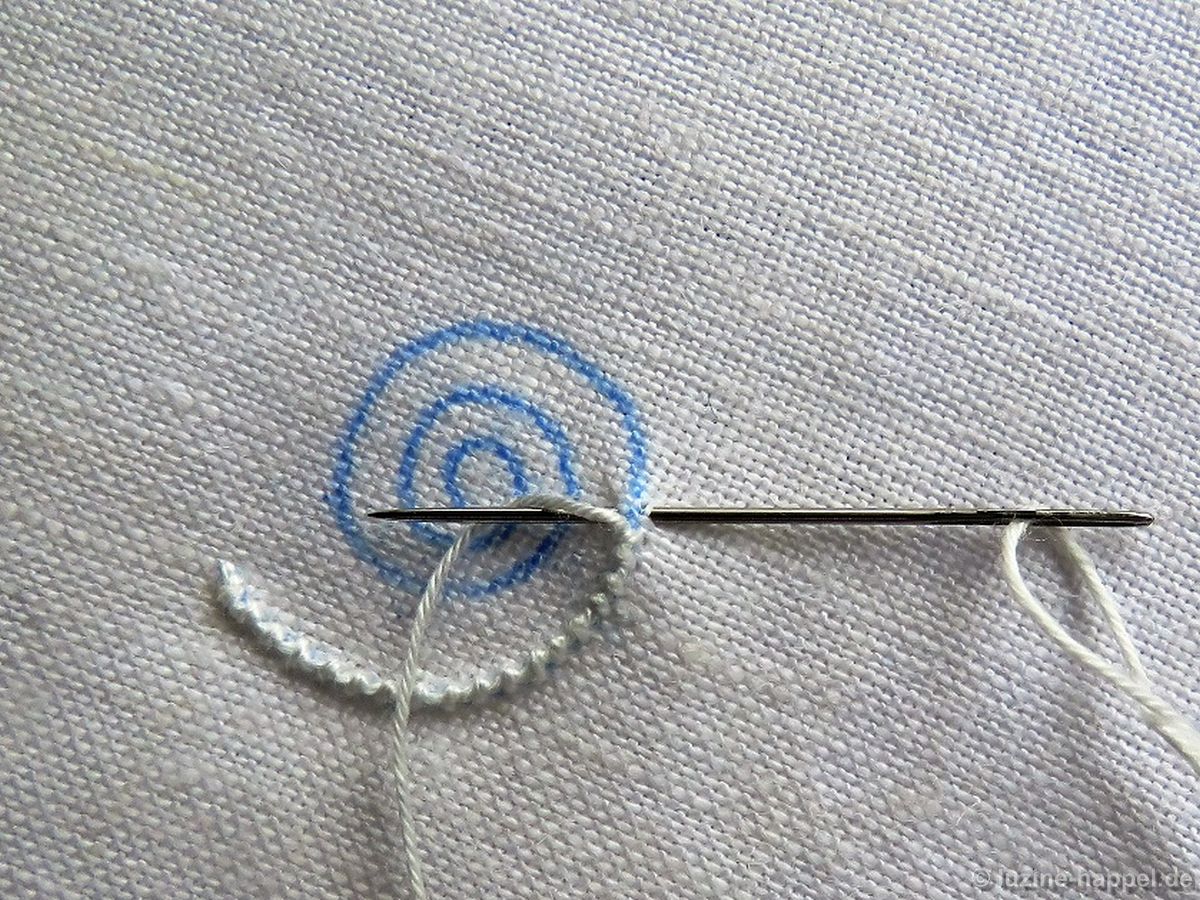
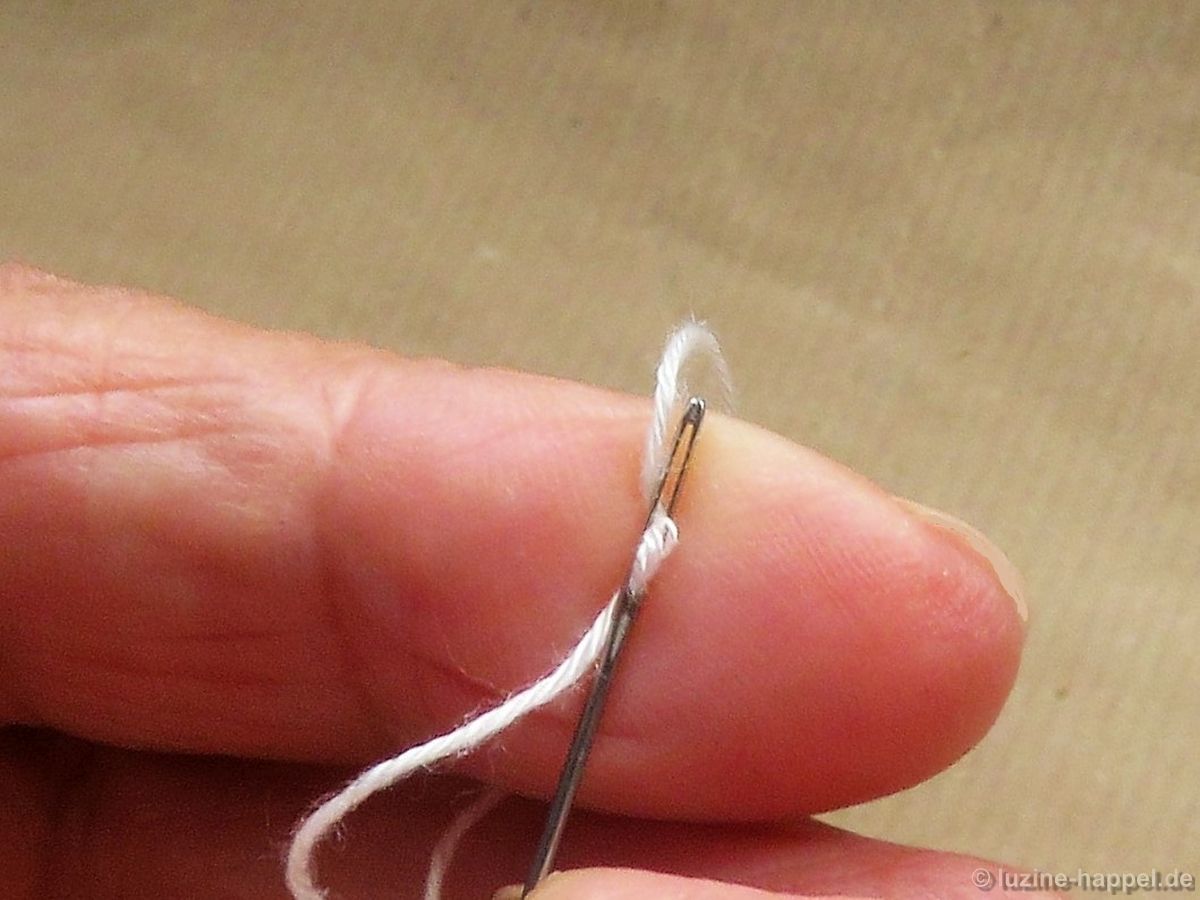
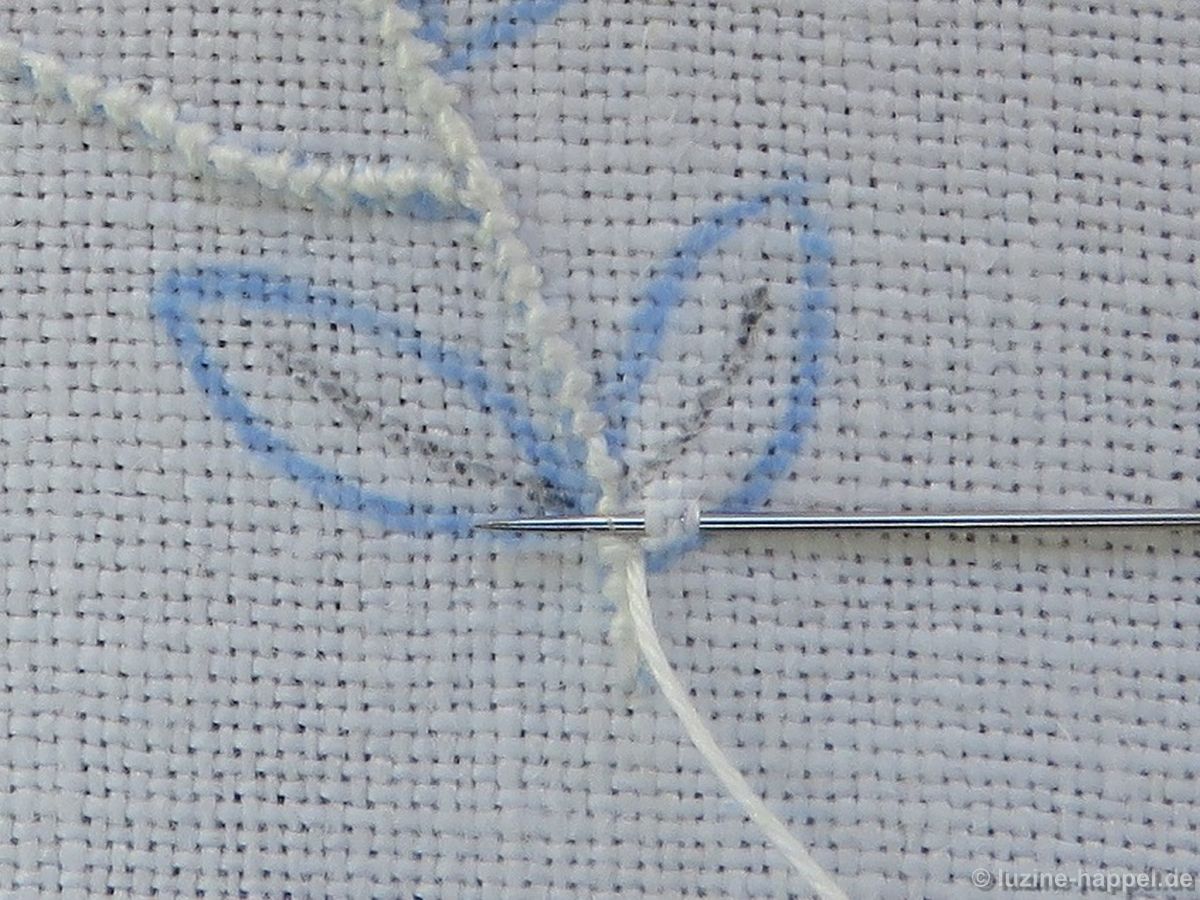 Position subsequent stitches between the outline and the middle line. However, the stitches should not cover the middle line.
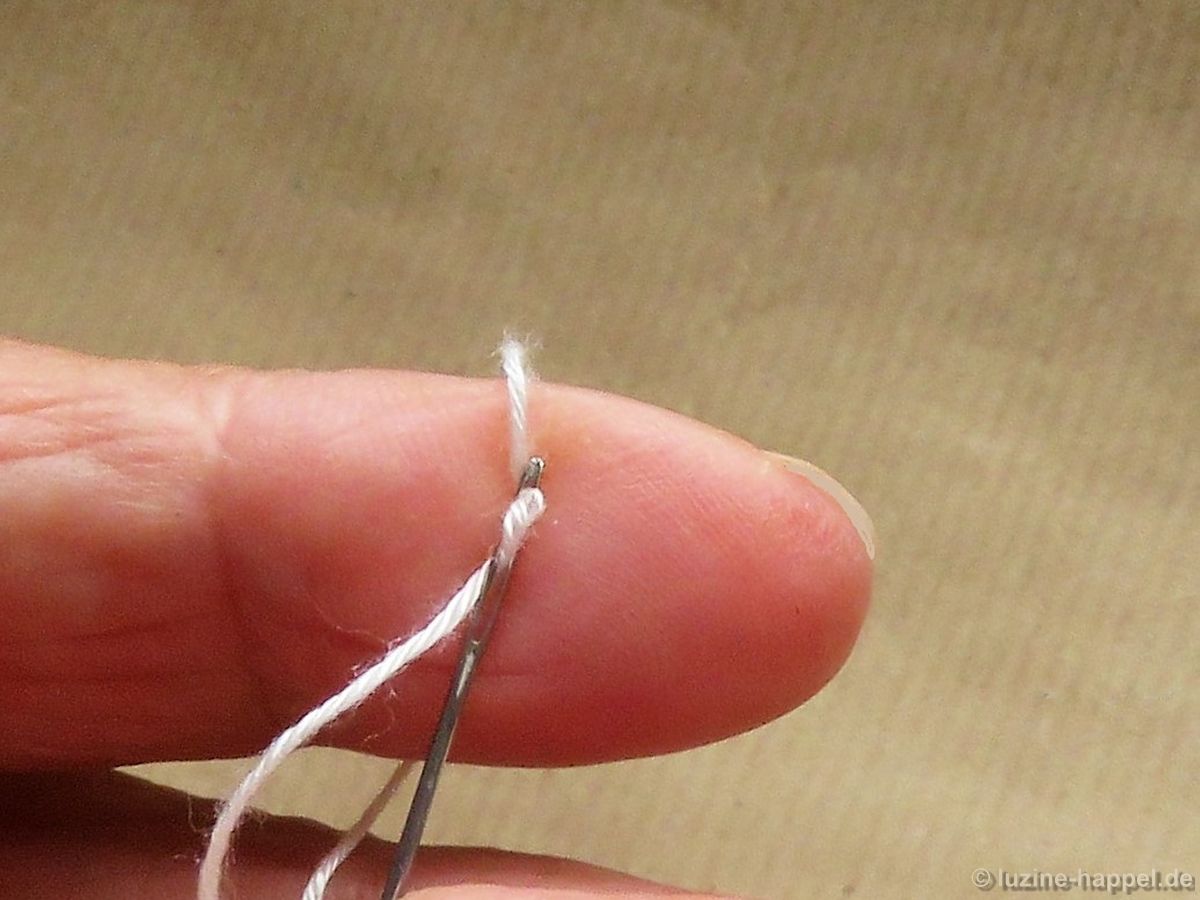
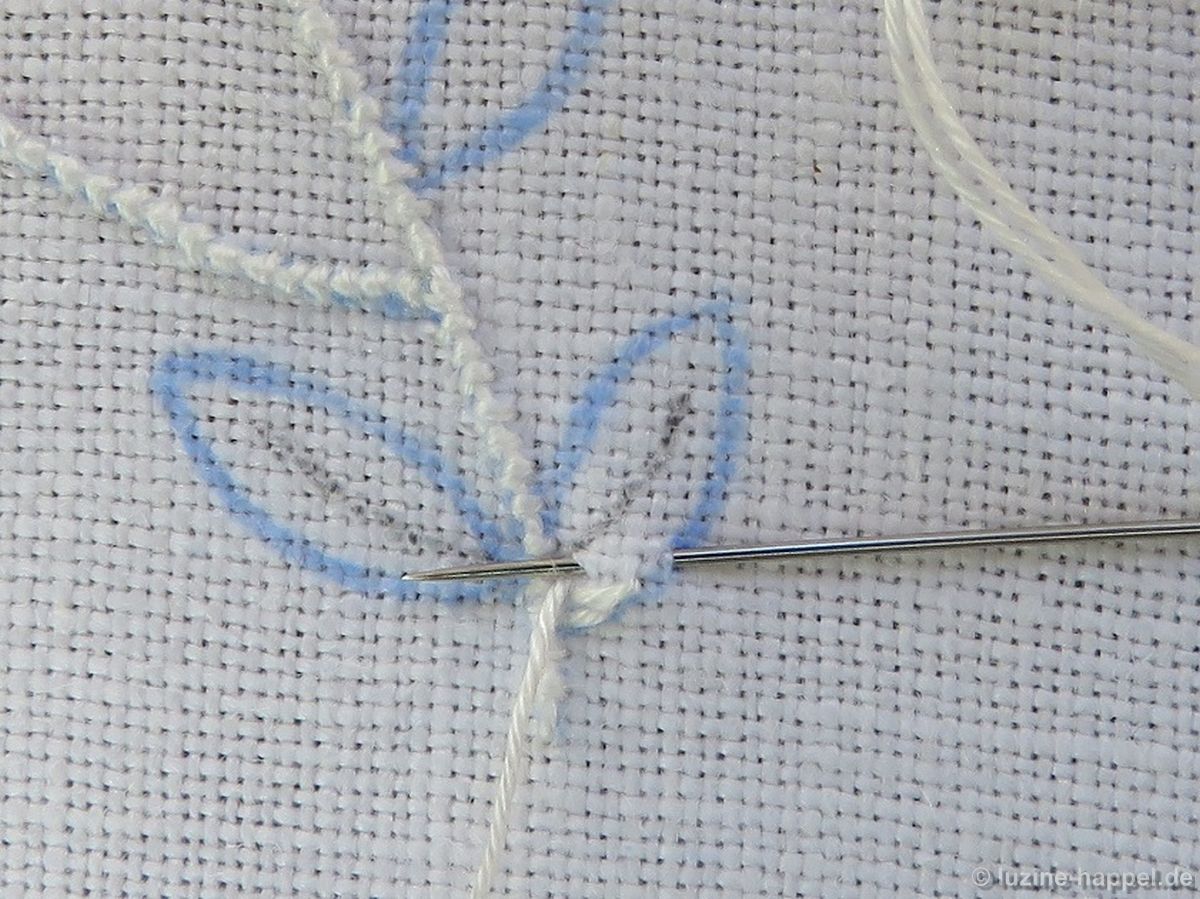 Densely work the stitches
 following the shape of the leaf; that means the stitches do not lie quite parallel – at the center of the leaf they are slightly closer together than at the outside edge. Always turn the piece so that the needle runs horizontally from right to left.
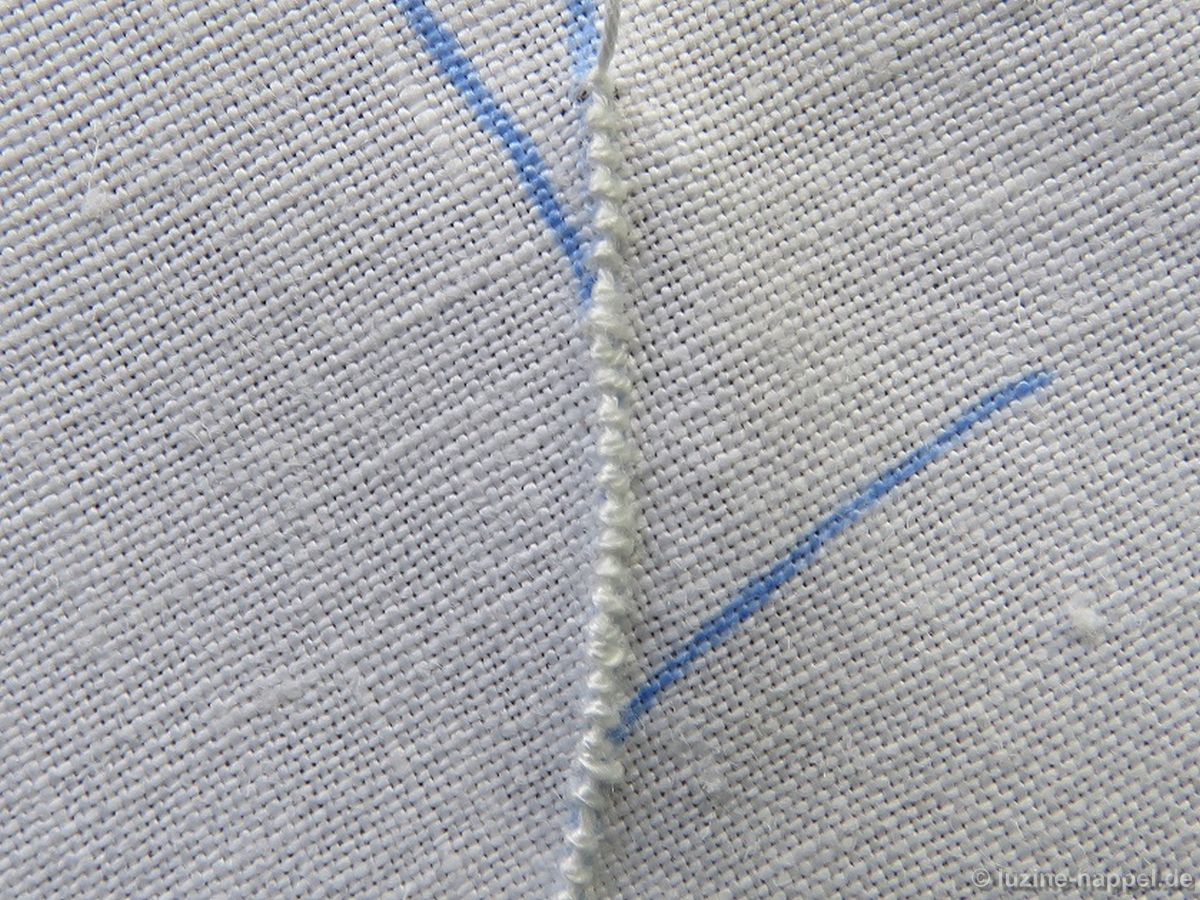
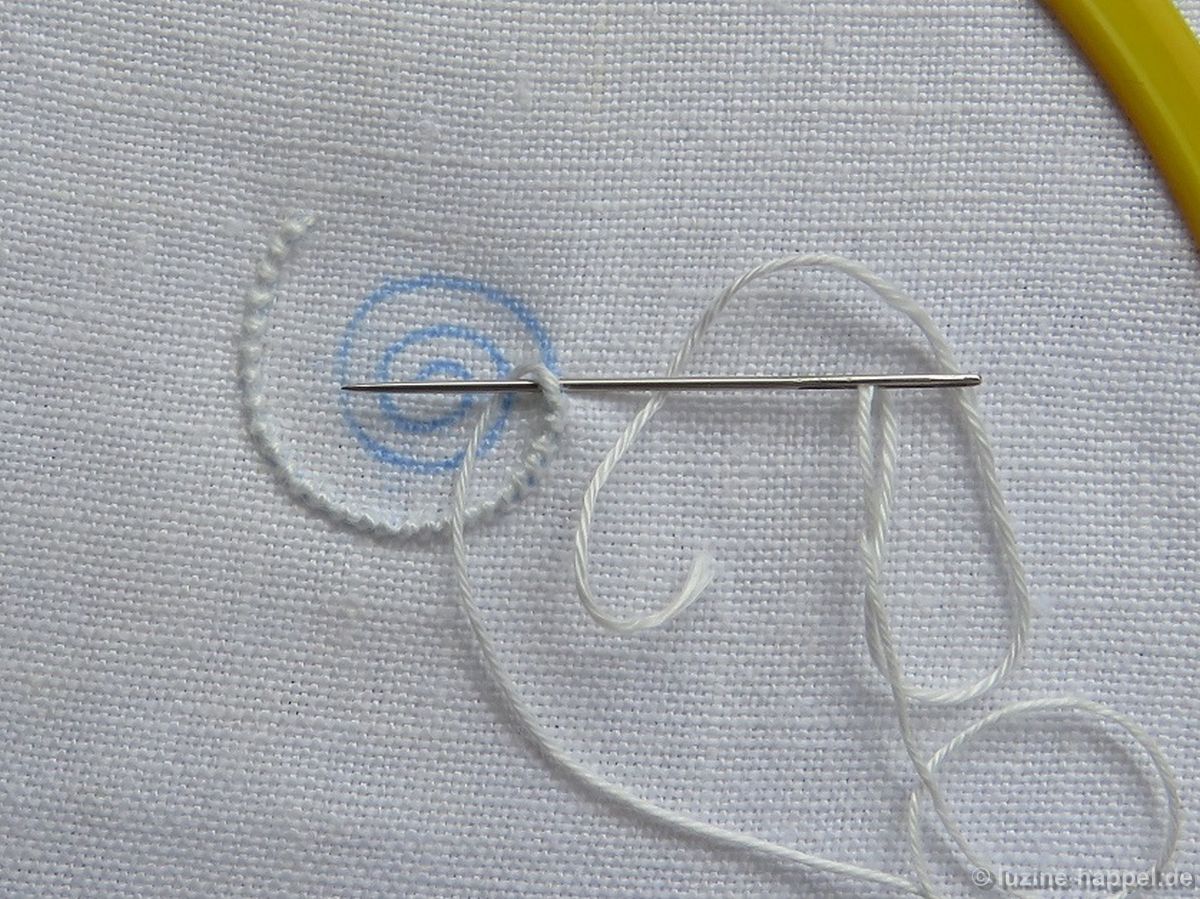
 The stitch at the tip of the leaf should run straight from the middle line to the top point. So that the leave looks truly pointed in the end, this stitch is made 1–2 mm beyond the outline.
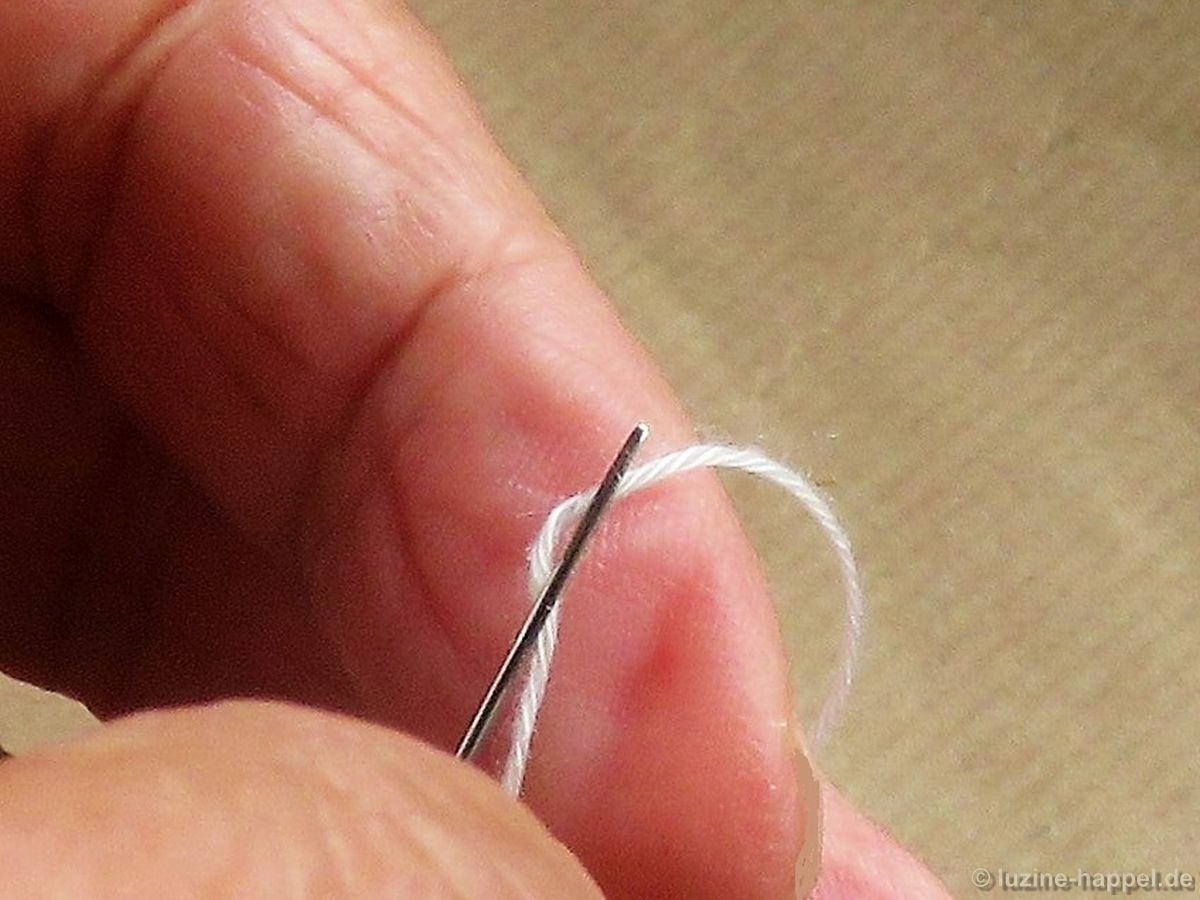
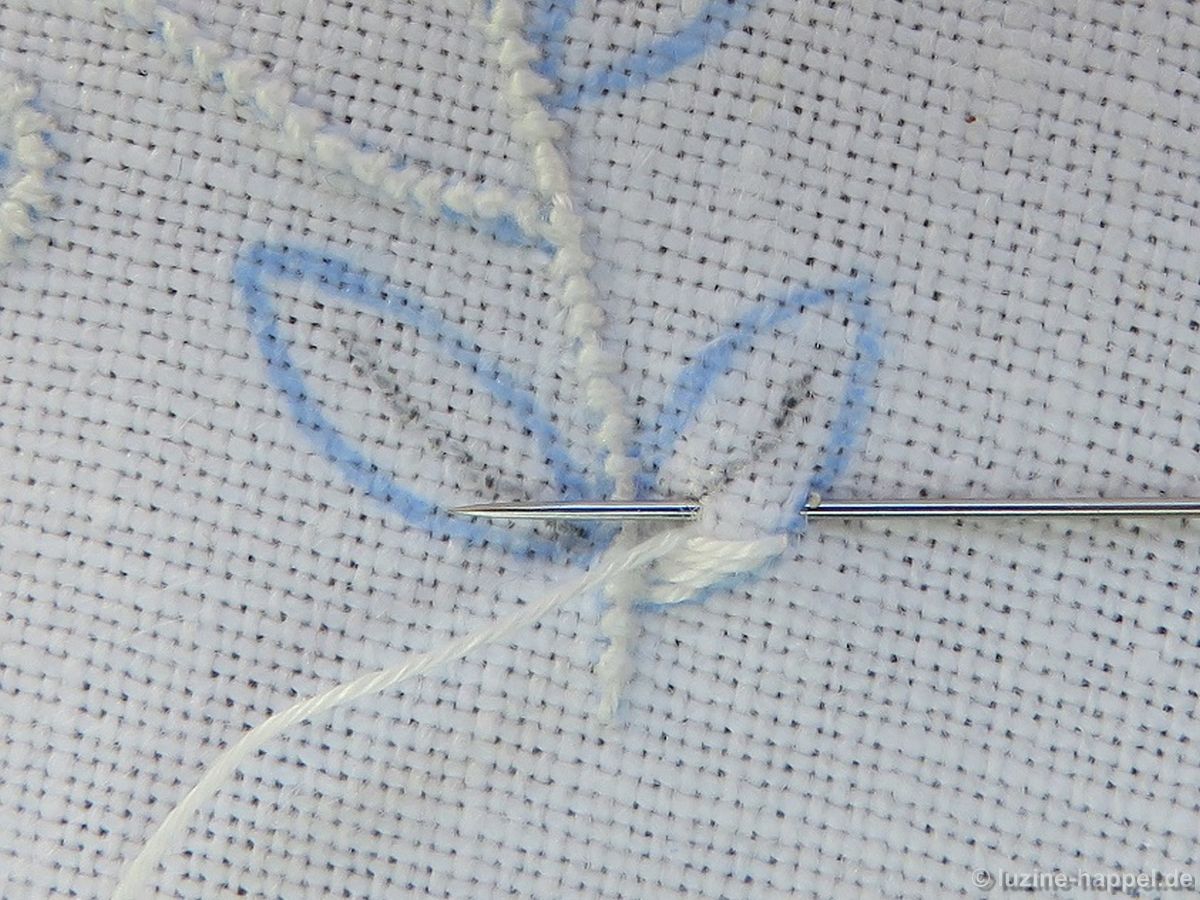
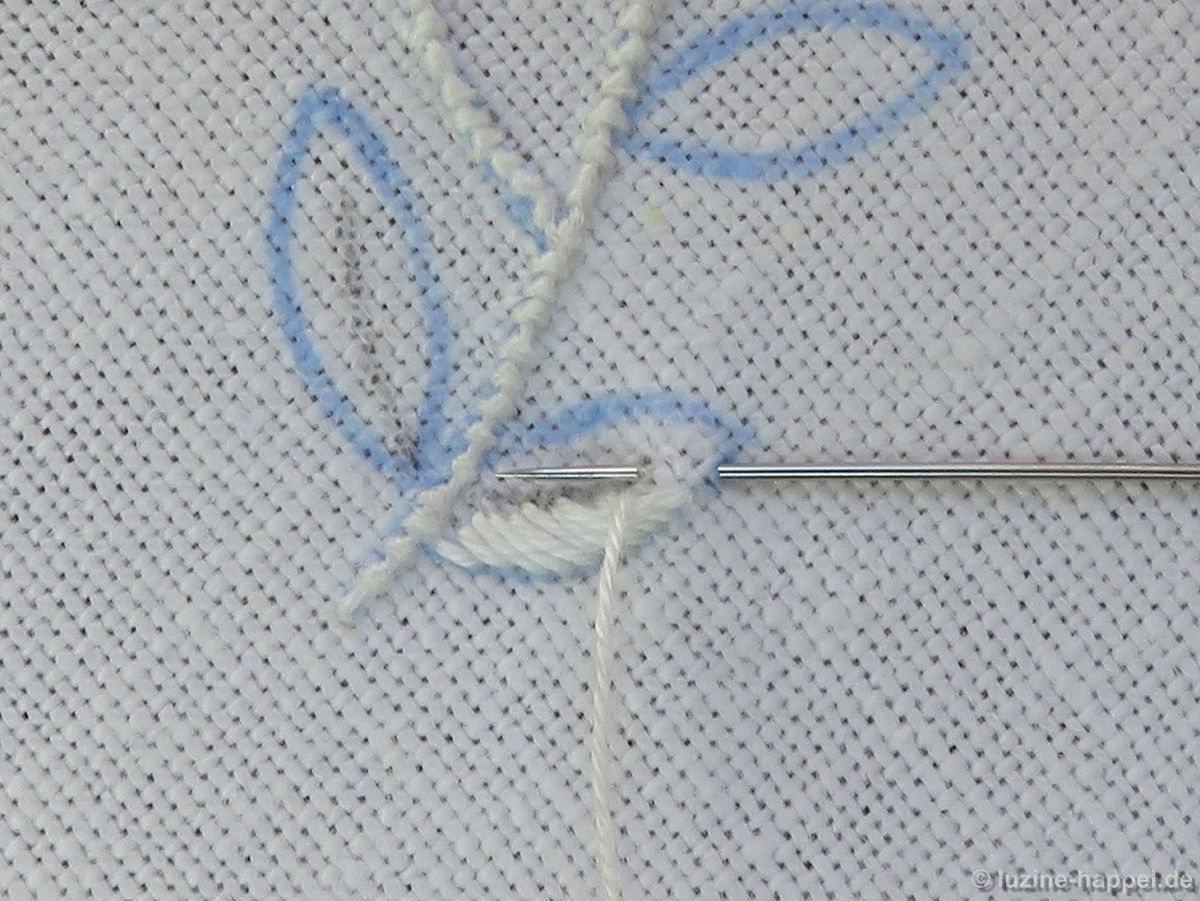
 The second side of the leaf is worked from the tip back to the stem, always taking the needle down at the outside edge and bringing it back up at middle line.
 Also, remember to turn the piece so that the needle runs horizontally from right to left.
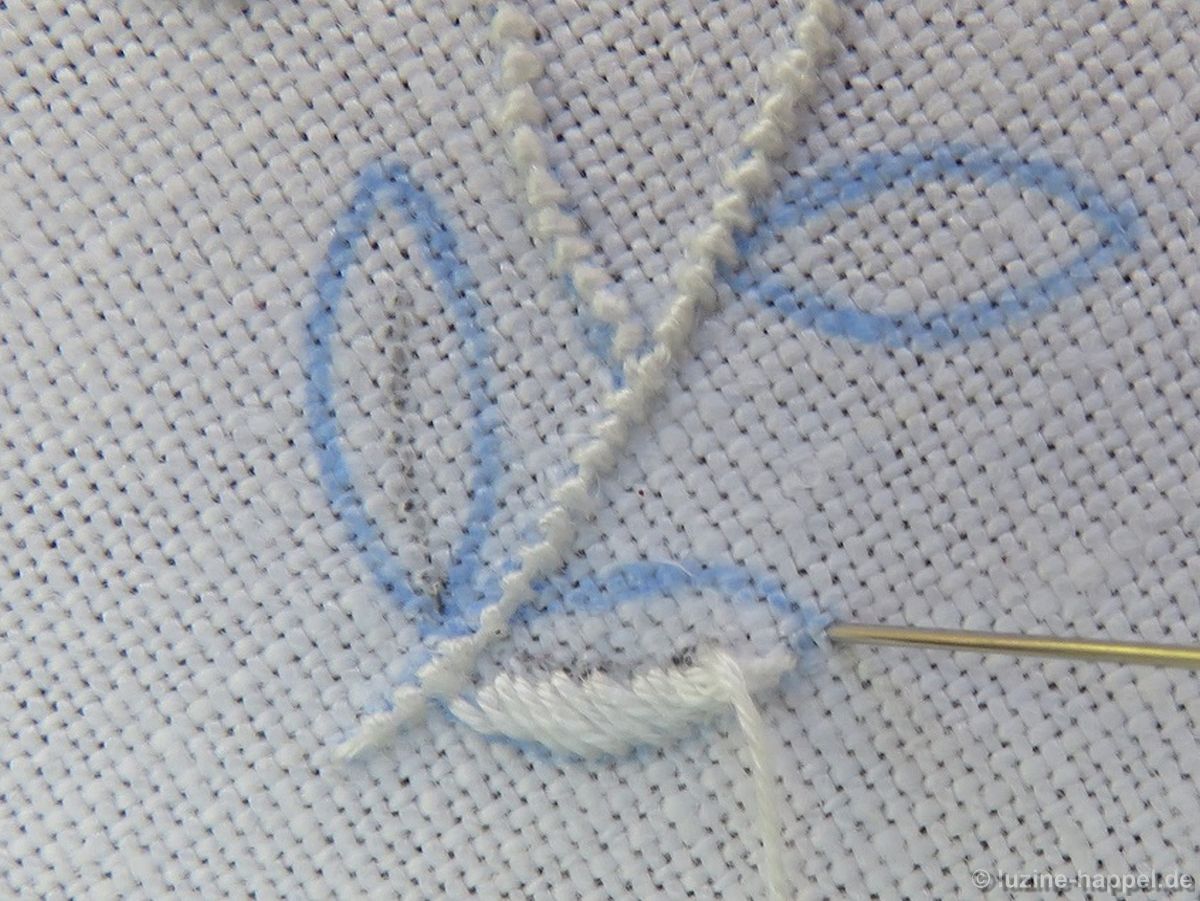
 The opposite leaf is embroidered in the same way. The first stitch begins at the stem and is taken a small distance along the outside edge.
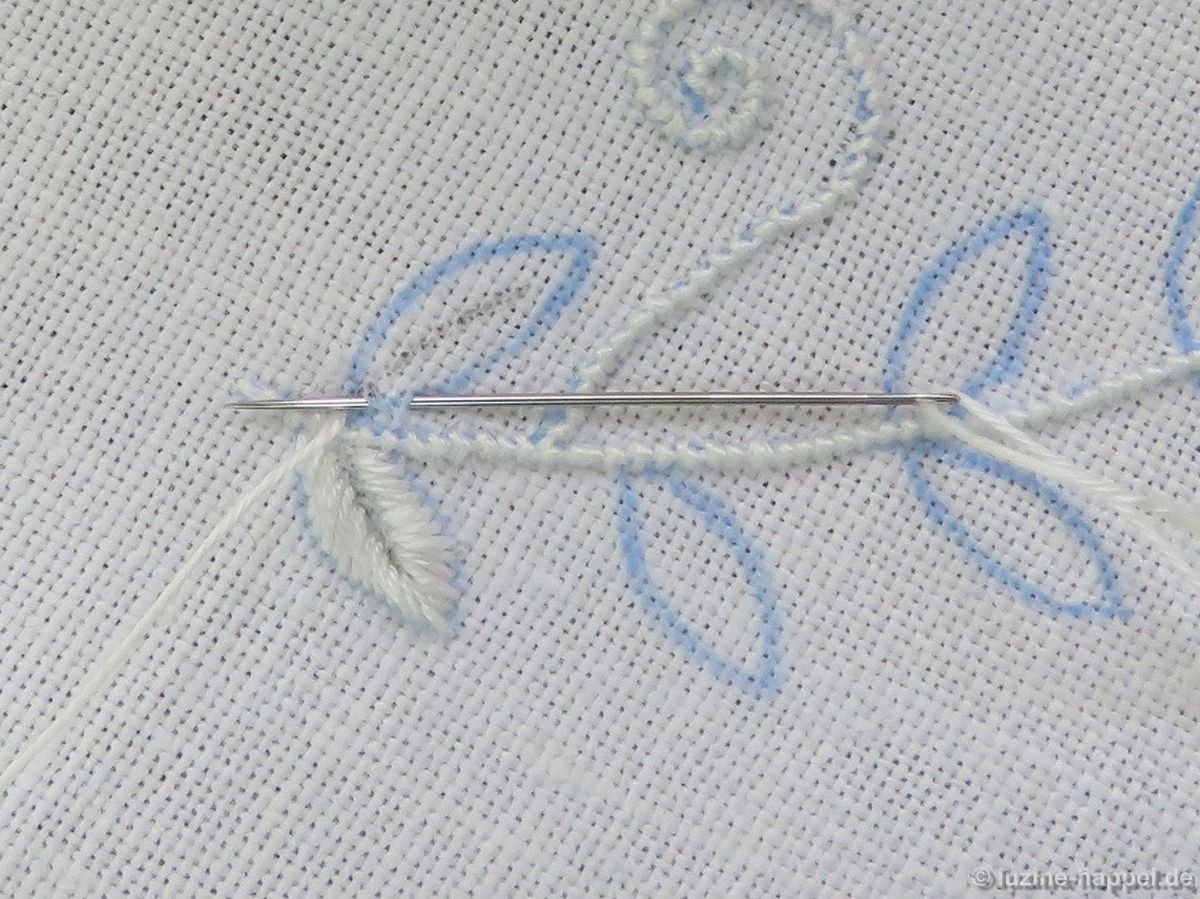 The stitch at the tip is made a small step beyond the outline before the second side of the leaf is worked between outside edge and middle line.
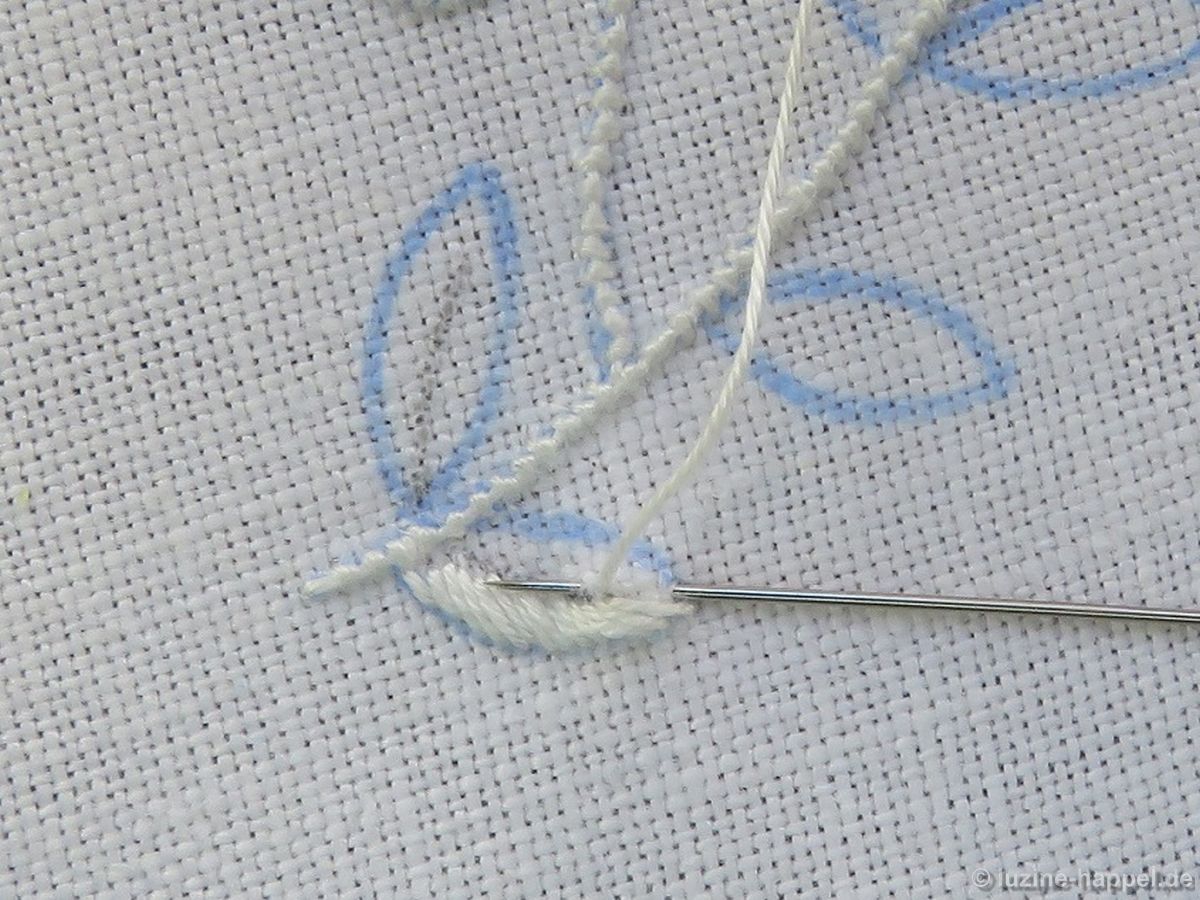
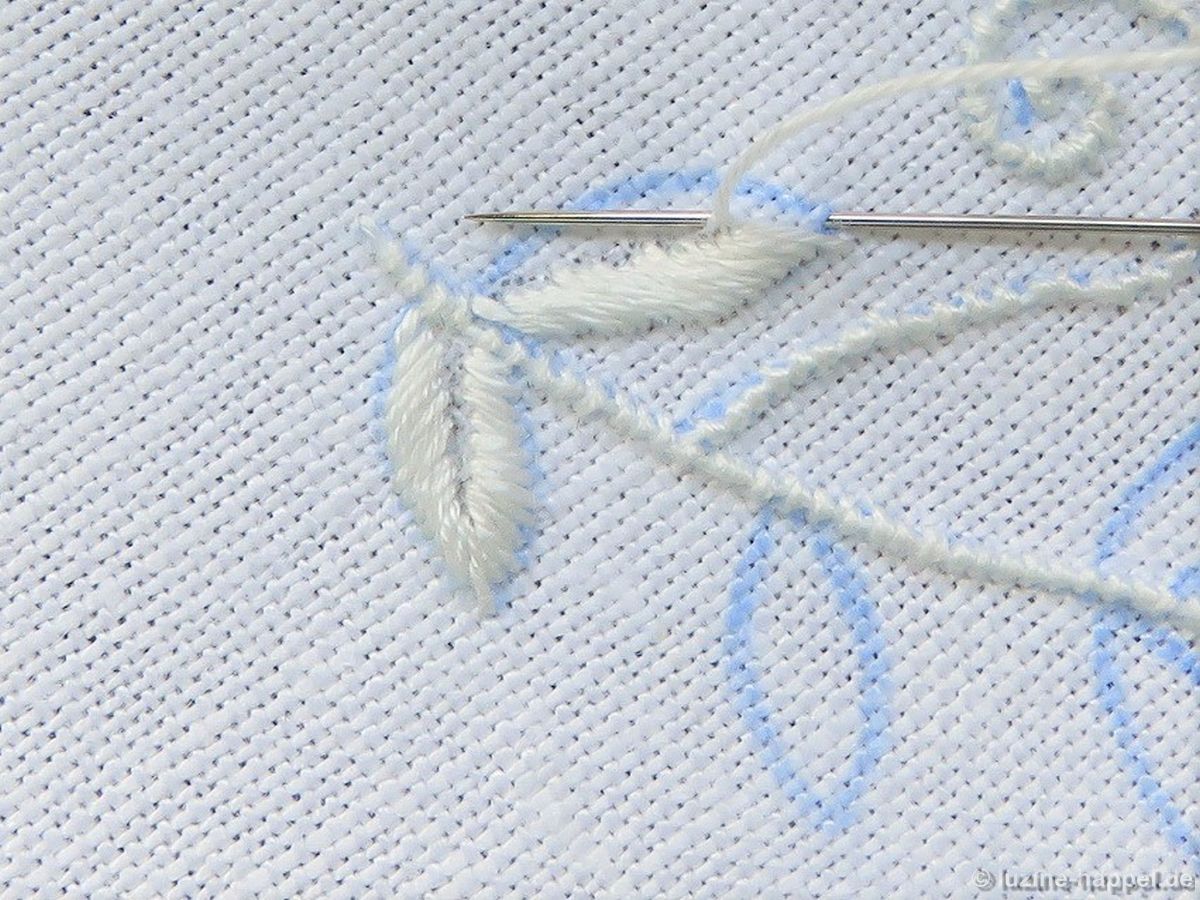 Again, the stitches follow the shape of the leaf and fan apart a little bit at the outside edge.
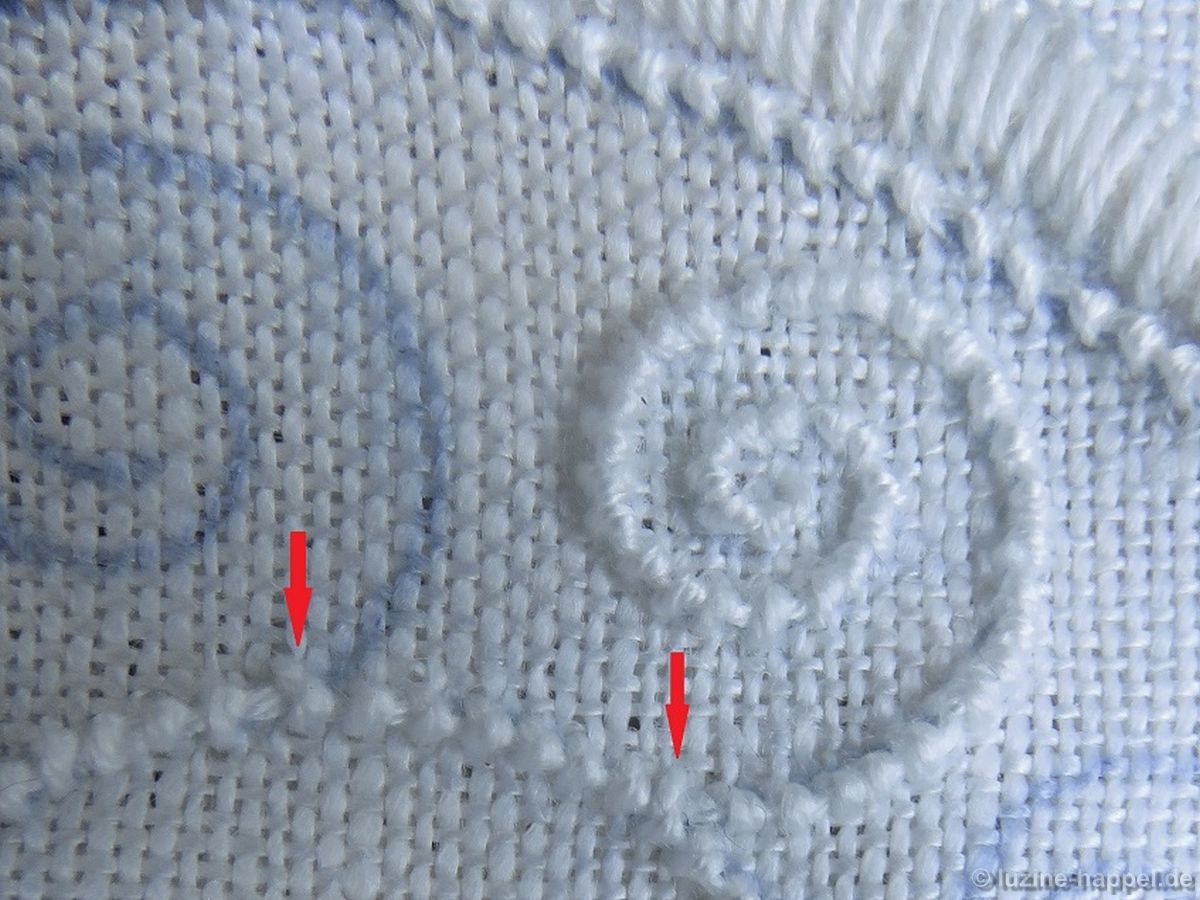
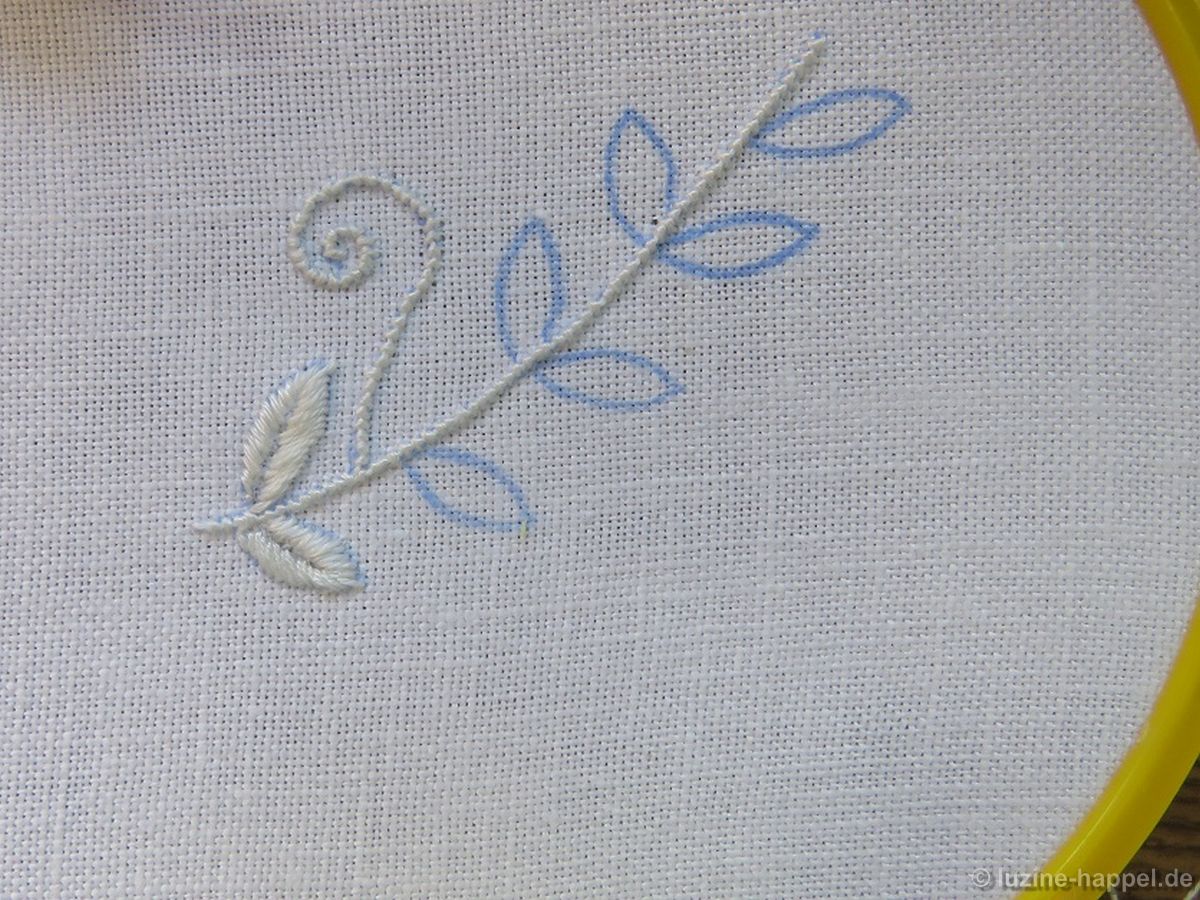
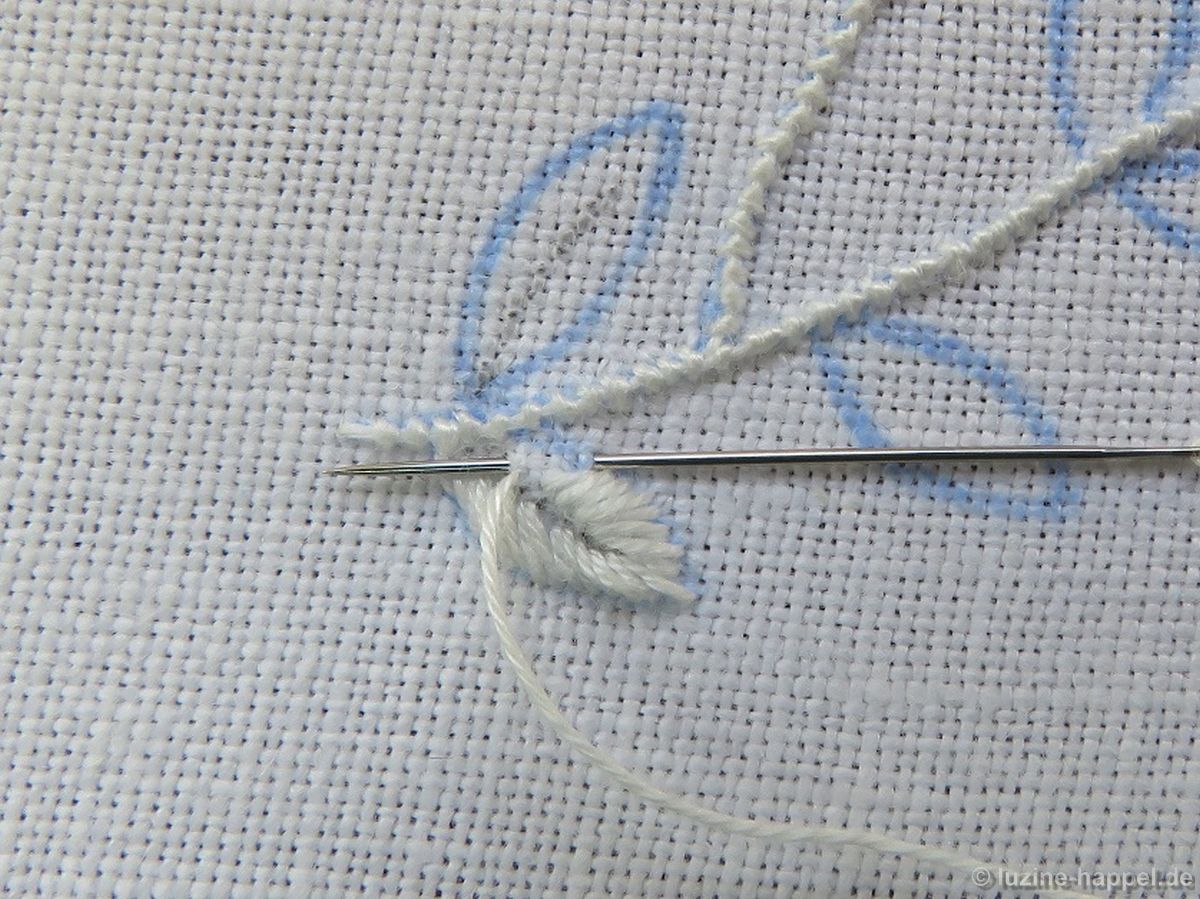
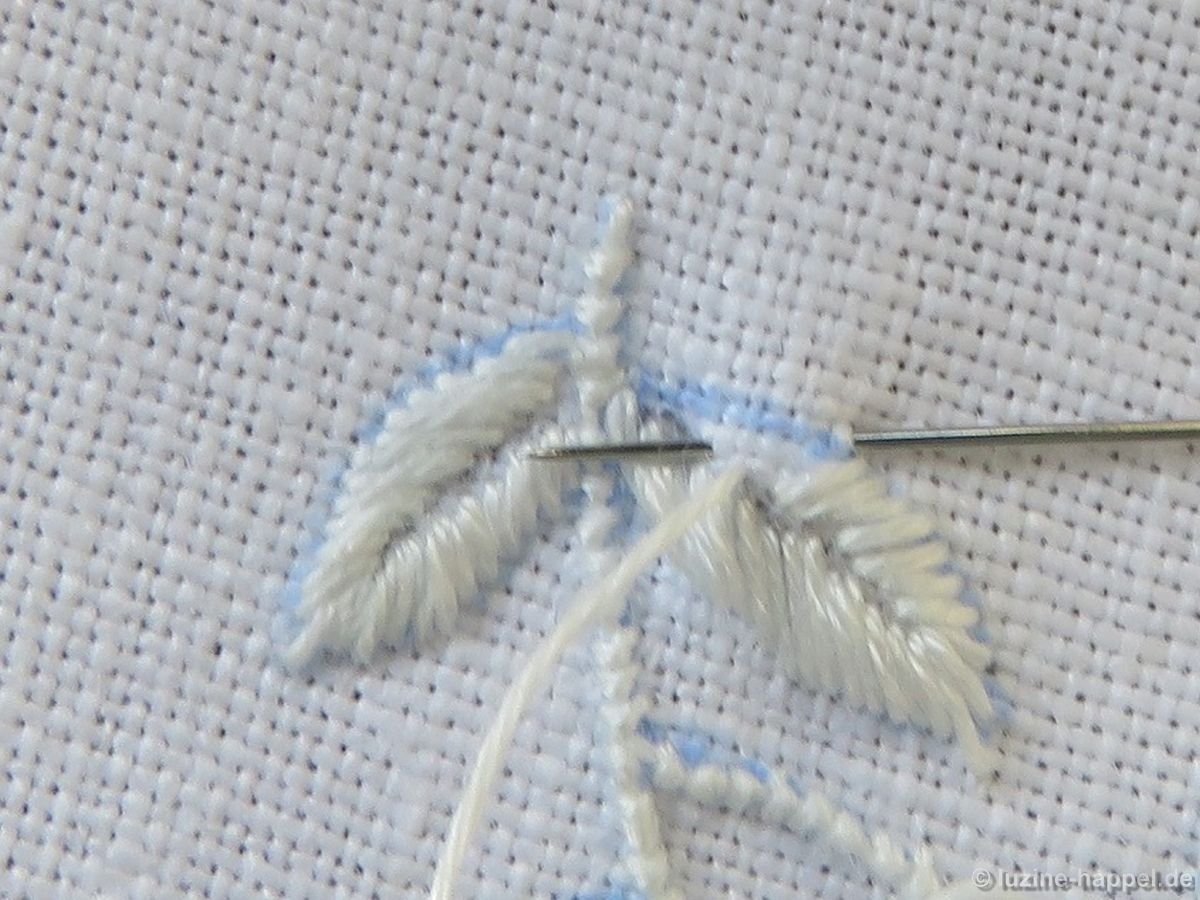 Please keep in mind that the leaves shown here could not be worked smoothly in one move because I had to stop and take pictures. Furthermore, please keep in mind that the images are enlarged where every tiny stitch imperfection is magnified. After removing the marking lines and shrinking by boiling, and when the piece is starched and ironed, these leaves look perfect.
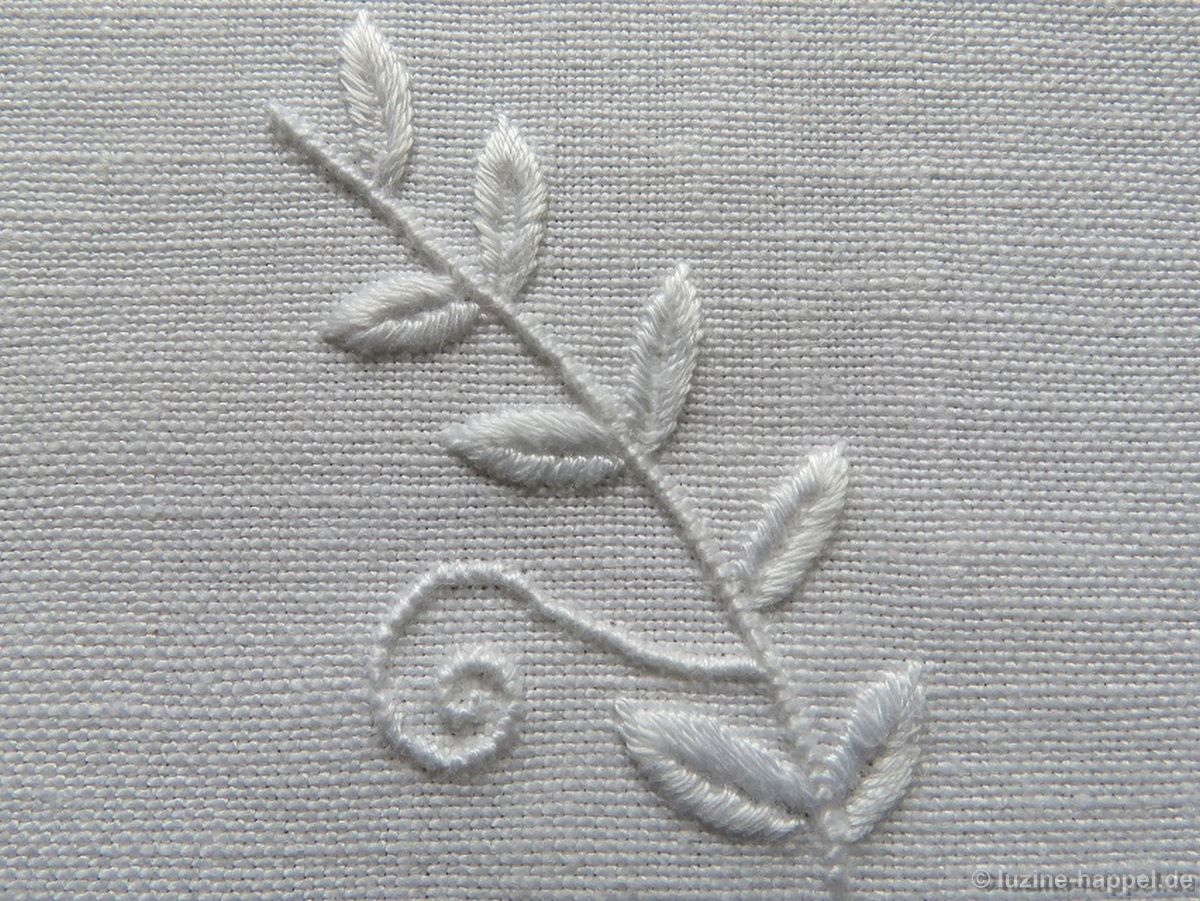 Simply give it a try.
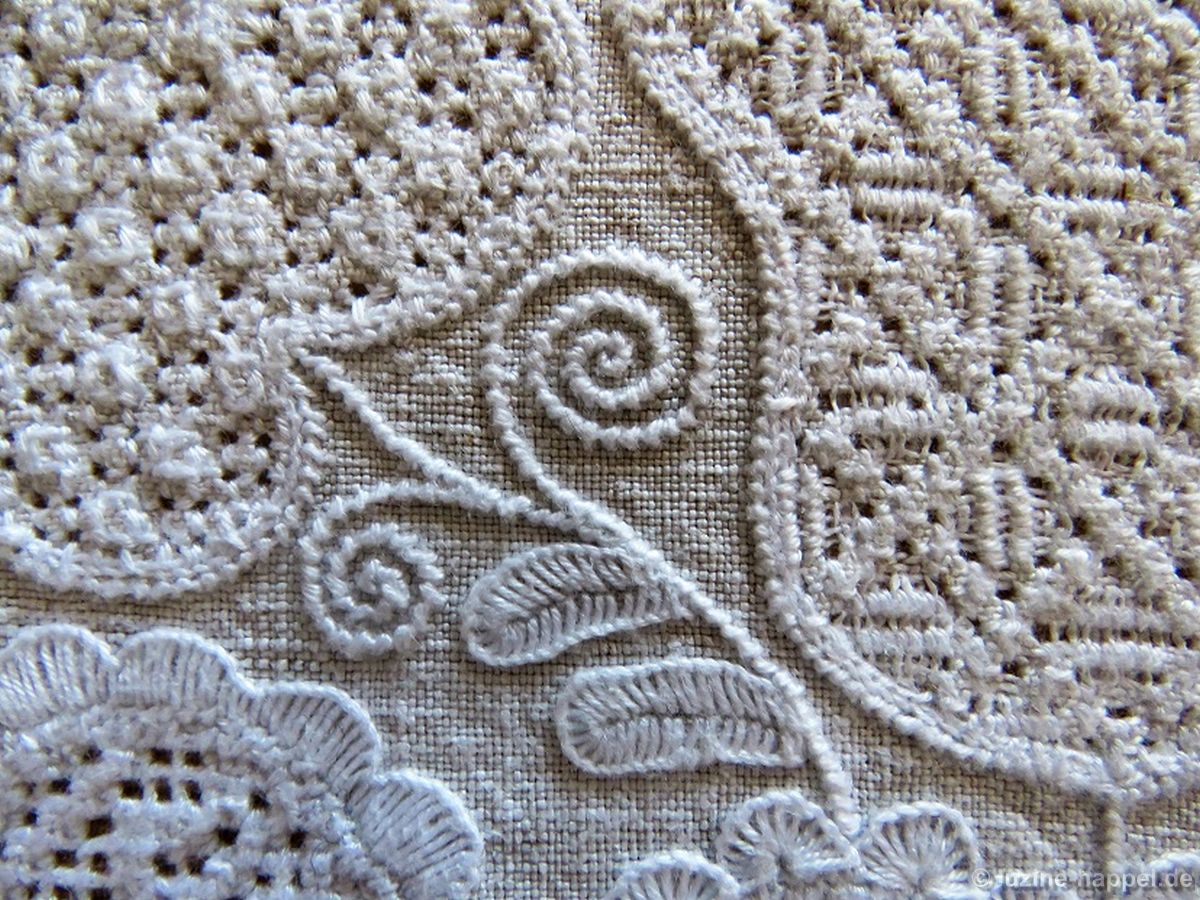
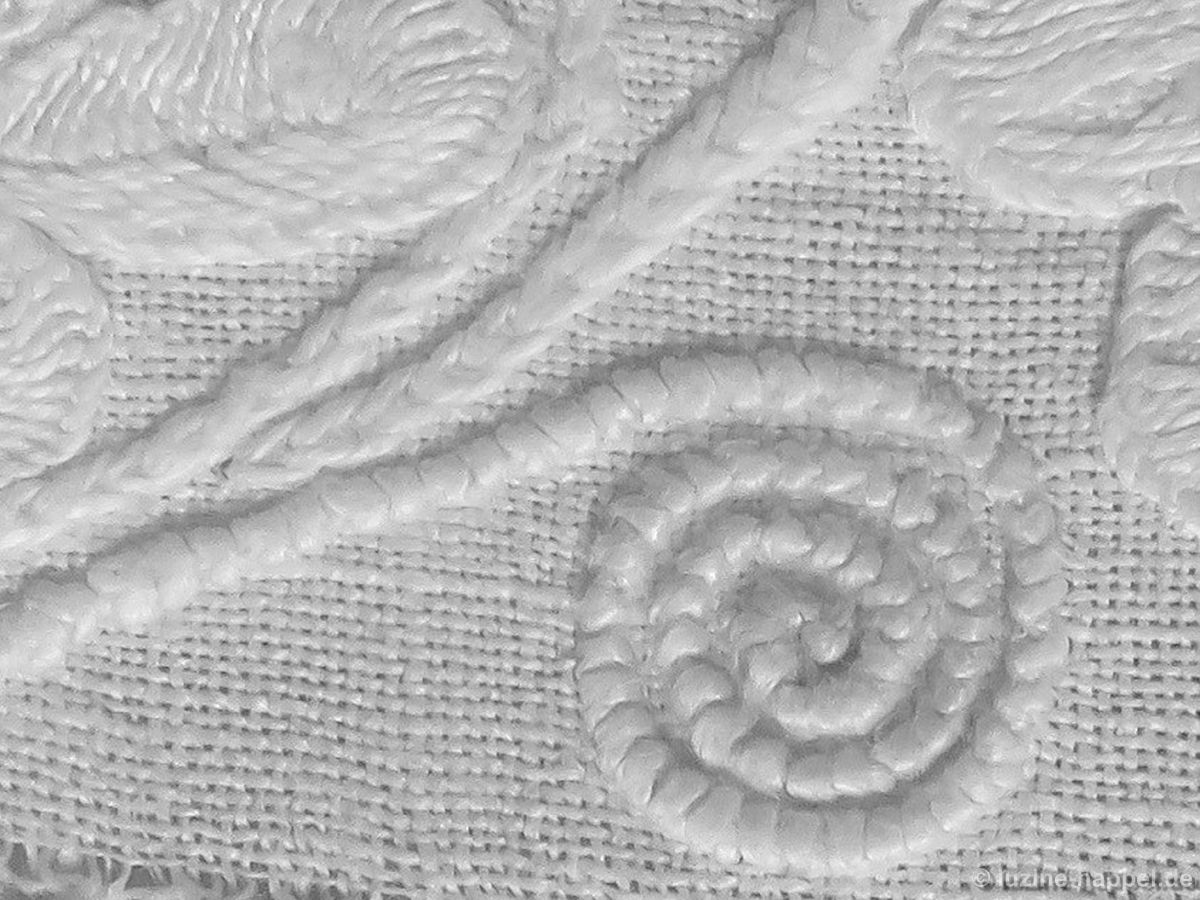
If you take pleasure in working these leaves and if you are looking for more elaborate designs, here are my suggestions. Irmgard Mengel prints the designs on 16/cm (or 40/inch) thread count linen.
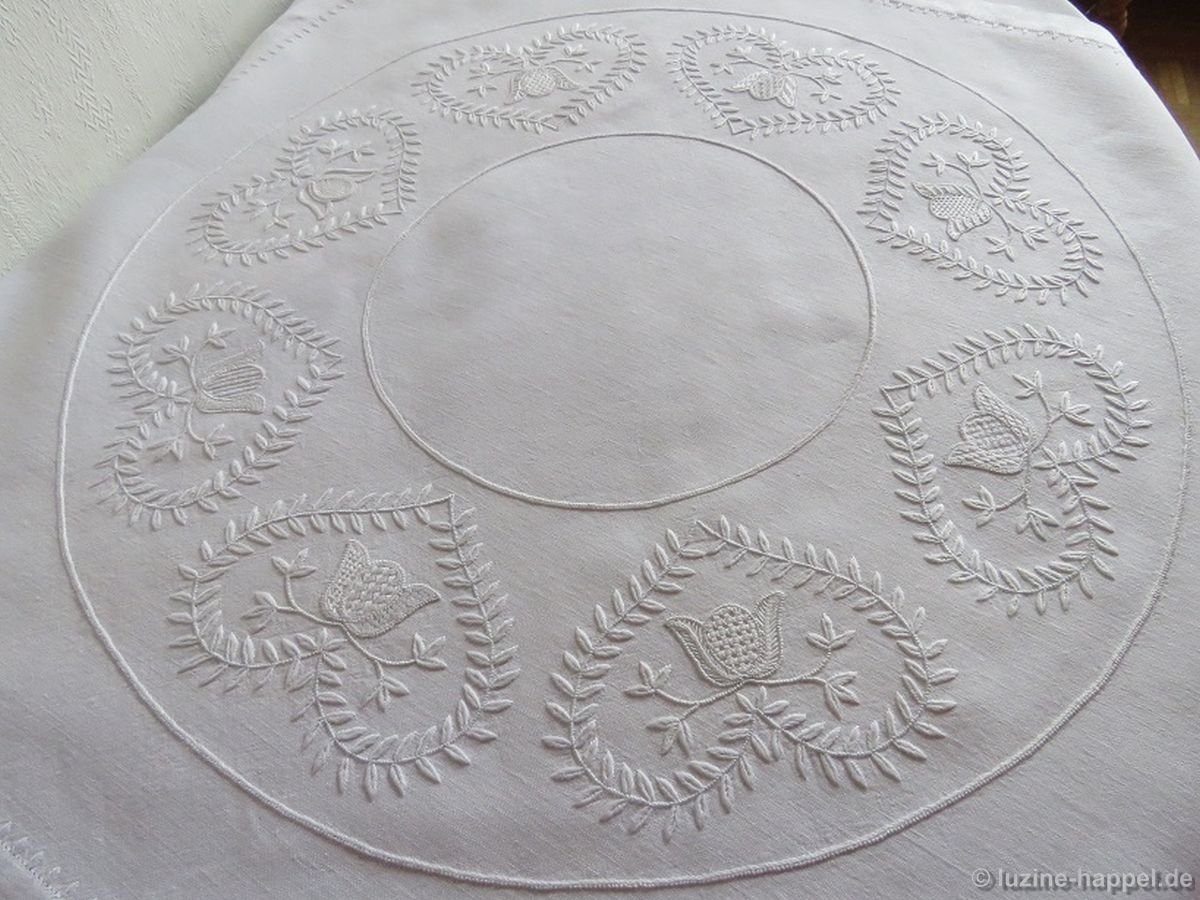 The leaves-hearts-wreath design measures 60 cm in diameter and is printed on linen cut to size 90 cm X 90 cm. It is €29 + shipping in addition.
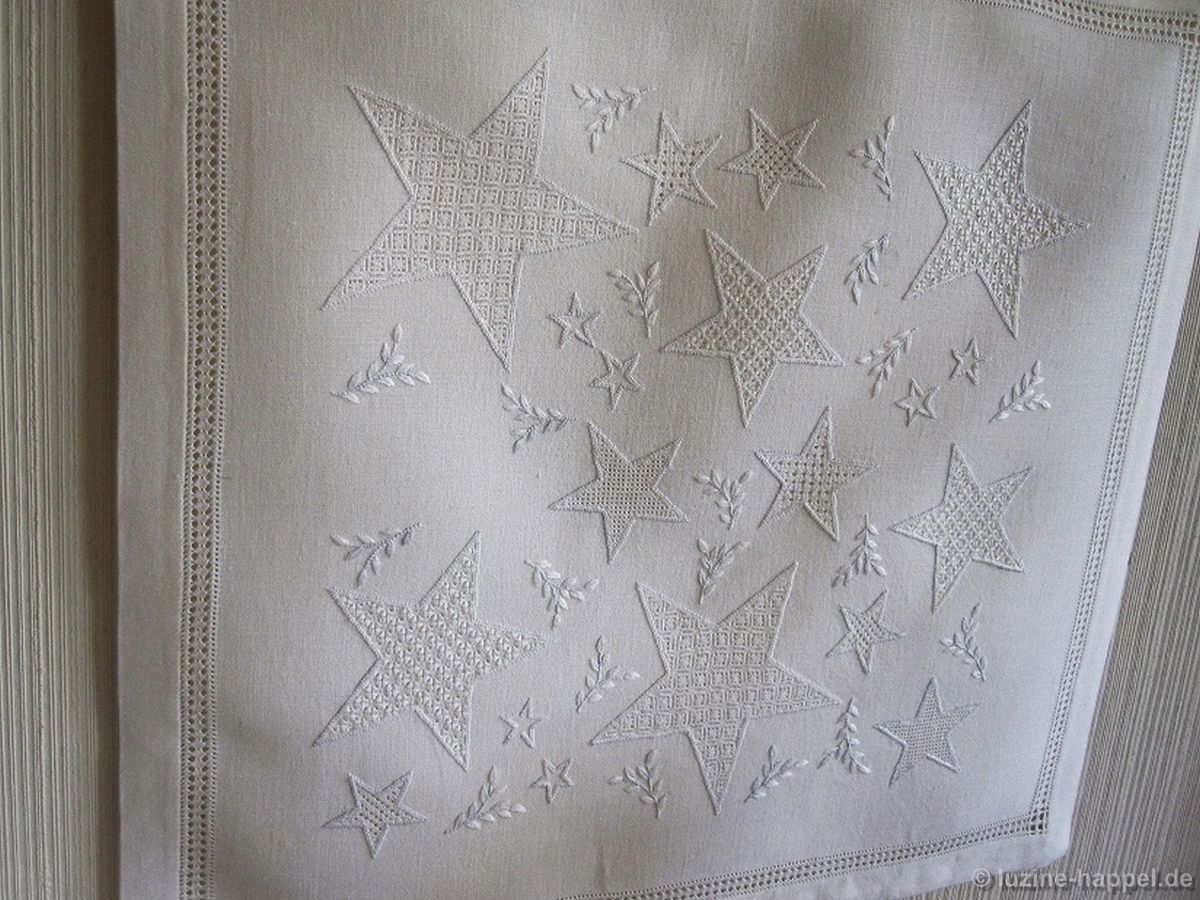 The star-square design is printed on linen cut to size 65 cm X 65 cm. It has a price of €22 + shipping in addition.
If you are interested, please email me (leuchtbergverlag@aol.com).