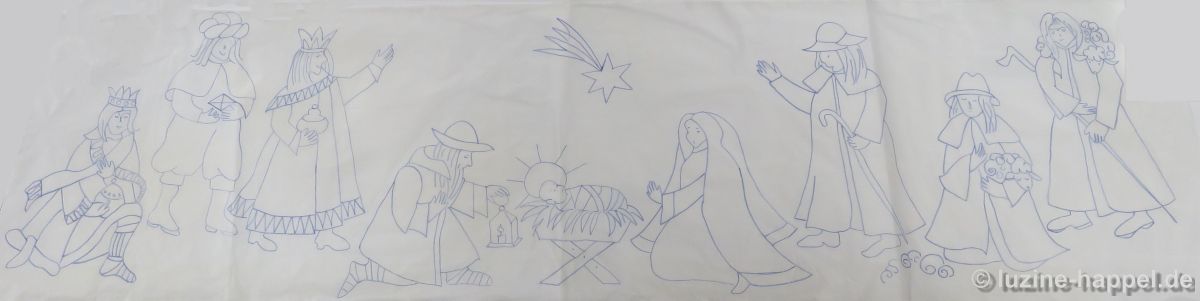
Advent Calendar 2023 – Nativity Scene
Headwear
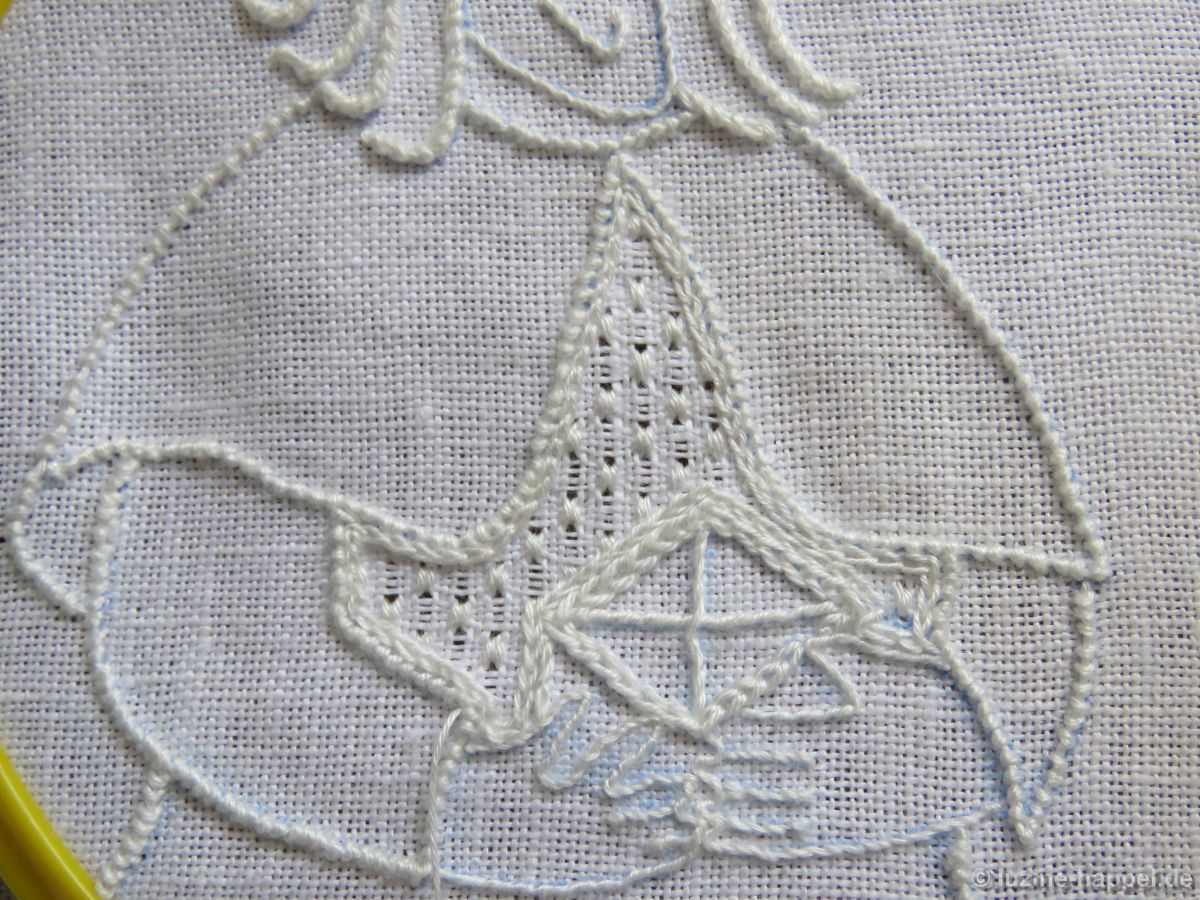
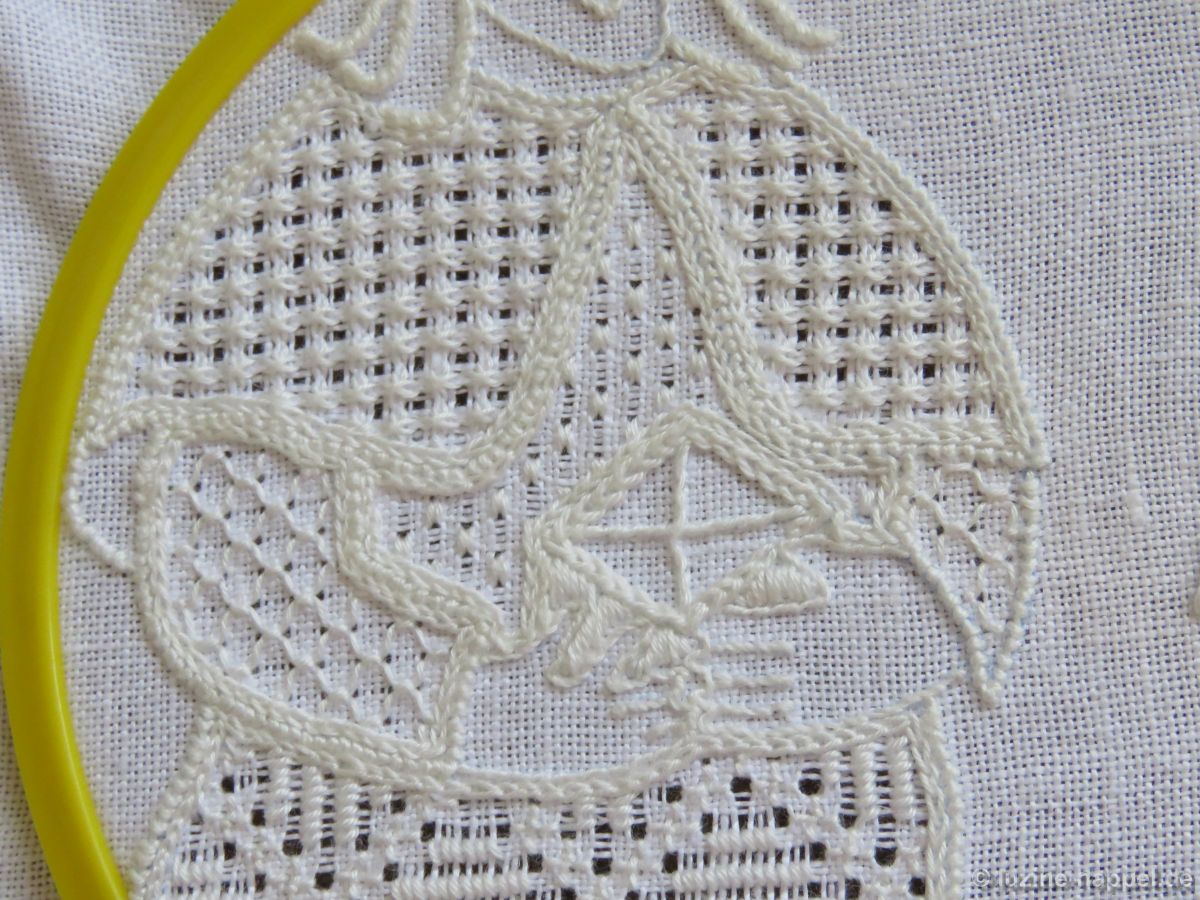
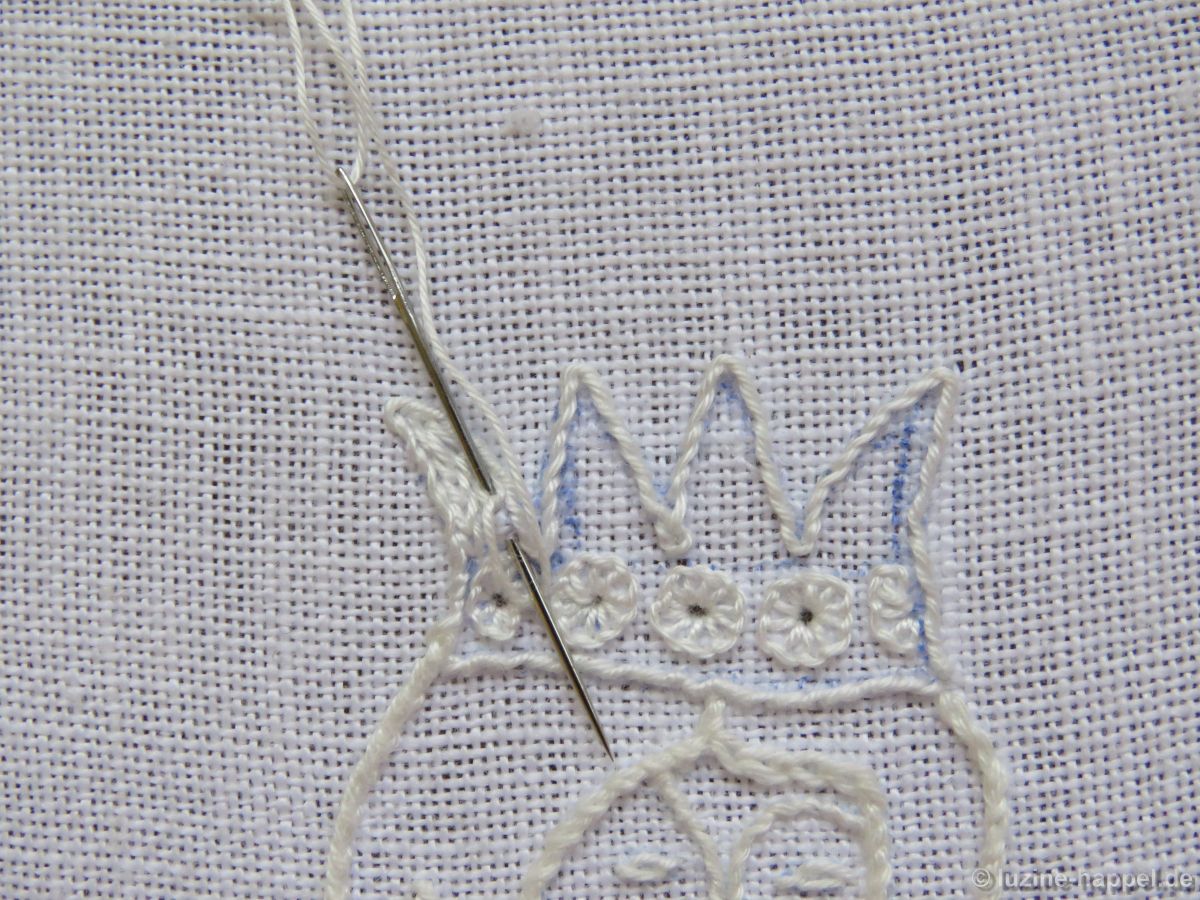
The first Wise Man receives a crown of Stem stitches, decorated with Satin stitch triangles (coton à broder No. 16). In the same way the border of the coat was made.

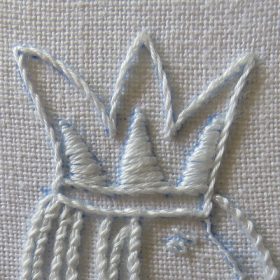
The third Wise Man receives a crown with wrapped Back stitches, Chain stitches and Blanket stitch eyelets (all coton à broder No. 20).
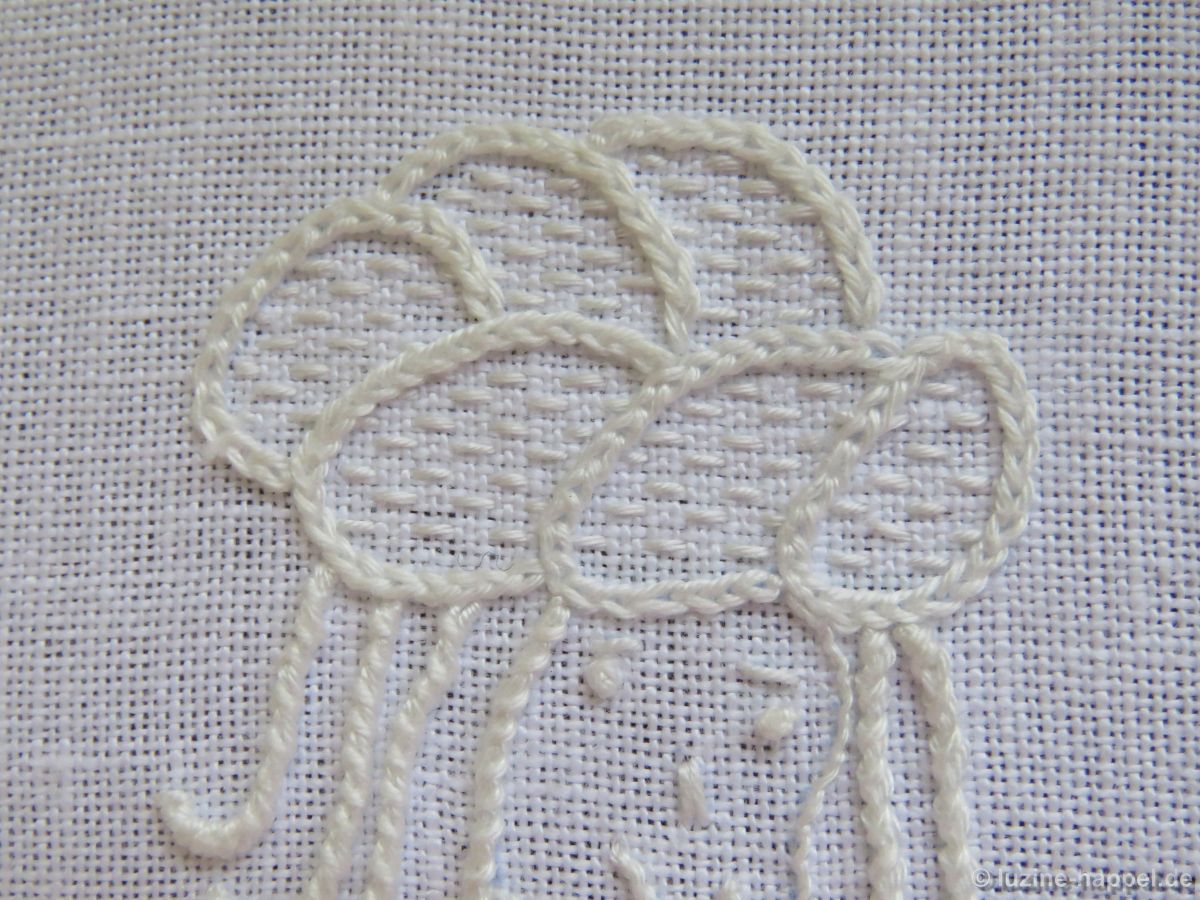
In the end, the turban of the second Wise Man seems a bit too empty to me. Staggered Running stitches (coton à broder No. 16) create a subtle pattern for the rather small areas.
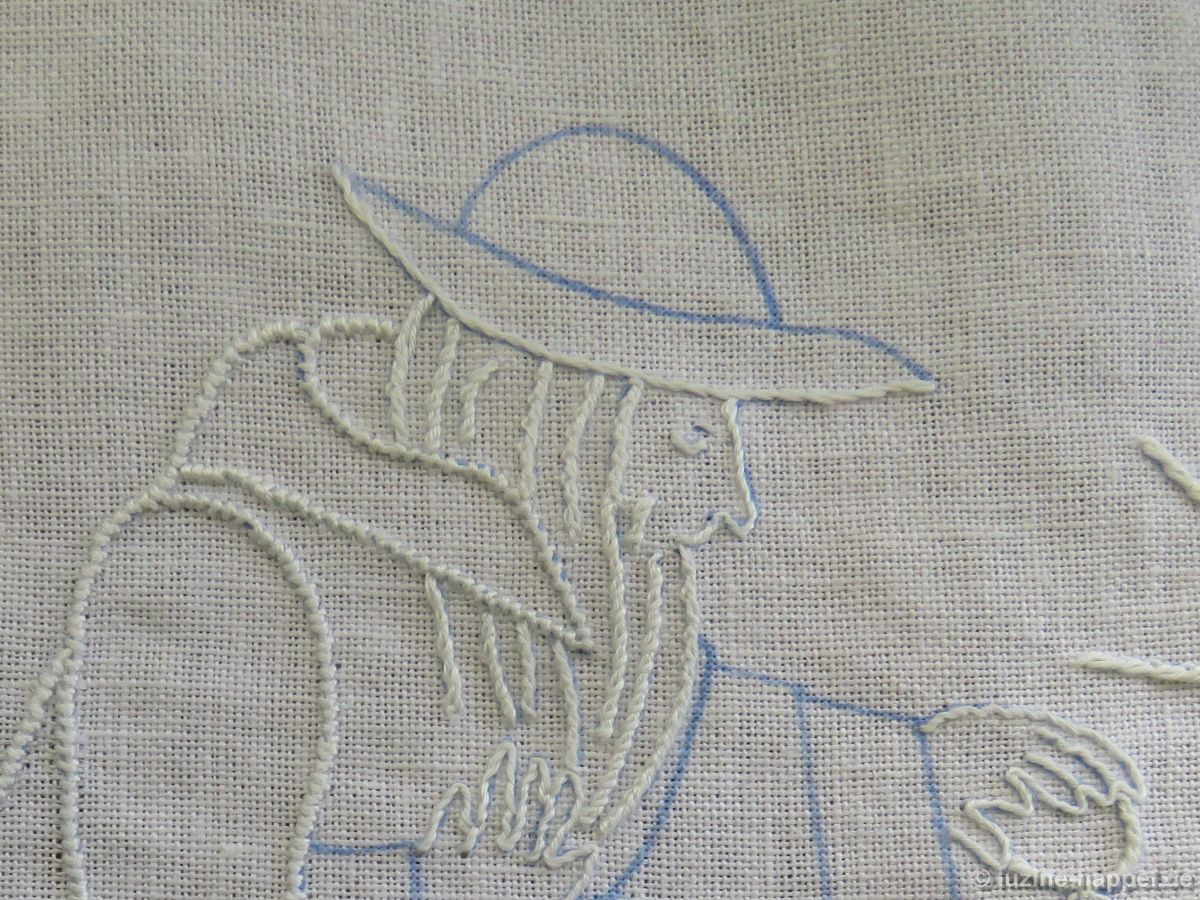
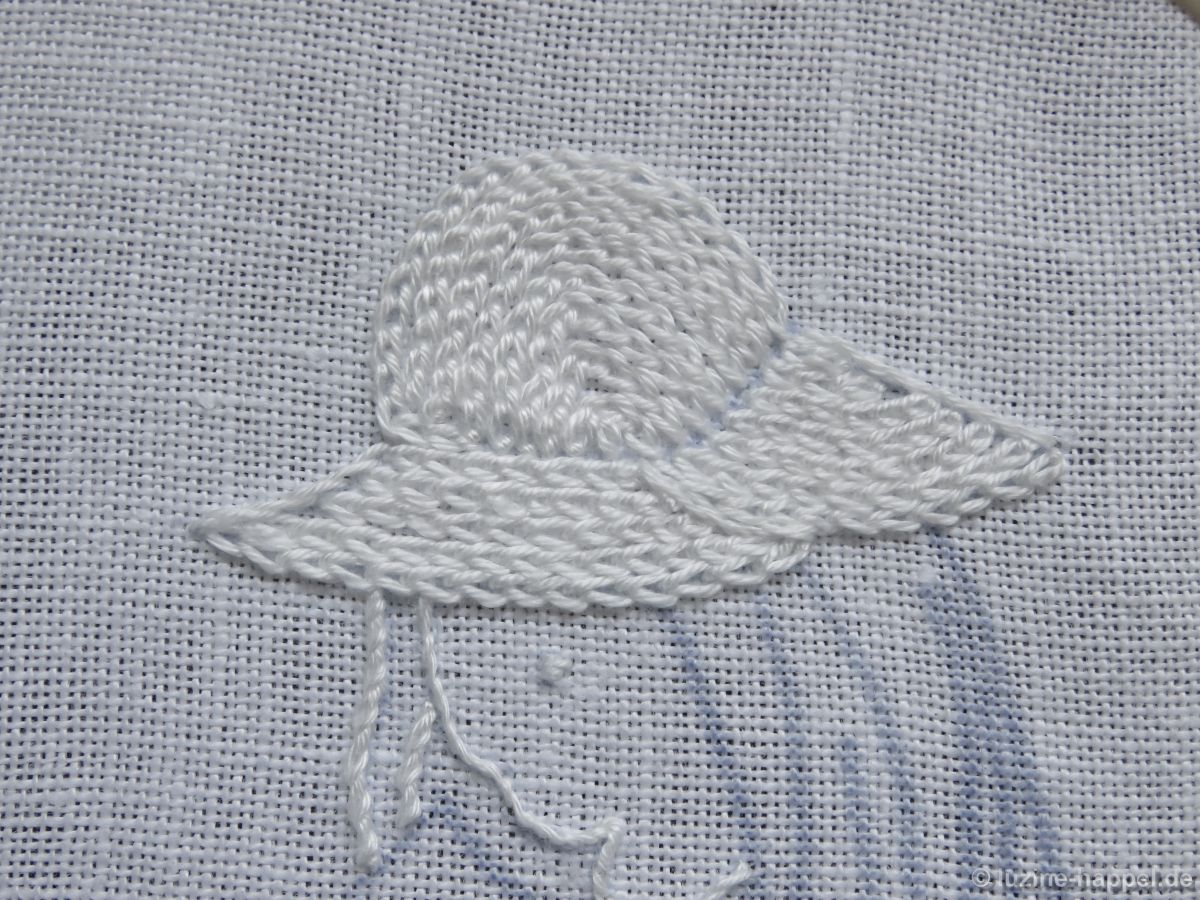
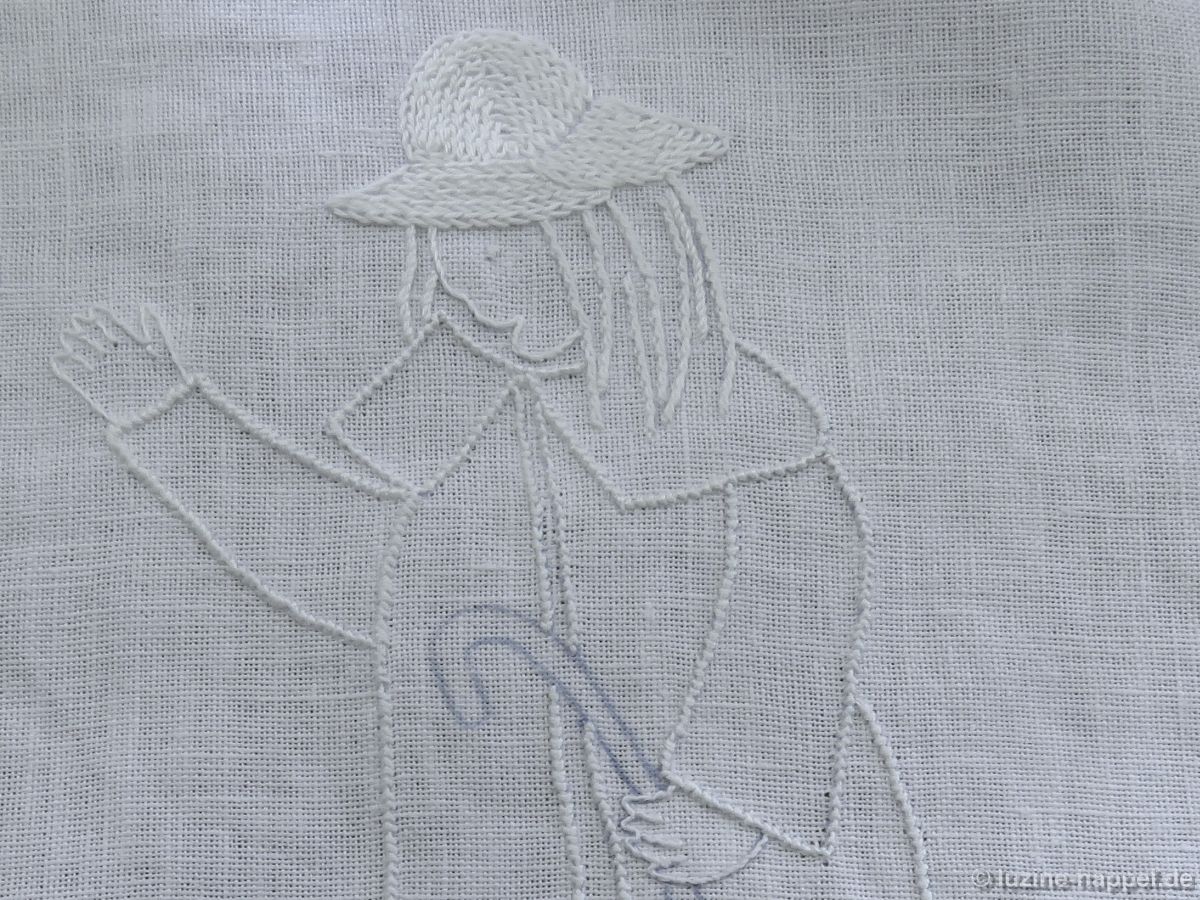
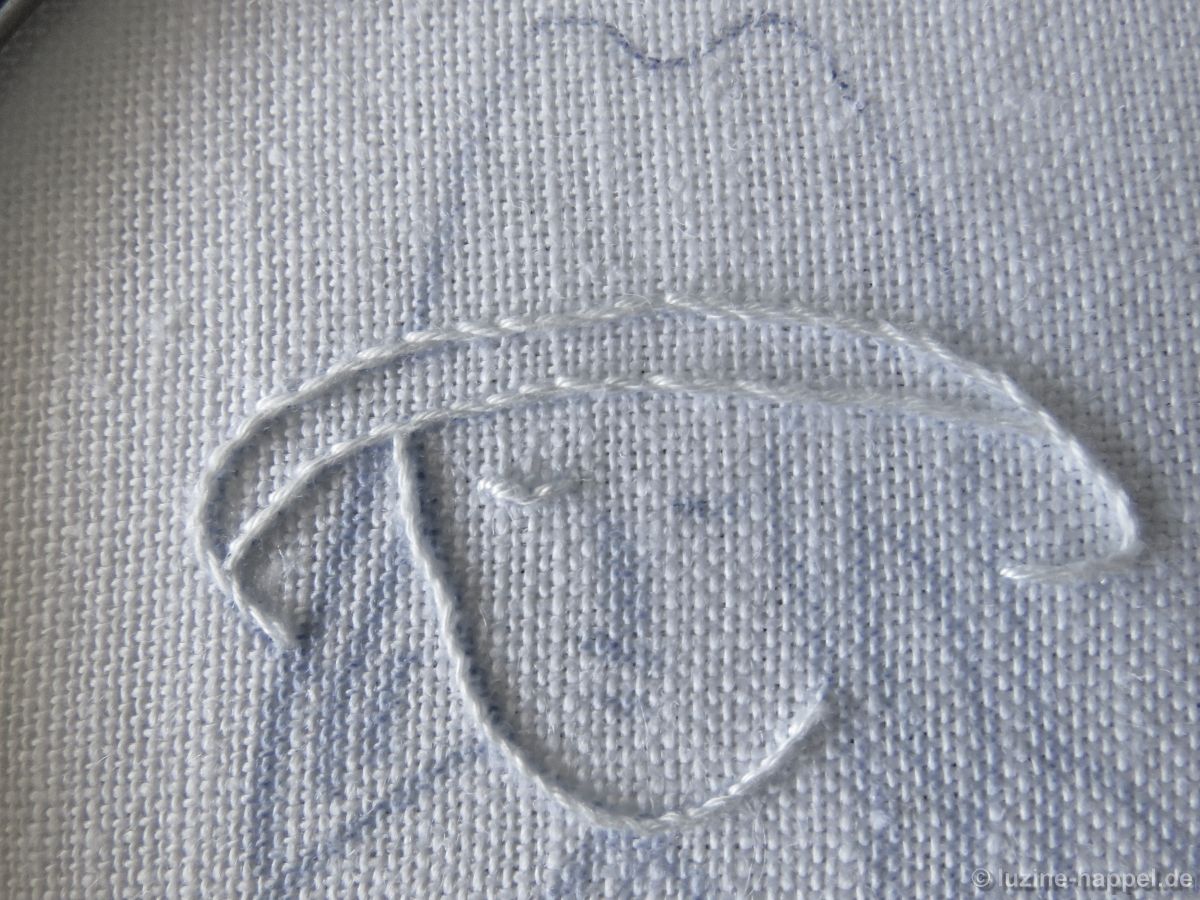
For Josef, the underside of the hat brim is first embroidered with wide stem stitches (coton à broder No. 16), because the threads for the hair and face can be sewn in or continued under the stitches in the back.
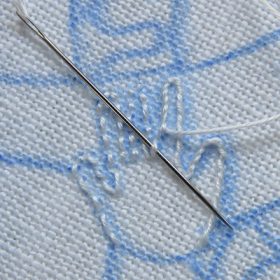
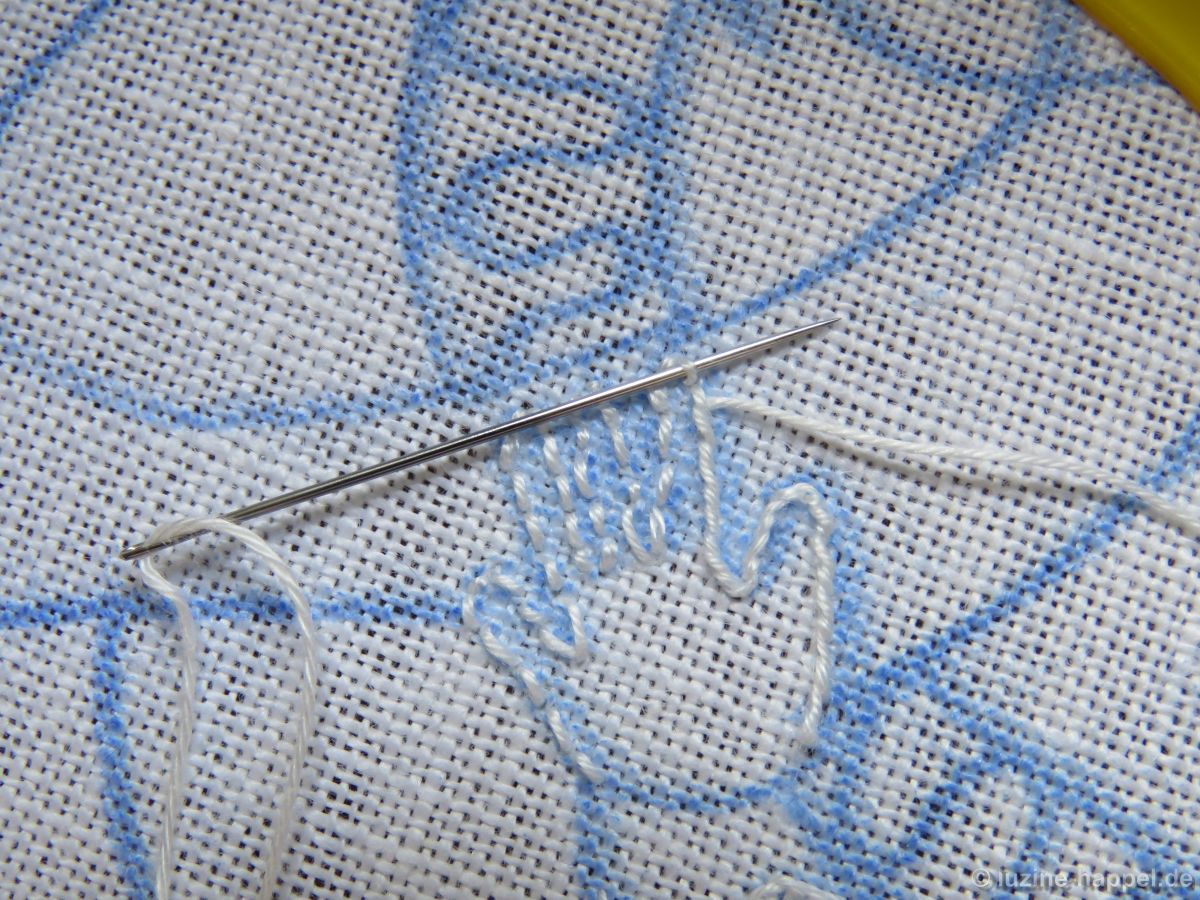
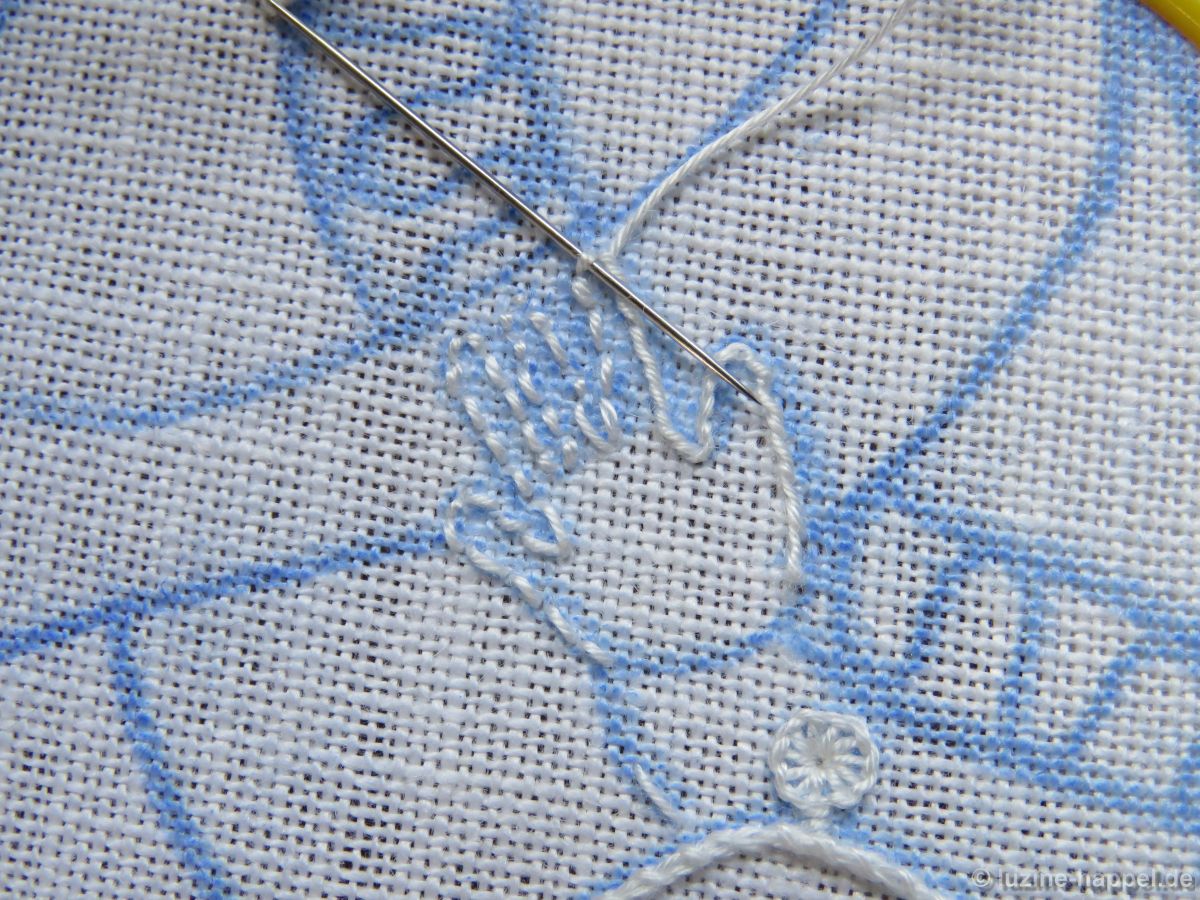
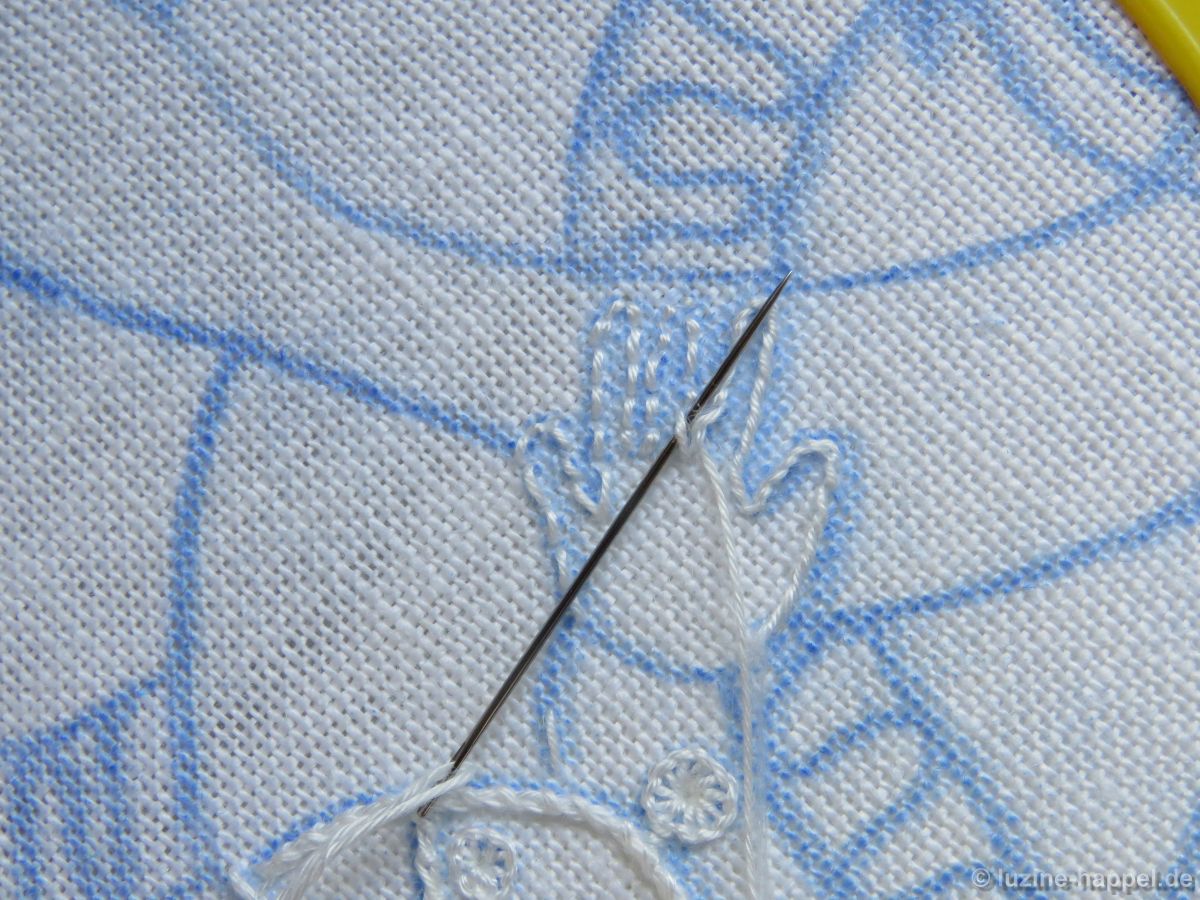
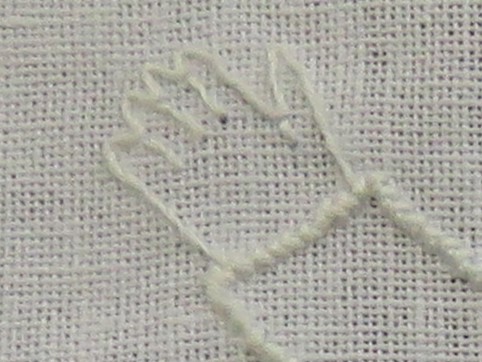
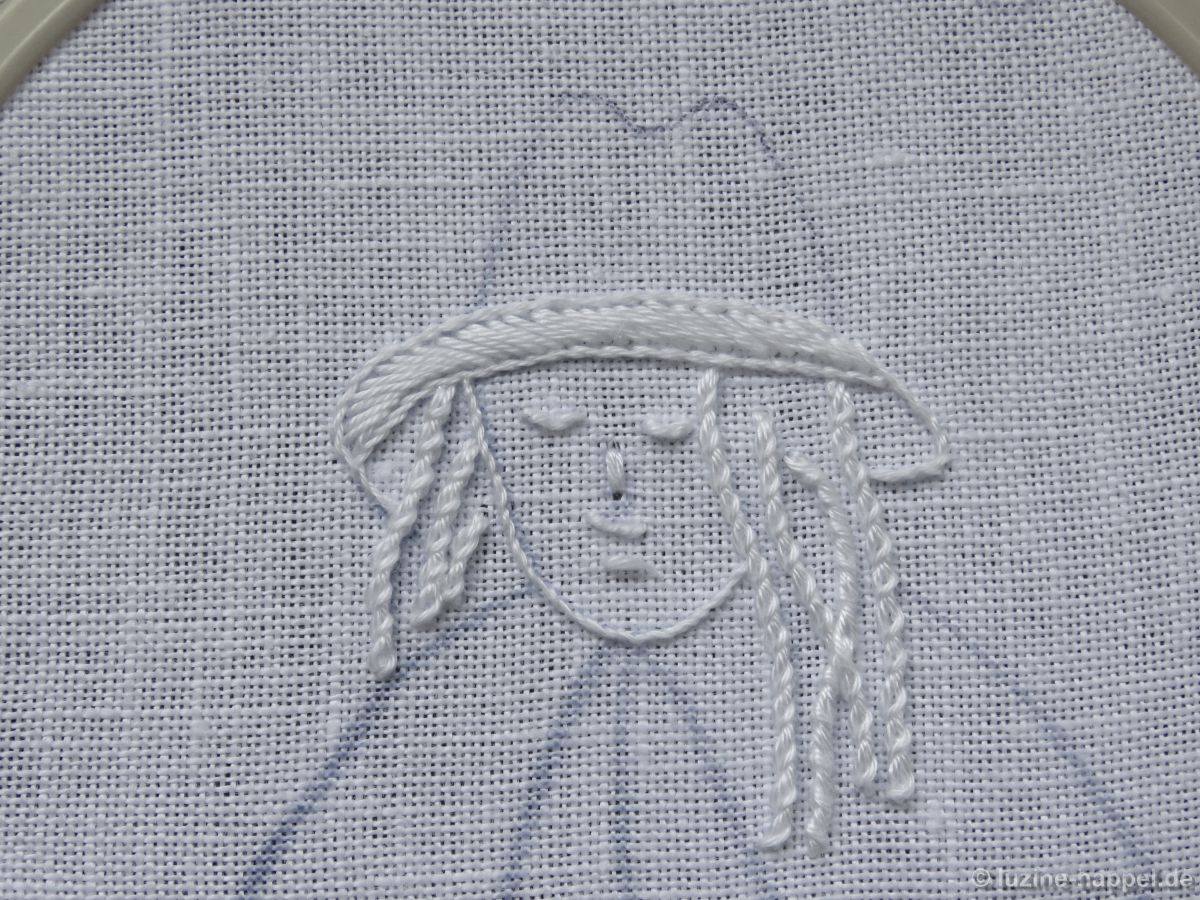
The hair, facial outlines and hands are worked with coton à broder No. 20. Coton à broder No. 16 is chosen for the Coral Knot stitches.
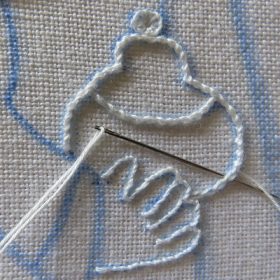
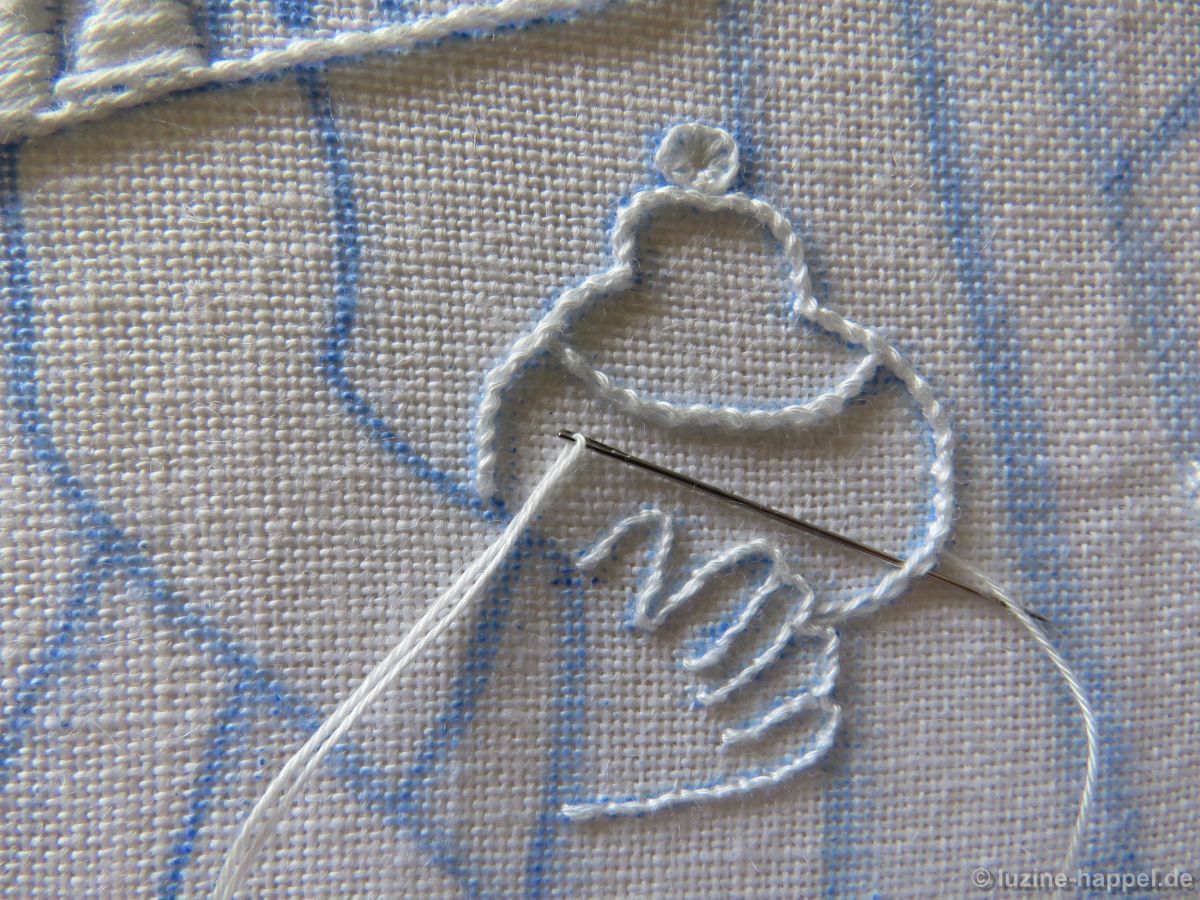
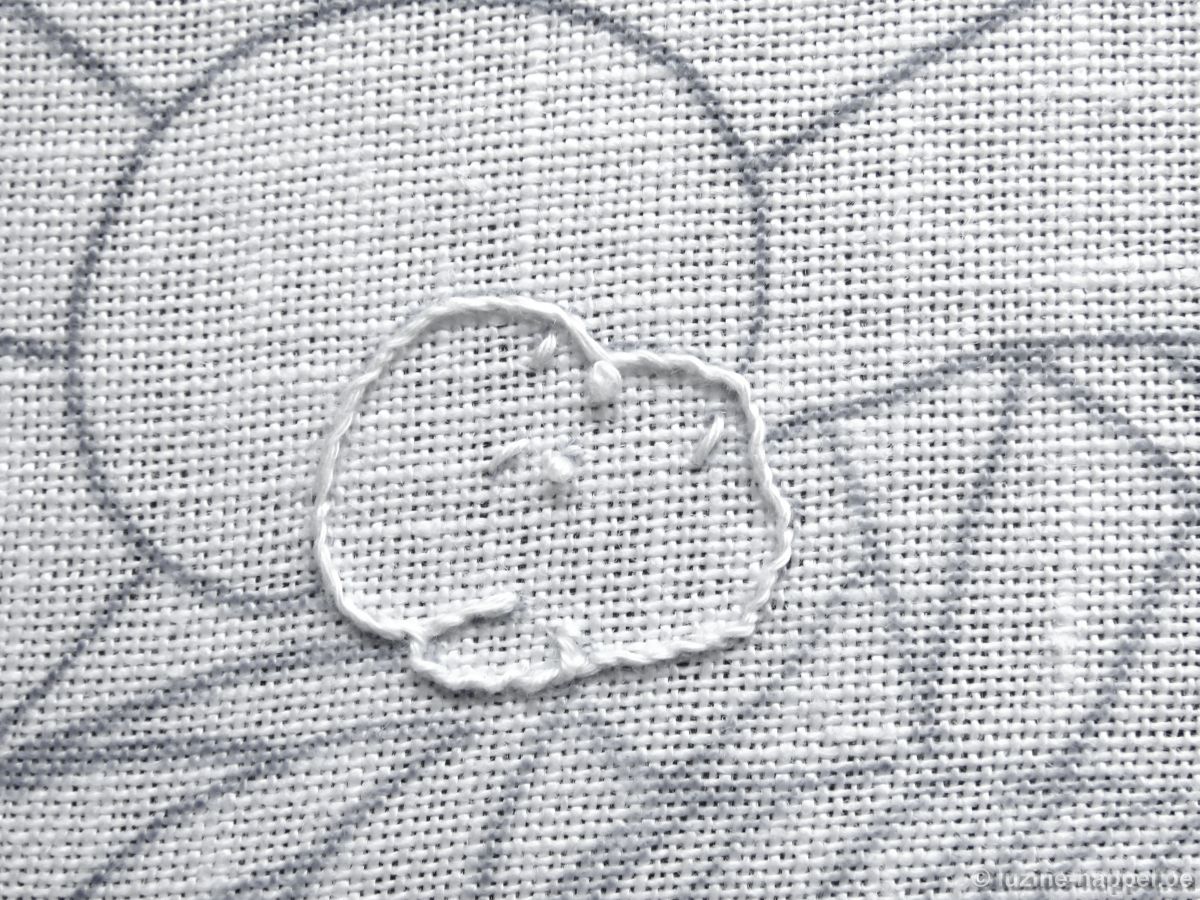
The child’s head is embroidered with wrapped Back stitches (coton à broder No. 20).
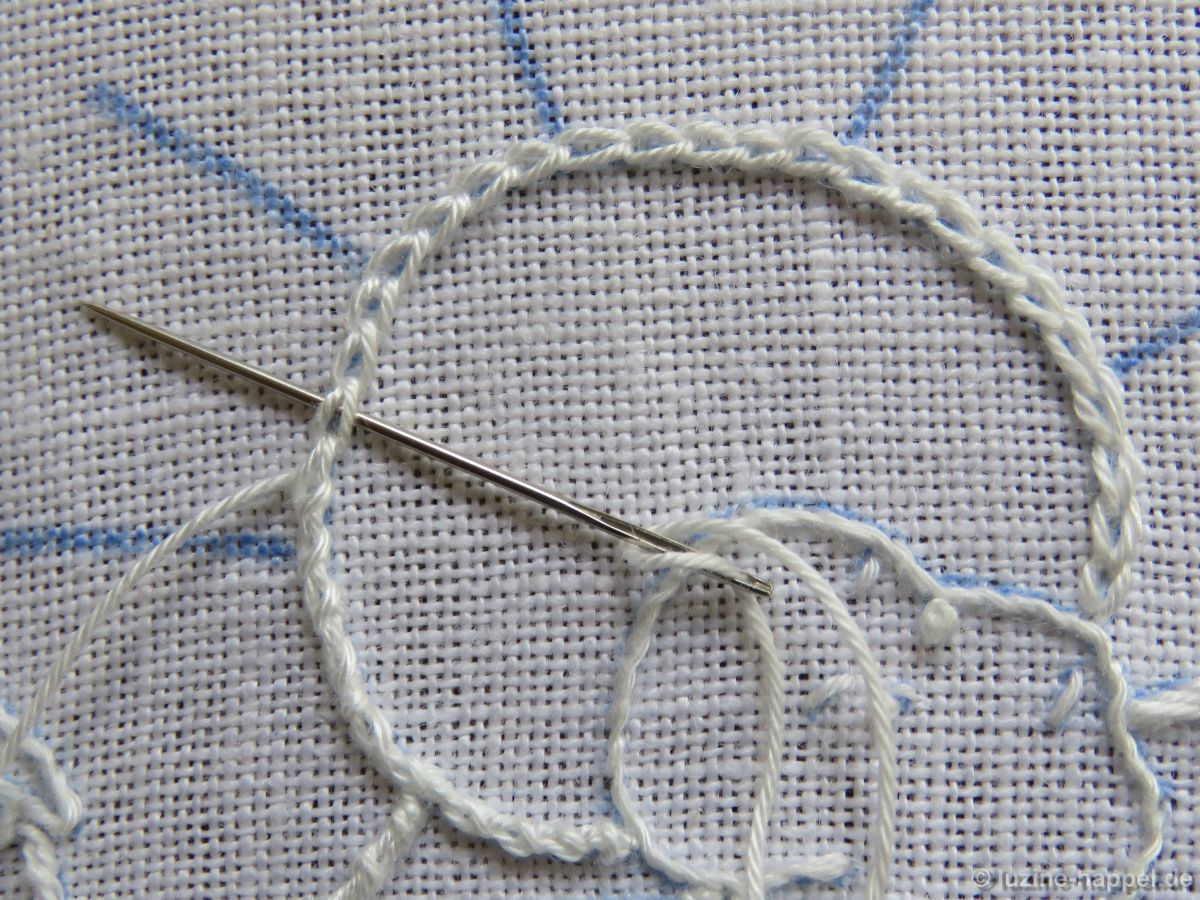
The halo is worked with wrapped Chain stitches (coton à broder No. 16).
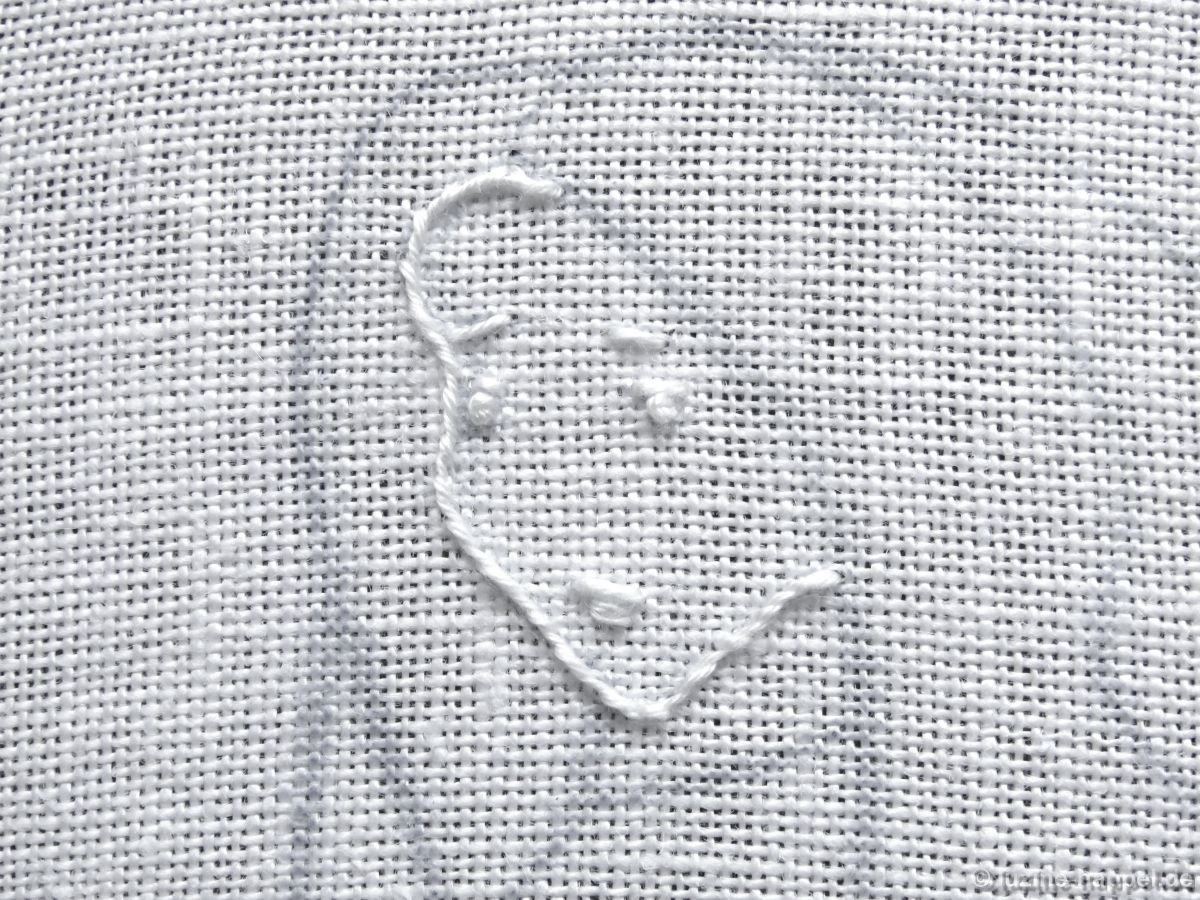
Maria’s face and hands are embroidered with coton à broder No. 25.
The third shepherd gets a hat made of Chain stitches (coton à broder No. 16) with a brim made of Stem stitches (coton à broder No. 20).
His hair is embroidered with wrapped Chain stitches (coton à broder No. 20), face (coton à broder No. 20) and hands with wrapped Back stitches (coton à broder No. 25). Coton à broder No. 16 is chosen for the Coral Knot stitches.
The second shepherd gets a hat brim made from Stem stitches (coton à broder No. 20),
which is later filled with Satin stitches (coton à broder No. 16). The face (coton à broder No. 20) and hands (coton à broder No. 25) are worked with wrapped Back stitches, the hair with wrapped Chain stitches (coton à broder No. 16).
First shepherd´s hair is worked with wide Stem stitches (coton à broder No. 16), the face with coton à broder No. 20 and the hands with coton à broder No. 25.

Advent Calendar 2016
Advent Calendar 2017
Advent Calendar 2018
Advent Calendar 2019
Advent Calendar 2023 – Outline Designs
Advent Calendar 2023 – Prep Work
Advent Calendar 2023 – Hairstyles and Facial Features of Wise Men
Advent Calendar 2023 – Hands
Advent Calendar 2023 – Vessels for the Gifts