Fascinated by the care and precision with which brubi creates her beautiful Schwalm tablecloth and the attention to detail with which she prepared the embroidery, I wanted to share it with my blog readers. To do this, brubi opened her folders again so that she could create the corresponding images – thank you very much for that.
First tests at embroidery: Coral Knot stitch in different thread thicknesses and types, Chain stitch, Satin stitch, Macrame stitch
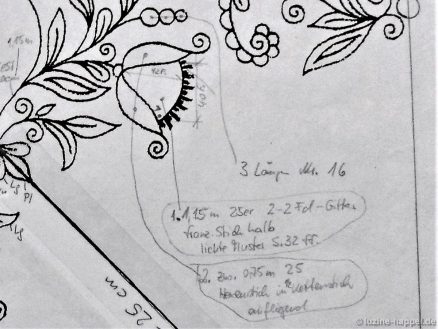
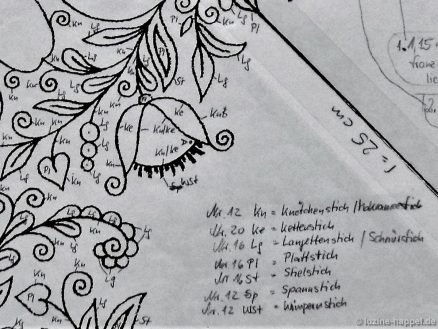
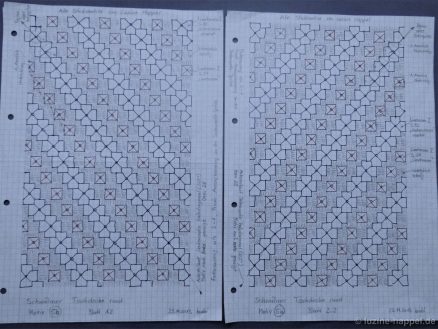
Overview 1: thread allocation, thread weight and thread length to the individual objects, definition of stitch types.
Section 1 from Overview 1: thread length for the individual objects, definition of stitch types
Section 2 from Overview 1: thread allocation and thread weight
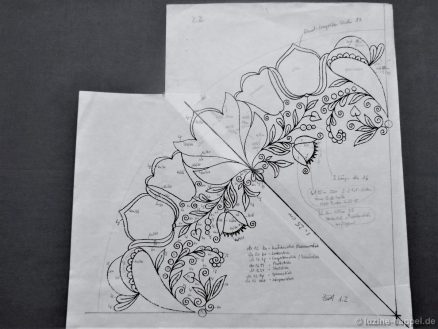
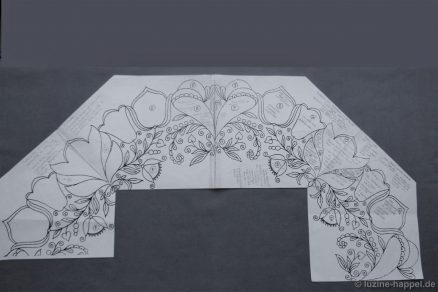
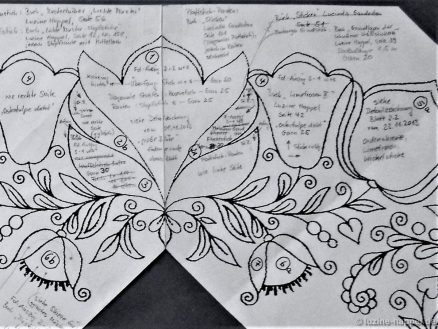
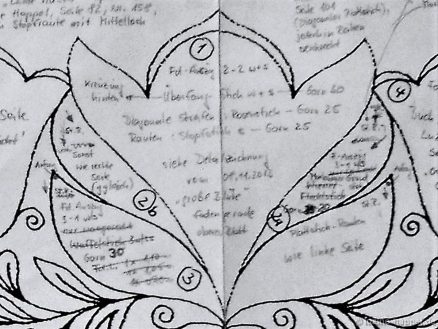
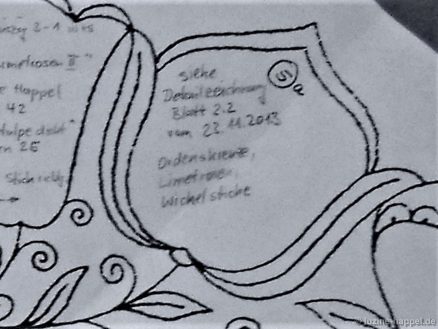
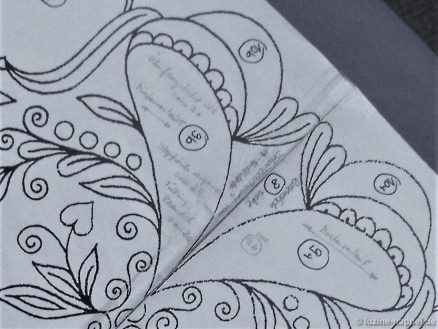
Overview 2: initially only numbering of the motifs,
later, after drawings and test embroidery, gradually determining the course of the pattern, the thread withdrawing, the embroidery direction and the embroidery patterns.
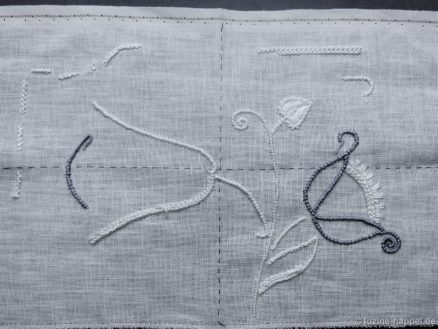
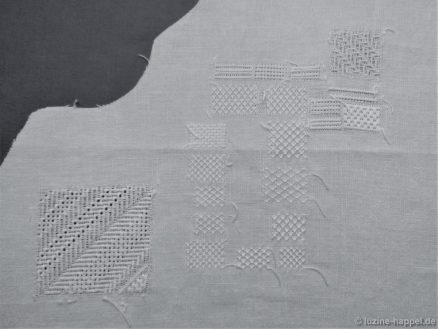
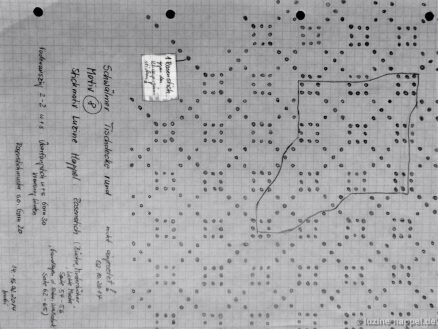
Embroidery samples: tried out various types of stitches, embroidered combinations of embroidery stitches.
Section 1 from Overview 2
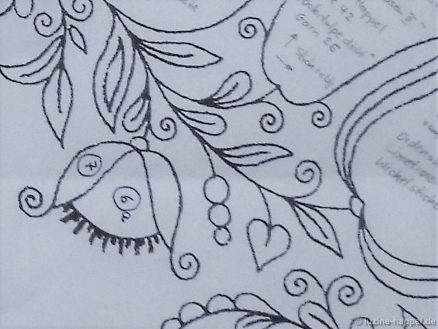
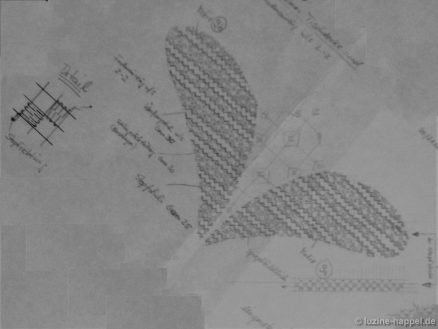
Section 2 from overview 2 with details 1, 2 and 3
Detail 1 large flower (in the straight of grain) flower center – sketched
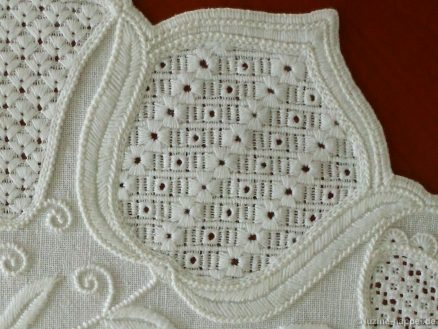
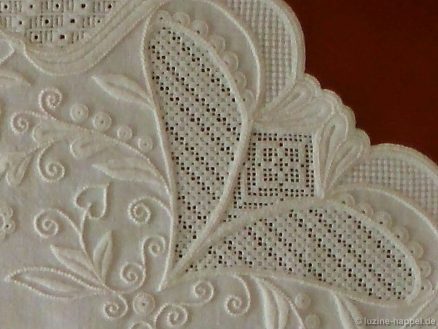
Detail 1, 2 and 3 – finished embroidered
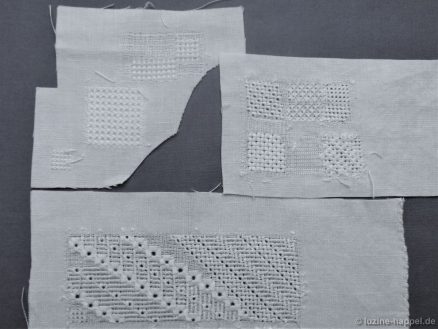
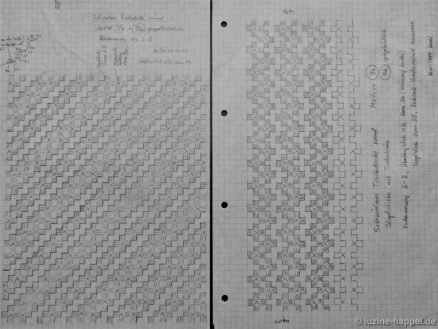
Embroidery samples:
small patch at the top left –
2nd pattern from above = embroidered in detail 10 (top petals).
small patch at the top right –
sample bottom left = embroidered in detail 3 (outer petals),
sample bottom right = embroidered in detail 2 (inner petals).
large patch below –
sample between middle and right cross, upper area = embroidered in detail 5 (large tulip inclined 22.5 degrees).
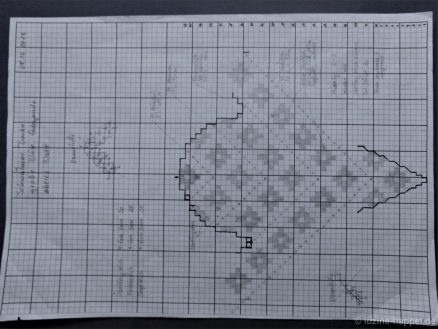
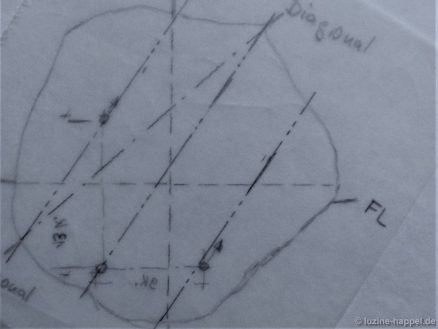
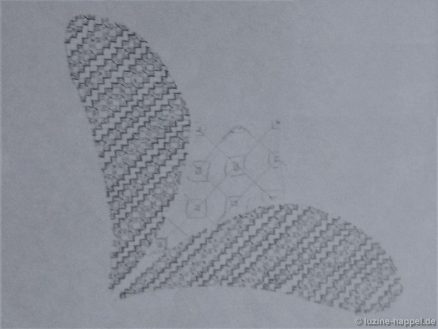
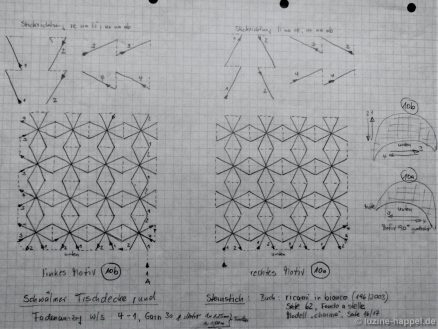
Detail 5 (a + b) – large tulip (inclined 22.5 degrees): determination of thread lines (sketched on tracing paper – so you can get the mirror image motif by turning it over.
Embroidery samples of the patterns in question
Detail 5 (a + b) – large tulip (inclined 22.5 degrees): design sketches and arrangement of the individual stitch elements
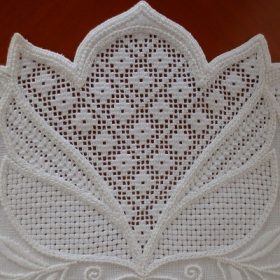
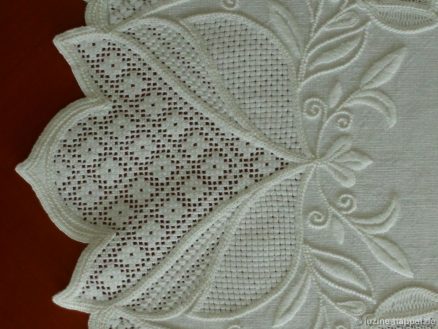
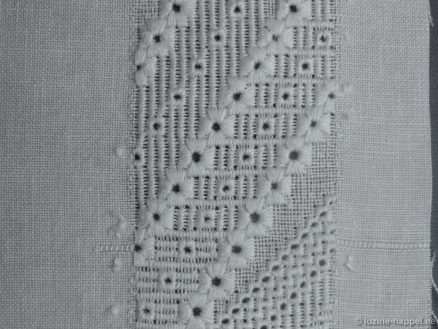
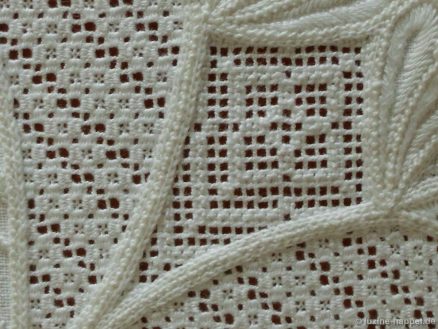
Detail 5 finished embroidered
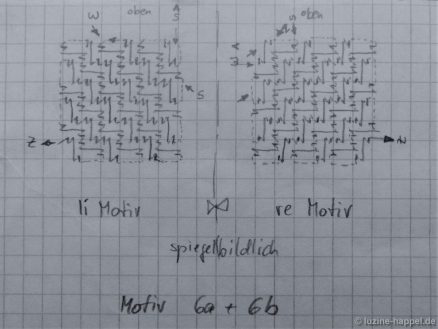
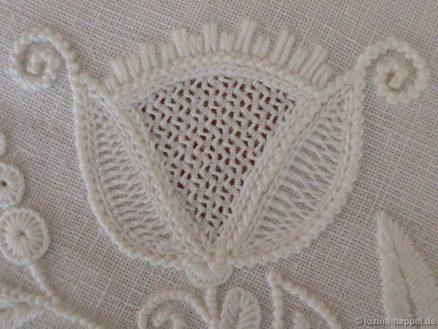
For detail 6 (a + b) bud (slightly inclined), center of flower
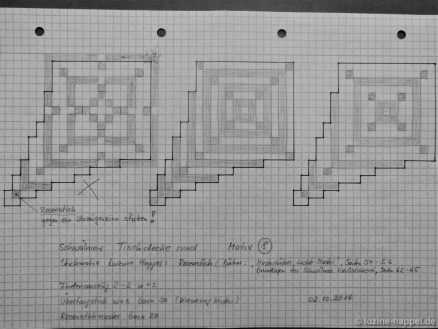
“Diagoanl Cross filling – French variaton/”half” was sketched in mirror image
and embroidered.
For detail 8 – large flower (diagonal) flower center –
various filling patterns were sketched.
The left checked pattern was embroidered, the others were discarded.
Detail 8 embroidered
Sketches for patterns for detail 9 (large flower (diagonal) outer petals) – left side embroidered, right side discarded
Sketch for detail 9 – pattern run vertical – discarded
Sketch for detail 9 – pattern run horizontal – embroidered
Detail 9 embroidered
Detail 10 (a + b): large flower (diagonal) upper petals: sketches for star stitch
Detail 10 embroidered
large flower diagonally with details 8, 9 and 10 embroidered
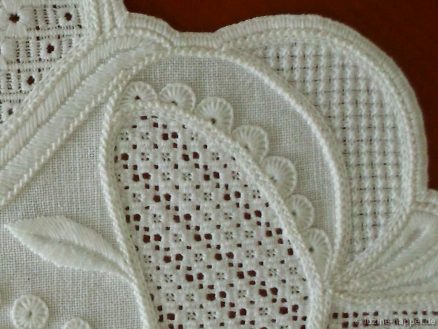
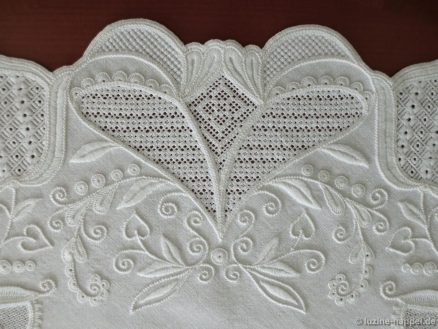
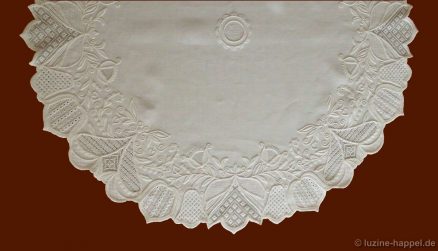
Many people might think that so much effort for embroidery is excessive. But if you consider that these preparations only took about 40 days, but the final embroidery took almost four years (not including the interruption), the ratio is quite acceptable. And only with such an accurate preparation was such a unique result possible. The effort was truly worth it.
Thanks again to brubi for providing all the information. Hardly anyone will probably undertake the entire accuracy, but you can definitely incorporate some suggestions into your own work.


What an exquisite piece! Lovely work.
Prachtig ontwerp, en veel werk eer je het ontwerp kunt maken
Very interesting, thank you. Great attention to detail in the planning and beautiful embroidery!
Felicitaciones, espectacular bordado.
Lucía
Stunning, both in planning and execution. Wow, what a superb result!
So very very beautiful. It is inspiring!
Such detailed planning and with great success. Bravo.
Der helle Wahnsinn!!! Wunderschön, meisterlich, Schwälmer neu gedacht!
Vraiment magnifique… que de travail…
Ein großes Kompliment an die Stickerin. Ich bin sehr beeindruckt von der Planung und Ausführung. Besonders die passend gewählten Füllungen begeistern mich. Ein wahres Meisterwerk.