Sofa Cushion Cover 1 (A)

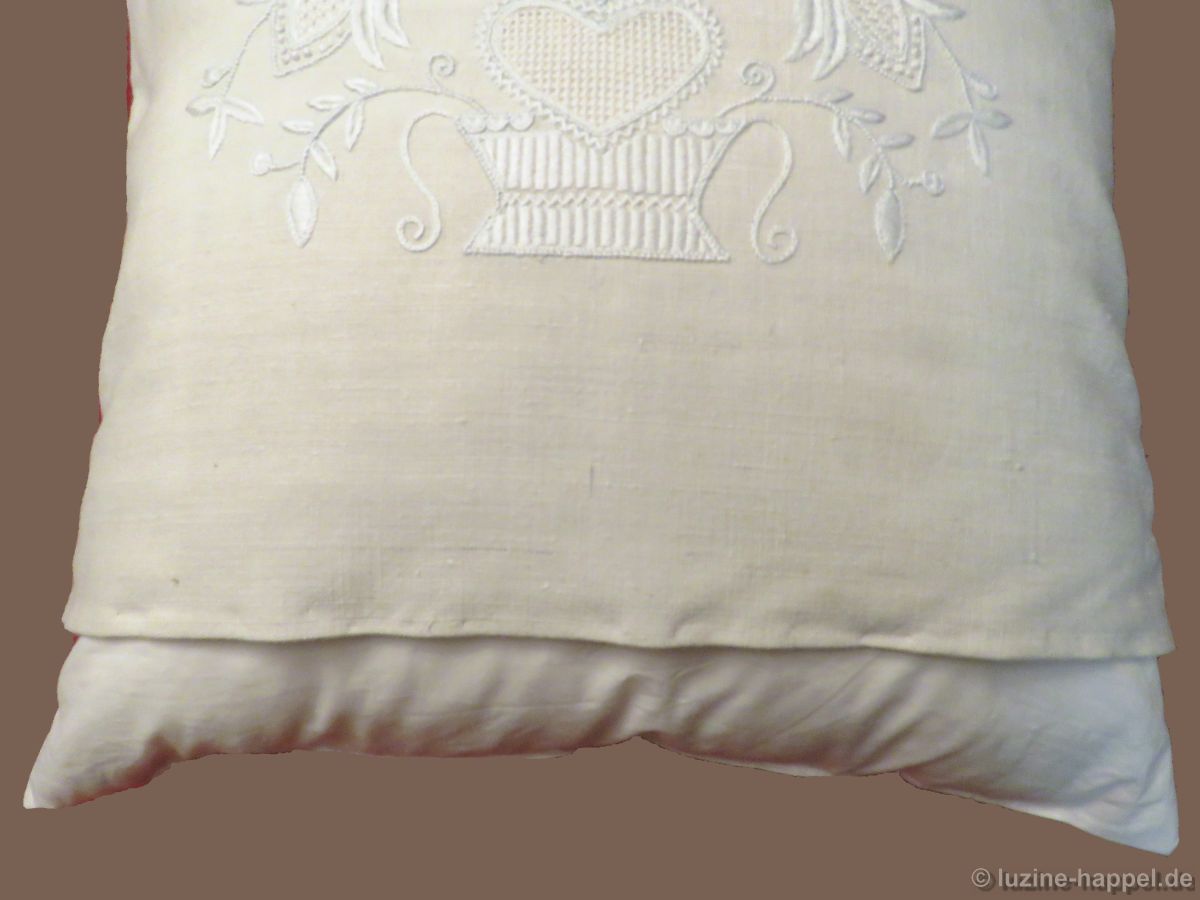
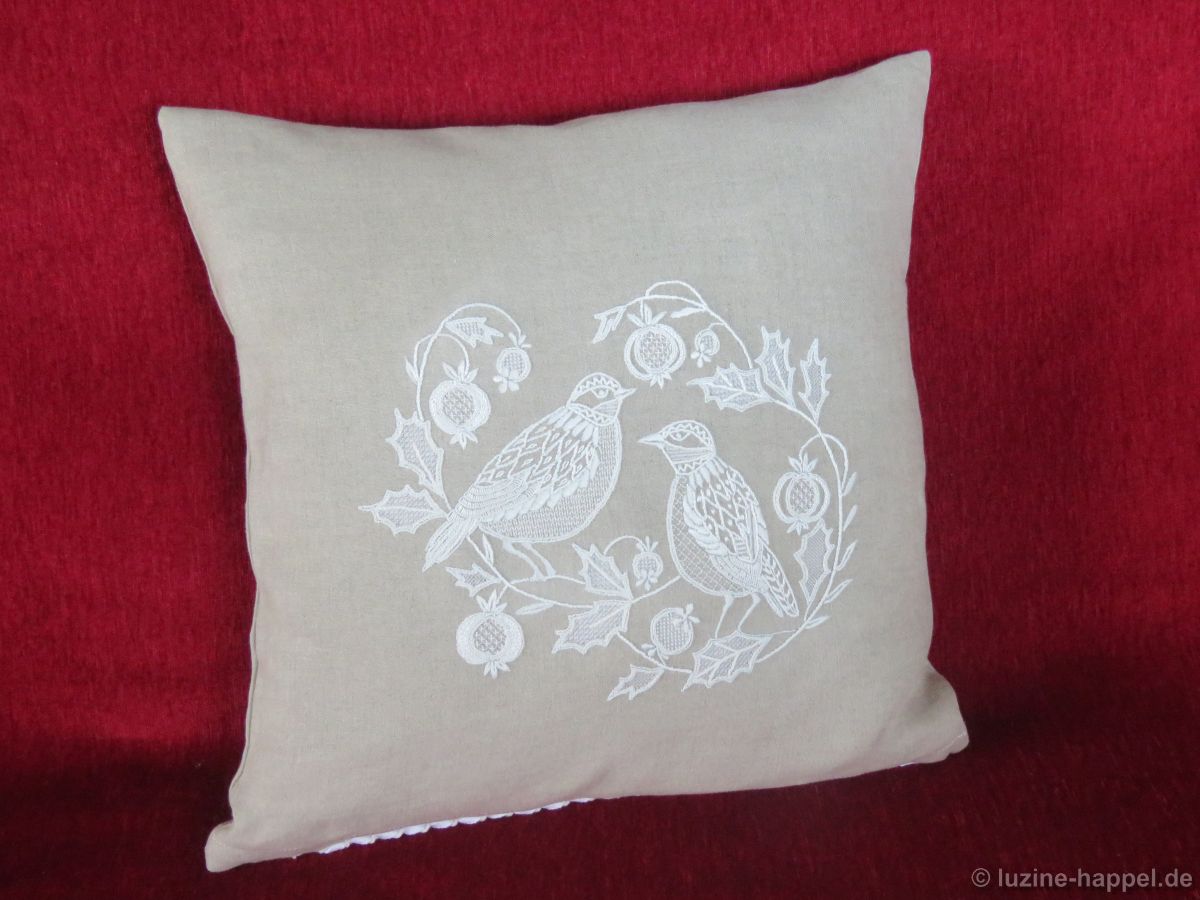
The finished pillow case should measure 40cm X 40cm. It should be worked from one piece (finished 40 cm x 80 cm). I choose 16/cm thread count natural coloured and durable pressed linen of the Übelhör linen mill. The linen will shrink about 4,9% in the warp and about 3% in the woof.
That would be about 2.40cm in width and about 2 cm in length for the desired size.
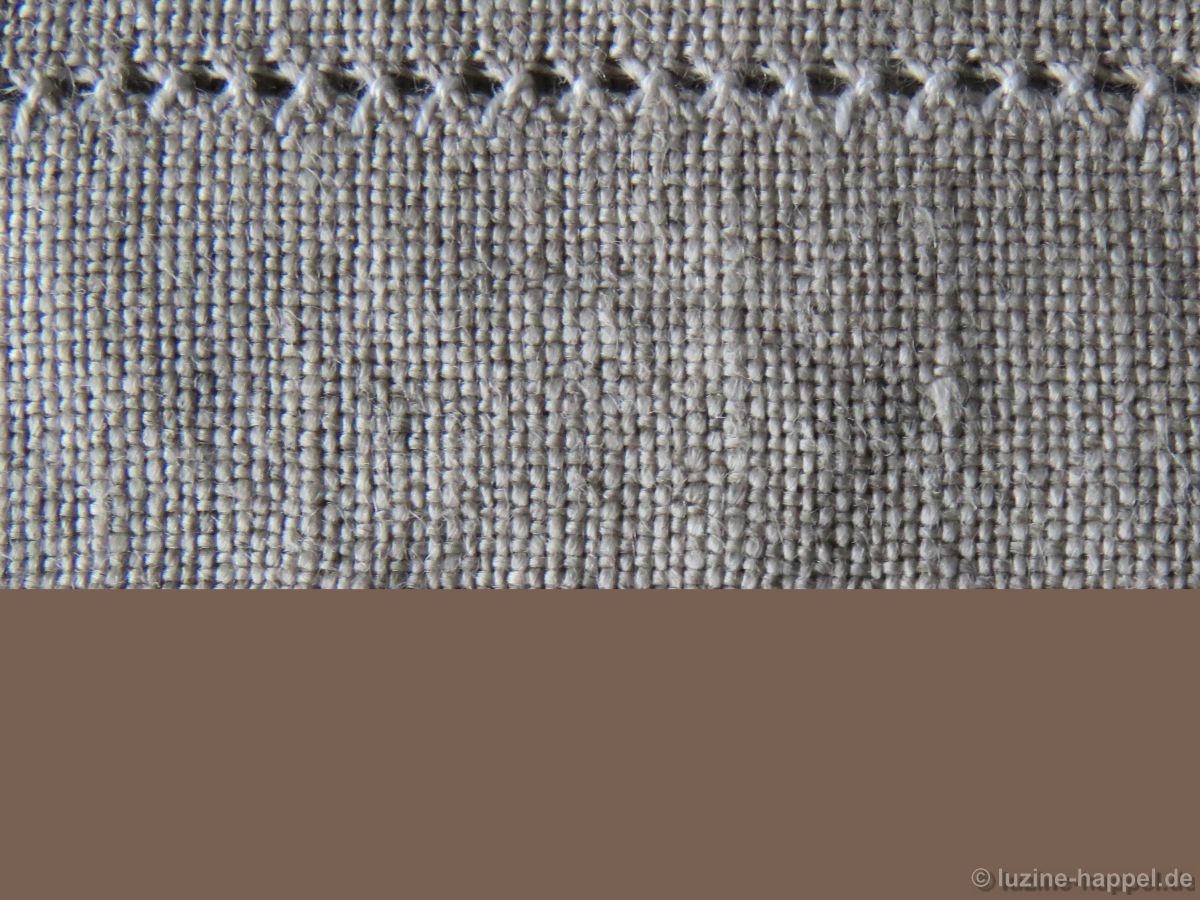
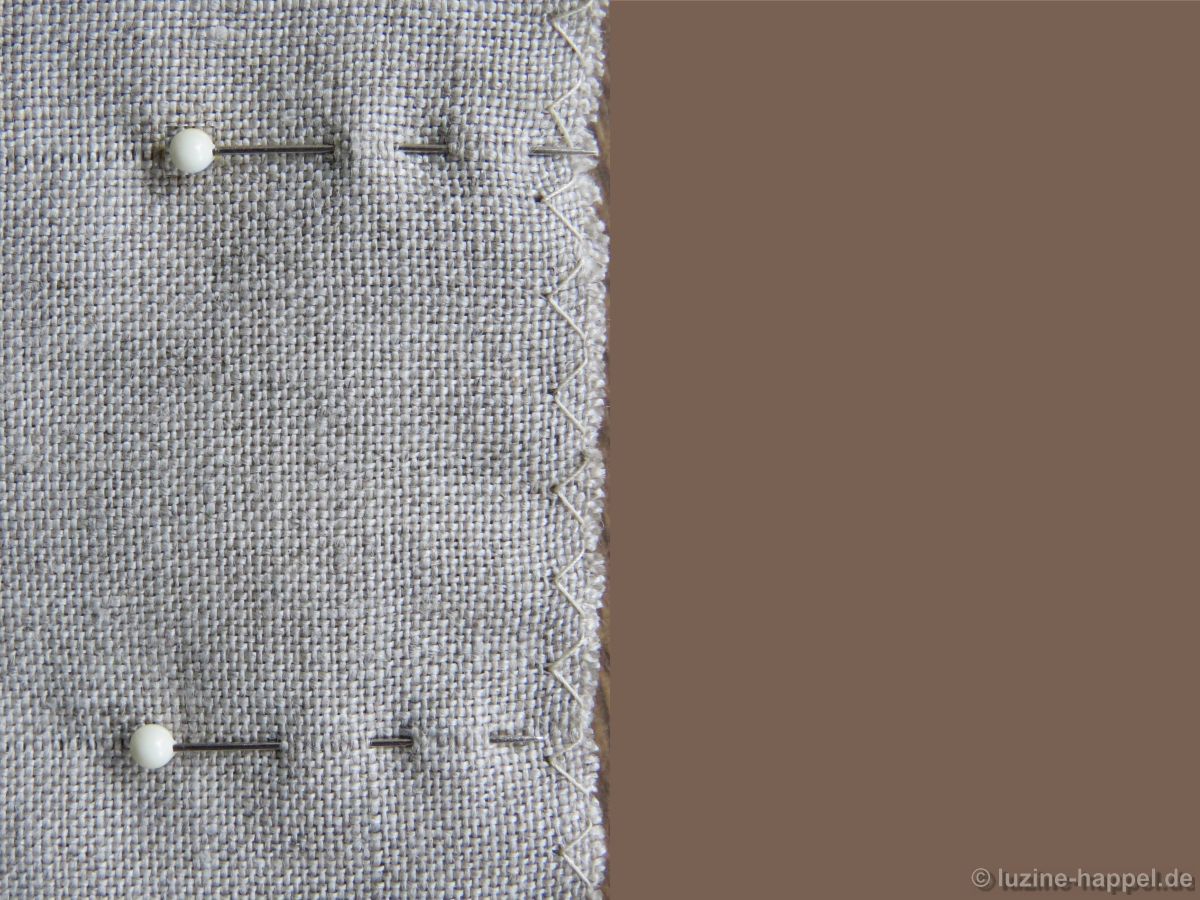
Seam allowance on both sides is 1 cm each.
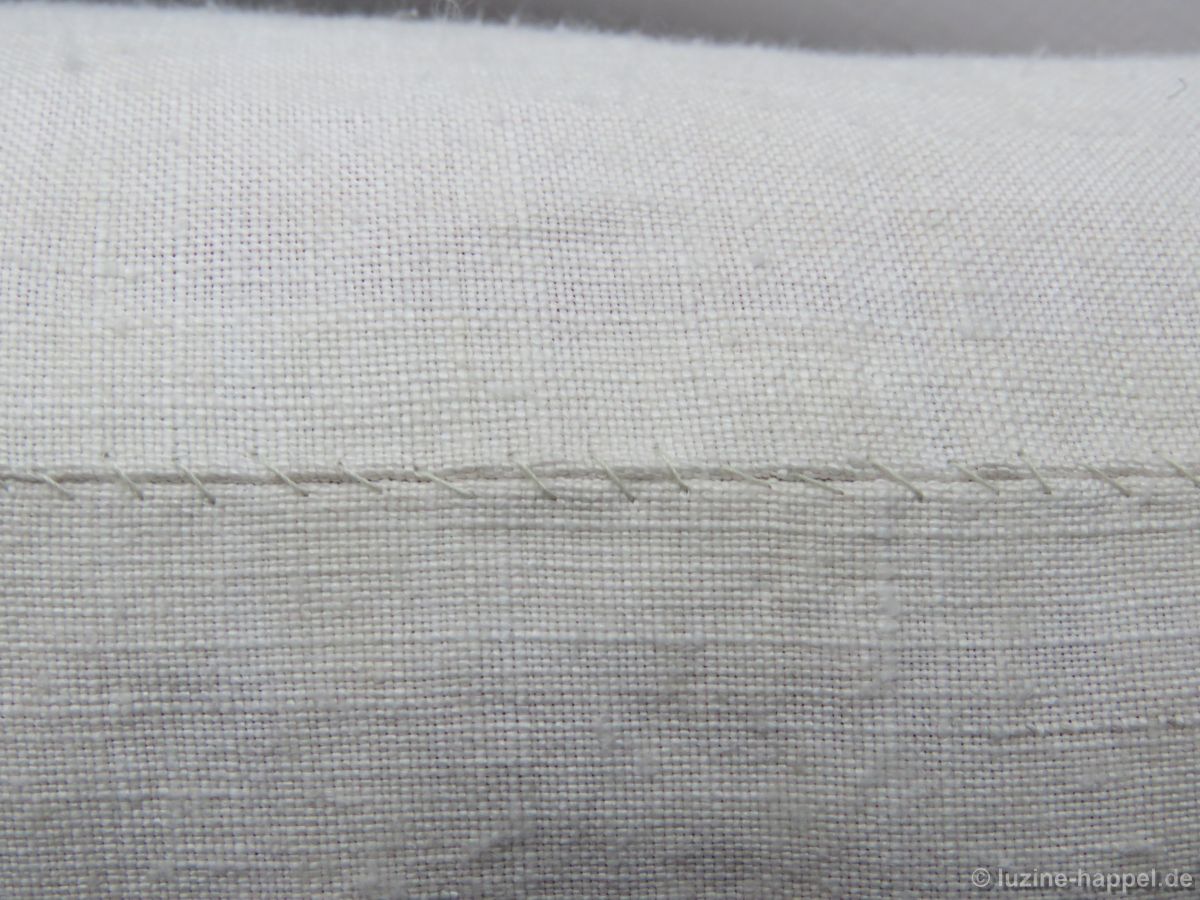
The closure is made on the bottom with a 2cm wide hem with 1cm fold.
That would be:
in width 40cm + 2.4cm + 2 X 1cm = 44.4cm
in length: 80cm + 2cm + 2 X 3cm = 88cm
To be on the safe side, I add a few centimeters and cut the linen into the size of 46cm x 93cm.

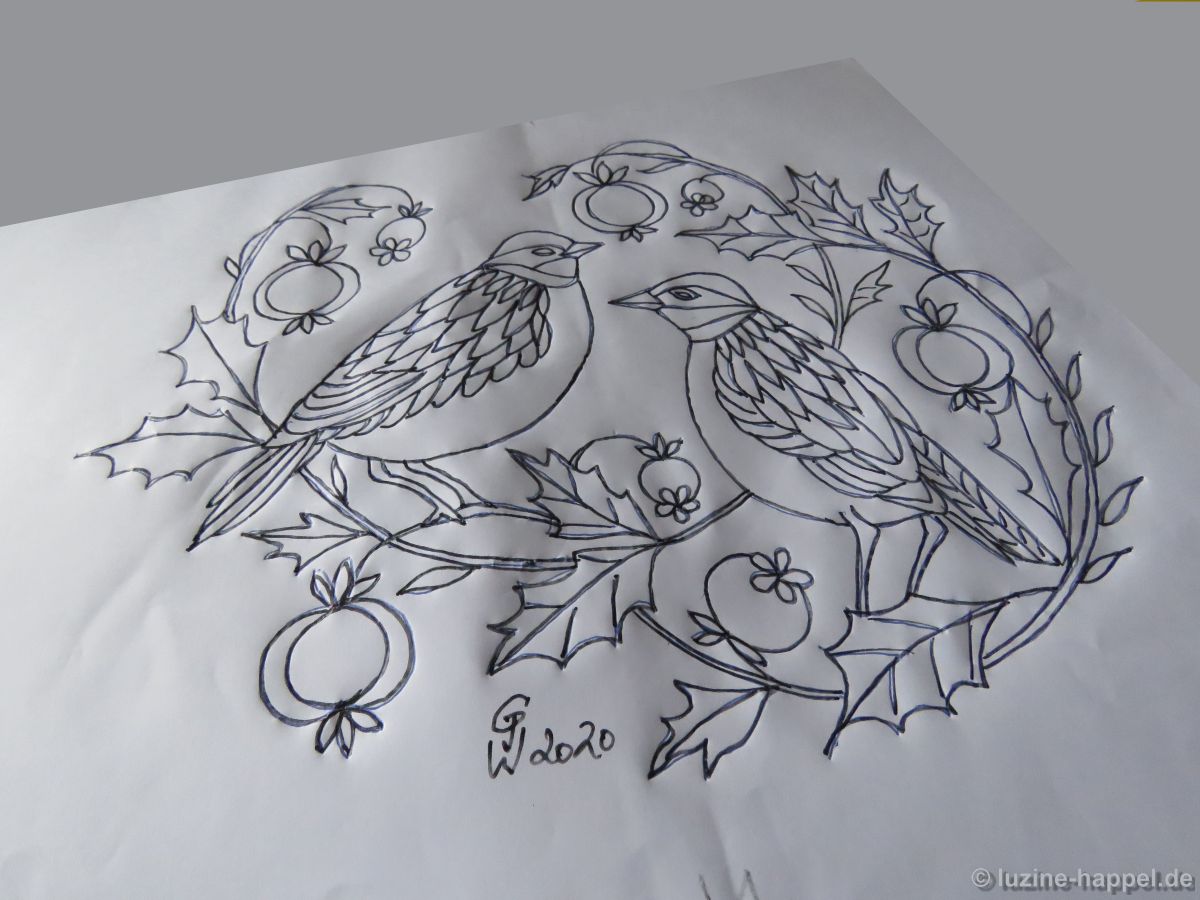
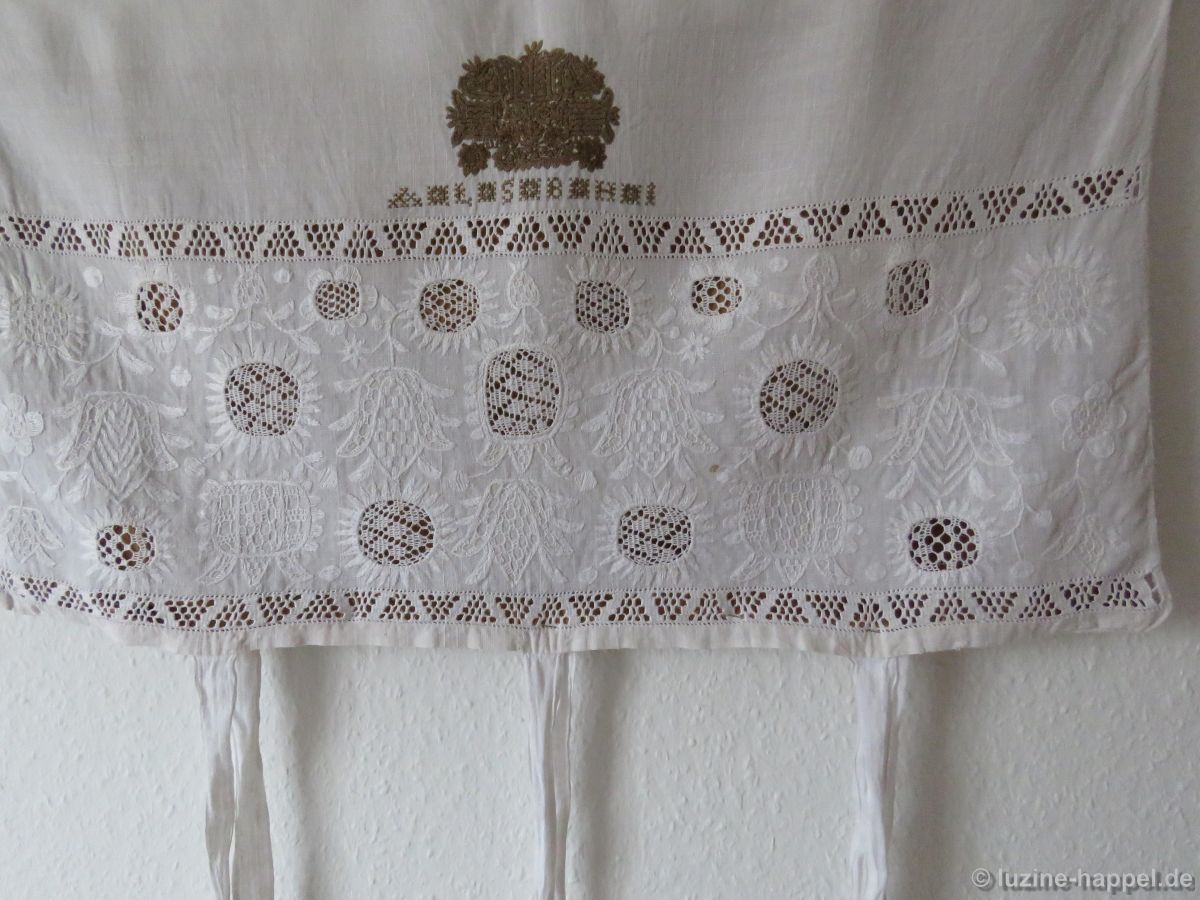
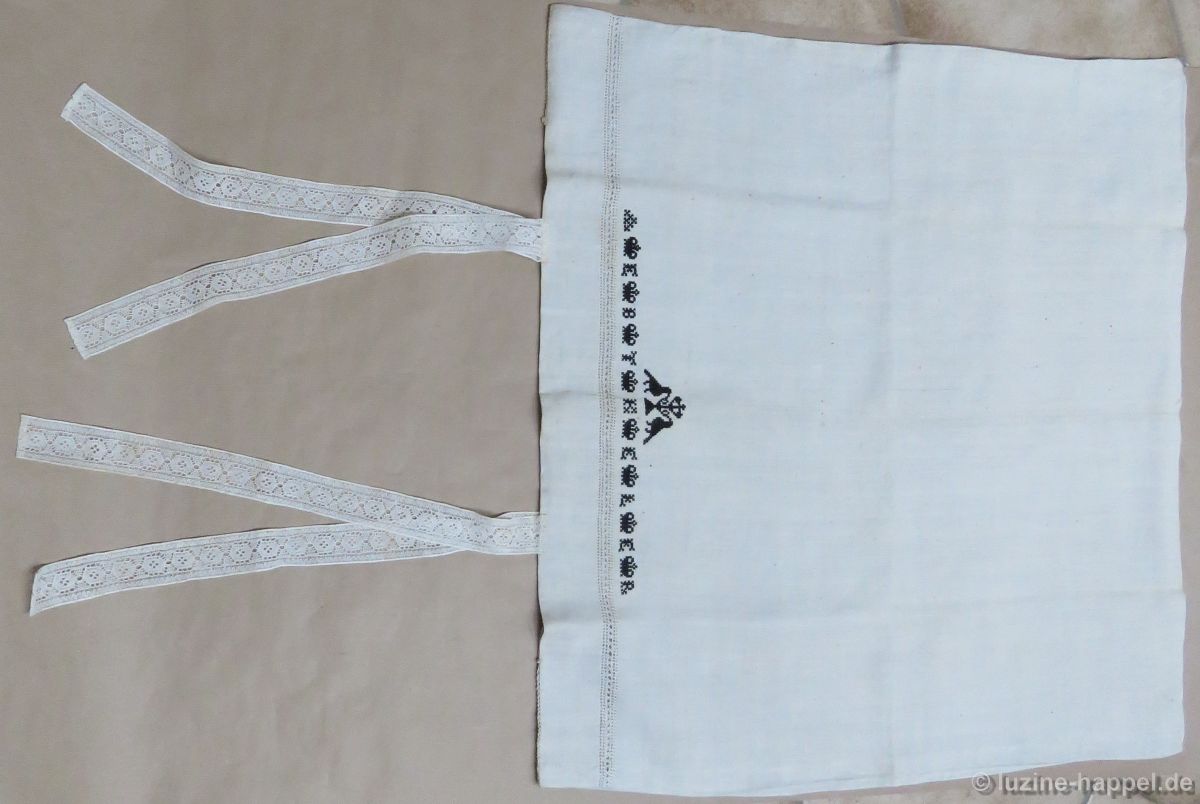
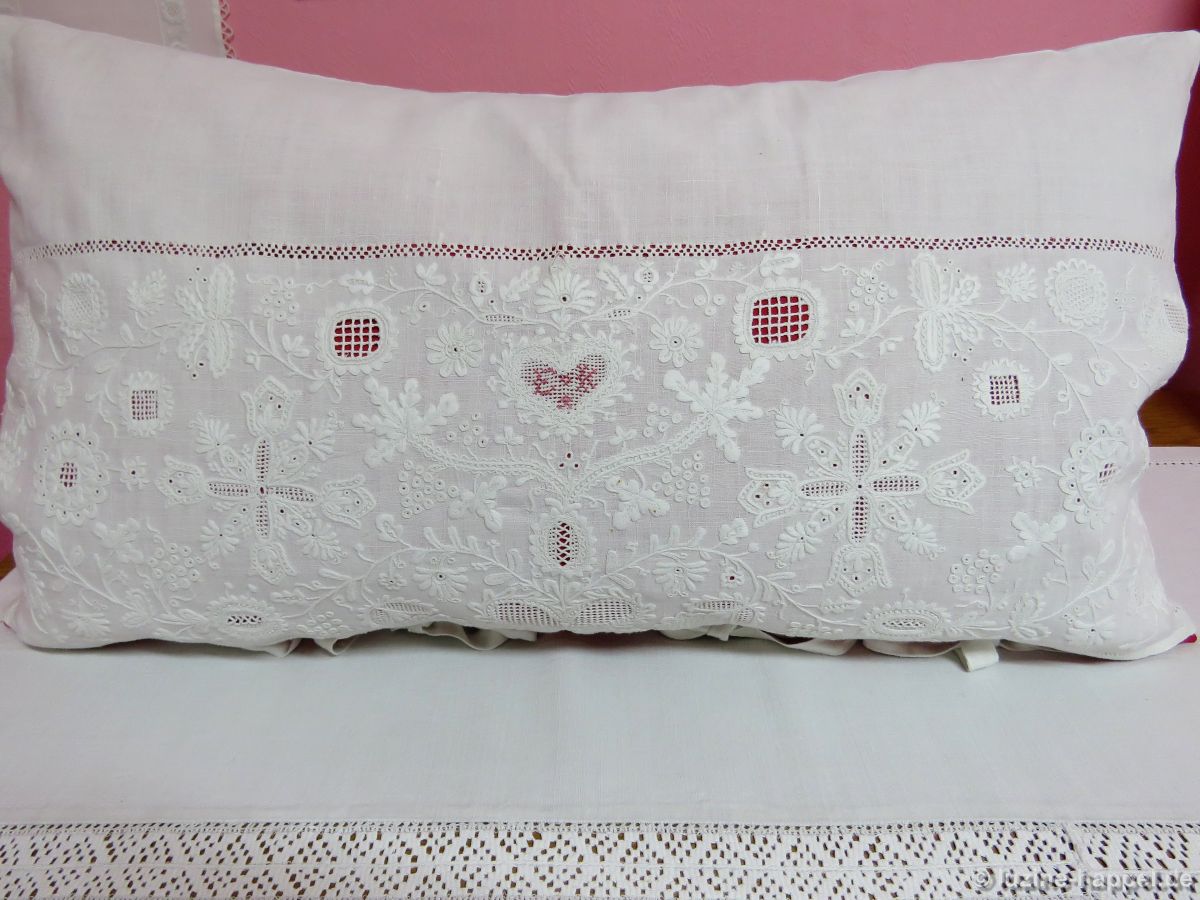
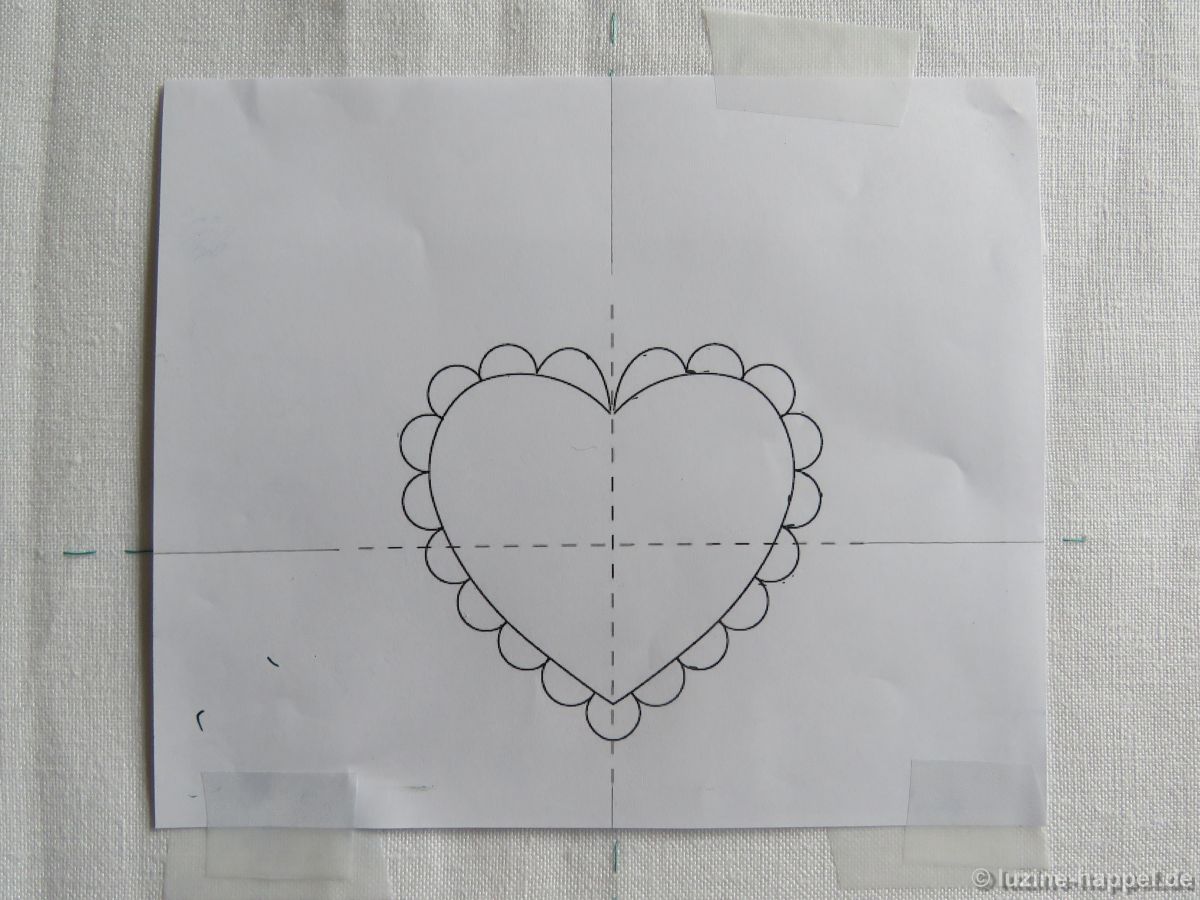
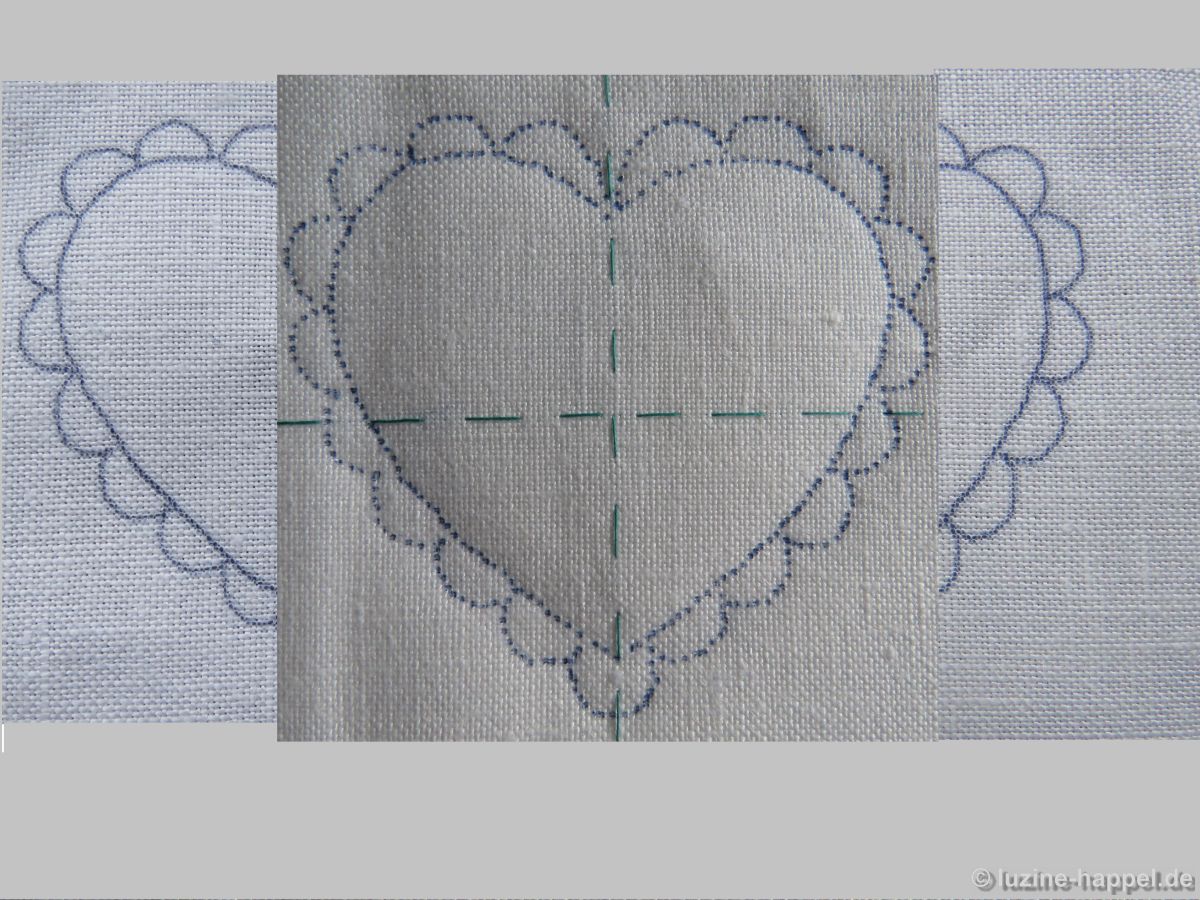
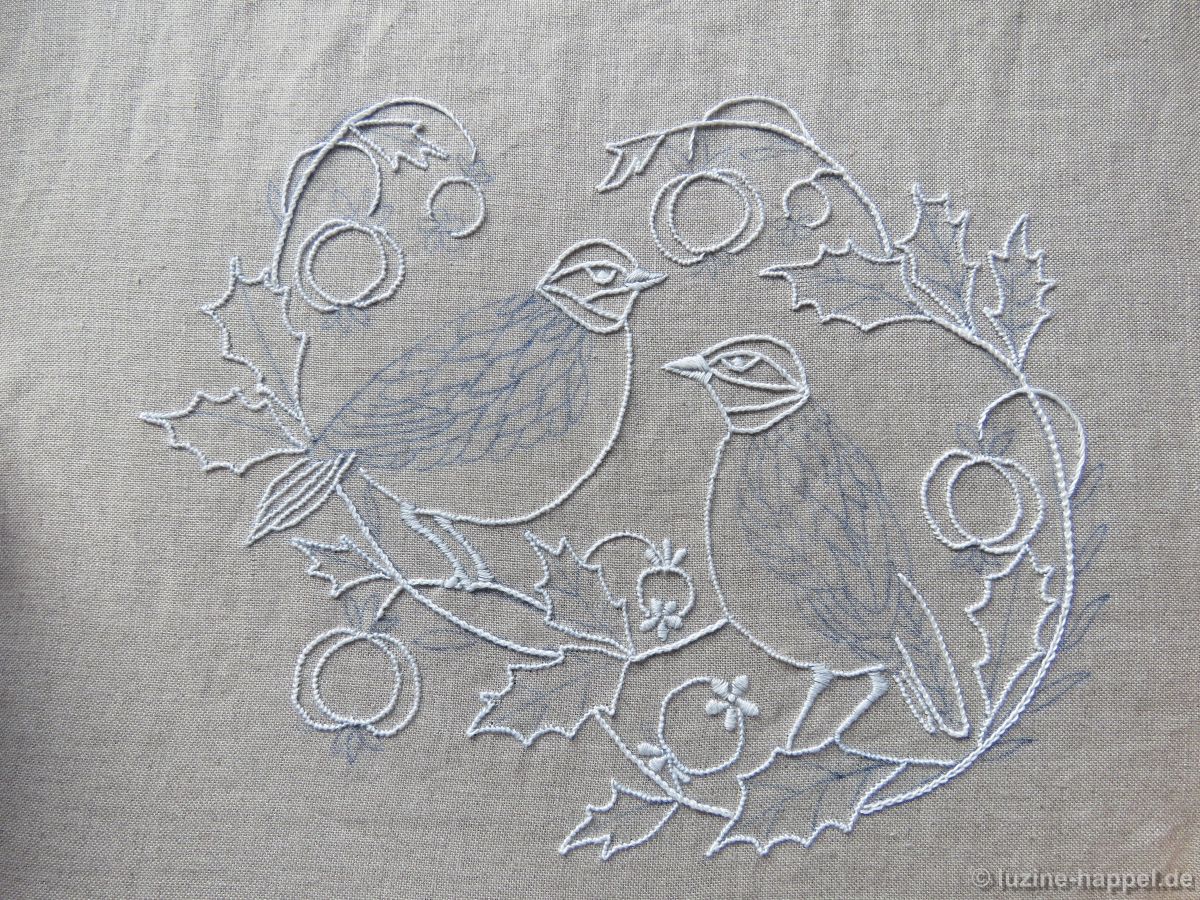
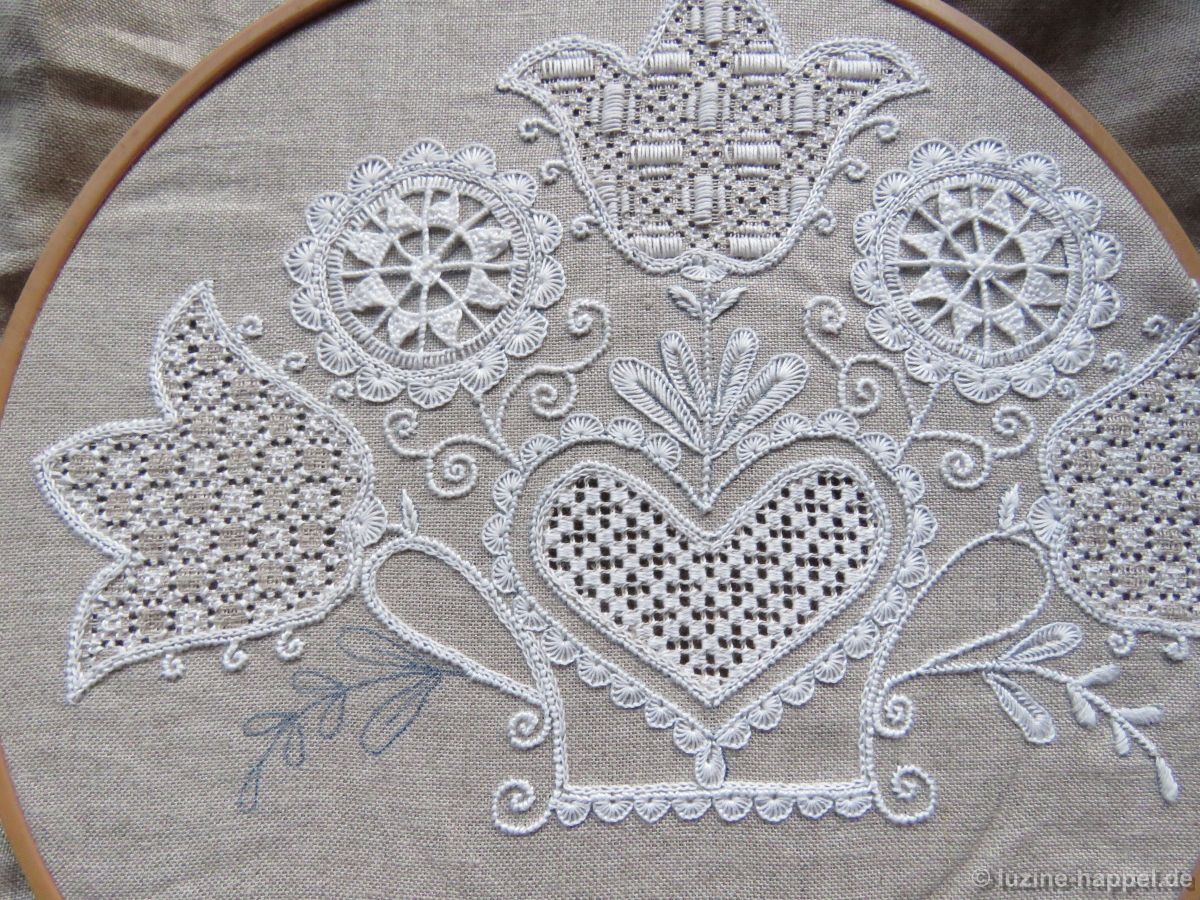
Since I find both pomegranate and bird motifs interesting in Schwalm whitework, I asked various designers to make me appropriate designs. The design used here comes from Christa Waldmann and has a size of approx. 26.5cm (W) x 20cm (H). With a 40cm high cushion and central pattern positioning, about 10cm each remain free at the top and bottom. The shrink of the fabric (each about 1cm) must be added.

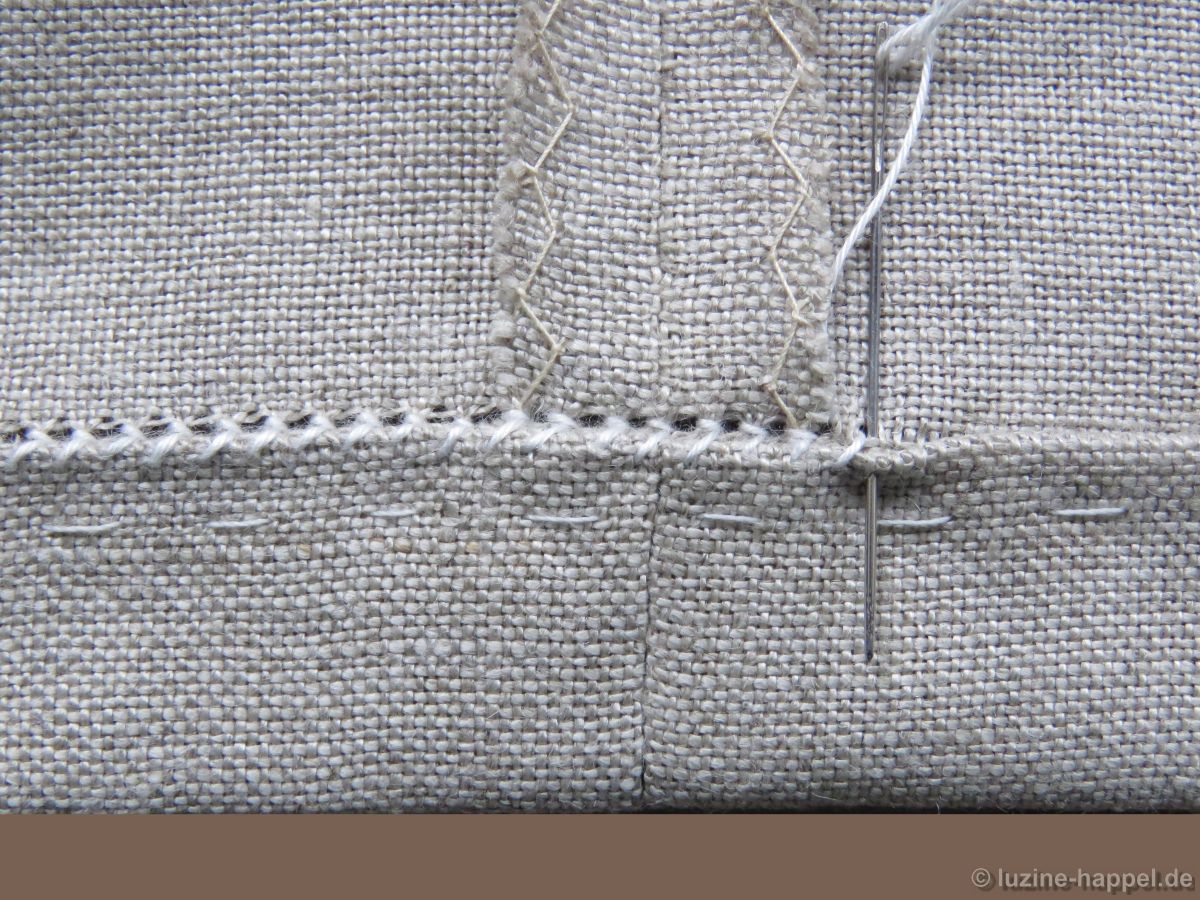
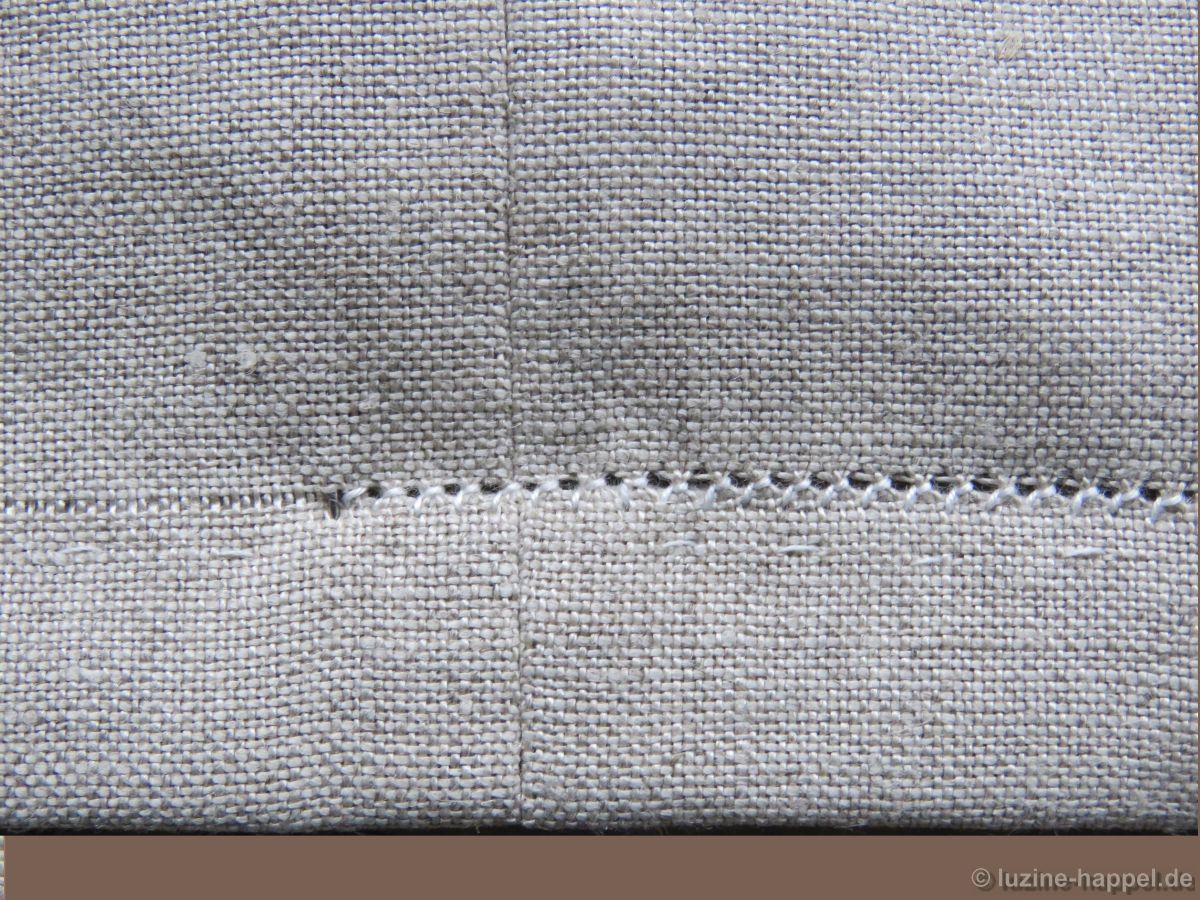
The linen is fold short side to short side.
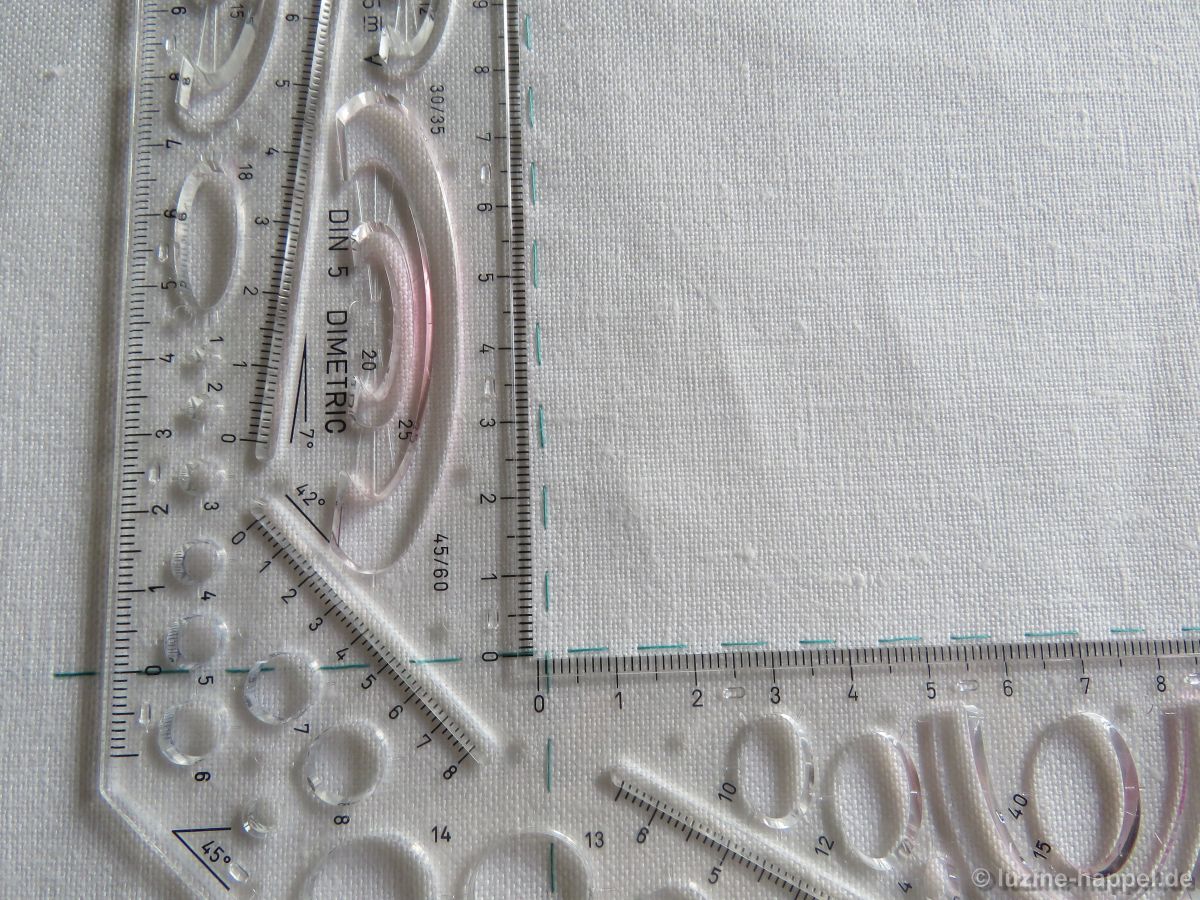
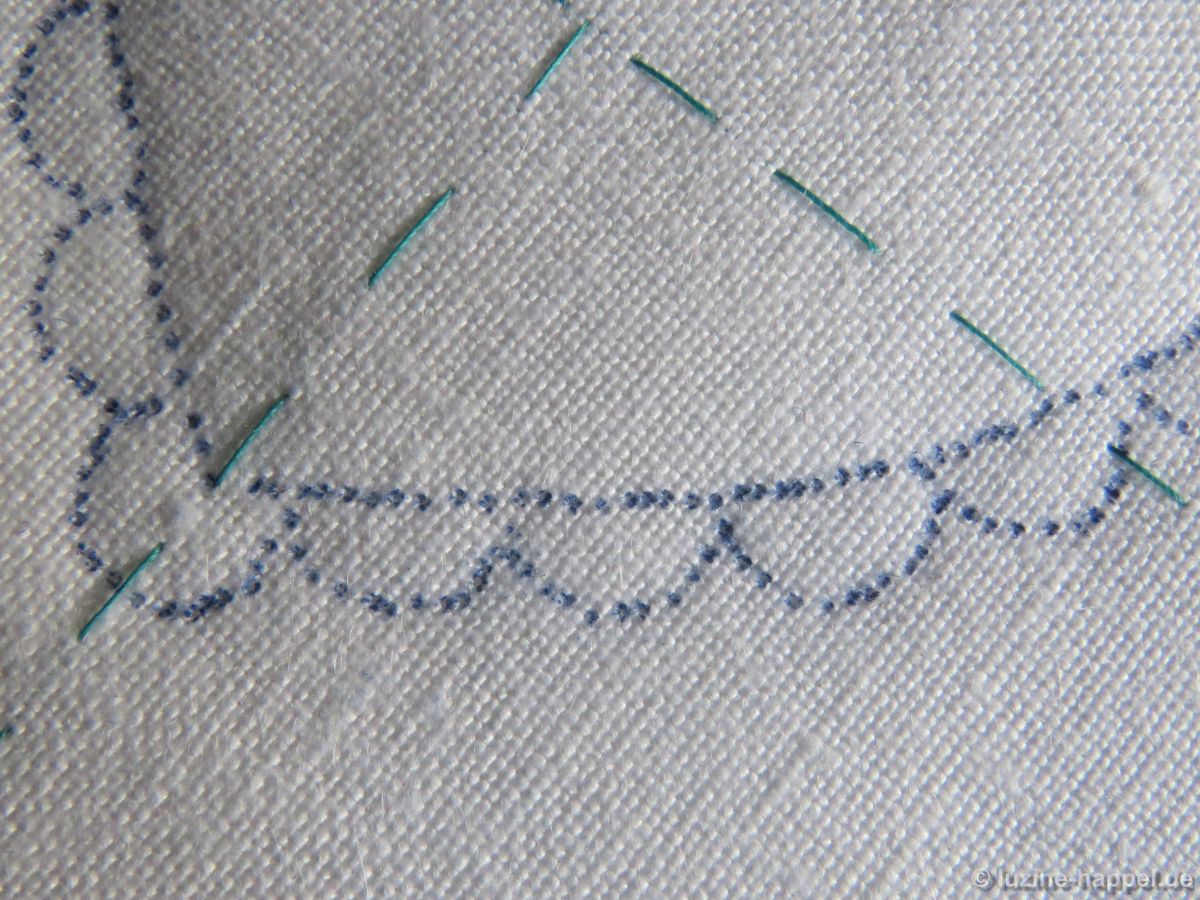
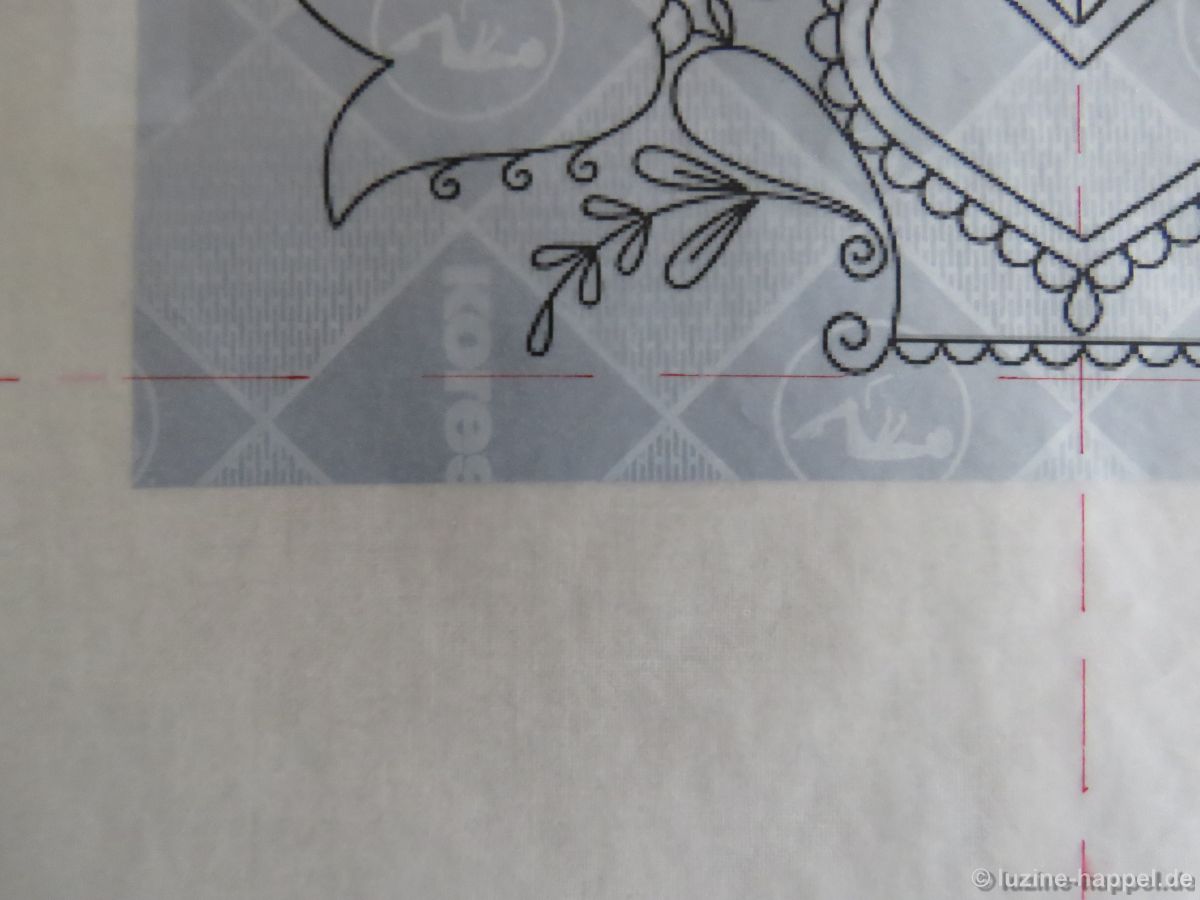
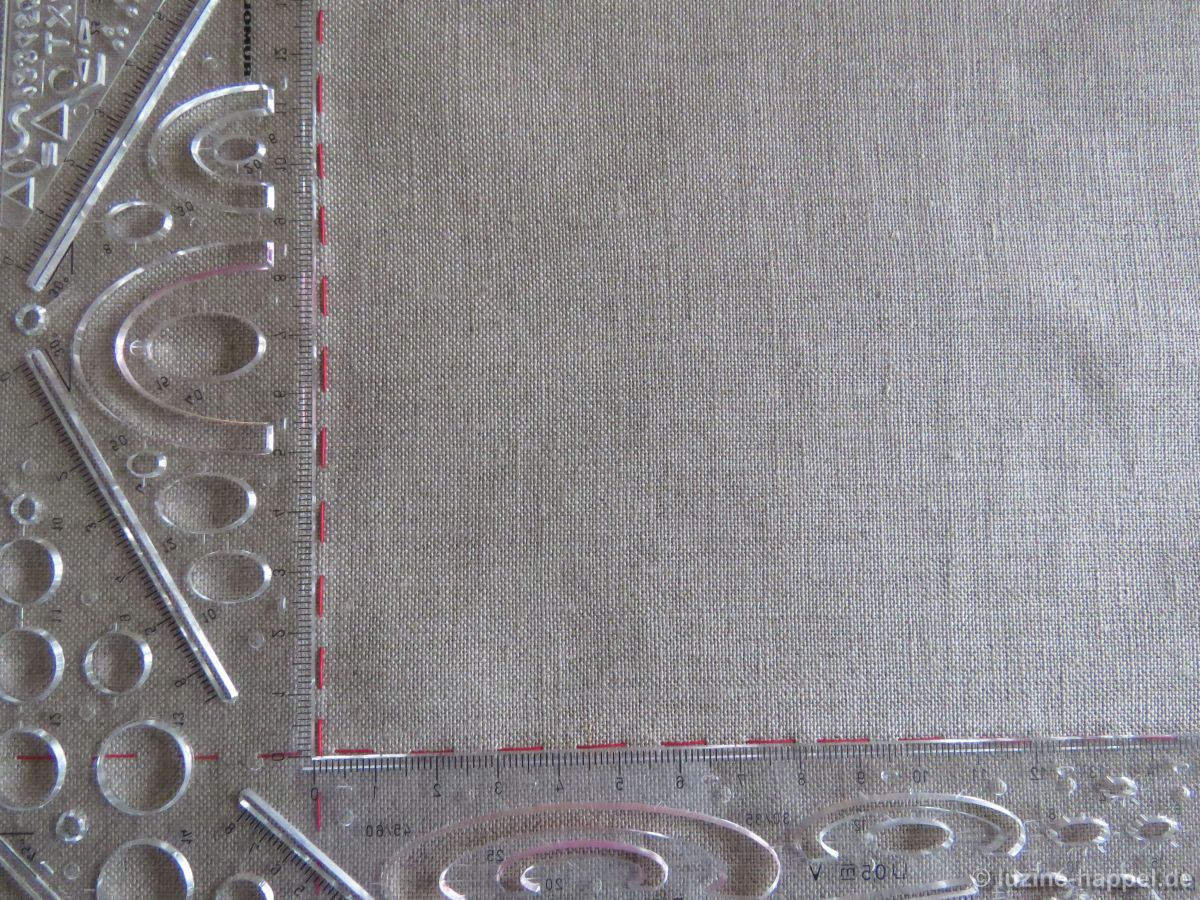
For positioning the design centered, measure down from the fold 11cm. Using a coloured sewing thread, mark the top line of the design by tacking along the horizontal fabric thread there. Mark too the vertical center of the front half.

Lay the unfolded linen on a table covered with a not slipping plain material (not too soft) – for example a cotton fabric cloth. Scratch out the linen to be plain. Be careful to position the marked lines straight and to be in a right angle. Best check it using a tool. Fasten the linen using pins or removable tape.

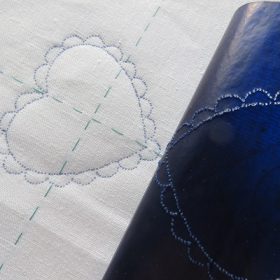
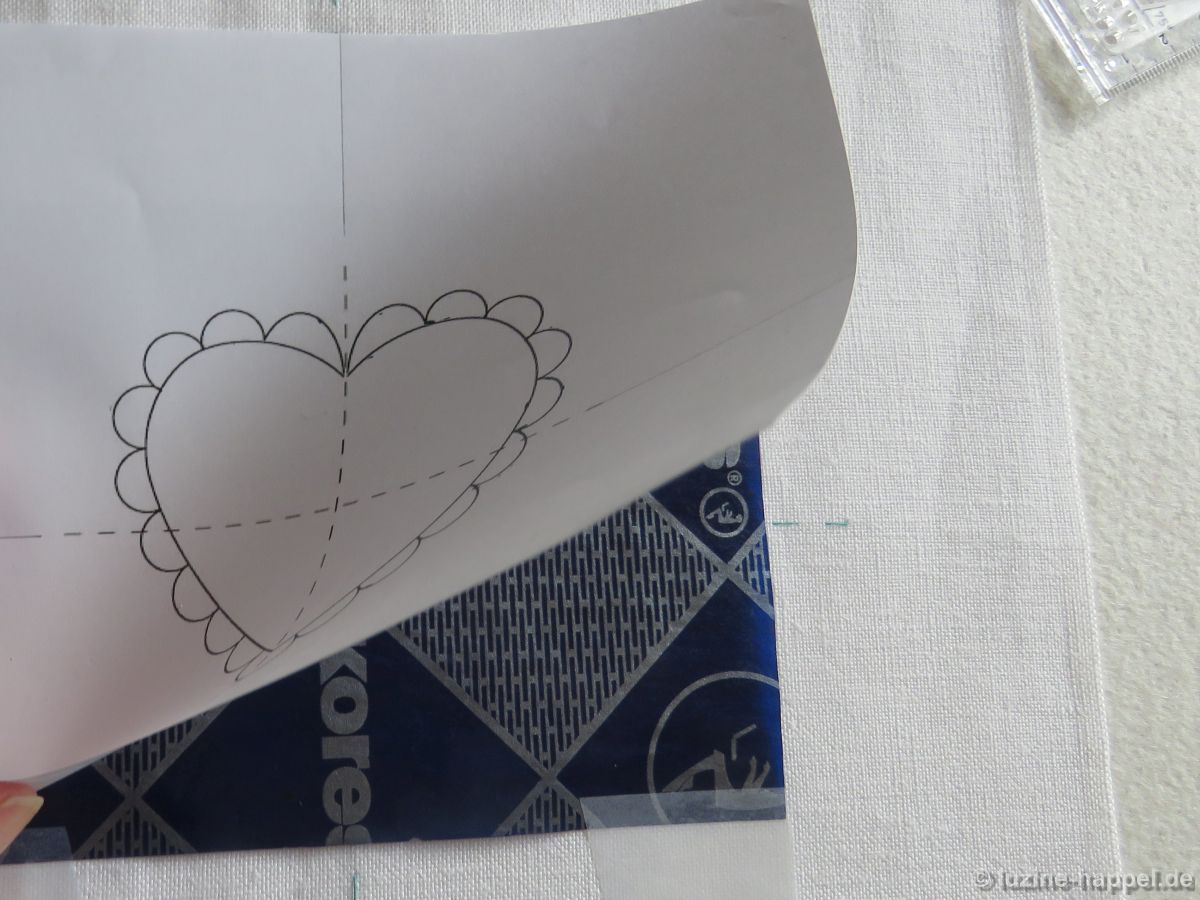
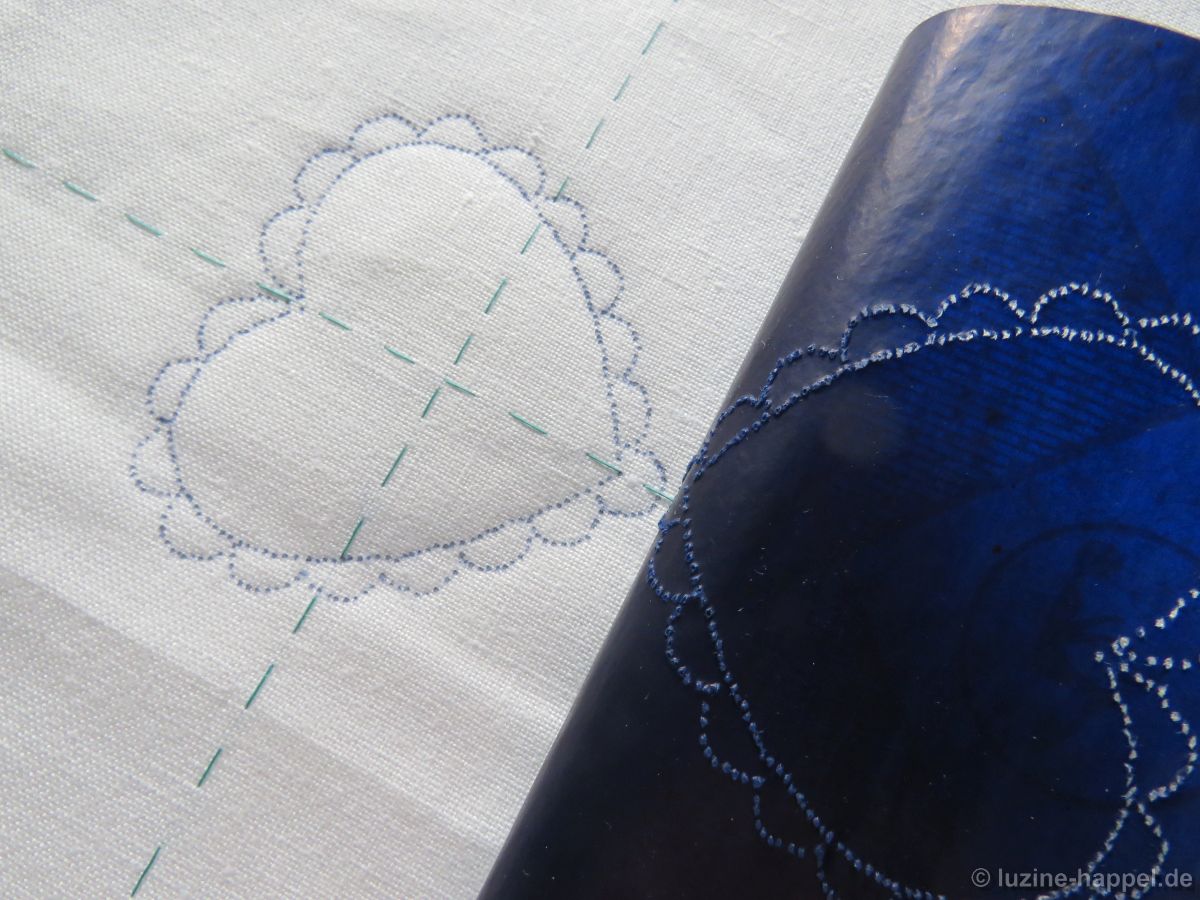
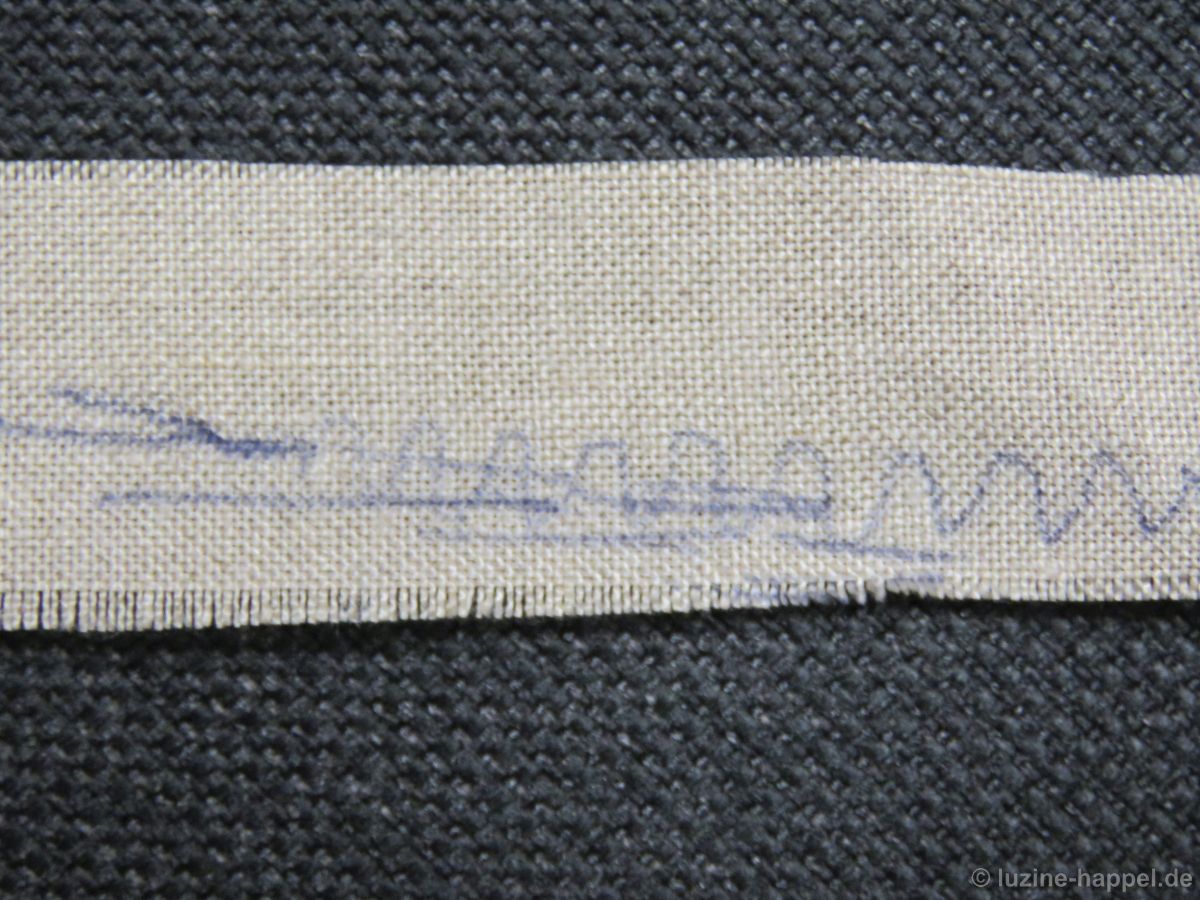
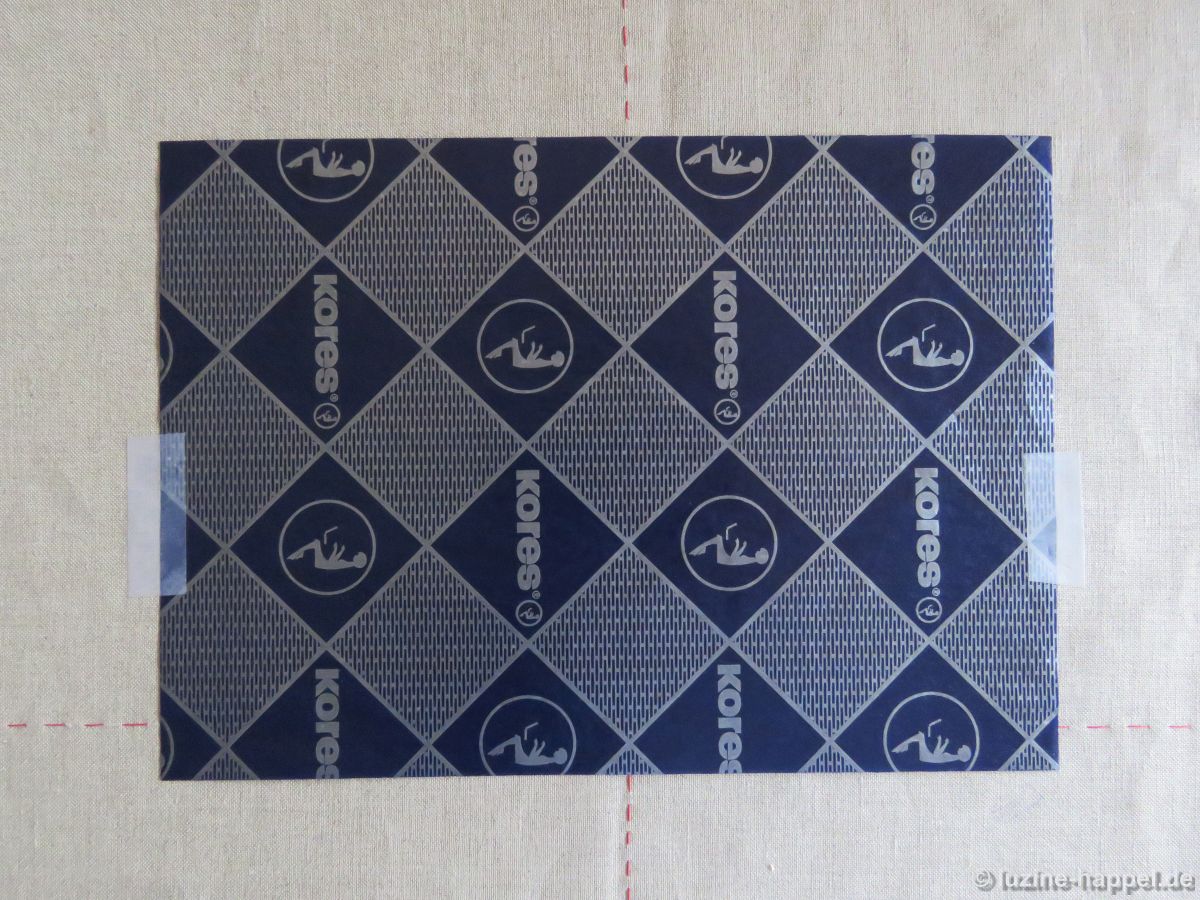
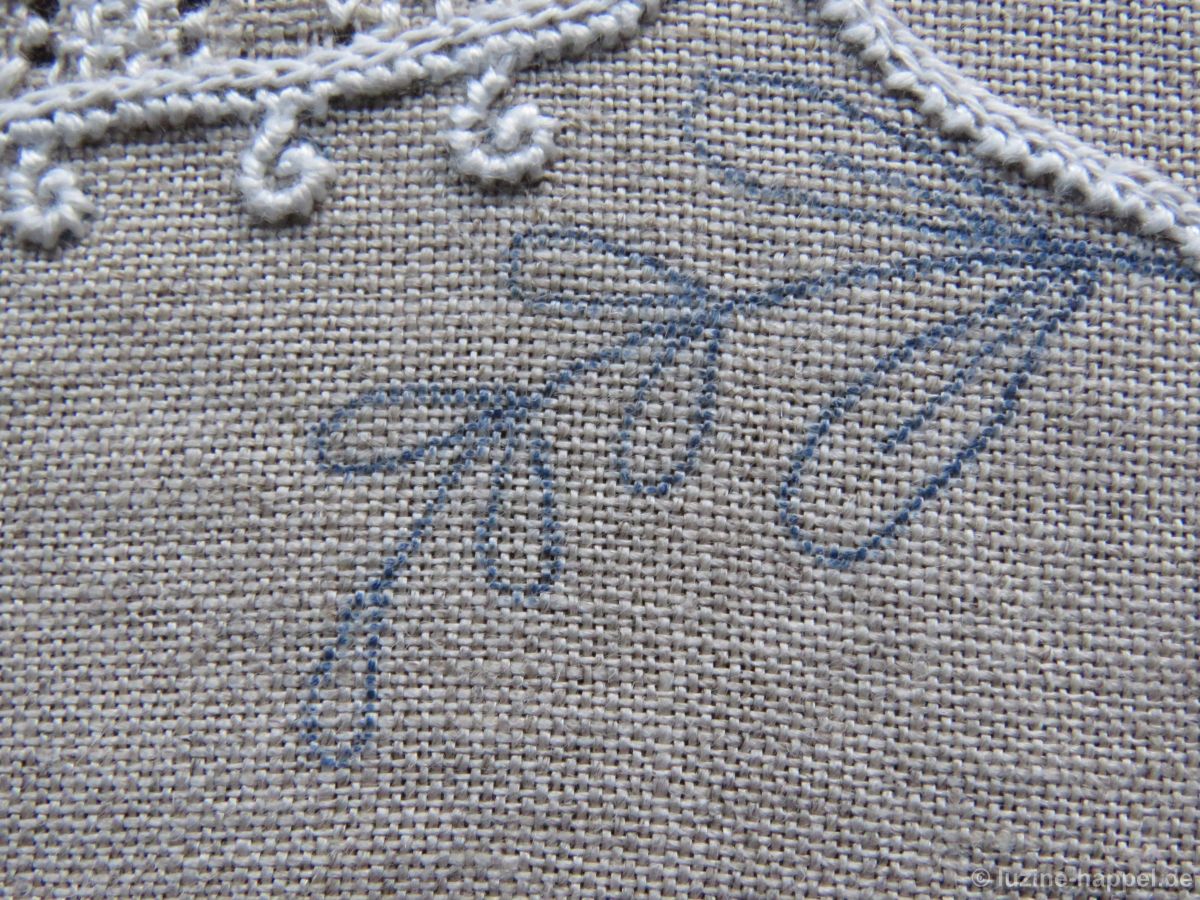
The design transfer is made using blue print paper.

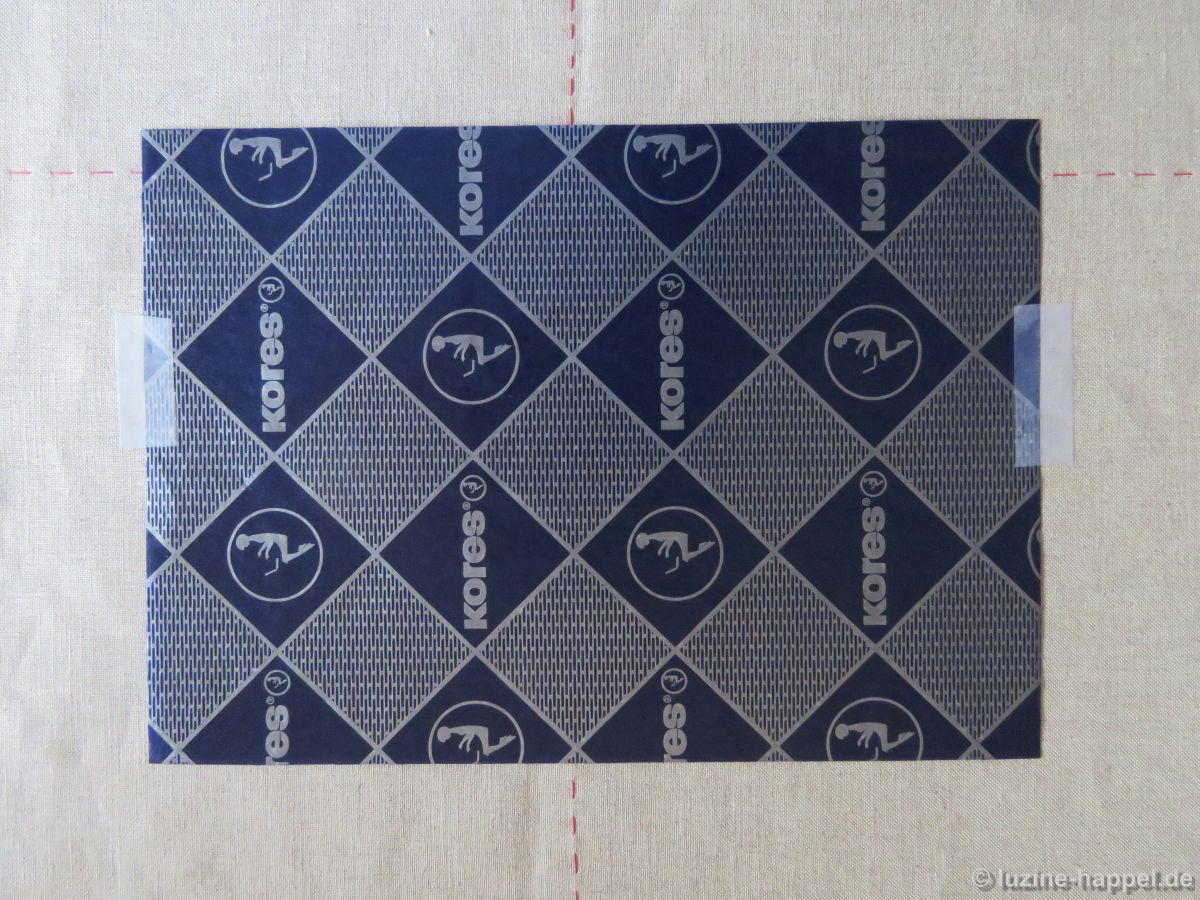
Cover the design area with blue print paper – colour side face down. Fasten the sheet using removable tape.

Position the design over the blue print paper lining up the thread markings on the linen to the guideline markings on the design paper. Secure the design using removable tape or pins.

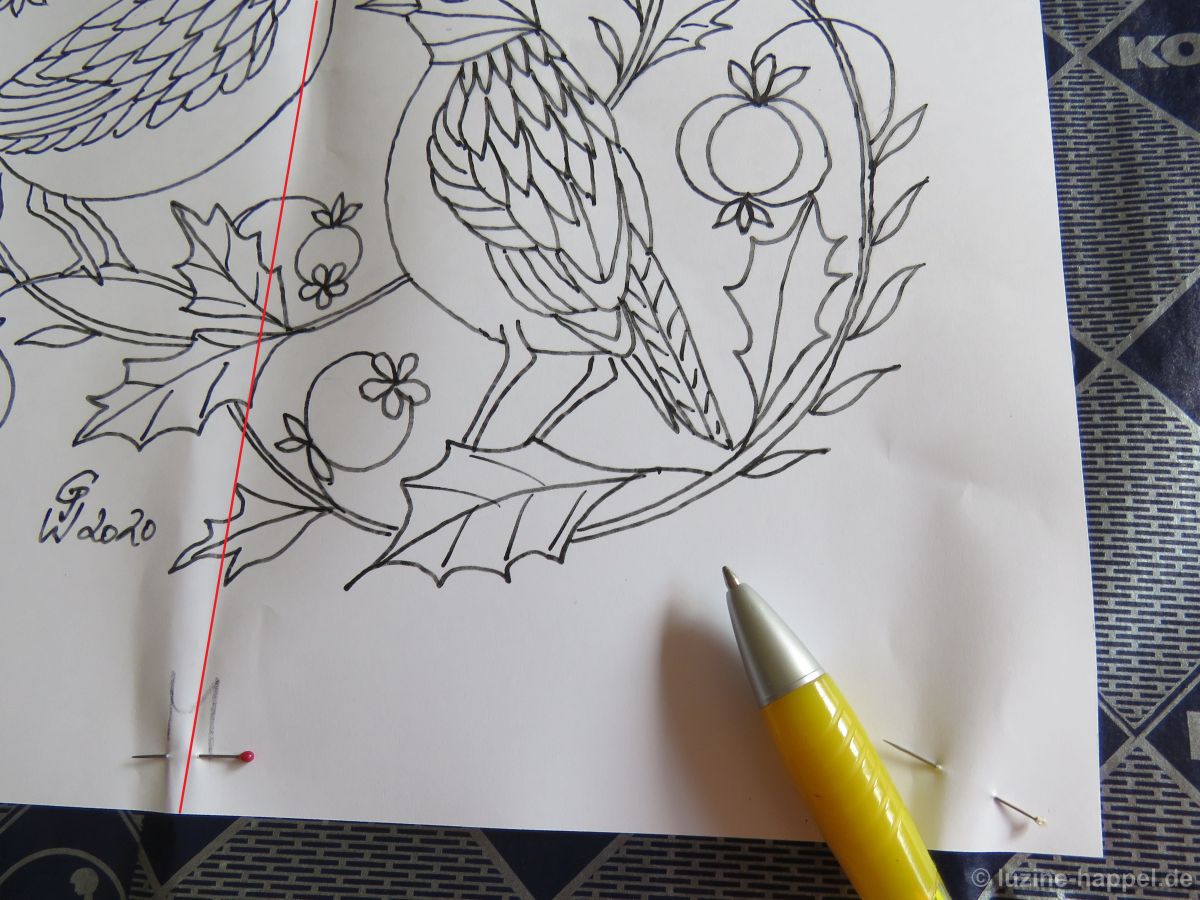
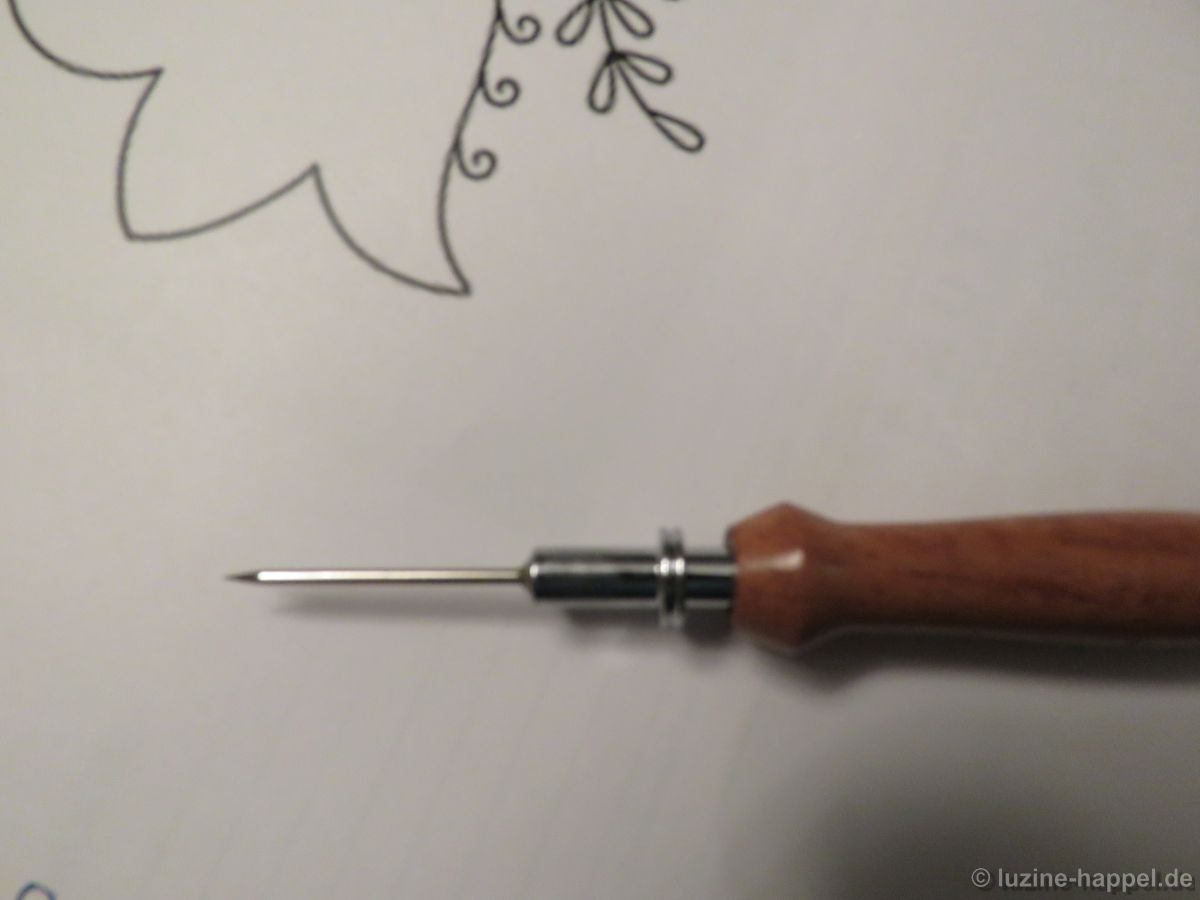
Using a special tracing tool or a fine empty ball point pen, trace the design. Test the needed pressure before.

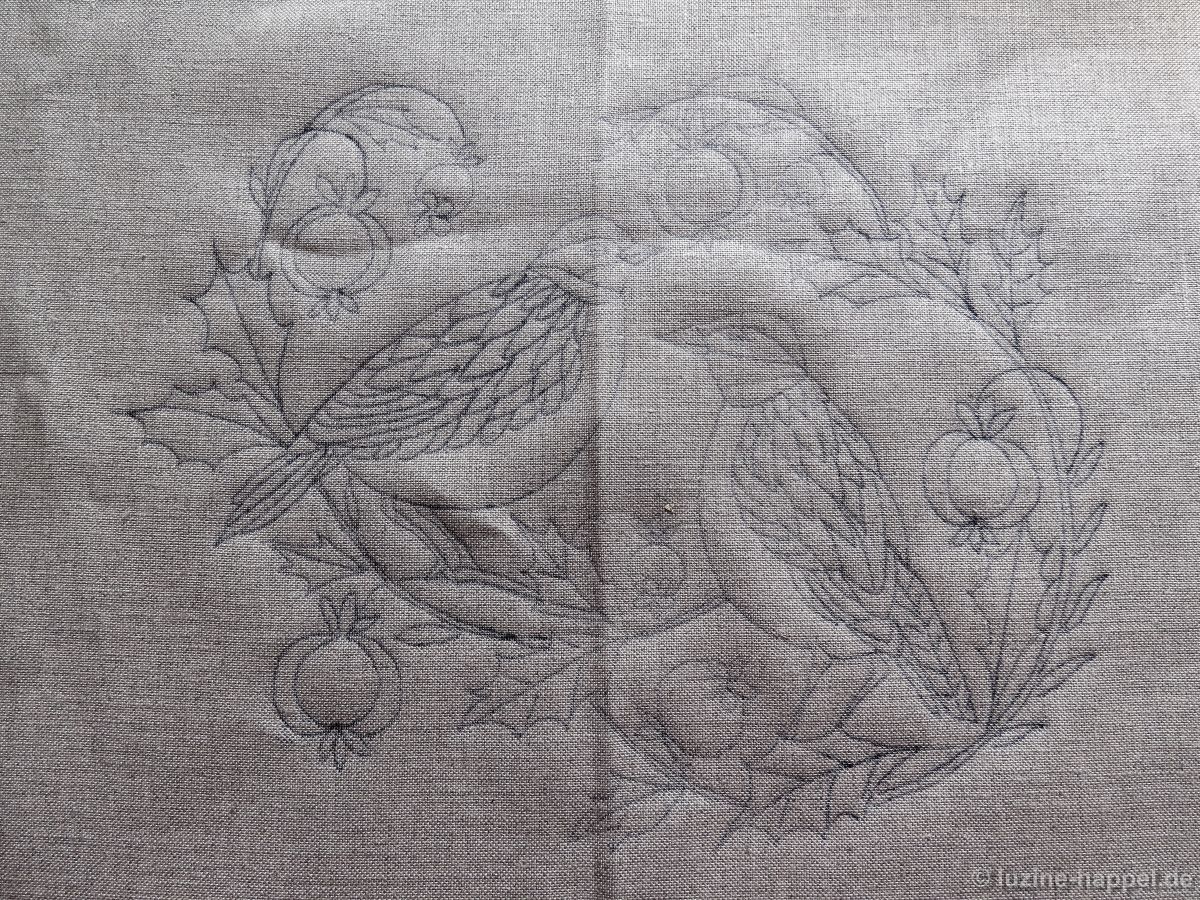
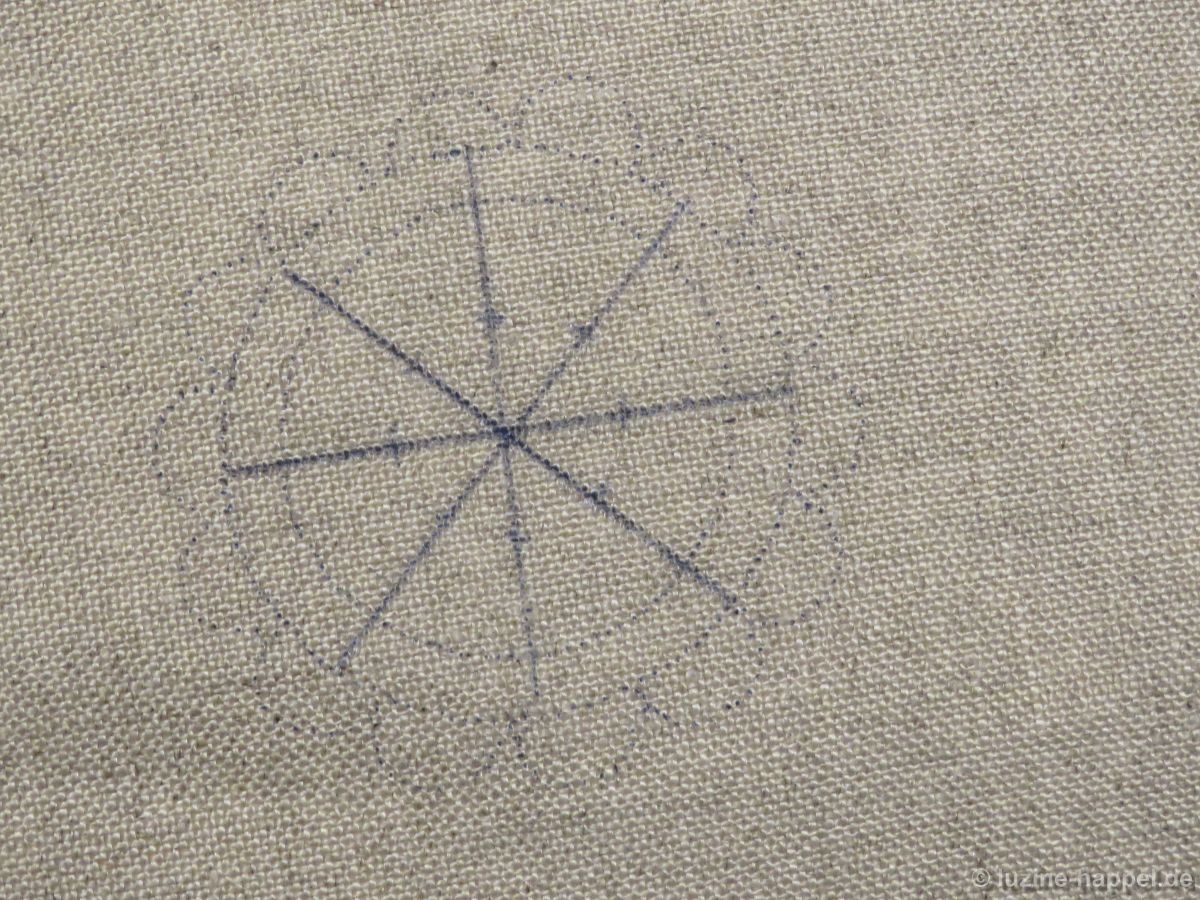
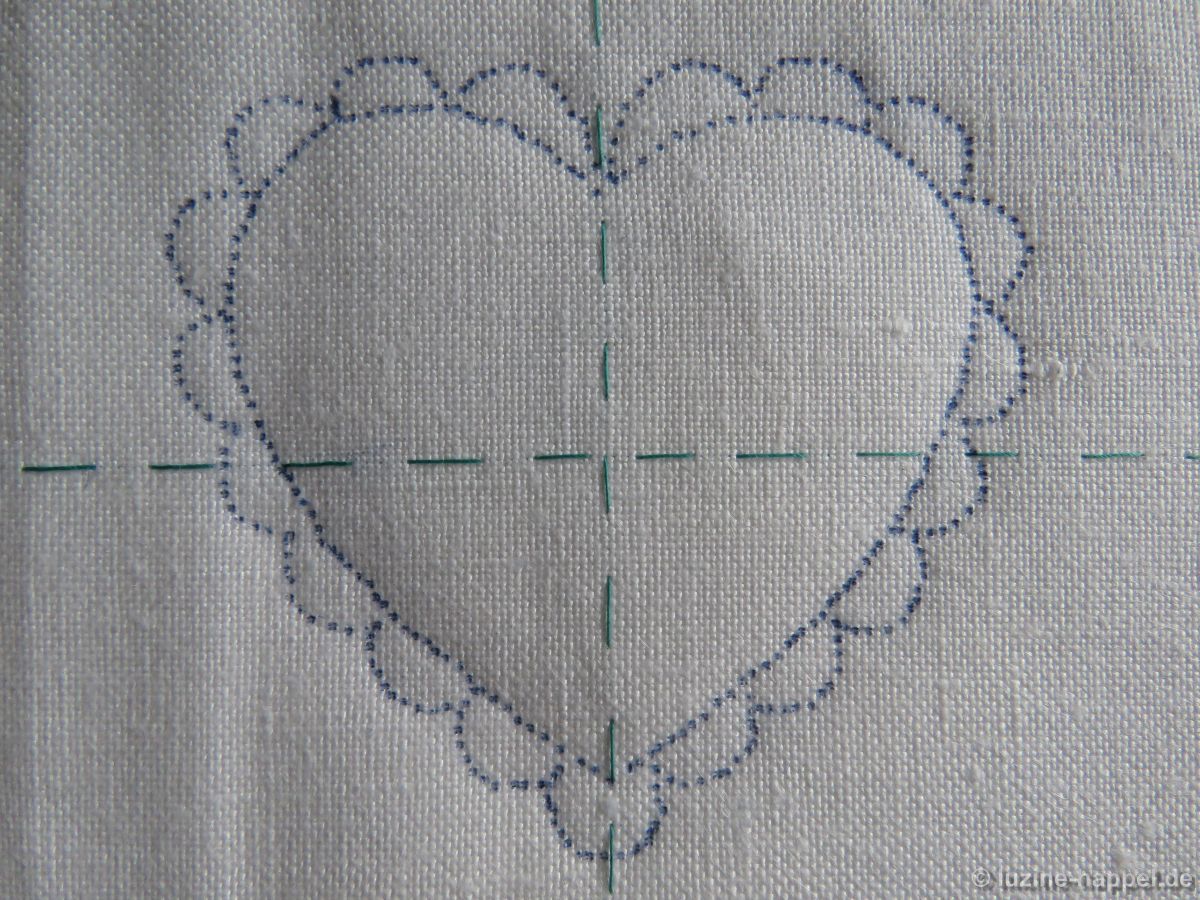
The first step has been taken, the pattern has been transferred to the linen.

You can find out what happens next in the upcoming article.

Closures of Pillowcases (2)

A traditional method is tying. I have found this method on many pillowcases, often more than 200 years old.

For this purpose, ribbons of sufficient length are attached in the same position at the lower edge of the front and back part of the pillow and tied in a bow.

The strips were usually made of the same fabric as the pillowcase. Bobbin lace ribbons were also used in some examples. These are thinner, usually smaller and therefore not as bulky. They also have an additional decorative effect.

4_KS_1

Depending on the firmness of the cover fabric and ticking used, as well as the stability and width of the ribbons used, the bows under the put up cushion are more or less visible.

Closures of Pillowcases (1)

Closures of Pillowcases (1)

Cushions are easiest to obtain when the opening is at the bottom edge and across the entire width.

There are different ways to close these openings. The simplest version is sewing – preferably by whipstitching.

However, this type of closure is only recommended for covers that are rarely striped. Because often repeated unstitching and sewing damages the fabric over time.

In order for the closure edges to be clean and stable, it is advisable to provide them with a narrow hem.

One can proceed as follows:
After completion of the embroidery, the piece is washed to bring the fabric by shrinking to the final expansion. Then the linen is ironed and then cut to the required size.

The pillowcase should have a 2 cm wide hem. It is cut from a piece of linen and folded at the top edge. Before the sides are sewn together, the pillowcase is brought to the required height – here: 2 x (desired finished height + 1 cm fold + 2 cm inside hem width). Then two threads are withdrawn – one 1 cm, the second 5 cm from the lower edge, both on the front and the back.

Before closing the side seams, the withdrawn-thread lines of the front and the back are placed exactly on top of each other and held in place with pins.

One should check on the back whether the pins have also meet the withdrawn-thread lines there.

Also holding against the light facilitates the precise assembly.

Both layers of fabric are carefully basted in the seam area and then sewn together with the machine. After the seam has been applied, the following image appears from the right side of the fabric:

The fold is folded along the withdrawn-thread linel to the inside. Thread line is placed on thread line. The hem is pinned, basted in place and then fastened using Antique hem stitches. In the area of the side seam allowance, one has to check the run of the stitches on the outside with each stitch.

In this way, you get an all around clean hem.

Pillowcases prepared in this way can be closed in different ways. This one, as already mentioned, is to be sewn by hand with overwhelming stitches. Due to the hem, the lower edge remains stable; if the hand stitches are not too fine and not too invisible, the pillowcase can be unstitched, washed and sewn close again without any problems.

Design Transfer – Test 5

I liked the method with the blue paper transfer, only I found the somewhat jittery and shaky lines not optimal. So I tried a similar method using a prick needle.

My pricking needle has only a short tip that tapers off very strongly at the end. Placed on a relatively solid surface and then pierced,

the marks obtained with it appeared very weak. But even on a softer surface, the marking points were not clearer with this needle.

So I made another attempt, which I will now explain in more detail.

The linen marked on the horizontal and vertical center axis was placed on a non-slip surface – a tablecloth pad – and positioned so that the marking lines were really at right angles.

Sufficiently large blue paper for the desired pattern was laid over it and fixed with removable adhesive tape.

The pattern sheet was placed over it, matching the markings on the linen, and also attached

The paper was perforated along the lines with a slightly thicker tapestry needle.

The linen then had a clearly recognizable outline pattern,

which in my opinion turned out to be a bit more exact than the same pattern traced with a pen (here on different linen qualities).

However, the effort is more elaborate – it takes longer to prick all of the many points. Pricking is more relaxed for the hand, as you don’t have to press firmly and pull on at the same time. For the eyes, however, working with the prick needle is more strenuous.

Design Transfer – Test 4

In my 4th test I used a traditional method that is still used in some courses today: the transfer of patterns using blueprint paper.

For this I used blue carbon paper from the Kores company. Black paper is not suitable because the lines cannot be washed out.

Since I hadn’t used this method for a very long time and wasn’t sure whether the blue lines of today’s paper could be washed out, I first tried it without embroidery. Lines of various intensities were traced on a remnant of linen.

In the short laundery with lukewarm water, the weaker lines disappeared immediately. A very slight shimmer remained from the stronger lines, which is barely noticeable on the natural-coloured linen.

Encouraged by this, I made further attempts. The blueprint paper – large enough for the design area – was positioned on the linen marked with Running stitch lines, and attached with removable tape.

The sheet with the design – here 90 g tracing paper – was placed on top meeting the marking lines and also attached with removable tape.

For my first attempt – see below – I chose a medium-soft surface. Also, I didn’t press very hard when tracing the lines. This made the outlines appear rather weak. Nevertheless, I was able to recognize them until the end and to embroider along them. The pen did not drill its way through the design paper. If you use thinner paper with the design on it, you can prevent it from breaking through by putting a piece of a thin transparent folder over it.

In some places the outlines ran clearly next to the embroidery.

After a short hand-warm laundry with mild detergent and a little rubbing, the lines were only vaguely visible.

After drying, they were completely gone.

On my second attempt, I worked on a hard surface and pressed very hard. As a result, I felt the many small jumps again while recording, which were caused by the constant up and down of the pen tip when crossing the fabric threads. That had a disruptive effect on the lines, which in some places seem quite wobbly.

Overall, however, I was very satisfied with the result – the lines are fine and yet clearly visible.

To see if the lines smudge or fade over time, against all common practice, I almost completely finished the embroidery before working on the last branch.

The outlines had lost none of their clarity.

Before washing, one could clearly see the lines not covered by the embroidery in some places.

After a short hand-warm wash with mild detergent, the lines have disappeared without a trace.

The transfer of a design using blue carbon paper is therefore quite possible. However, I have only tested this method here on natural coloured, durable pressed linen. A test on white linen is still pending.