Needle-Weaving Cushion C

In this pillow, the woven-in stripe runs down the middle between two needle-weaving bands.

These are 9-unit bands with mirrored patterns

and a pattern segment of 18 bundles.

The centers of the segments are formed by two wrapped bundles joined in the middle.

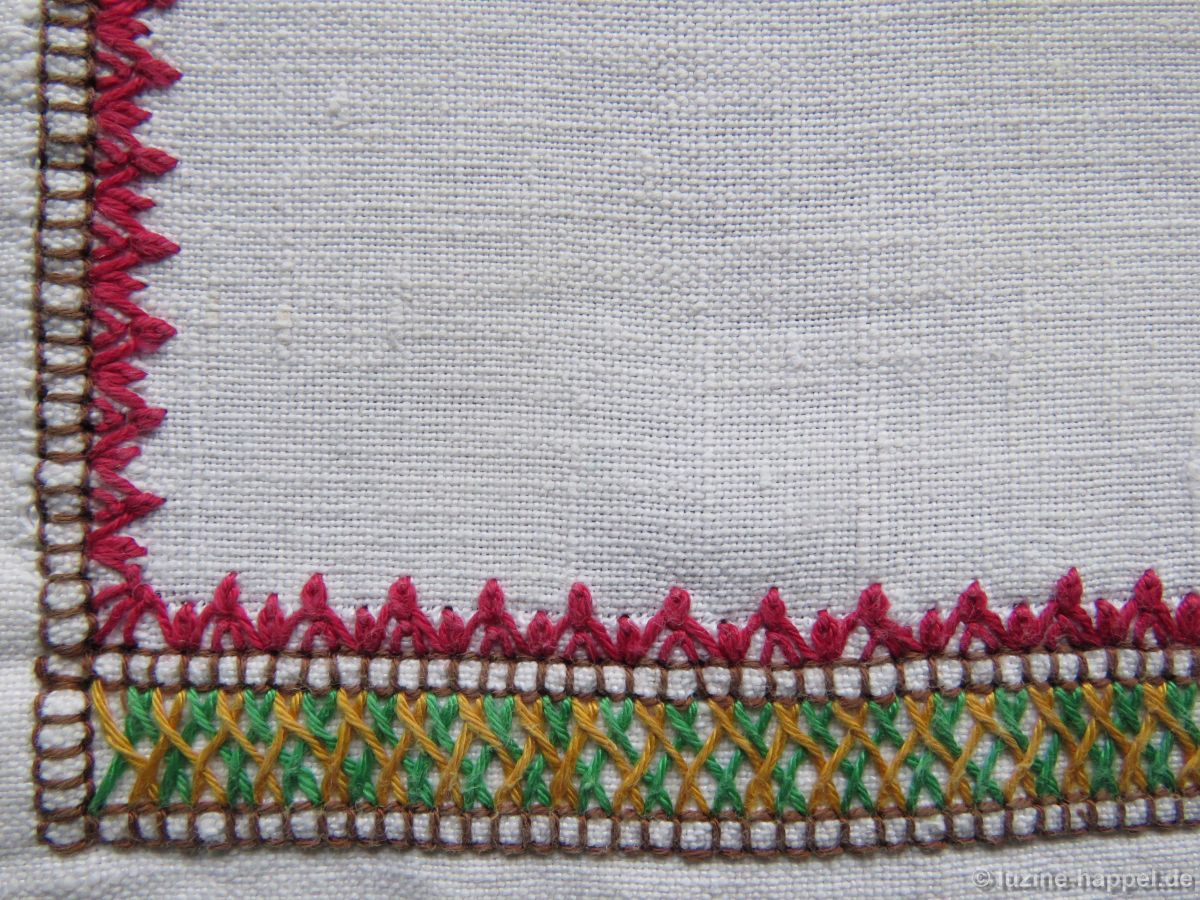
The two needle-weaving bands were bordered on both sides by peahole hemstitches, which makes them appear more airy. Also, the “X’s” of the Peaholes match very well with the x-shaped wrapped bundles in the centers of the segments.

Similar to the needle-waeving band of pillow B, the needle-weaving bands on this pillow only run across the front. The ends were secured with Blanket stitches and decorated with half-eyelet scallops. The needle-waeving was tied to the remaining fabric at the level of every one and a half unit.

In my documentation Schwalm Needle-Weaving Bands I have already shown 193 (!) different patterns .

Information on the individual categories and detailed descriptions of the working methods can be found in Lesson #4 – Needle-Weaving Band Sampler.

Carol´s Schwalm Masterpiece

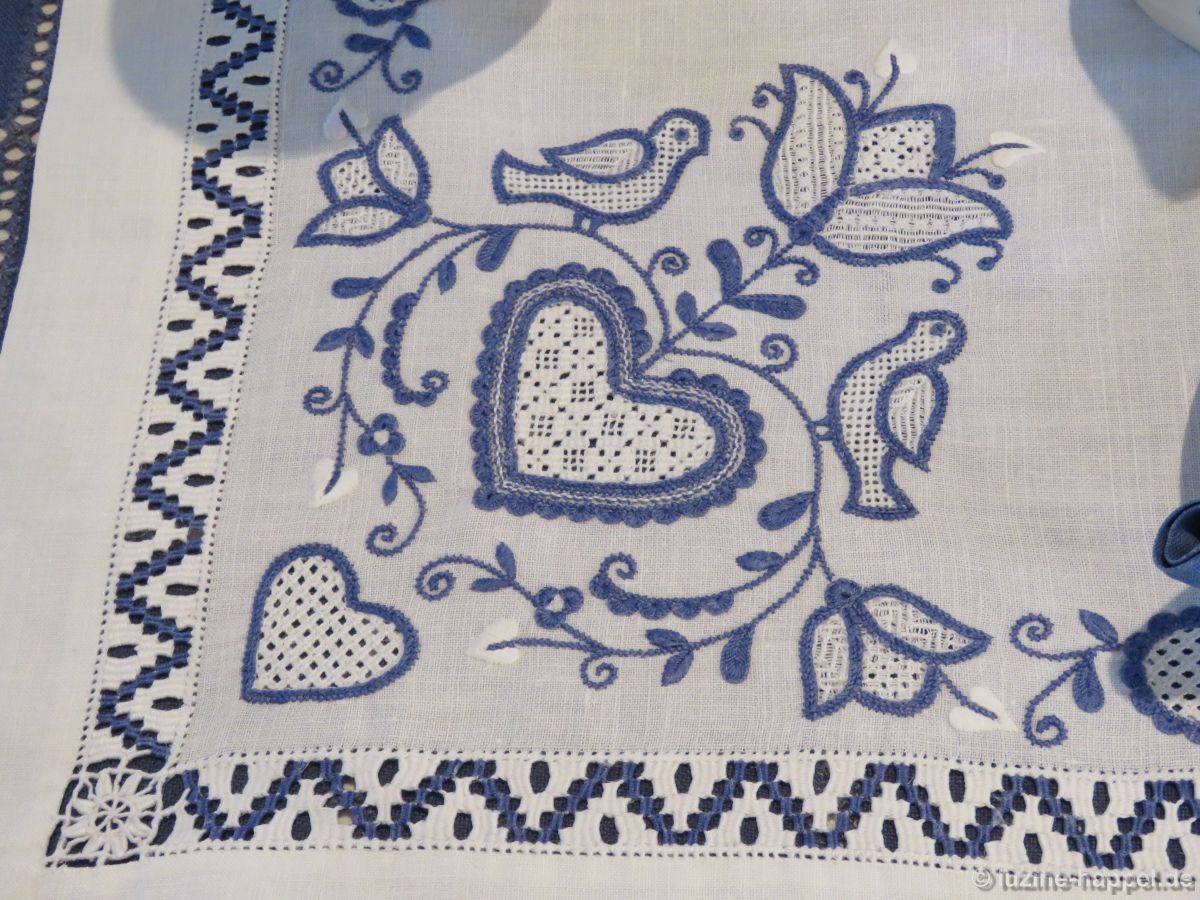
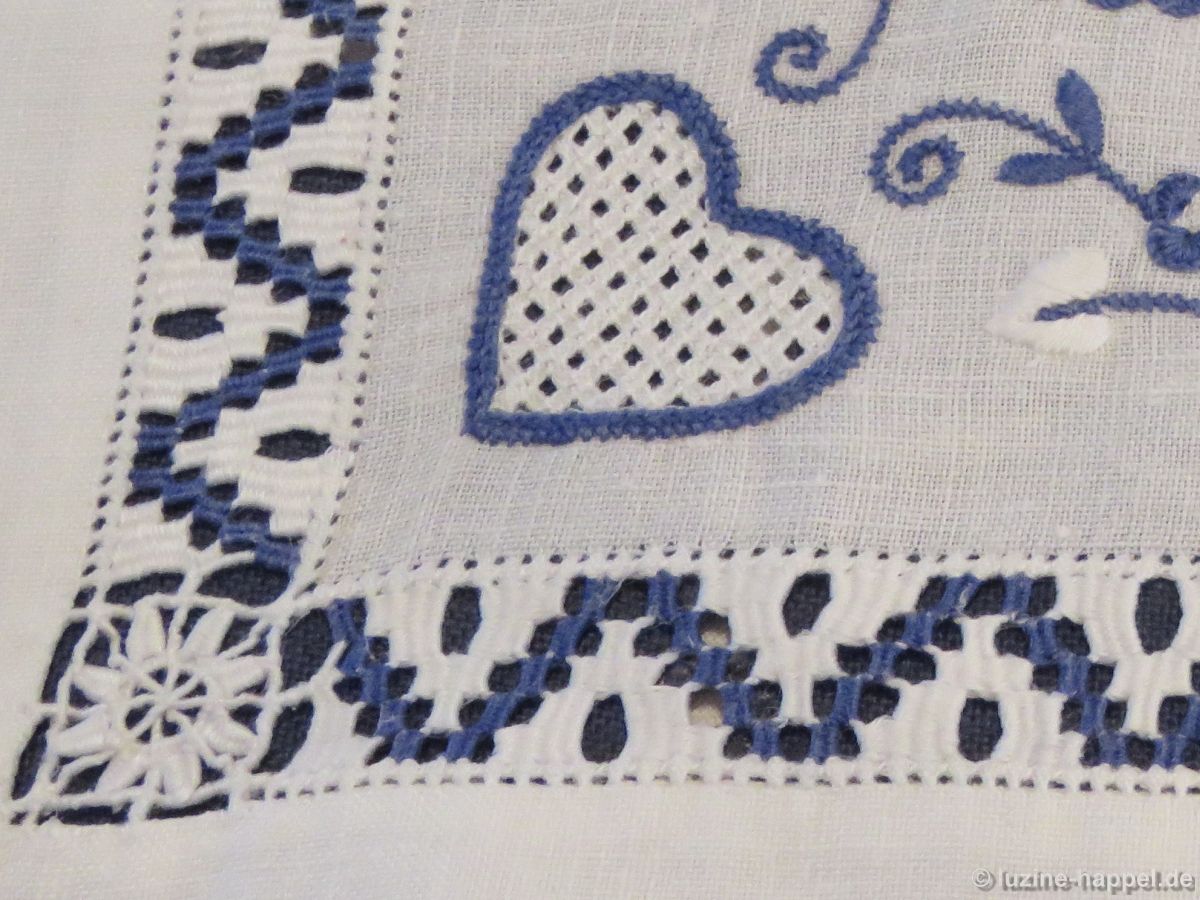
Carol Stacey from Australia has made a table runner embroidered with blue and white using the Schwalm whitework techniques as part of her contribution to a self-directed learning course at her guild. She submitted three works in total, two of them embroidered in white. To add some variety, she chose blue embroidery threads for the third project.

The runner looks particularly gorgeous. The blue tones used are subtle, but still very effective. The arrangement of dark and light blue motifs is outstandingly successful – the dark areas form the focal point, the light ones cleverly lead to the border decoration. This leads to a harmonious overall impression.

The distribution of very pale blue (nearly white) and blue filling patterns is very balanced.

The ovals in the central parts of the tulips are similarly repeated in the buds.
The selected filling patterns fit perfectly to the respective areas. The decorative stitches used support the brilliant overall impression.

The 9-unit needle-weaving band with the two-piece block pattern is a great success – it was worked perfectly. I had to search for a long time to discover the places where she regulated the placement of the dense blocks both in the middle of the sides and in the corners. A masterpiece!

Carol wrote: Halfway through I had my doubts and wished it was white but now I think the colours accentuate aspects of the design. Couldn’t believe how long it took to finish the woven band around the edge!!
But it was definitely worth it.

Congratulations, Carol, on this all-round successful work.

Needle-Weaving Cushion B

A slightly differently woven striped linen as used for the needle-weaving band of cushion A served as the basic material for a pillow with a wide needle-weaving band in the middle.

It is a 17-unit (!) band with a mirrored pattern

and a pattern segment of 18 bundles.

The centers stand out due to their very special spider constructions with two spider bodies.

In contrast to the needle-weaving band of cushion A, the needle-weaving on this cushion only runs across the front of the pillow.

The end was secured with Blanket stitches and decorated with half-eyelet scallops. At the level of every second unit, the needle-weaving was tied to the remaining fabric.

Information on the individual categories and detailed descriptions of the working methods can be found in Lesson #4 – Needle-Weaving Band Sampler.

In my documentation Schwalm Needle-Weaving Bands are shown 193 (!) different patterns .

Easter Greetings from Colette Bonnet

Colette Bonnet from France visited my exhibition in Eschwege about 1 1/2 years ago and got a lot of inspiration. At that time still a beginner in Schwalm whitework, she quickly approached the many facets of the combination of techniques with the help of her friend and teacher Jacqueline Blanot and made unmistakable progress.

A spring-like teacloth was created on linen with pre-transferred design purchased here in record time.

Especially trying out different filling patterns gives her pleasure.

And a small rabbit with a big egg greets (subsequently) for Easter.

Further impressive testimonies of her embroidery activity will be presented in the course of the year.

Needle-Weaving Cushion A

Combined needle-weaving bands are to be worked on striped linen #926 in the middle between two stripes of fabric. The needle-weaving bands should run continuously across the front and back of the pillowcase.

The pillowcase should have a finished size of 38 cm x 38 cm (seam allowance 1 cm, hem allowance 2 cm).
Measurement calculation:
Width: 1cm + 38cm + 1cm + 4cm (shrinkage about 8-10%) = 44cm
Length: 2cm + 38cm + 38cm + 2cm + 2.5cm (shrinkage about 3%) = 82.5cm
The fabric is cut to a size of 44 cm x 82.5 cm. The stripes should be the same distance from the center.
The edges of the fabric are secured against fraying.

The needle-weaving hem should be composed of 3 bands. The center should be formed from a two-piece block pattern over 5 units reduced to 0.3 cm. The sides are to receive an A-pattern over 4 units increased to 0.5 cm.

Thread-withdrawing is accordingly. From the center of the length, measure 0.75 cm on each side, withdraw 1 thread, leave 4 threads, withdraw 1 thread, measure 2 cm, withdraw 1 thread, leave 4 threads and withdraw a last thread.

Starting 2 cm from the bottom edge, Four-Sided stitches are worked from the back over the 4 groups of four threads. It is important to ensure that the same four horizontal (vertical in the picture) fabric threads are always bundled.

The fabric threads remaining in the center are cut 3.5 cm from the edge. The short thread ends are withdrawn 1.5 cm, laid straight back and held in place with short Back stitches.

The long thread ends are cut about 4 cm from the opposite edge and withdrawn. Using coton à broder No. 16, blocks are first woven into the middle withdrawn-thread line over 10 bundles at a distance of 2 free bundles.

Then the spider blocks are worked over the two remaining thread bundles.

The threads for the side parts are withdrawn in the same way. The desired A-pattern is woven.

Shortly before reaching the opposite side, stop weaving, pull back the fabric thread ends to 2 cm from the edge and hold them in place on the back with short Back stitches.

The needle-waeving pattern is continued over the remaining bundles of threads, tied at the edge at each unit.

From the front it looks like this:

Then the needle-weaving hem is tied to the remaining fabric on the opposite side as well.

A pretty, expressive, wide needle-weaving hem is the result.

The embroidered linen is washed, starched and ironed and sewn together at the sides.

After turning, the fabric can be ironed on again if necessary. The pillow is pushed in. The bottom edges of the fabric are folded in at the 2cm line. The opening is closed with overcast hand stitches.

With not too much effort, a simple, clearly structured pattern was created that harmonises very well with the fabric stripes.

The combination of striped linen with needle-weaving has produced a classy-looking cushion cover.