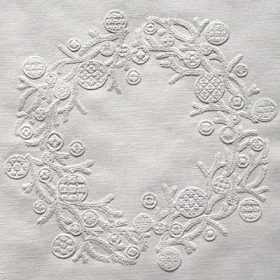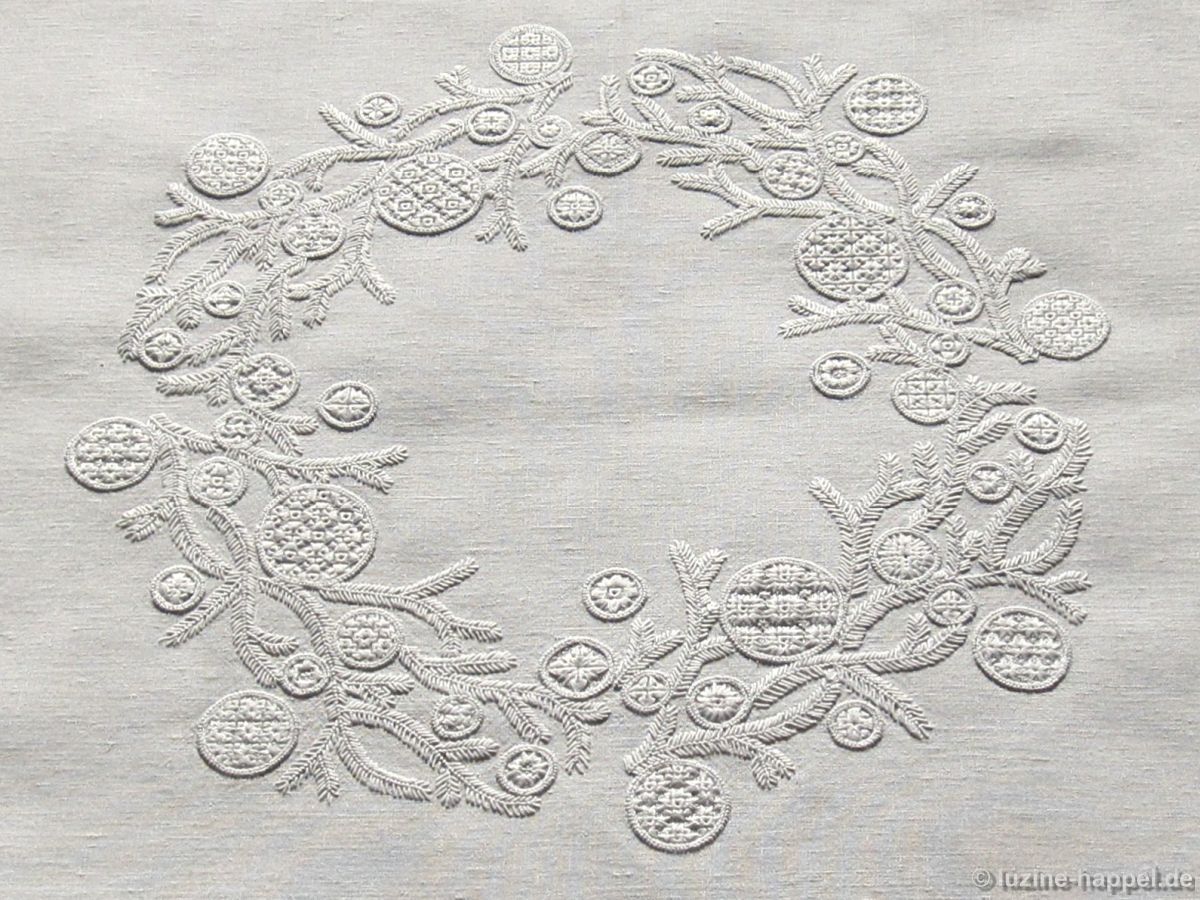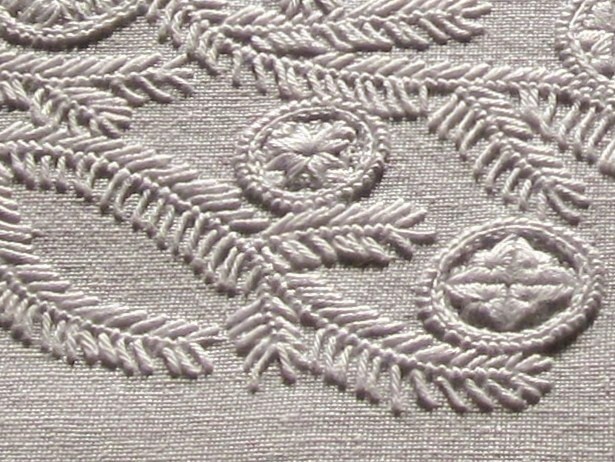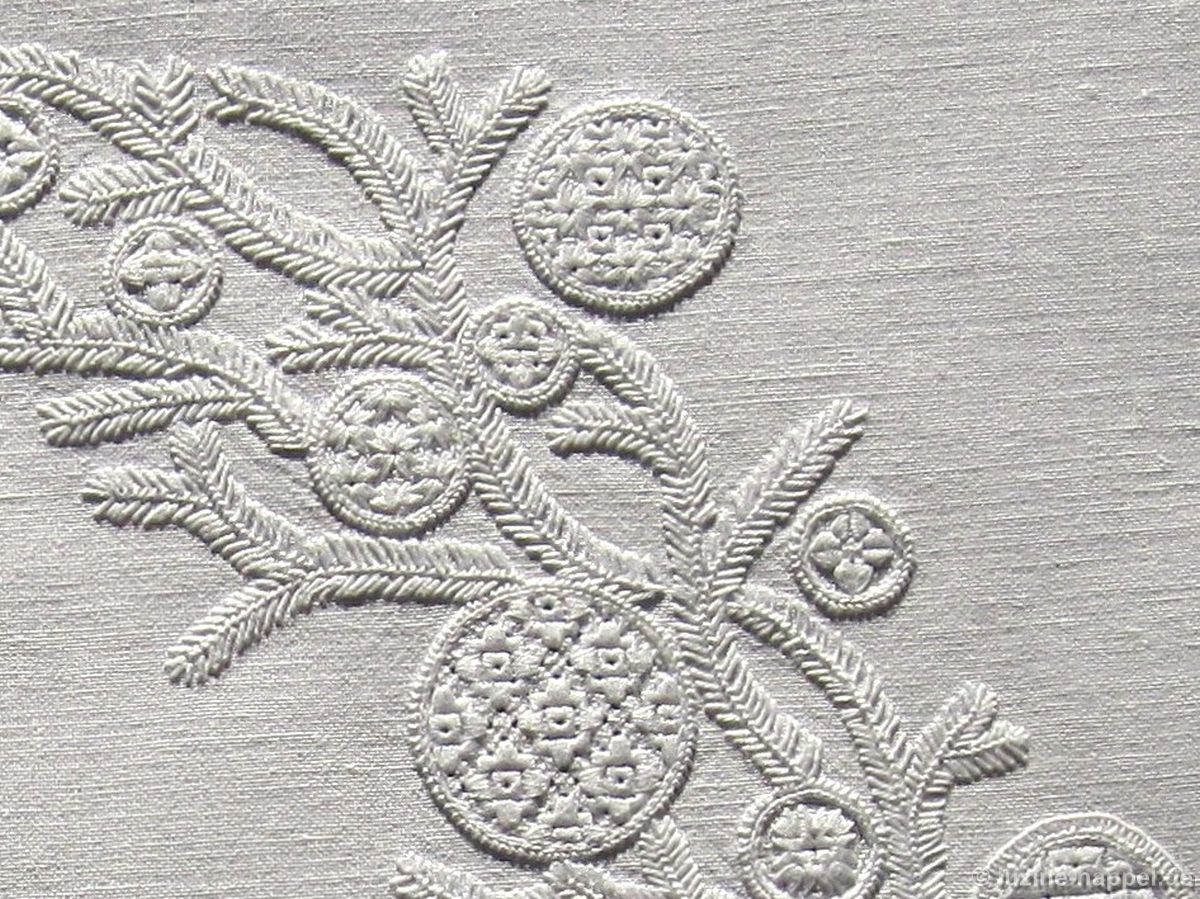
The 13 basic stitches of Schwalm whitework
A. The decorative stitches
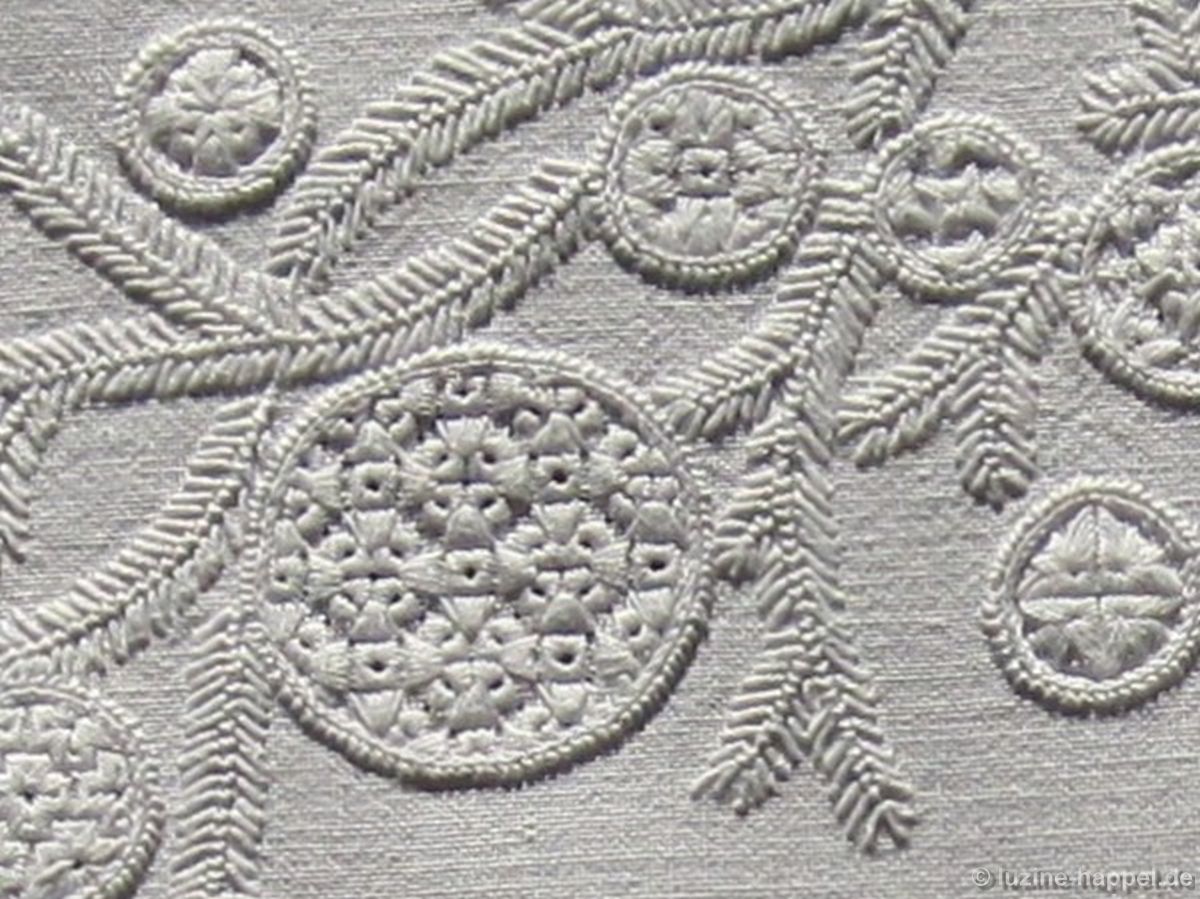
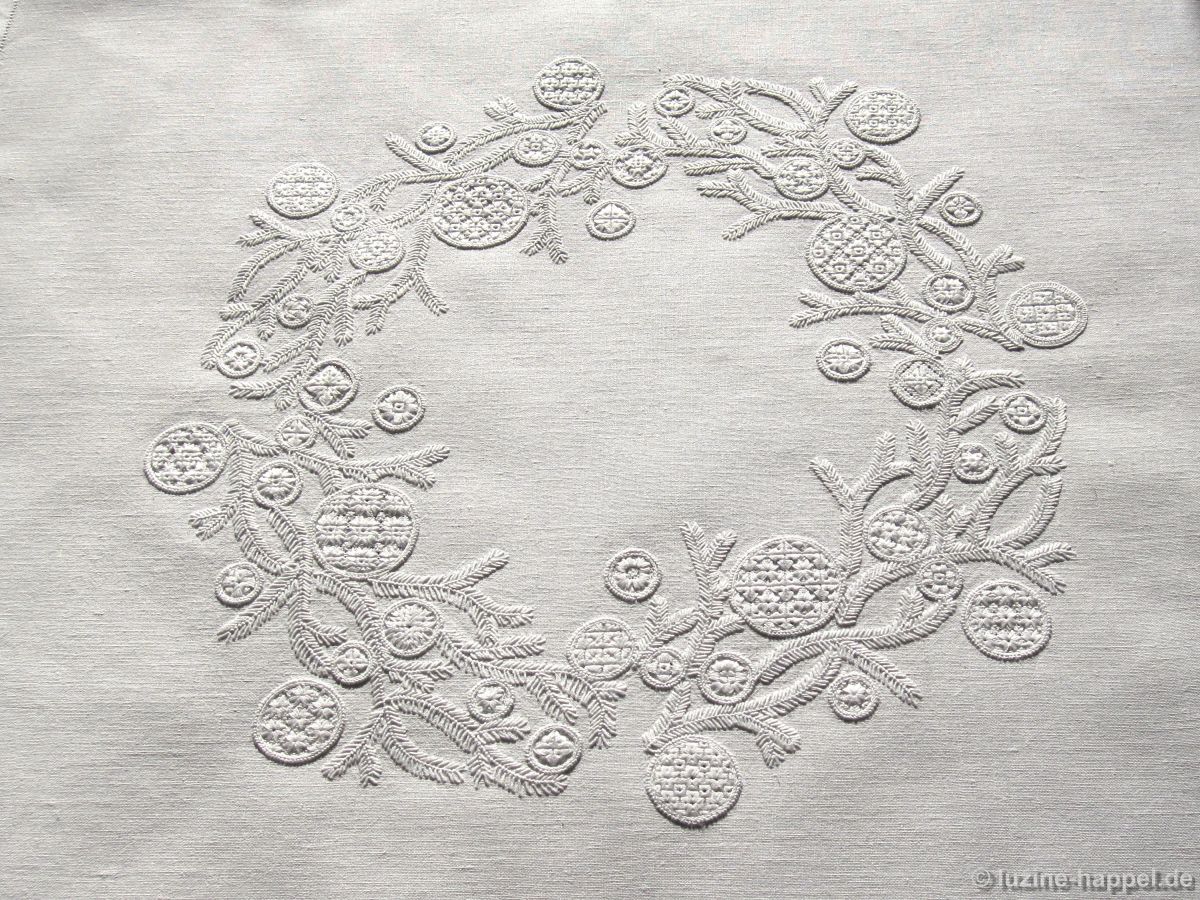
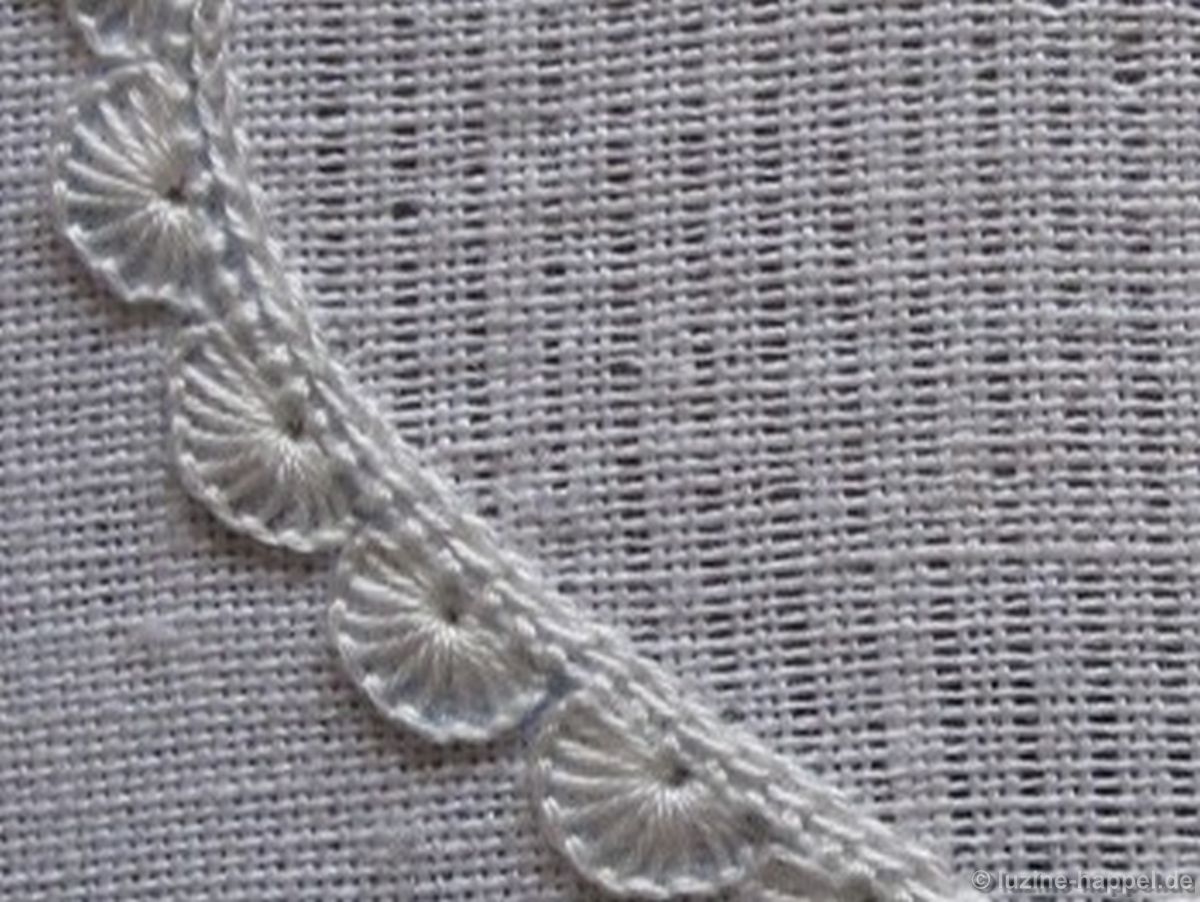
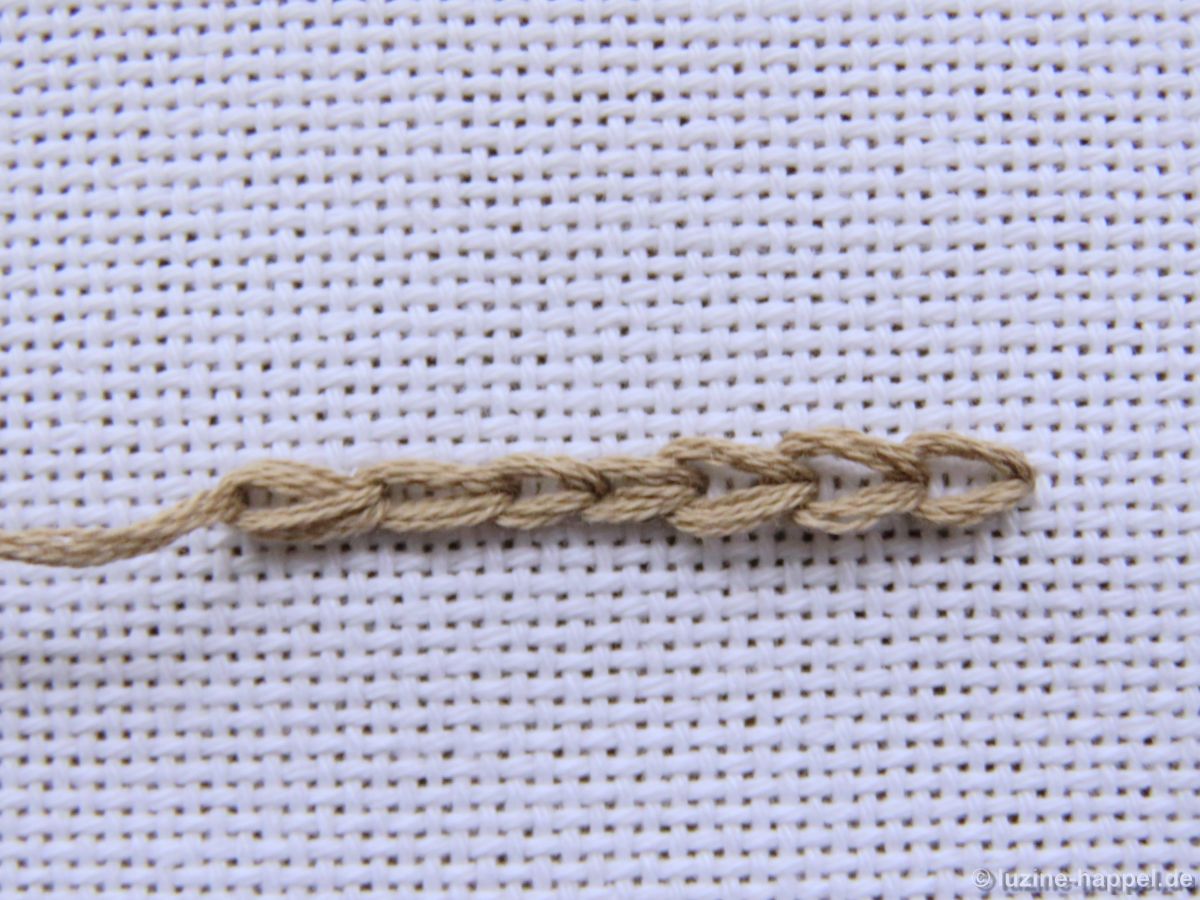
4. The Chain Stitch
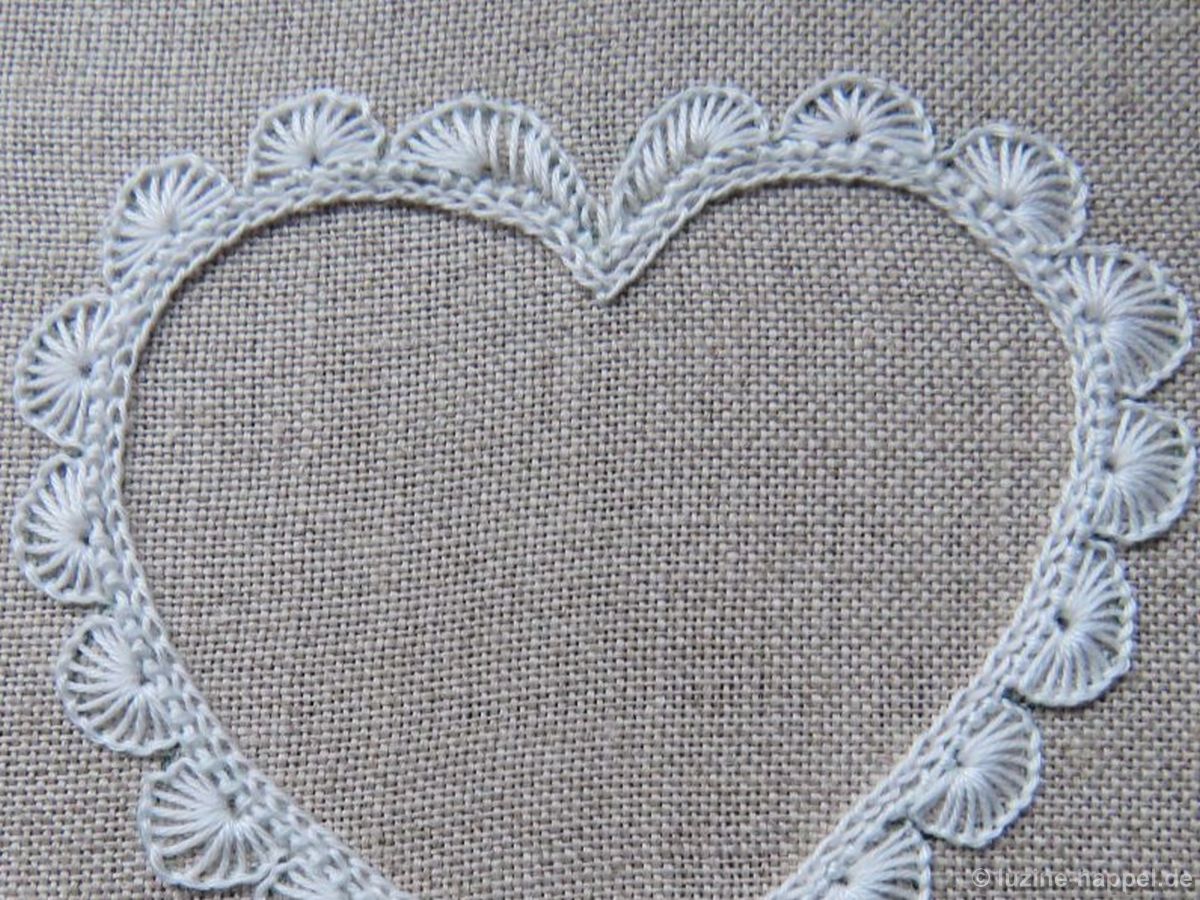
To cover the thread ends of the fabric threads that will be withdrawn later, chain stitches are embroidered closely within the coral knot stitches.
thread weight: depending on the fineness of the linen, coton à broder thread No. 25 or No. 30
building the rows: from right to left
direction of needle movement: from right to left
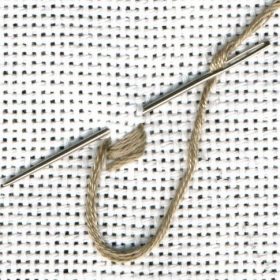
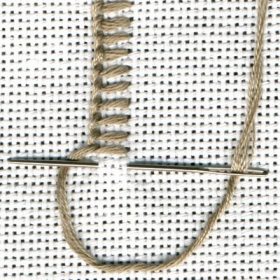
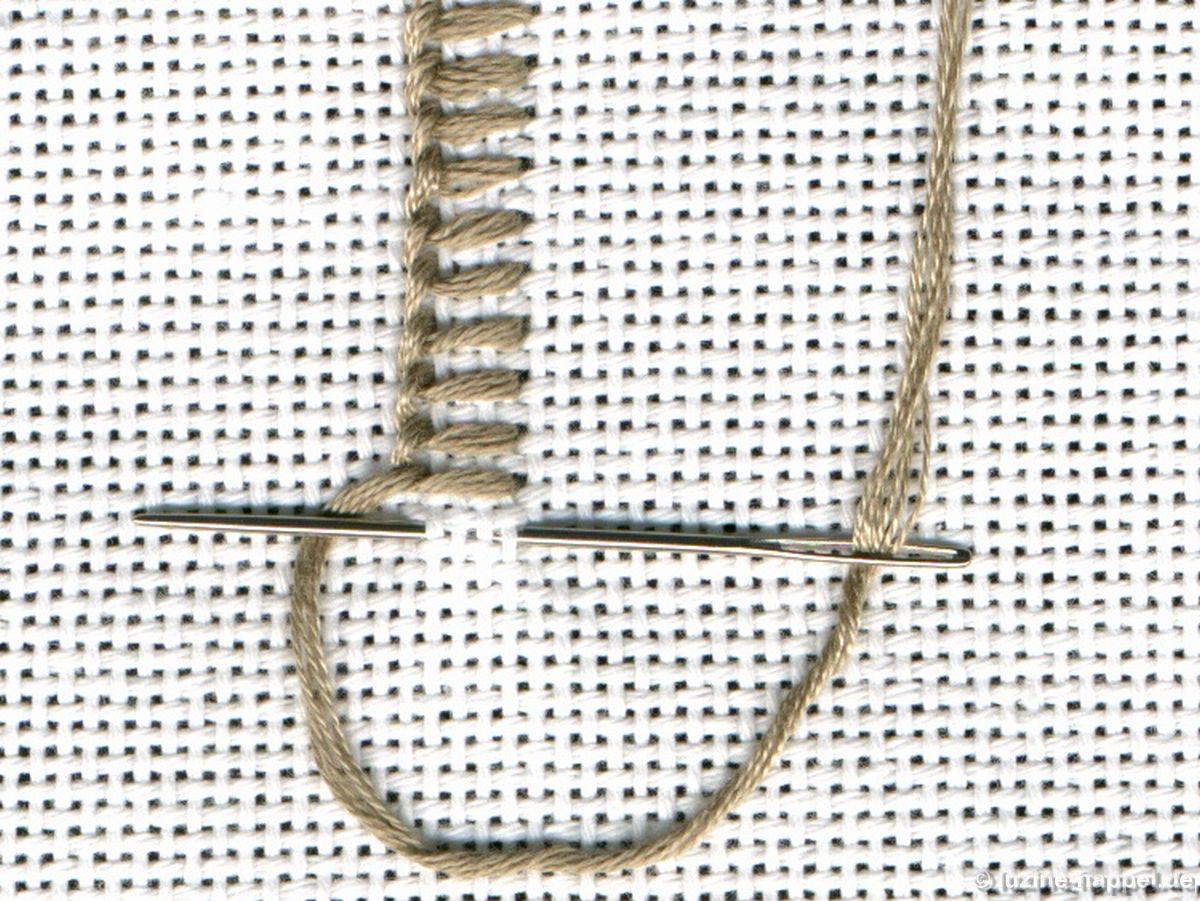
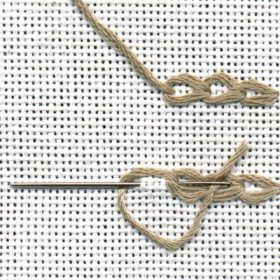
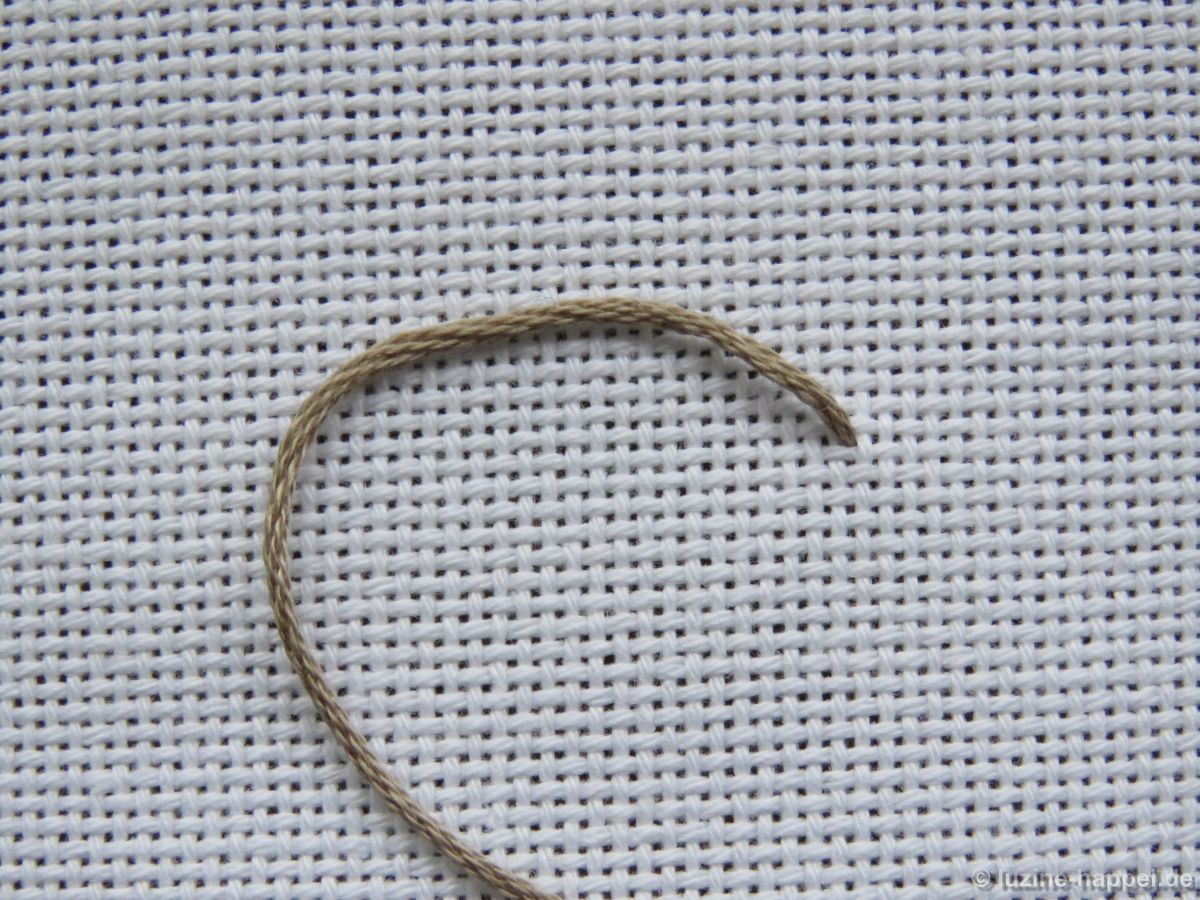
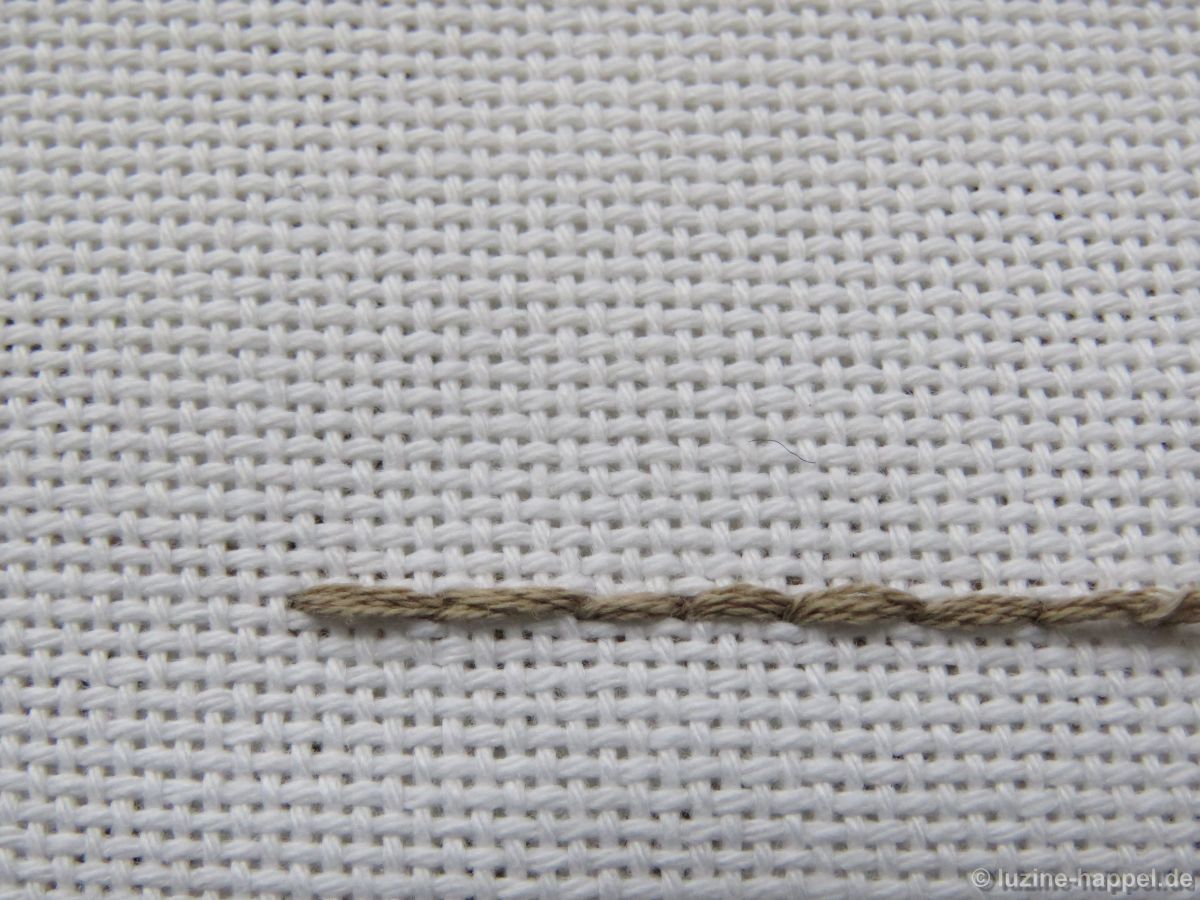
way of working: Bring needle up
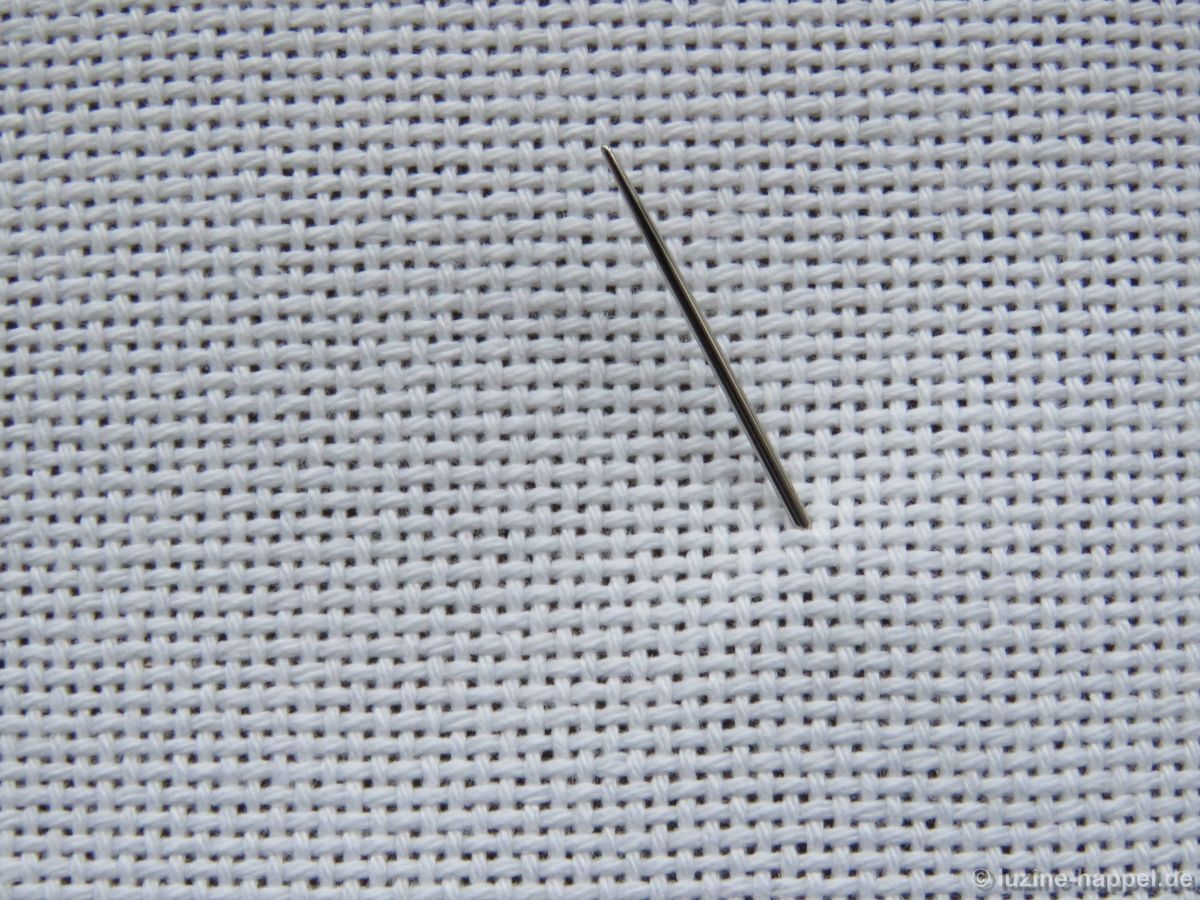
and lay the thread in a loop to left and bottom.
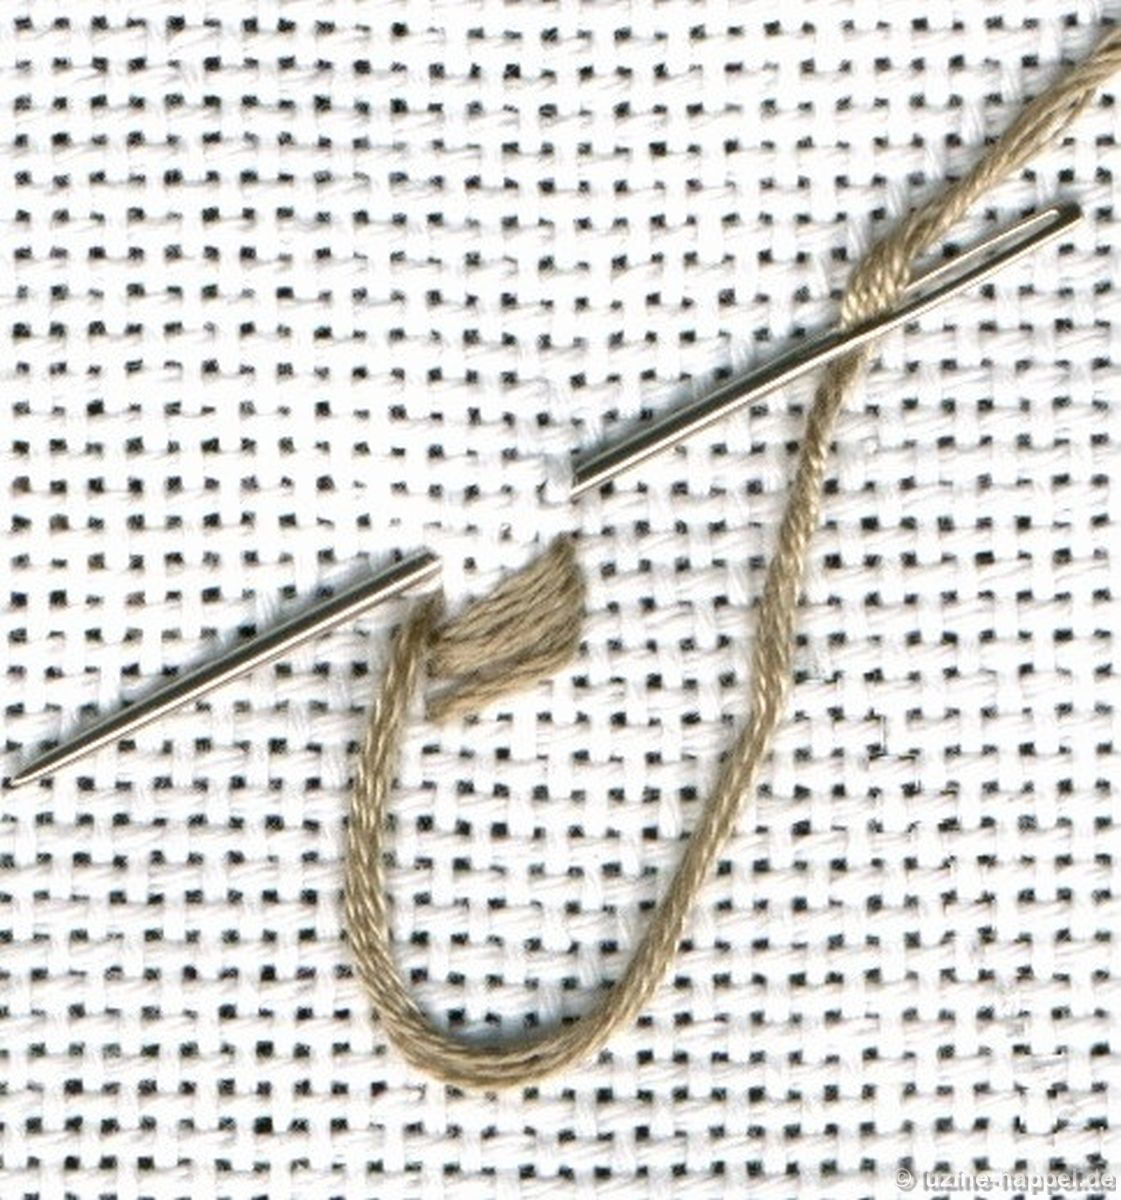
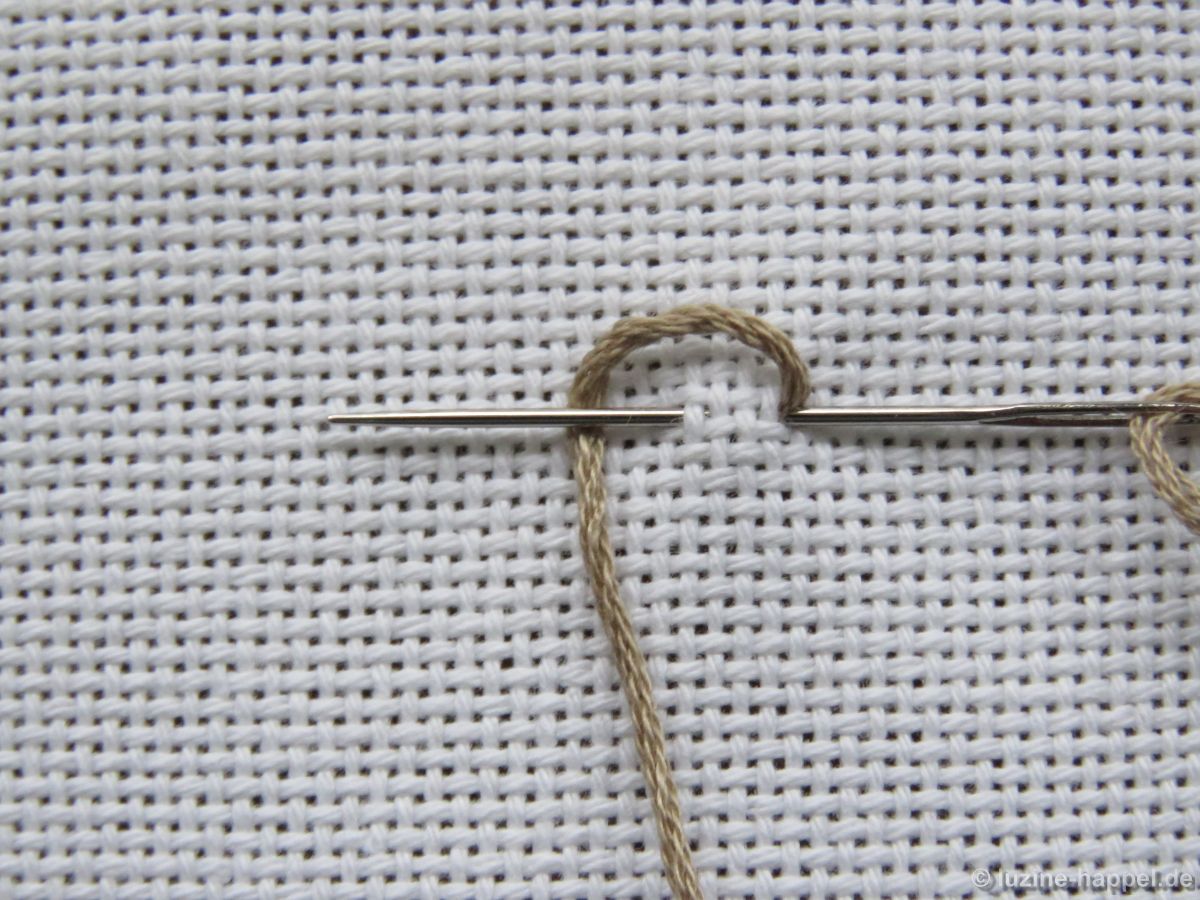
Insert the needle in the emerging point, cross under the fabric a small step to the left and bring needle up again inner the loop.

The looped thread is below the needle tip.
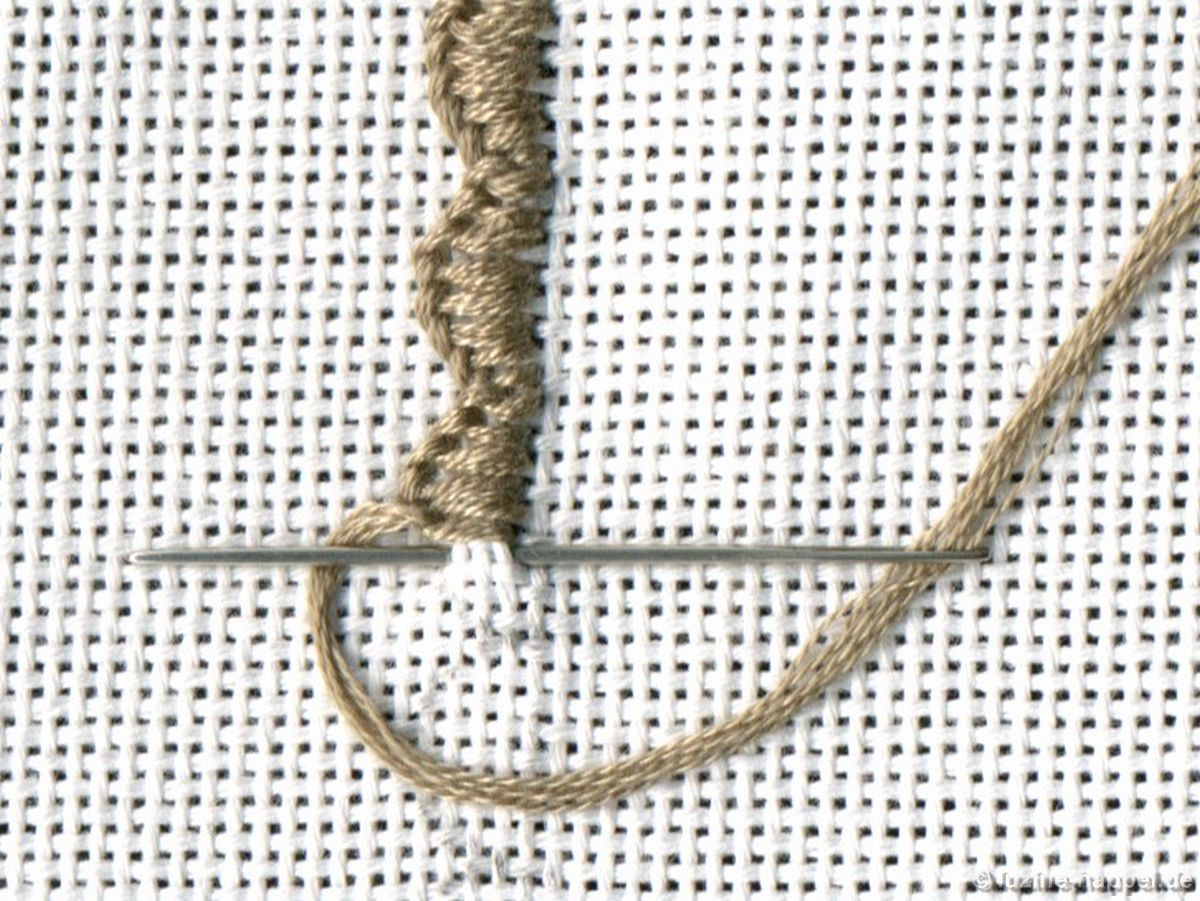
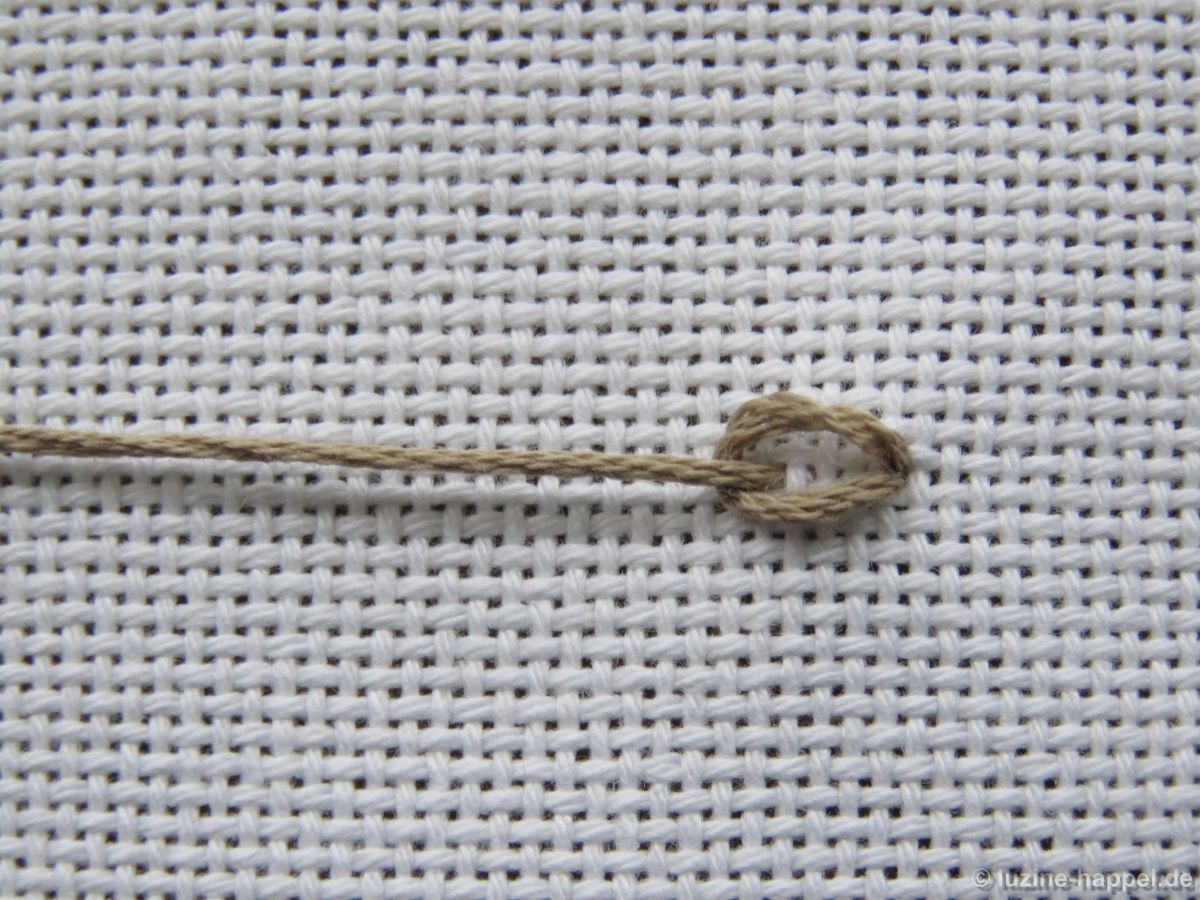
Pull the needle through and the thread to the left.
The first link in the chain has formed.
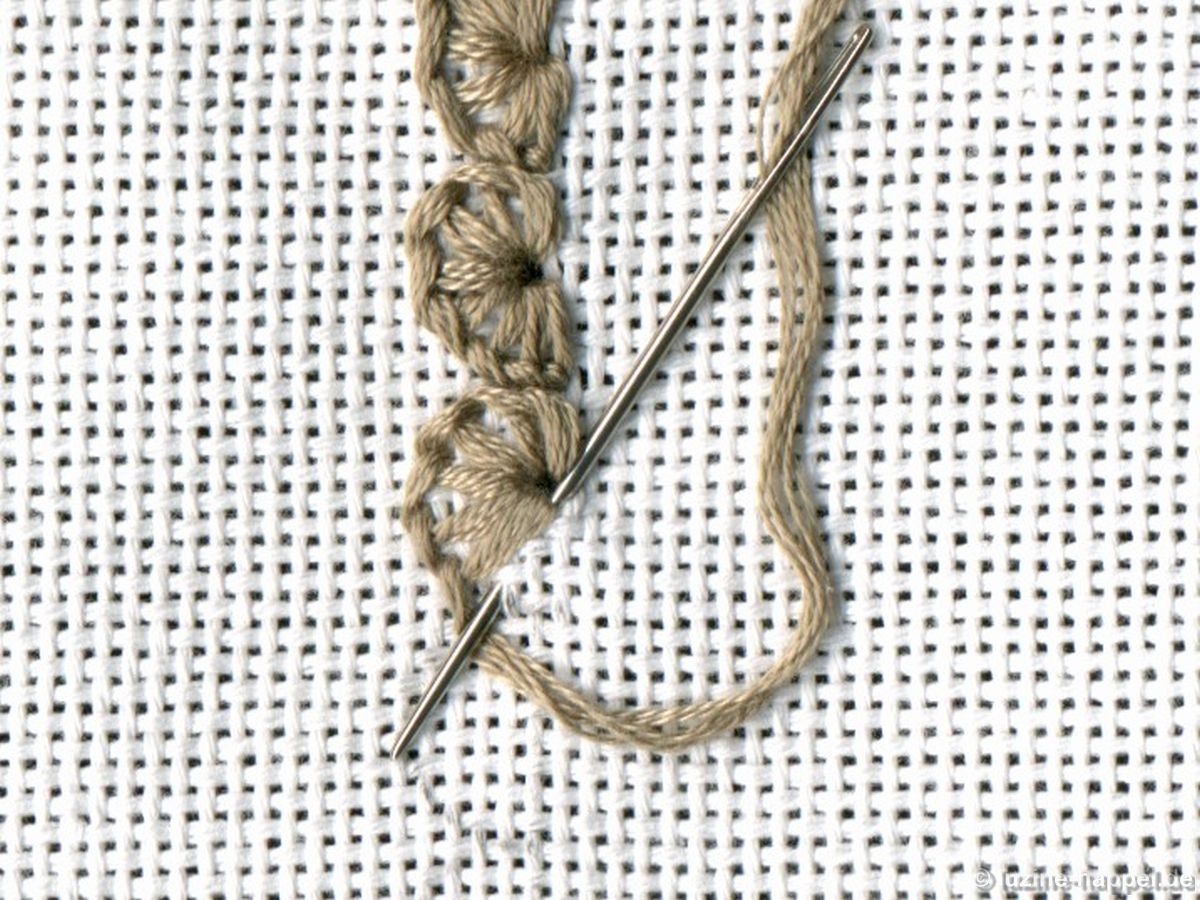
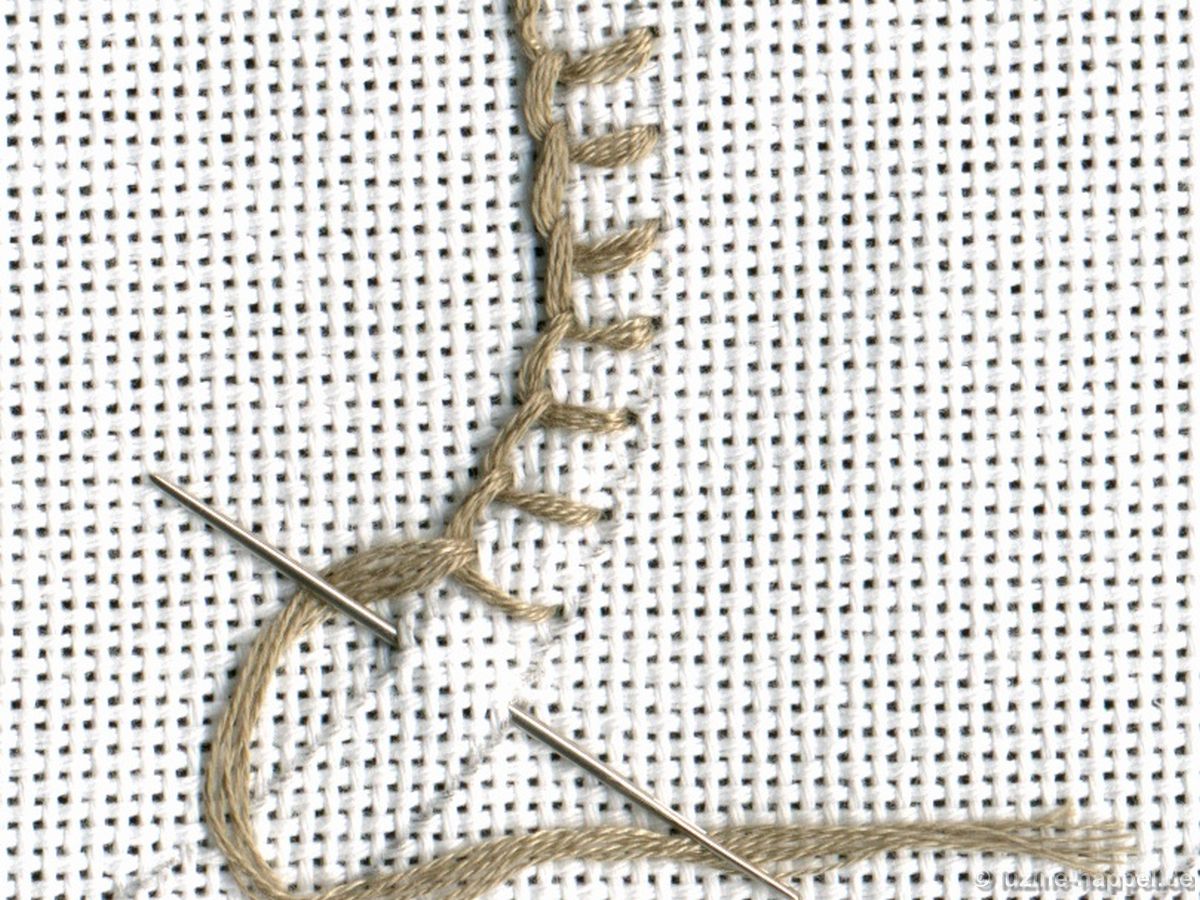
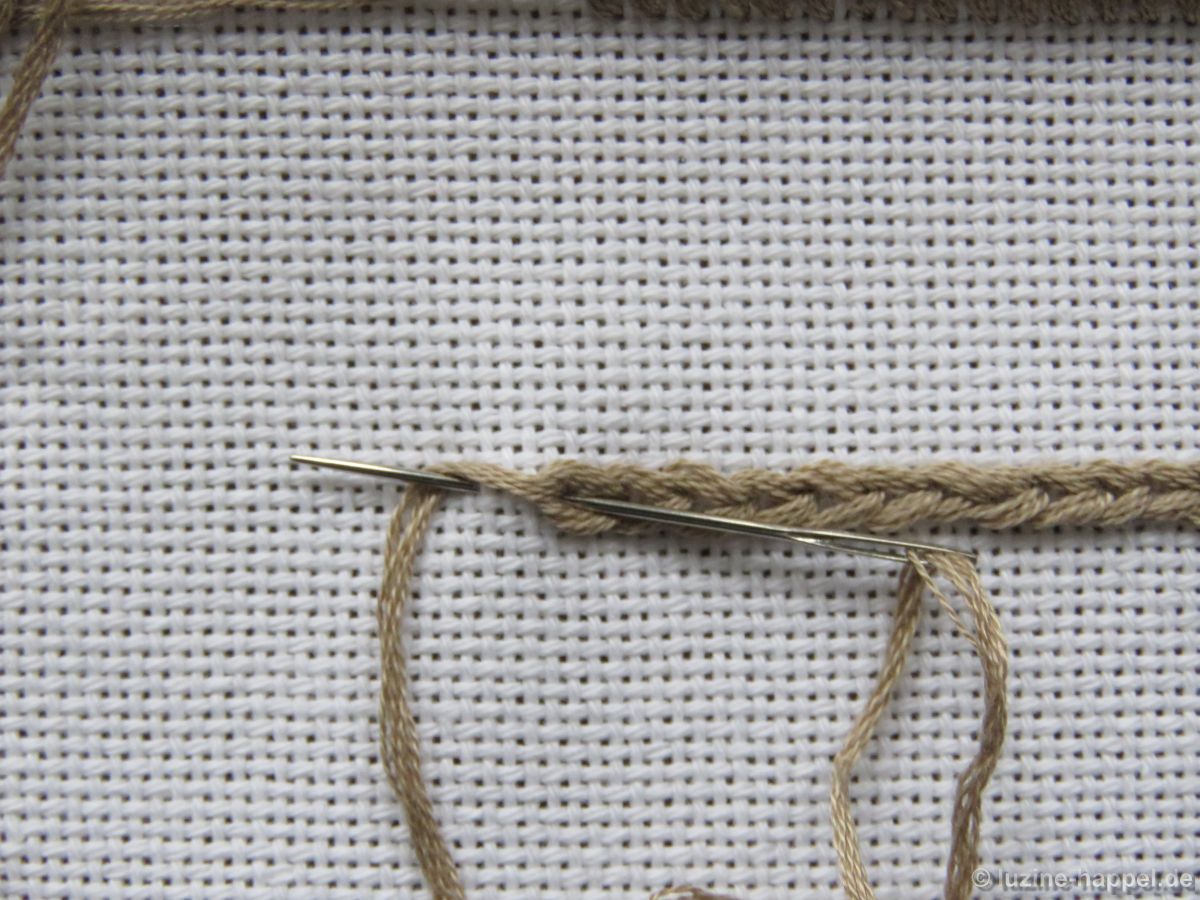
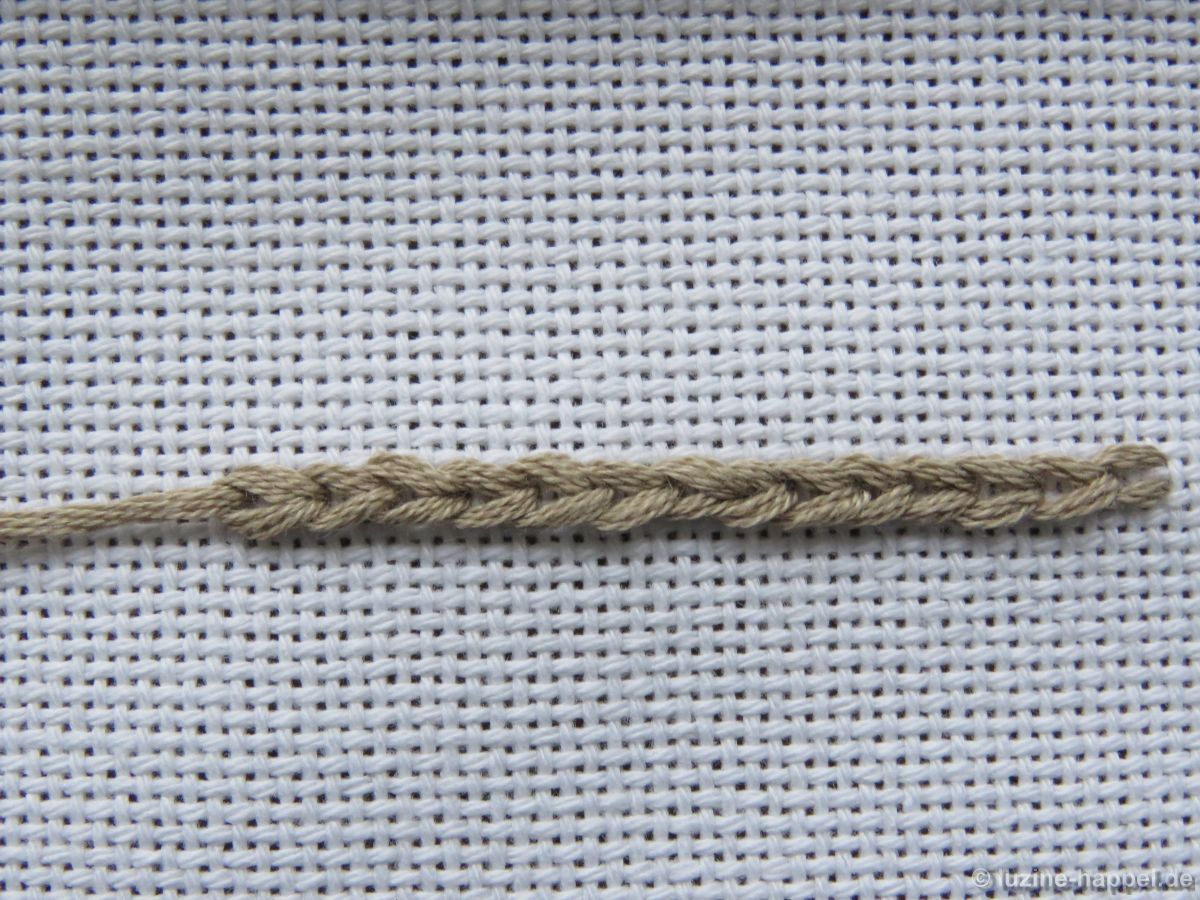
Further chain stitches are added in the established way.
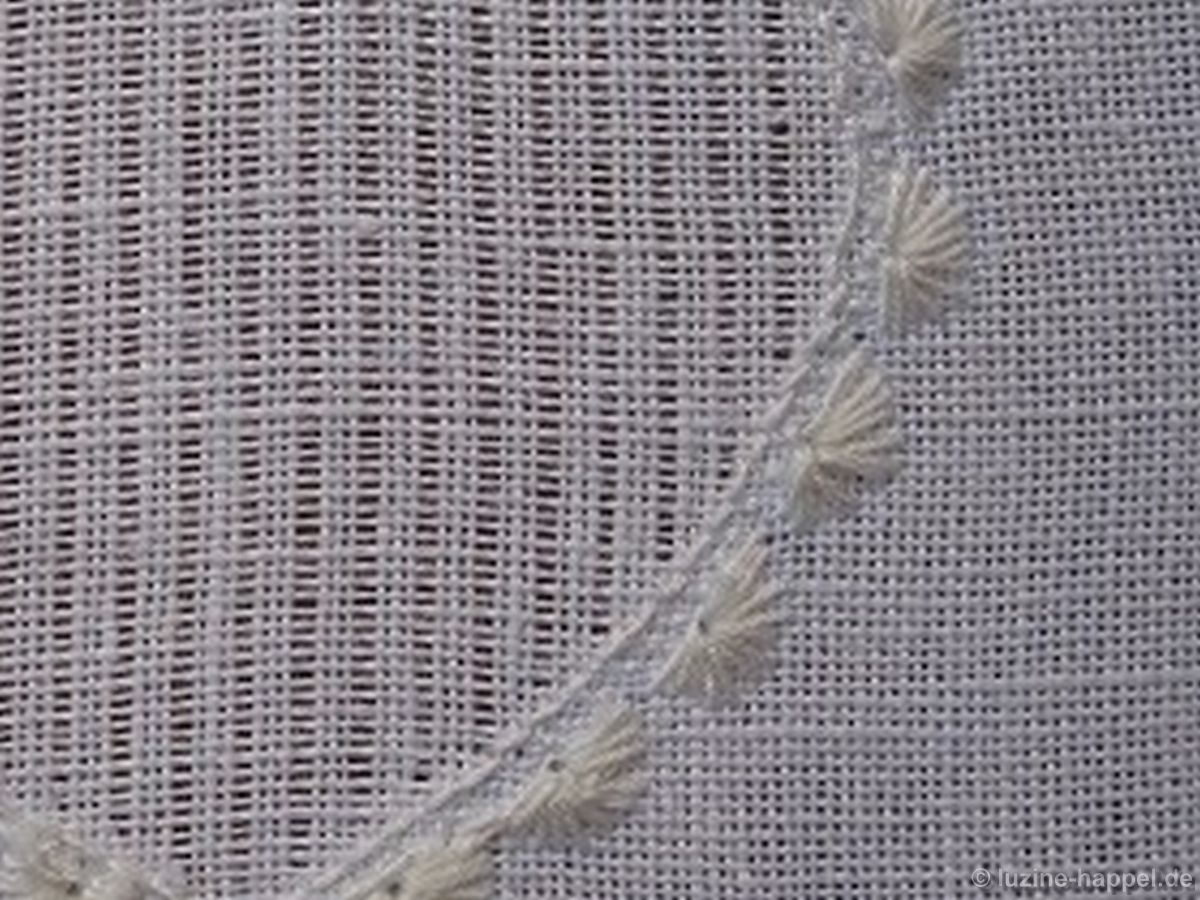
The chain stitches should be placed directly adjacent to the coral knot stitches, leaving no gap between them. If the chain stitches are placed too close to the coral knot stitches, the outer half of the chain stitches may overlap them. This should be avoided.
Chain stitches, like coral knot stitches, are line stitches, but they form a single line on the back
and a double line on the front.
This has the advantage that threads to be withdrawn can be cut close to the chain stitch line on the back,
but the thread ends are covered on the front by the inner half of the chain stitches.
One can also pull the edge stitches of the filling pattern under the inner chain stitch line to achieve a perfect edge finish.
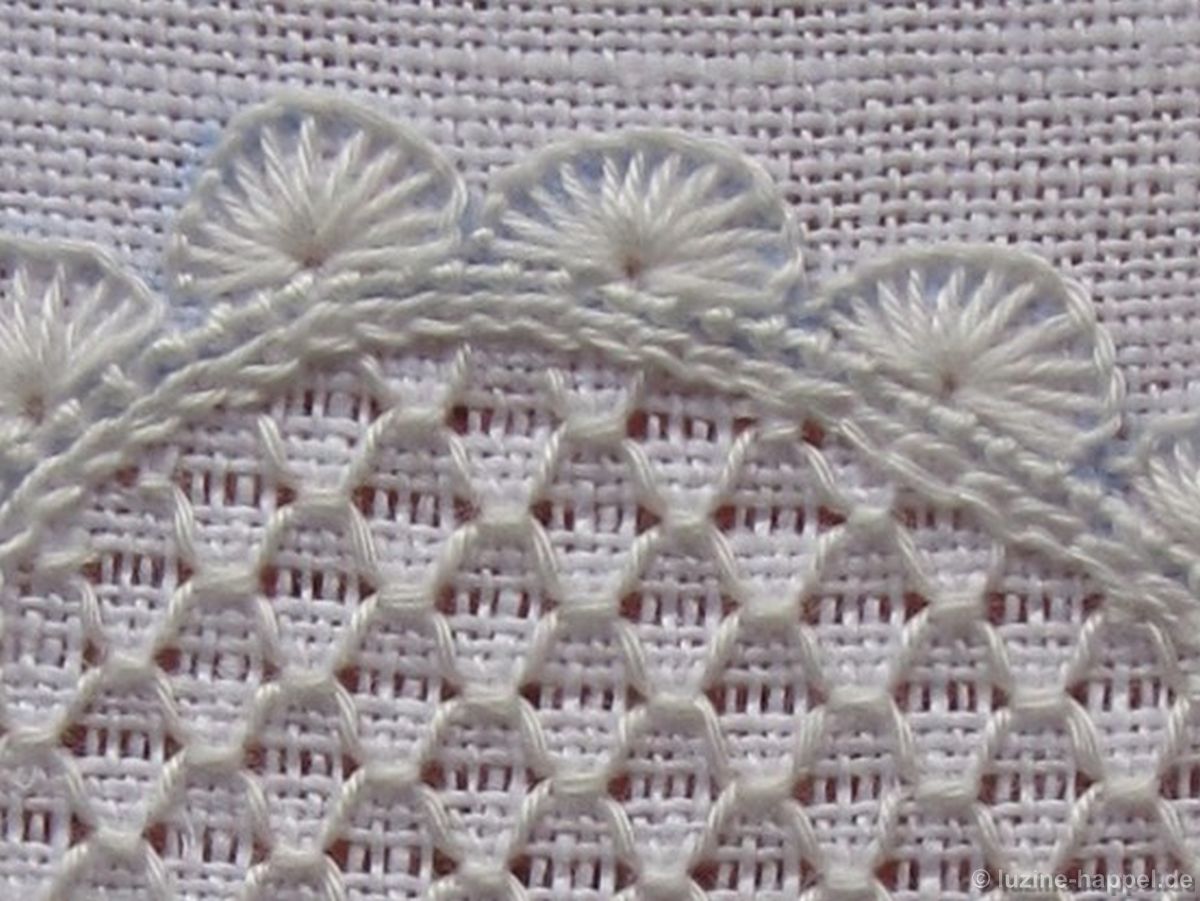
This is also important for the clean drawing up of the basic stitch grids.
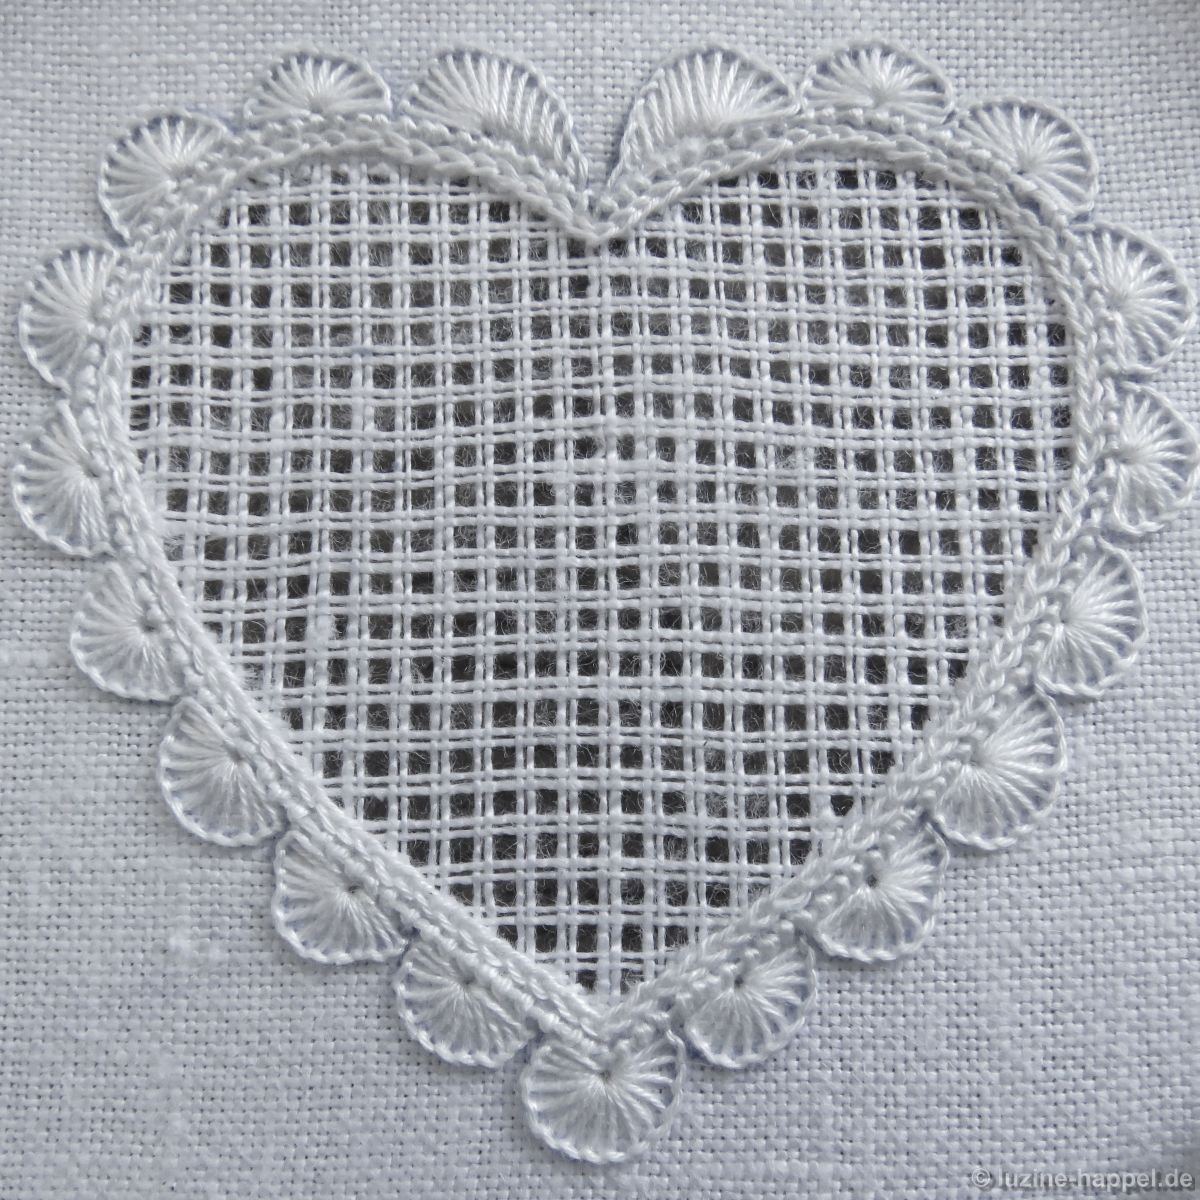
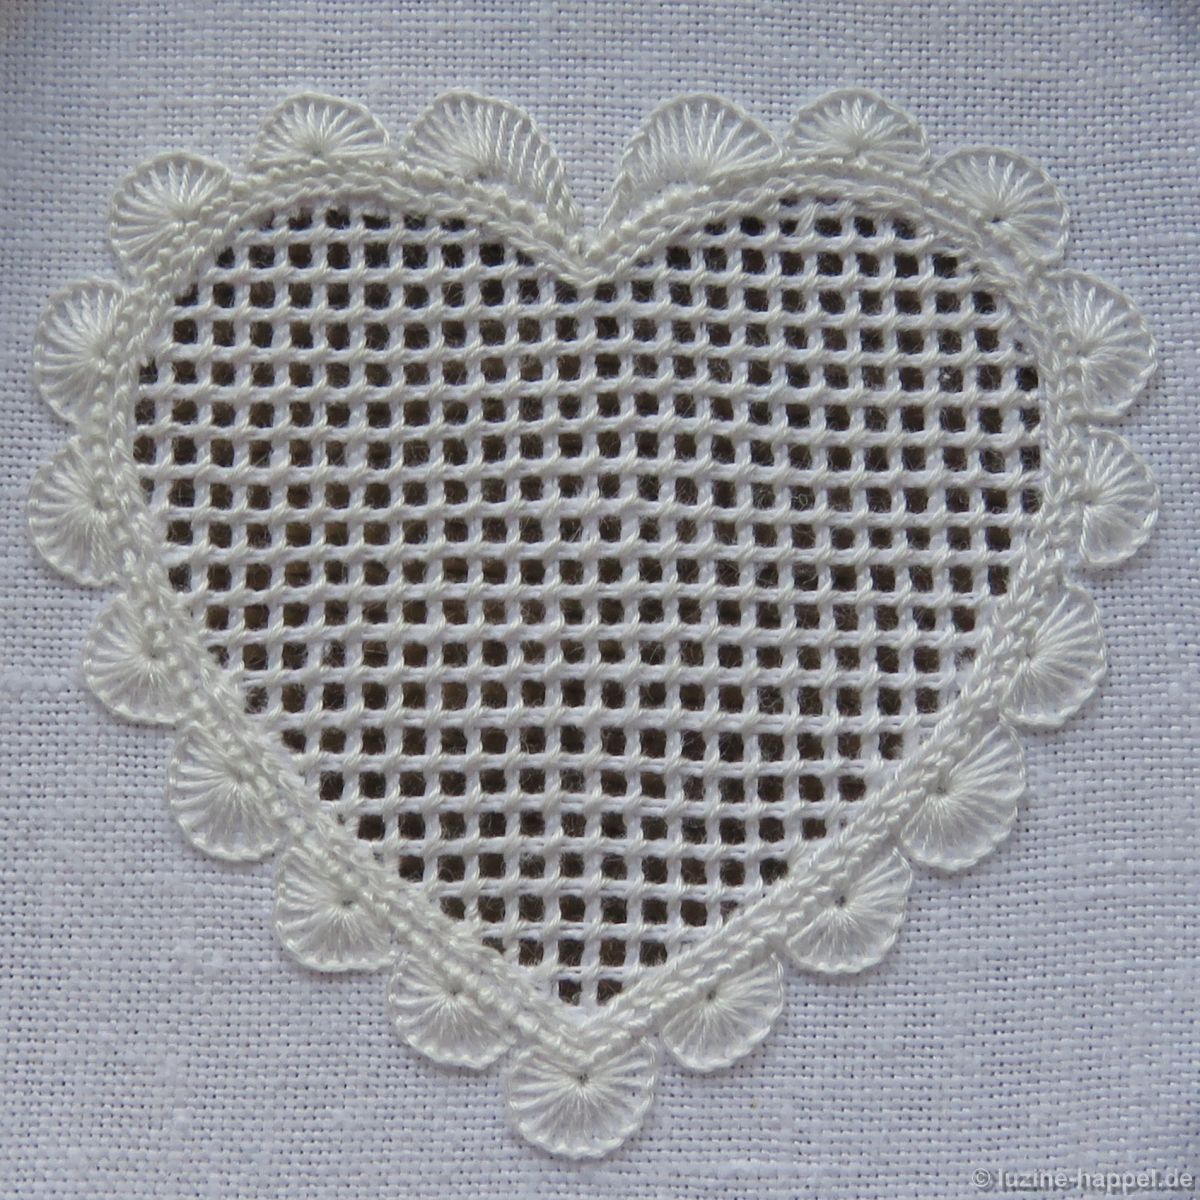
To achieve the best possible results, it is therefore important to embroider short chain stitches and to pull them evenly, but not too tightly. This makes them appear more rounded and cover a wider area than short, tightly pulled or long stitches.
1. The Coral Knot Stitch
2. The Blanket Stitch
3. The Satin Stitch