To the wind up the year I would like to present some embroidered projects that my blog readers worked. The following pictures were sent to me over the last 12 months.
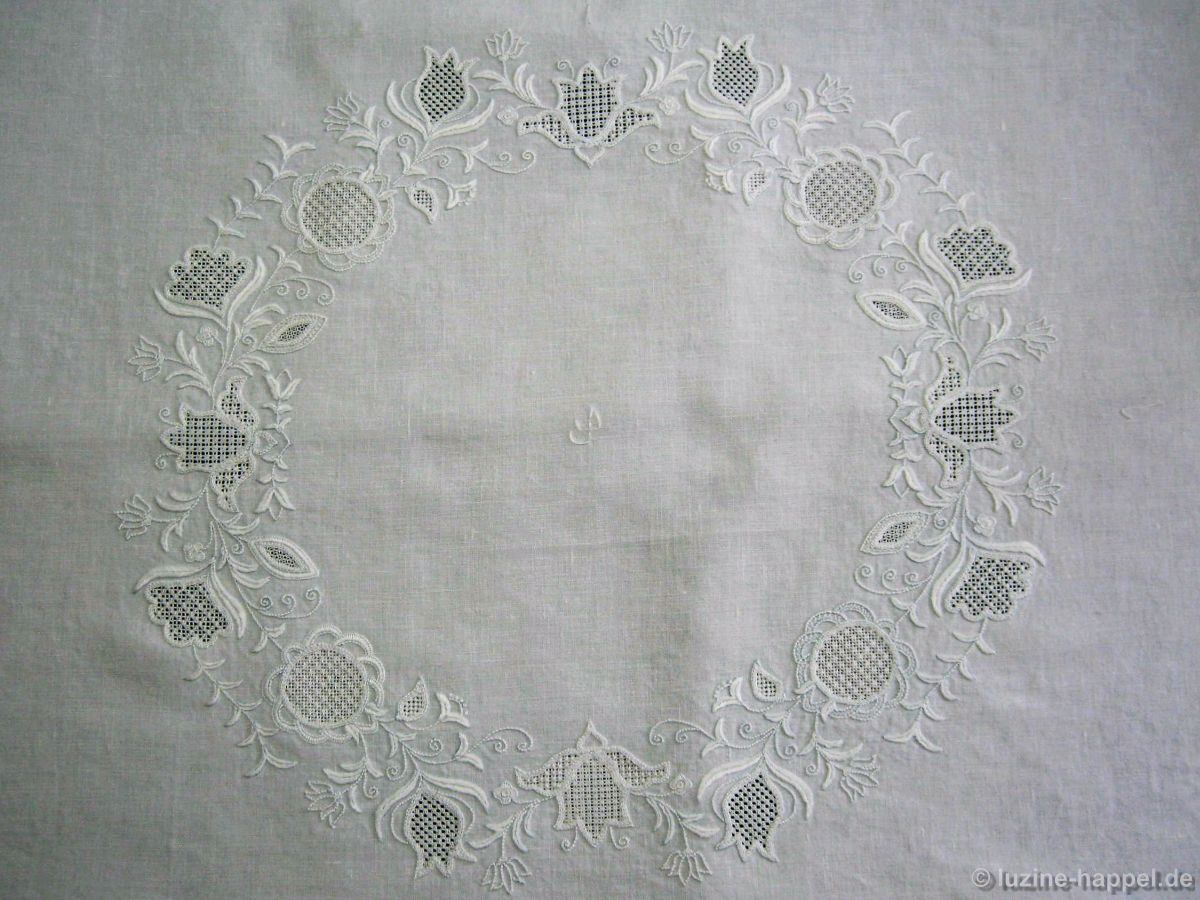
Yasuko Kobayashi from Japan worked, with the help of my books Openwork Pattern Samplers and Motif Antique Wreath, her beautiful tea cloth with the traditional wreath design.
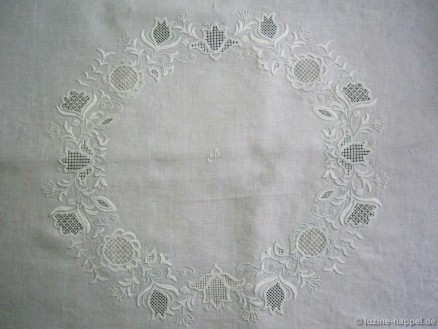
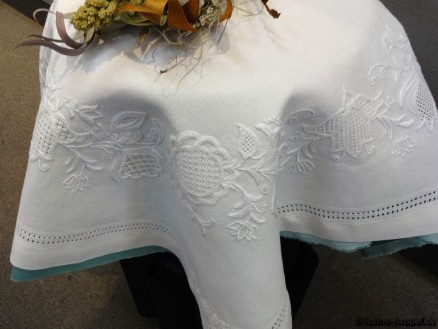
Also, she perfectly embroidered, using pure silk thread, a design from one of my Crown books.
She then framed it to hang on the wall – wonderful!
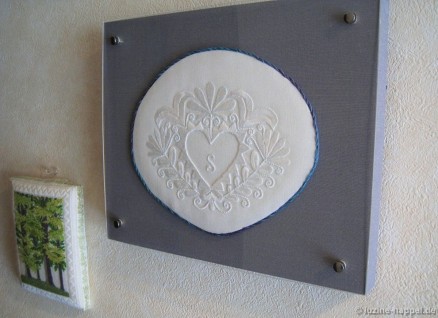
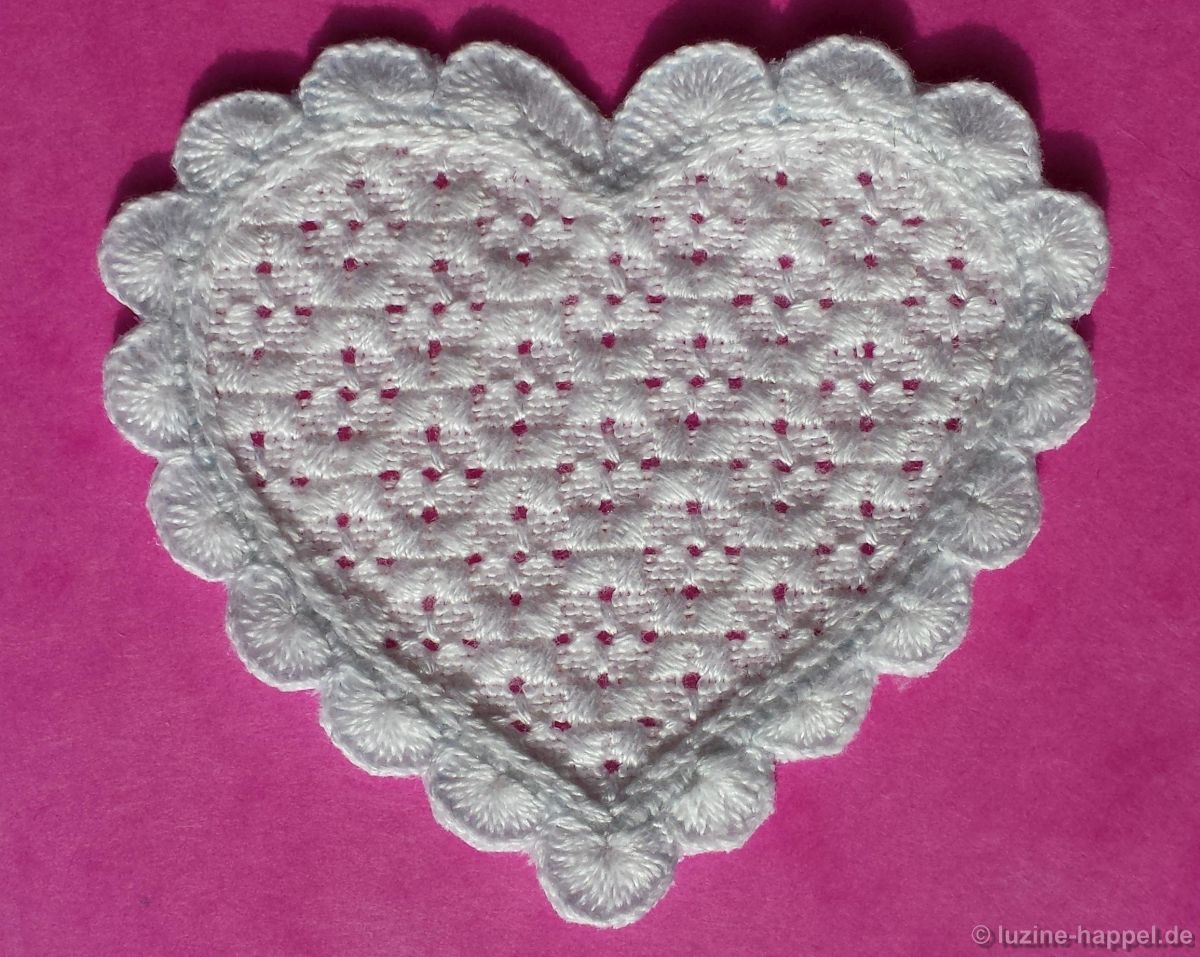
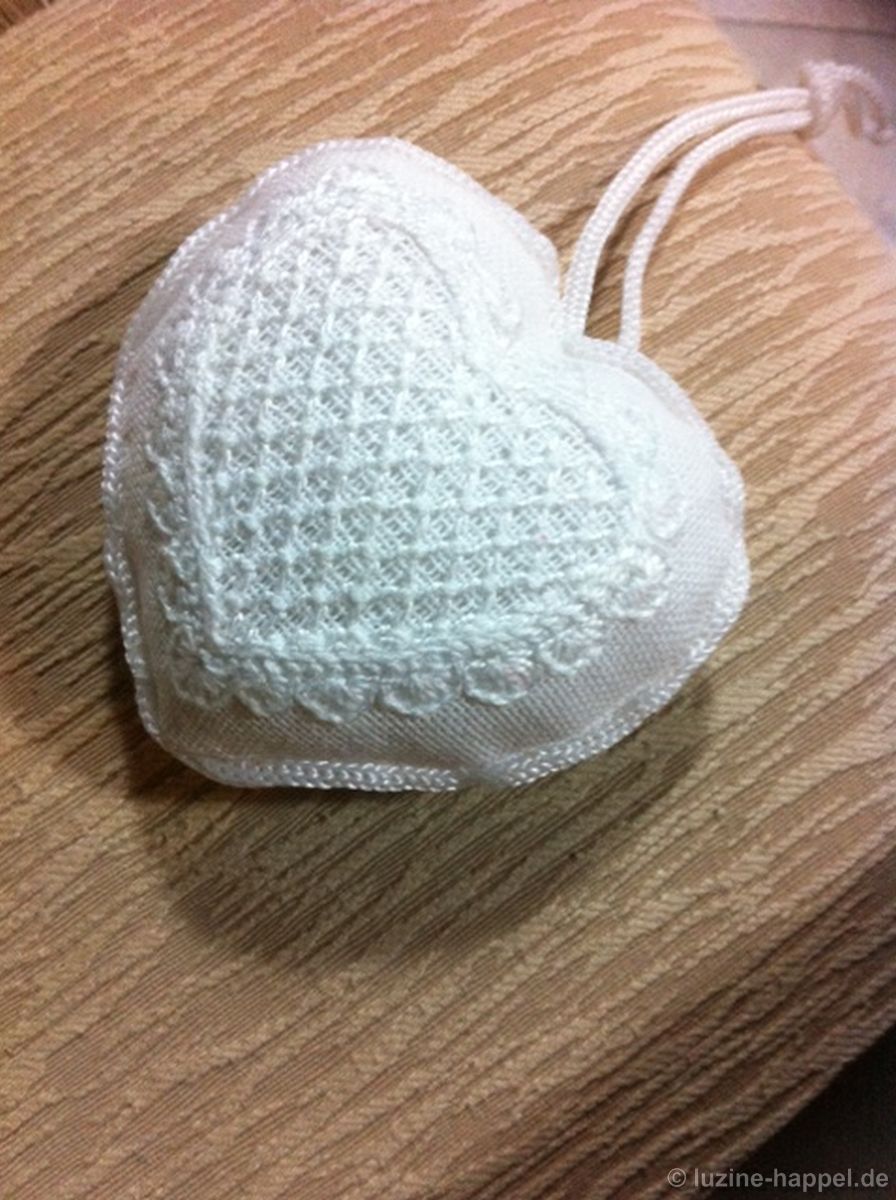
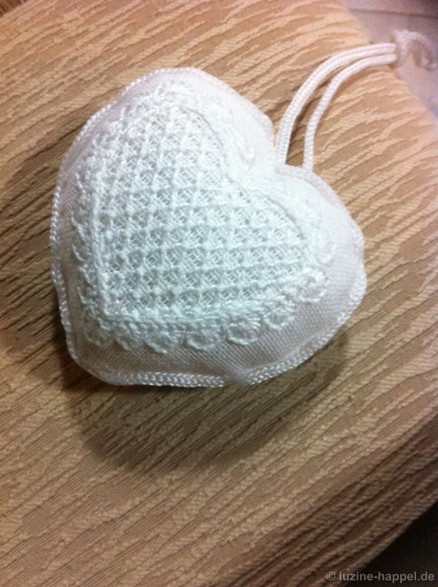
Monika Müller from Germany stitched a Happel Heart and then heavily padded it and the surrounding linen before framing. She used my instrustions for left-handers and was able to achieve this pretty result all by herself.
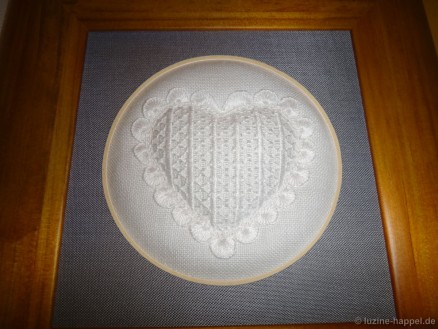
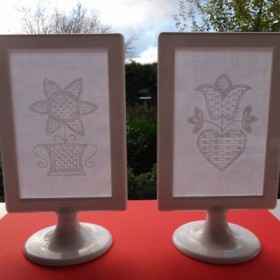
Monika also mounted traditional Schwalm whitework in contemporary frames thus creating extravagant displays. The patterns from 24 small designs are well suited not only for Easter eggs but also for many other nice small projects.
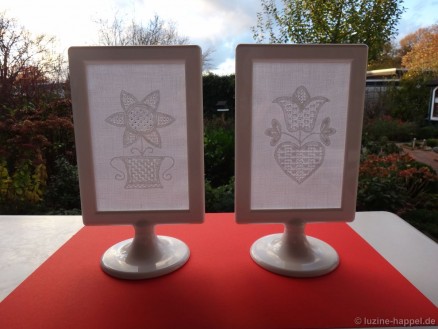
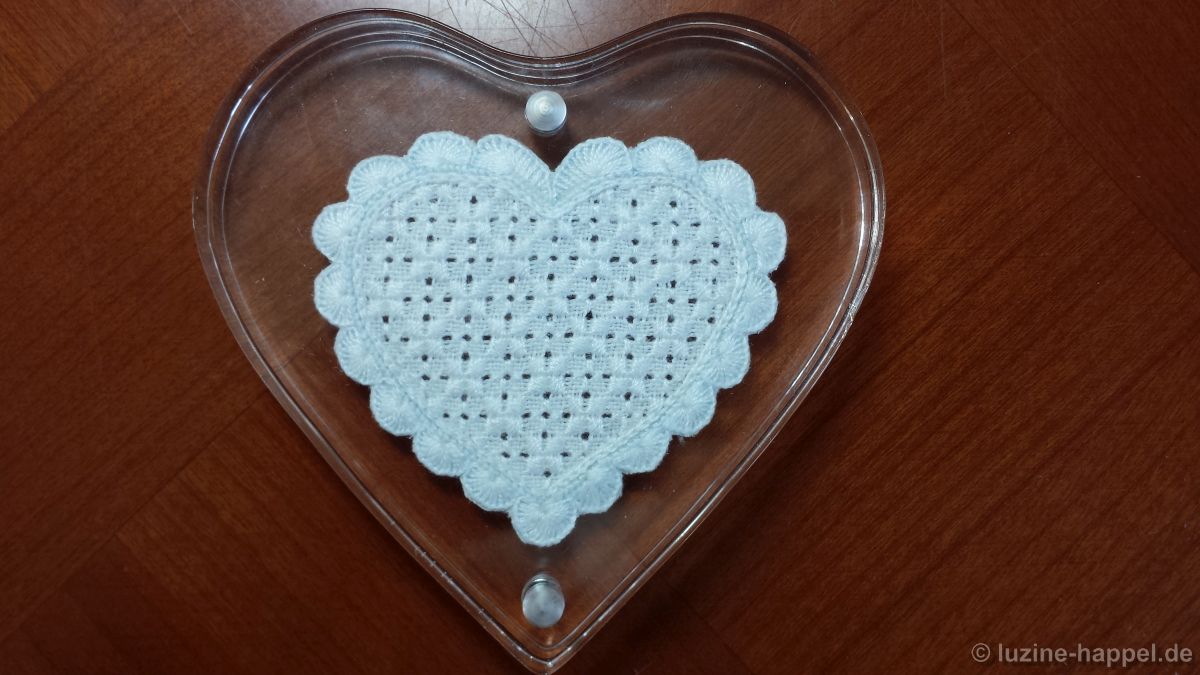
Estelle Benedetti from France also worked a Happel Heart project. With the instructions from my lesson #1 booklet to guide her, she was able to embroider it completely on her own.
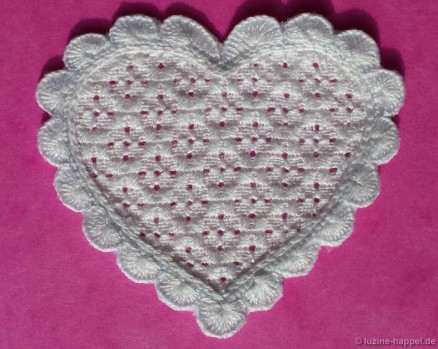
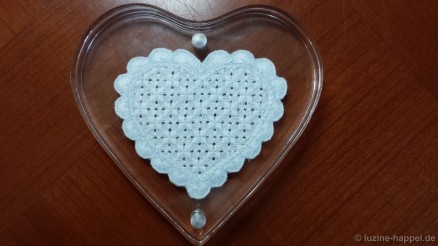
She put it into a display glass to use it as a coaster. She wrote: I followed your explanations and I’m pretty satisfied with the result. Schwalm is an embroidery very pleasant to do.
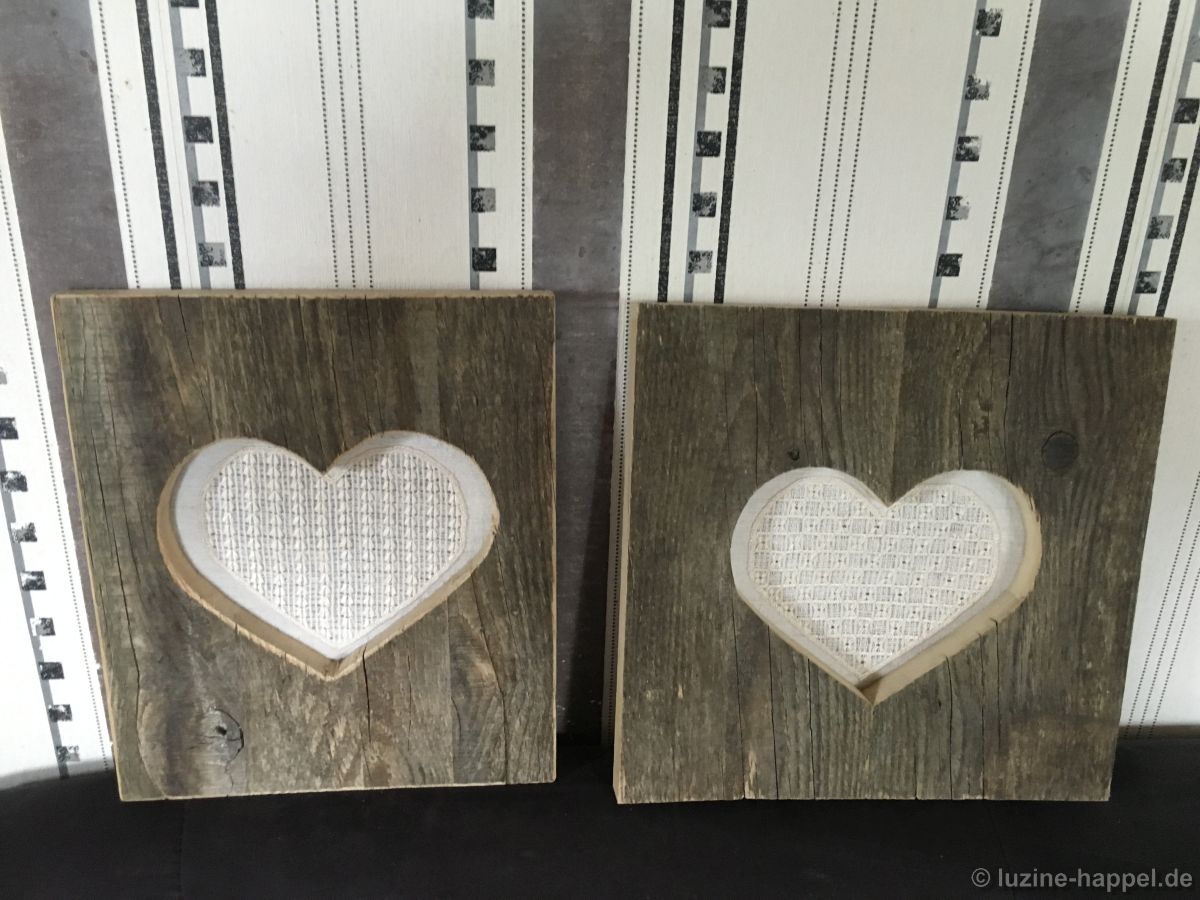
Bettina Limburger from Germany got the idea to combine vintage wood with old linen. In Bavaria she found old weathered larch boards with heart cutouts. Handwoven linen came from Hessia. She embroidered the linen with heart shapes using filling patterns published on my blog. She mounted the finished embroidery on the back of the boards. Now a duet of traditional materials, skillfully enhanced with her own embroidery, decorates her rooms.

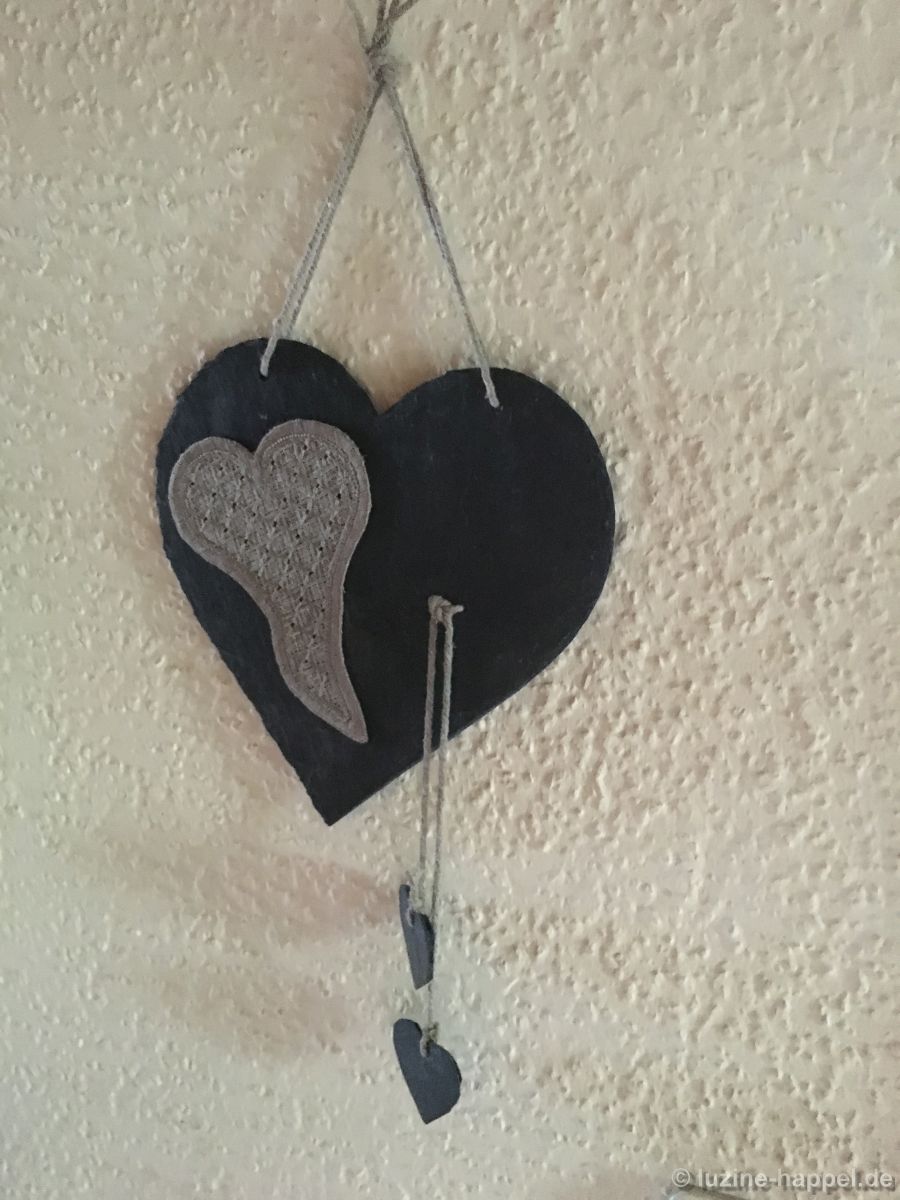
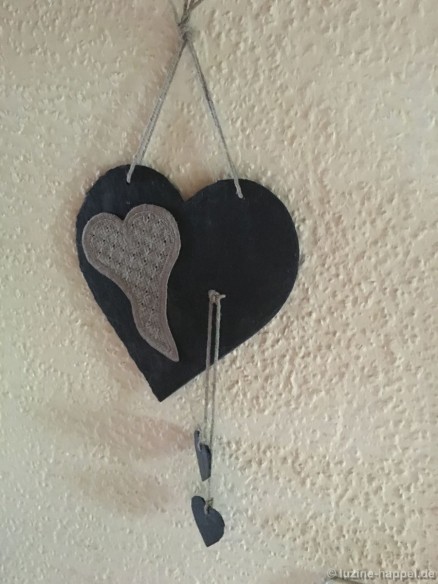
She also picked up on my idea of the slate hearts. However, she made the idea her own by distorting the embroidered heart that is displayed on the slate heart.
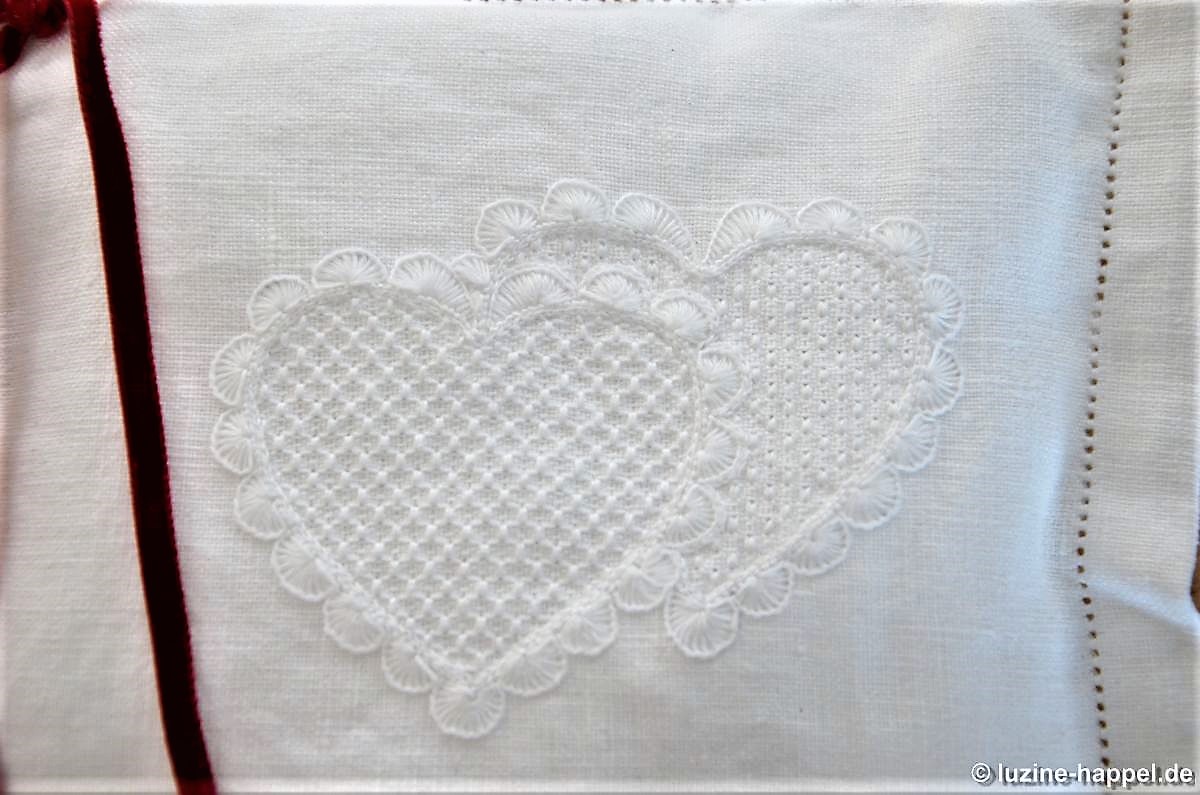
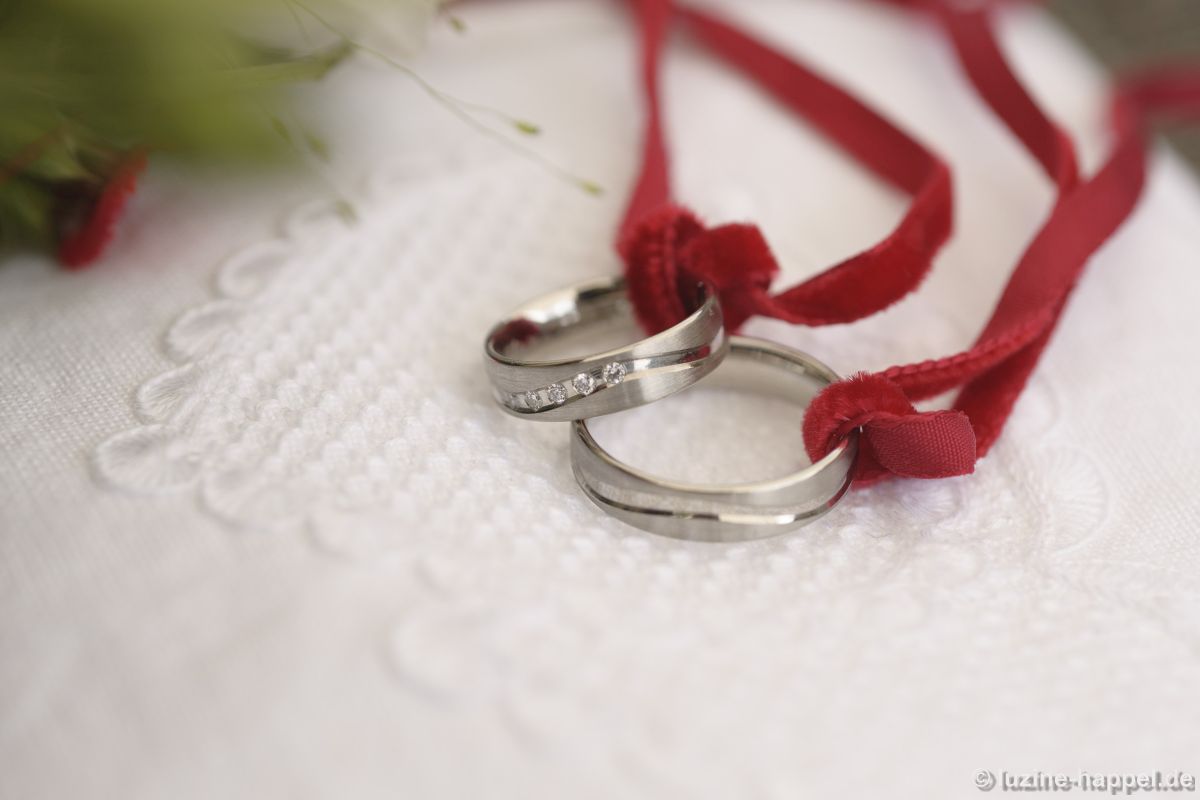
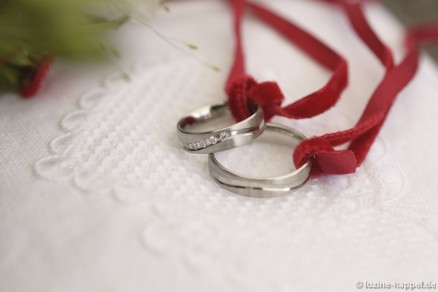
Andrea Brinkmann from Germany needed, on short notice, a wedding ring cushion. She came up with the perfect and beautiful idea to work two hearts staggered and to embroider them with matching patterns.
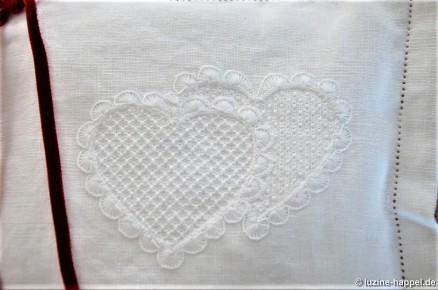
Isn’t it nice?
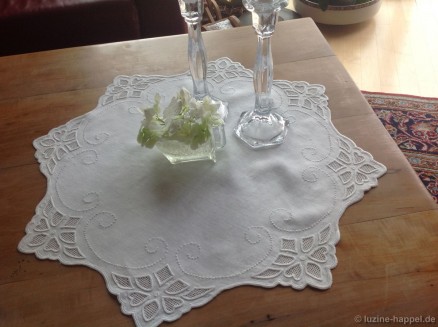
Gertrude Vorwerk from Germany emailed me a picture of her elegant and perfectly worked doily.
One can see that the filling stitches are reminiscent of my plait wreath doily.
Ursula F. Roeser from Ouro Preto in Brazil embroidered Happel Hearts as preproduction models. In the near future, the students of a beginner class will work them. They will use a fabric called “Cânhamo”, a hemp “linen” common in Brazil. Ursula is member and founder of the women’s association ASA (Associação das Senhoras Artesãs de Ouro Preto).
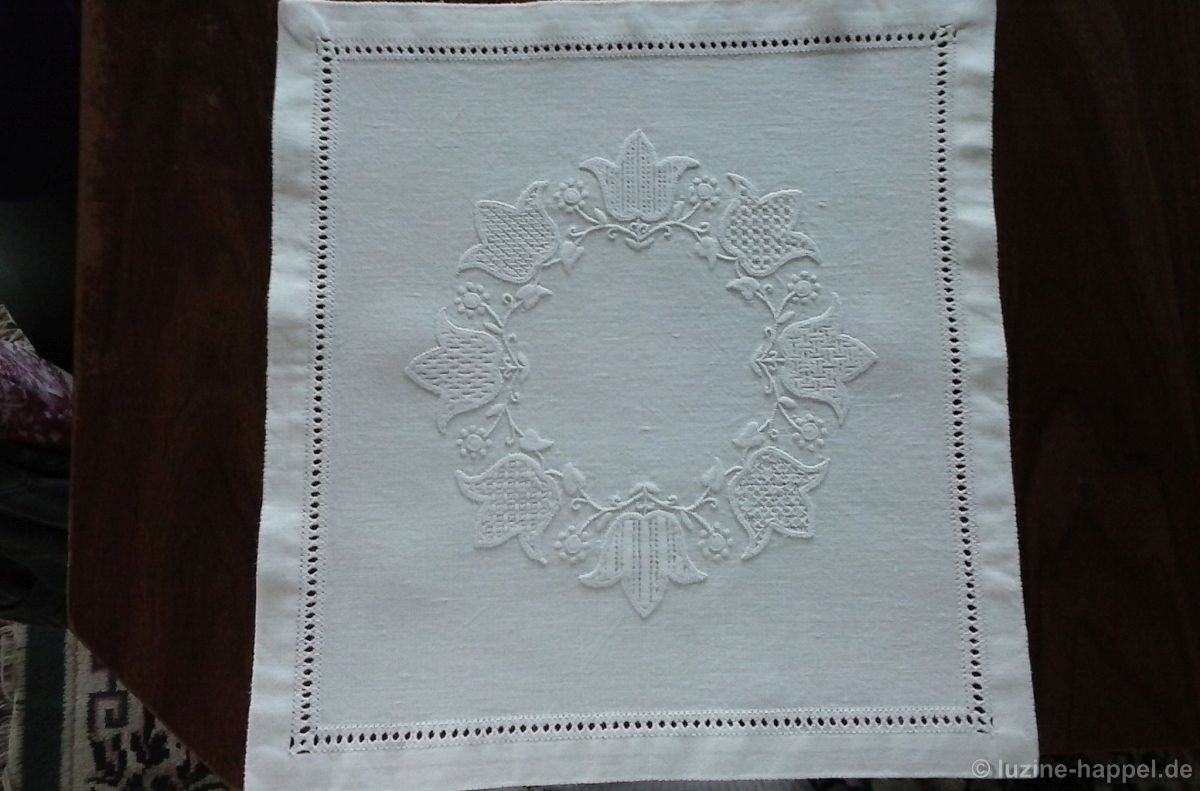
Cathy Snider from the United States sent me a picture of her beautiful Tulip Wreath project. She was able to work this project on her own with only the aid of the instructions in my lesson #2 booklet. Last year she took a class in Eschwege learning the first steps of Schwalm whitework. Now she teaches Beginning Schwalm embroidery using my Happel Hearts lesson #1 booklet.
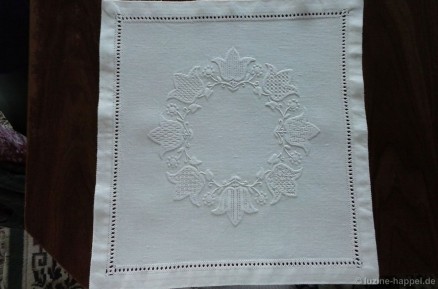
Yoko Miyamoto from Japan was busy stitching for her daughter´s wedding. She likes to show her happiness to everyone, so she sent me the photo. The picture shows the not yet, but almost finished piece. Isn’t it lovely?
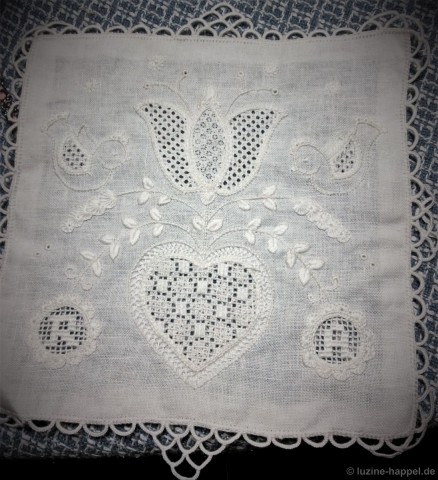
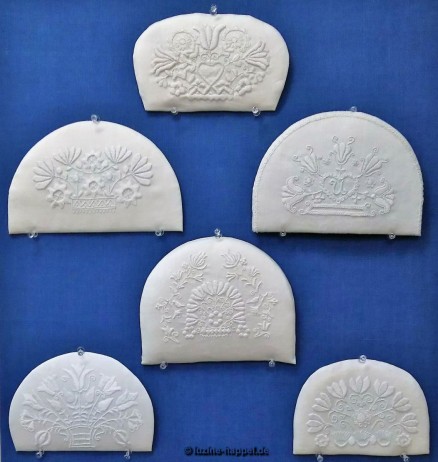
And another picture just arrived: Lee Chaeyoun from South Korea worked a cozy using the instructions posted on my blog and the instructions included in my needlelace booklet. Due to not fully understanding the language, she worked mostly by following the pictures! She can be very pleased with the result of her first cozy.
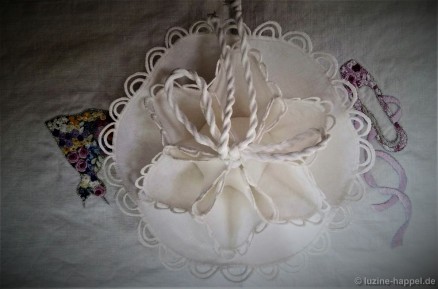
Carol Stacey from South Australia – teacher and purchasing officer for the Embroiderer´s Guild library – prepared a lovely bag to work the same projects with her students. She used – with my permission – my blog-description of the heart pattern 446.
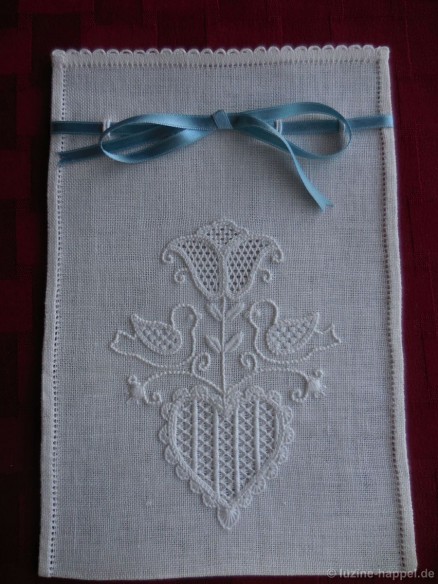
The ten members of the embroidery group of Yasuko Kobayashi recently displayed their pretty results in an exhibition in Yokohama, Japan. Among the projects were some, inspired by my crown books, very finely stitched with silk threads.
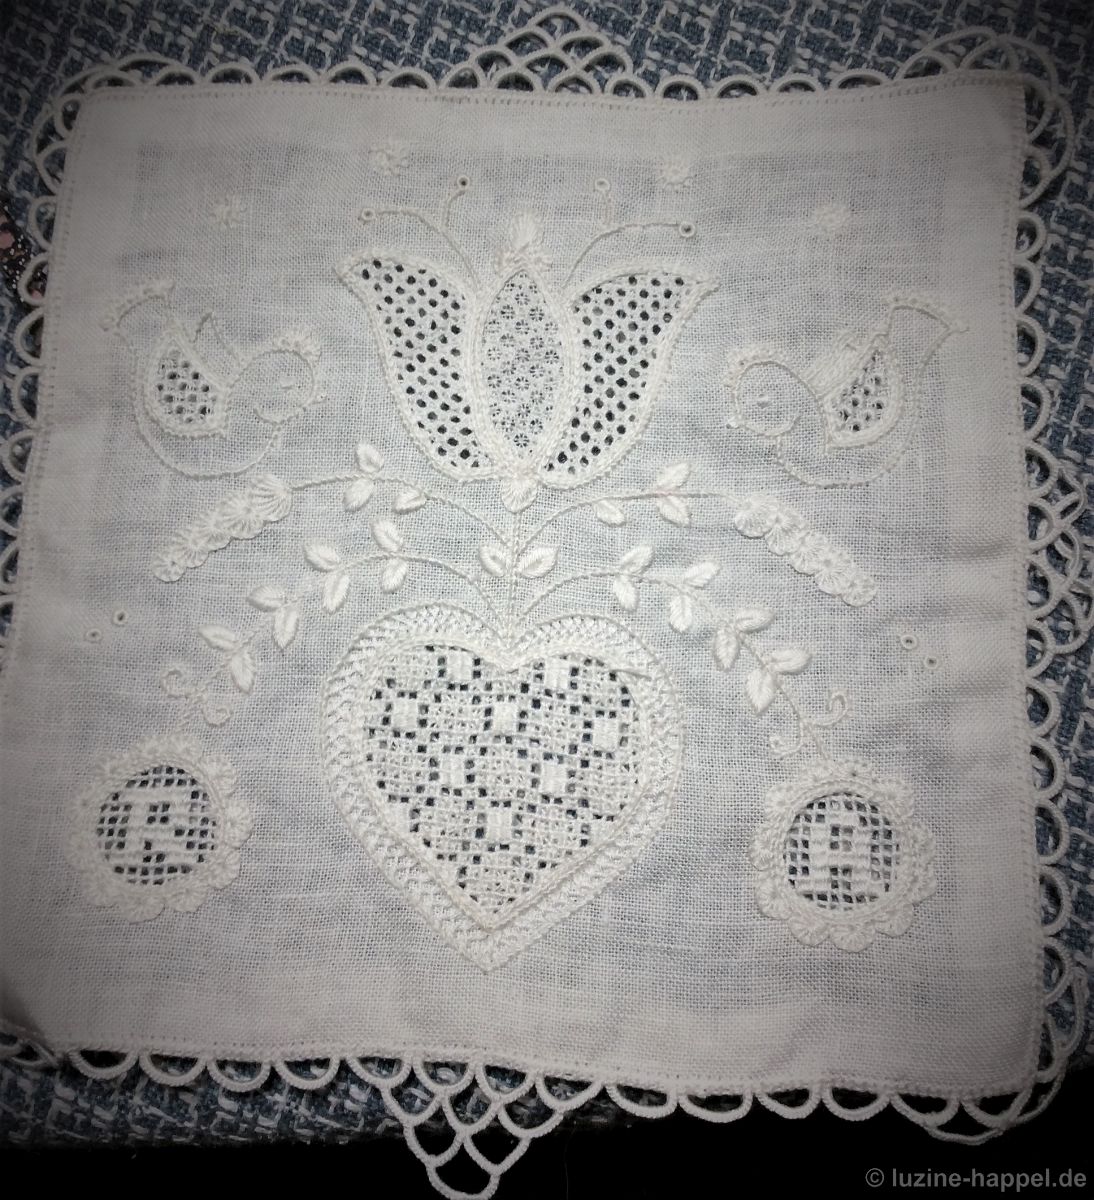
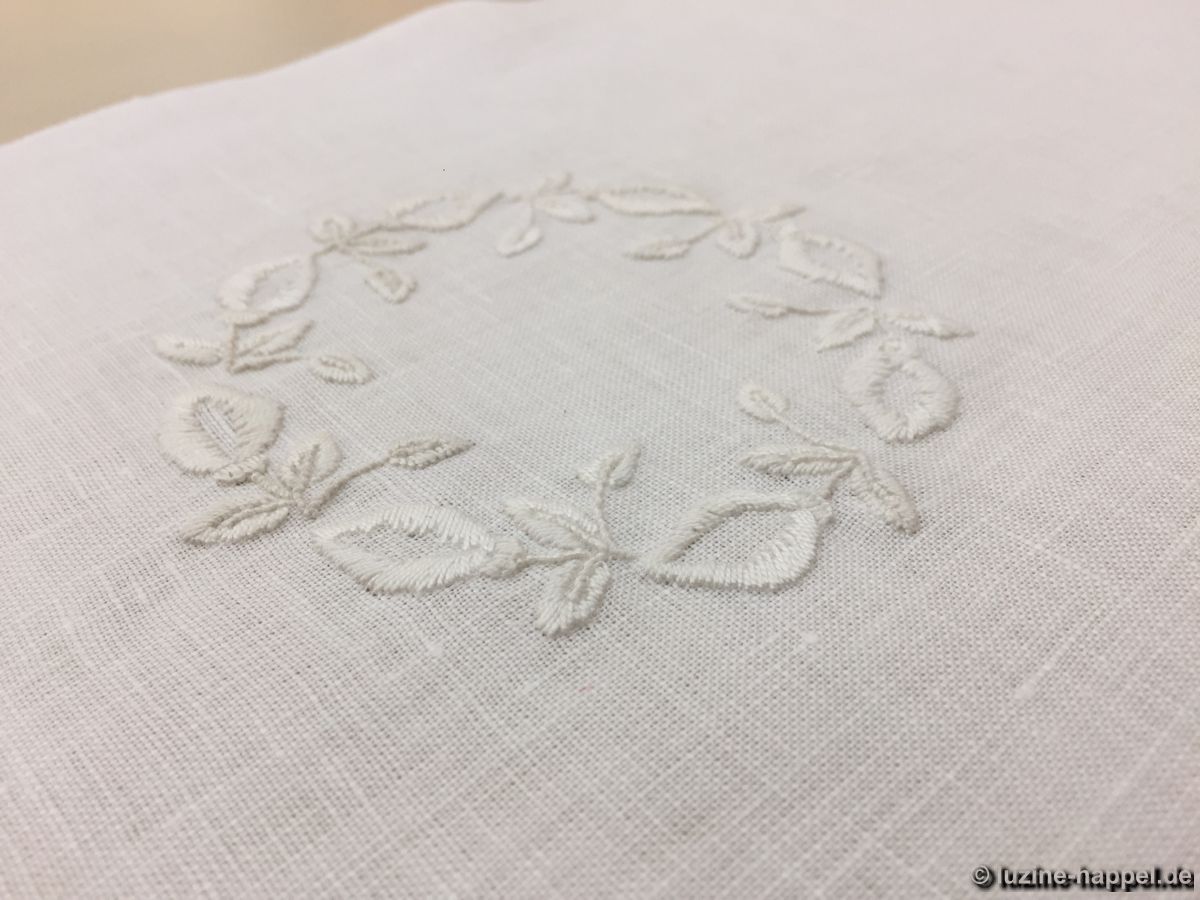
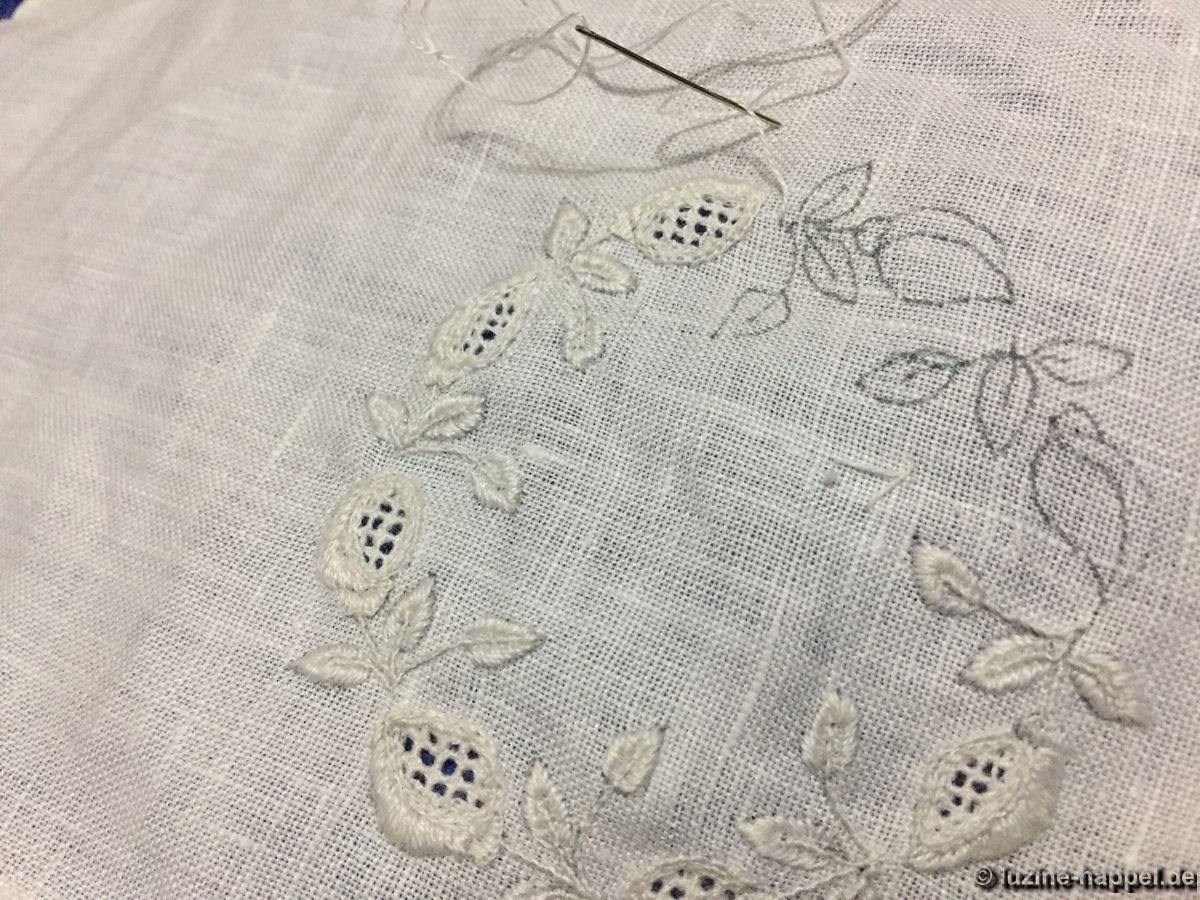
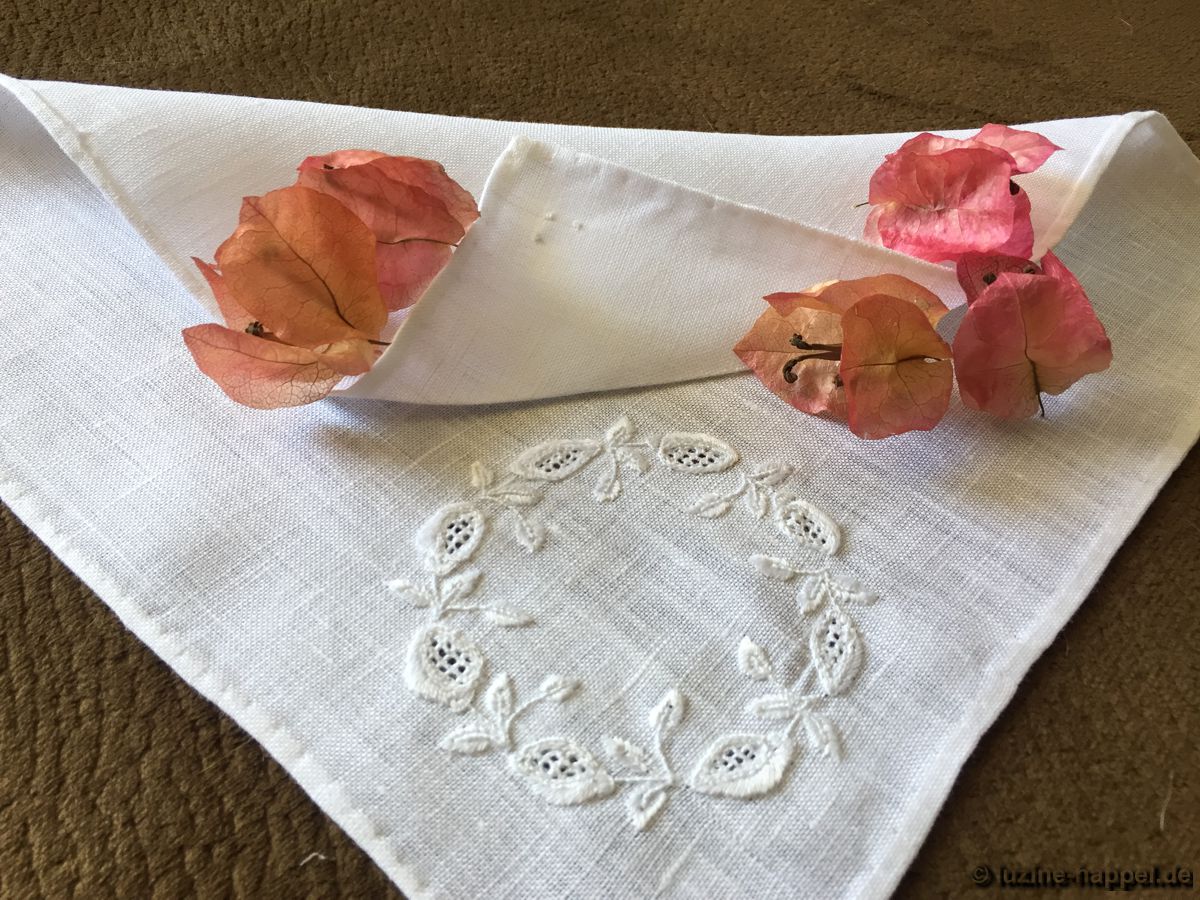
And last but not least are the projects embroidered by Heloise de Oliveira Pastore from Campinas, Brazil. Per my request, she would work a delicate handkerchief using a one of the wreath designs of my Advent calendar. In the end she worked two different projects interpreting the design in different ways.
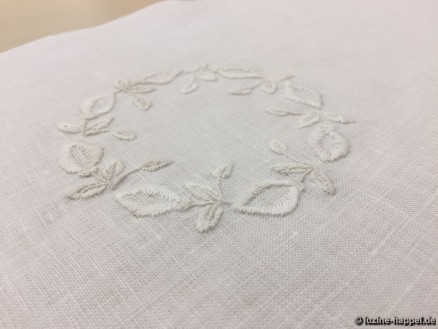
For both pieces she used regular linen cambric, however for the handkerchief she used finer fabric than for the doily.
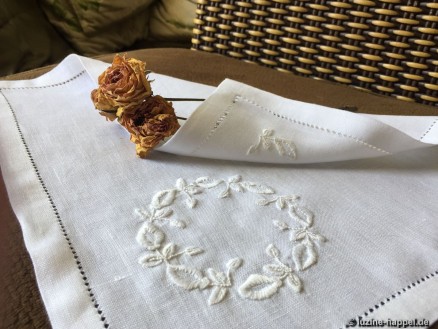
On the doily she embroidered a single motif in the corner opposite to the wreath. It looks very tasteful.
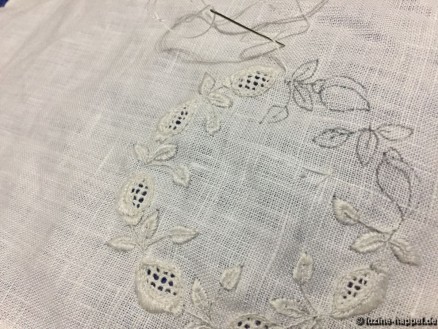
For the delicate handkerchief she used a smaller design than for the doily. And she worked a fine filling pattern into the narrow spaces.
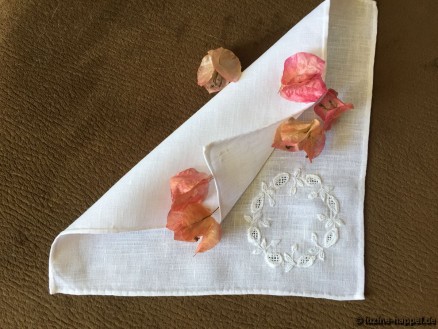
An eminently felicitous interpretation!
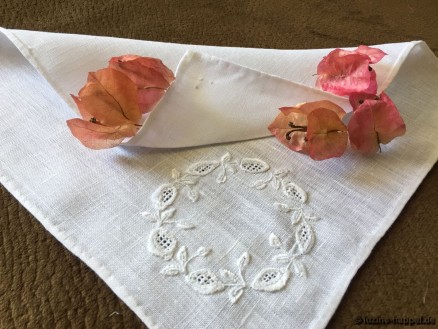
She wrote: I certainly had a great time embroidering them.
Thank you, Heloise!
As you can see, the readers of my blog get ideas and inspiration from my posts and publications. In the end, they put their personal creative touches into all they make! I look forward to seeing more of your projects in the months to come. And perhaps next year your special project will be featured on my blog.
Thanks a million to those who gave me permission to feature their projects in this blog post.
And to all I wish limber fingers, keen eyesight, and plenty of time for the most beautiful stitching moments.
Happy New Year!


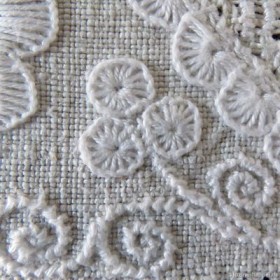
 They are often embroidered singly as centers of small flowers or for other purposes, but they are also found in groups of three or more and in groups of differing sizes. The following pictures show the different arrangements of Blanket stitch eyelets on traditional and contemporary whitework.
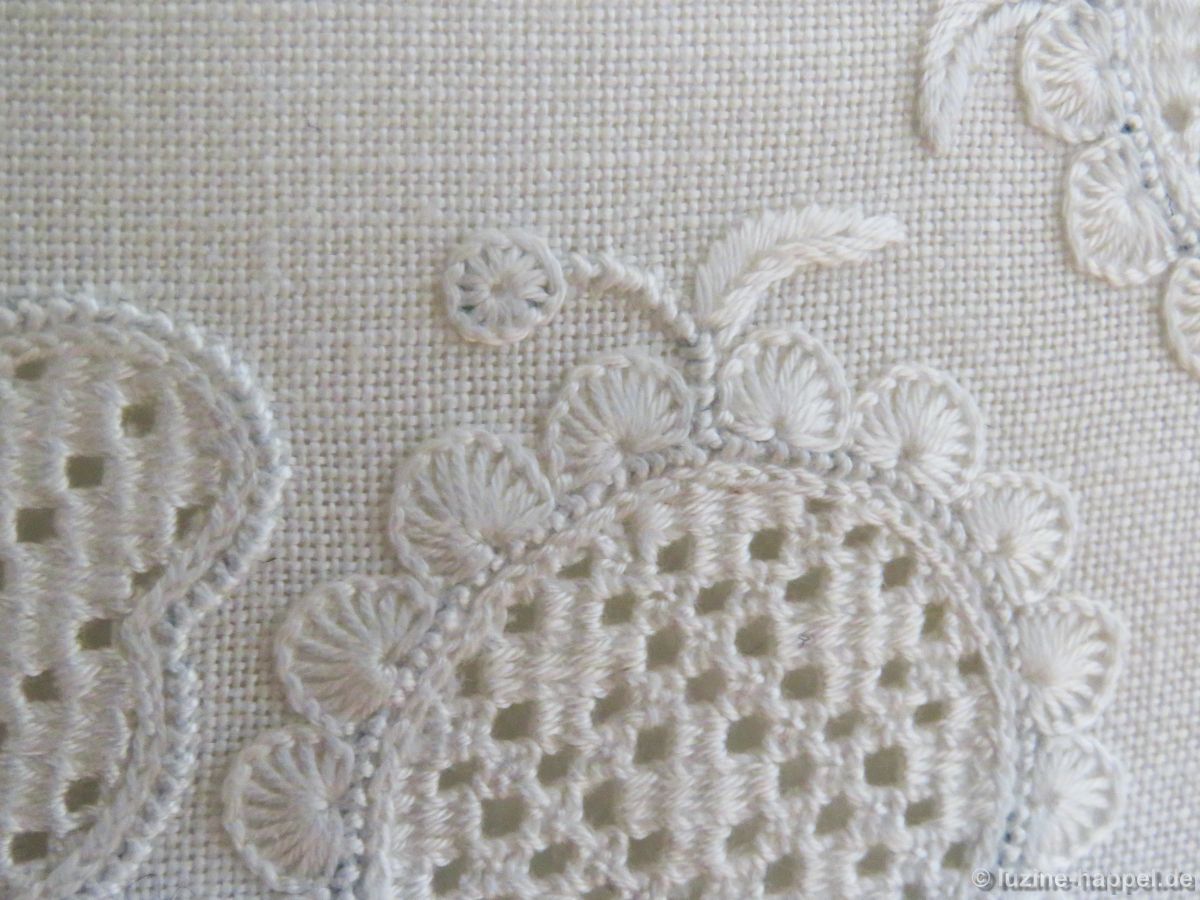 A single Blanket stitch eyelet is used as small accent flower to a larger circle motif.
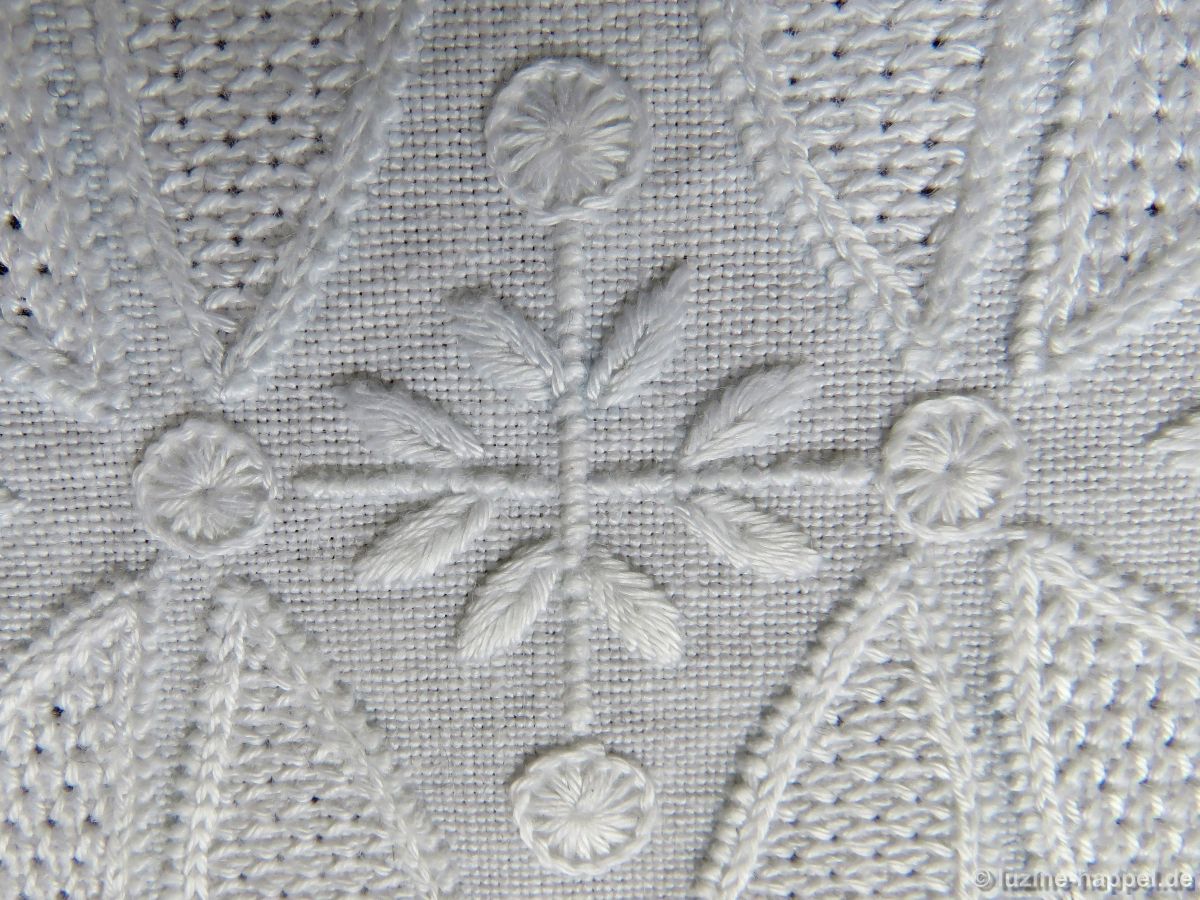 Single Blanket stitch eyelets, connected with Coral Knot lines, adorn the center of a design.
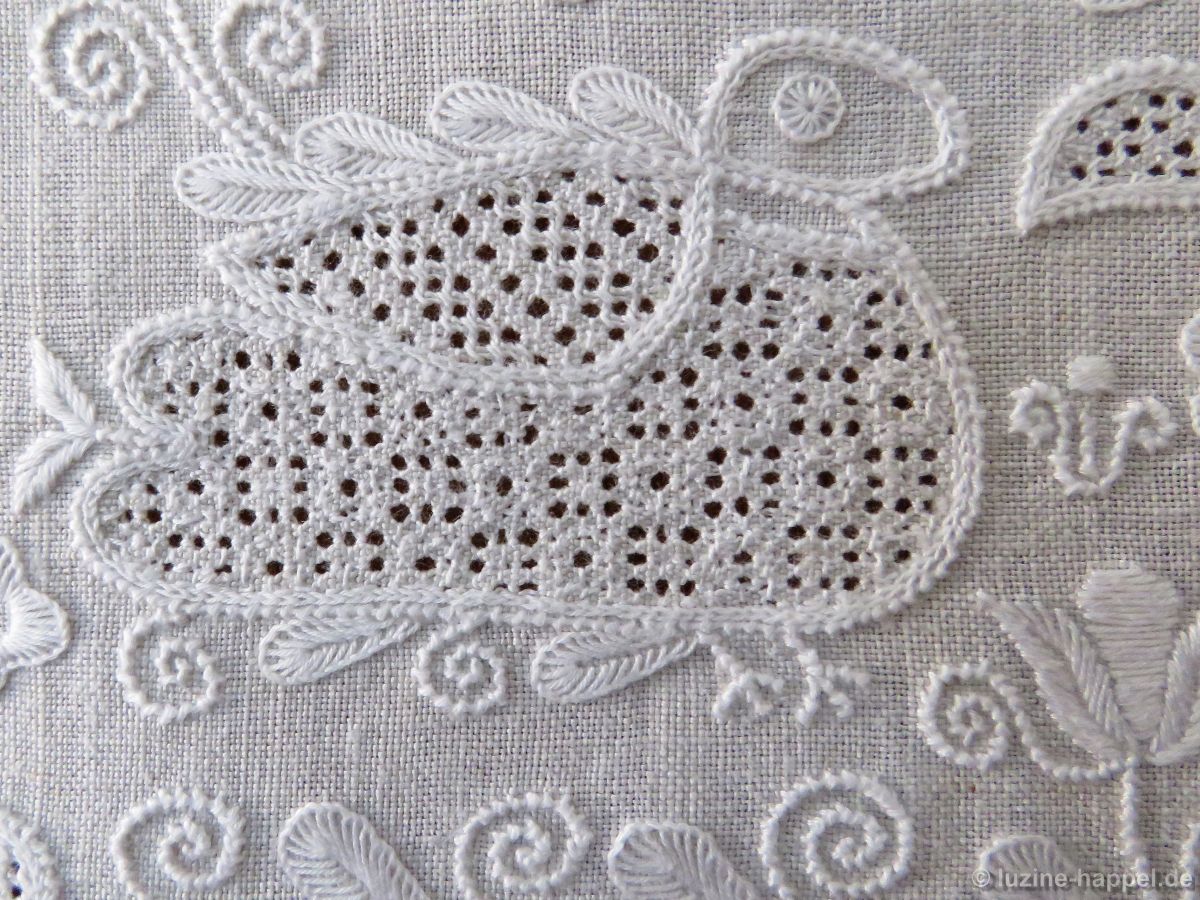 A single Blanket stitch eyelet is embroidered as an eye of a traditional bird motif.
 A grouping of three – close together –
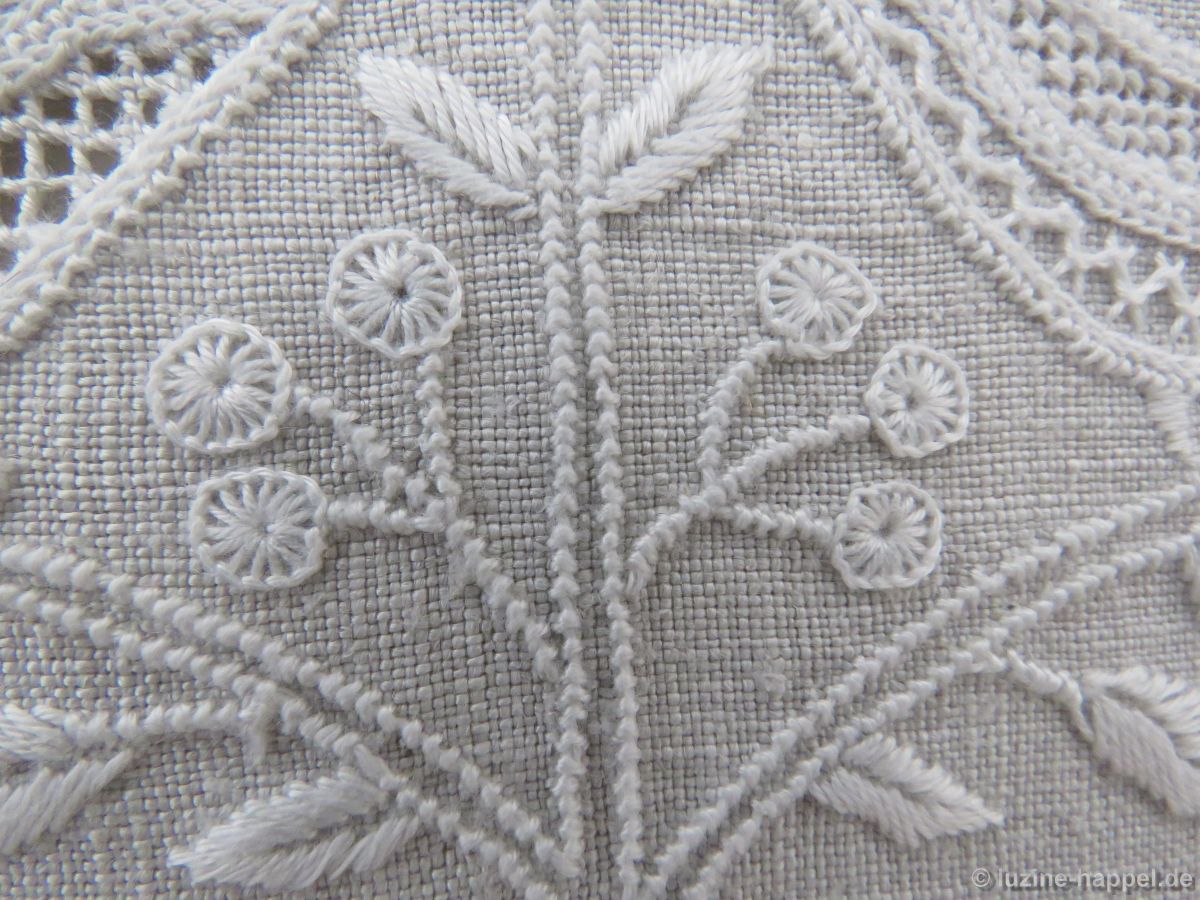 or with a small distance between is often worked.
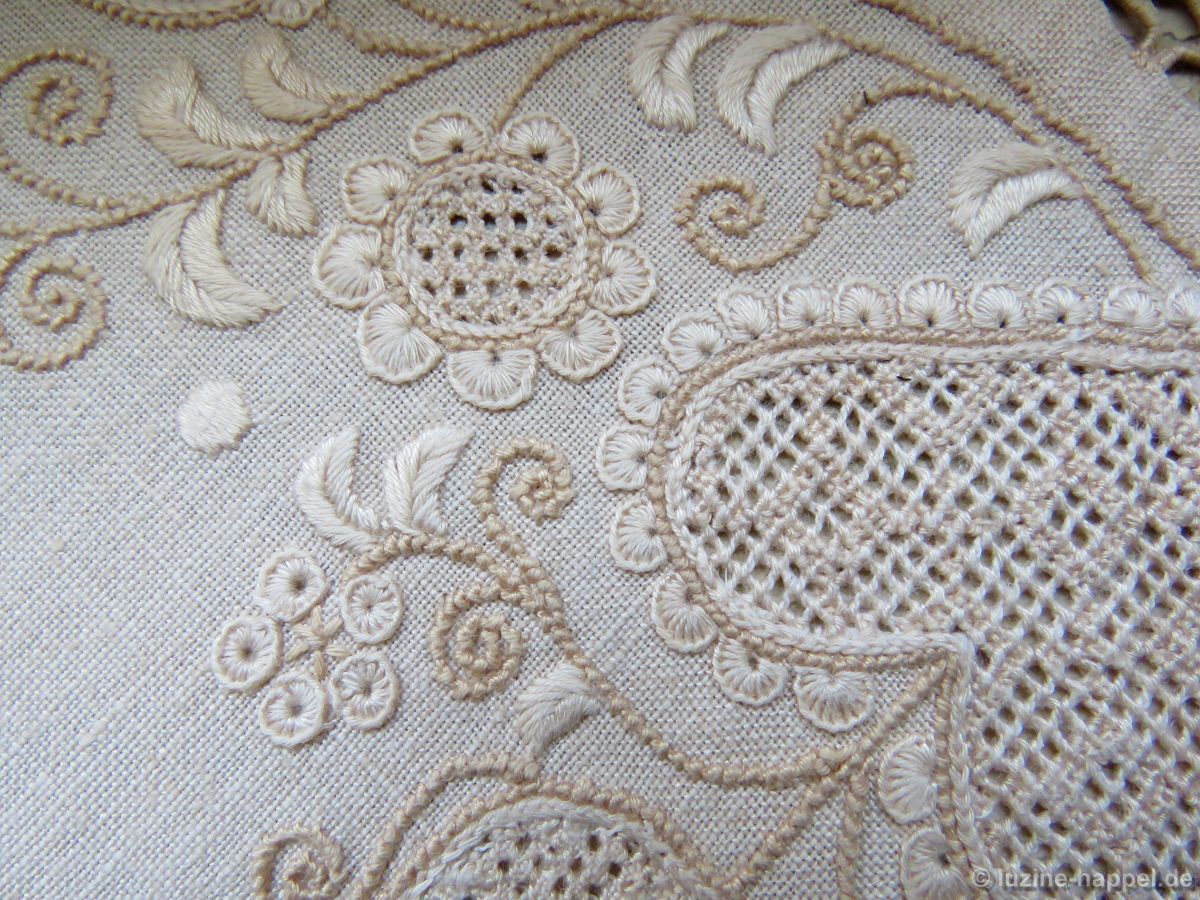 Five Blanket stitch eyelets are connected with a star stitch to create a small flower.
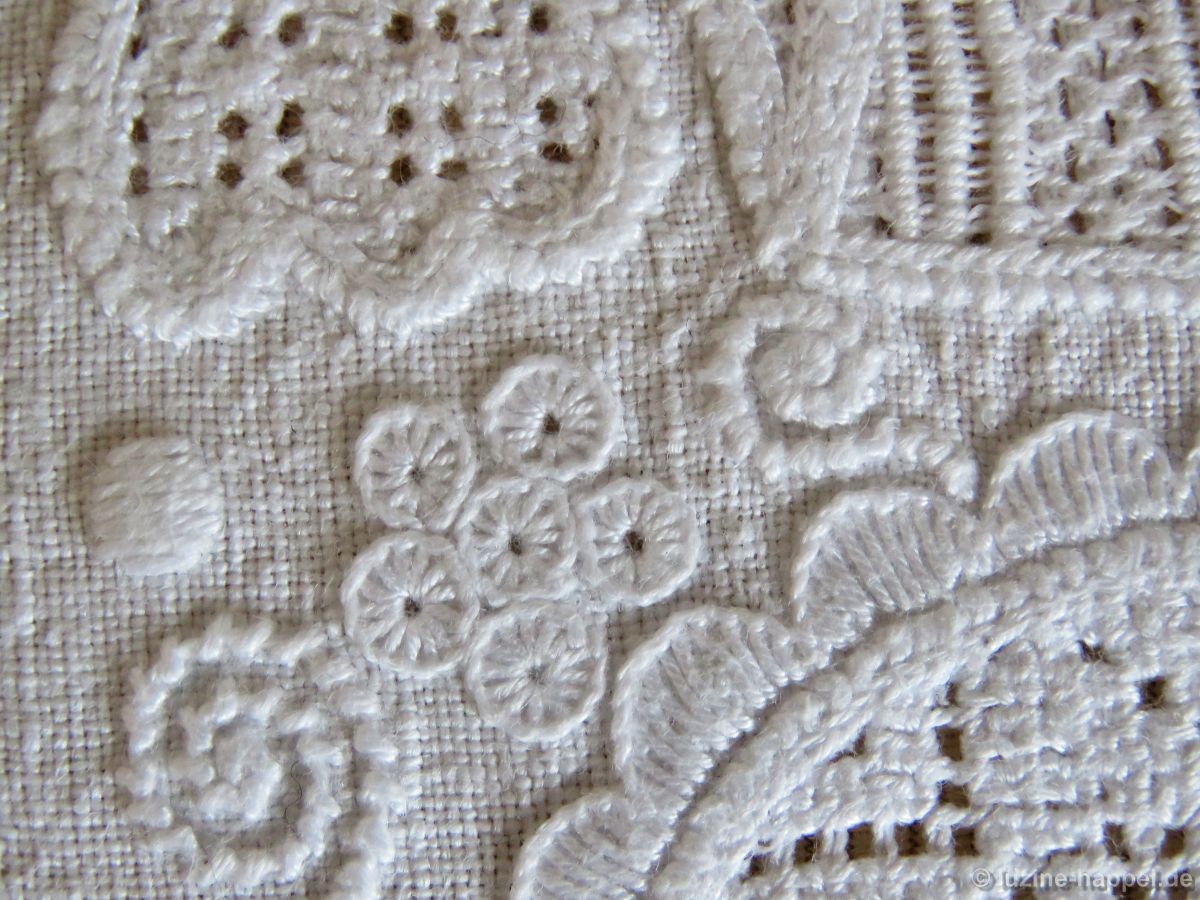 Six Blanket stitch eyelets are worked closely together establishing a small flower.
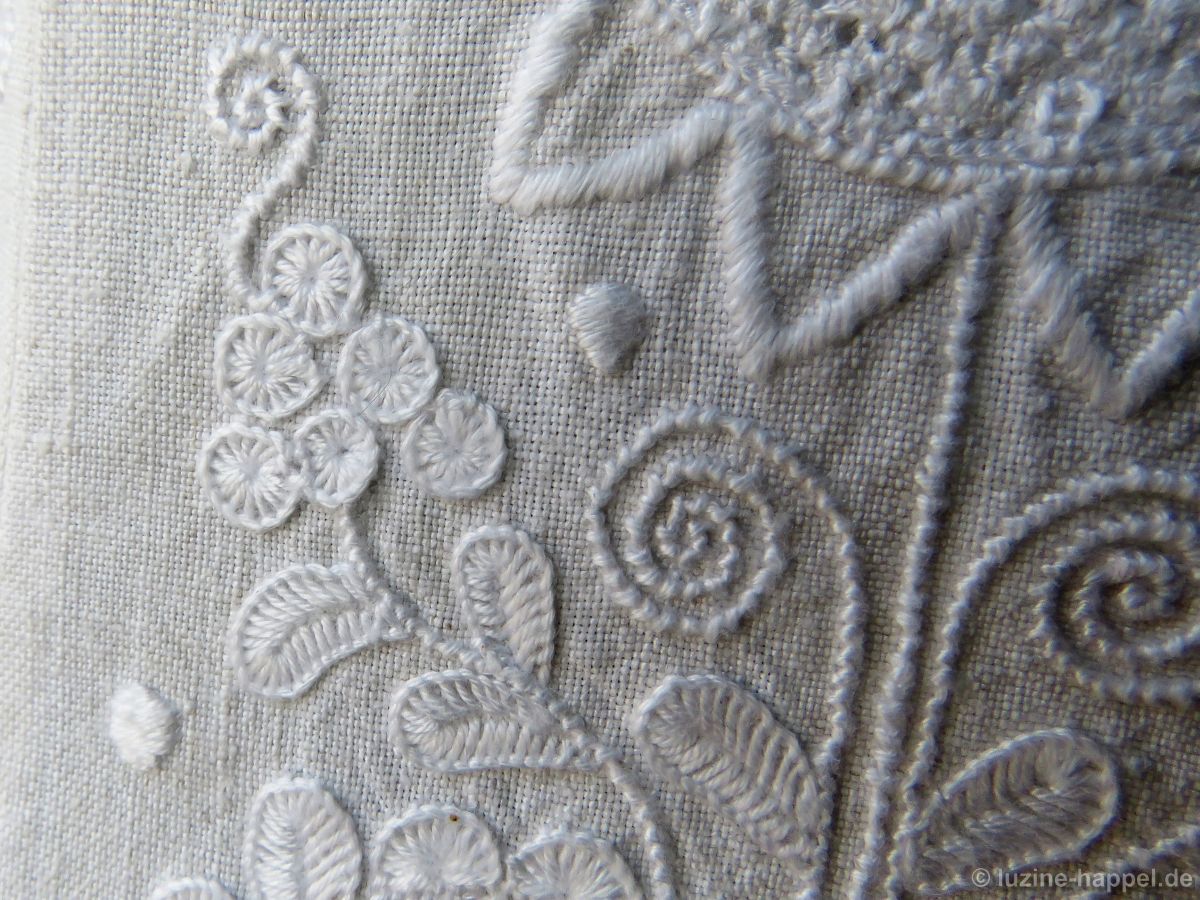 Six Blanket stitch eyelets are arranged like a bunch of grapes.
 One Blanket stitch eyelet encircled with four half-eyelet scallops is found in the dense embroidery of a parade cushion border from 1826.
 A similarly formed small flower is used in a small border.
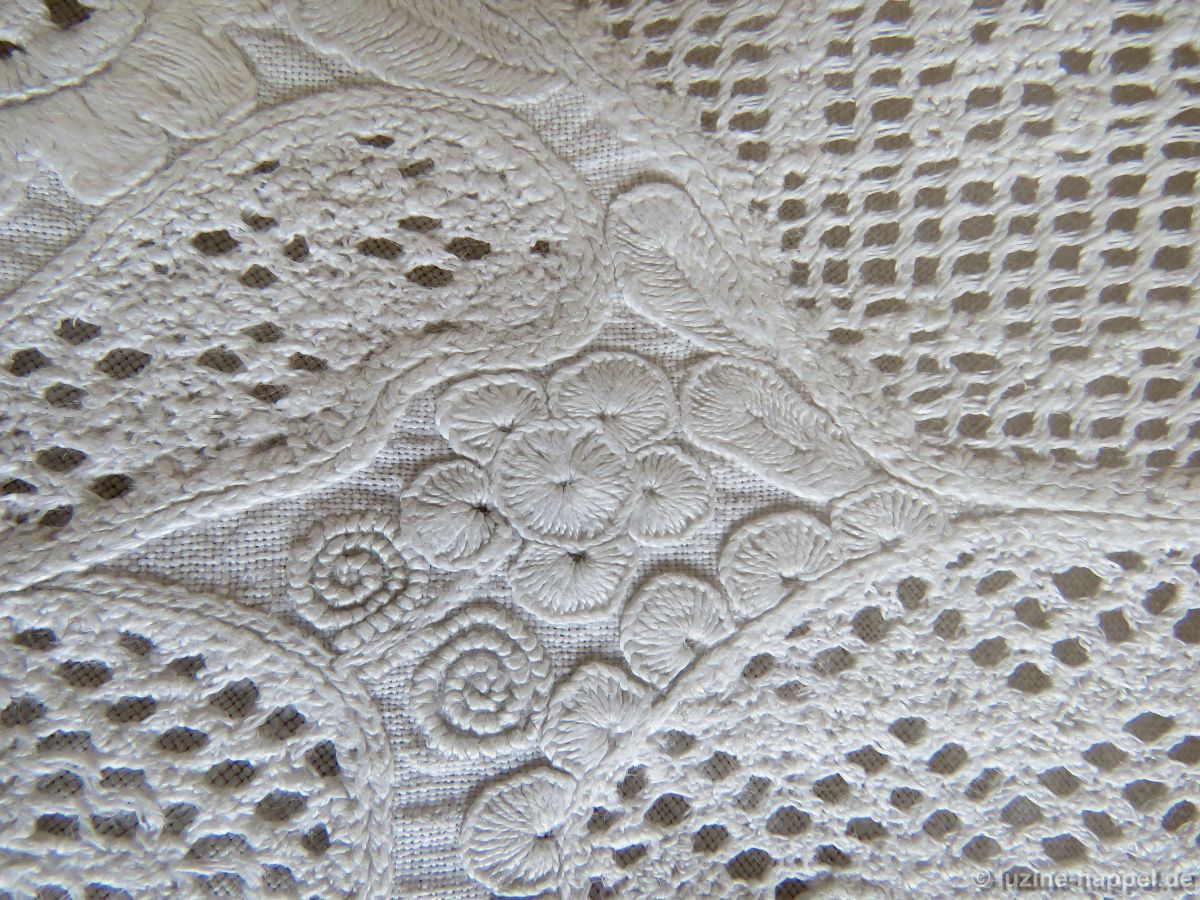 One Blanket stitch eyelet encircled with five half-eyelet scallops is found in the dense embroidery between large shapes on a parade cushion border from 1826.
 One Blanket stitch eyelet encircled with six Blanket stitch scallops is the center of a small flower. In addition, there are many Blanket stitch leaves.
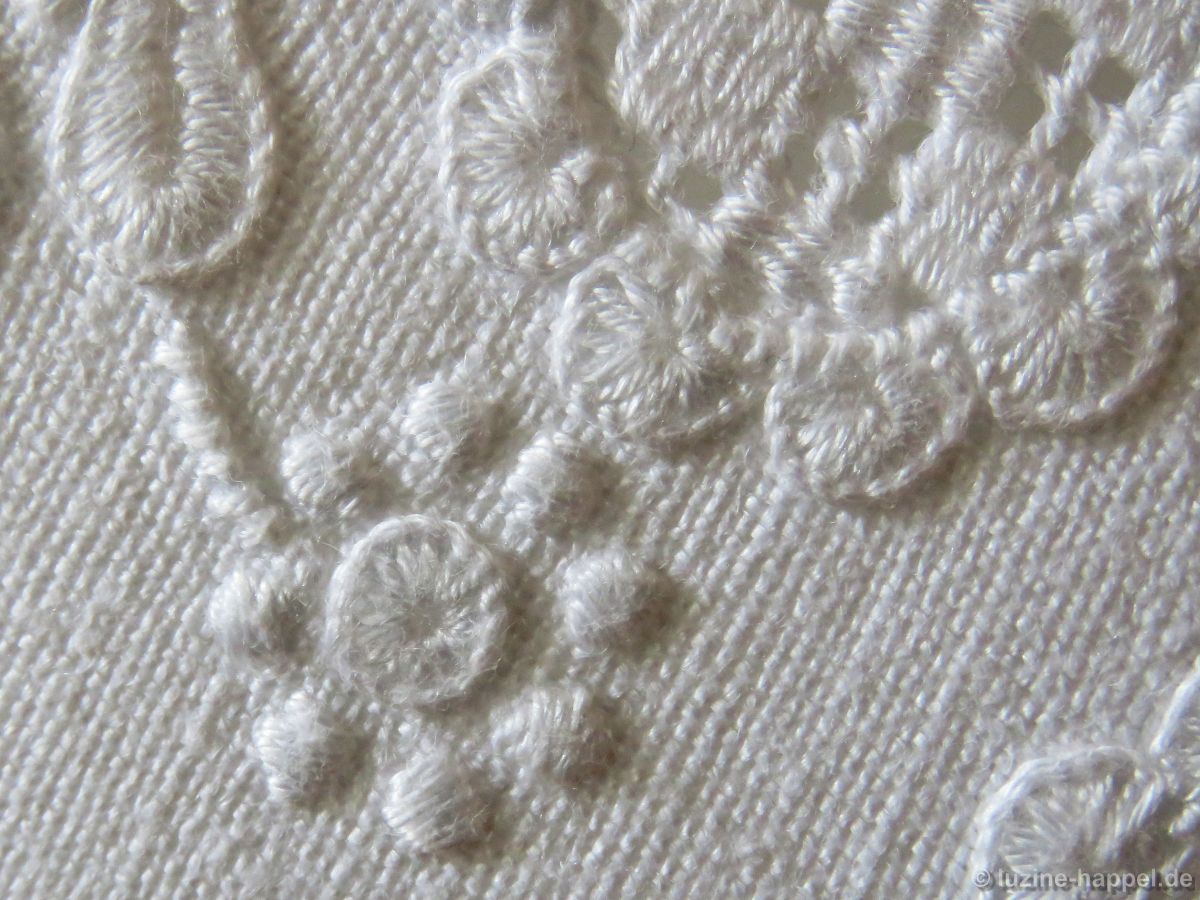 It is common to find single Blanket stitch eyelets surrounded by circles worked in Satin stitches; some of these circles can be smaller
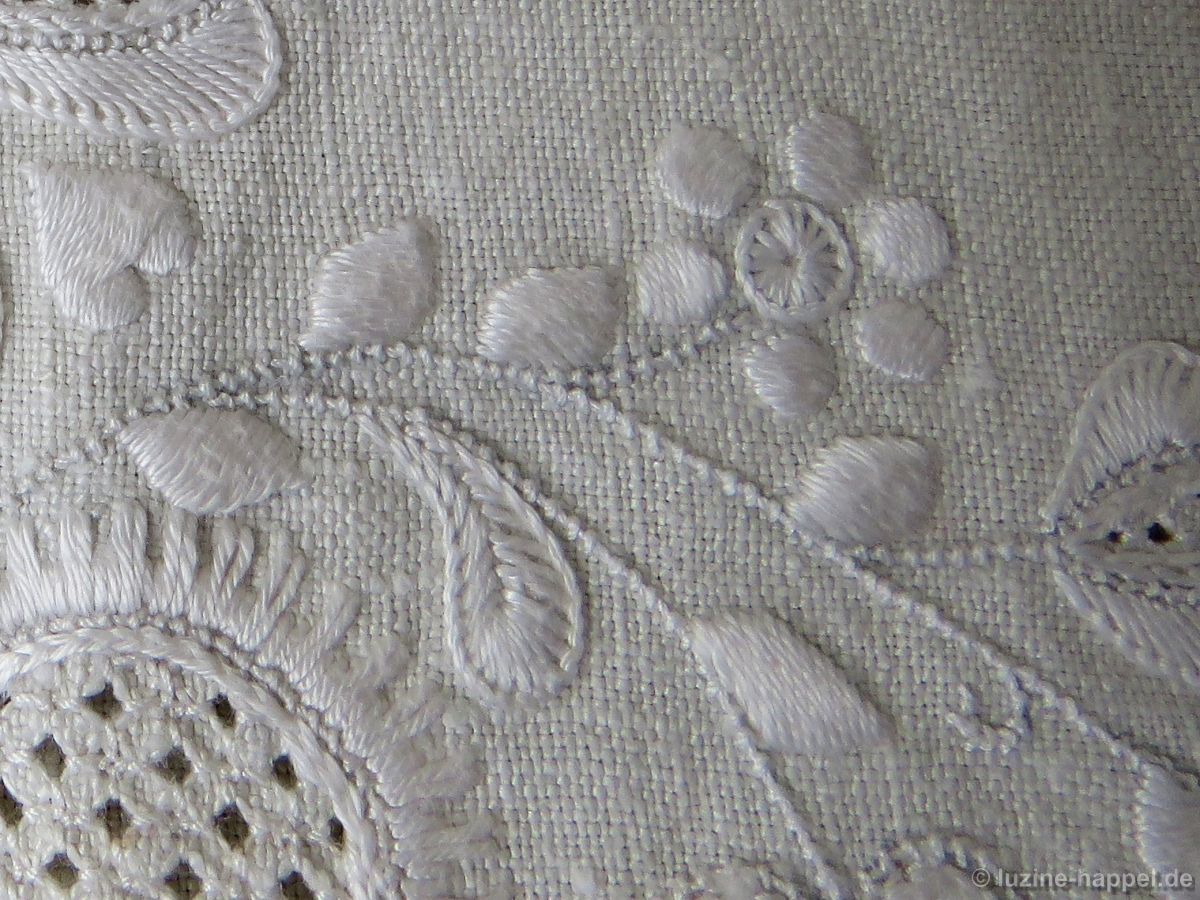 or approximately the same size as the Blanket stitch eyelet.
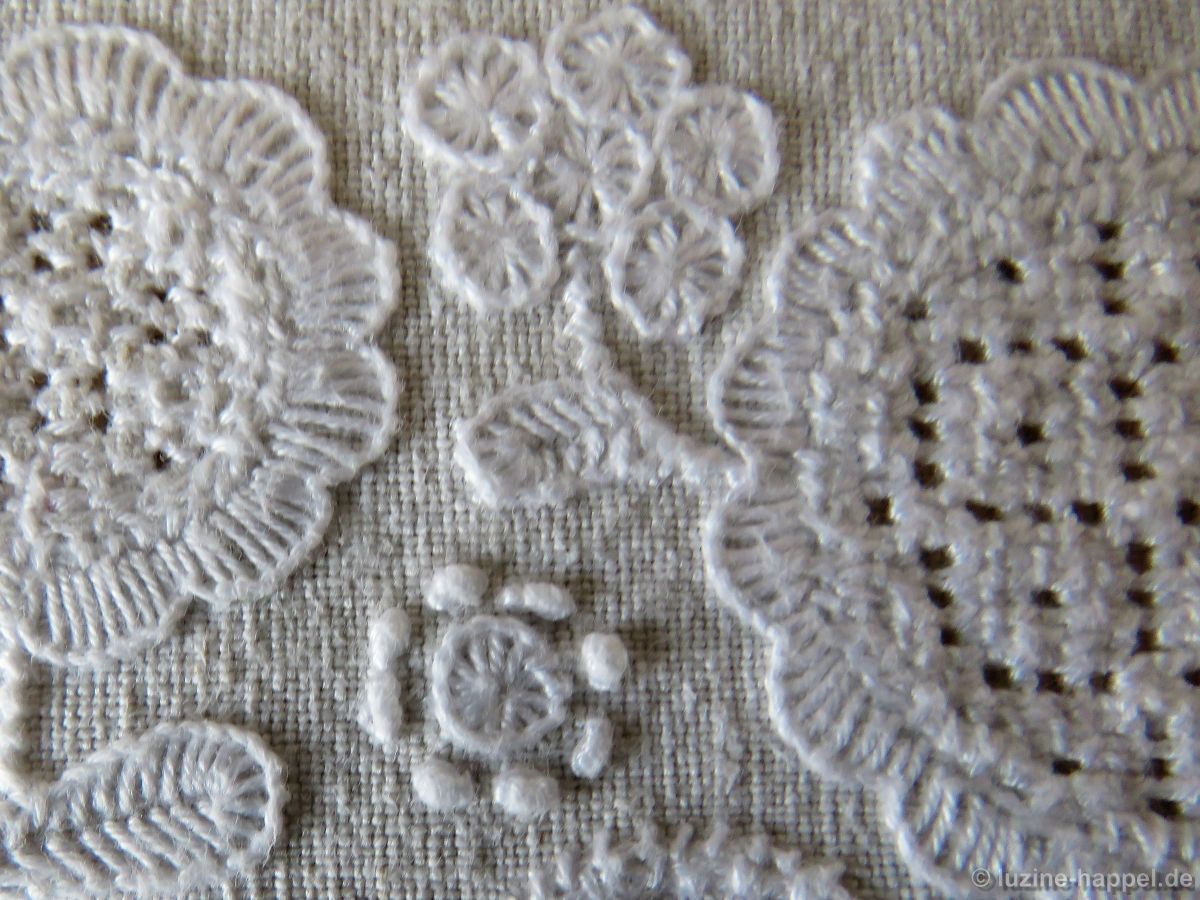 A Blanket stitch eyelet can be also be surrounded by Bullion Knots,
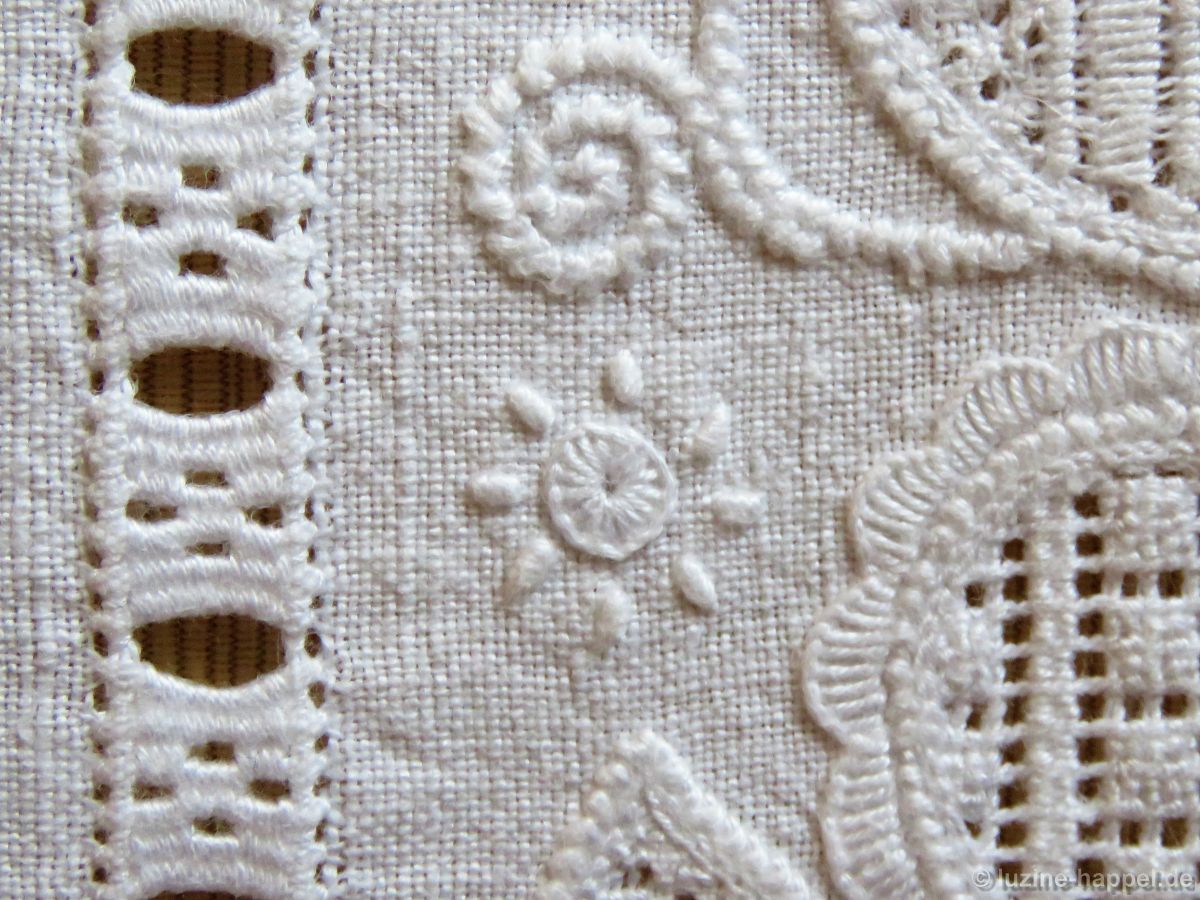 small undivided or
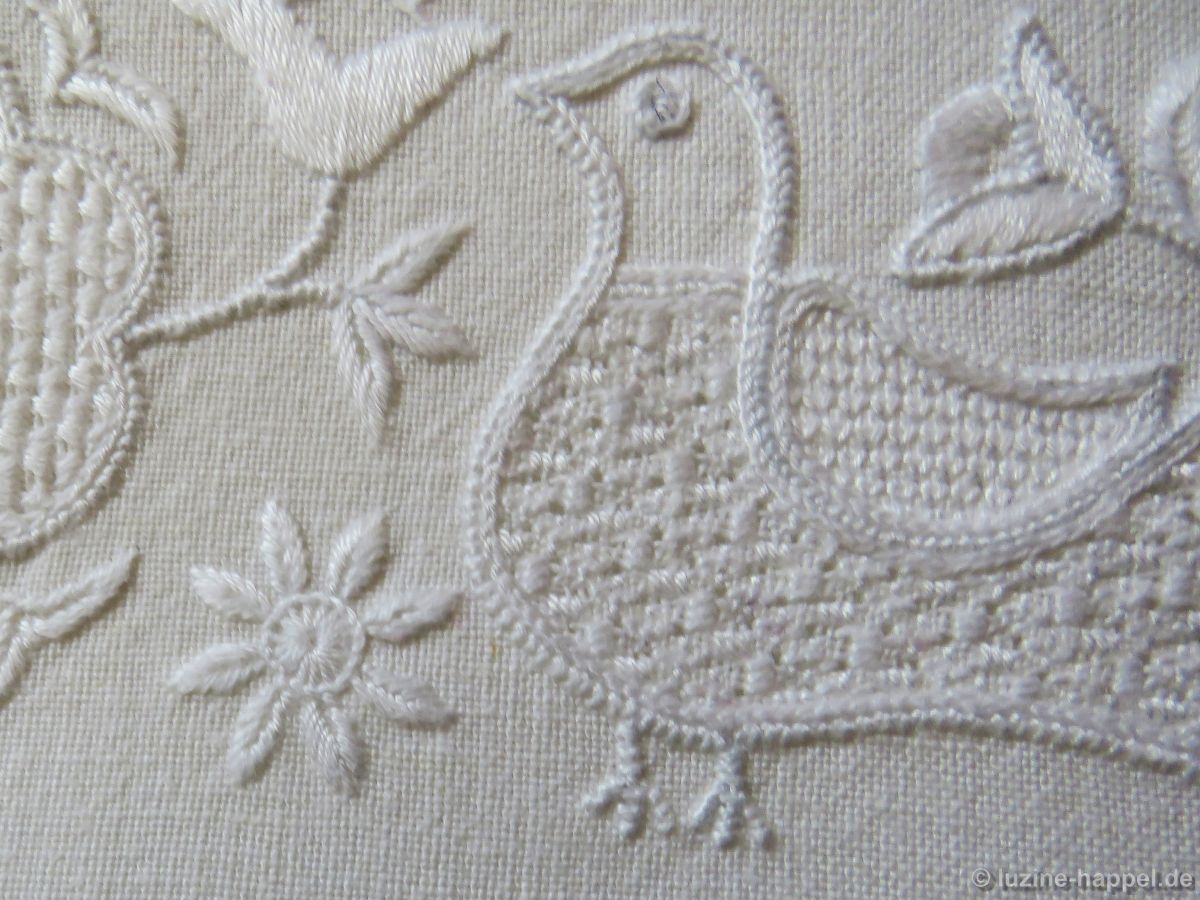 divided Satin stitch leaves.
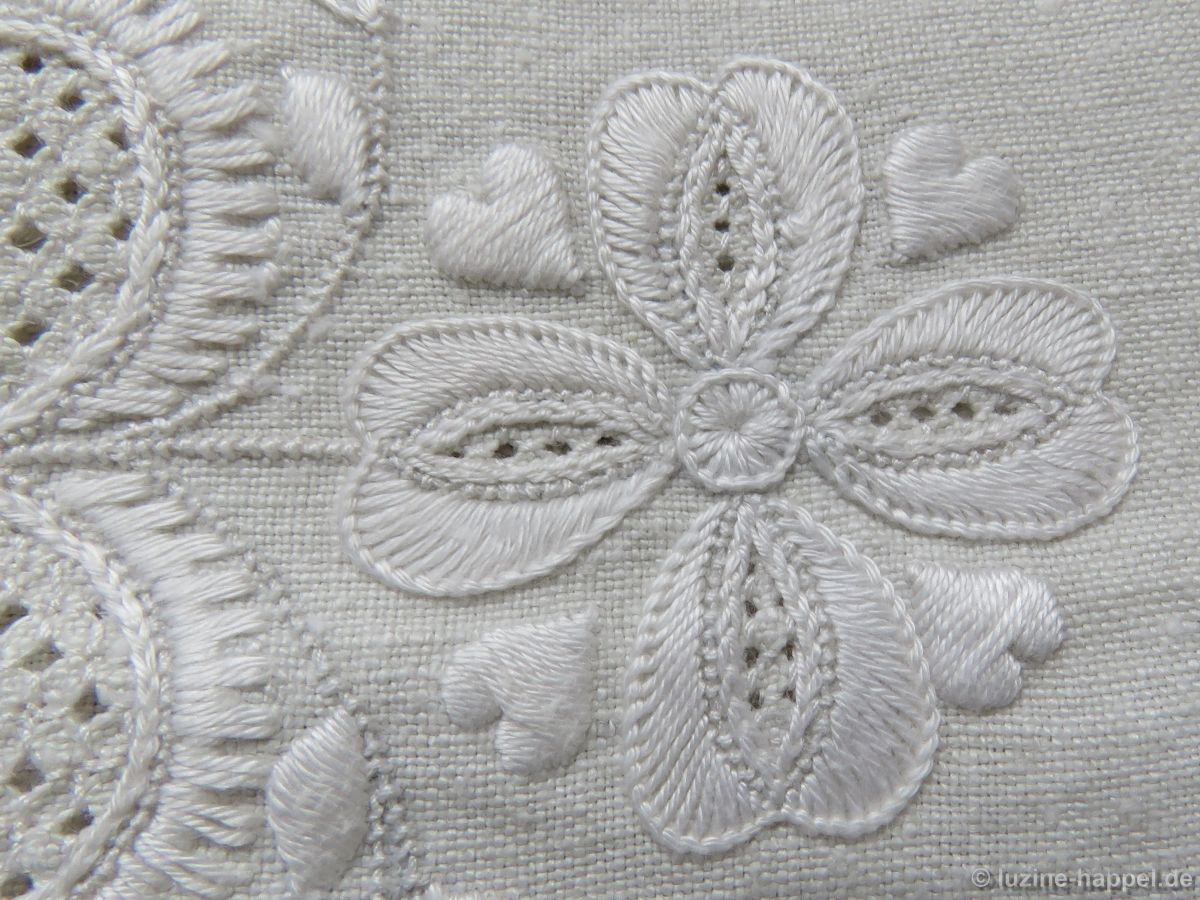 A single Blanket stitch eyelet can also be used as the center of individually designed flowers, as seen here in an embroidery by Thekla Gombert.
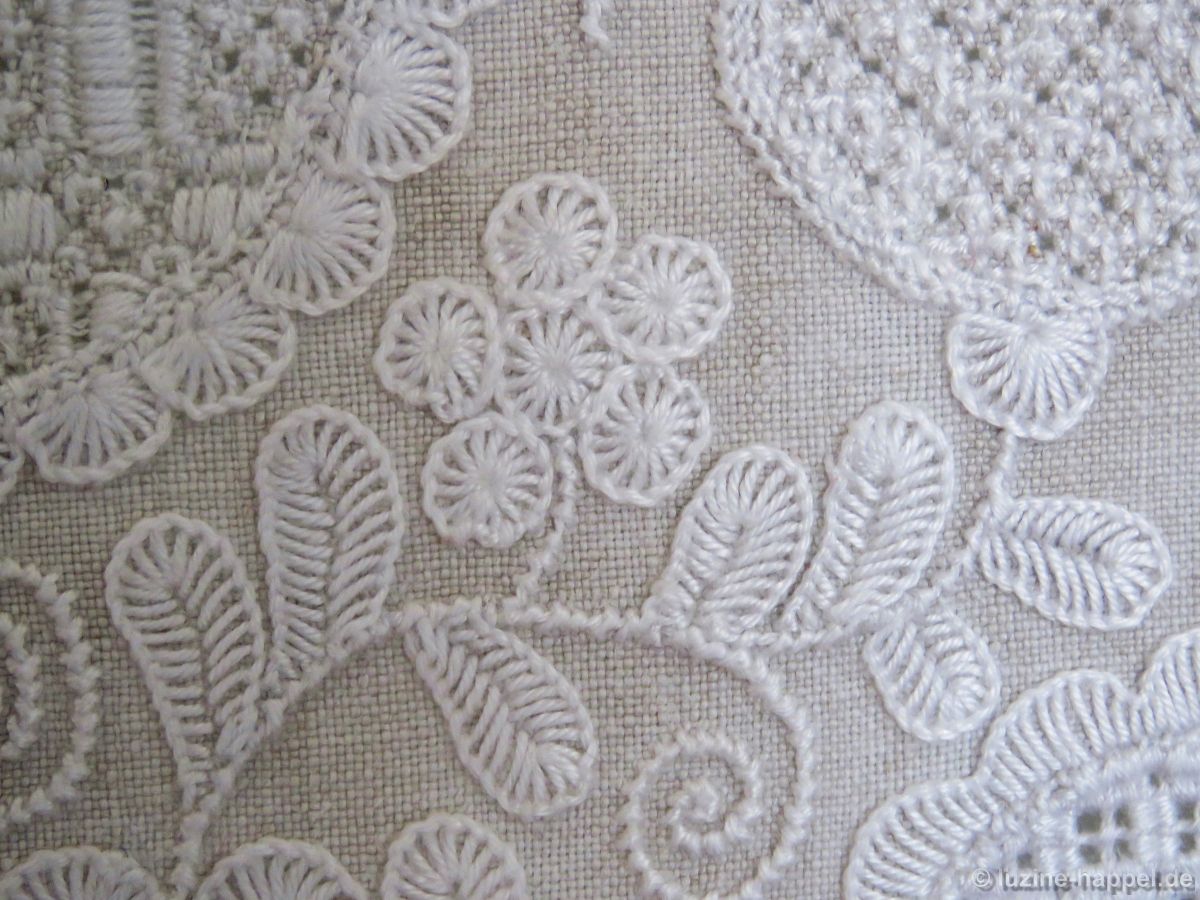 A Blanket stitch eyelet small flower, Blanket stitch leaves, and Blanket stitch half-eyelet scallops decorate the areas between large shapes.
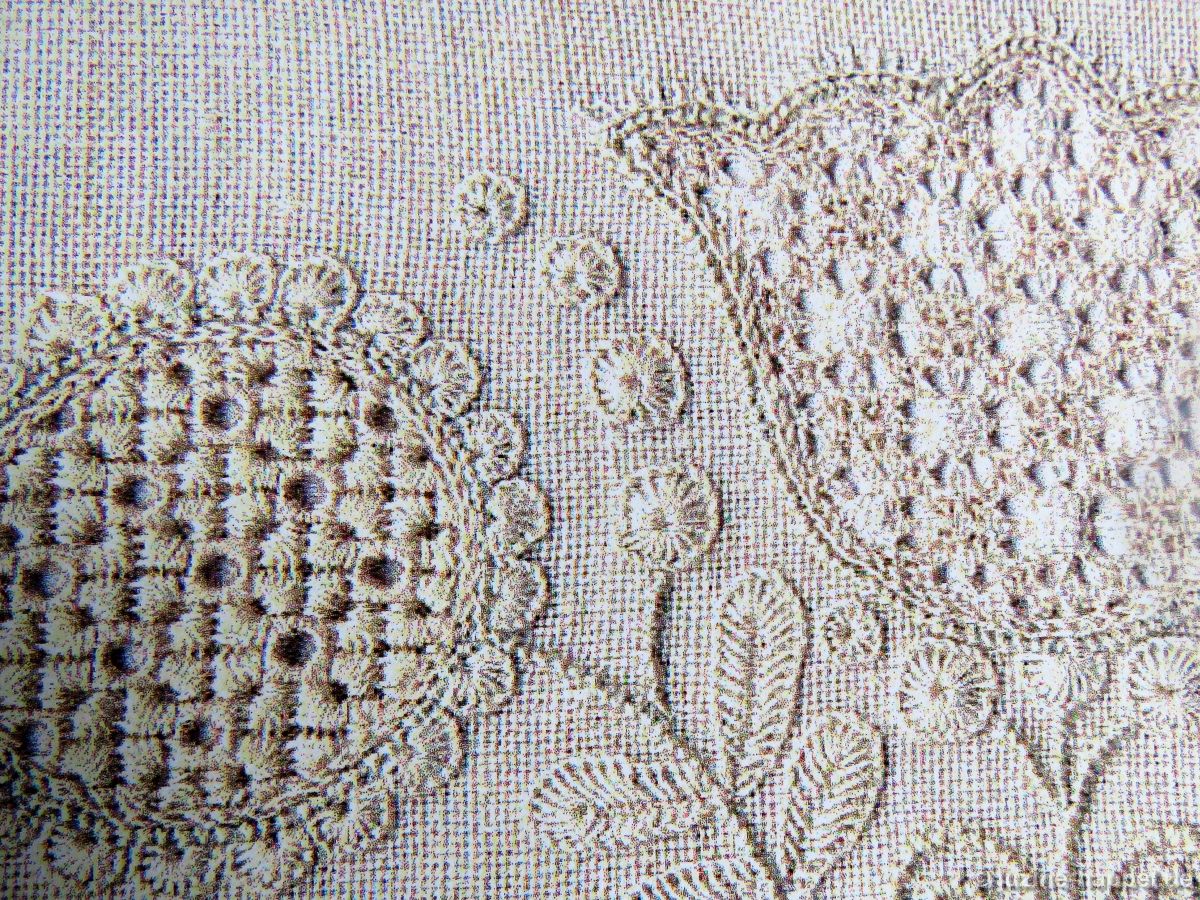 Blanket stitch eyelets of differing sizes can be arranged in the manner of a tendril.
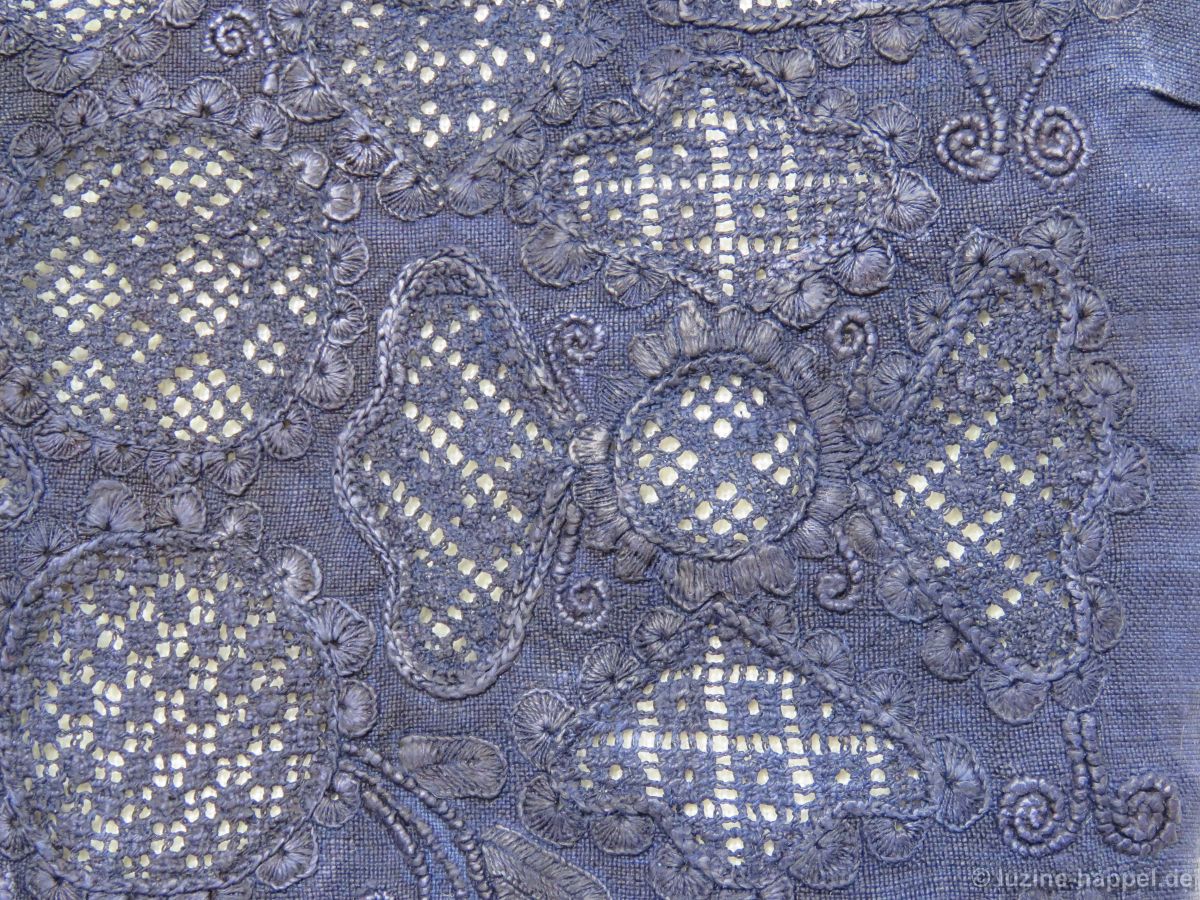
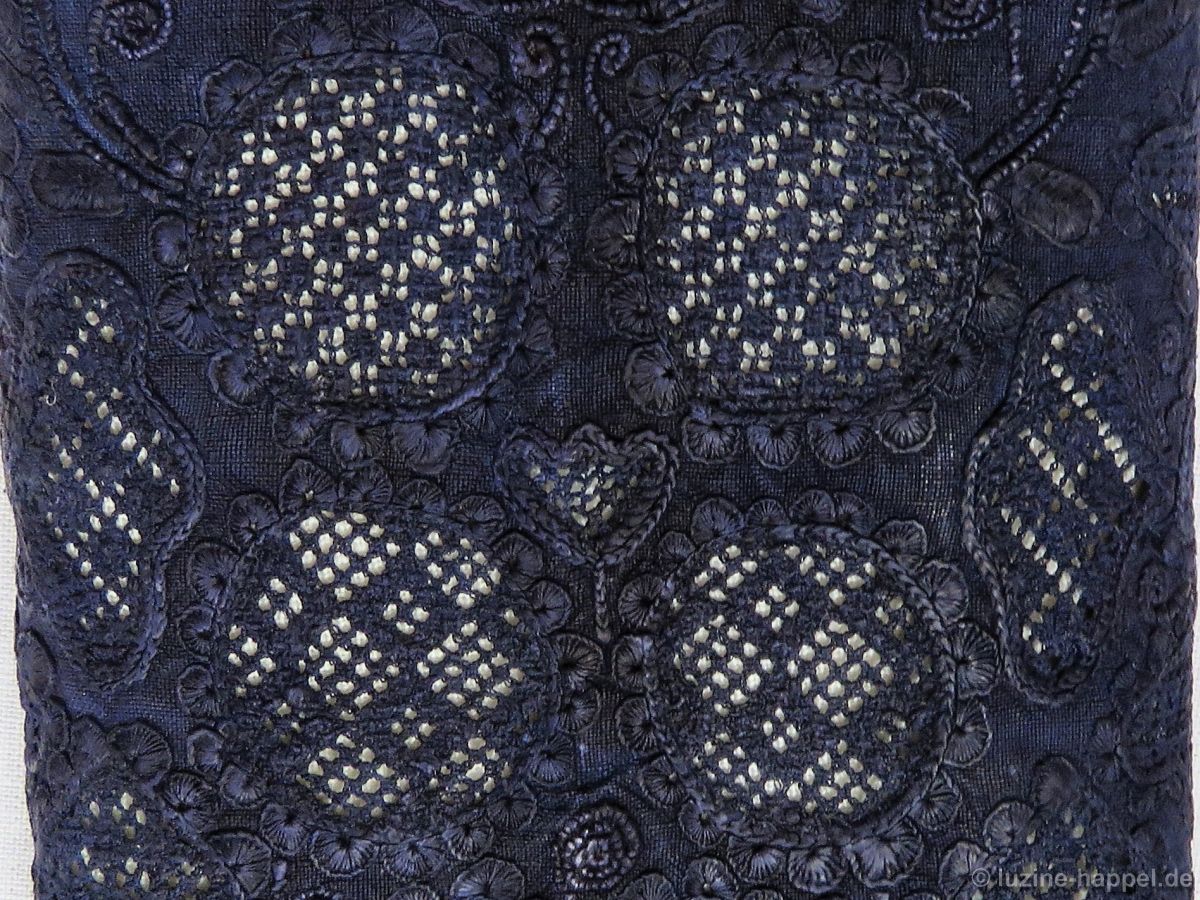
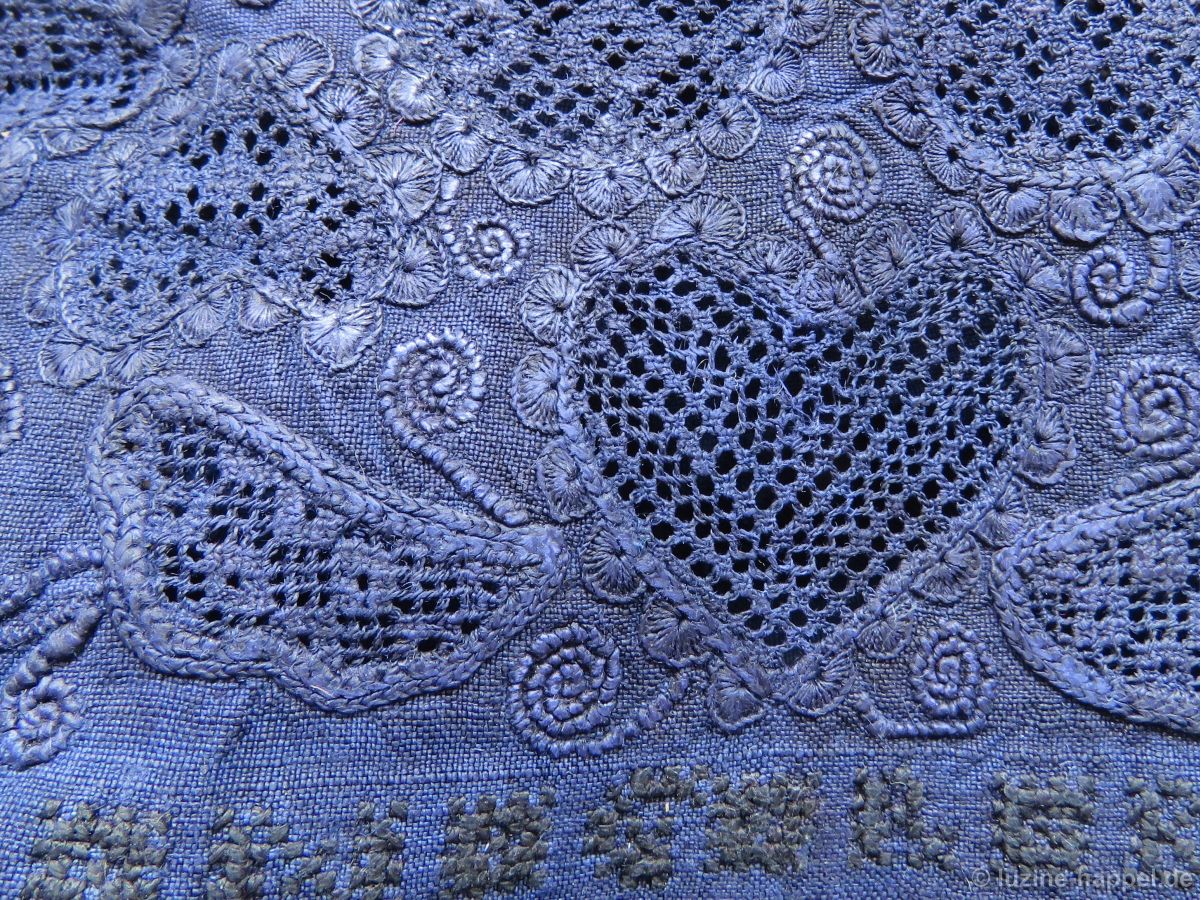
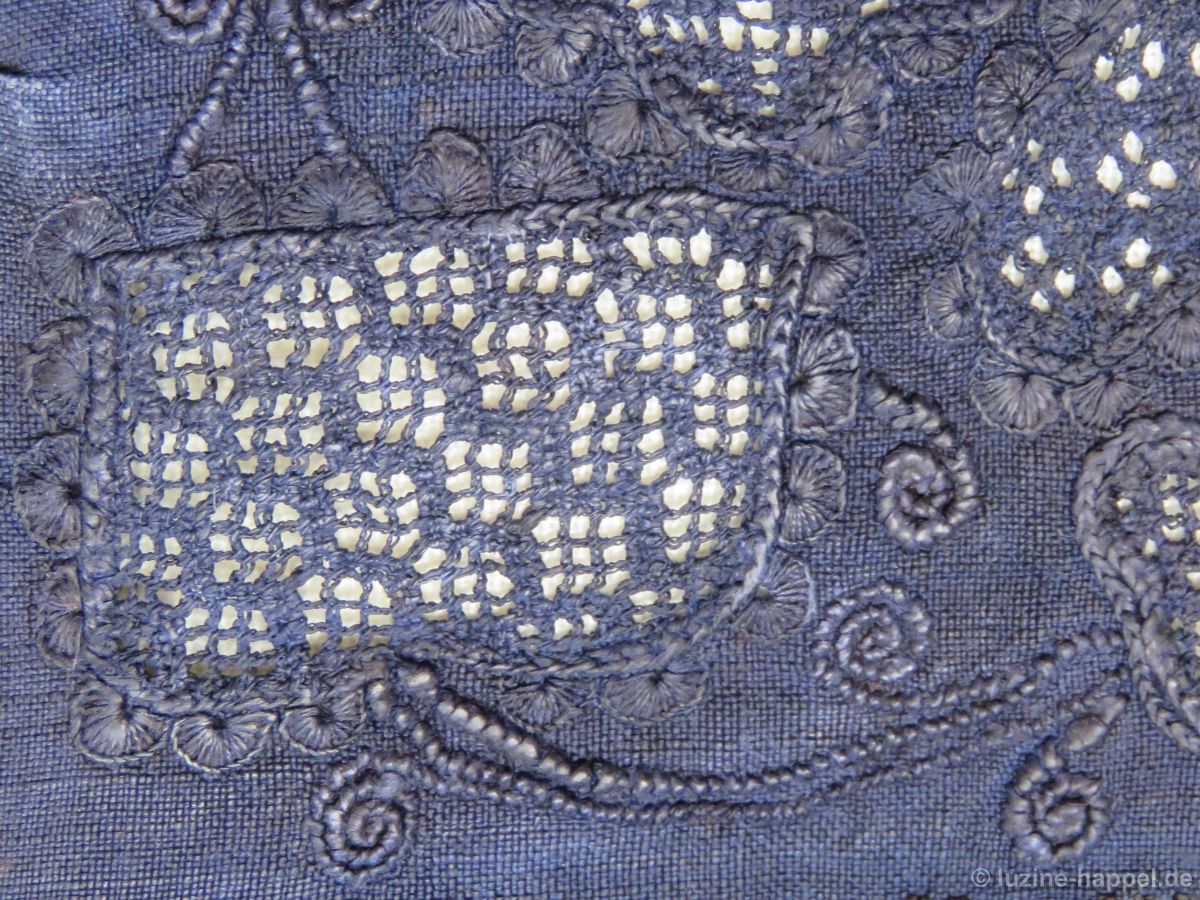
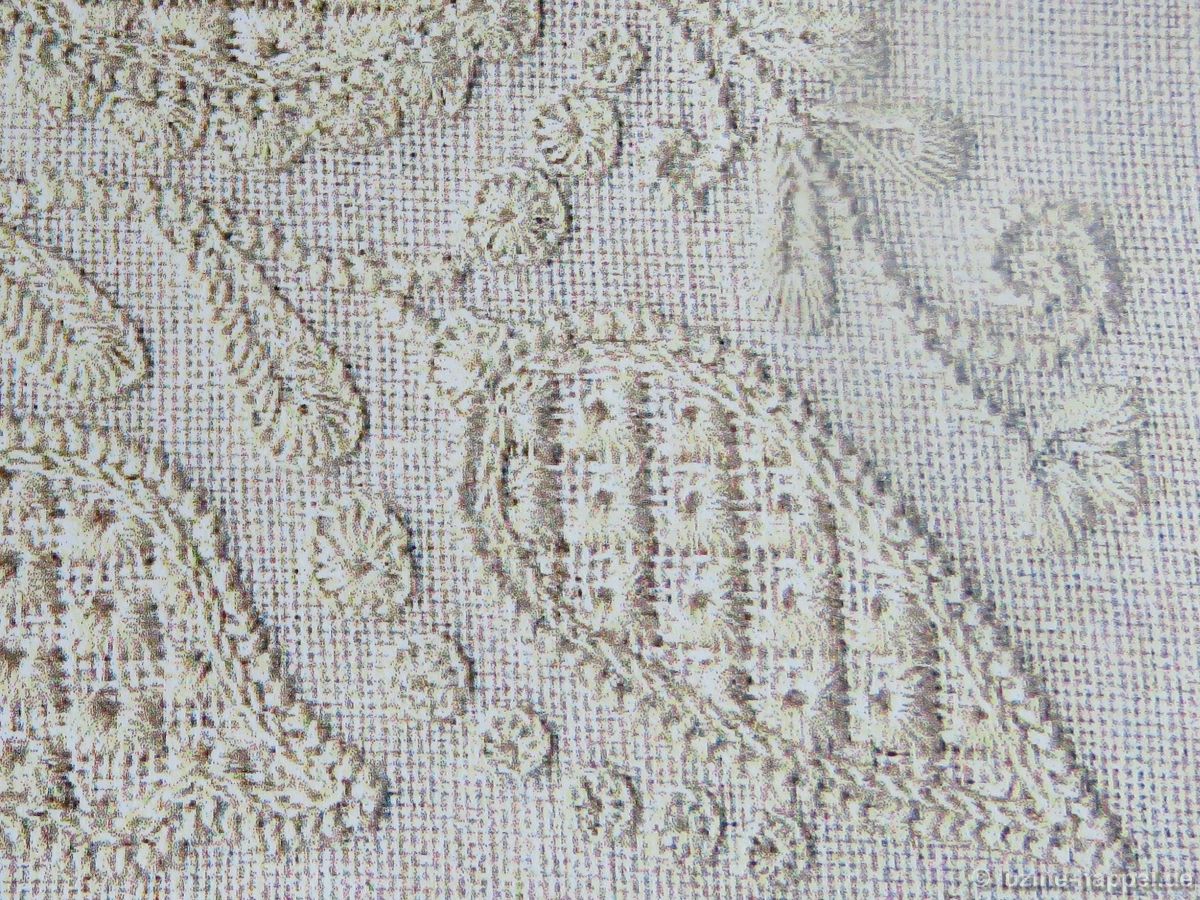 The simple Blanket stitch eyelet is a very important element of Schwalm whitework. I hope this article shows that this simple element is readily used, and used in many creative ways.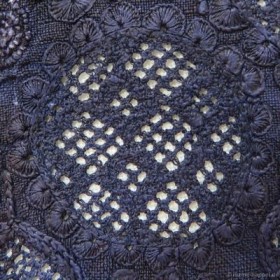



 To simulate grass, I used “Trachtenstitch” (see
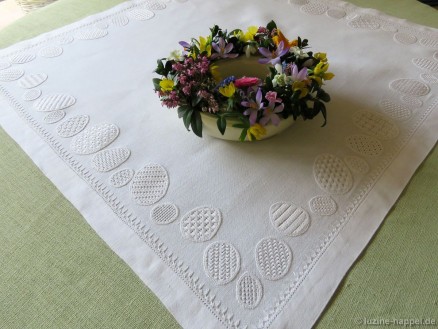
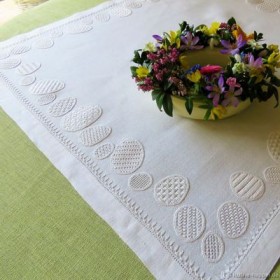
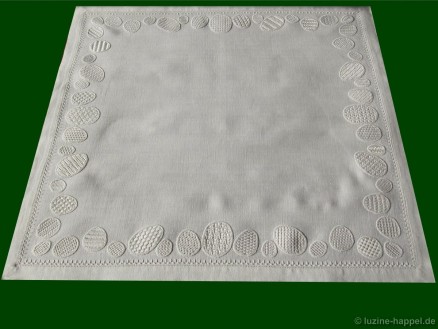
 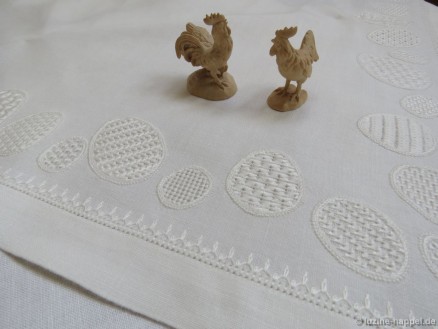 Each of the fifty-four eggs got its own special pattern. This was a real pleasure to stitch. I used exclusively square eyelet patterns, most can be found in my Limetrosen I book. The patterns in
 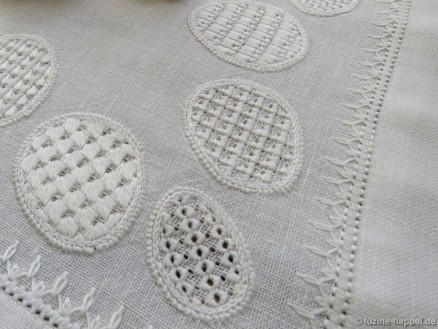 The Easter eggs can be decorated with striped patterns
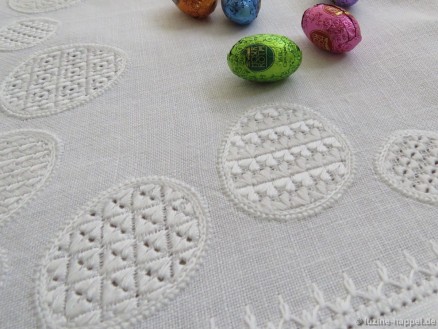 or with dots.
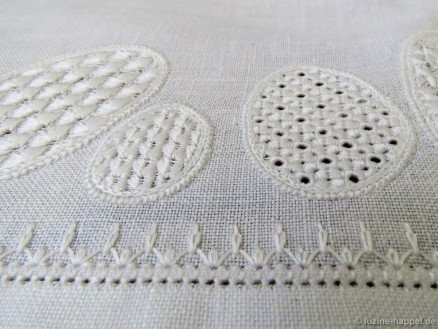 The Limetrosen patterns use more thread than many other stitches. But the effect of the threads, dense and lying in different directions on top of the fabric, is very pleasant indeed. Chiaroscuro – the interplay of light and shadow – makes the border beautiful, although is is unadorned. My tea cloth is eye catching. The whitework is timeless; it complements all kinds of crockery, flowers, and contemporary decorations.