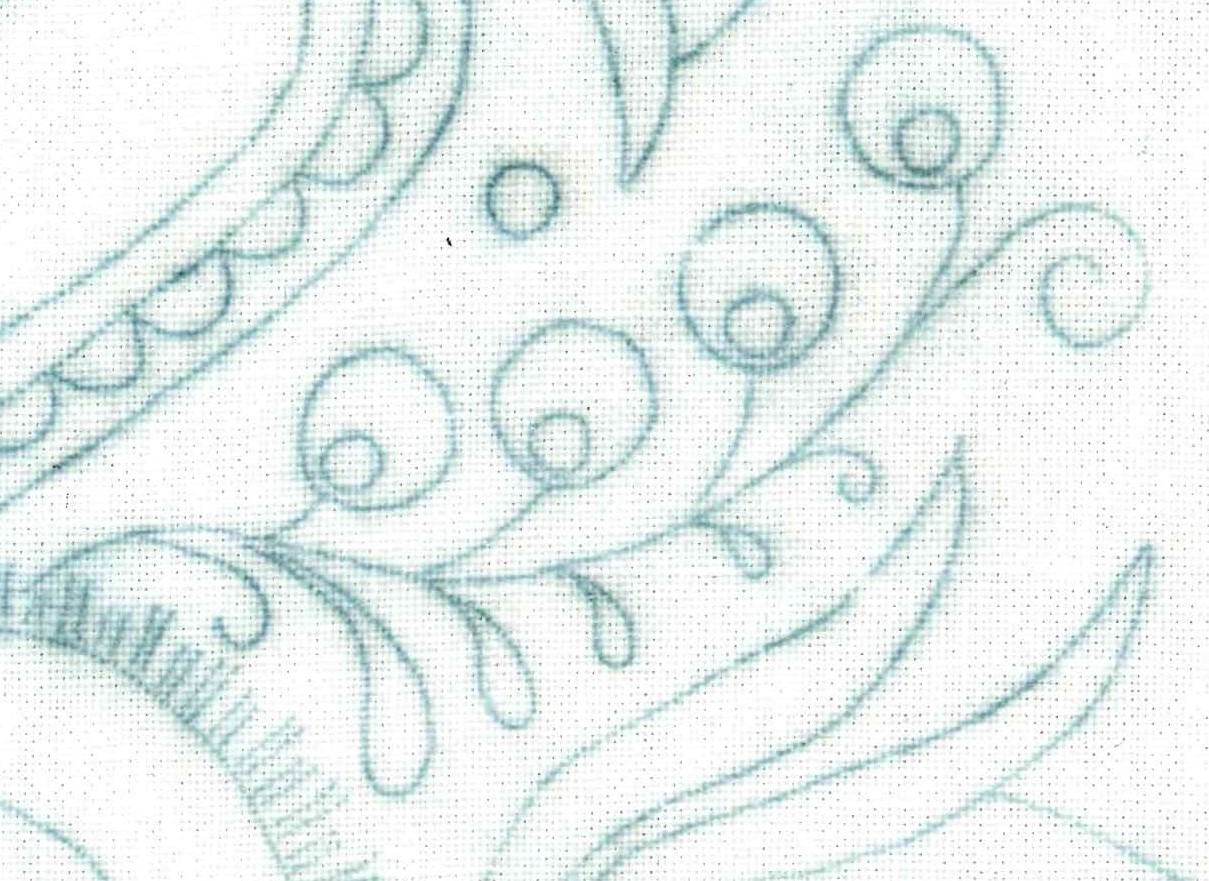
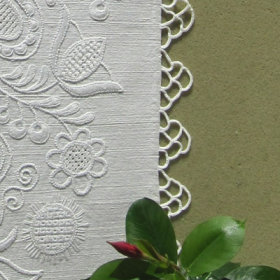
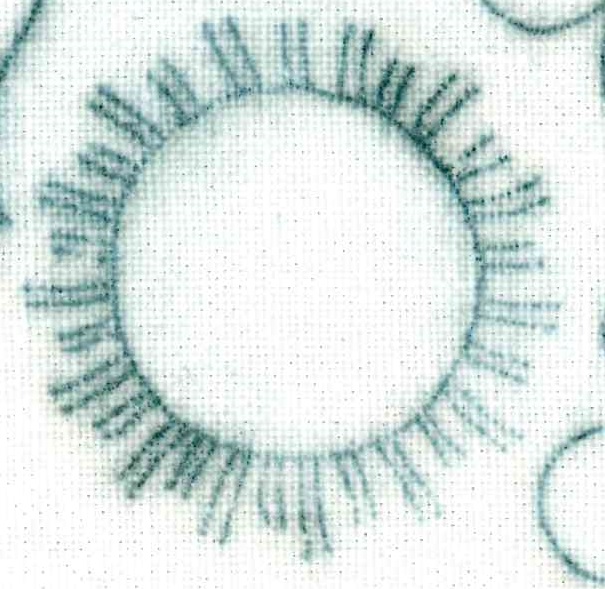
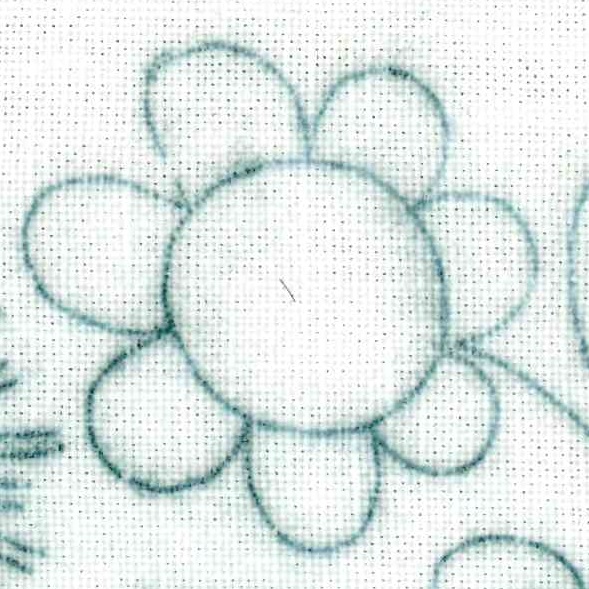
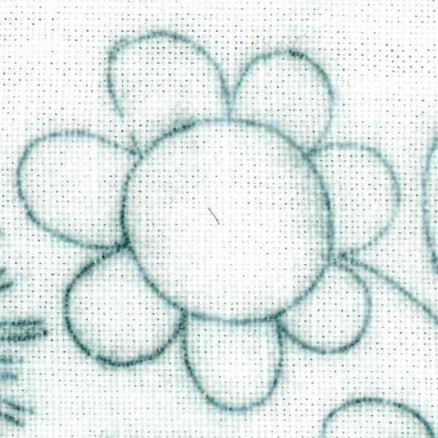
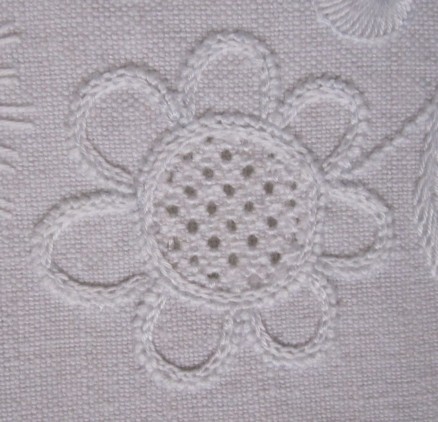
Along the sides of the longitudinal axis three different smaller motifs are found: one tulip and two circle shapes. The first circles (here a little bit enlarged) are surrounded with “2 short–2 long”.
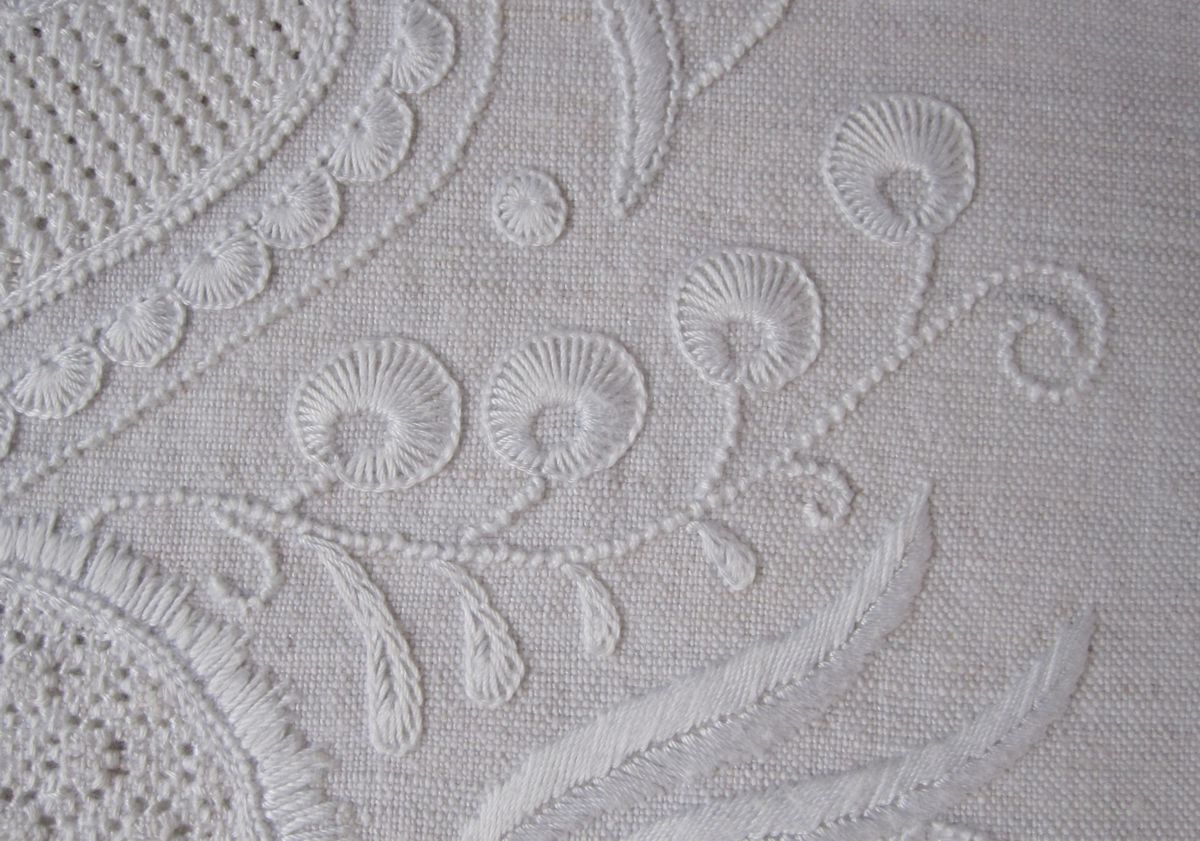
 On the oval runner “2 short-2 long” was stitched closely following the marked lines; the thread used was too thin. The result is not 100% satisfactory.
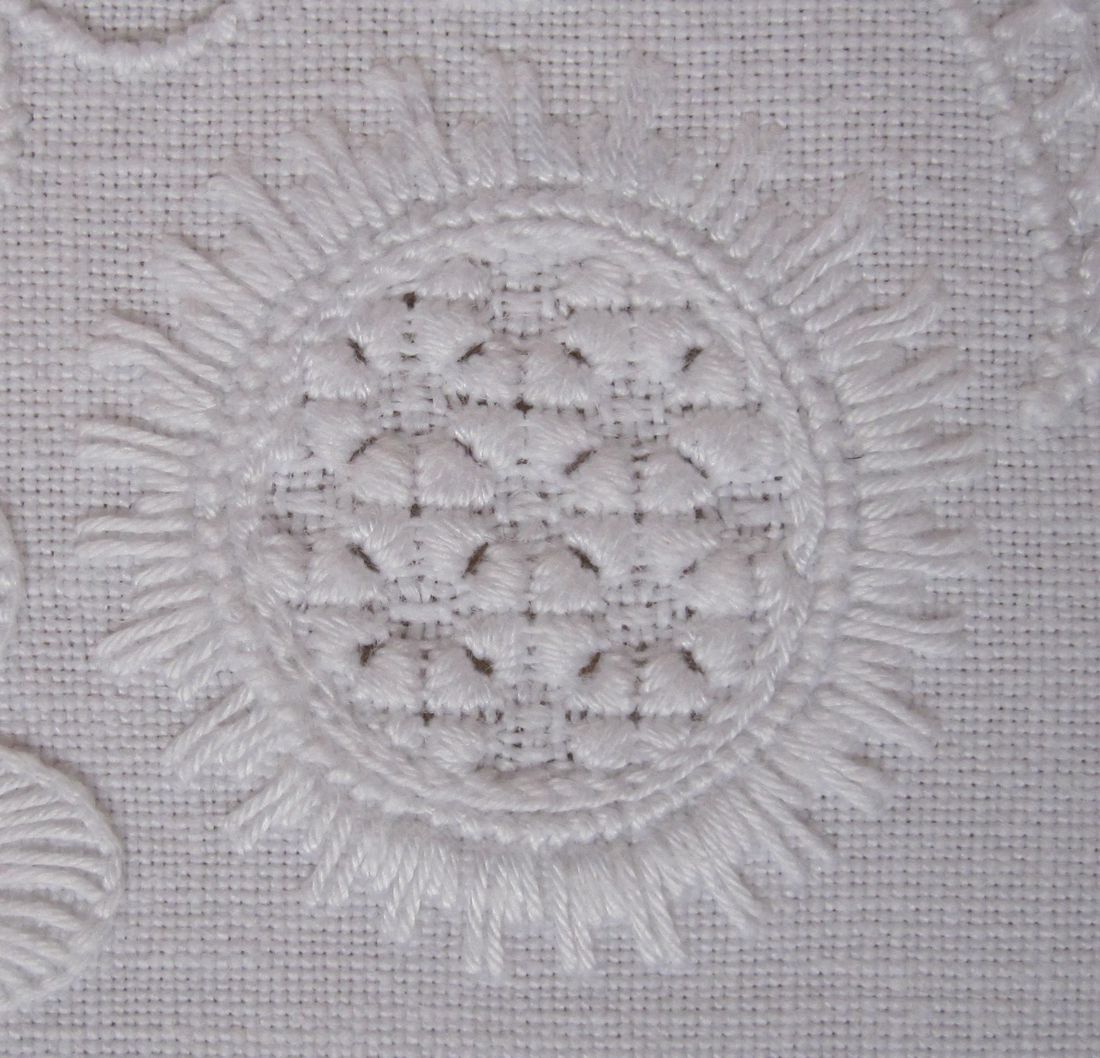
The circle was filled with the Limet pattern “Limetrosen” (Limetrosen I, page 27).
Coton à broder in the following sizes was used: No. 20 for the Coral Knot stitches, No. 25 for the Satin stitches, No. 30 for the Chain stitches and the filling pattern.
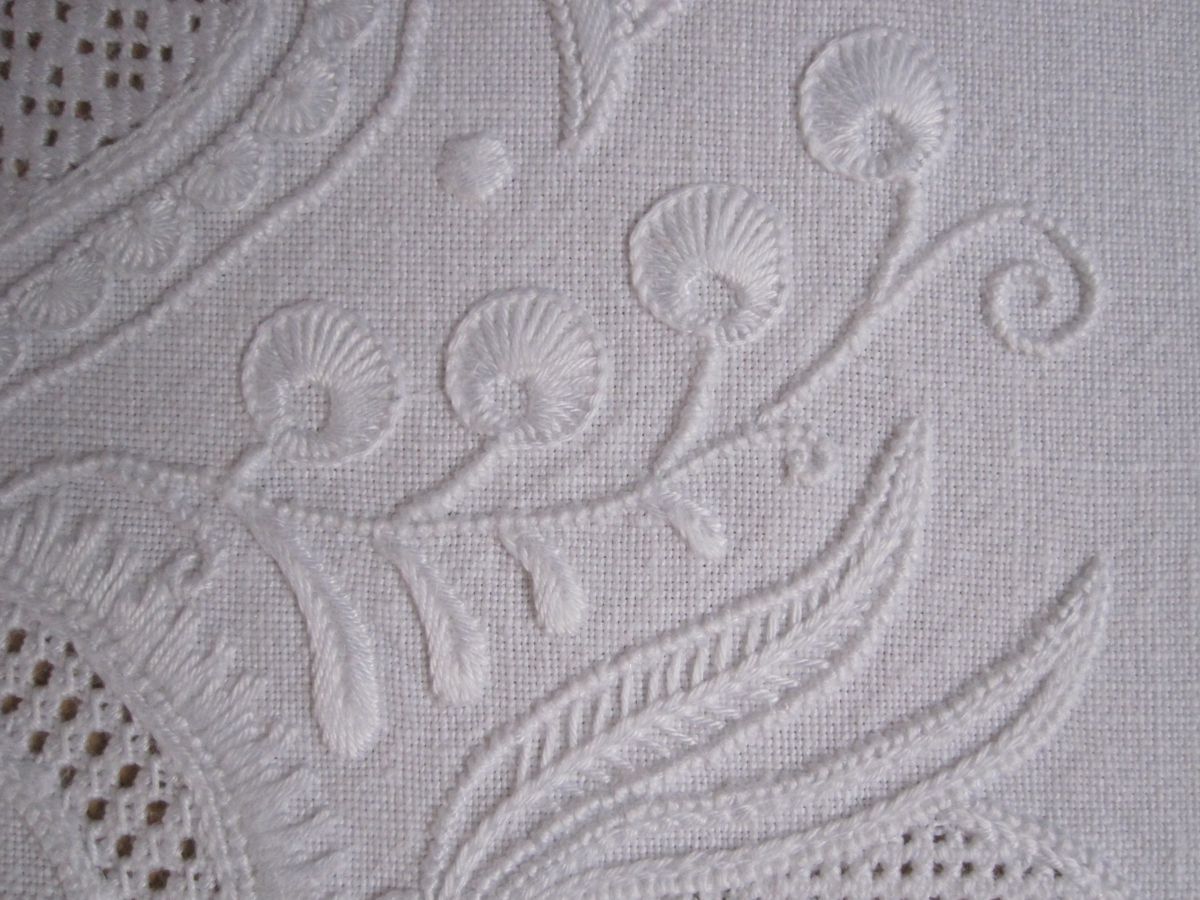
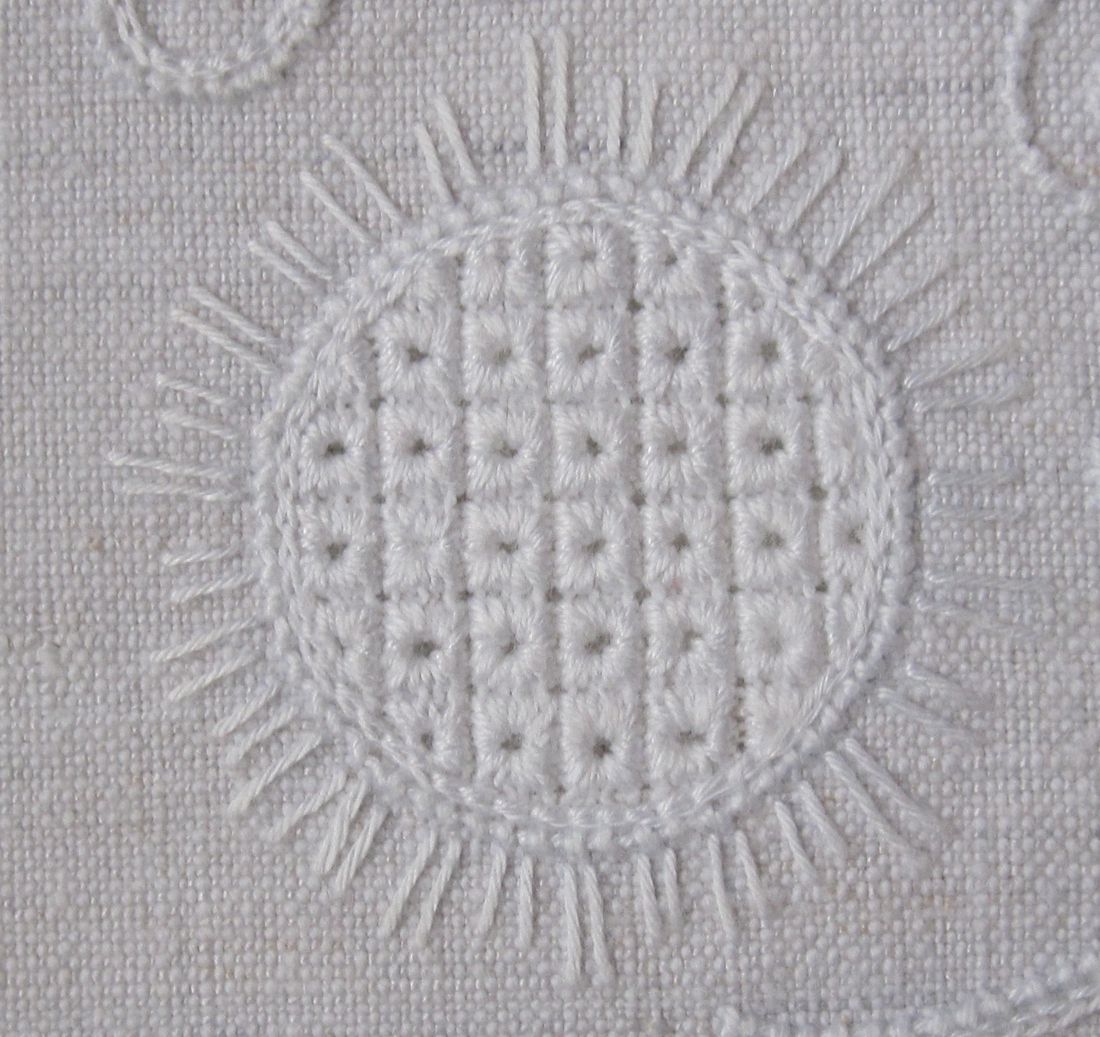
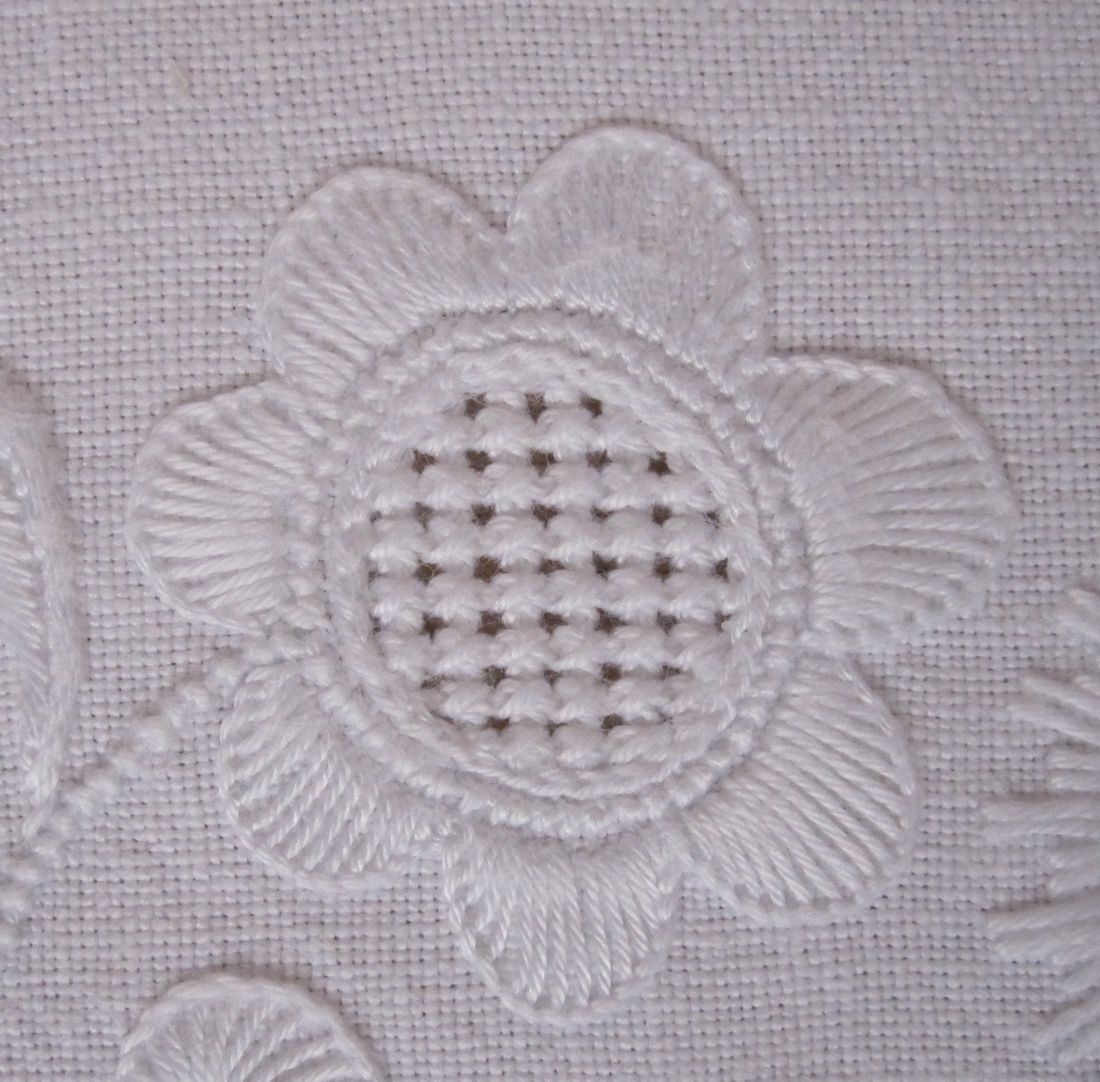
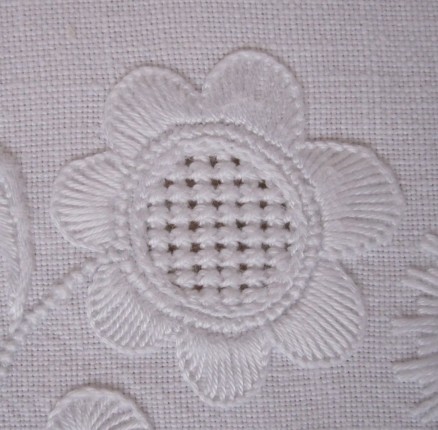
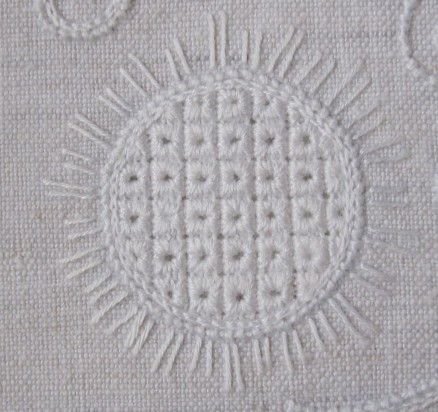 On the rectangular runner the stitches were more densely placed and a thicker thread was used.
The circle was filled with the Limet pattern “Kleines Ochsenaugenraster” (Limetrosen I, page 15).
Coton à broder in the following sizes was used: No. 16 for the Coral Knot stitches, No. 20 for the Satin stitches, No. 25 for the Chain stitches and the filling pattern.
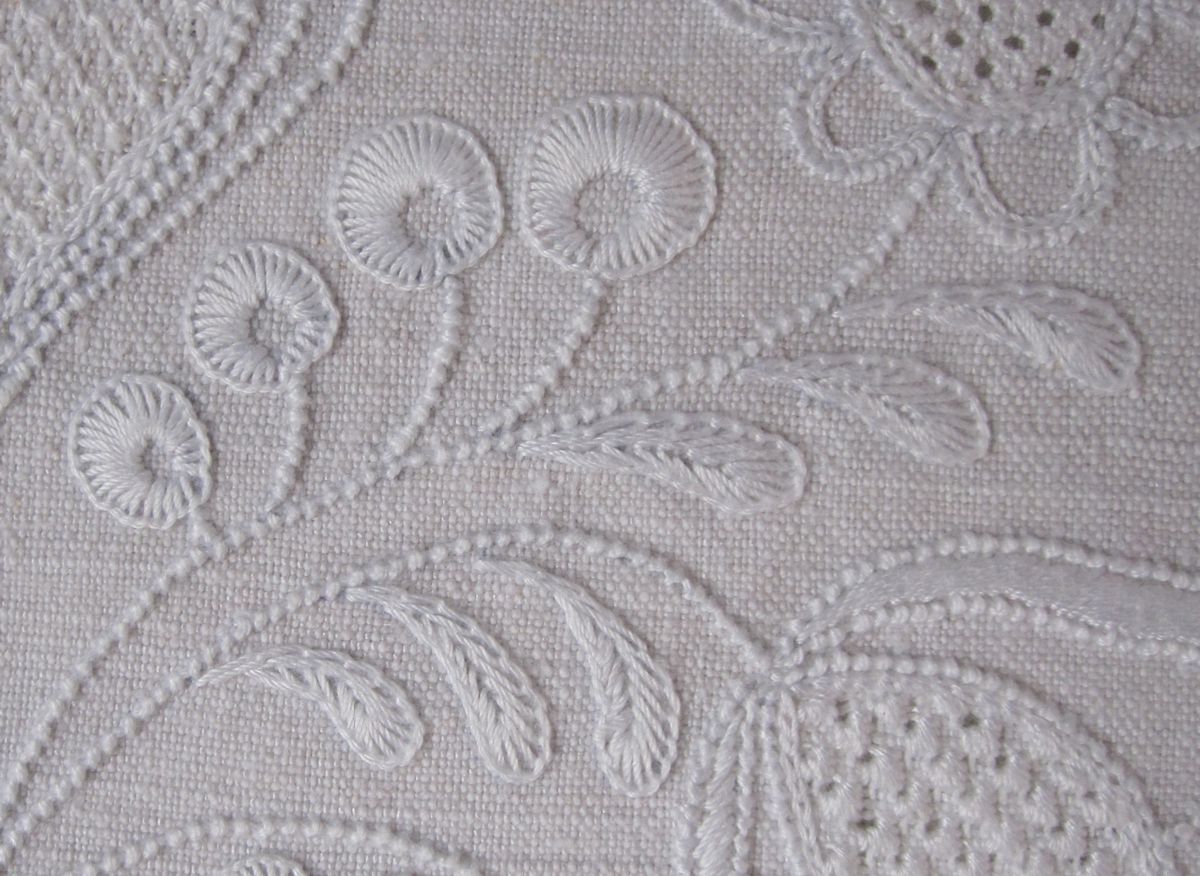
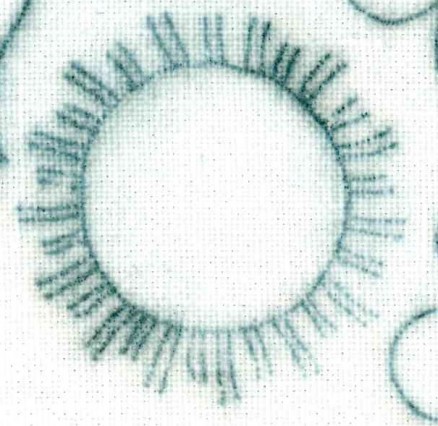
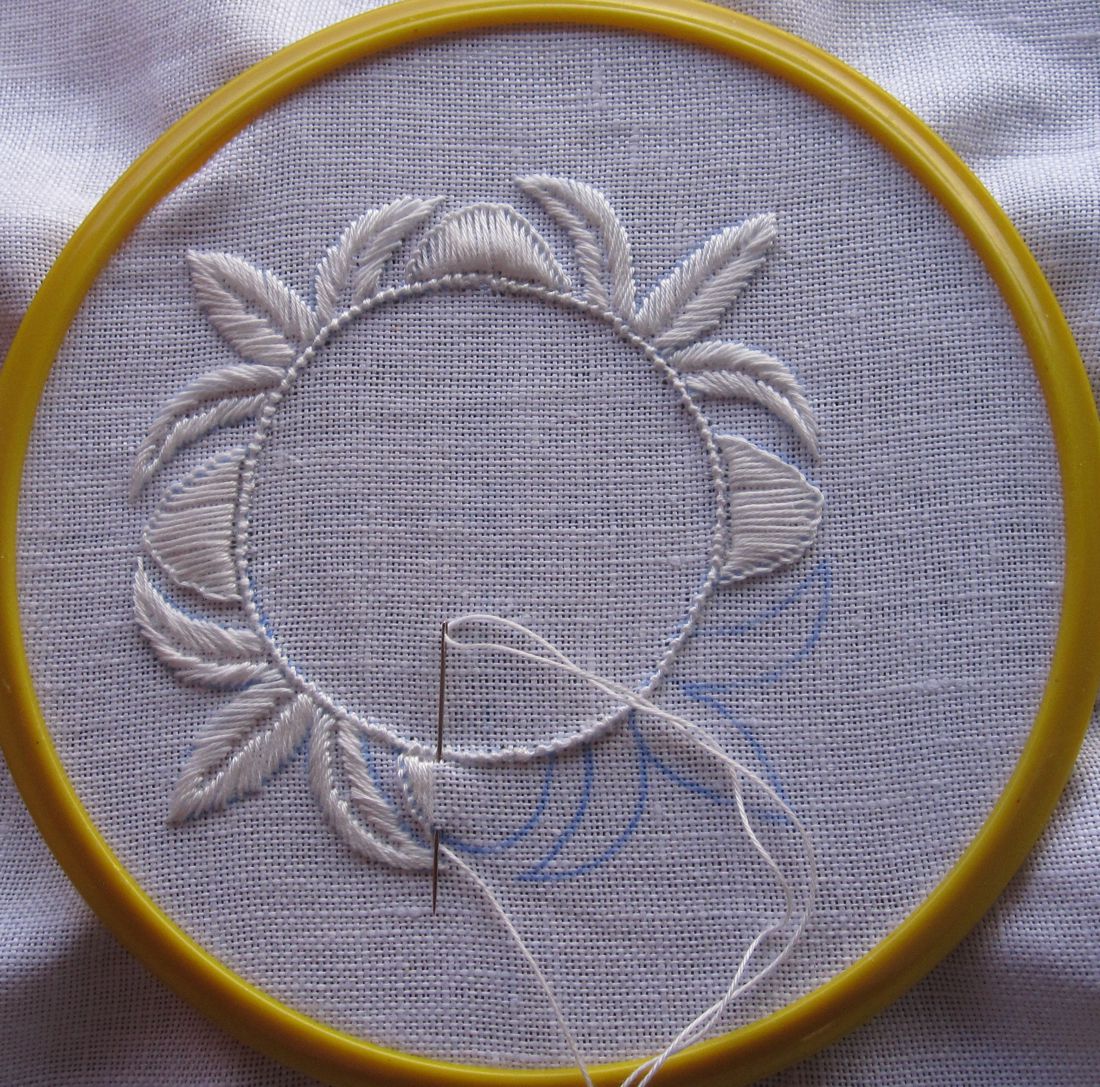
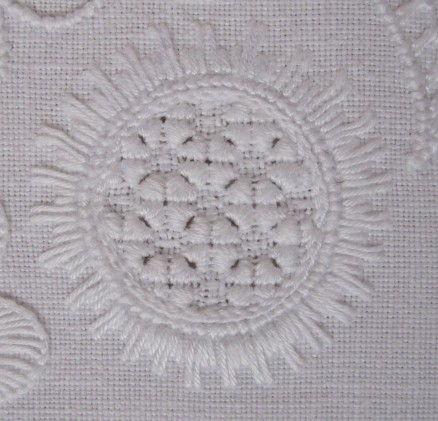 The second circles (here enlarged) are surrounded with scallops.
 On the oval runner all lines were covered with Coral Knot stitches. Inside the scallops Chain stitches were worked beside the Coral Knot stitches. The inside areas of the scallops remain unworked.
The circle was filled with the Limet pattern “Rosenstiche” (Basic Principles of Schwalm Whitework, pages 50-52).
Coton à broder in the following sizes was used: No. 20 for the Coral Knot stitches, No. 30 for the Chain stitches and the filling pattern.
 On the rectangular runner the scallops were worked as half-eyelet scallops (Basic Principles of Schwalm Whitework, page 24).
The circle was filled with the openwork pattern “Double Crosses – in straight rows” (Openwork Pattern Samplers, pages 46 and 47).
Coton à broder in the following sizes was used: No. 16 for the Coral Knot stitches and the filling pattern, No. 20 for the Blanket stitches, No. 25 for the Chain stitches.
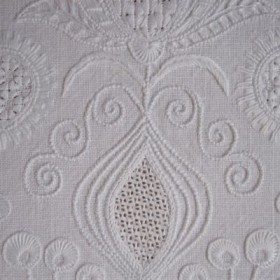
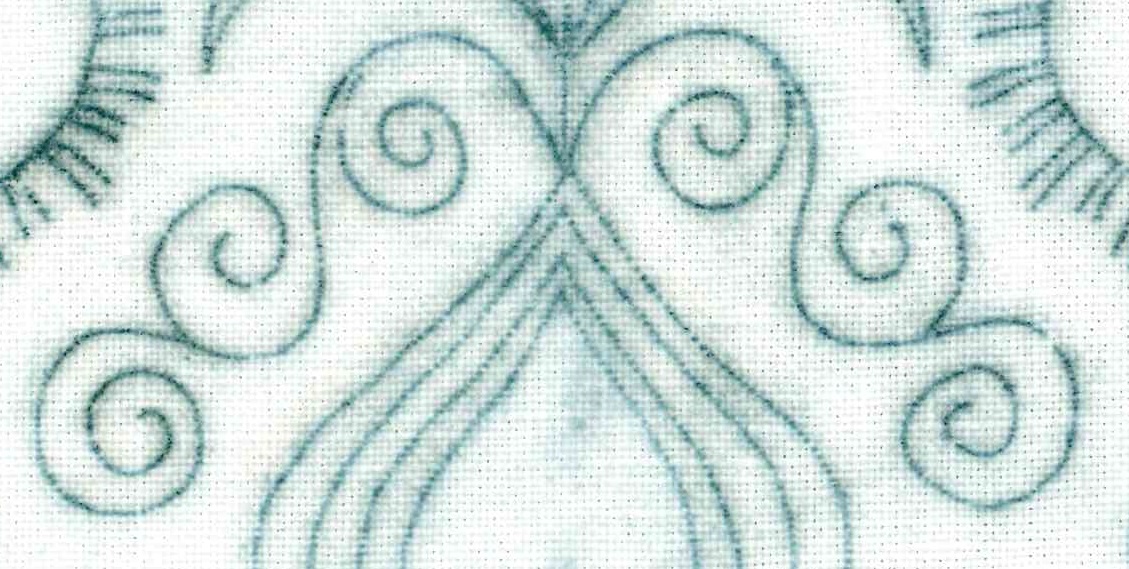
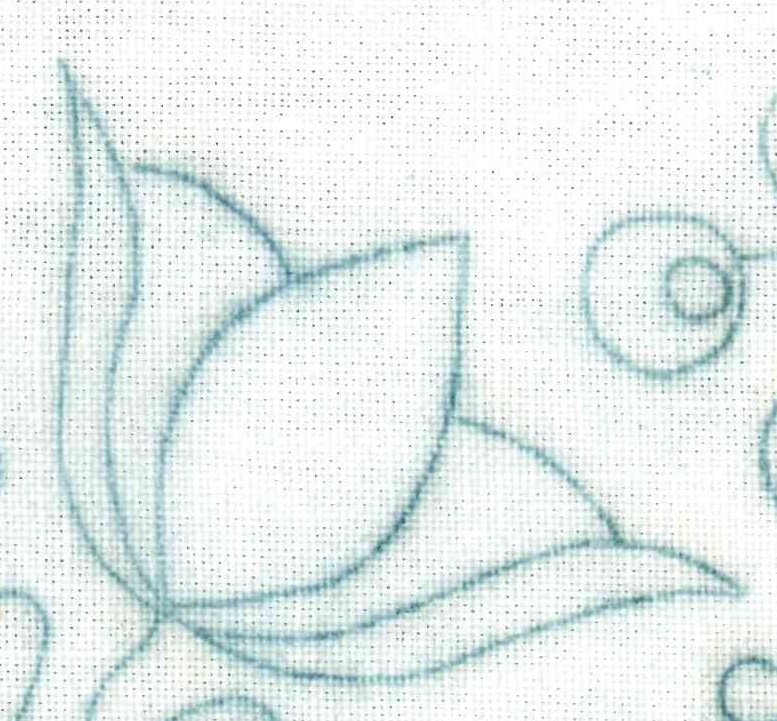
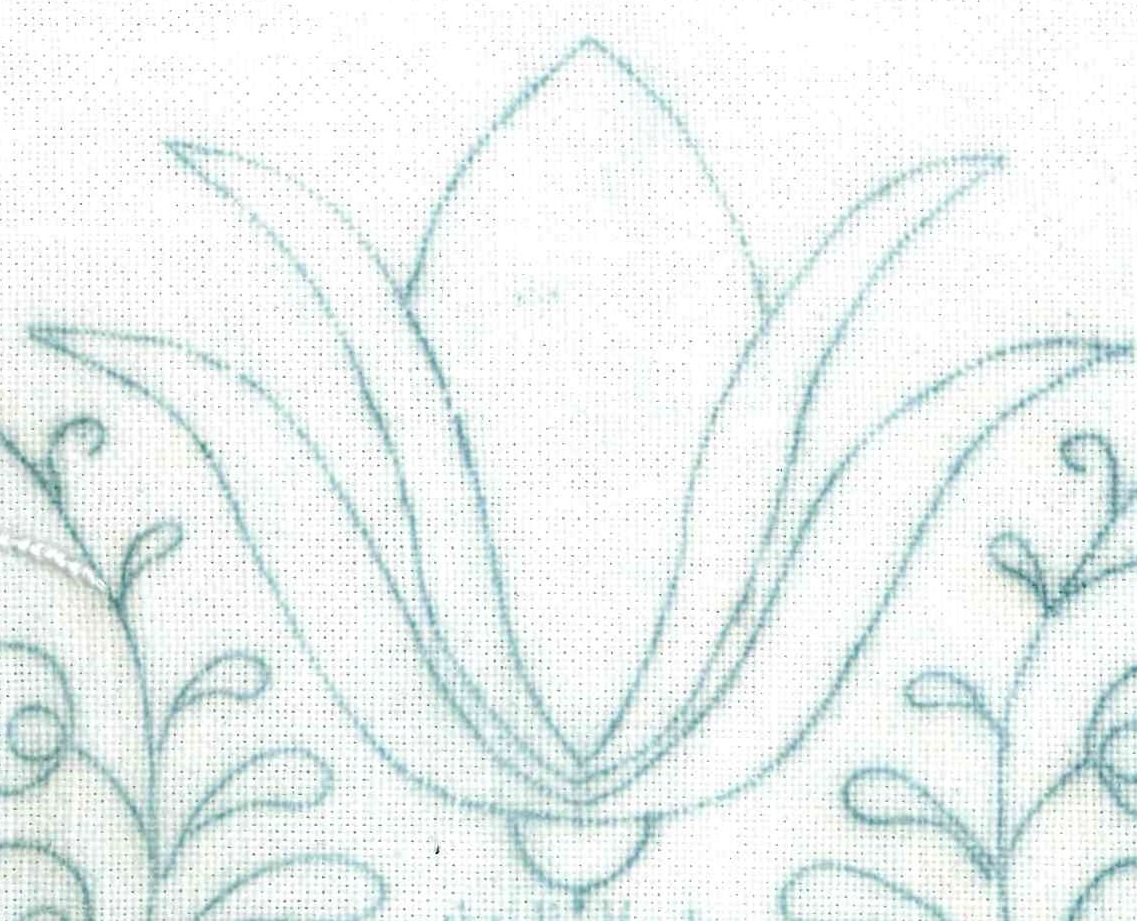
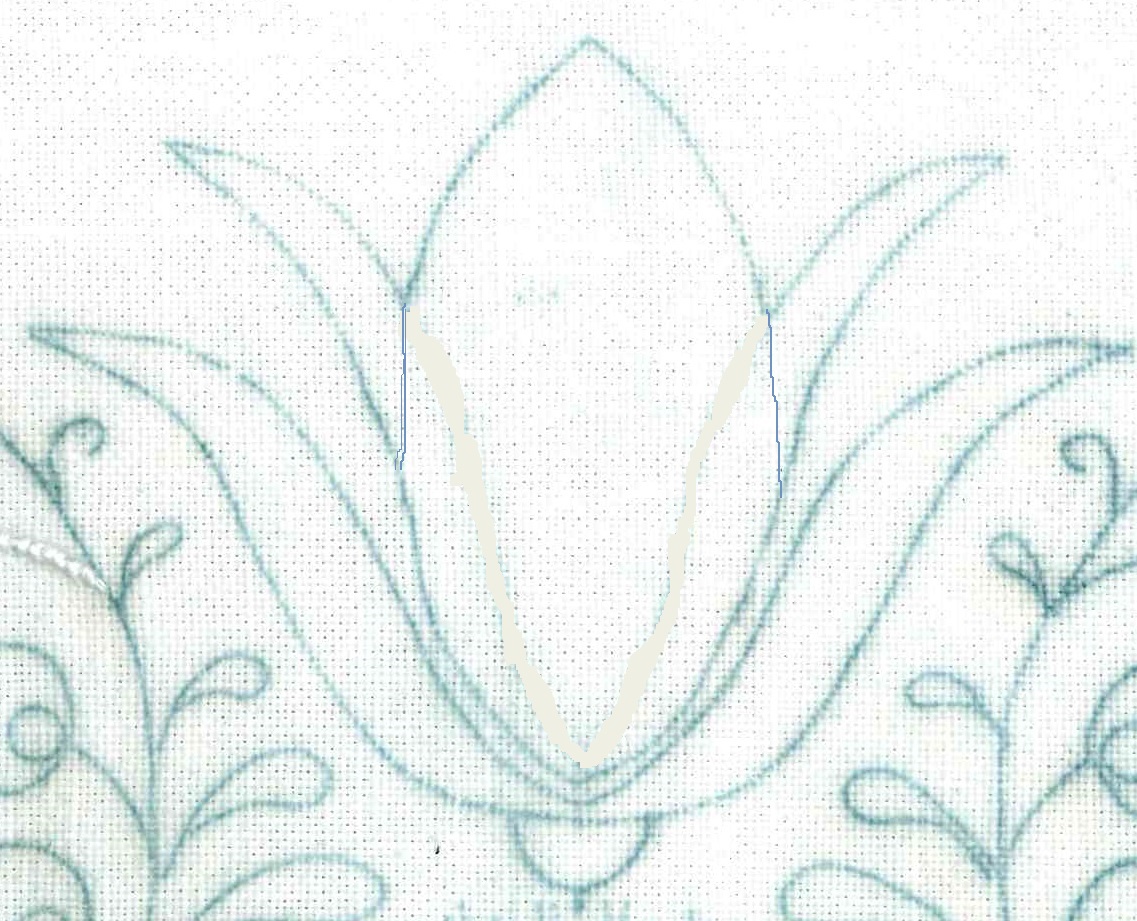
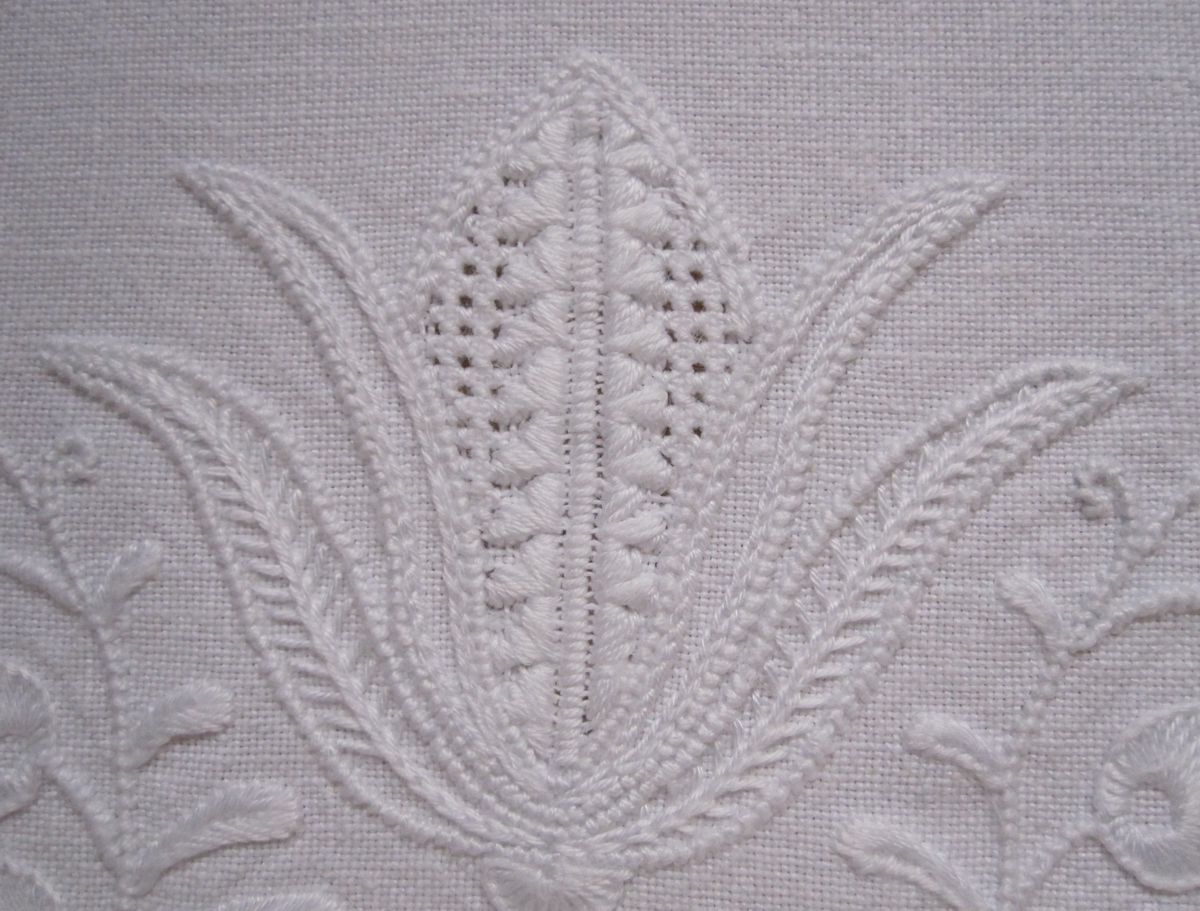
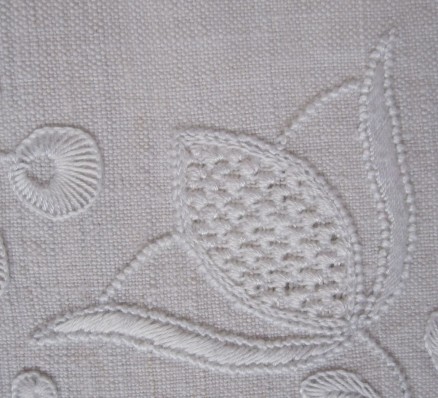
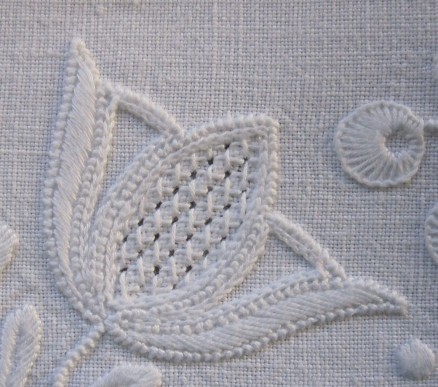
 The small tulip motif looks like this:
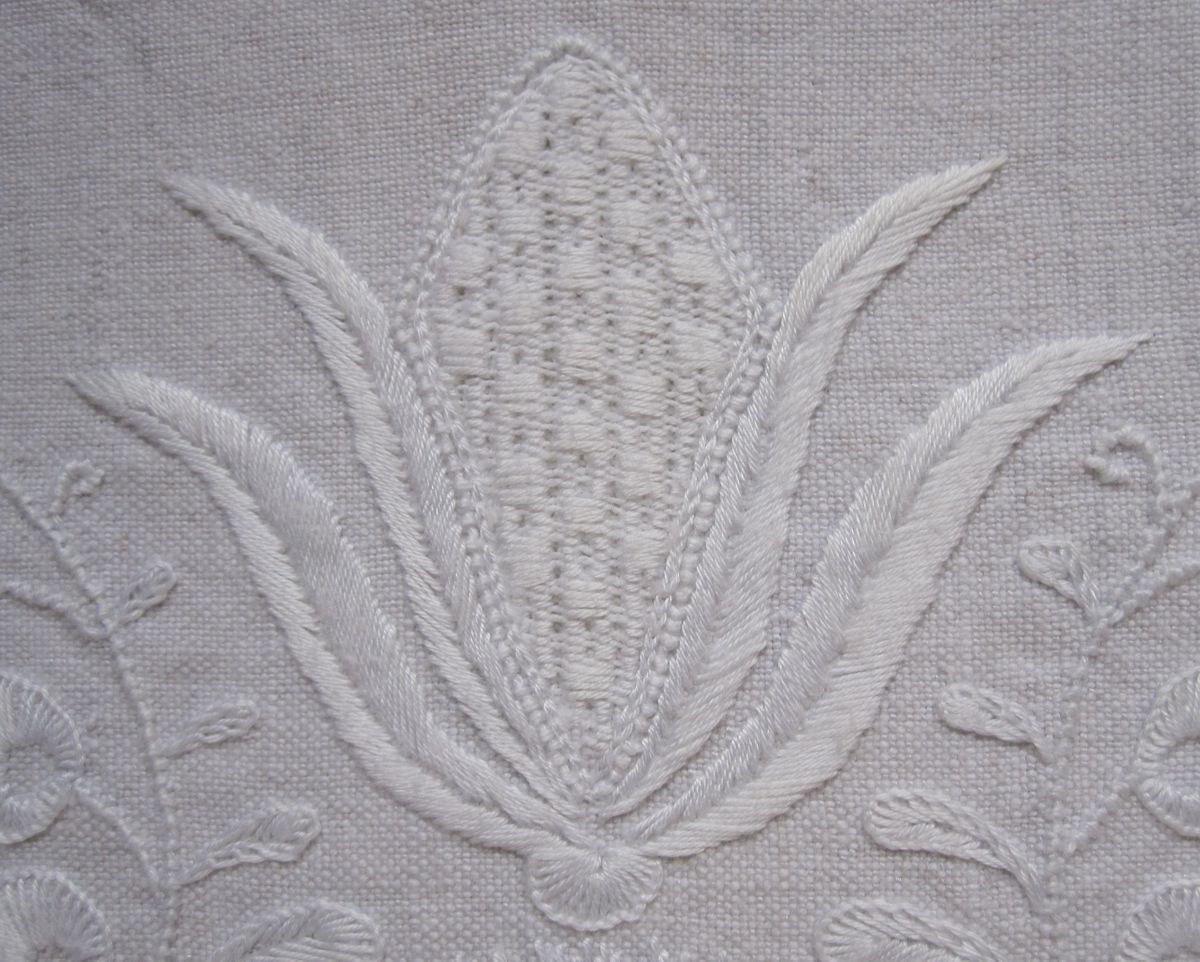
 On the oval runner all lines were covered with Coral Knot stitches. The outside petals were filled with Satin stitches. The areas between the outside petals and the center remain unworked.
The center section of the tulip was filled with the Limet pattern “Gefieder” (Limetrosen I, page 9).
Coton à broder in the following sizes was used: No. 20 for the Coral Knot stitches, No. 25 for the Satin stitches, No. 30 for the Chain stitches and the filling pattern.
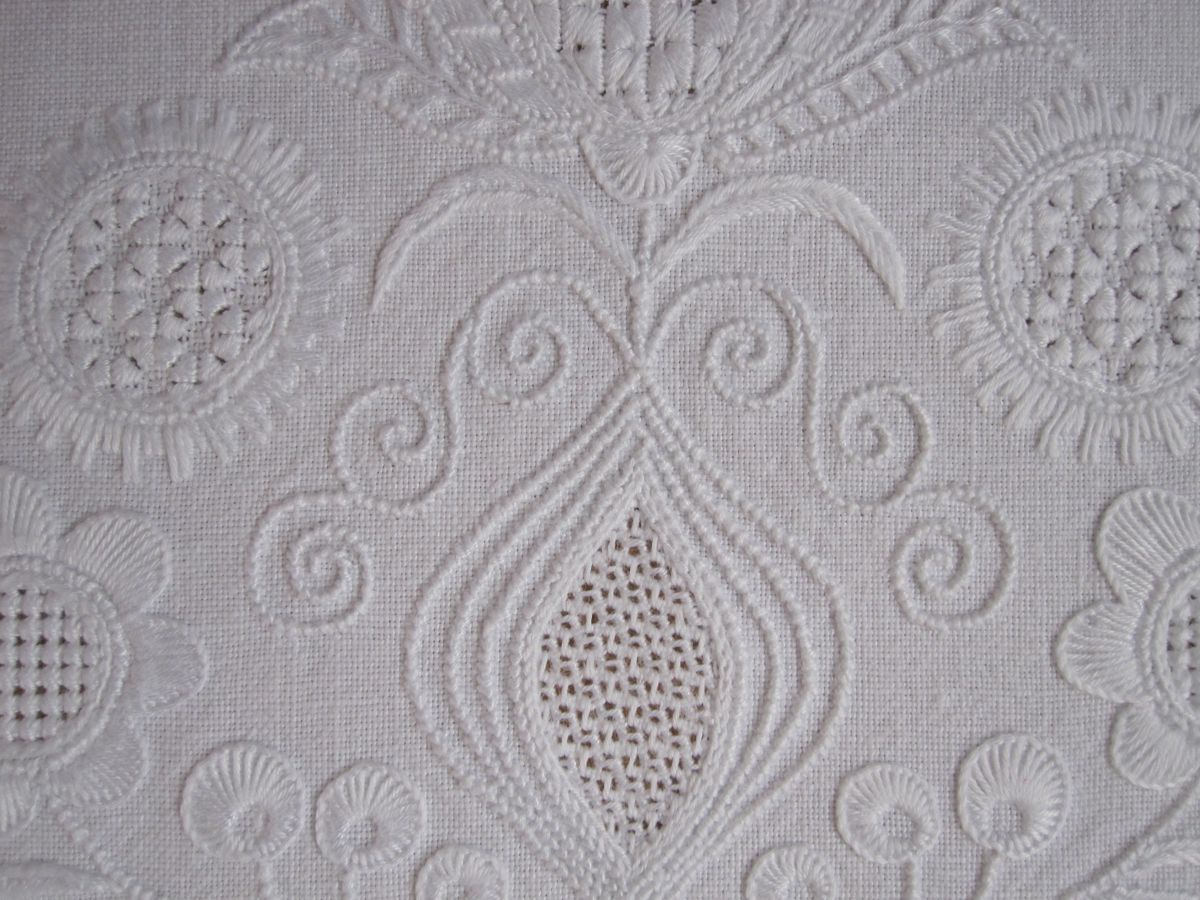
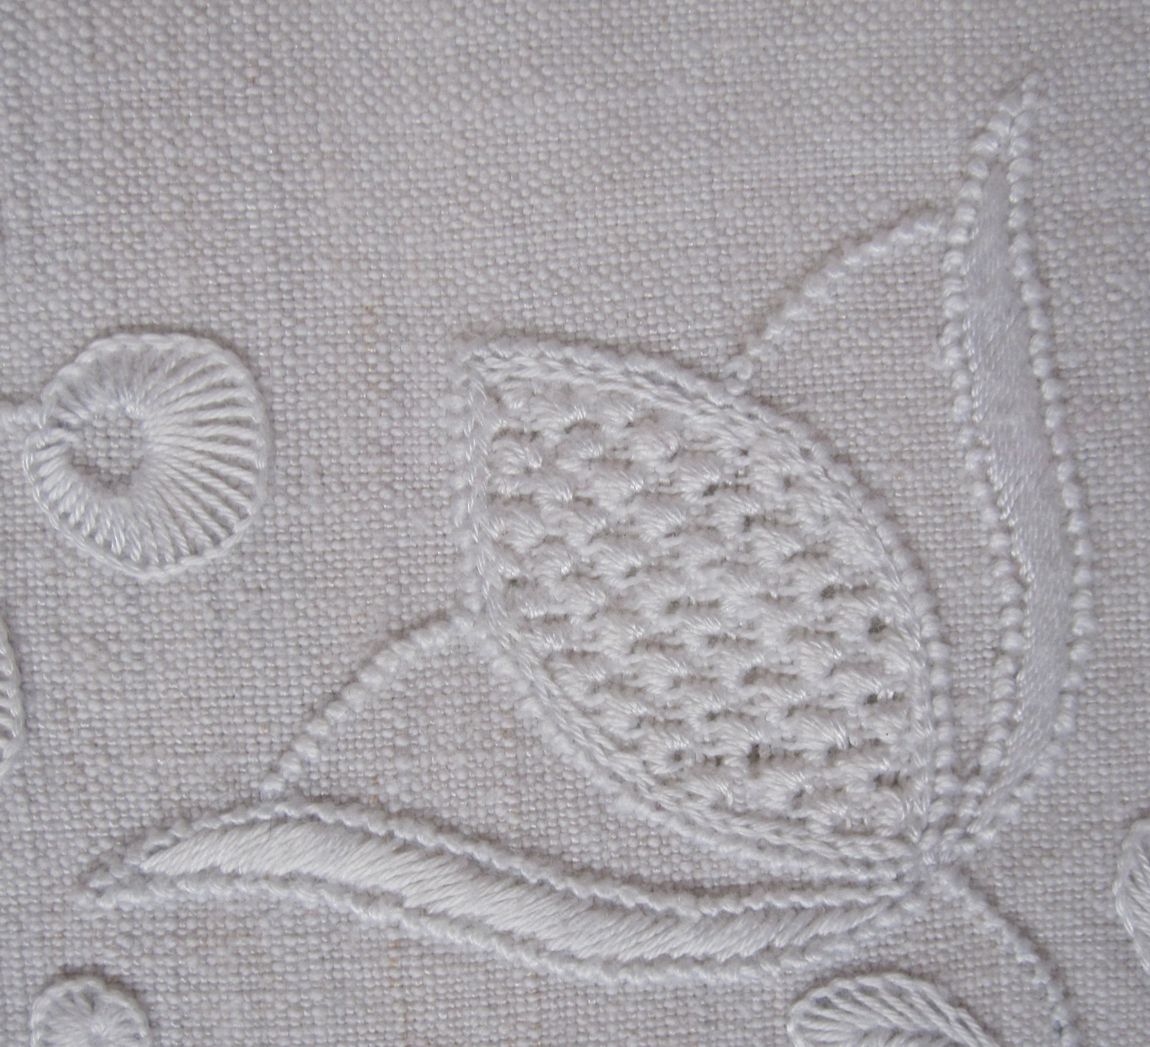
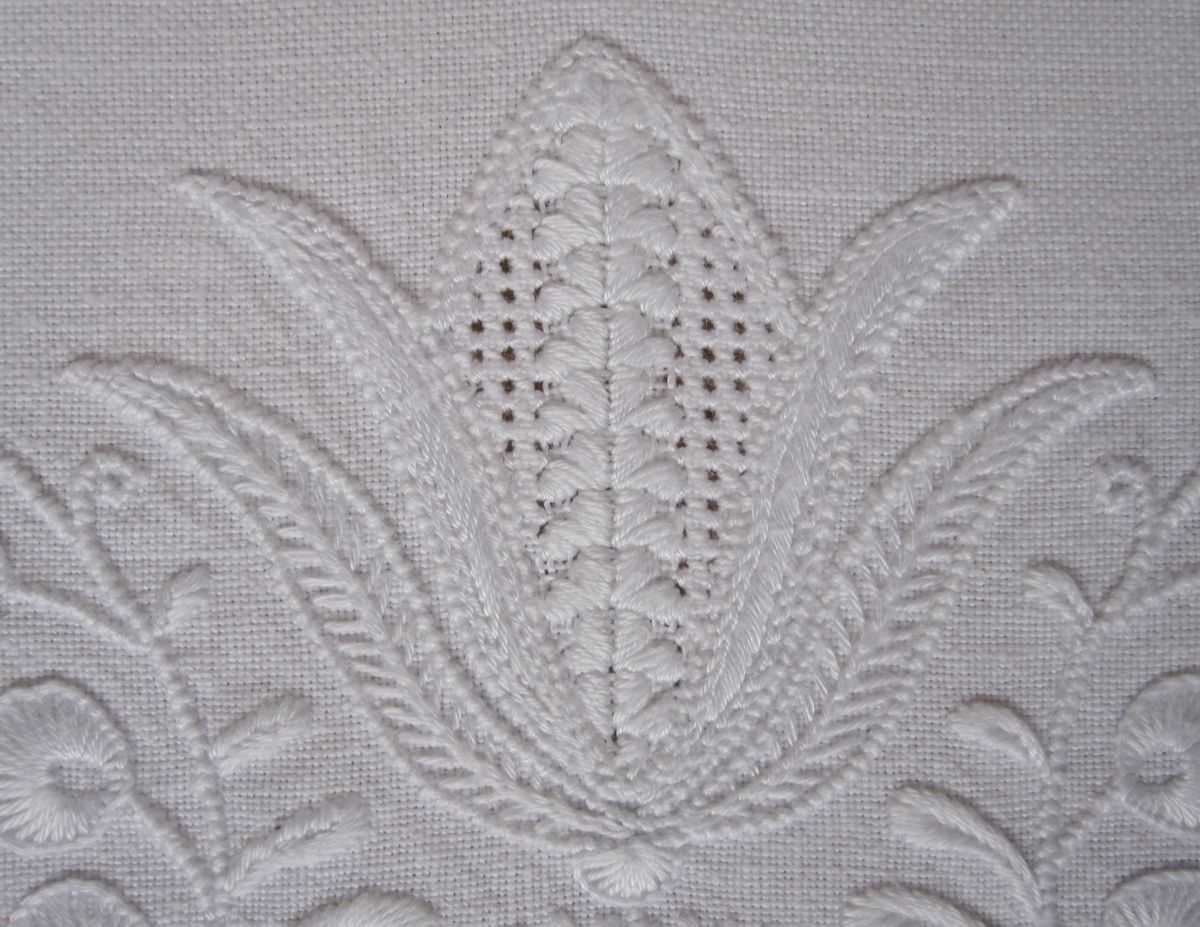
 On the rectangular runner all lines were covered with Coral Knot stitches, and the outside petals were filled with Satin stitches. The areas between the outside petals and the center were surrounded with Chain stitches. The inside spaces remain unworked.
The center section of the tulip was filled with the Limet pattern “Diagonal Cross Filling stitch” (Basic Principles of Schwalm Whitework, pages 39 and 40).
Coton à broder in the following sizes was used: No. 16 for the Coral Knot stitches, No. 20 for the Satin stitches, No. 25 for the Chain stitches and the filling pattern.
 The first part of this series can be found here.
The previous part of this series can be found here.

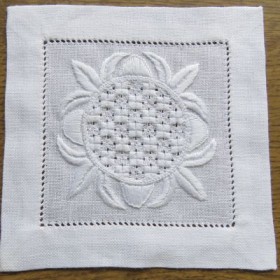
 The original design measures 8.5 cm X 8.5 cm.
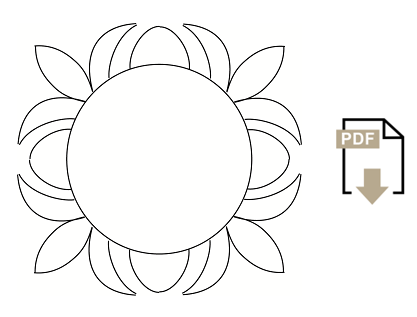
 Inside the Coral Knot stitches, Chain stitches are worked using Coton à broder No. 25.
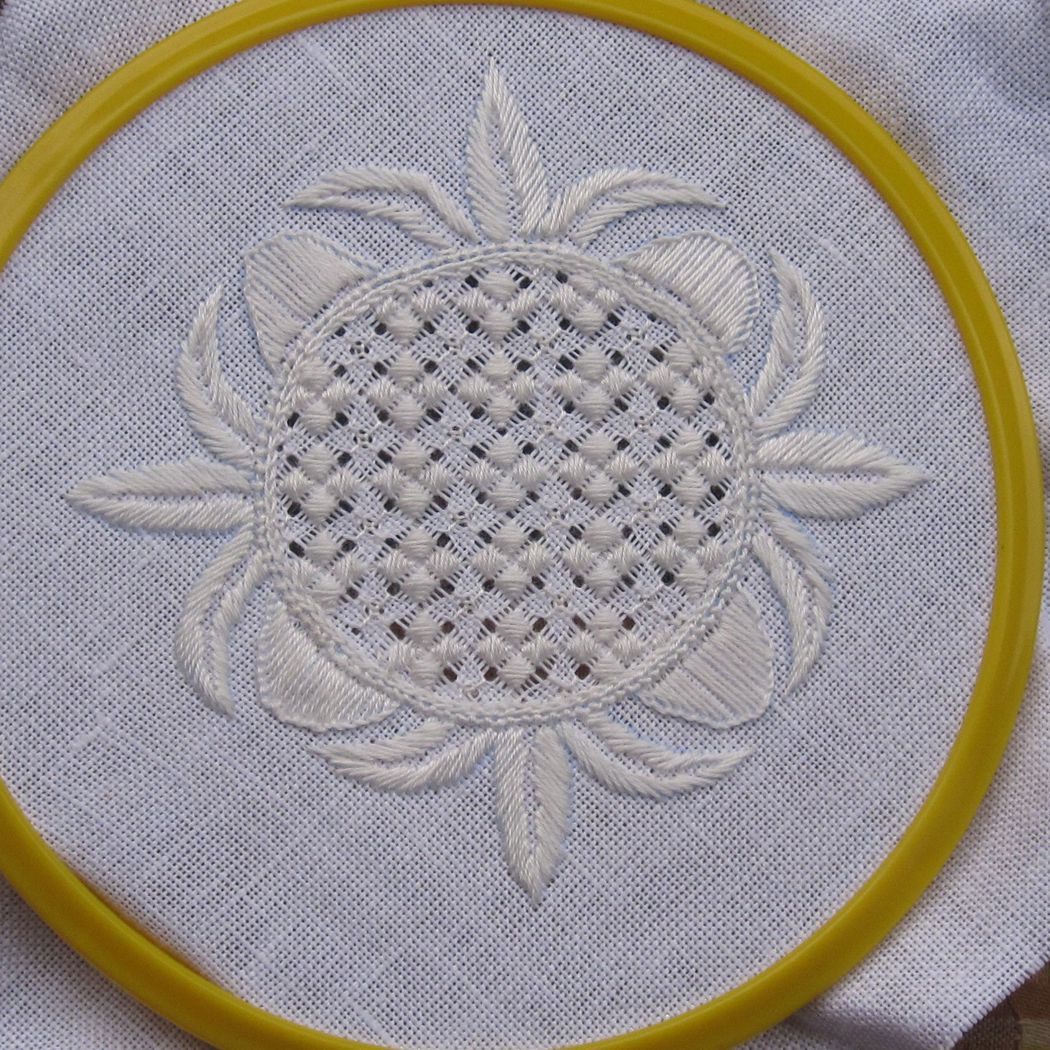 A hem depth of 2 cm (+ 1 cm fold) is chosen.
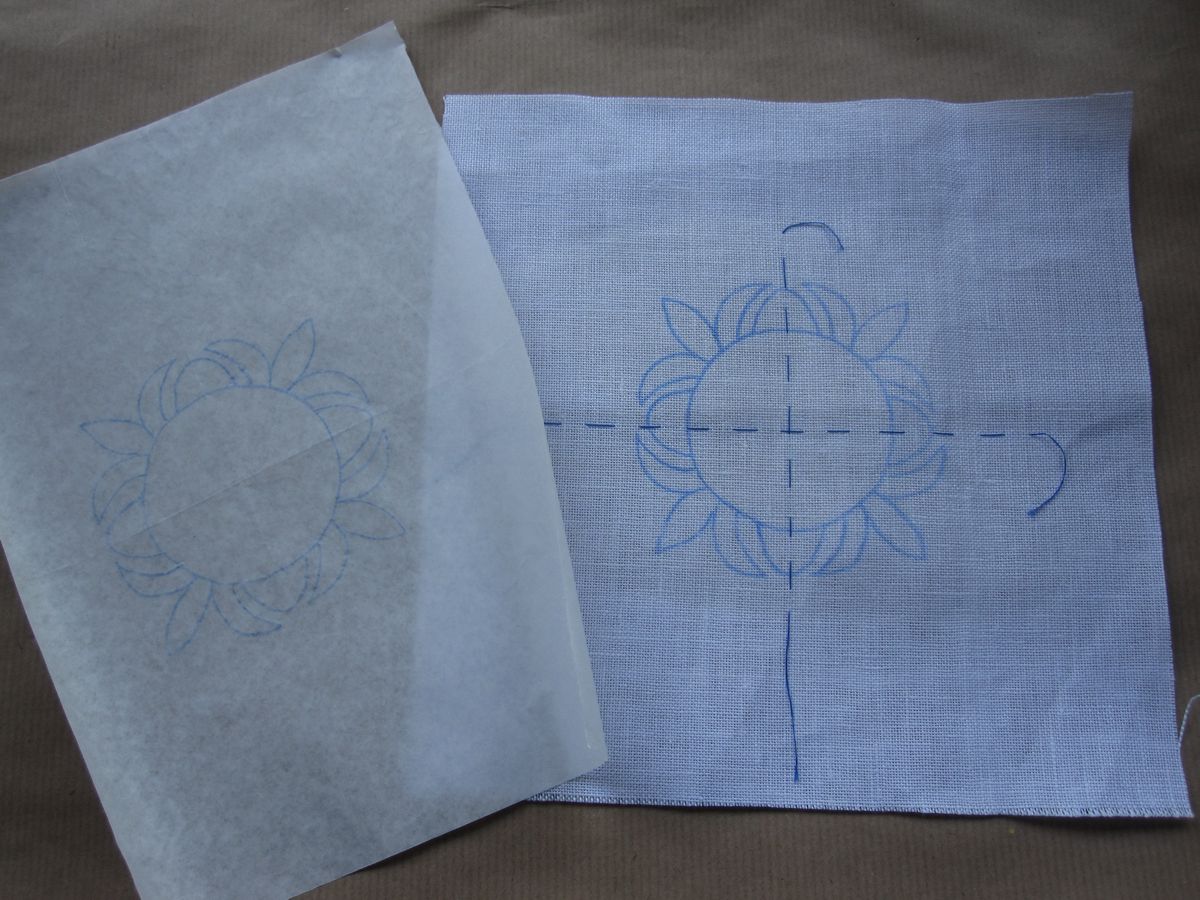
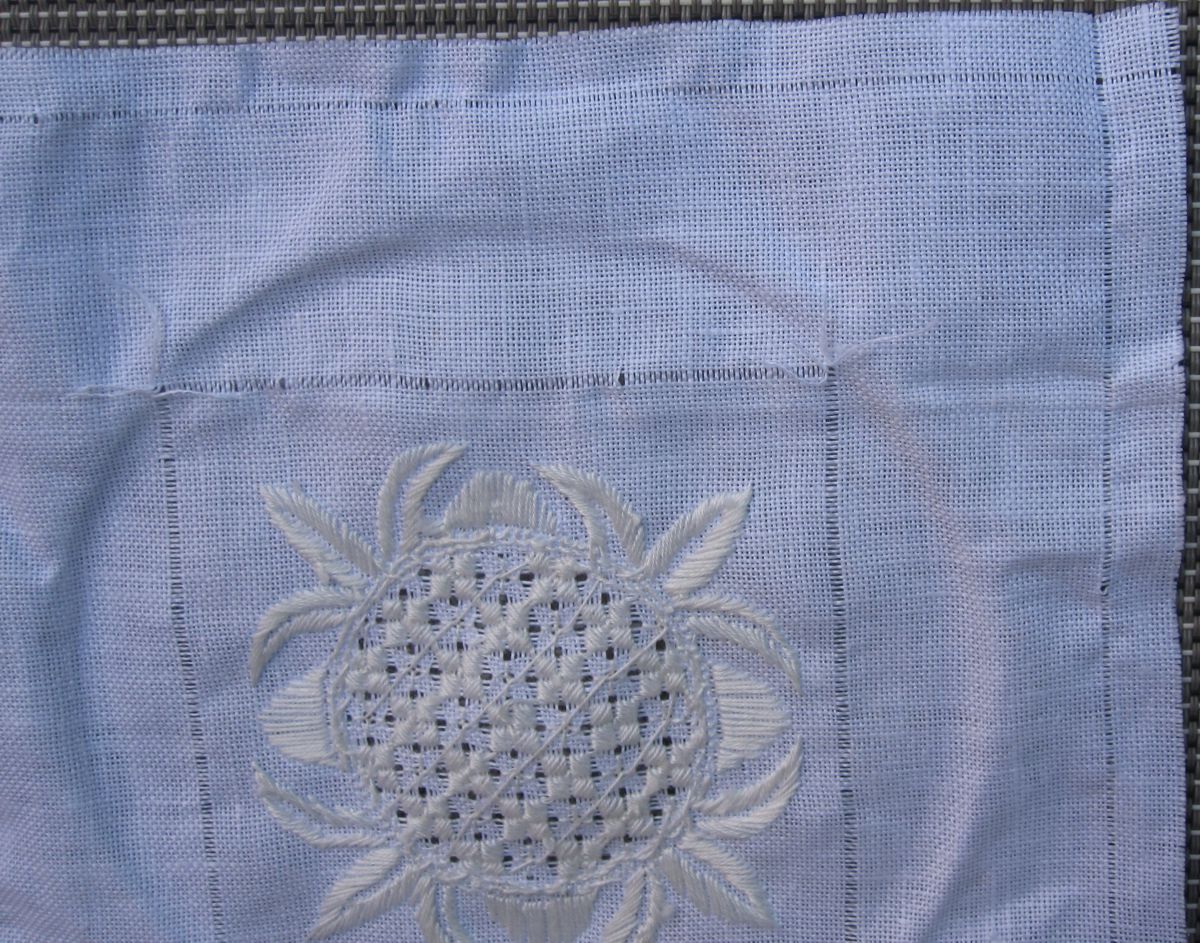 The 1 cm fold and the 2 cm hem is marked by creasing the linen using your thumbnail or other tool.
 The 1 cm, bias-cut seam allowance at the corner is folded back,
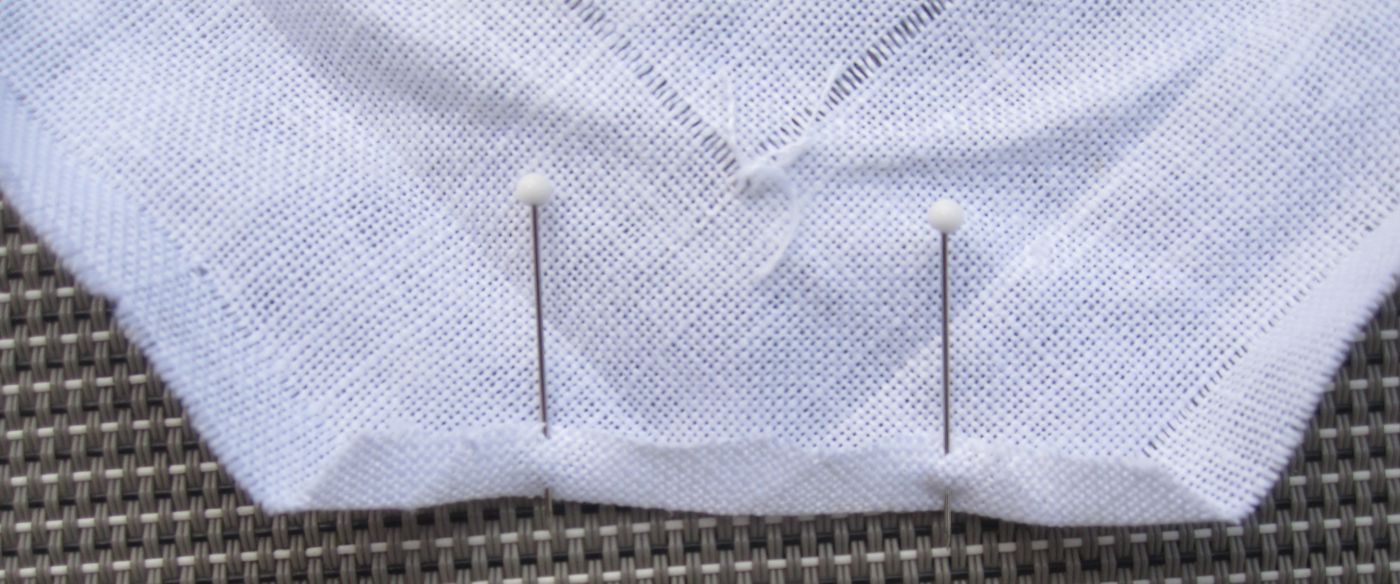 the hem is laid into place, basted, and secured with hem stitches.
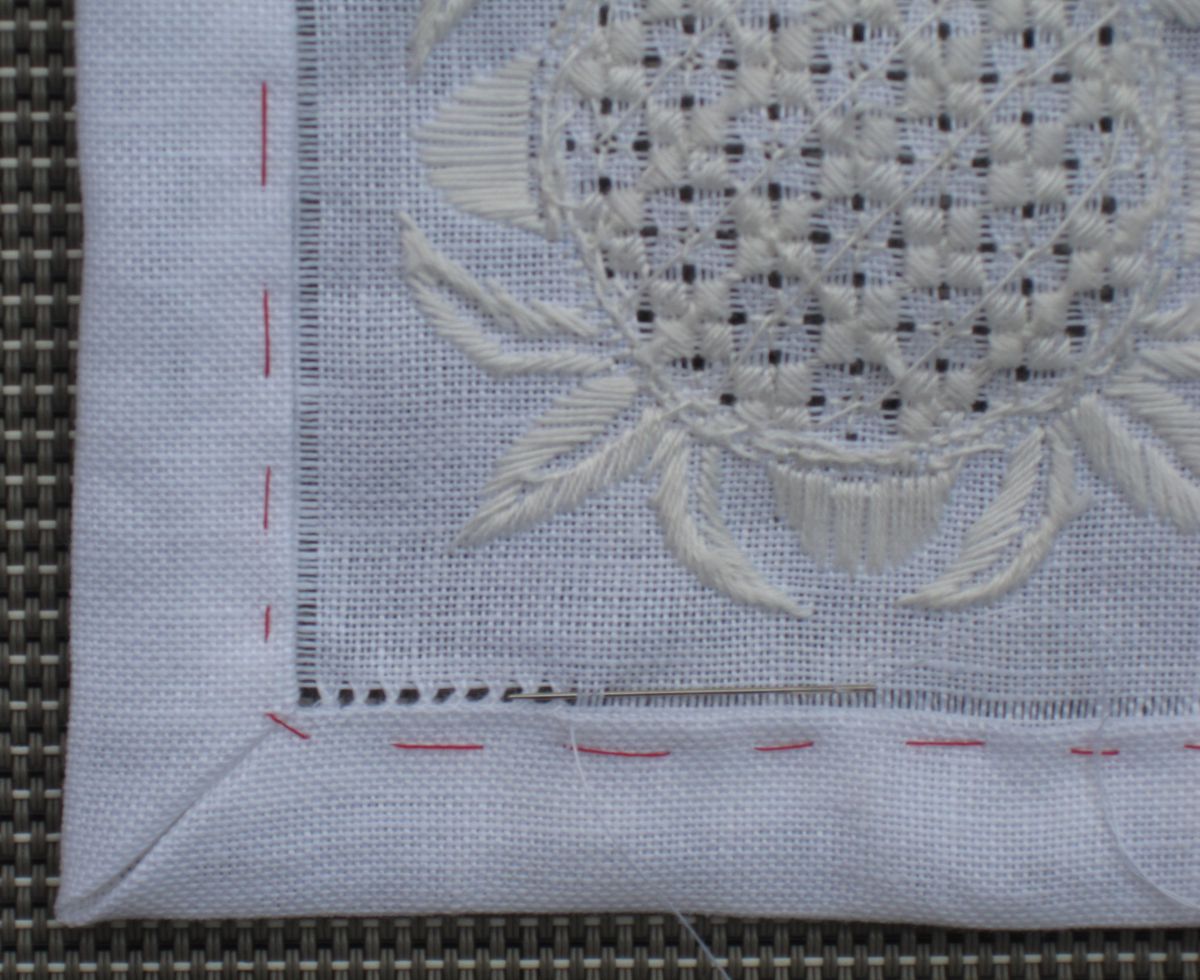 Hem stitches are also worked along the inside edge of the withdrawn thread line in order to maintain a stable and regular edge.
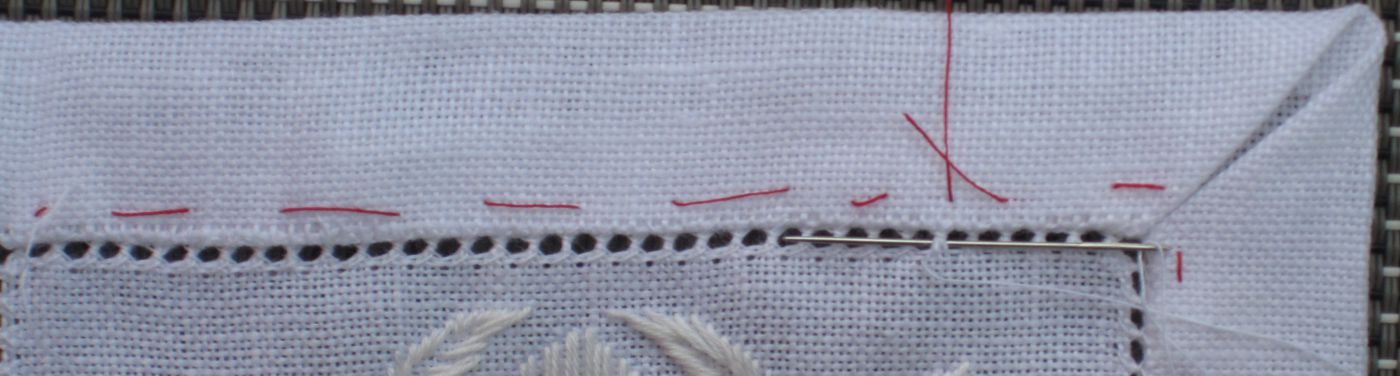 The corners are sewn with small invisible hand stitches.
 The basting threads are removed.
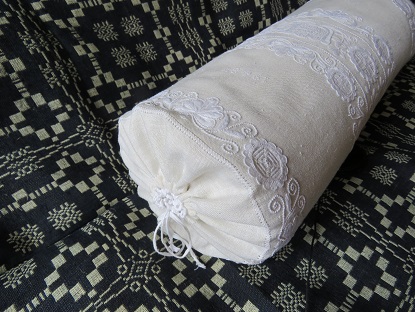
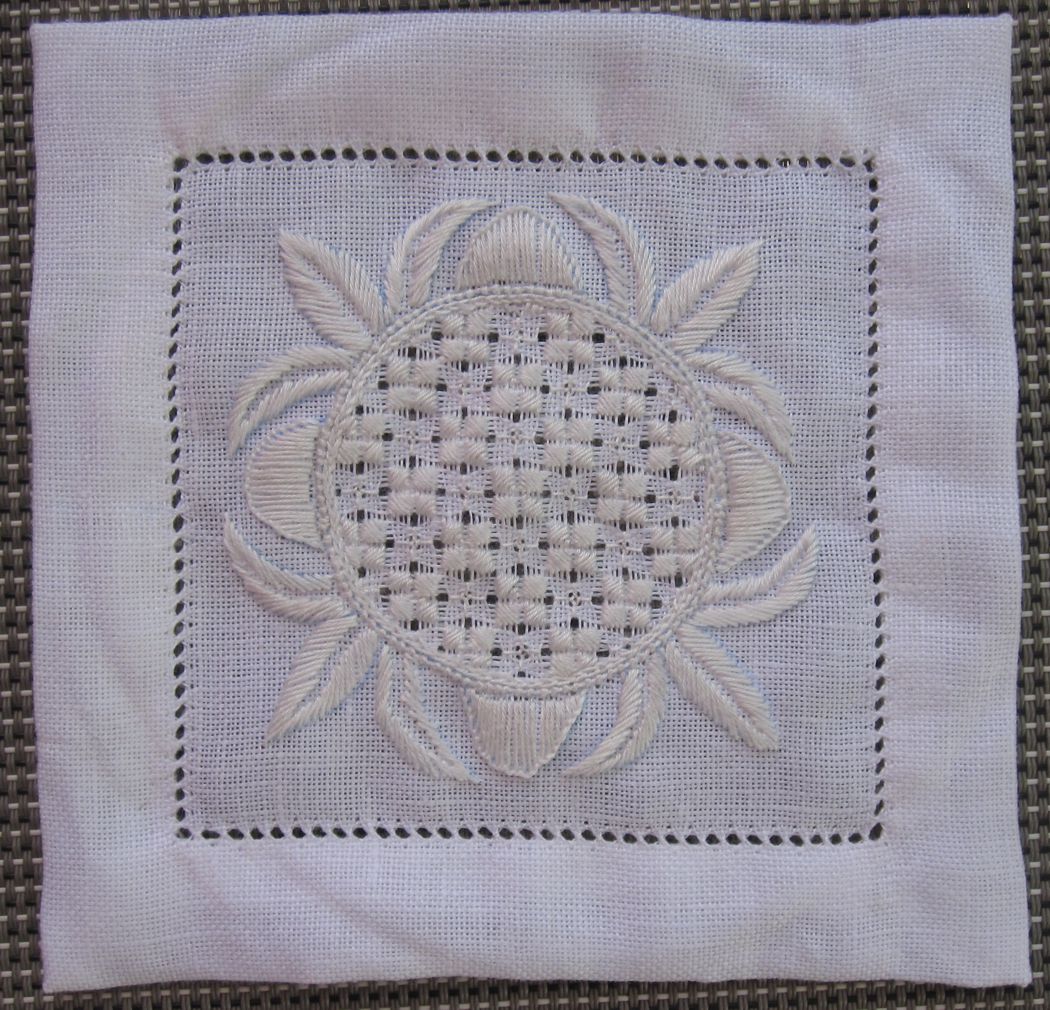 Washed, starched and ironed a nice small doily is finished.