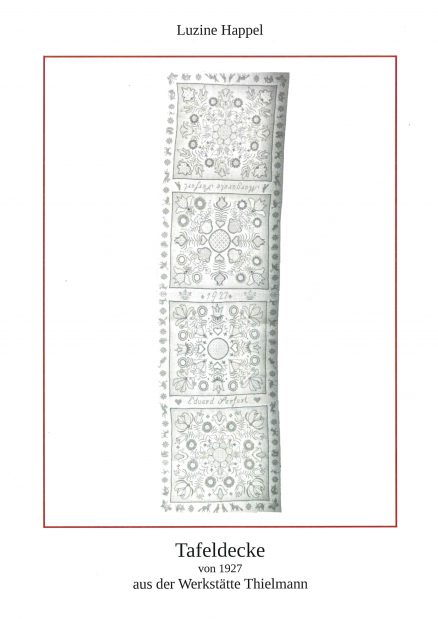
Museum digital (2) – Tablecloth from 1927 from the Thielmann Workshop

Museum digital (2) – Tablecloth from 1927 from the Thielmann Workshop

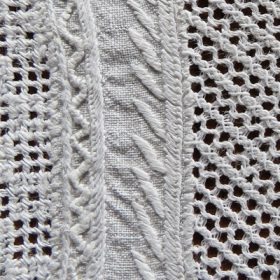
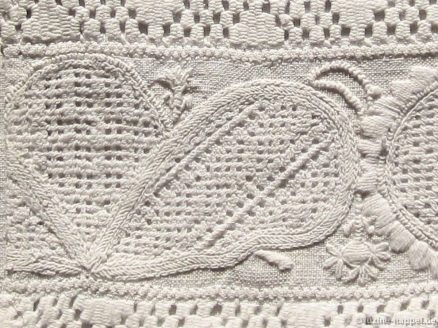
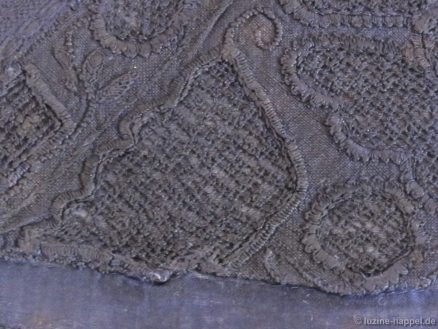
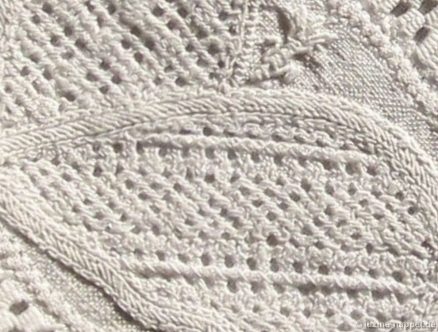
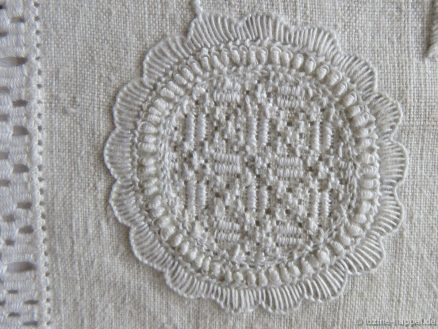
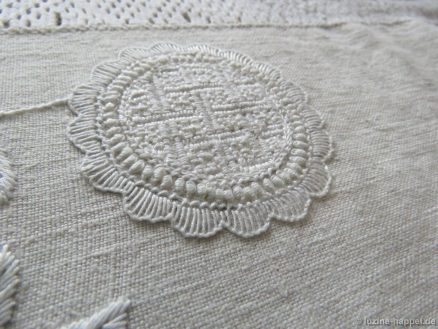
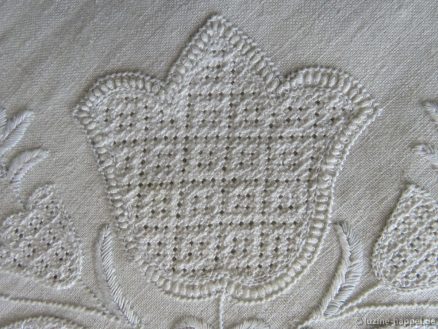
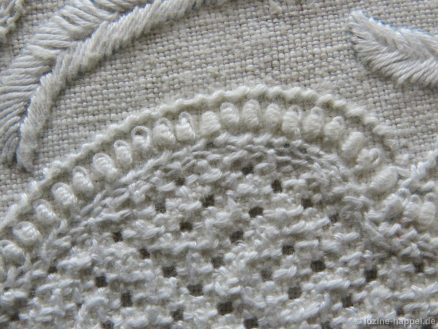
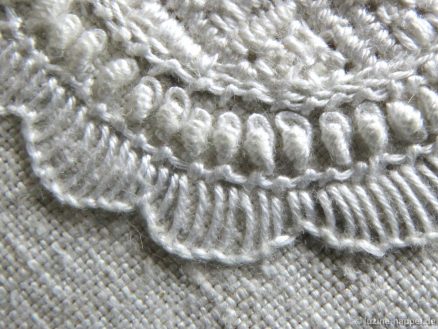
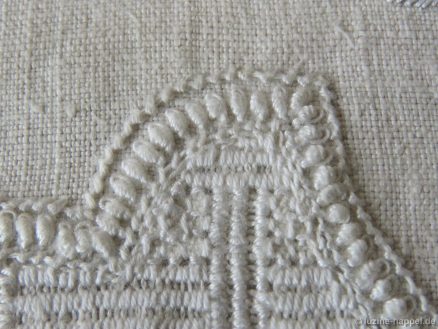
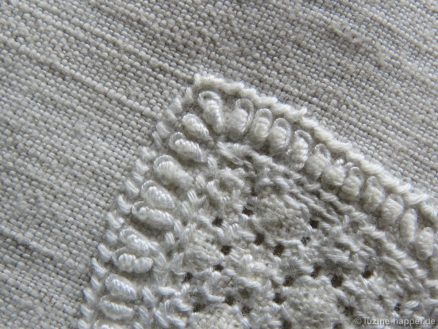
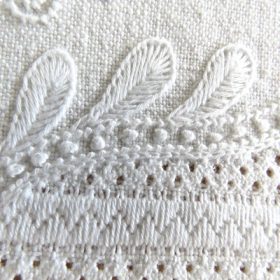
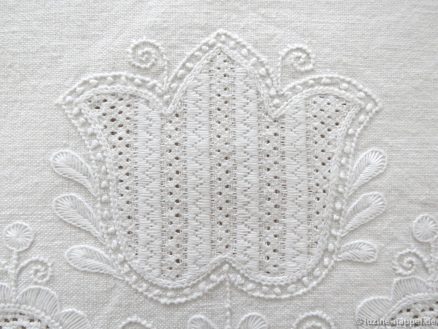
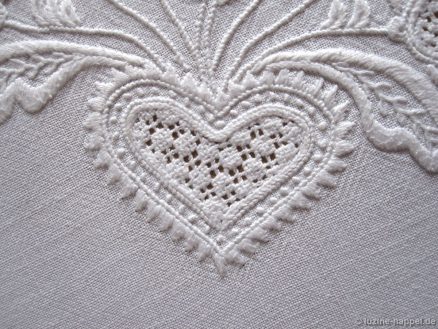
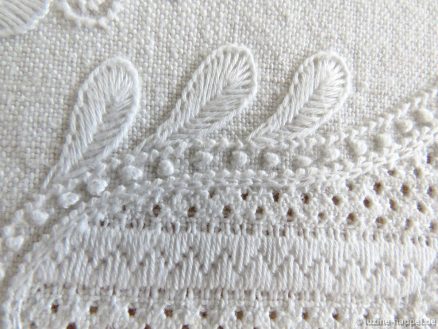
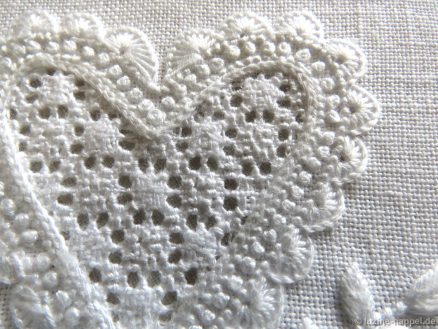
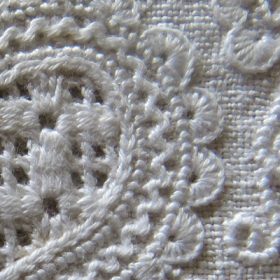
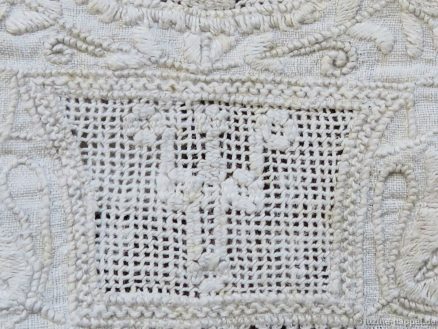
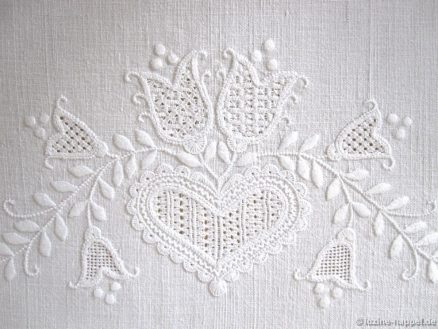
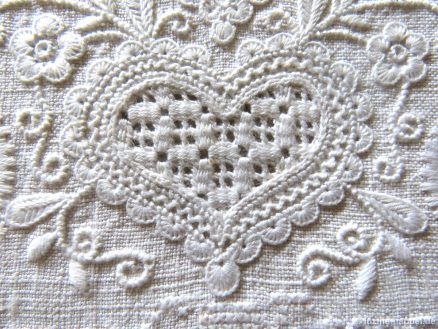
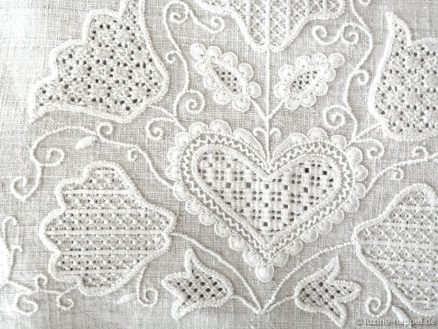
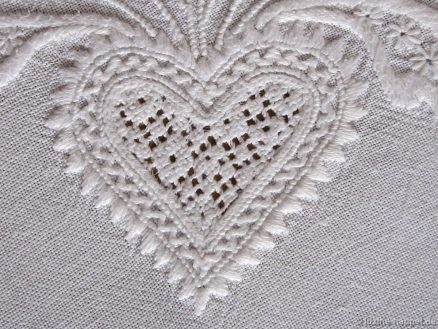
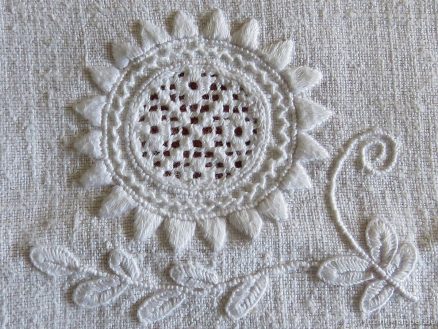
The “Museum Digital” series presents outstanding examples of Schwalm whitework and documents them with numerous detailed photographs. Each photo is accompanied by a detailed description.
The pilot project – my Tulip Sampler – has met with great interest.

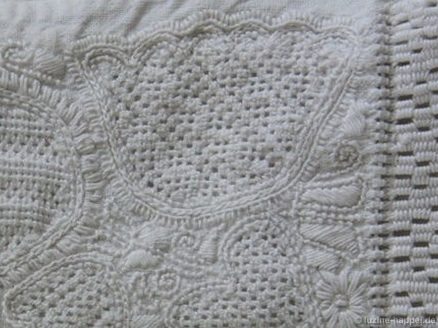
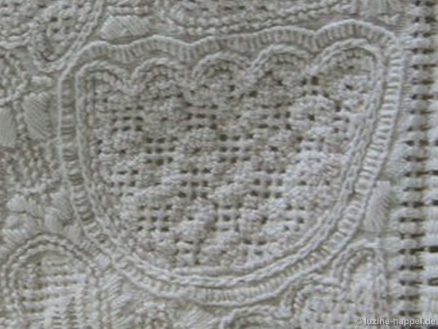
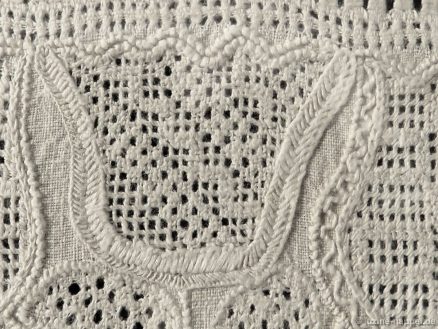
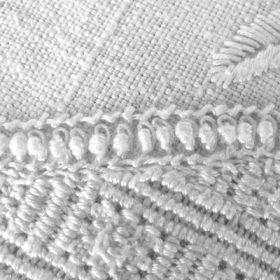
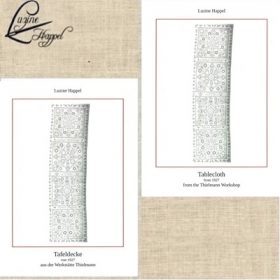
Now I have prepared another piece with first-class and remarkable embroidery: A beautiful and opulently embroidered tablecloth – dated 1927 – from the Thielmann workshop.

Much of my website is provided free of charge. I cover the costs of maintenance, updates, and upkeep.
Therefore, I ask for your understanding that such a time-consuming project as “Museum Digital” has a purchase price – albeit a small one.
In return, you will receive the “Tablecloth from 1927 from the Thielmann Workshop” with 140 high-resolution photos, which you can examine at your leisure and appreciate every detail. This is accompanied by a 12-page semantic description or, upon request, a 36-page description with inserted images.

By placing an order, you agree not to share or publish the photos and information in any way.

Museum digital (2)
Tablecloth
from 1927
from the Thielmann Workshop
140 photos
12 pages text
or
36 pages text with inserted images
text: English
60,4 MB file size
5,00 €
zum Shop

Museum digital (1) – Tulip Sampler

A Special Joining for Length of Linen

I recently held a special piece in my hands. Dated 1843, it appears to be a wedding bedsheet, as indicated by the letter combinations on the left side of the crown—C C H L—and on the right side—A C H L. C and A are the initials of the first names, and C H L is an abbreviation of the surname.

Although I have the cloth from Schwalm, the font and crown are not typical of Schwalm. A few special embroideries prompt me to present the details here.

The visible part of the sheet, which hung over the front edge of the bed and was decorated with a crown, initials, and the year, was made from the finest 21-cm-thread-count linen.
The lower edge is decorated with a two-centimeter-wide needle-weaving hem with a block pattern.

On the side panels you will find a one and a half centimeter wide cube needle-weaving hem.

Since the panels of handwoven linen were usually less than a meter wide, several panels had to be placed side by side.

For the part not visible to the viewer, a much coarser, 15/16-cm-thread-count linen was chosen.

A special feature that I hadn’t seen before were the connecting stitches in the style of a needle-weaving hem.

The distance between the two fabric panels is approximately 8 mm. Three threads were laid close together from one fabric panel to the opposite one, then weaved halfway. Then—and this is the special feature—the thread was moved to the nearest completed needle-weaving bridge and there wrapped around the center of the first laid thread. On the way back to the started needle-weaving bridge, the working thread was wrapped. Then the needle-weaving bridge was finished. It has a width of approximately 3 mm. The next bridge was started at a distance of approximately 4 mm.

Also unusual are the horizontal connections between the multi-unit needle-weaving bridges of the hem with block pattern on the lower edge.

See also:
Combining Lengths of Linen to Make Larger Pieces (1)
Combining Lengths of Linen to Make Larger Pieces (2)
Plaited Insertion stitch (Interlaced Insertion stitch) – how to work

Schwalm Tulip Motifs through the Ages (1)

The tulip is one of the main elements in Schwalm whitework designs. Tulip shapes can be modified indefinitely. They have also undergone changes in Schwalm over the centuries.
This blog post aims to trace this in broad outline.

While the tulip figures in early Schwalm whitework were were multi-

Detail from a parade cushion border – 18th century

and often small-part,

Detail from a door hanging border – 18th century

the filling patterns that were now in fashion required more space.

Detail from a bed covering, dated 1793 – Museum of the Schwalm in Ziegenhain

With the rise of Schwalm whitework toward the end of the 18th century, tulips were usually depicted in a single piece and in medium sizes. Smaller tulips were also available to fill the spaces. The bases of the tulips were usually only slightly rounded, often straight. The upper edges were slightly curved, rarely showing deeper incisions. The shapes varied – from long and narrow to wide-opening at the top to short and wide.

Detail from a bed covering, dated 1793 – Museum of the Schwalm in Ziegenhain

There have also been occasional split tulip shapes.

Detail from a bed covering, dated 1793 – Museum of the Schwalm in Ziegenhain

Initially they had a drop shape in the calyx,

Detail from a bed covering, dated 1823

but soon heart and

Detail from a parade cushion border, dated 1821

tulip outlines were added as calyx designs.

Detail from a parade cushion border, dated 1821

While the tulips were initially mostly medium-sized, very large motifs were added in the following decades.

Detail from a parade cushion border, dated 1804

Detail from a parade cushion border, dated 1842

Often their proportions were not adapted to the other motifs.

Detail from a parade cushion border – 19th century

Detail from a parade cushion border – 19th century

All of these representations remained constant throughout the 19th century.
It wasn’t until the 1920s that they changed significantly. Examples can be seen in the next blog post.

A Special Hem

After Gerlind had finished embroidering the motifs of the Easter tea cloth “Bunnies between Daisies”, she looked for a suitable edge finish. She wanted to use the 2 short-2 long stitches of the daisy blossoms.

So she embroidered a few sample stitches. A single row of such stitches would have looked lost around the relatively large cloth.

Two rows of opposing and interlocking stitches were too massive (horizontal thread withdrawing 4:1:4:1:4).

Then she came up with the idea of ​​adding another row of small points to this border. To do this, she placed one stitch over 6 threads in height between two short stitches over 4 threads and two long stitches over 8 threads.

The result was amazing. The little “tufts of grass” fit perfectly into the Easter bunny meadow.

With stitches around the corner point over 4 fabric threads in height, the corner design also developed easily.

The eight different but similar openwork patterns (Openwork Pattern Samplers) for filling the surface of the bunny outlines make the embroidery varied and make the motifs appear light and airy.

The result: an all-round successful and magnificent-looking embroidery that will decorate any Easter table in a cheerful and festive way.

Horizontal Bird Border (3)

After pictures of the finished embroidery of the Horizontal Bird Border were shown in a first post and details of some motifs were shown in the following post, this post deals with details of the remaining elements.

The tulip, which lies slanting to the left, has a limet grid in the middle (thread withdrawing 3:1) and Diagonal Cross Filling stitches as a filling pattern (coton à broder No. 20).

The tulip, lying slanting to the right, has an openwork grid in the middle section (thread withdrawing 2:2) and “Diagonal Cross Filling – French variation/”half” as a filling pattern (coton à broder No. 20) – Openwork Pattern Samplers, pages 32, 33)

The sides of both tulips are designed the same. Satin stitch bars (coton à broder No. 20) are worked as a simple withdrawn thread pattern (thread withdrawing 3:1 once vertically and once horizontally).

The belly of the bird looking to the right receives a special Limet thread withdrawing – namely 3:1 vertically and 2:1 horizontally.

This means that the stitches in the “Narrow Pearl Pattern” Satin stitch pattern do not become too wide (Wickelstiche, page 43)

The wing also has such a thread withdrawing, but this time 2:1 vertically and 3:1 horizontally)

and a modification of filling pattern 578 (without rows of Four-Sided stitches in between) (coton à broder No. 20).

The belly of the bird looking to the left receives a Limet thread-withdrawing 3:1

and the Satin stitch pattern “Diagonal step over one plot” (Wickelstiche, page 22) (coton à broder No. 20).

The wing also receives a thread withdrawing of 3:1

and the Satin stitch pattern “Narrow Honeycomb Pattern” (Wickelstiche, page 87) (coton à broder No. 20).

The two tulips running diagonally

receive an openwork thread withdrawing 2:2. The thread grid is secured with Cable stitches (coton à broder No. 30).

The tulips on one side receive the needle-weaving stitch pattern “135” (Openwork Needleweaving Patterns, page 71) (coton à broder No. 20)

The tulips on the other side receive the needle-weaving stitch pattern “37” (Openwork Needleweaving Patterns, page 22) (coton à broder No. 20).

The belly of the next bird looking to the left receives an openwork thread withdrawing 2:2.

The thread grid is secured with Cable stitches (coton à broder No. 30).

A pattern of needle-weaving stitches with spiders (Openwork Pattern Samplers, pages 72, 73) is embroidered.

The wing of this bird also receives an openwork grid (2:2), into which the needle-weaving stitch pattern “1” (Openwork Needleweaving Patterns, page 4) (coton à broder No. 20) is worked.

The bird’s legs remain free. The cut edges of the withdrawn threads are covered with Chain stitches.

The belly of the bird looking to the right receives a thread withdrawing 2:1 and the pattern “Houndstooth” (Limerosen I, page 40) (coton à broder No. 25).

Here too, the raw edges are covered with Chain stitches.

The wing of this bird receives a horizontal thread withdrawing 2:3.

The filling pattern 562 is worked with coton à broder No. 20.

The small remaining tulips

receive a pattern of Wave stitches in the continuous area. The narrow areas of the divided tulips are filled with Satin, Blanket and Knot stitches.

The pattern of the “Horizontal Bird Border ” offers many possibilities in addition to being used as a continuous long band. You can take individual motifs or put together smaller or larger groups.