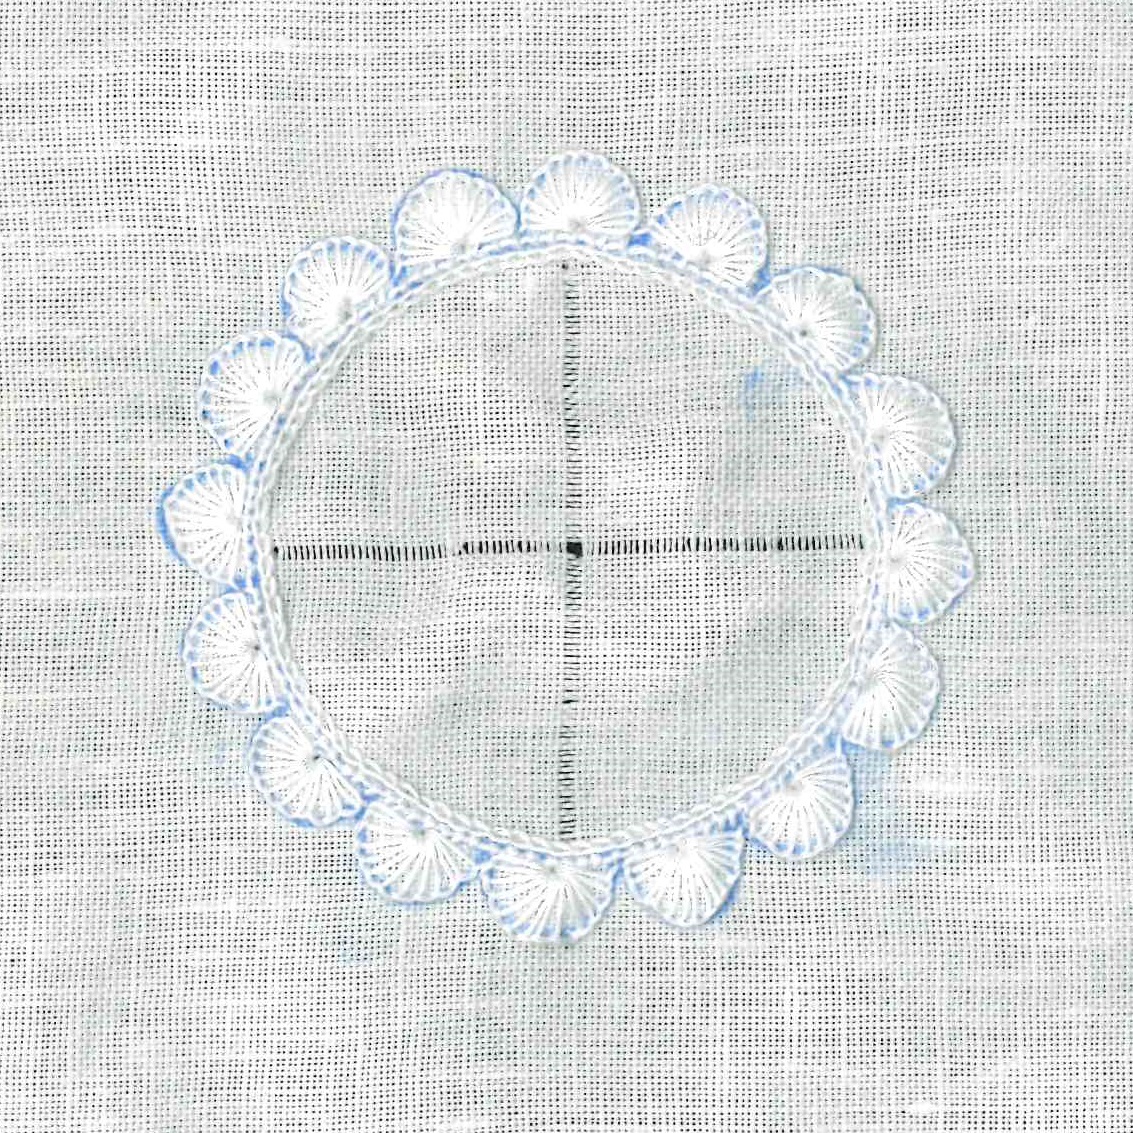
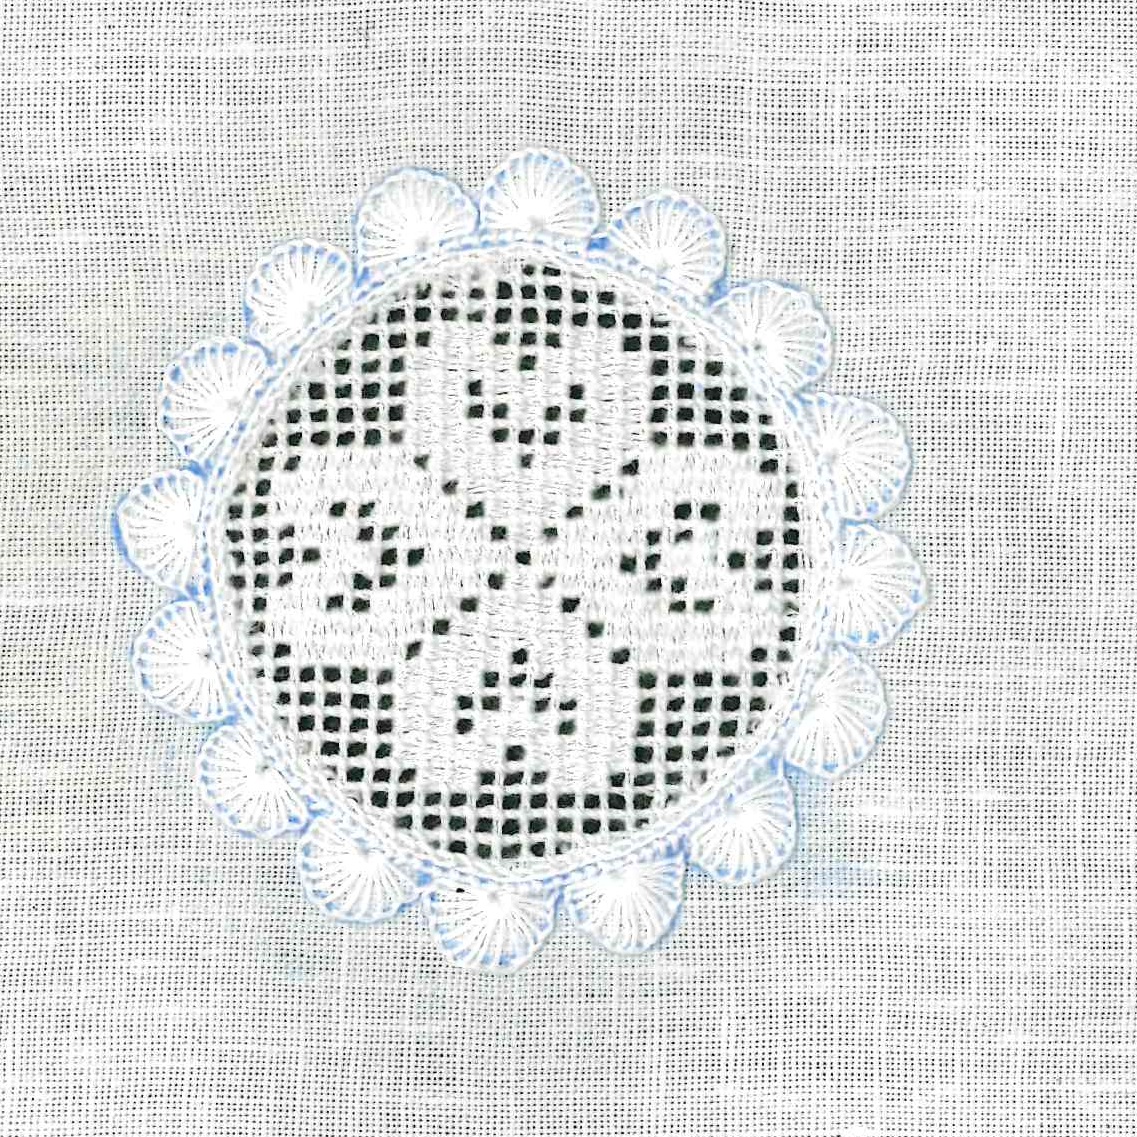
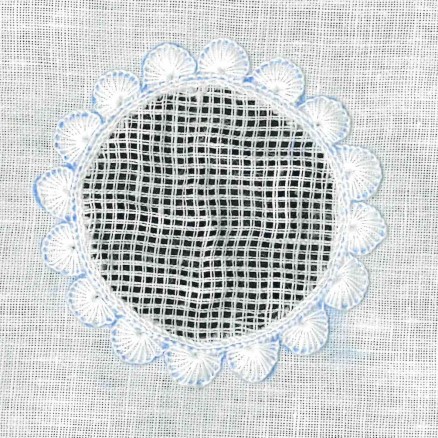
No. 470 (hearts No. 1)
category: Openwork pattern with Cable stitch grid
stitches used:: Needleweaving over 1, 2, 3, 4 and 5 squares; changing the direction
center: square
material used: 20/cm thread-count Weddigen linen
Coton à broder No. 20 (Coral Knot stitches and Needleweaving), No. 30 (Chain stitches and Cable stitch) and No. 25 (half-eyelet scallops)
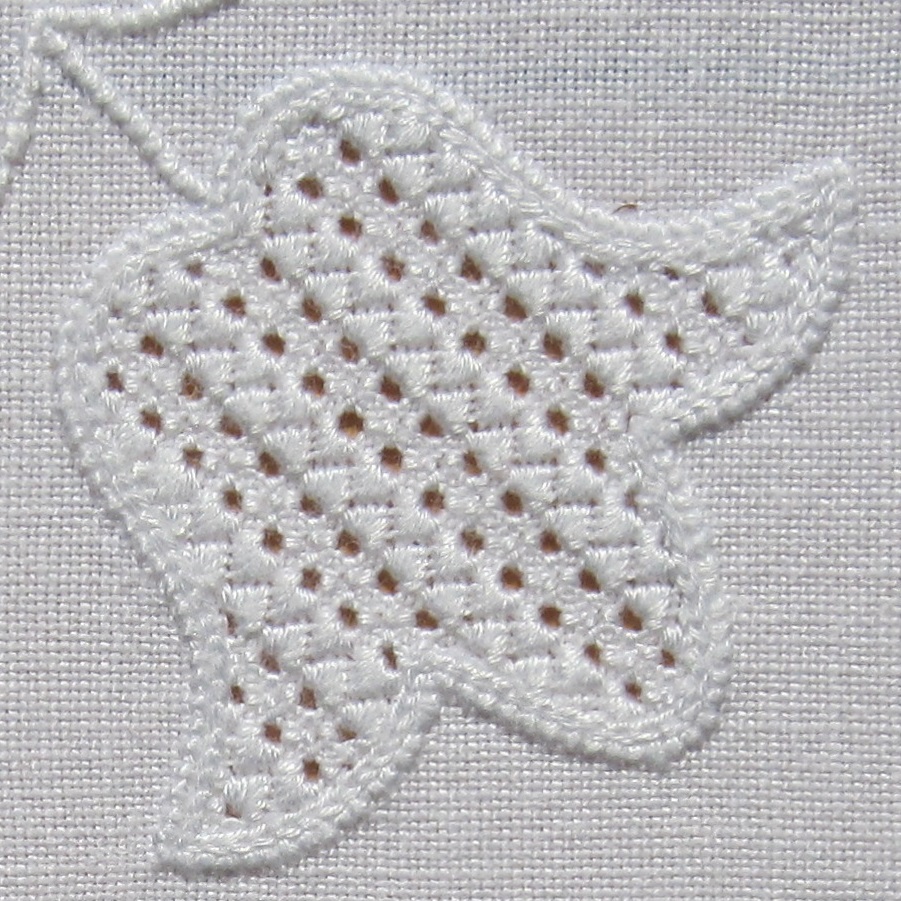
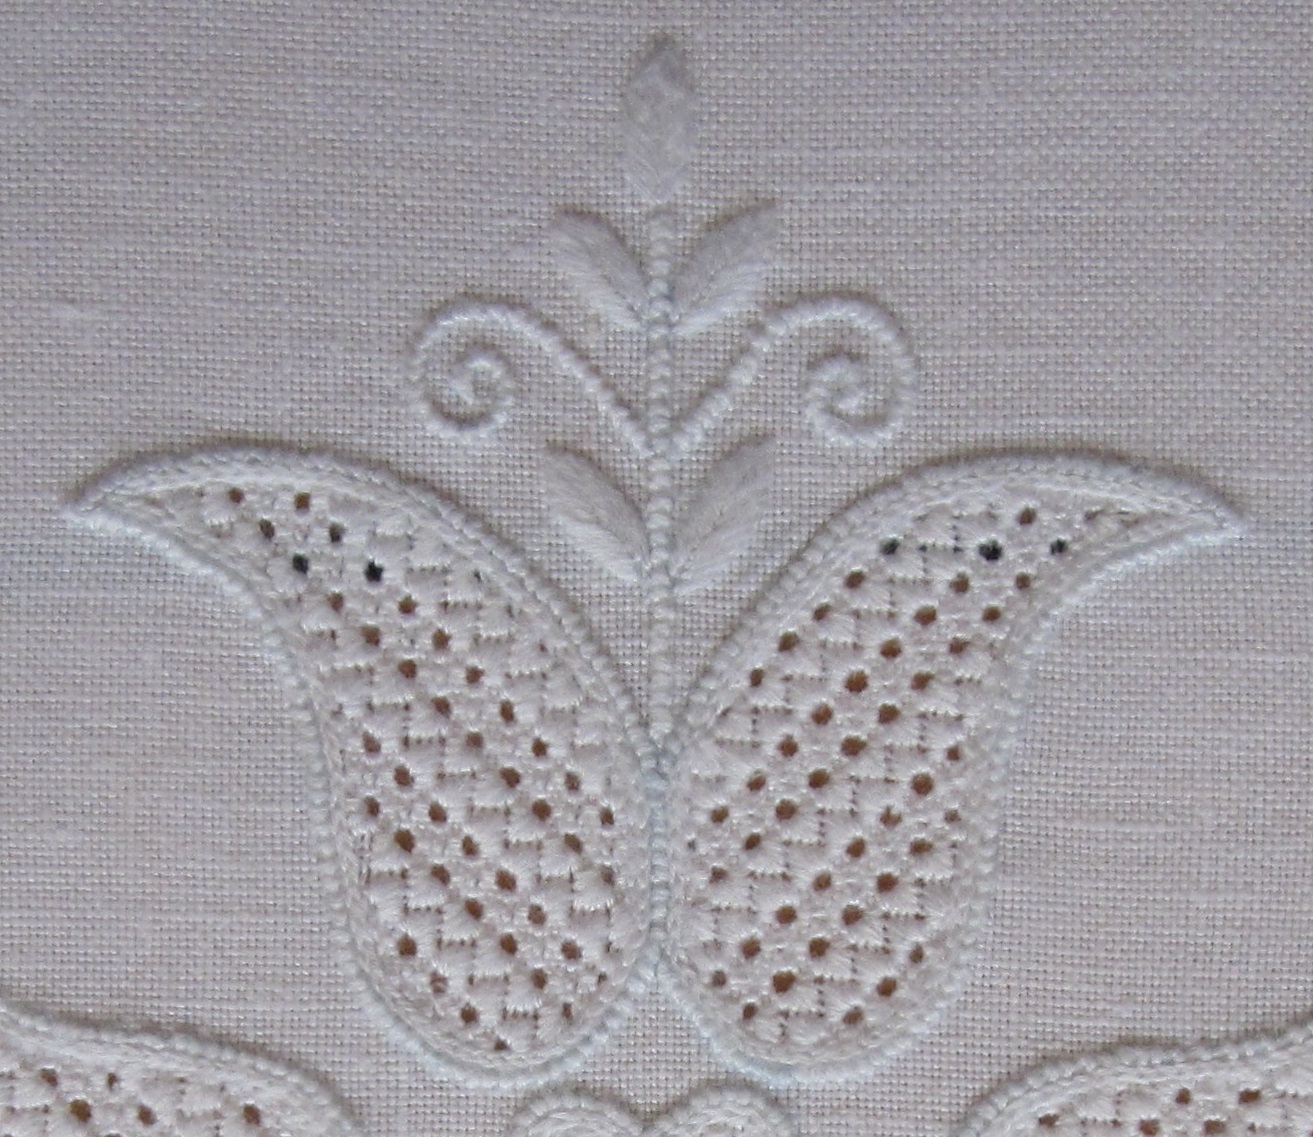
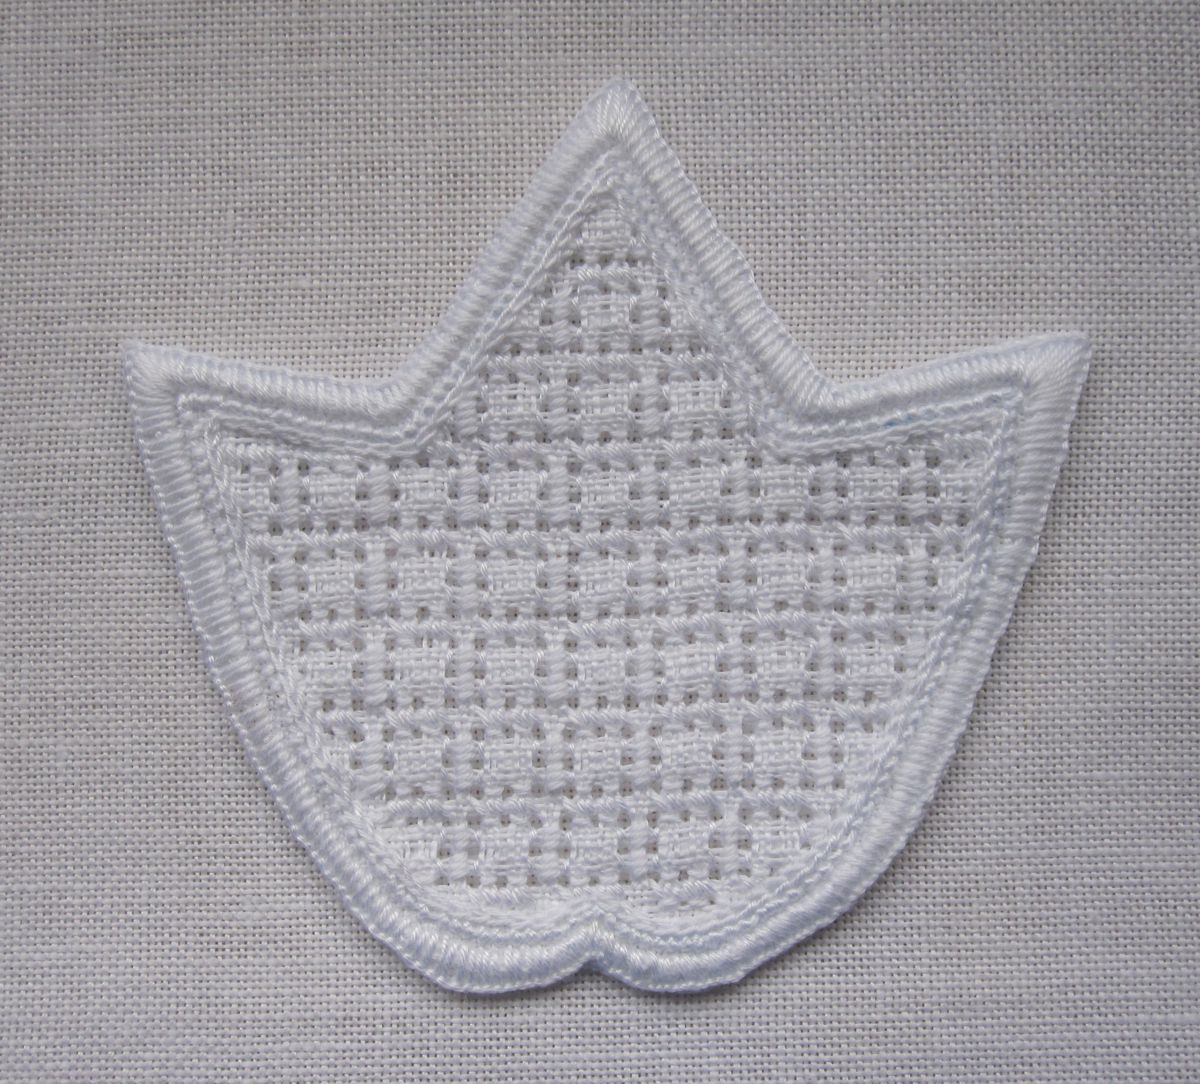
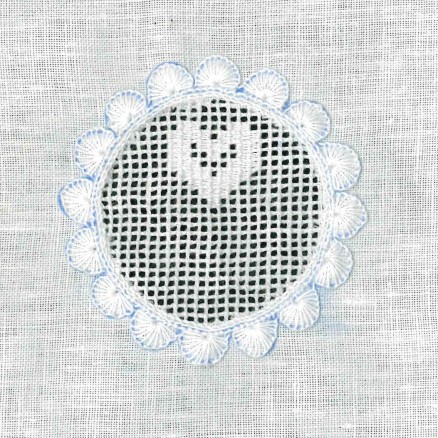
In Schwalm whitework it is also common to fill openwork cable stitch grids not only with endless patterns, but also with figures: manikin, birds, tulips, stars and, of course, hearts.
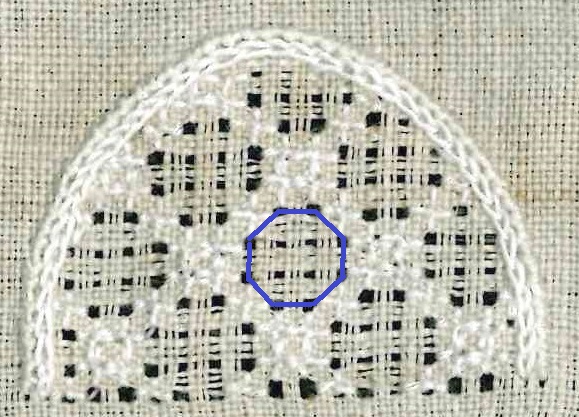
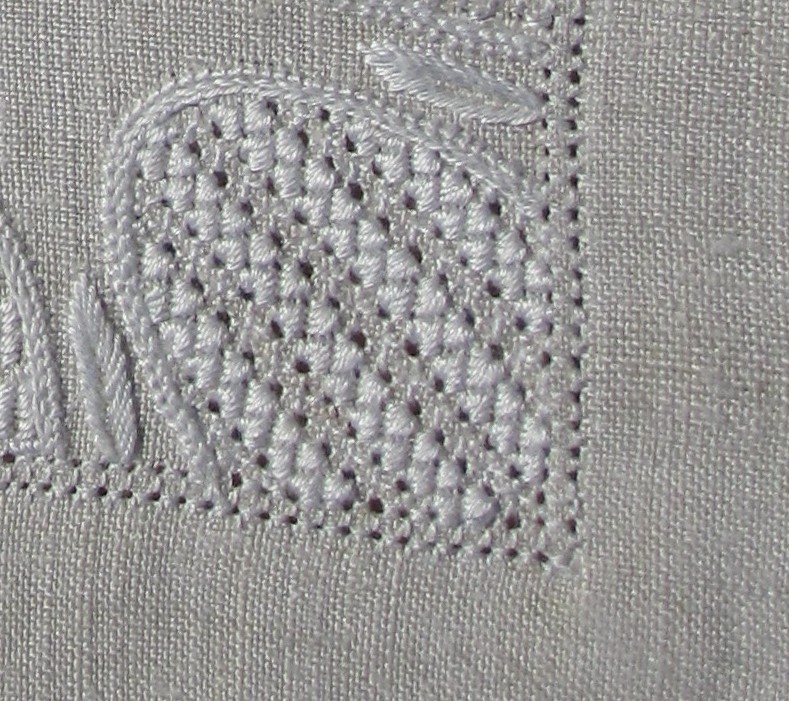
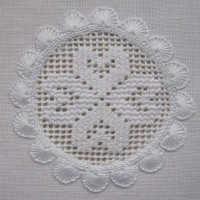
Hearts are mainly worked as quartets within circles. Usually, the hearts are stitched with Needleweaving, sometimes with Rose stitches, and rarely with a combination of Rose stitches, and Needleweaving.
There are smaller and wider heart patterns. You should always use a pattern that matches the number of squares in your grid. It is not attractive when the edge of a heart is not fully visible. It is better that there are unworked squares around the heart quartets.
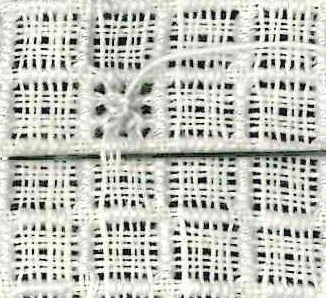
Starting at the centre, always alternate withdrawing and leaving two vertical threads. Do the same with the horizontal threads. So that the heart quartet looks pretty and turns out well, it is necessary to place it right in the middle (with the same number of squares to the right as to the left). If your linen is not absolutely evenweave, it is better to ascertain the centre by counting and not by measuring.
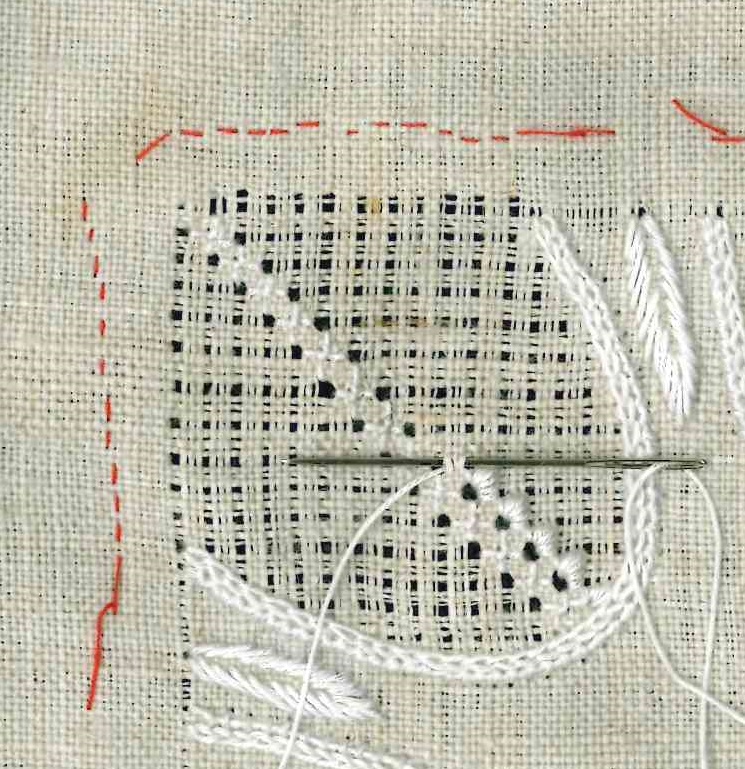
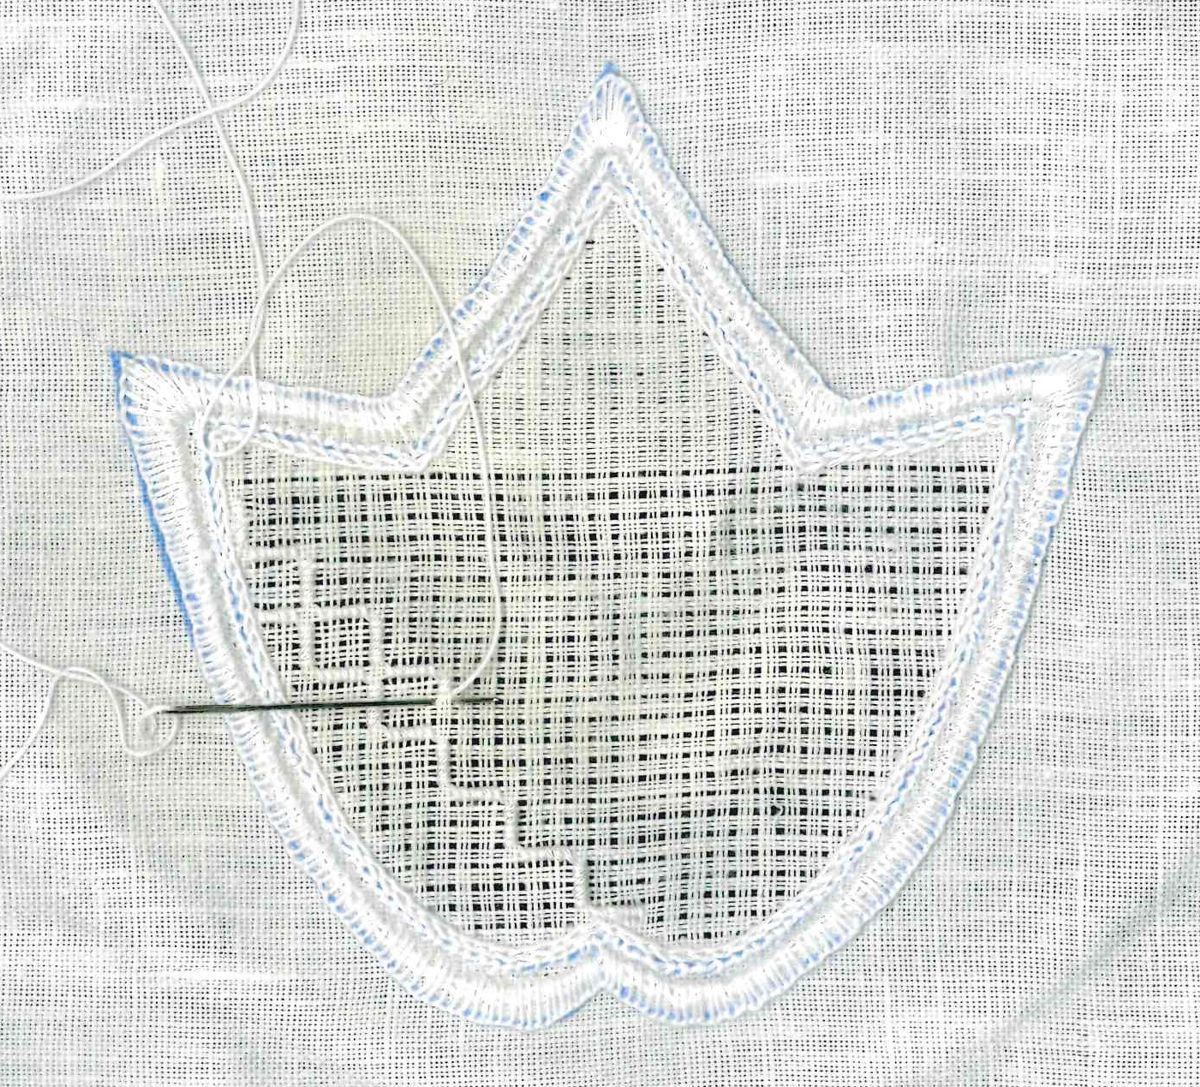
 The established grid is stabilized with Single Faggot stitches – which is simply Cable stitch from the front – worked from the back side of the fabric. (Please look here for an example of a partially worked grid.)
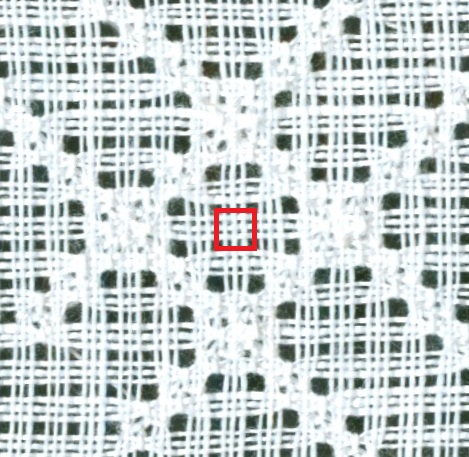
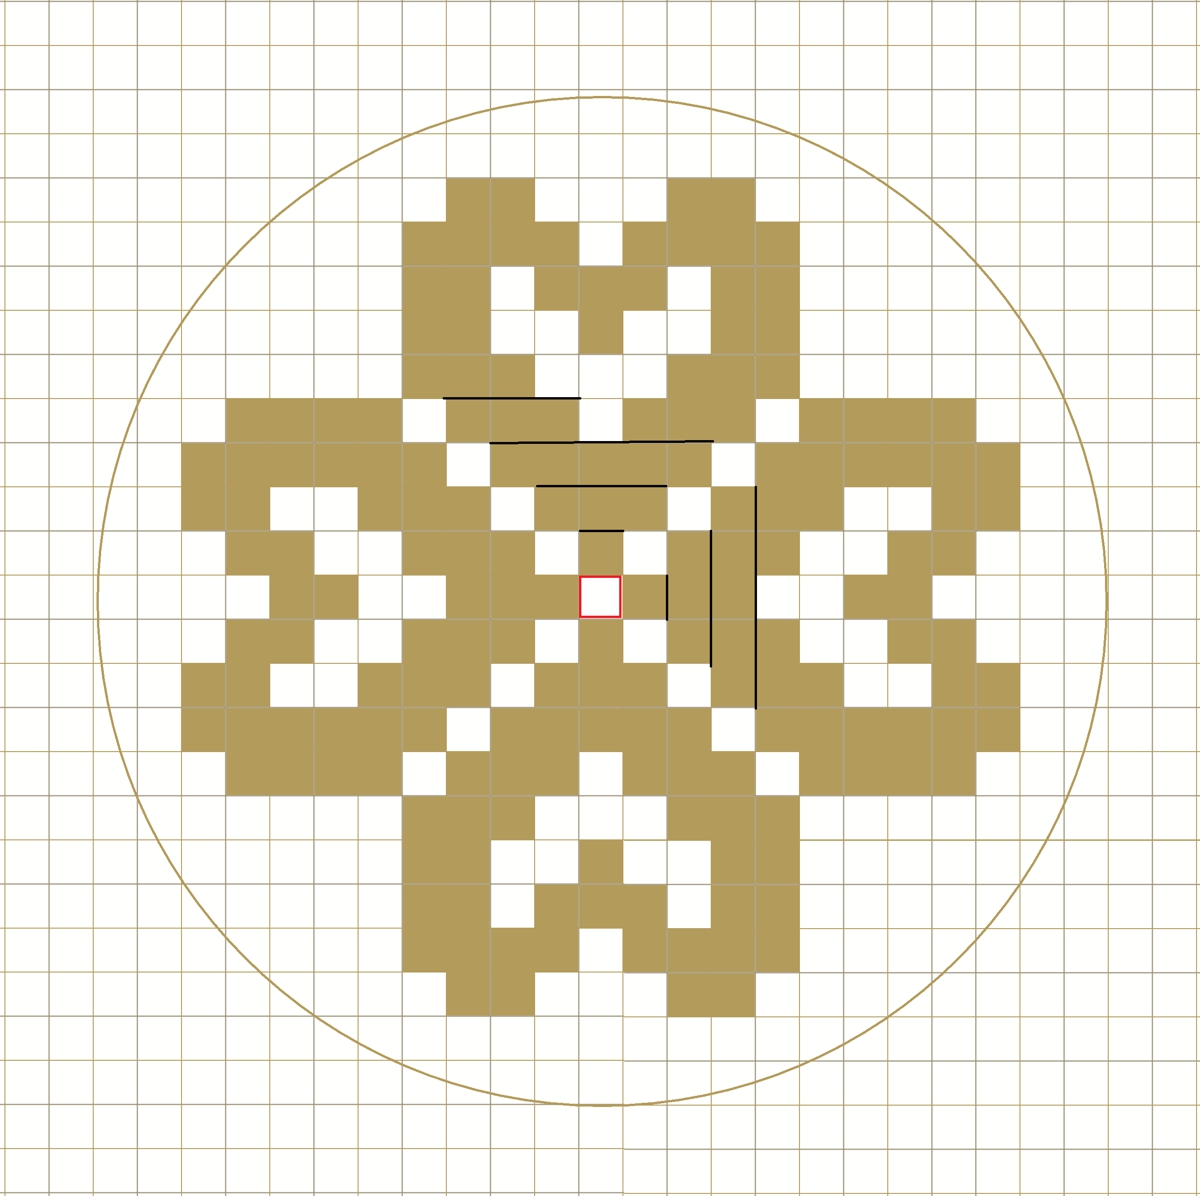
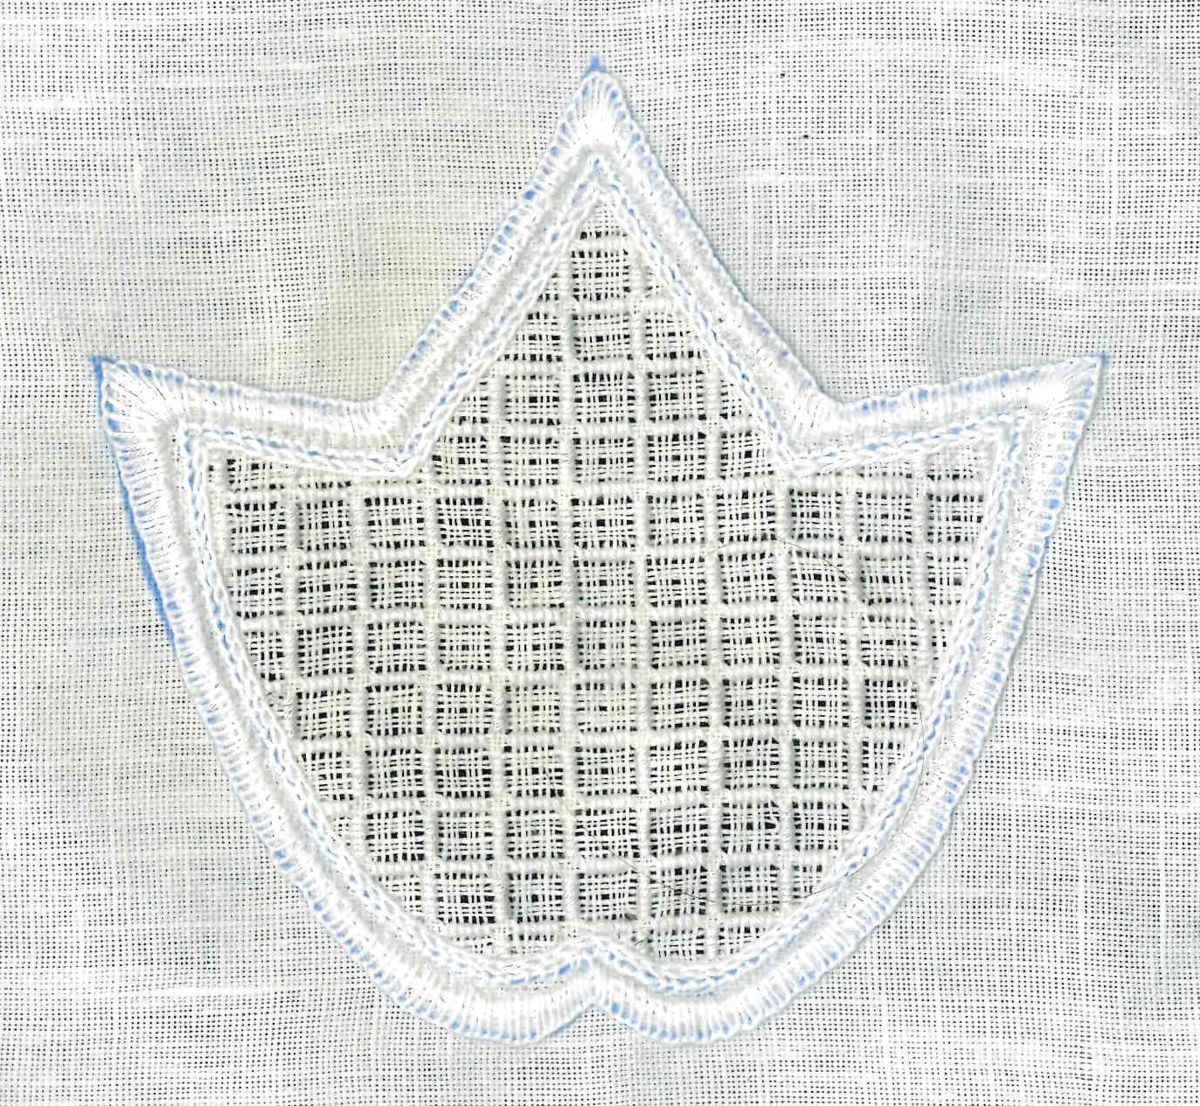
 The linen used in this example was not evenweave, so my established grid has 23 squares along the horizontal axis and 25 squares along the vertical axis. So I chose a pattern running over 19 x 19 squares. It has the following chart:
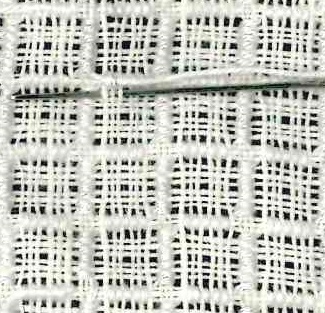
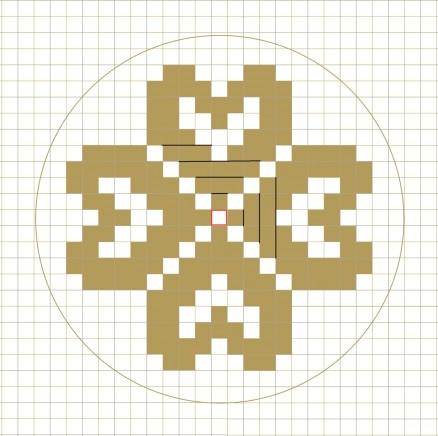 The golden squares are filled with Needleweaving. (It is also possible to work all with Rose stitches, but then the pattern will appear somewhat different.) The black lines show the direction of the needleweaving.
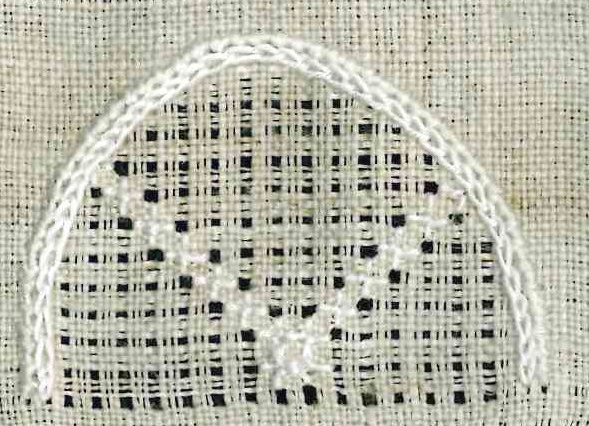
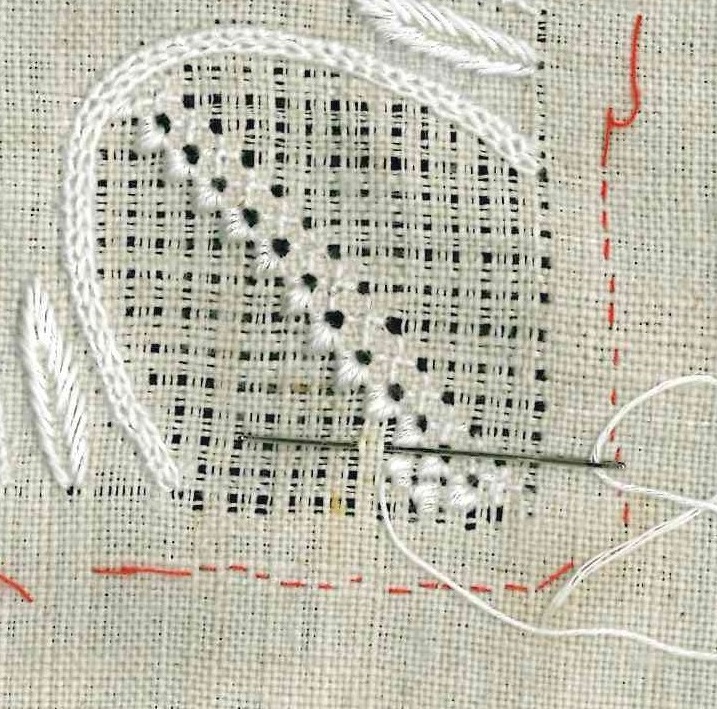
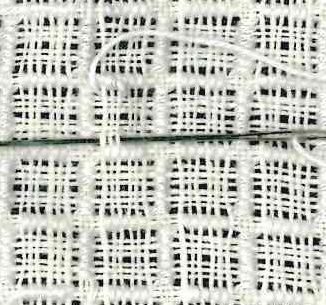
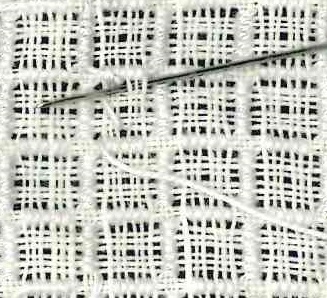
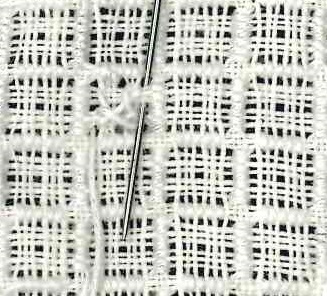
Starting at the center – marked red – work outwards, following the chart. When the pattern divides, work first along one side
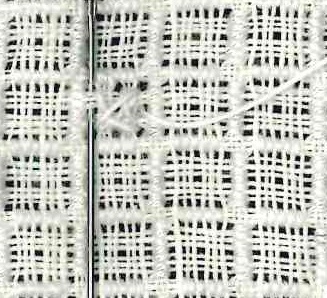
and then across the middle part to the opposite side
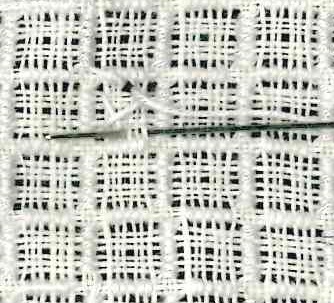
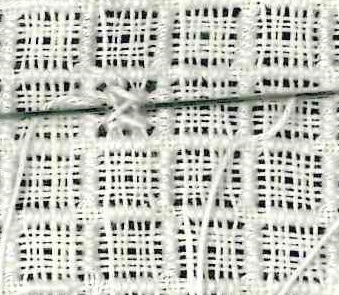
until the first heart is formed.
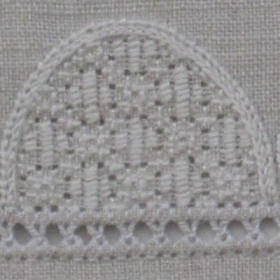
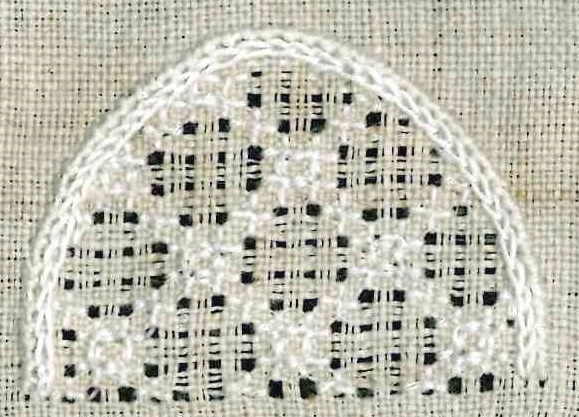
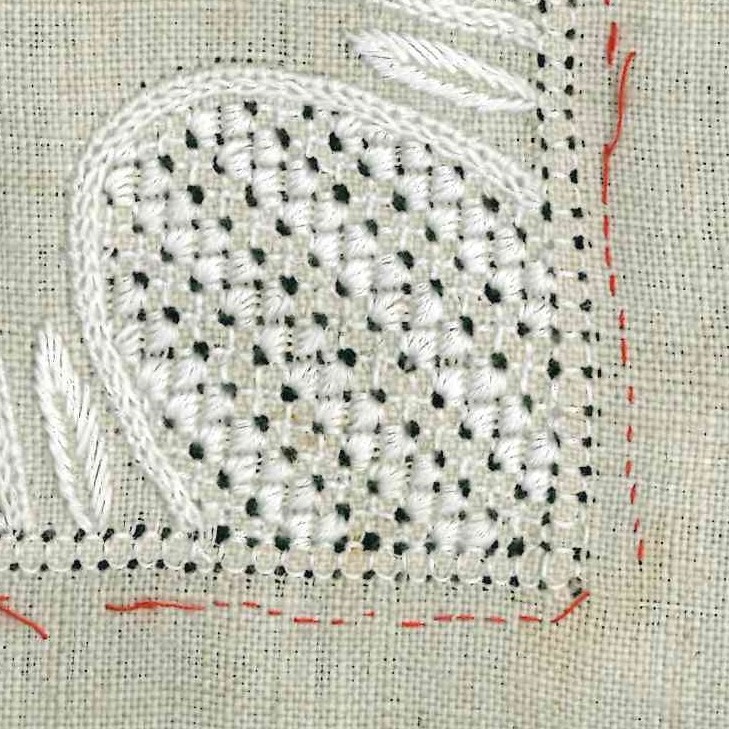
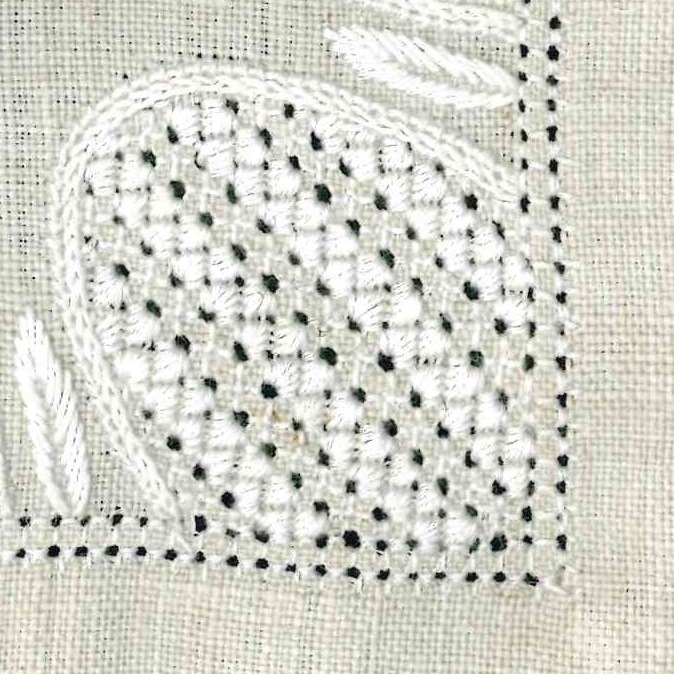
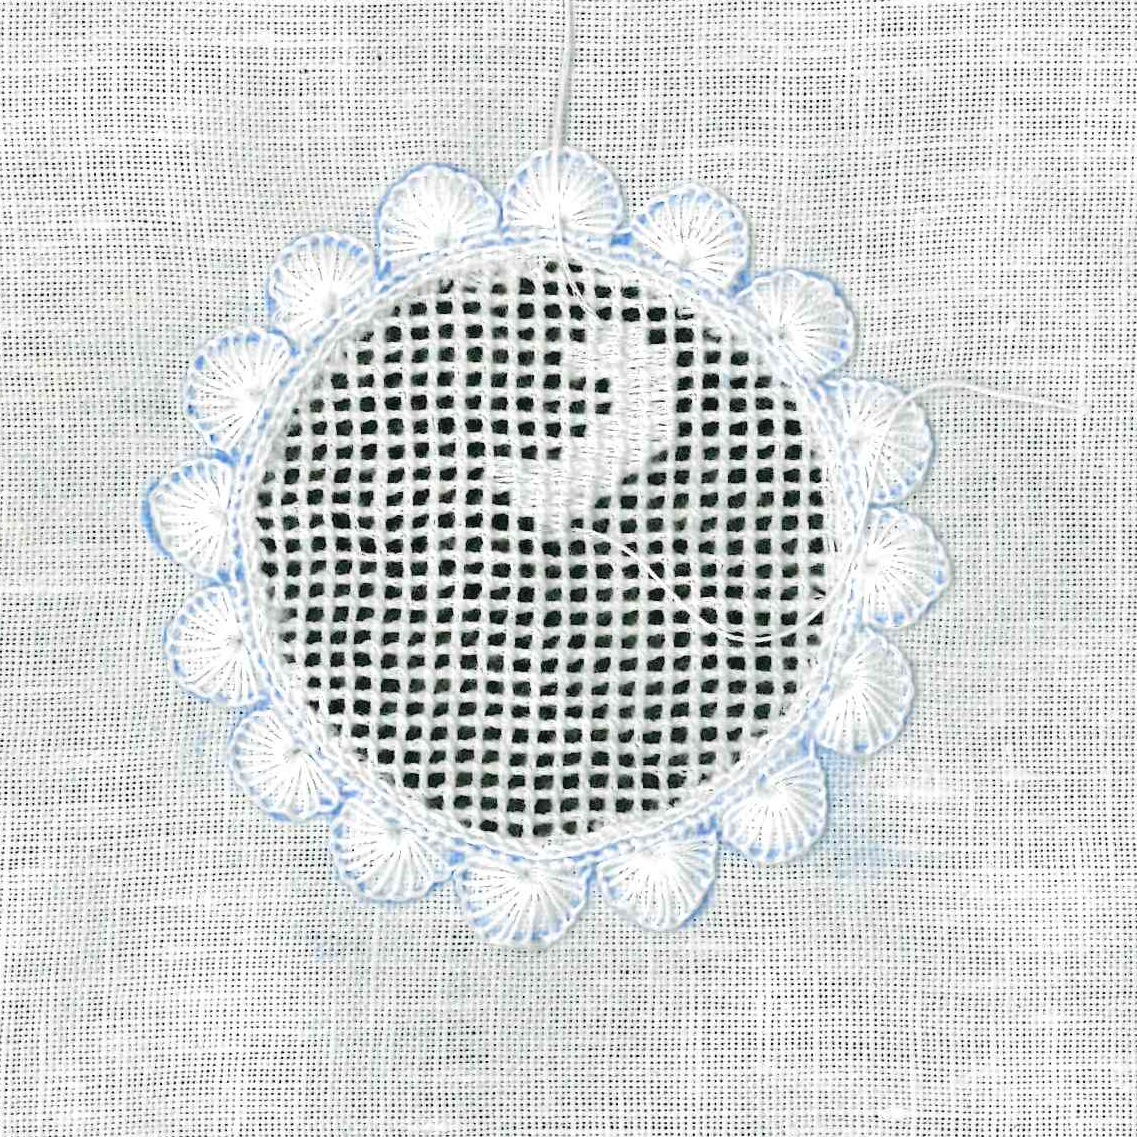
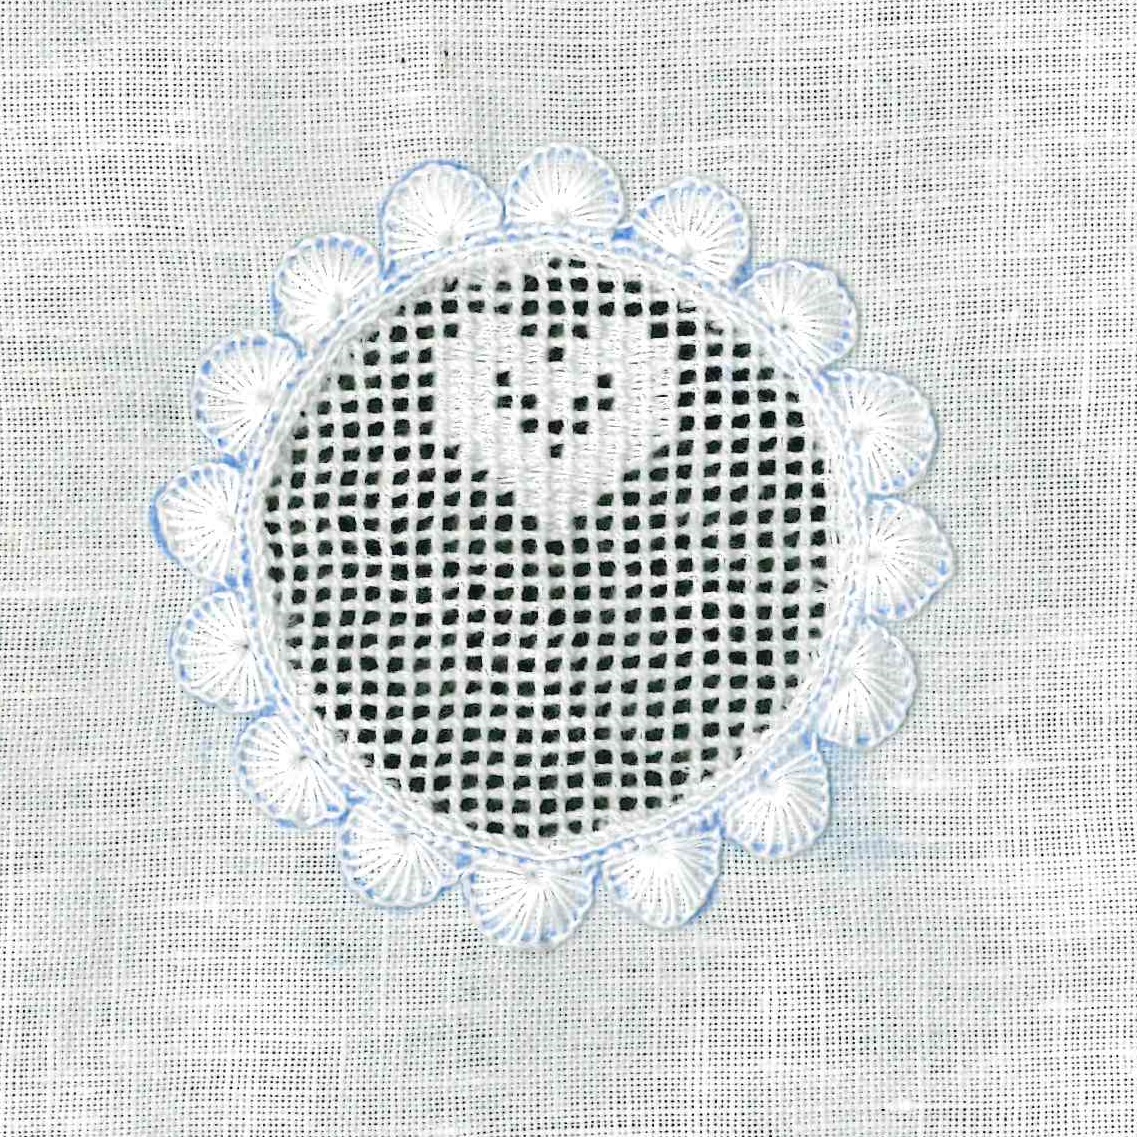
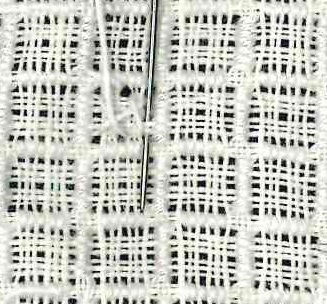
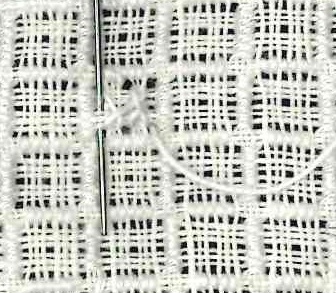
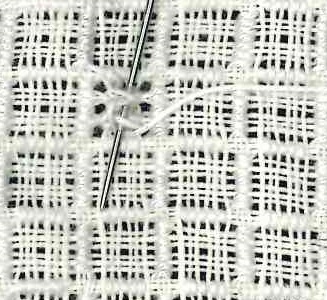
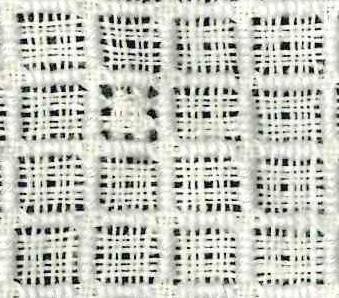
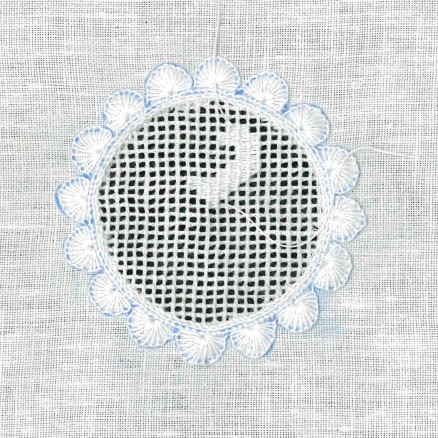
 Always out from the center, weave in the 3 remaining hearts, always following the chart. Finished it looks like this:
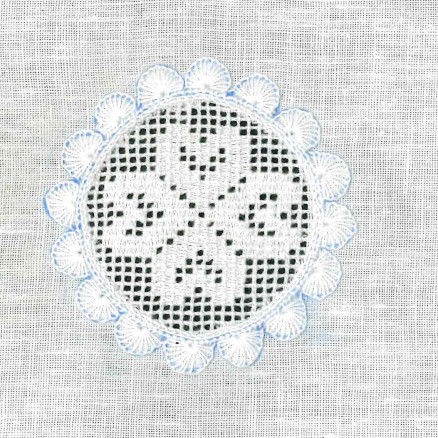
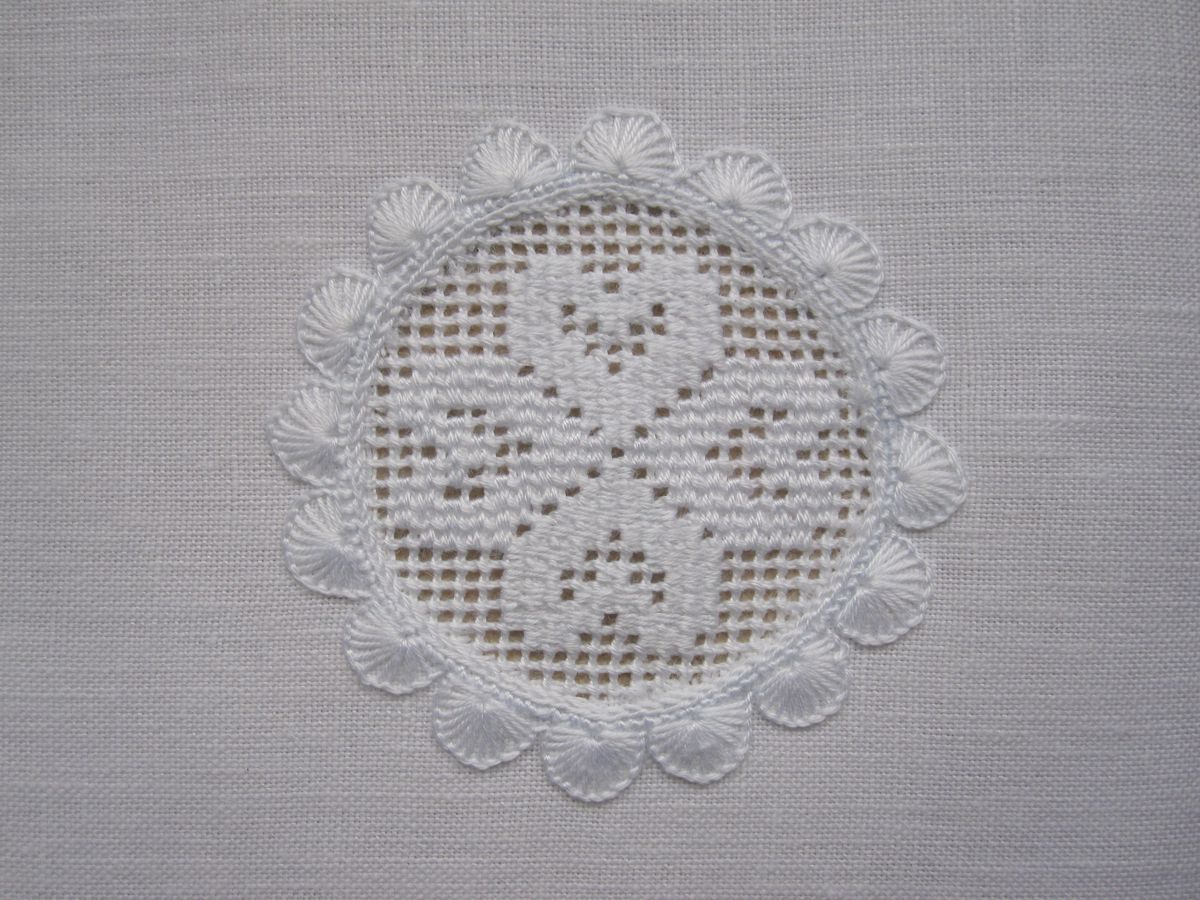
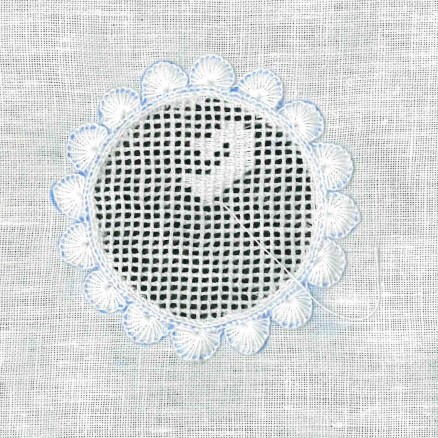
Washed, starched and ironed the pattern gets its full charm.