category: openwork filling pattern without Cable stitch grid
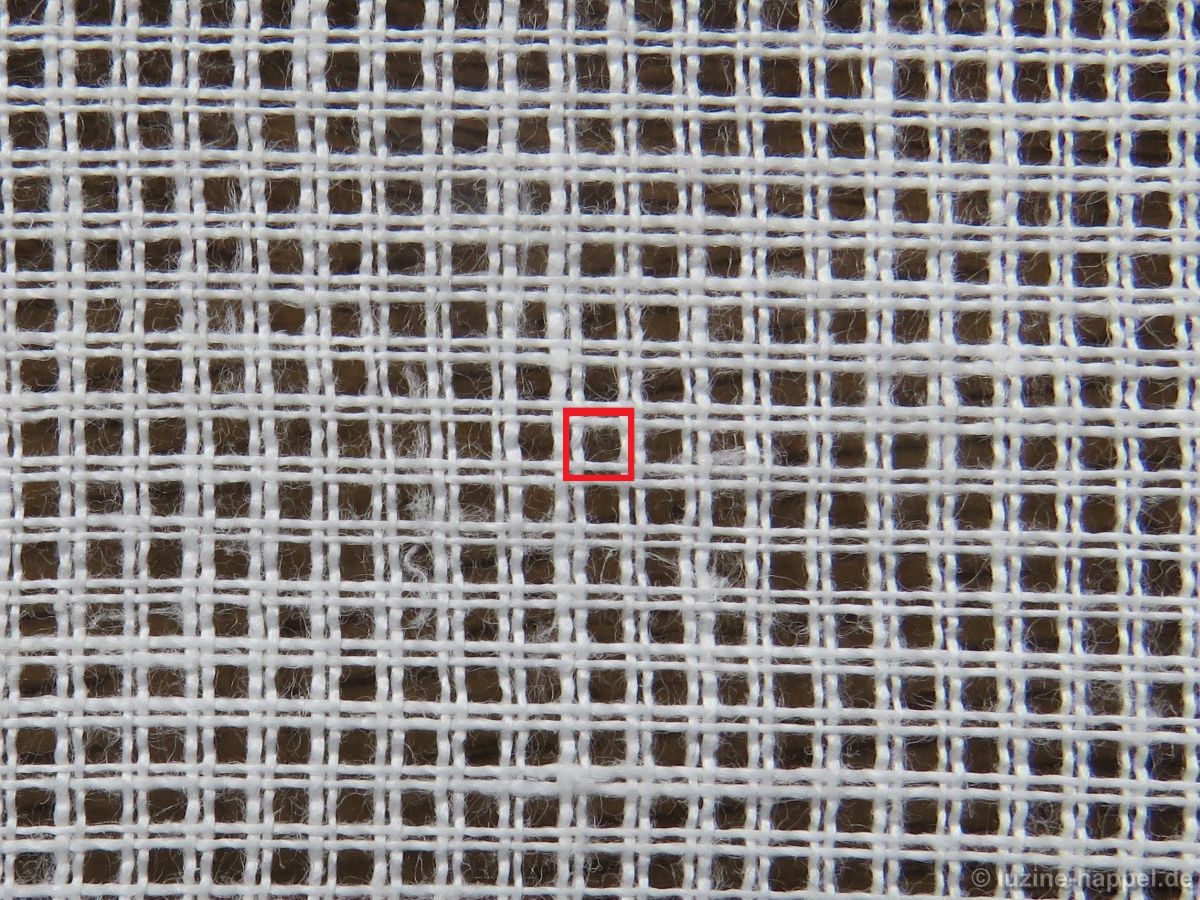
linen used: 13.5/cm thread count
threads used: coton à broder No. 20 for the Rose and the Satin stitches
stitches used: Rose and Satin stitches
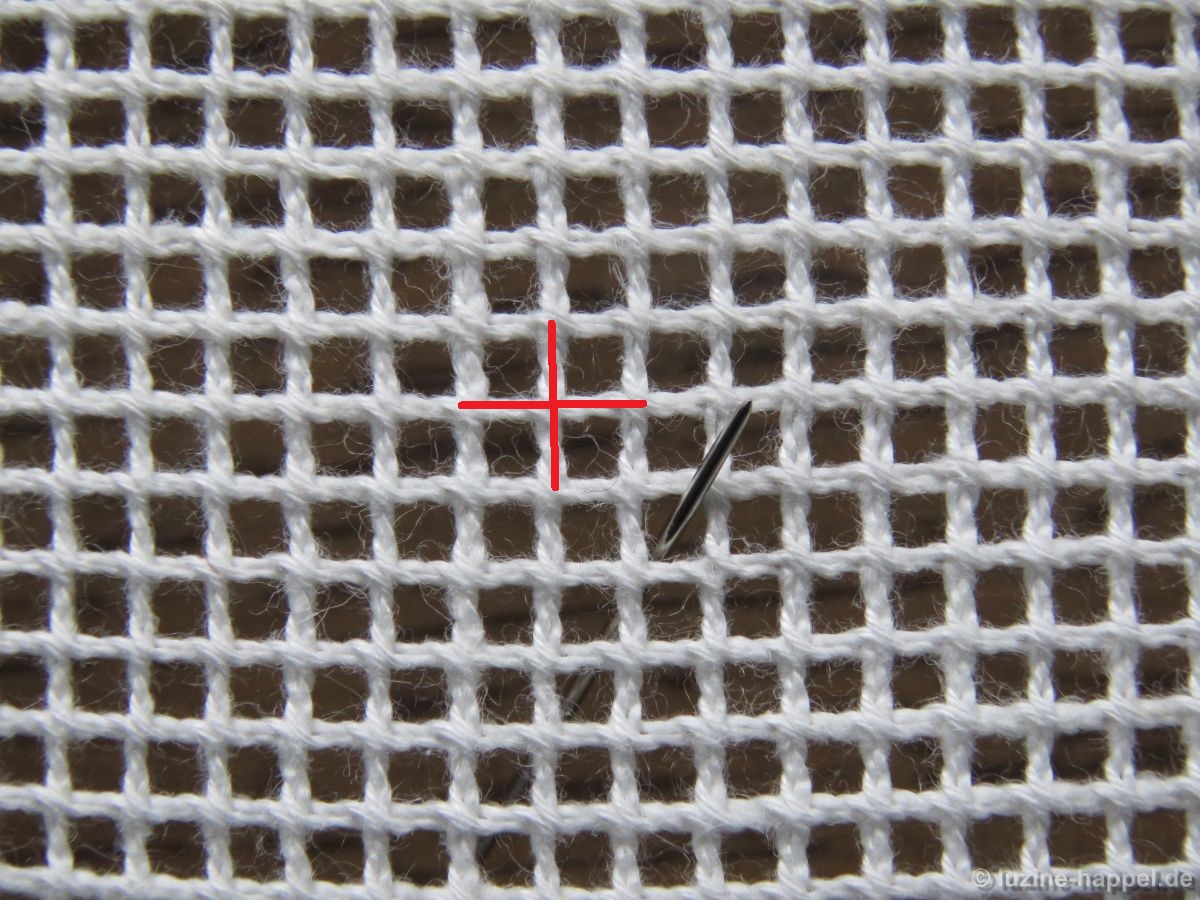
center: intersection of withdrawn thread lines (square)
one pattern segment: 18 threads
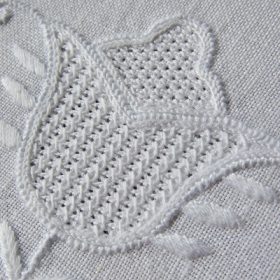
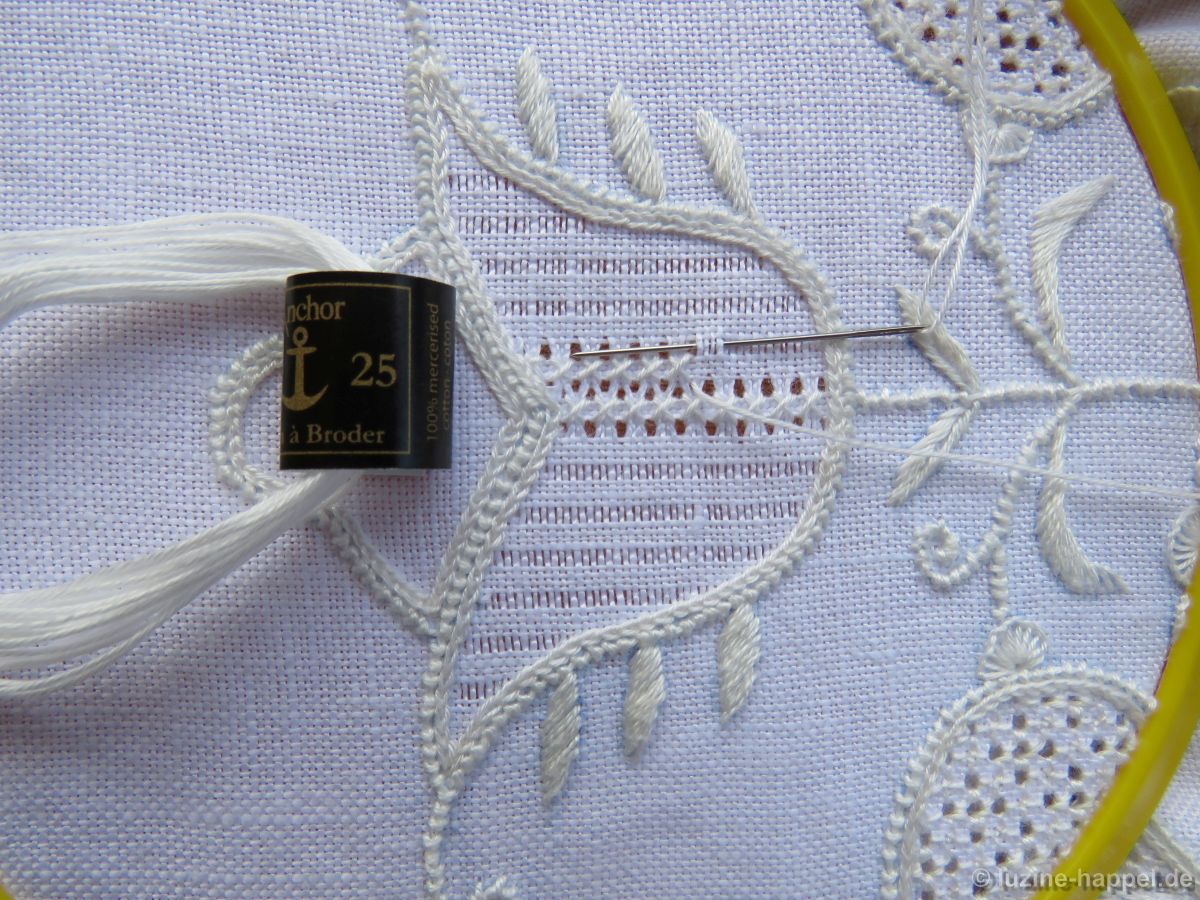
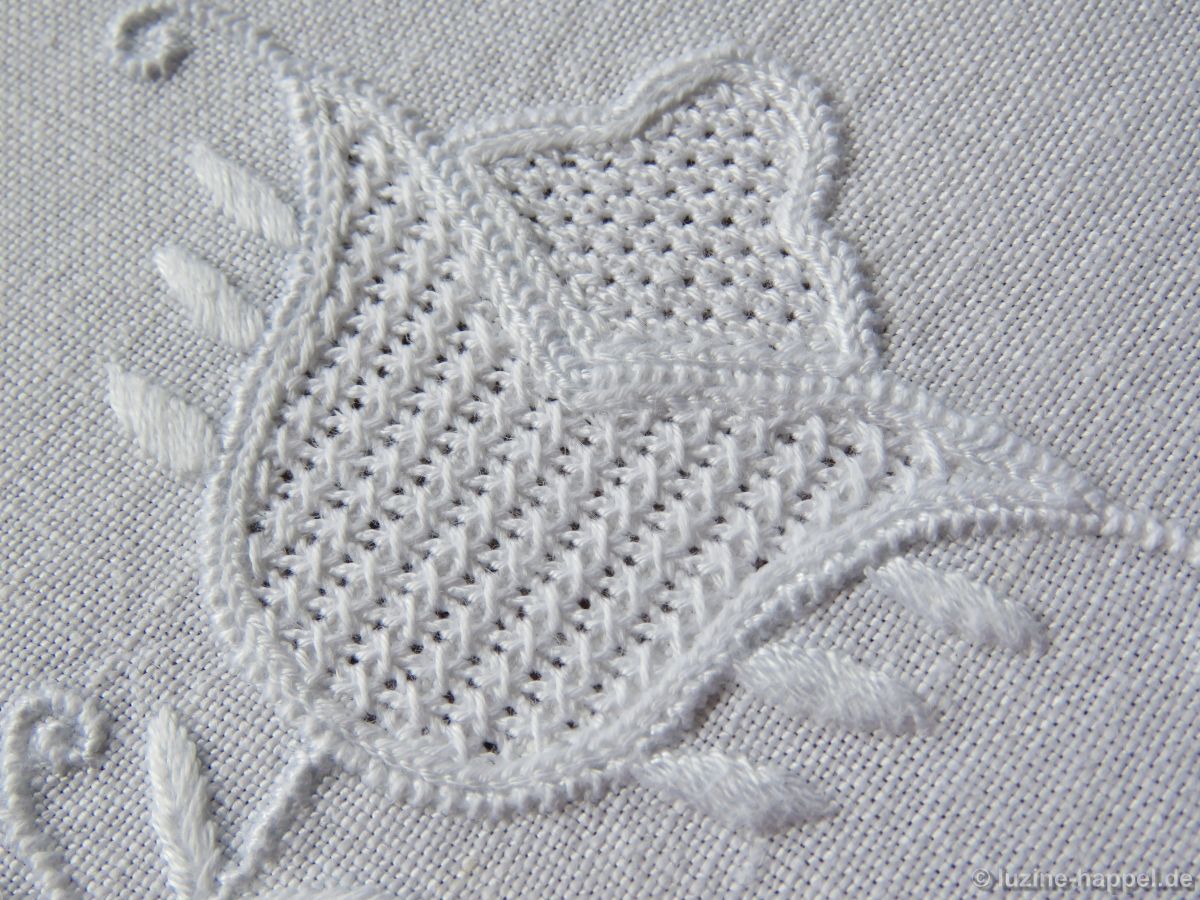
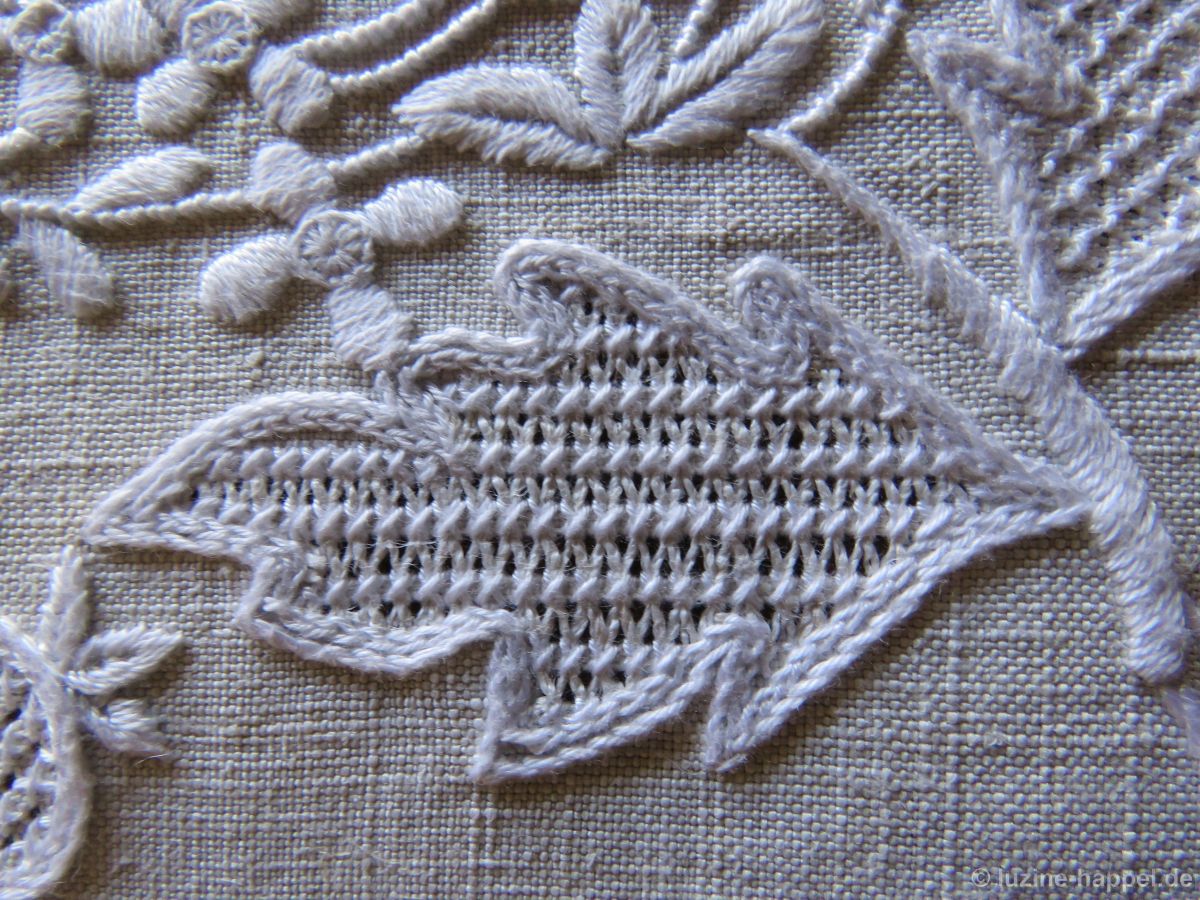
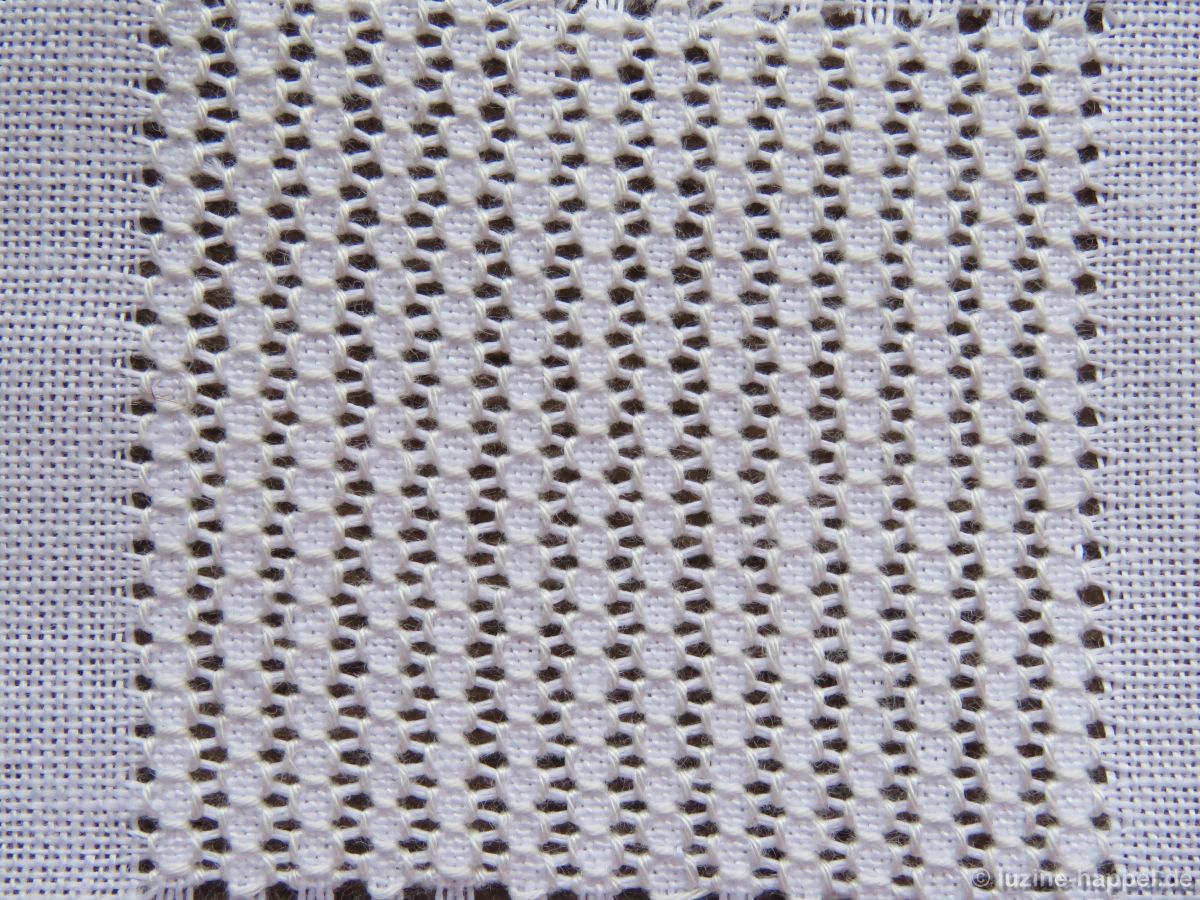
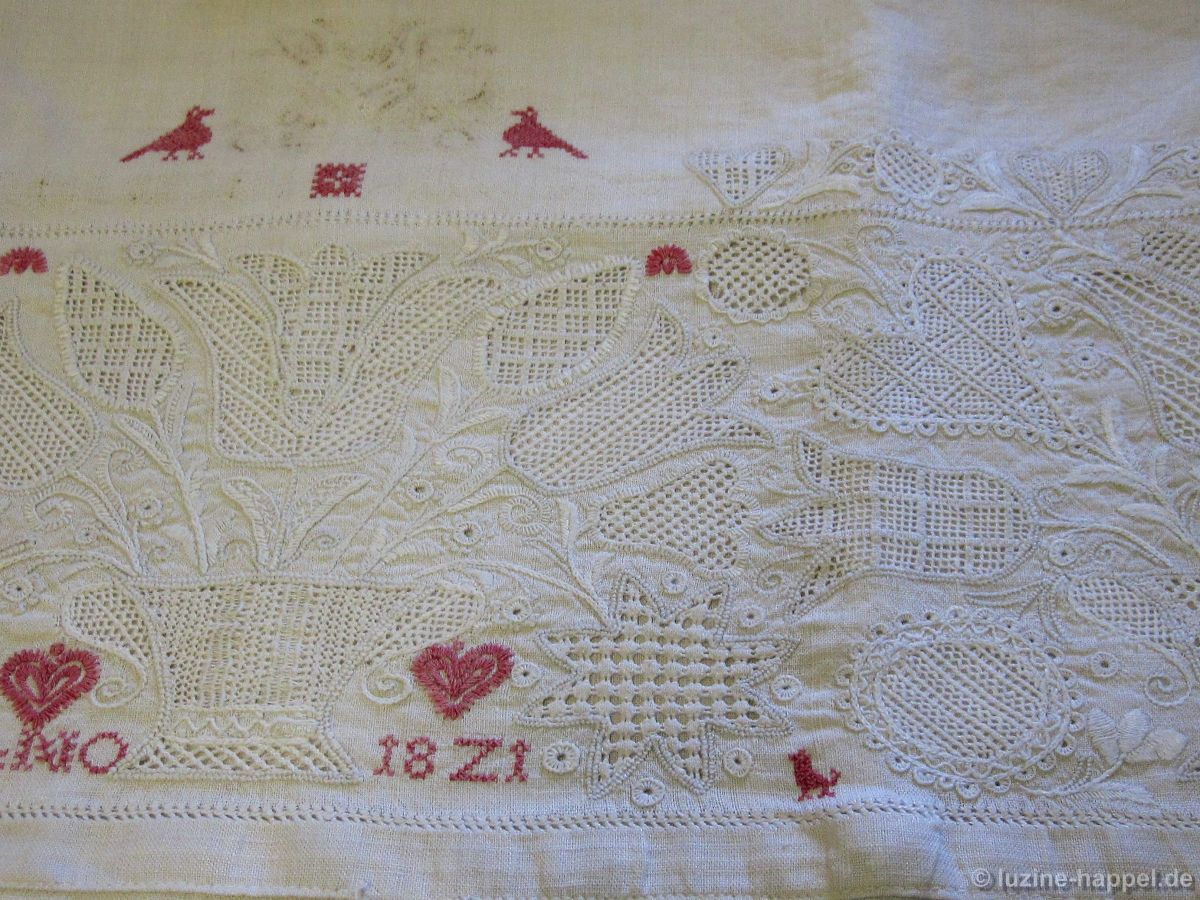
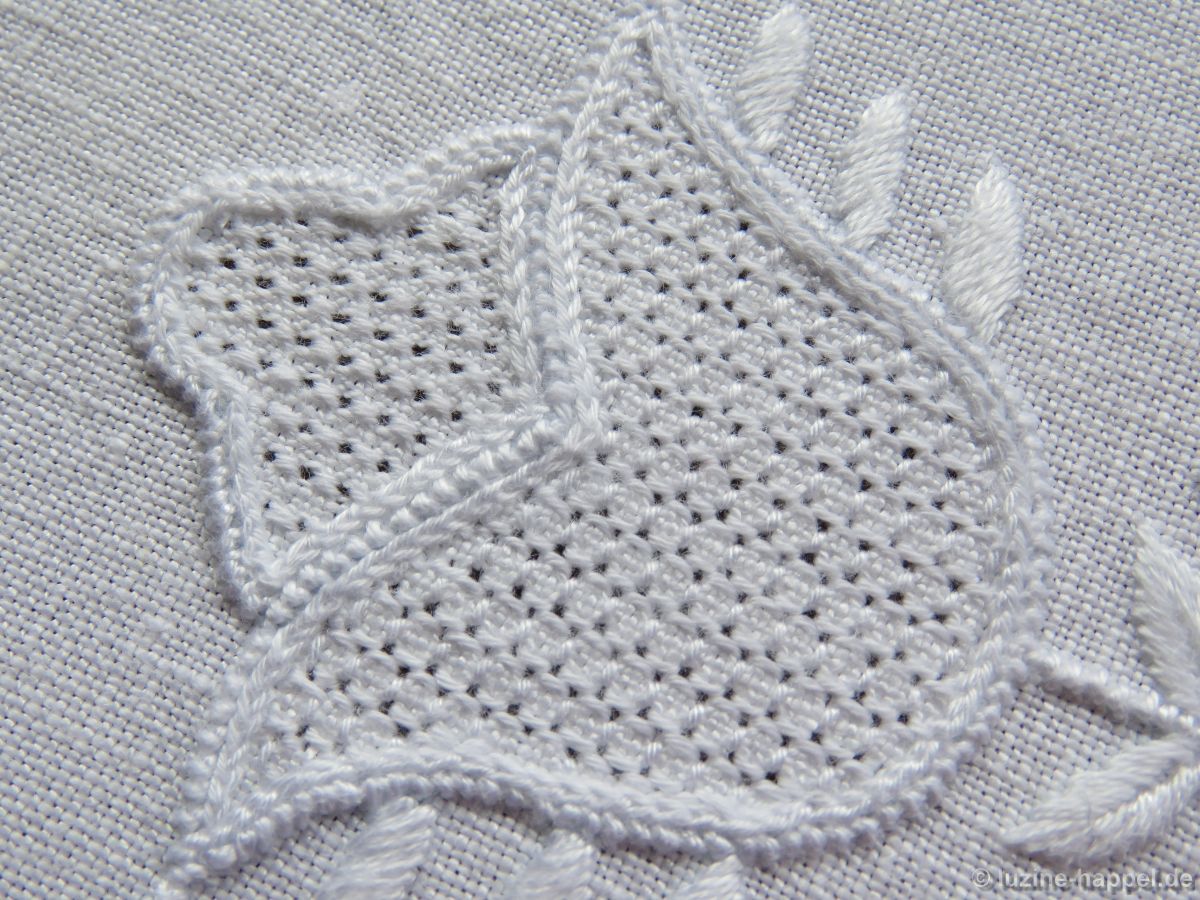
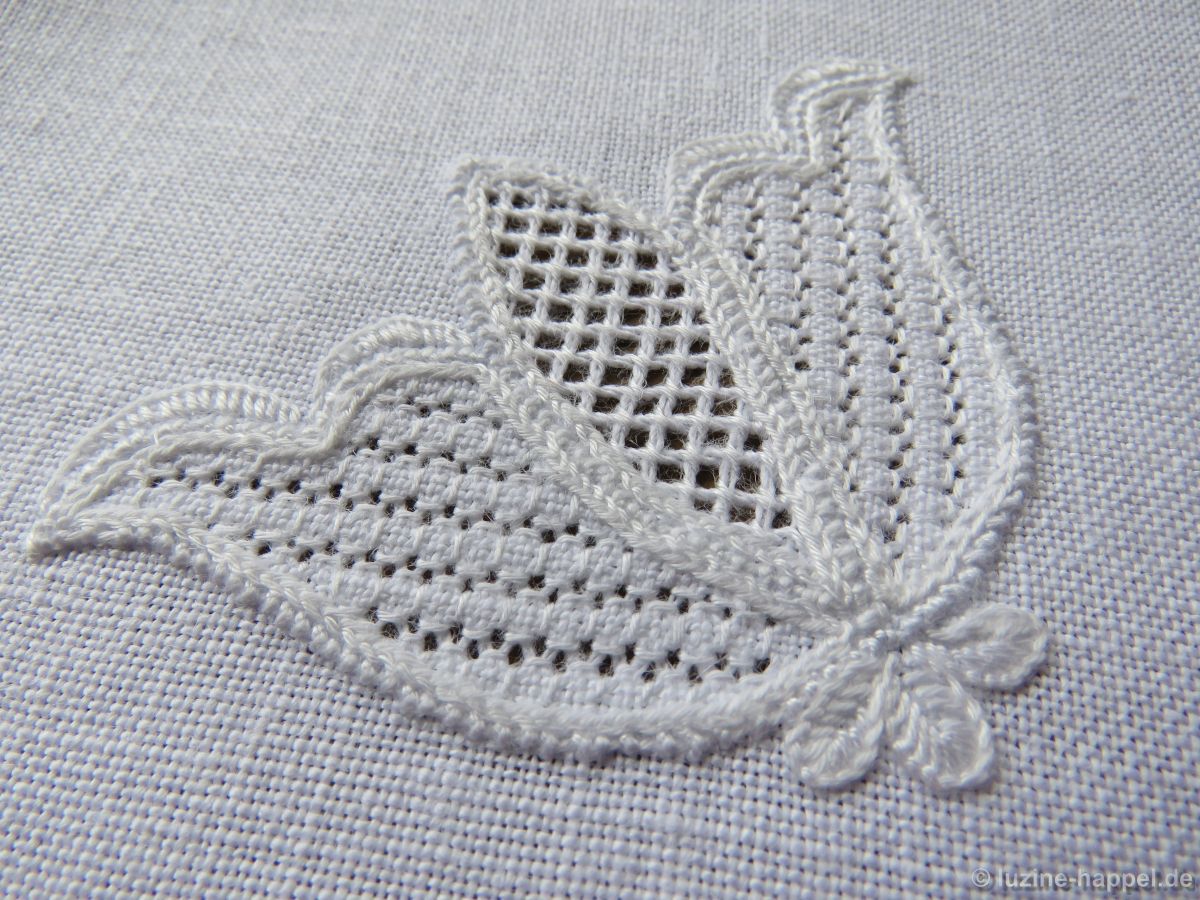
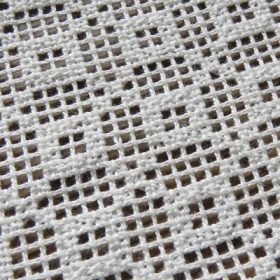
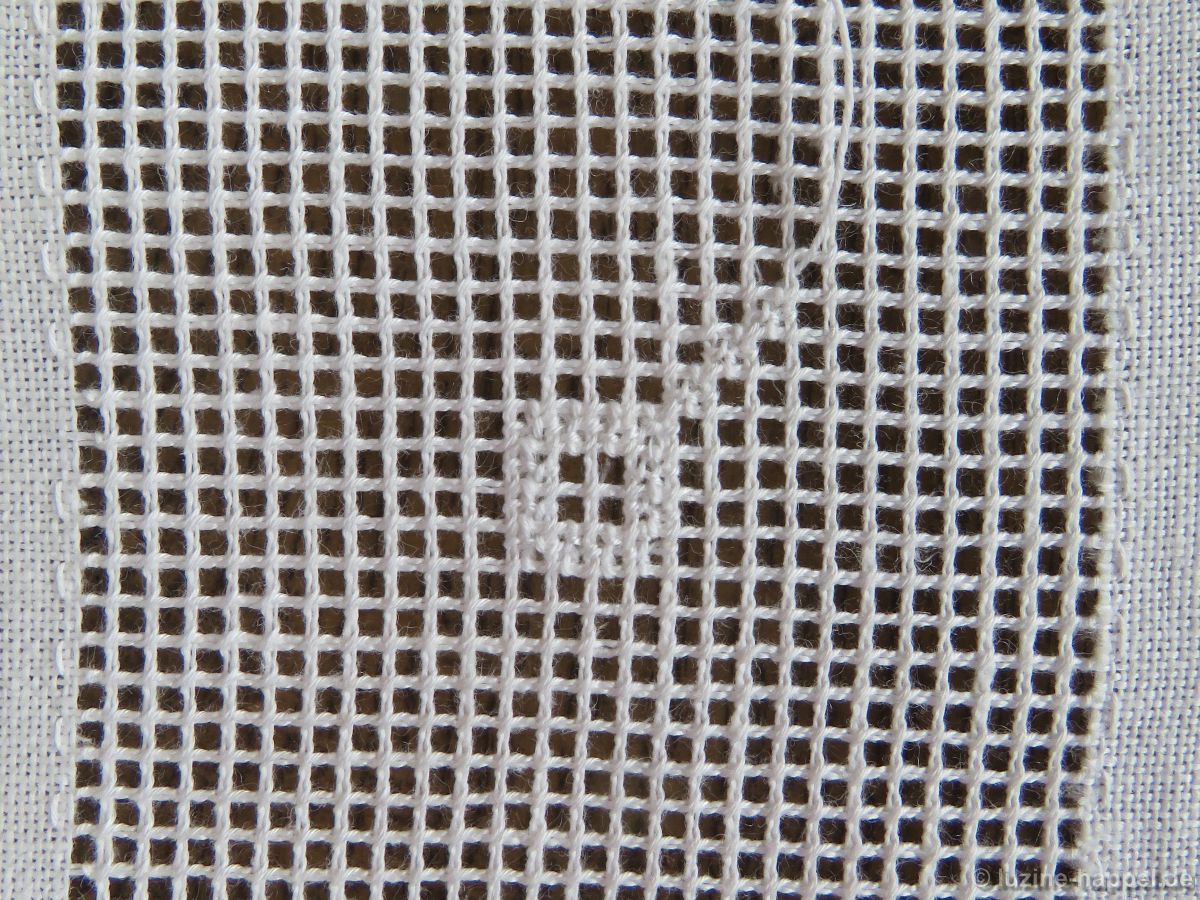
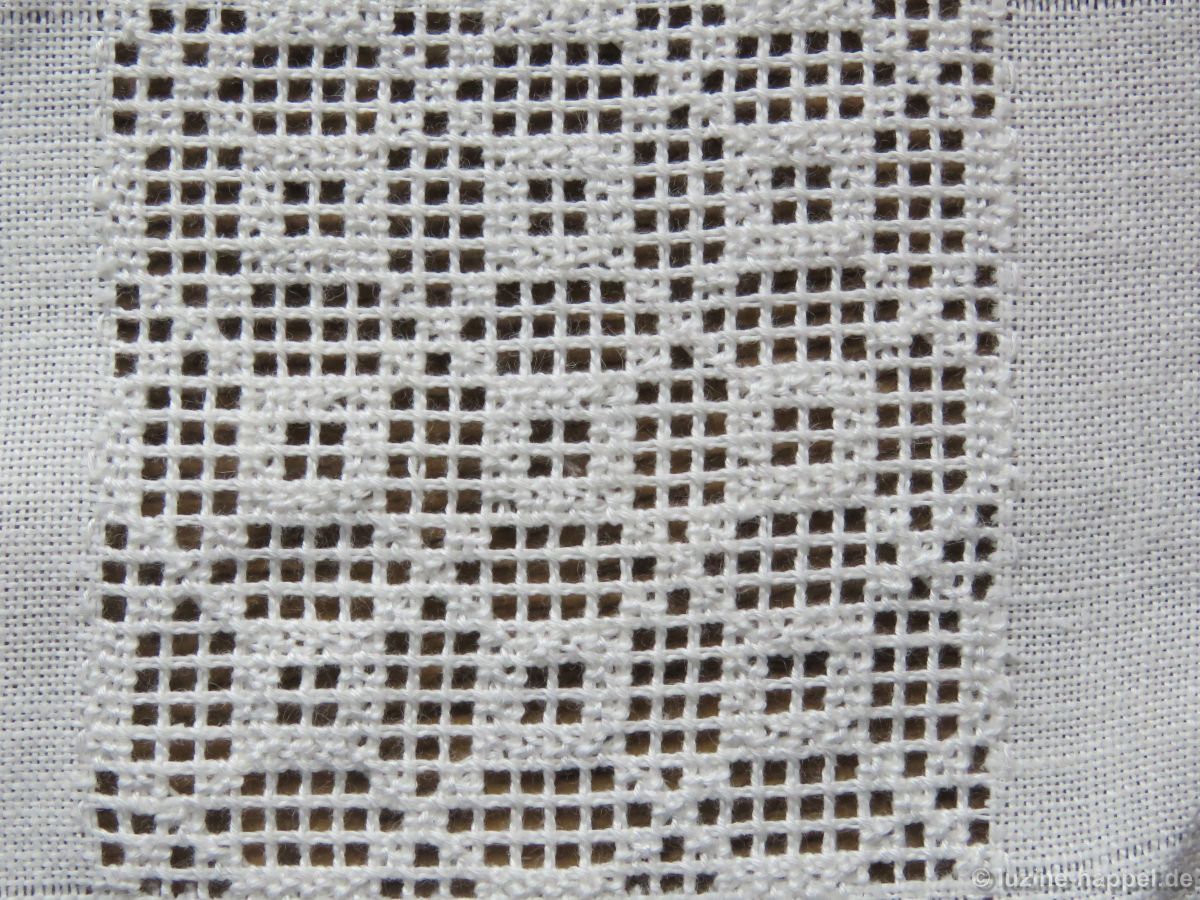
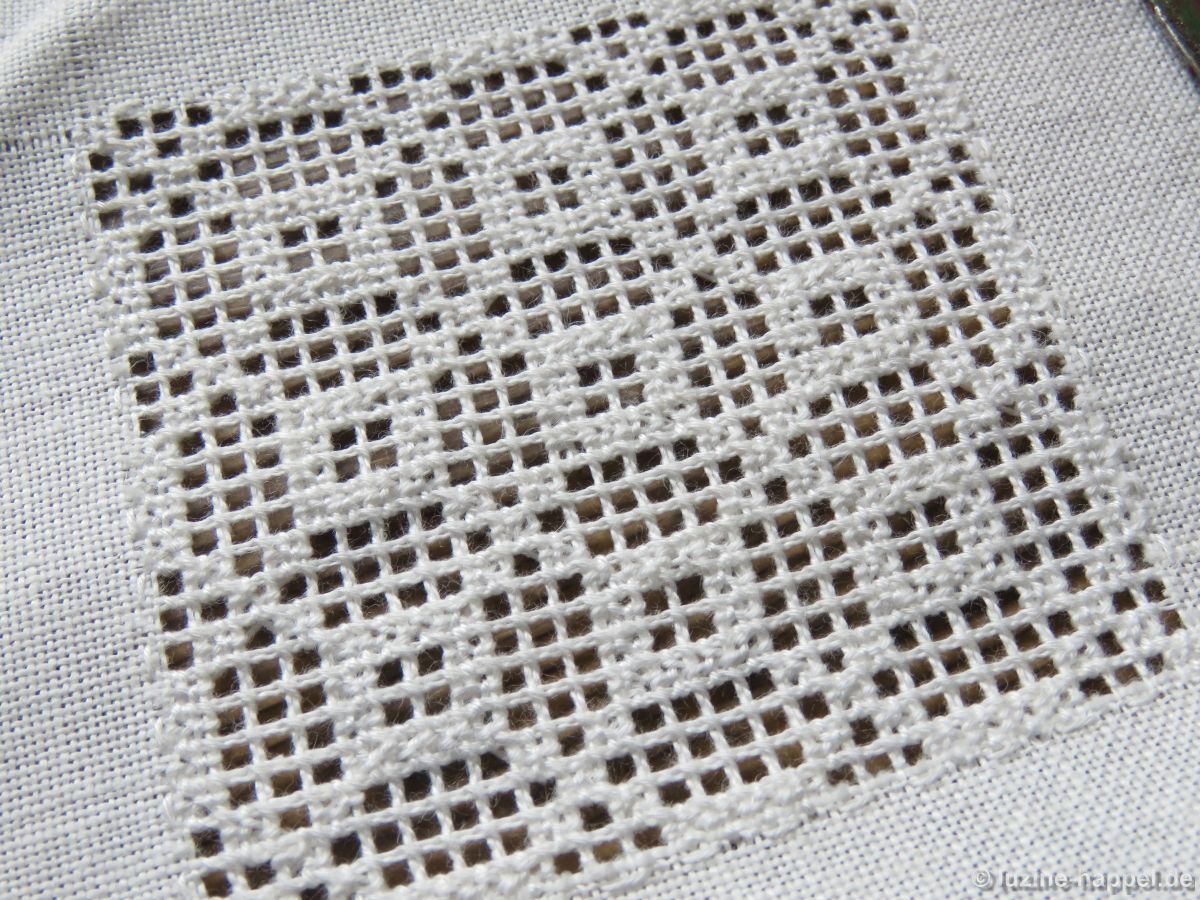
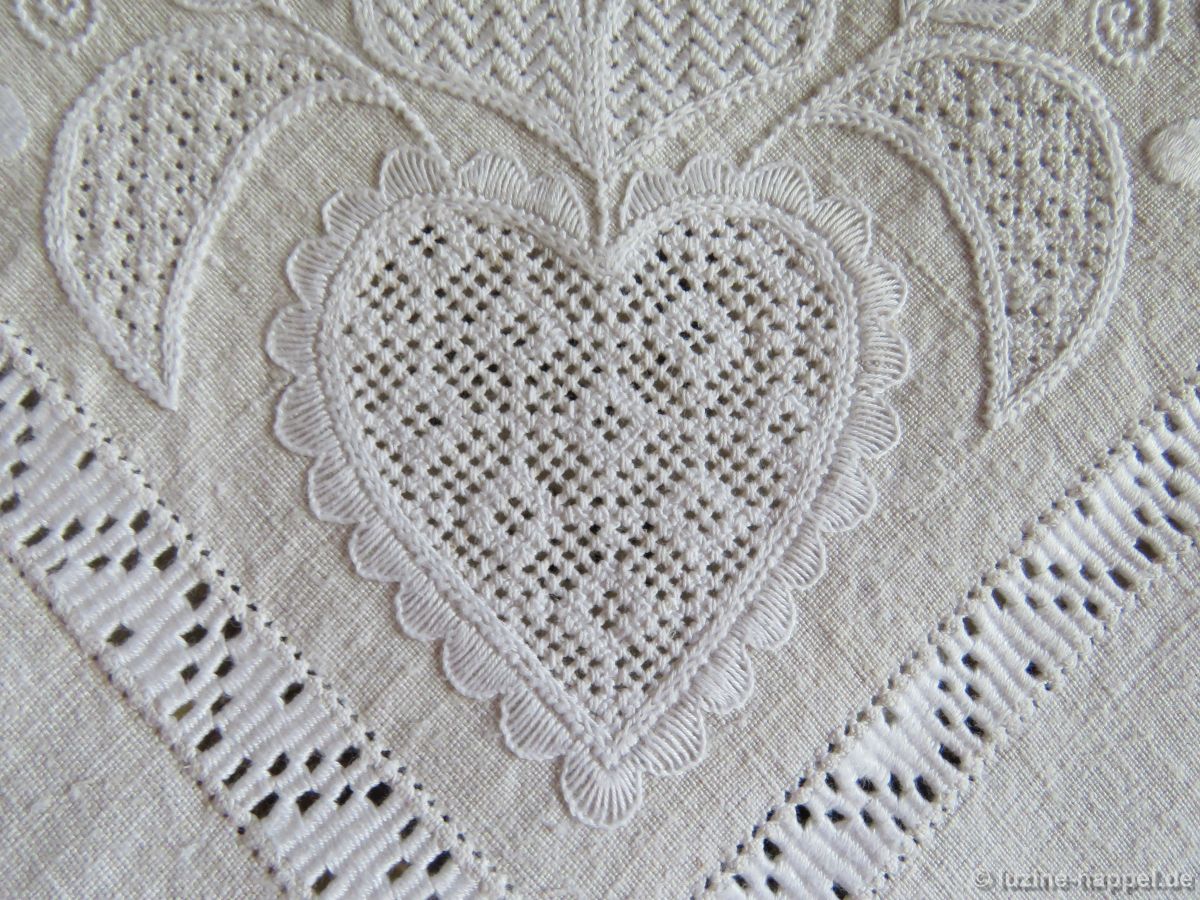
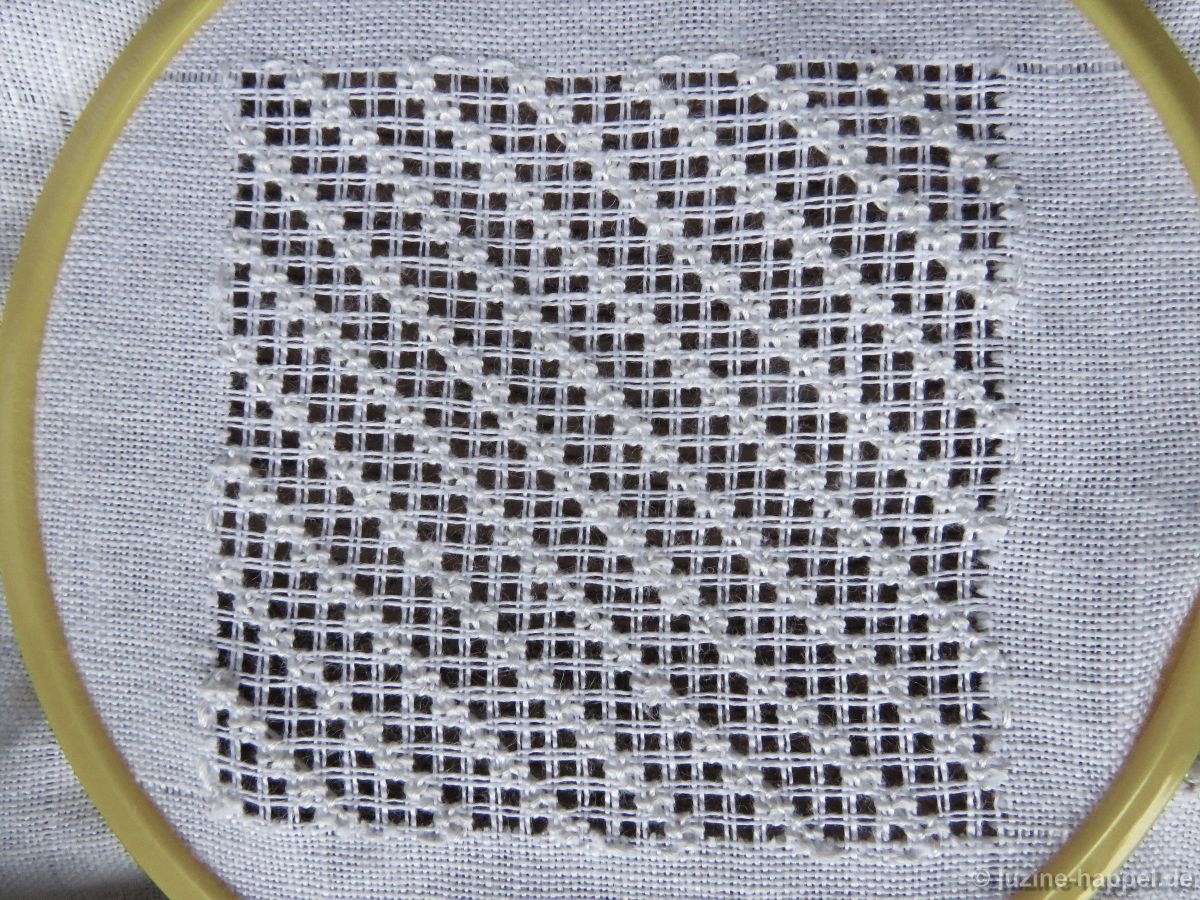
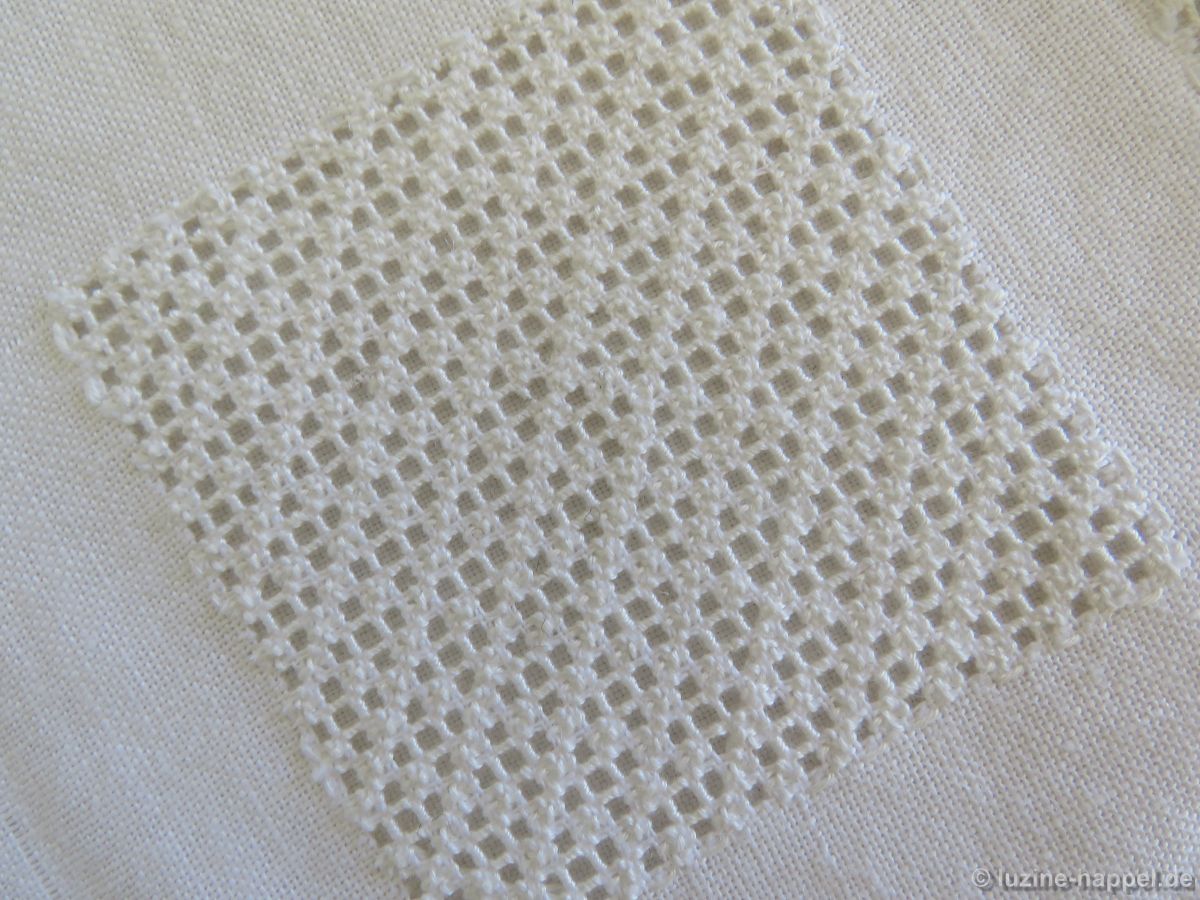
The filling pattern shown here is a practice exercise only. Here you can see it used in a shape.
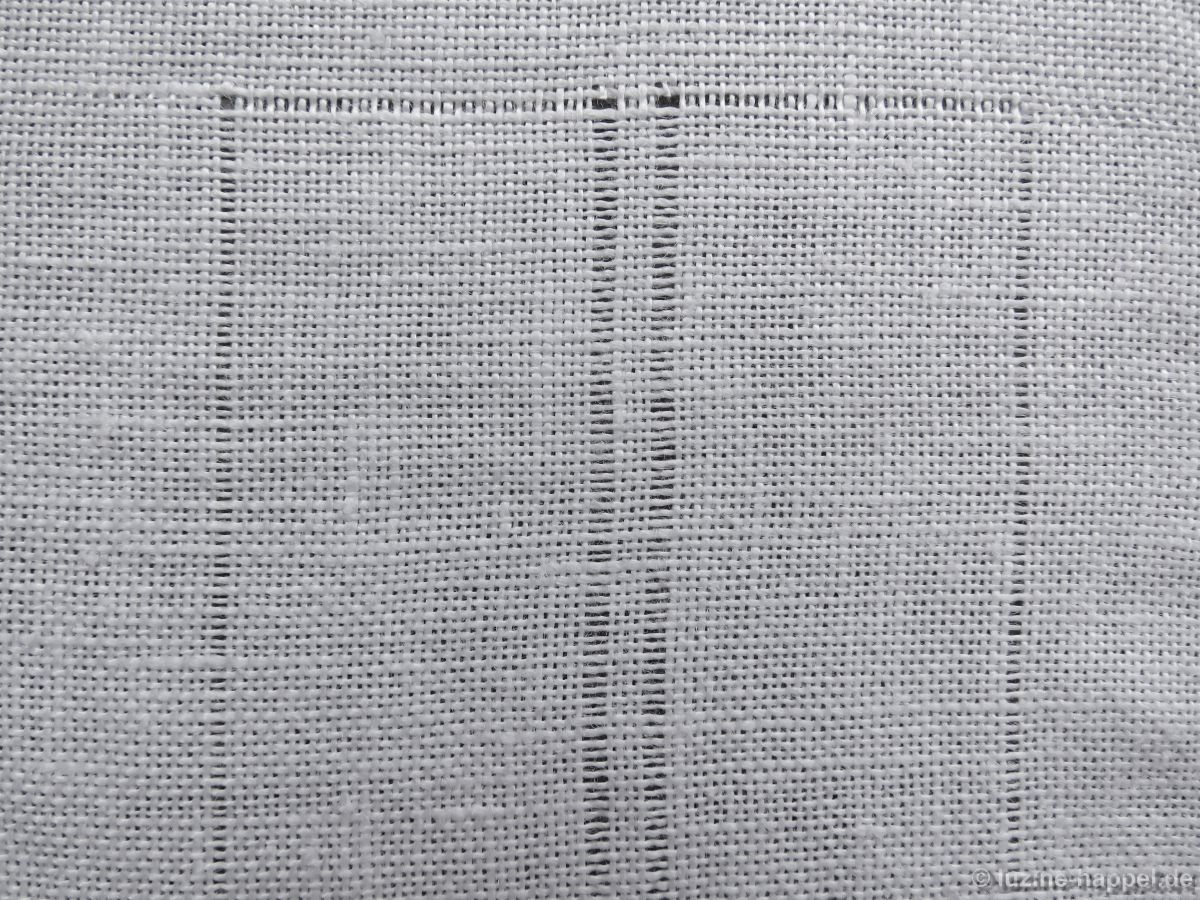
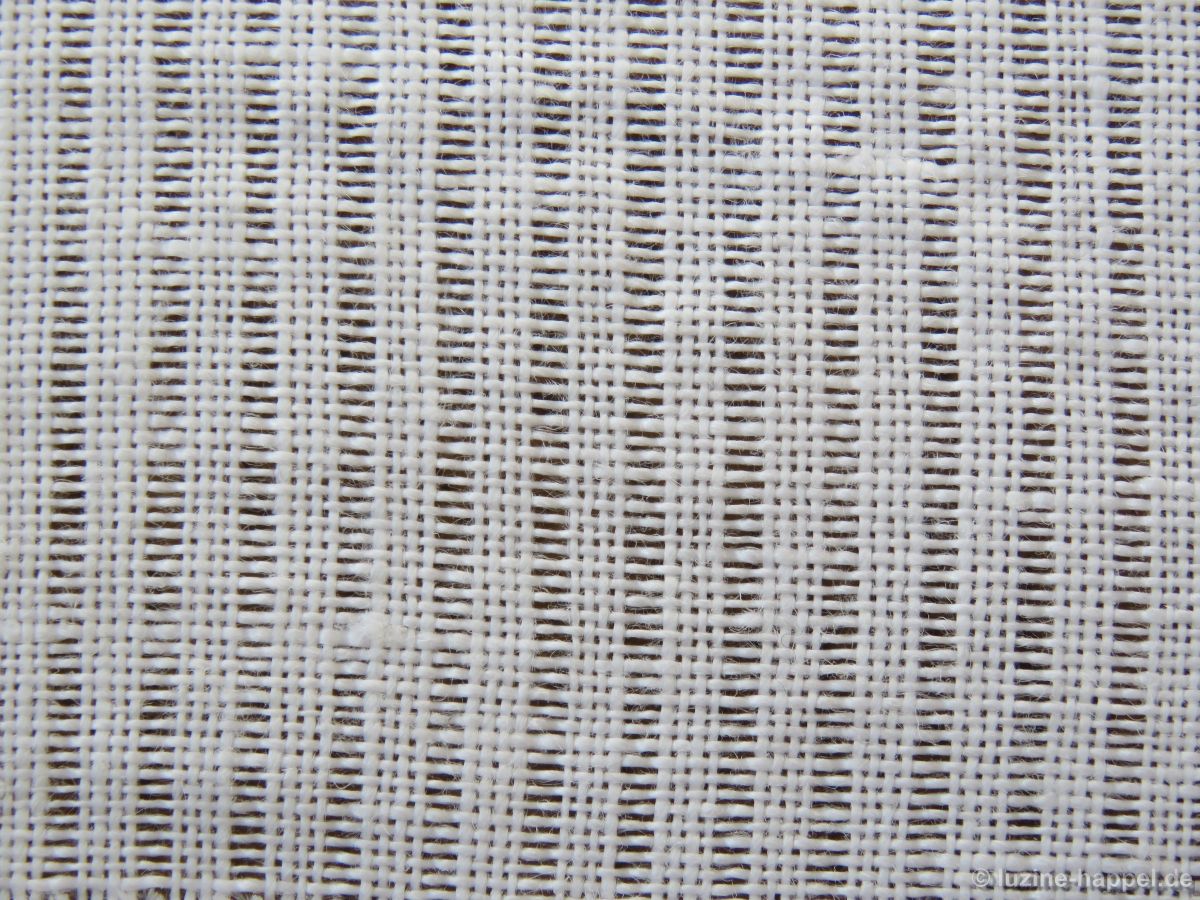
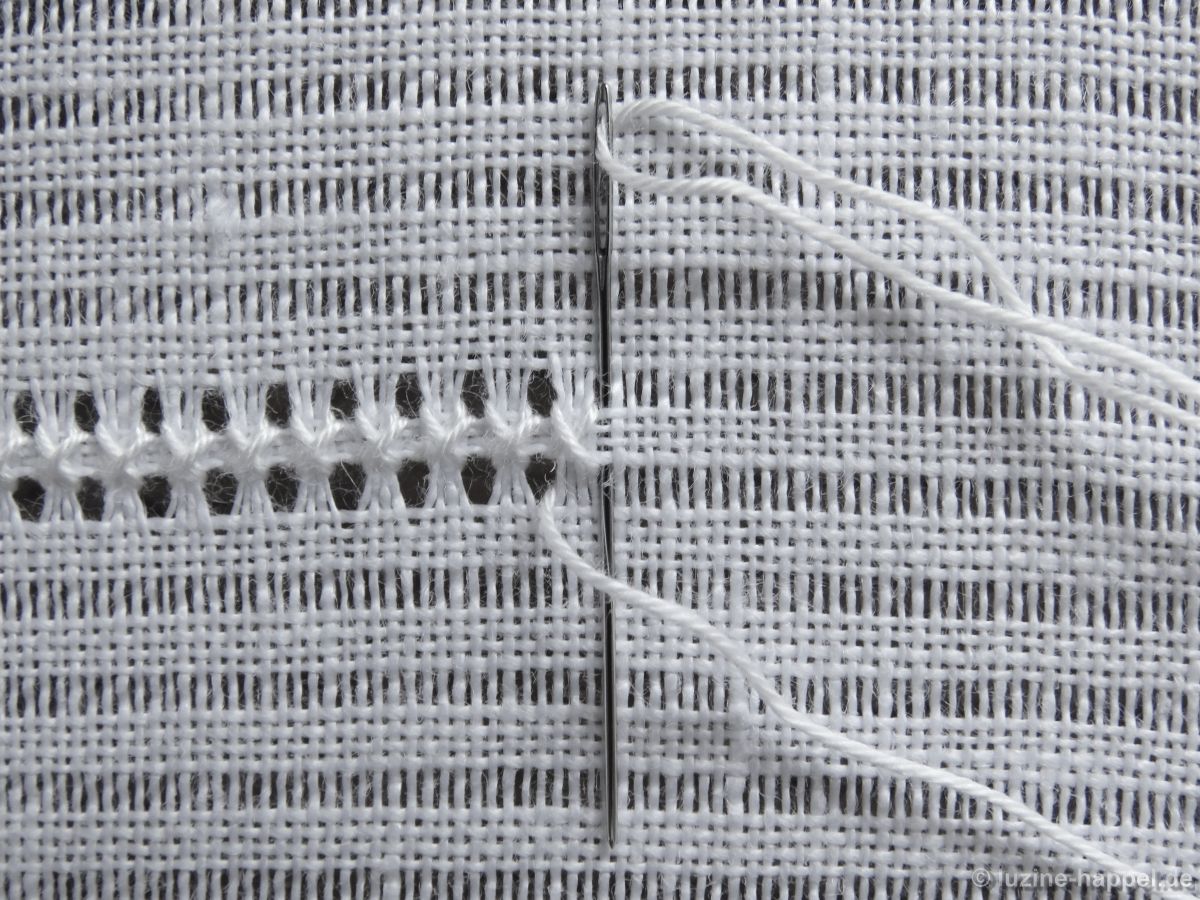
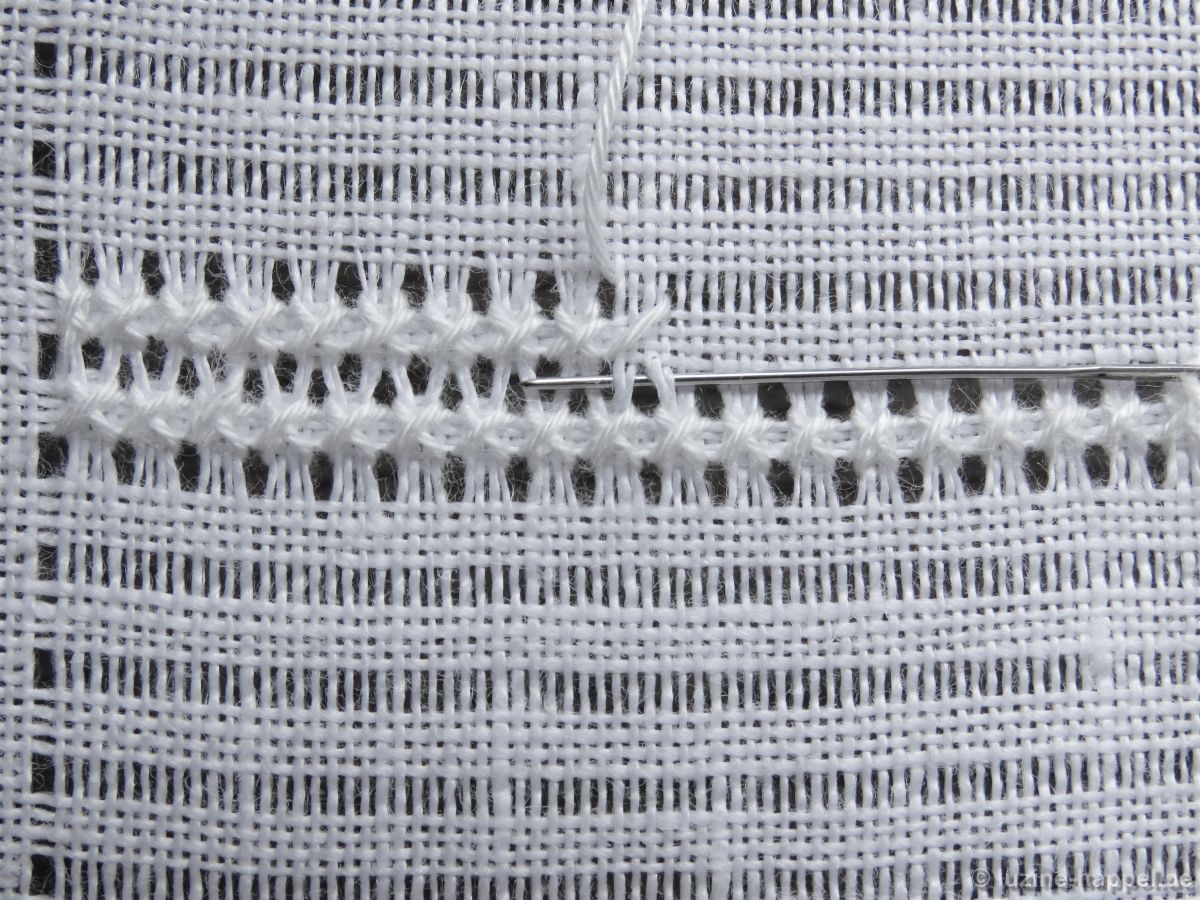
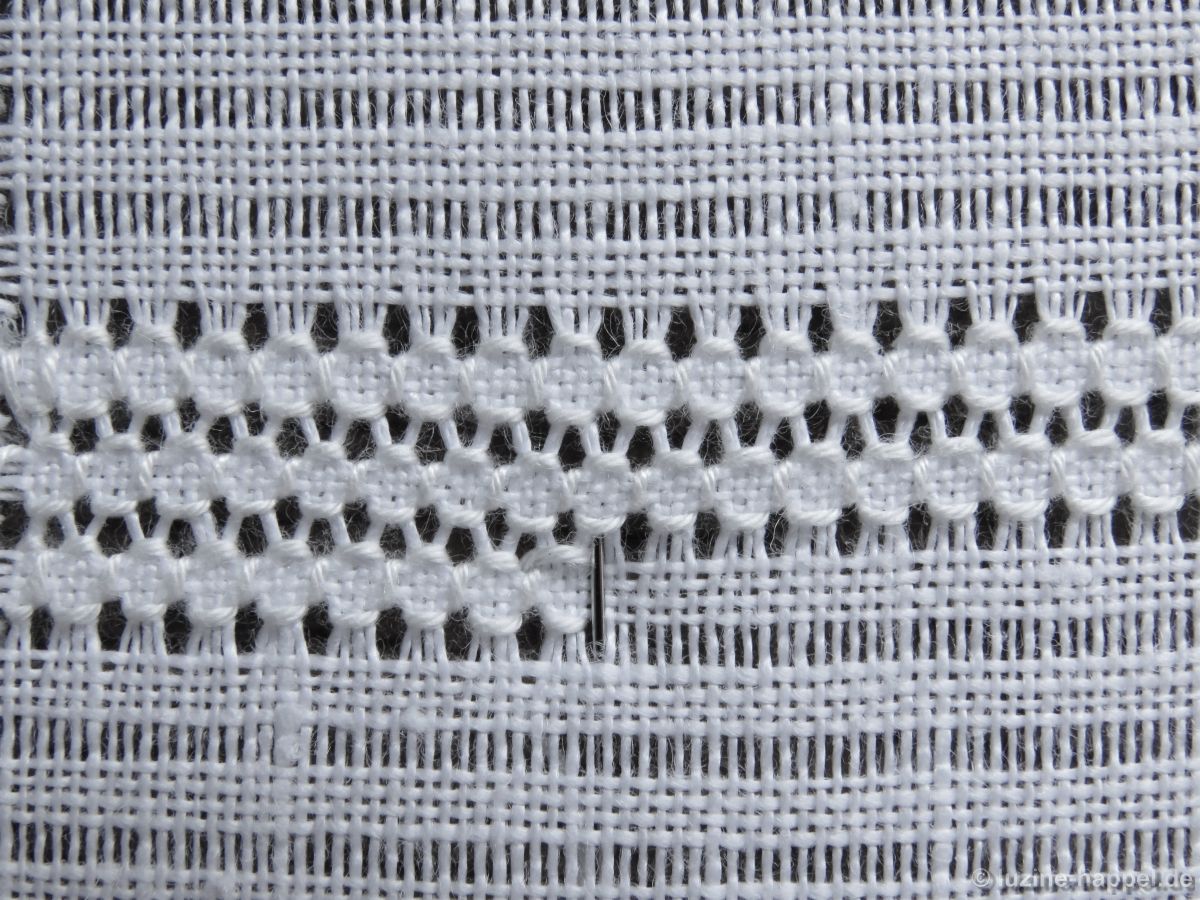
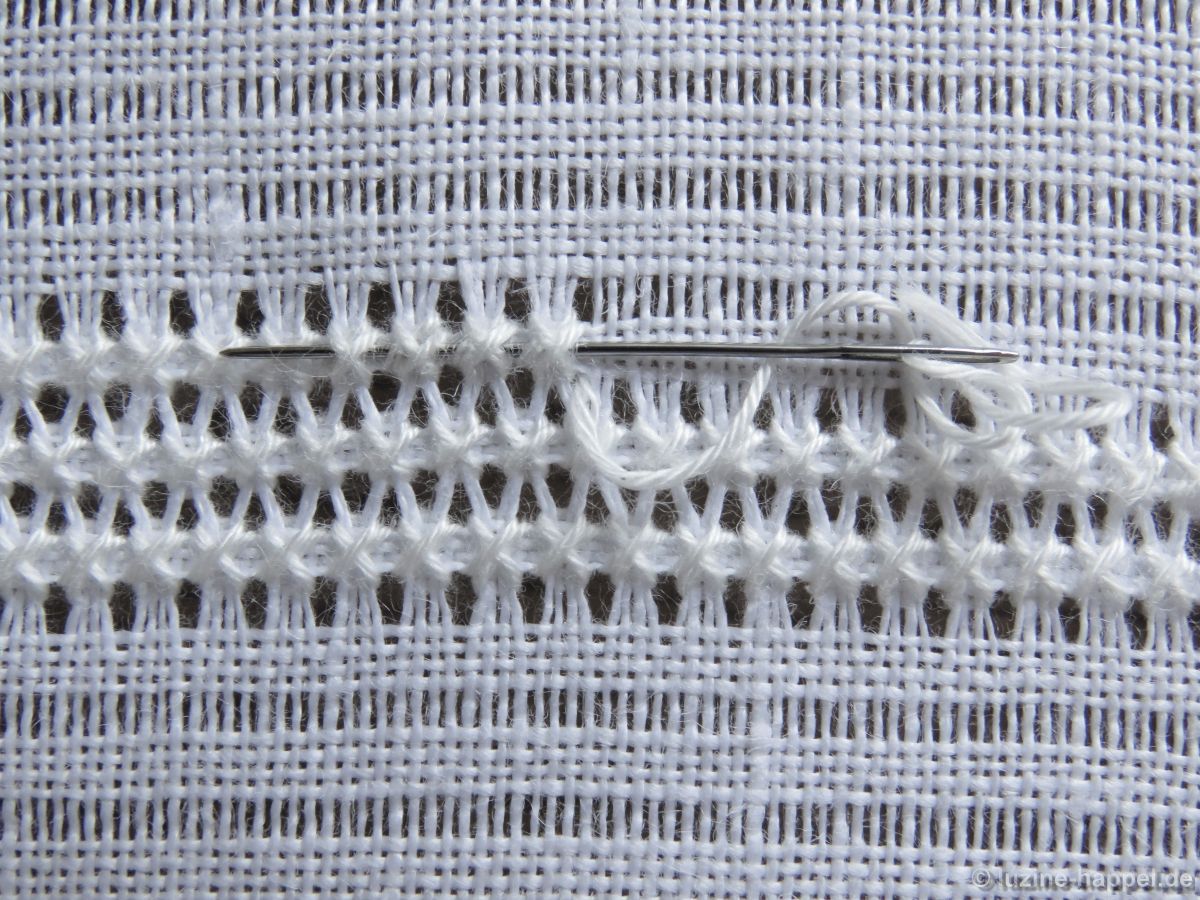
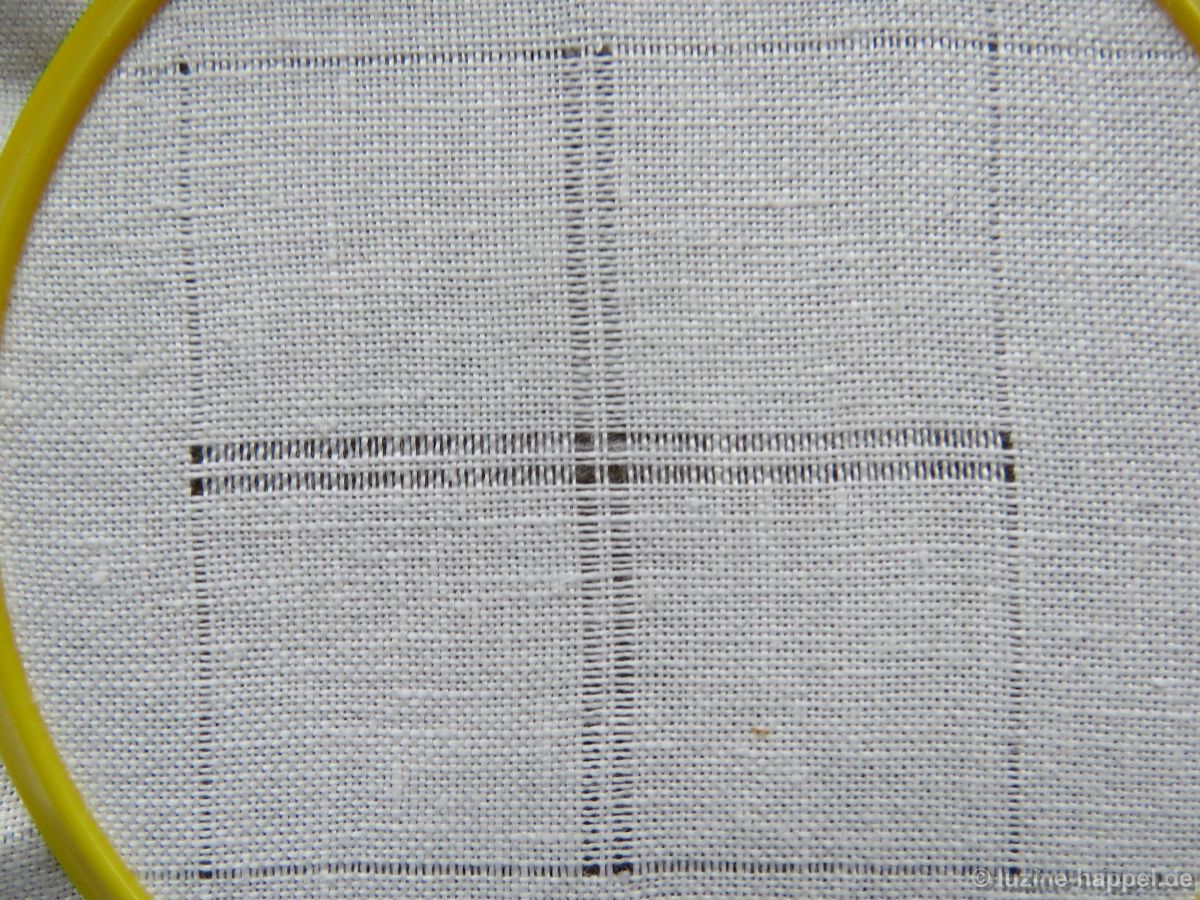
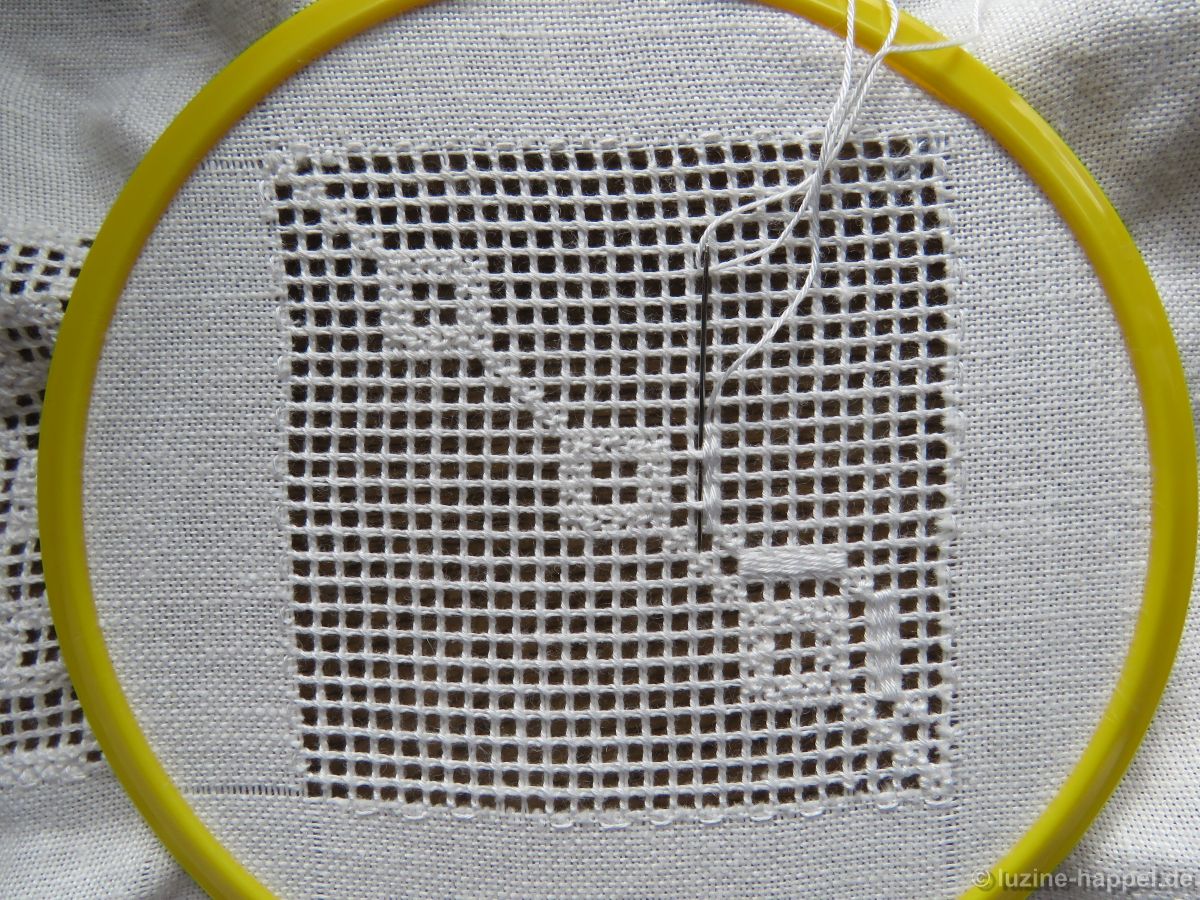
First, establish an openwork grid with a square (an intersection of withdrawn thread lines) in the center by cutting 2, leaving 2 both vertically and horizontally.
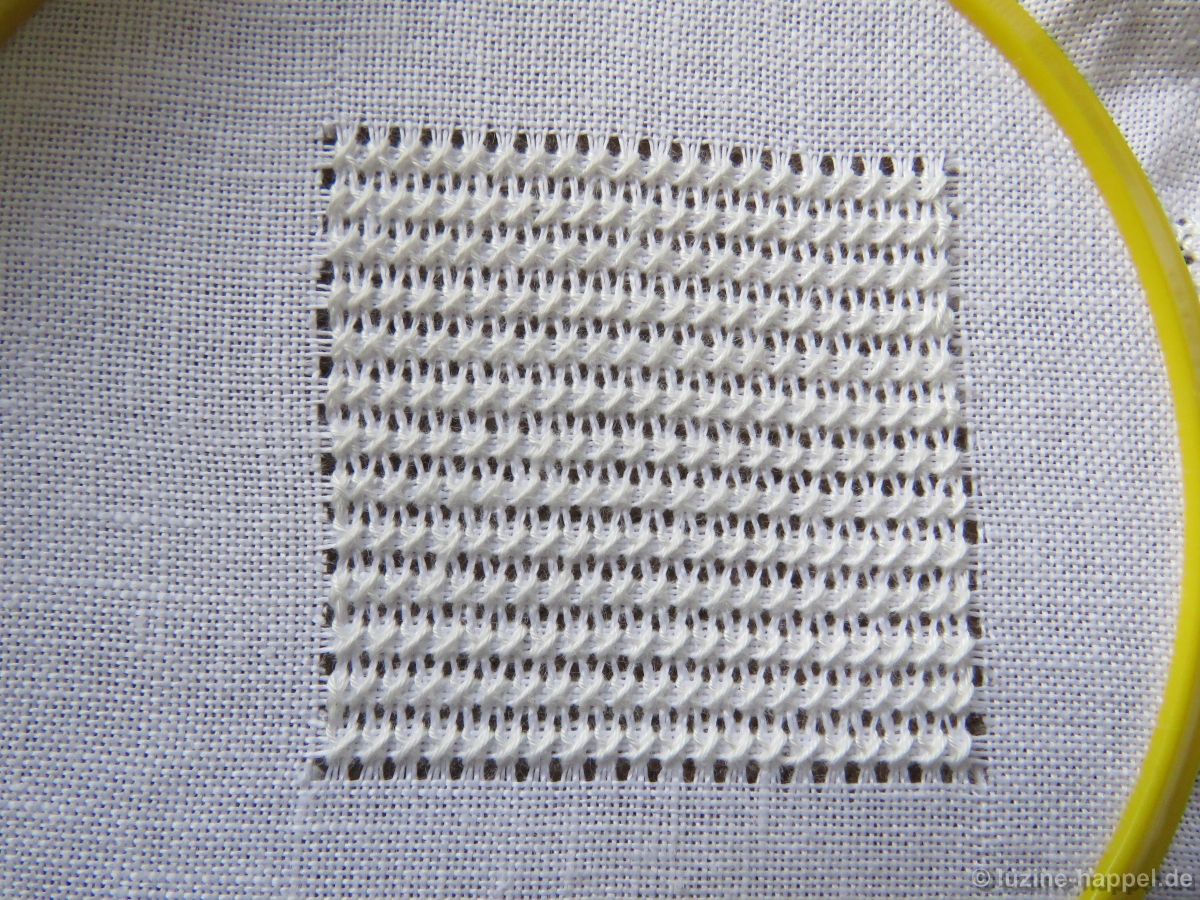
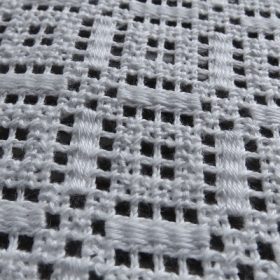
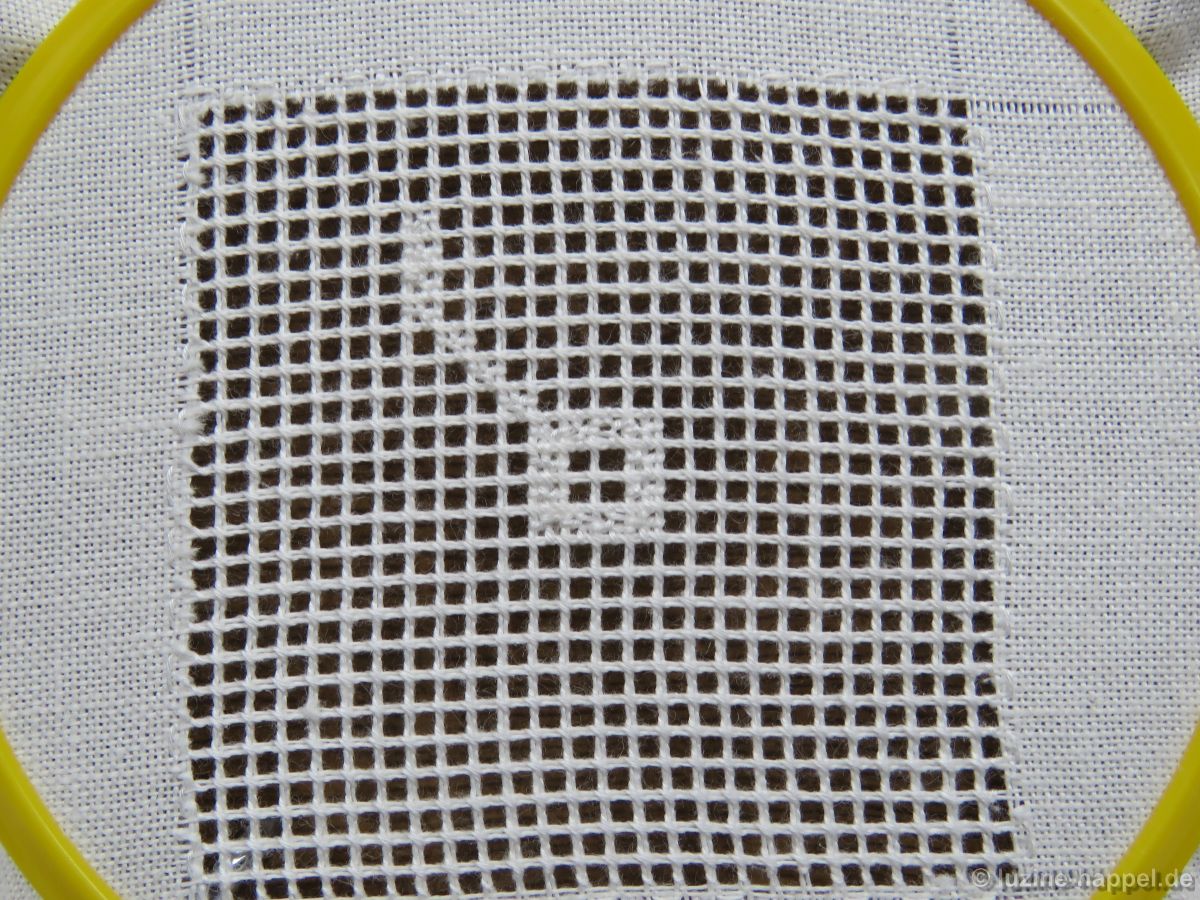
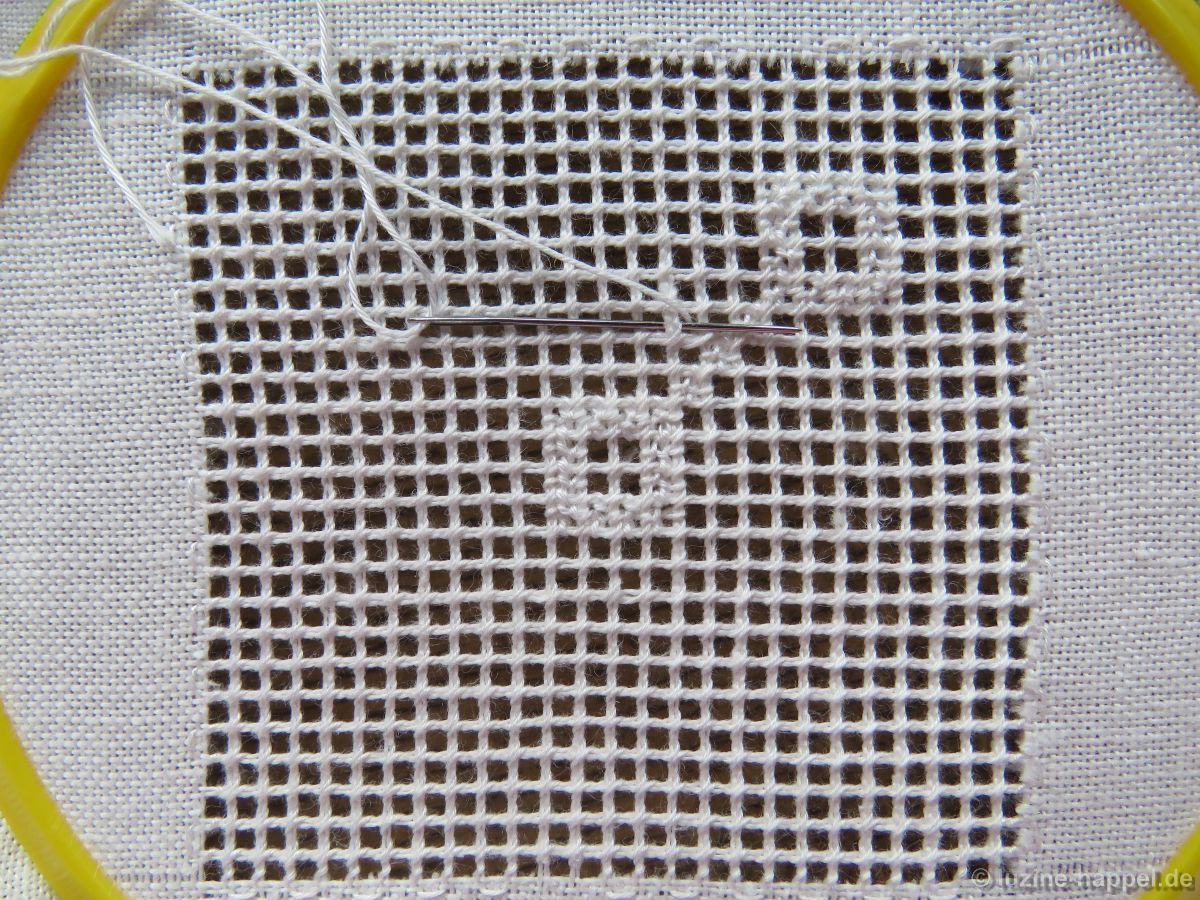
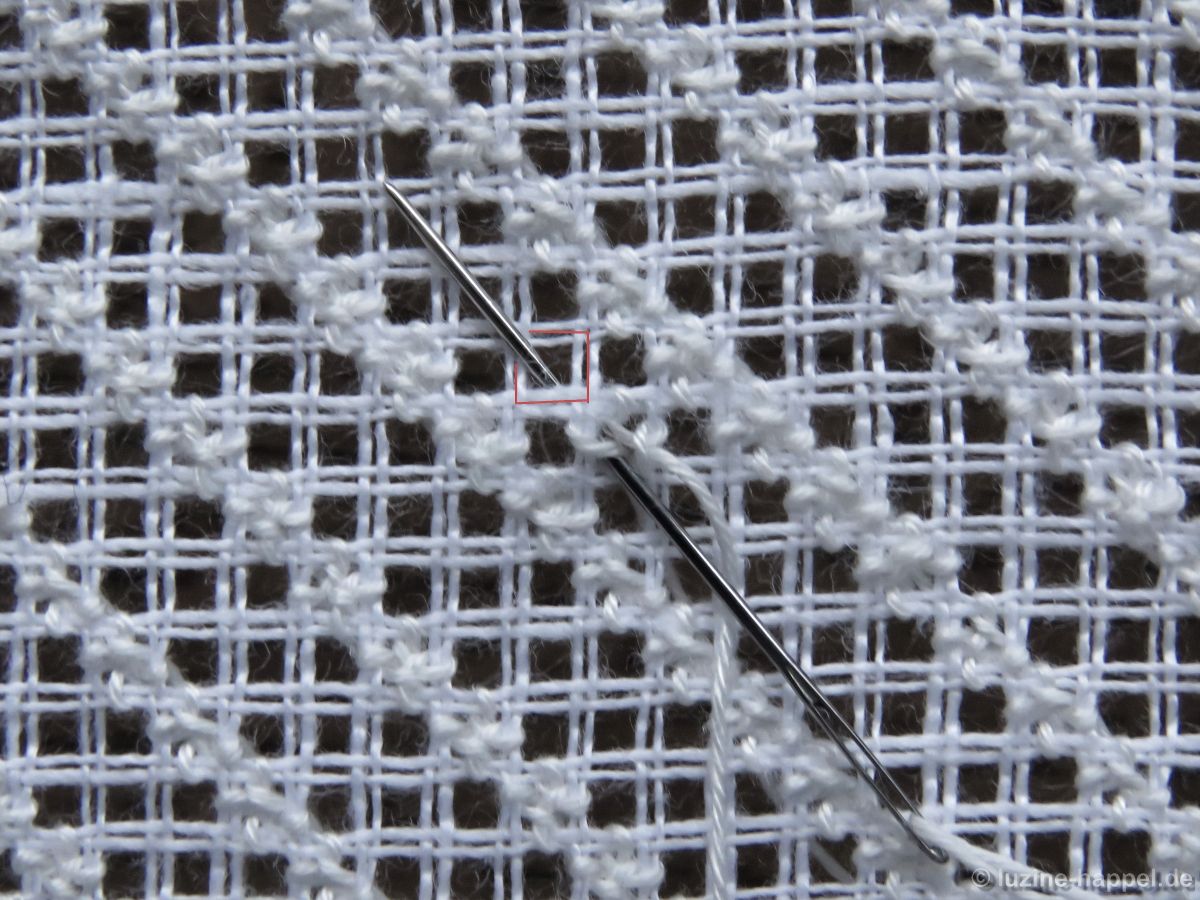
At a distance of one empty square below the center square, begin to embroider rose stitches in a diagonal row to the top left.

Turn the work and embroider a second row at a distance of three empty squares – counted in a horizontal row – parallel to the first.

Further parallel rows are embroidered at the same distance until the entire area is filled.
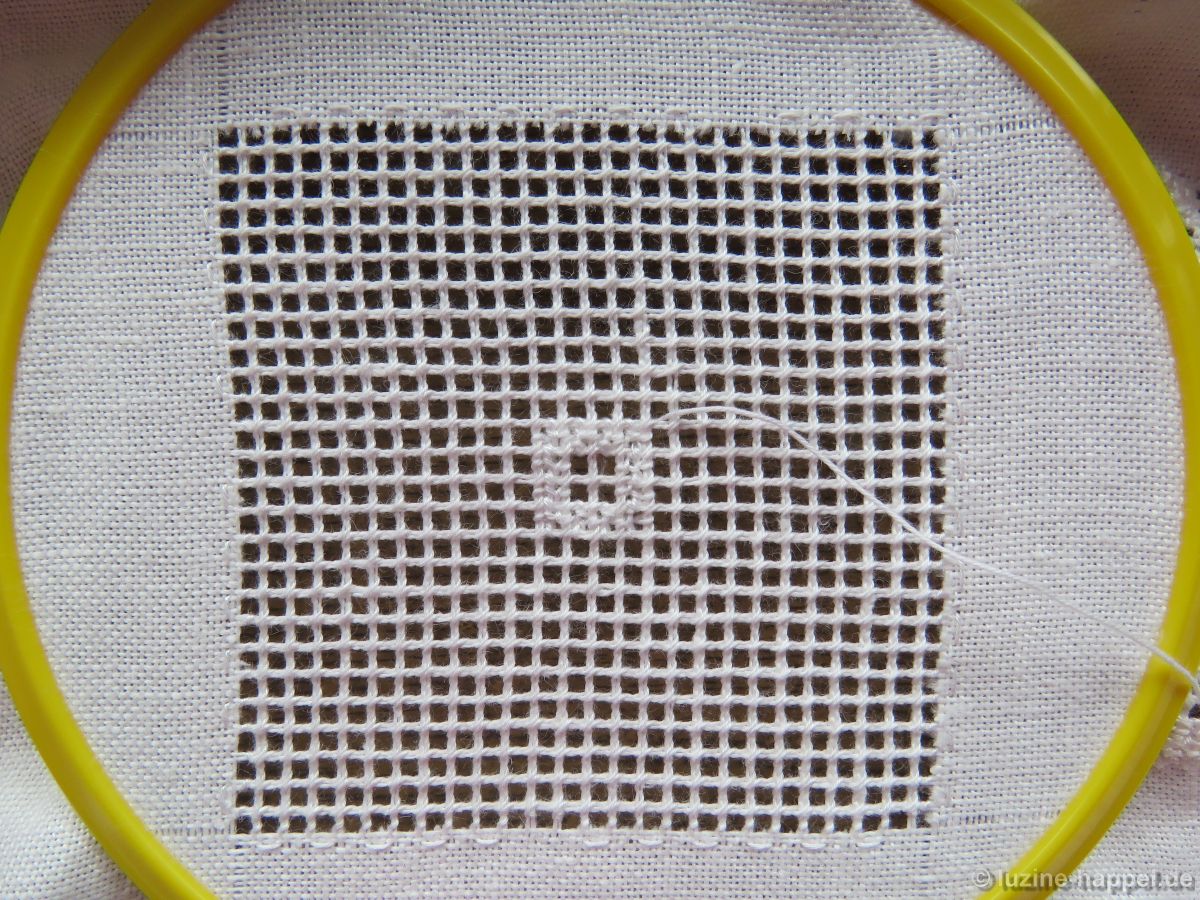
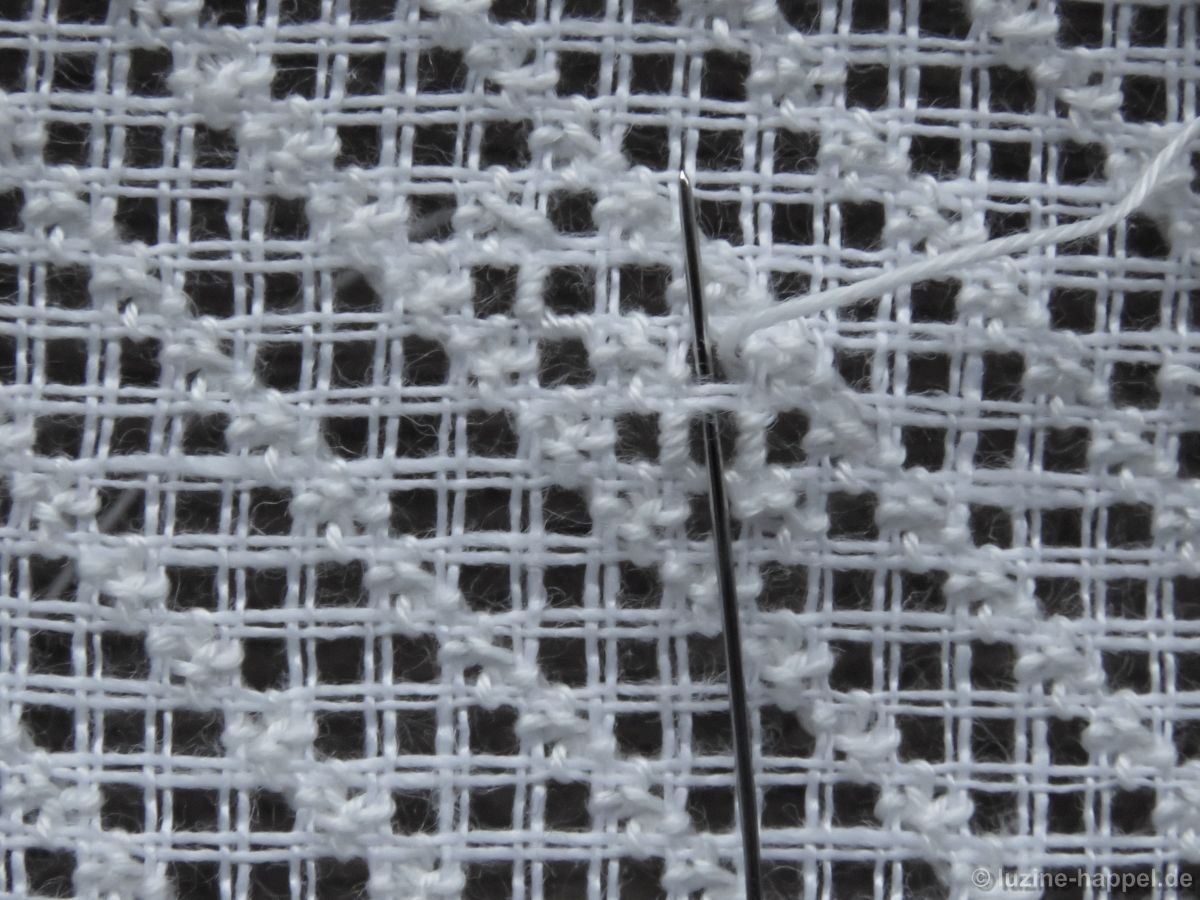
Then work a Rose stitch in the square to the right below the center square. Then bring the needle up in the center square.
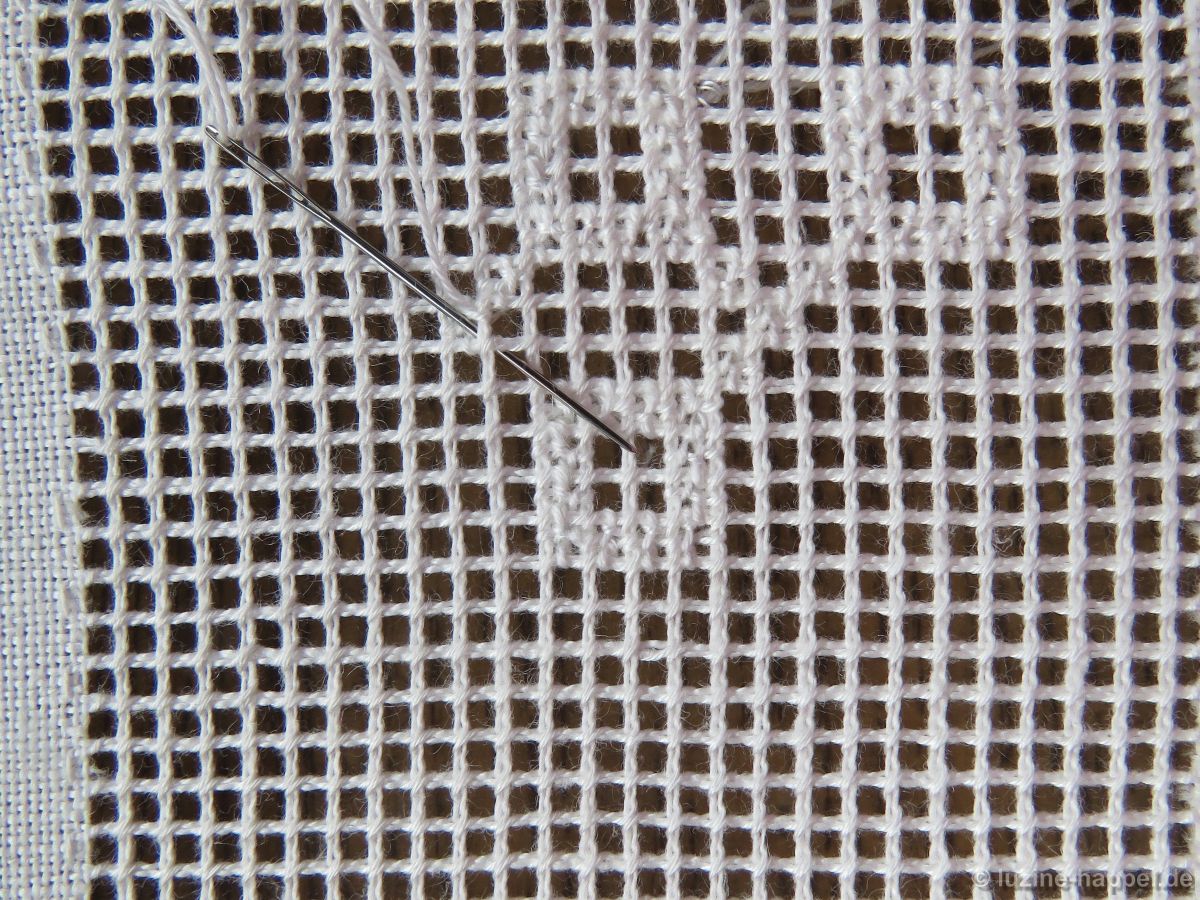
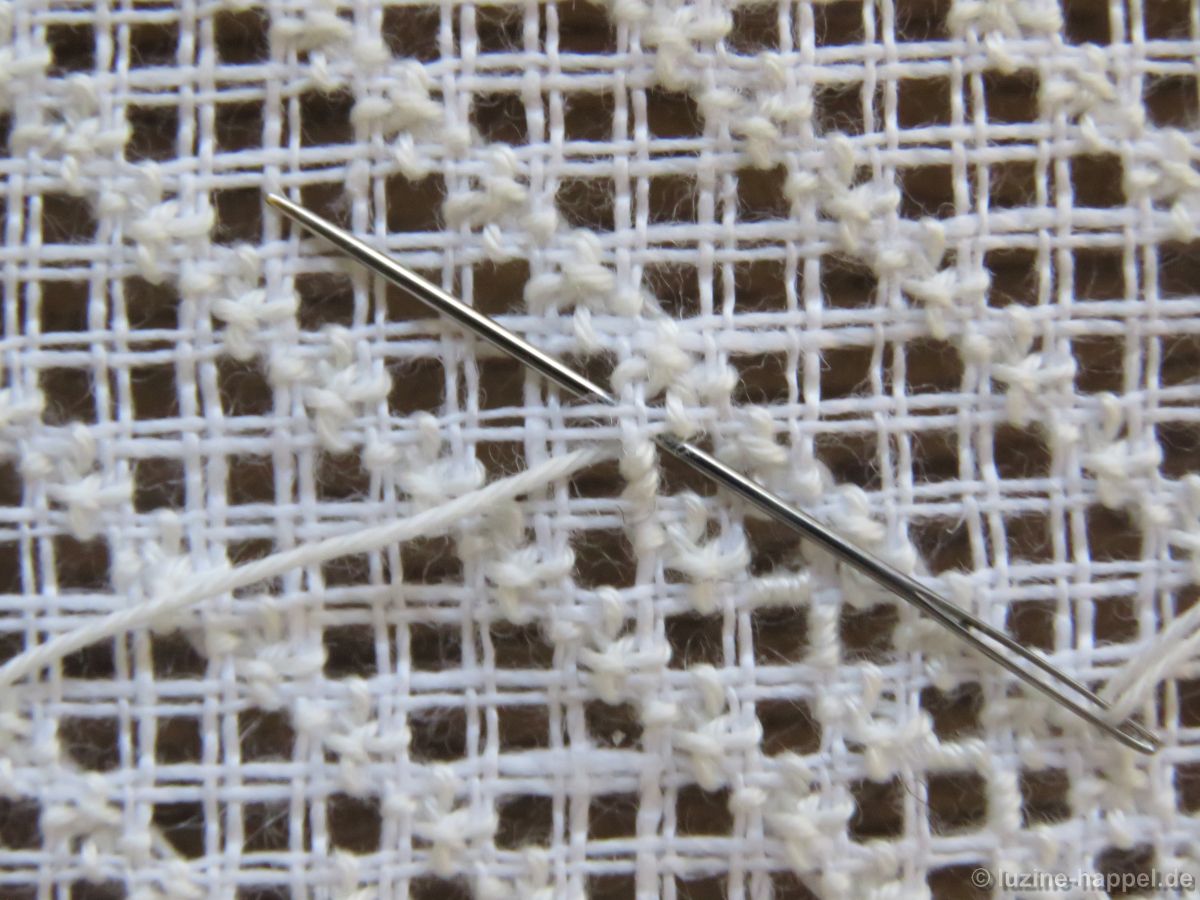
Wrap the right pair of threads on the square from right to left,

three times in all.
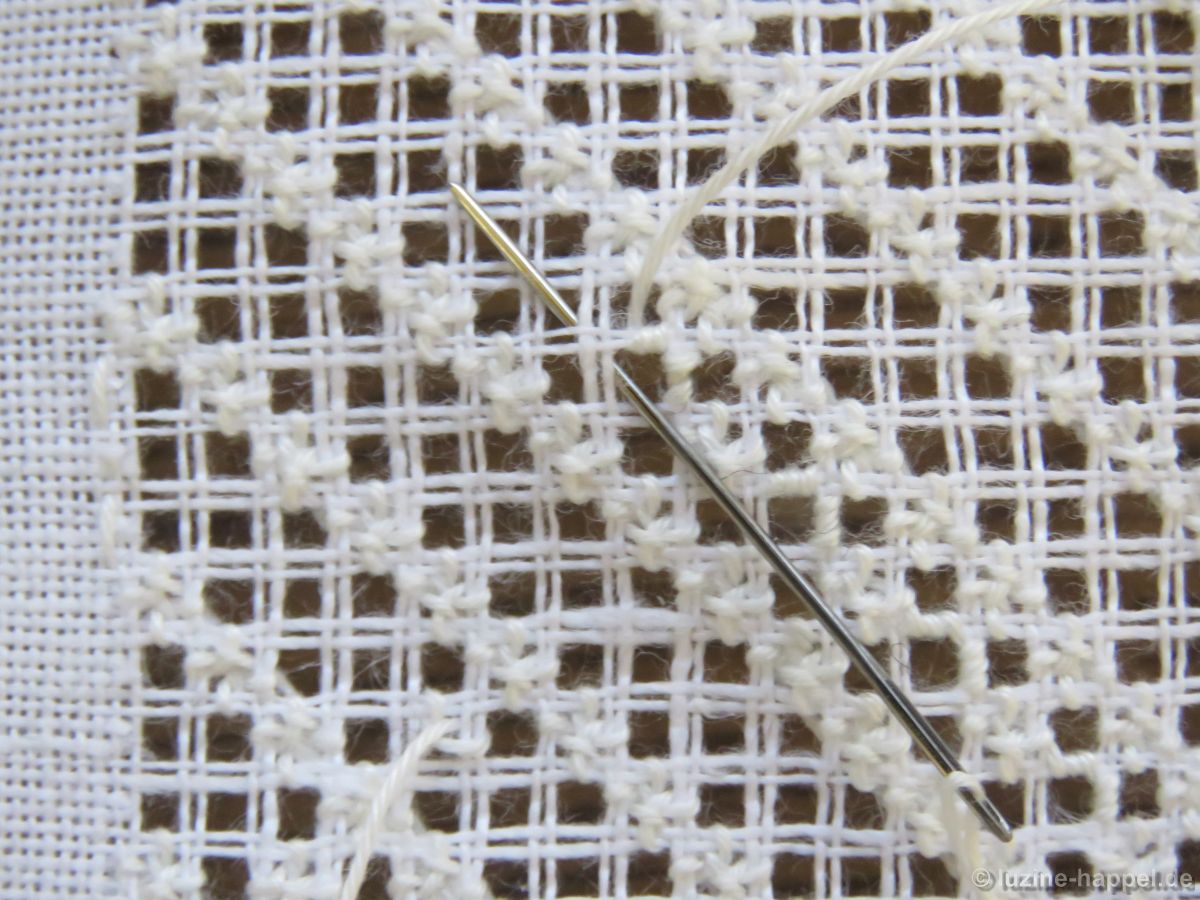
After the third stitch, move the needle under the intersection of threads to the square above the center.
From there wrap the upper pair of threads of the center square from bottom to top, again a total of three times.

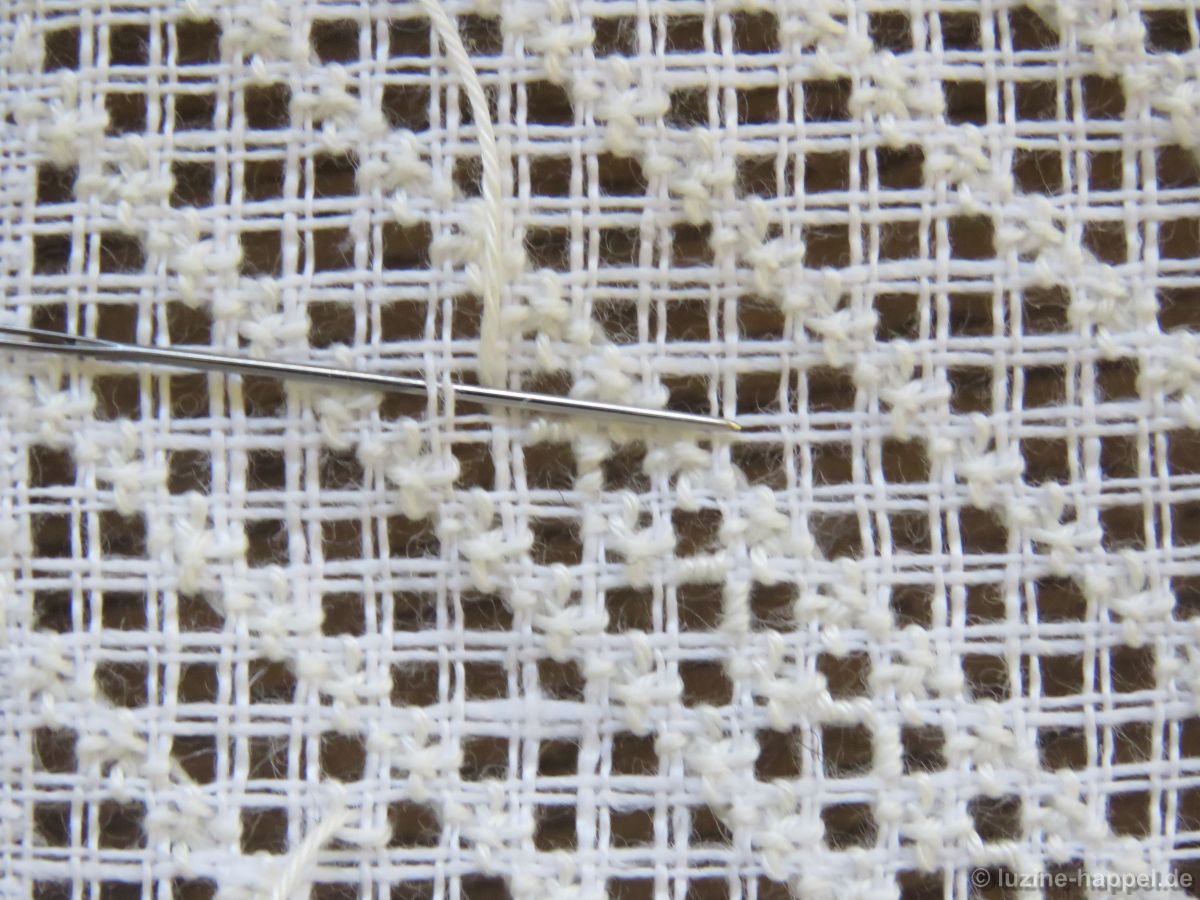
After the third stitch, move the needle under the intersection of threads to the next square diagonally to the top left.
From there work a Rose stitch again, starting with the stitch to the left.
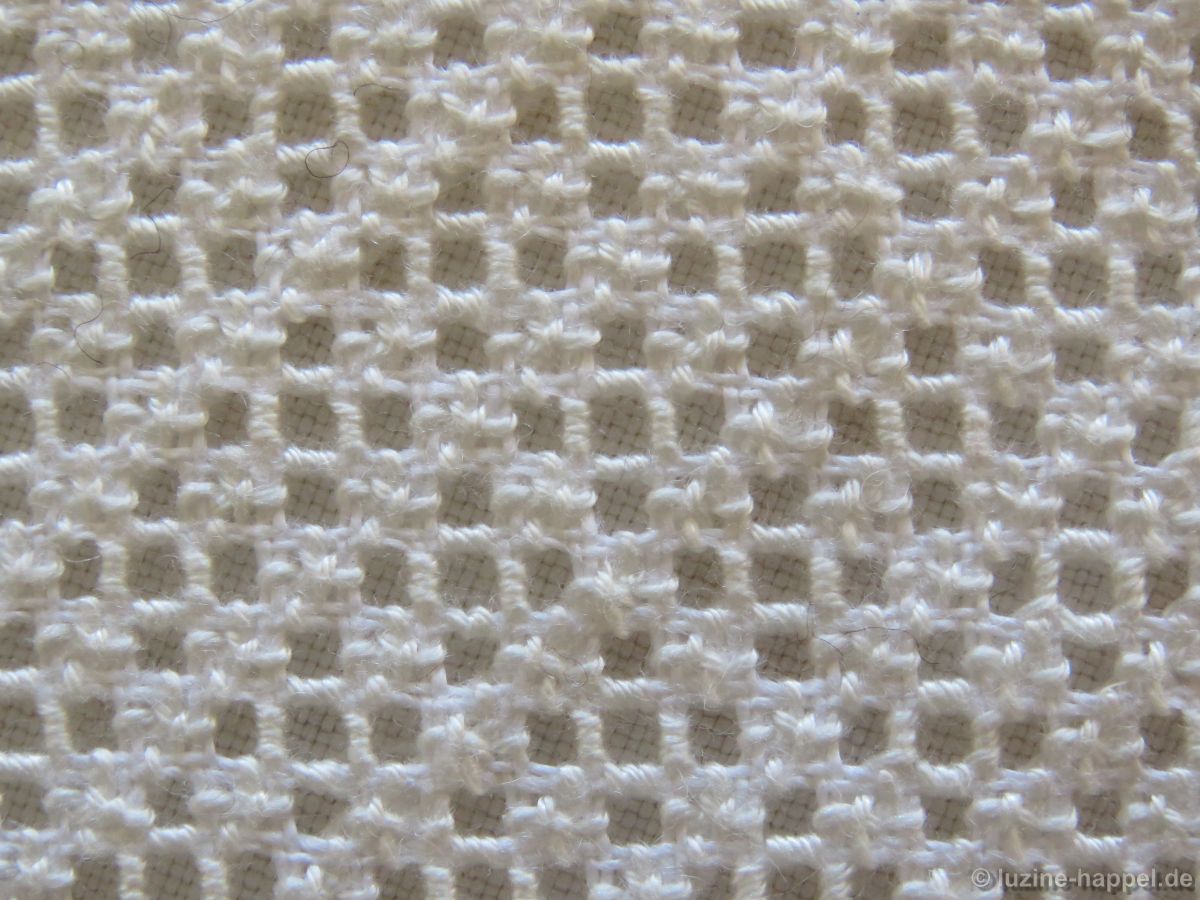
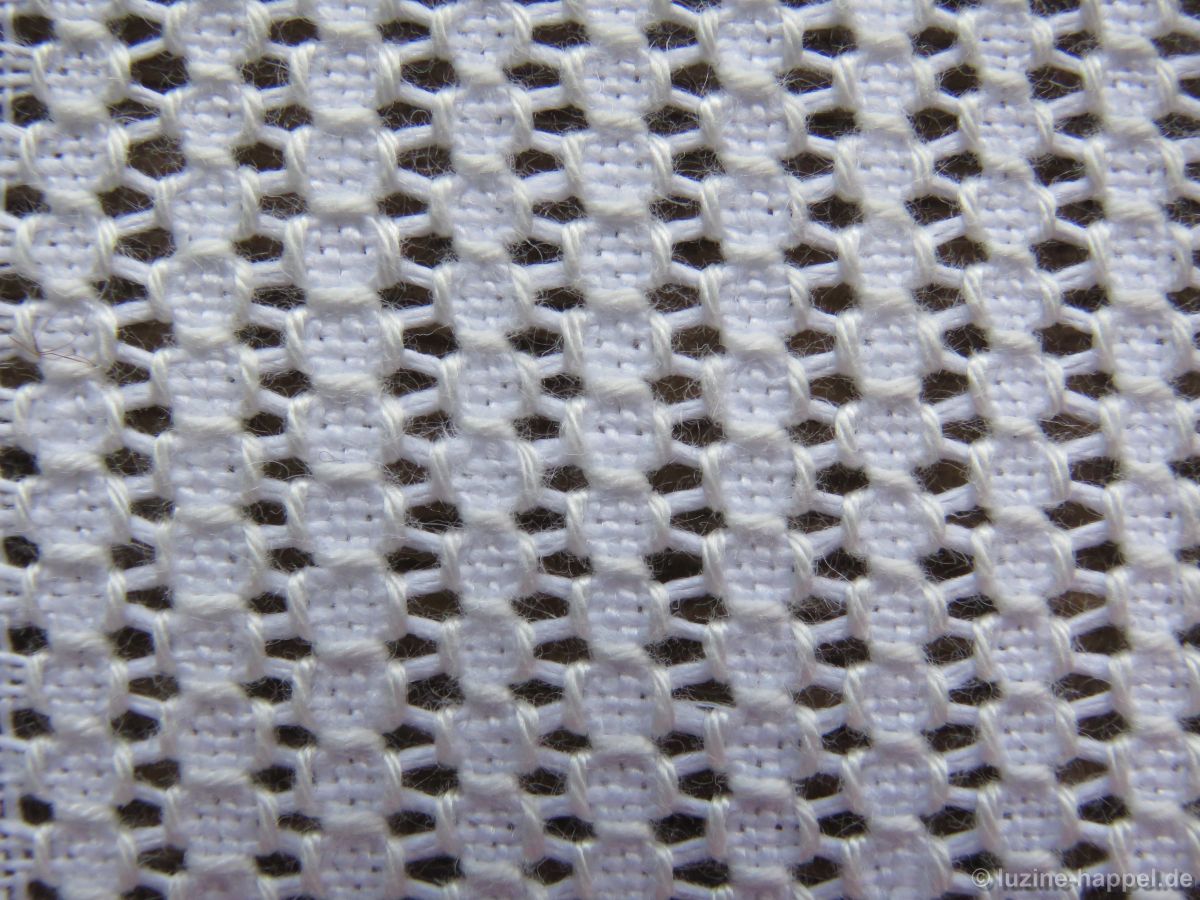
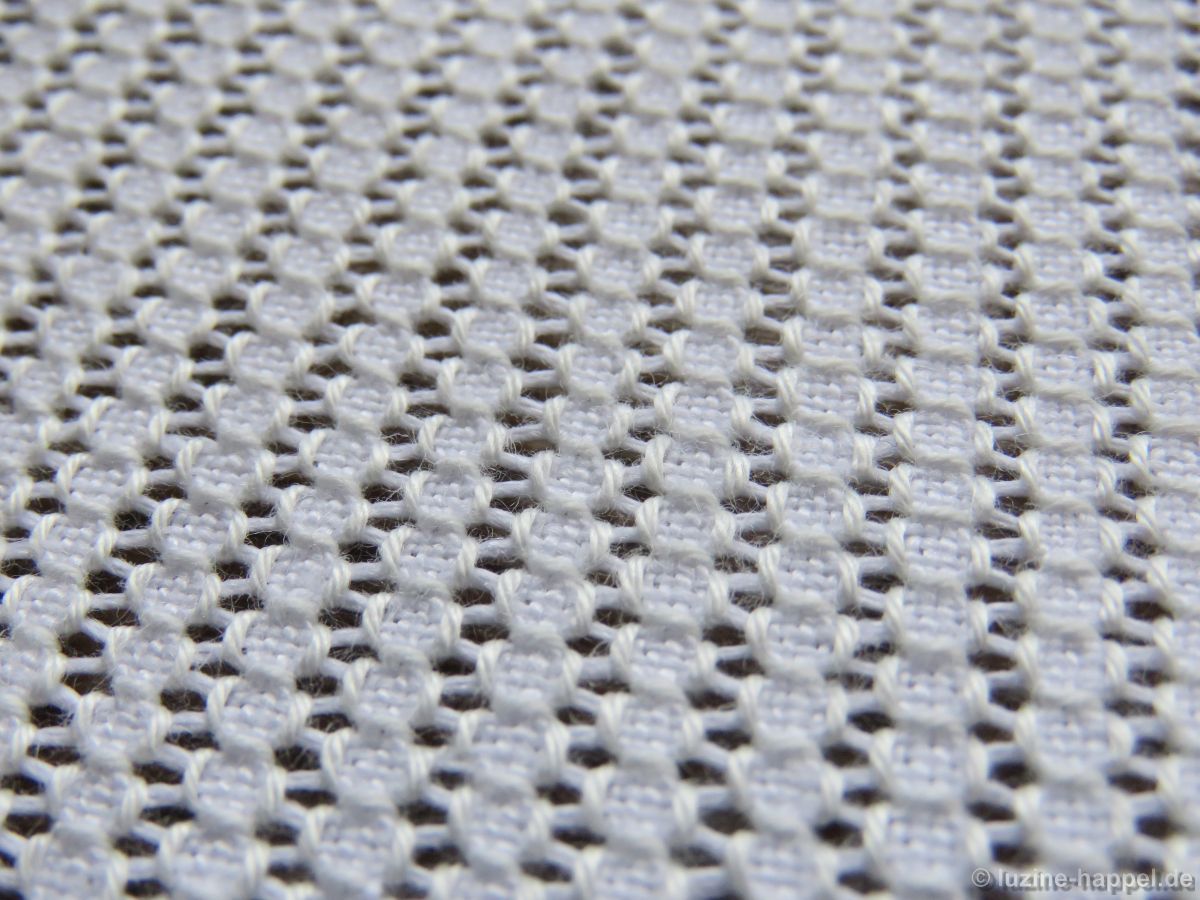
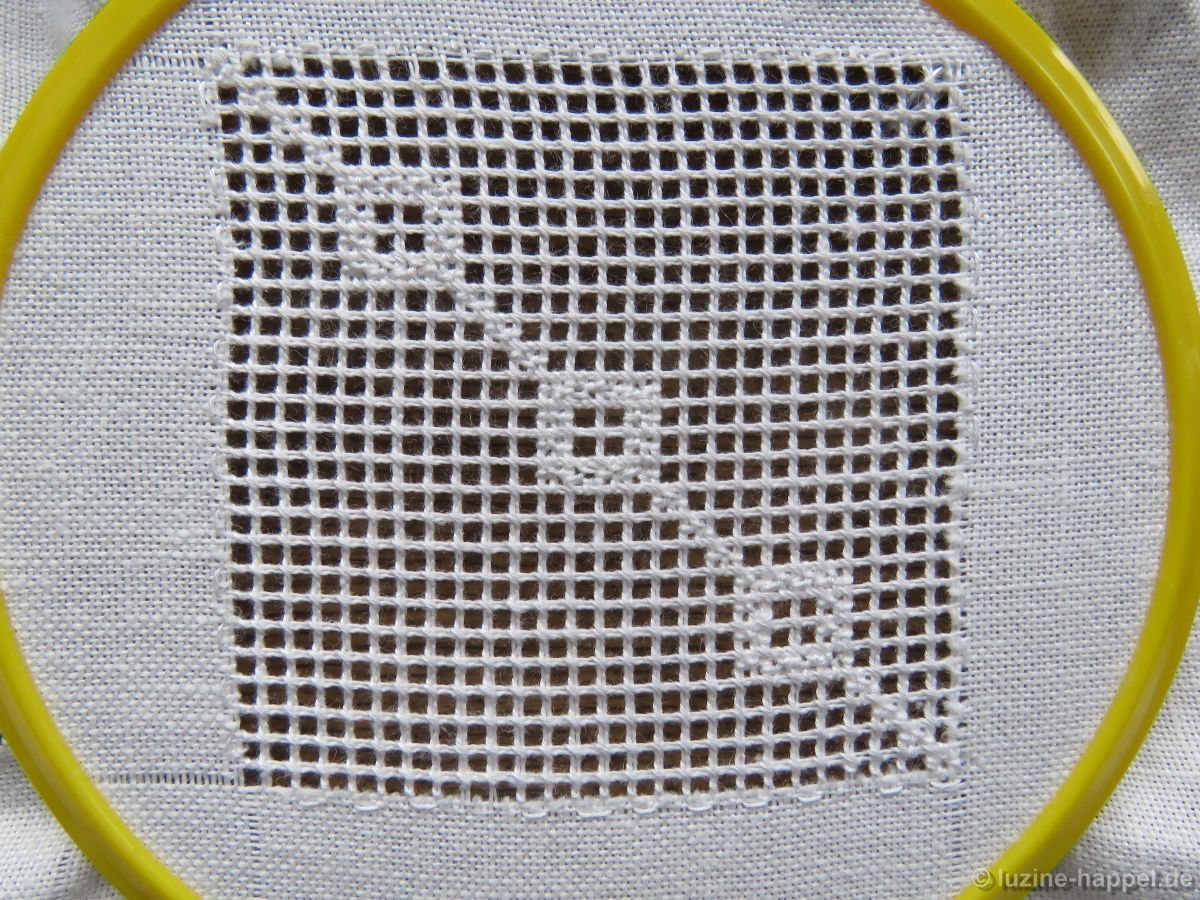
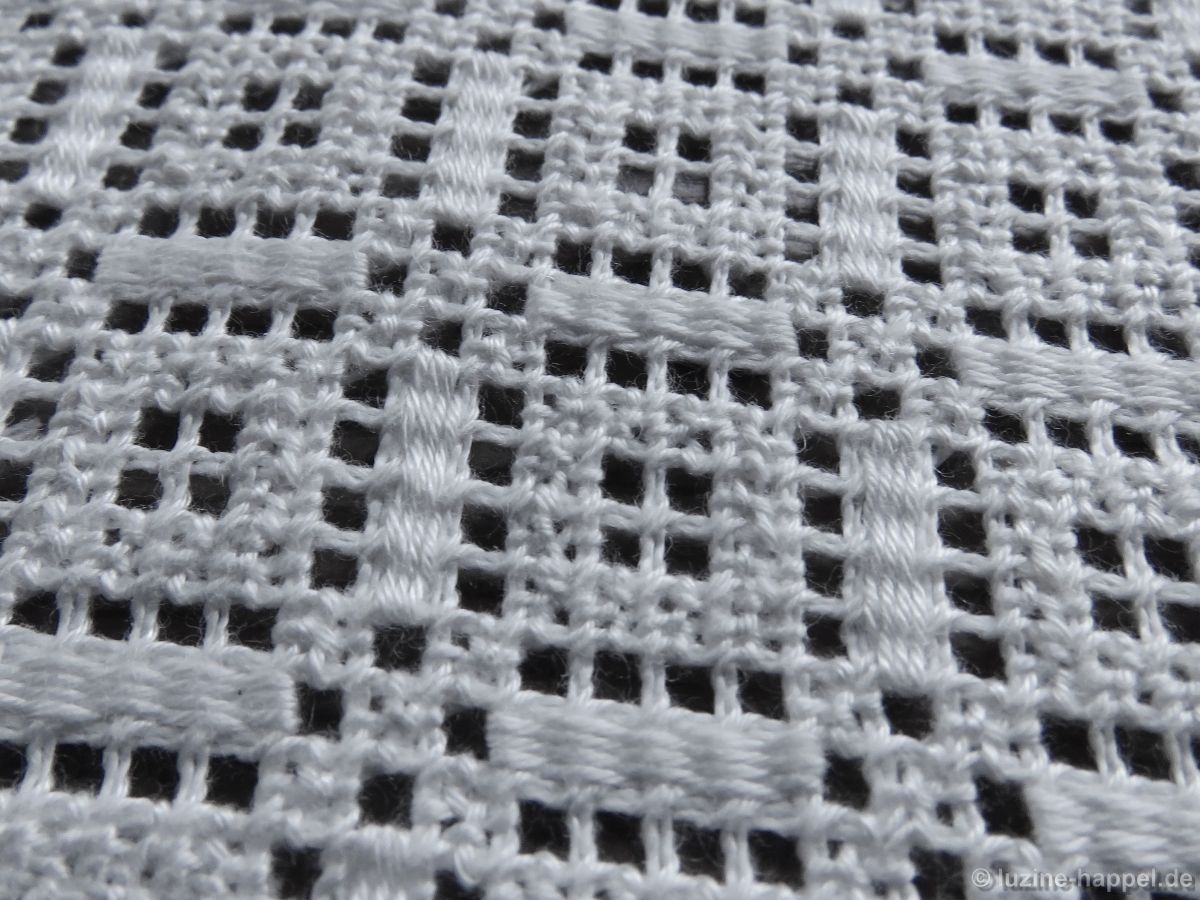
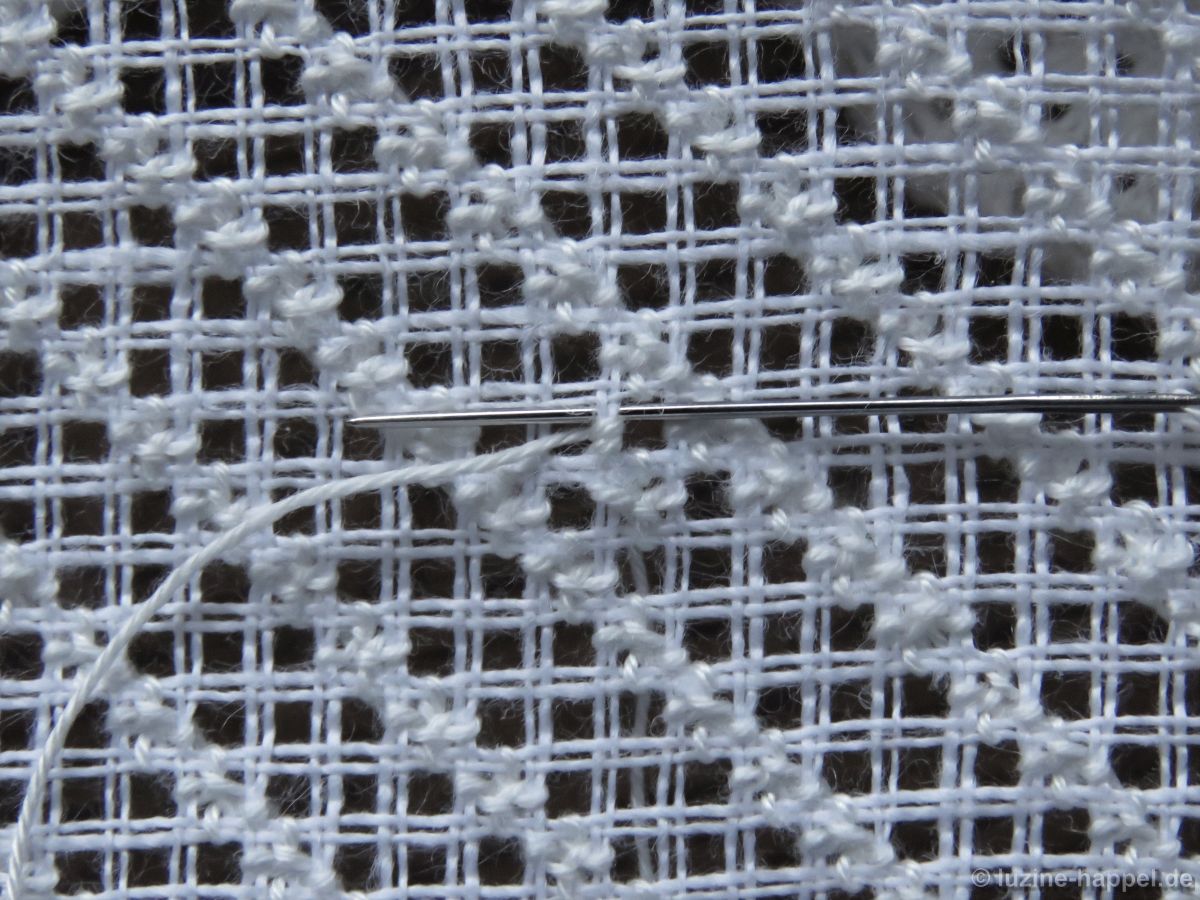
In the established way alternately work one Rose stitch and 2 x 3 Satin stitches.

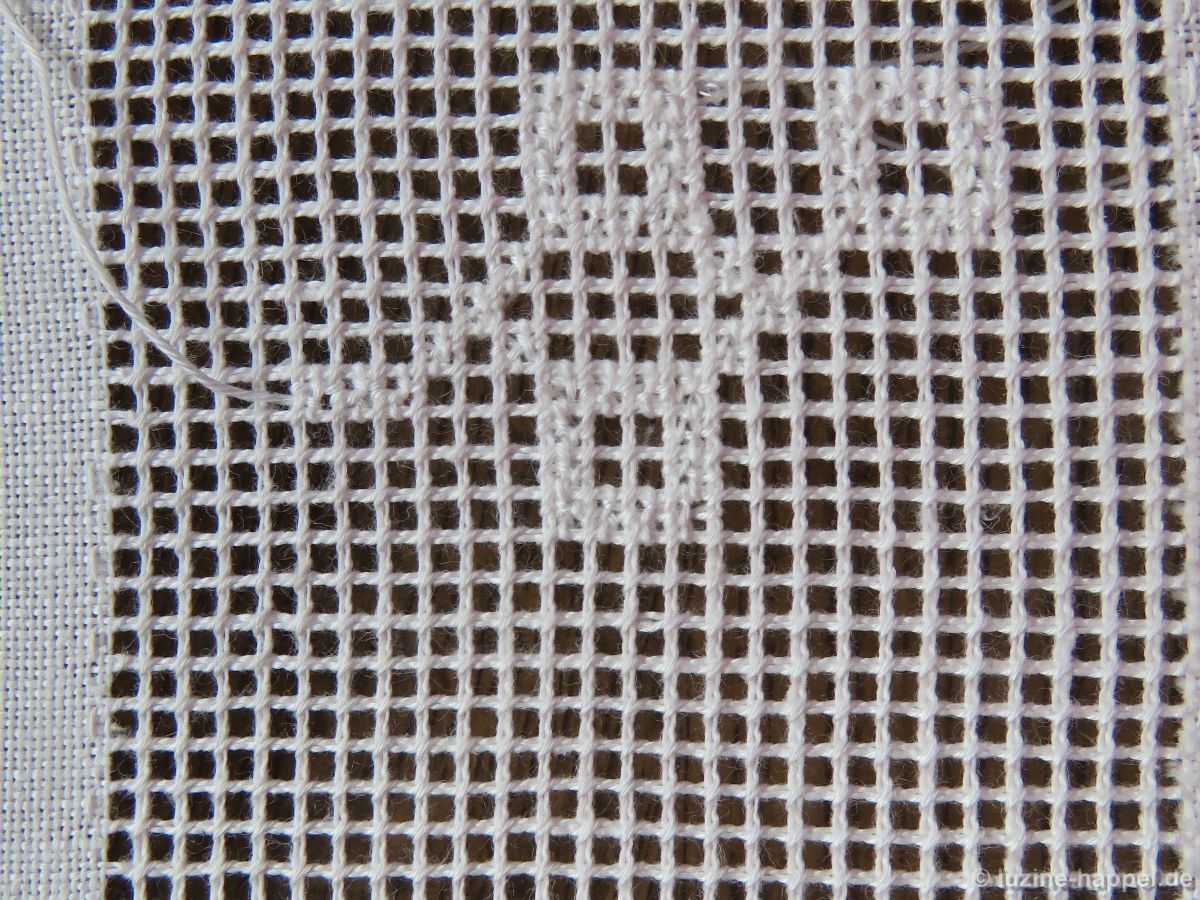
Turn the work 180° and embroider in the established way three Satin stitches over the remaining free vertical
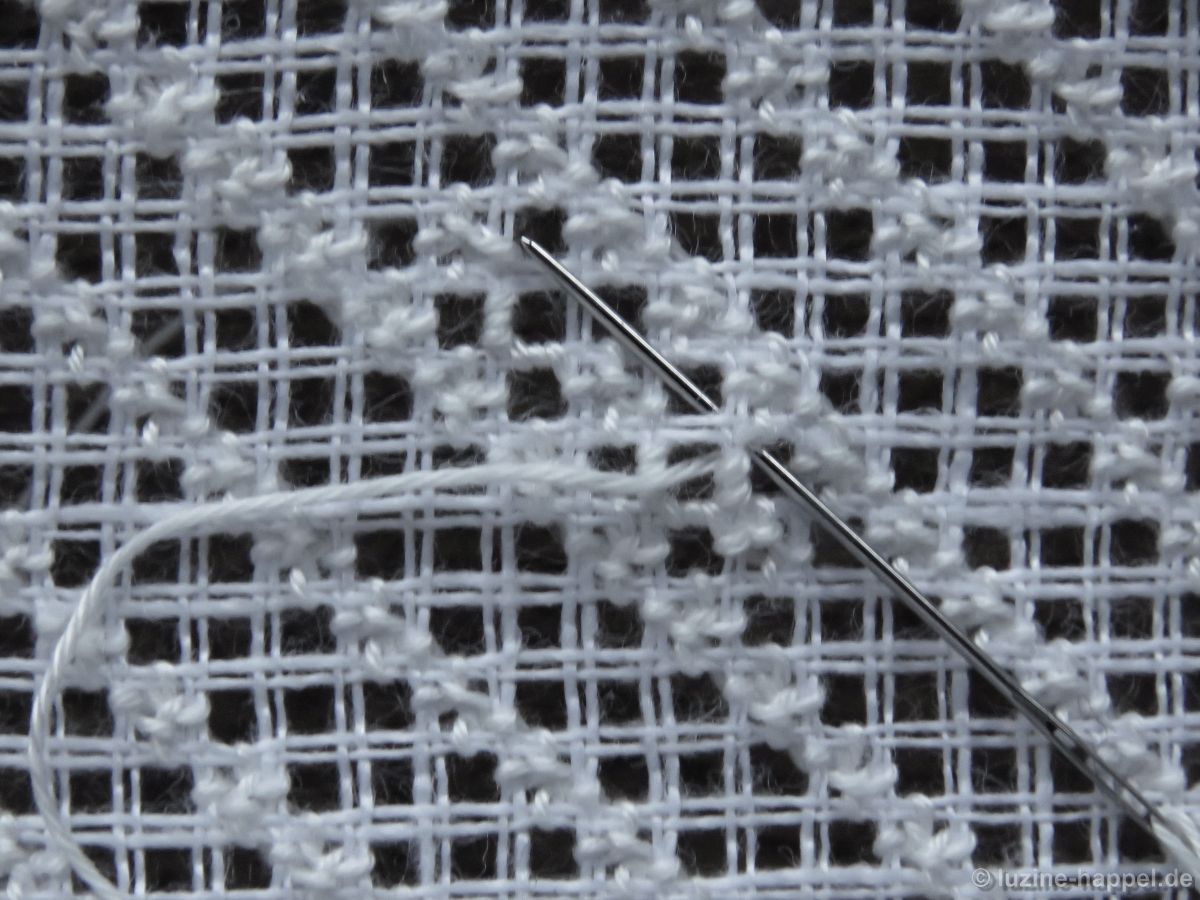
and three Satin stitches over the remaining free horizontal thread pair.
After the third stitch, move the needle undercrossing the Rose stitch into the next empty square.


In this way work 2 x 3 Satin stitches over the remaining free pairs of threads until the row is filled.

The other remaining free rows are embroidered in the established way, making sure that the rose stitches of the adjacent rows are in one line.
(A similar, but slightly more nondescript, pattern can be achieved by working the Rose stitch grid into a Cable stitch grid. This saves the need for Satin stitches, but requires securing the entire grid with Cable stitches first. I’ve browsed through my vast collection of patterns to show you the difference. Unfortunately, not a single pattern worked in this way was included.)