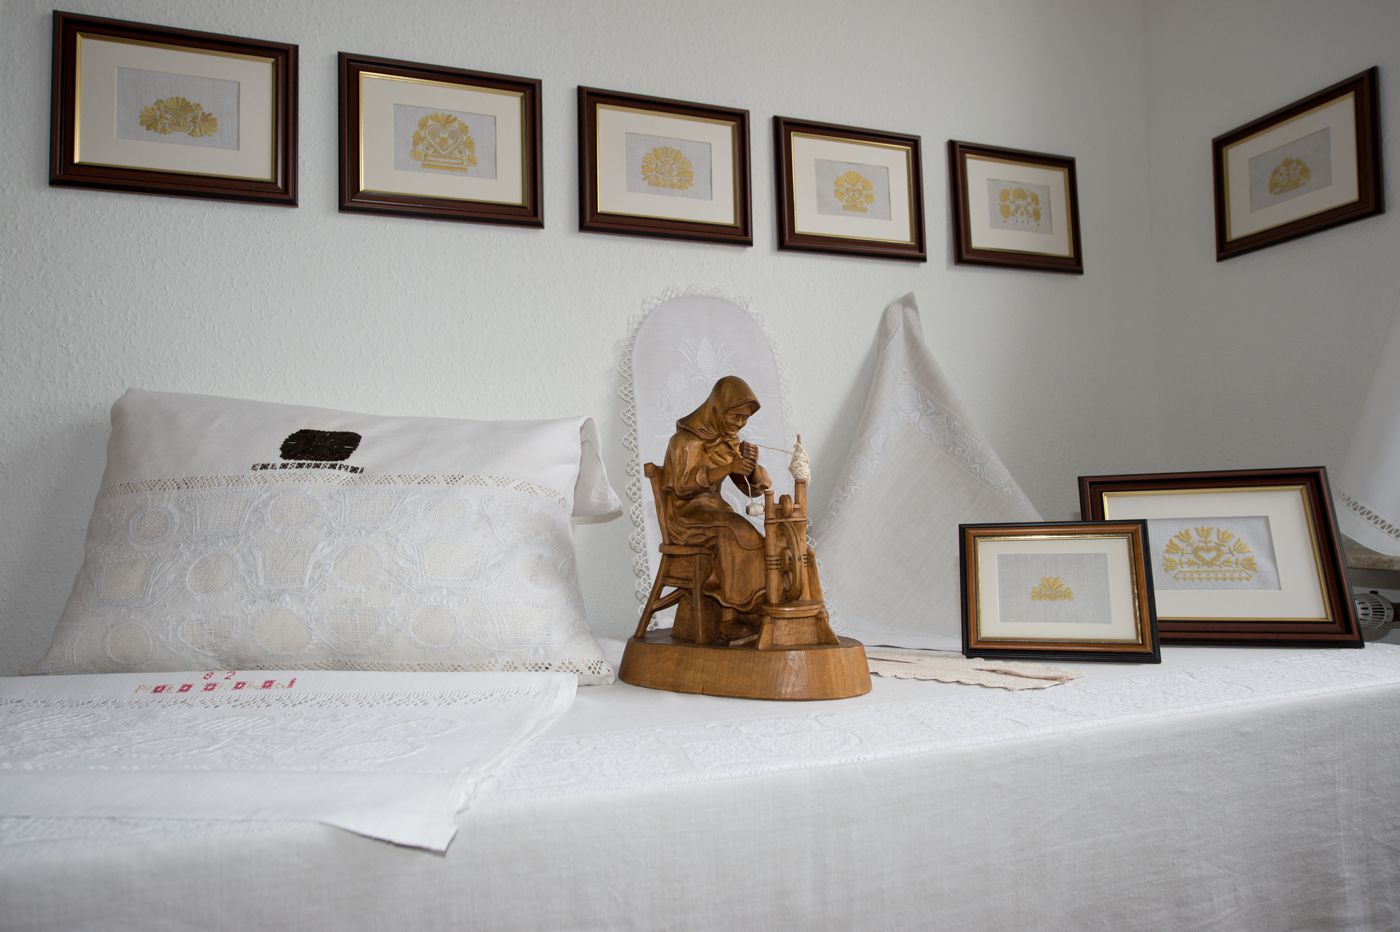
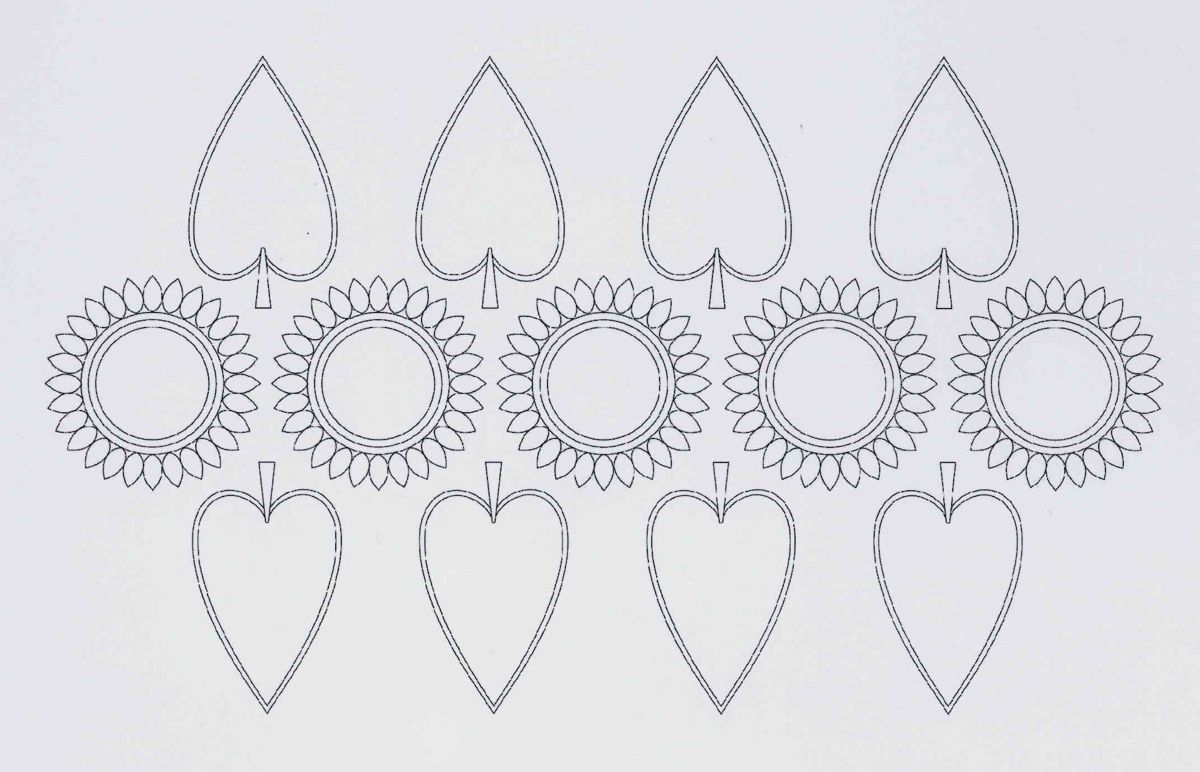
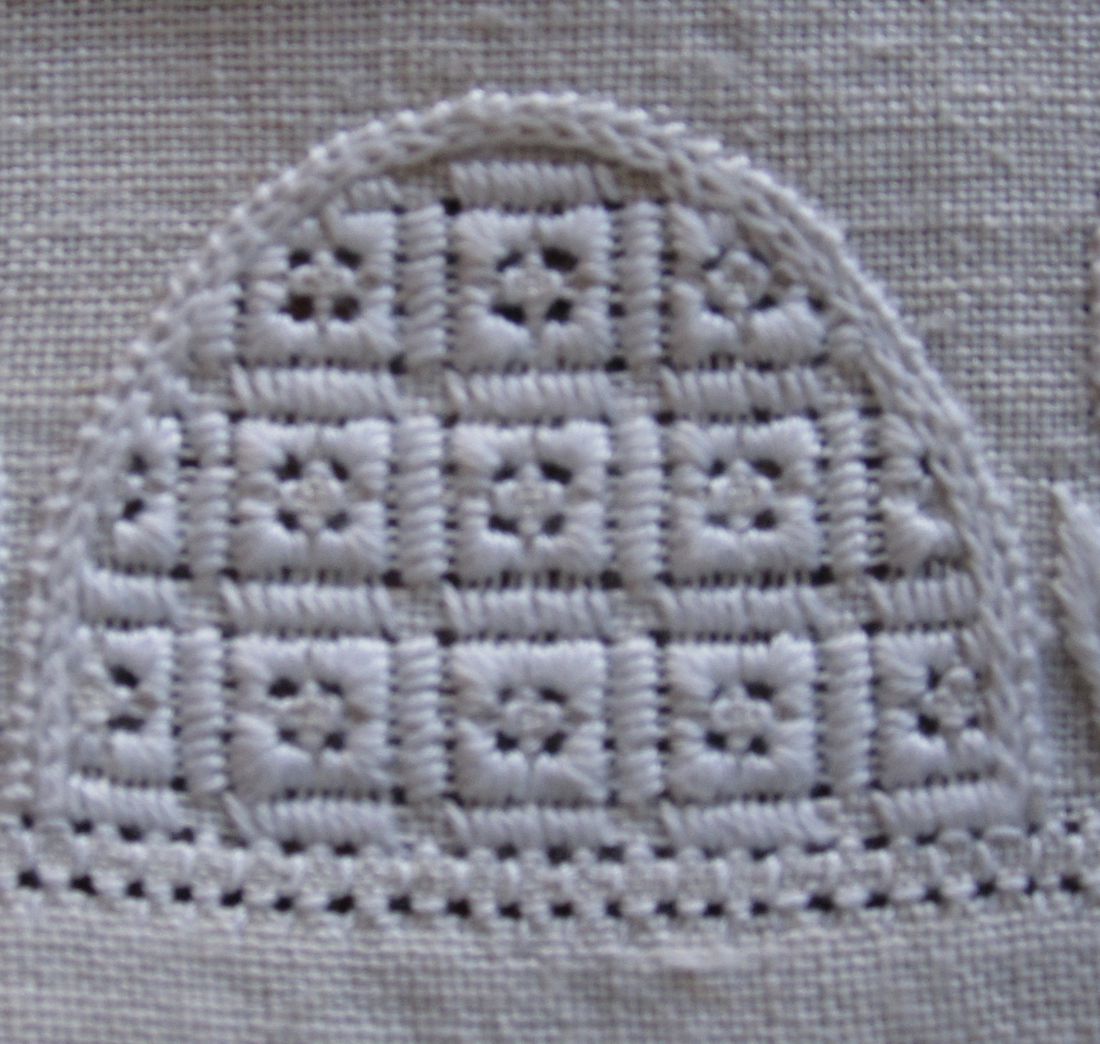
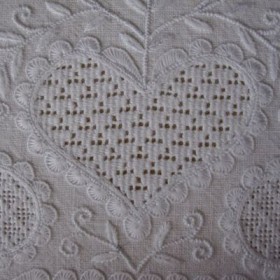
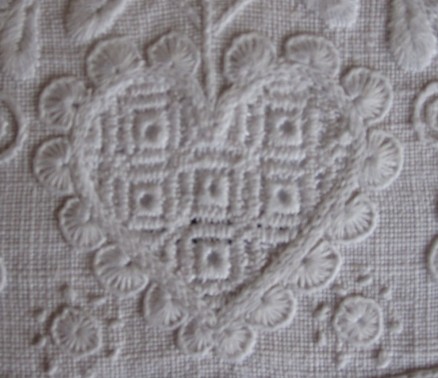
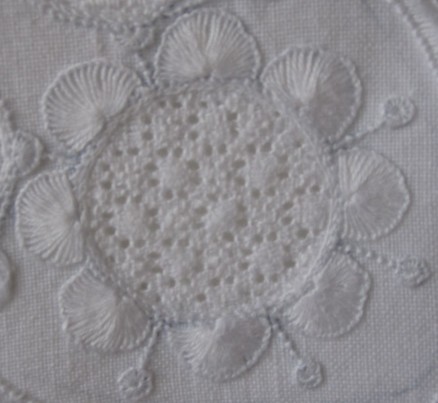
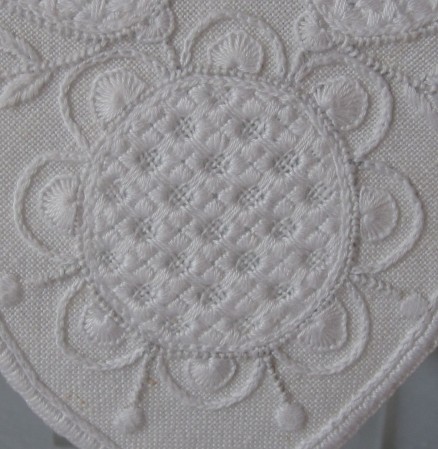
The simple motifs are often enhanced with embellishment. So, a circle is seldom seen unadorned, and hearts are usually decorated.
The customary form of decorating simple Schwalm motifs is to outline the shapes with scallops; they look nice and they are easy to embroider.
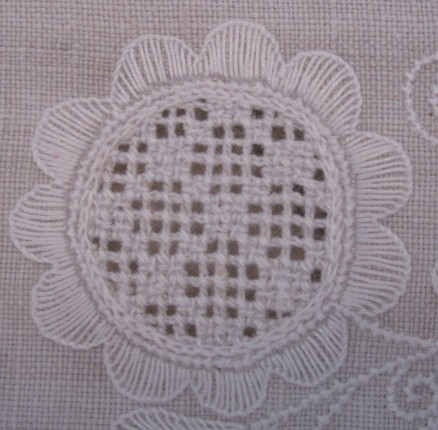
The scallops are placed close together.
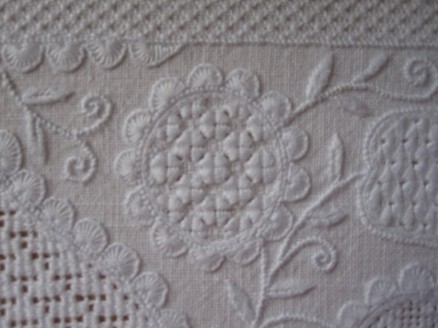
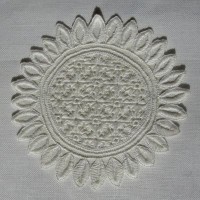
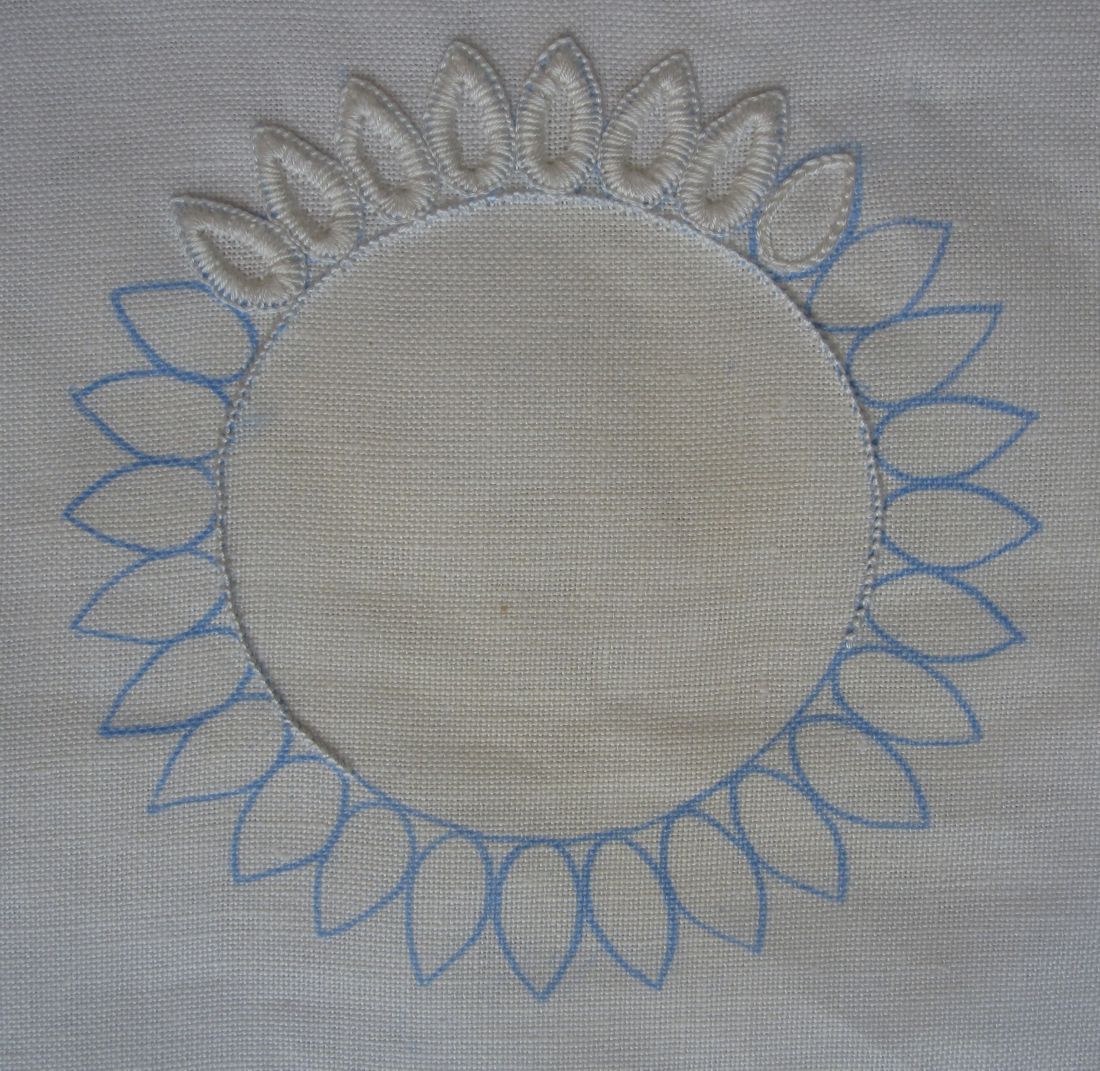
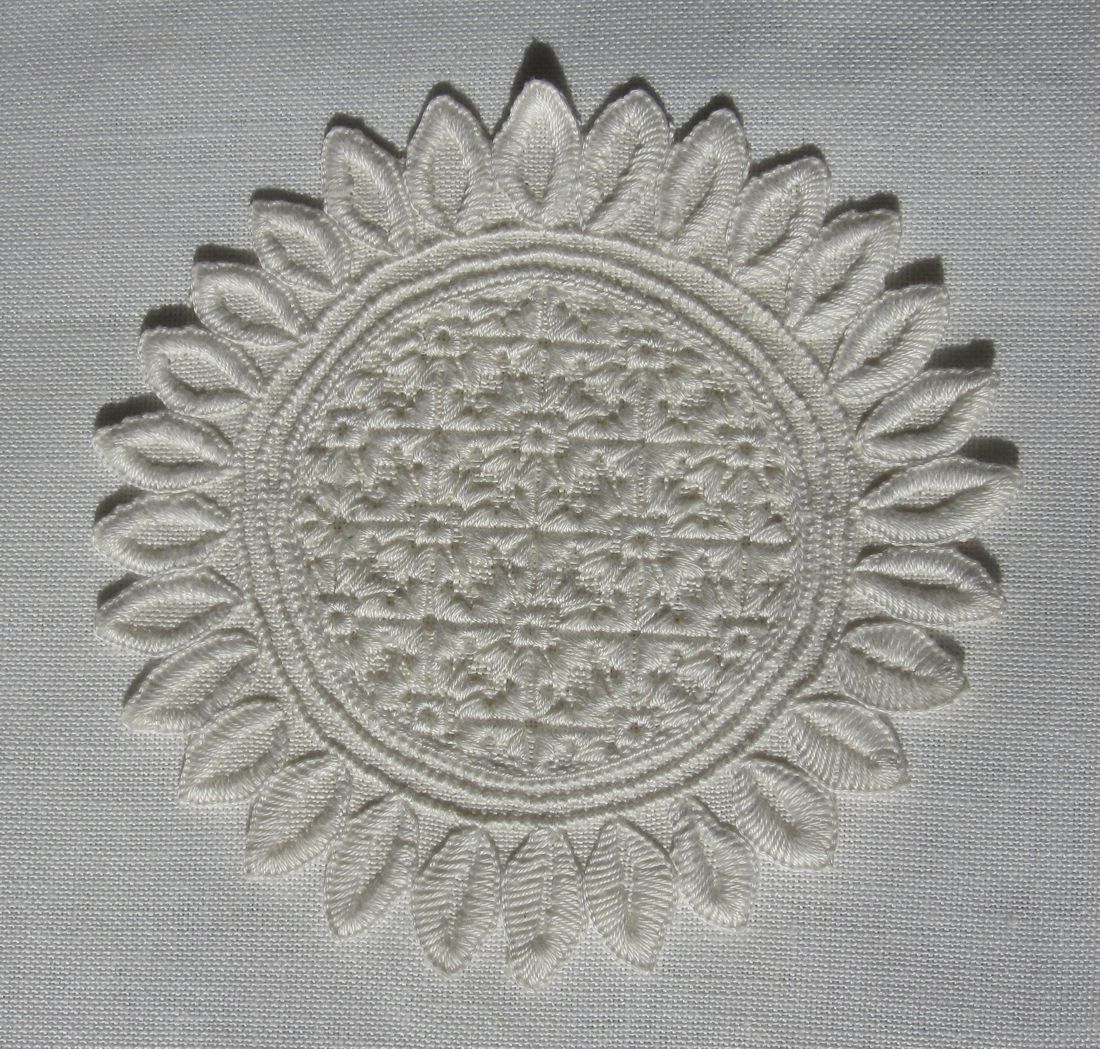
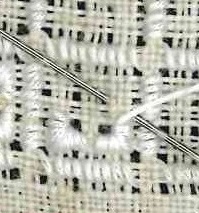
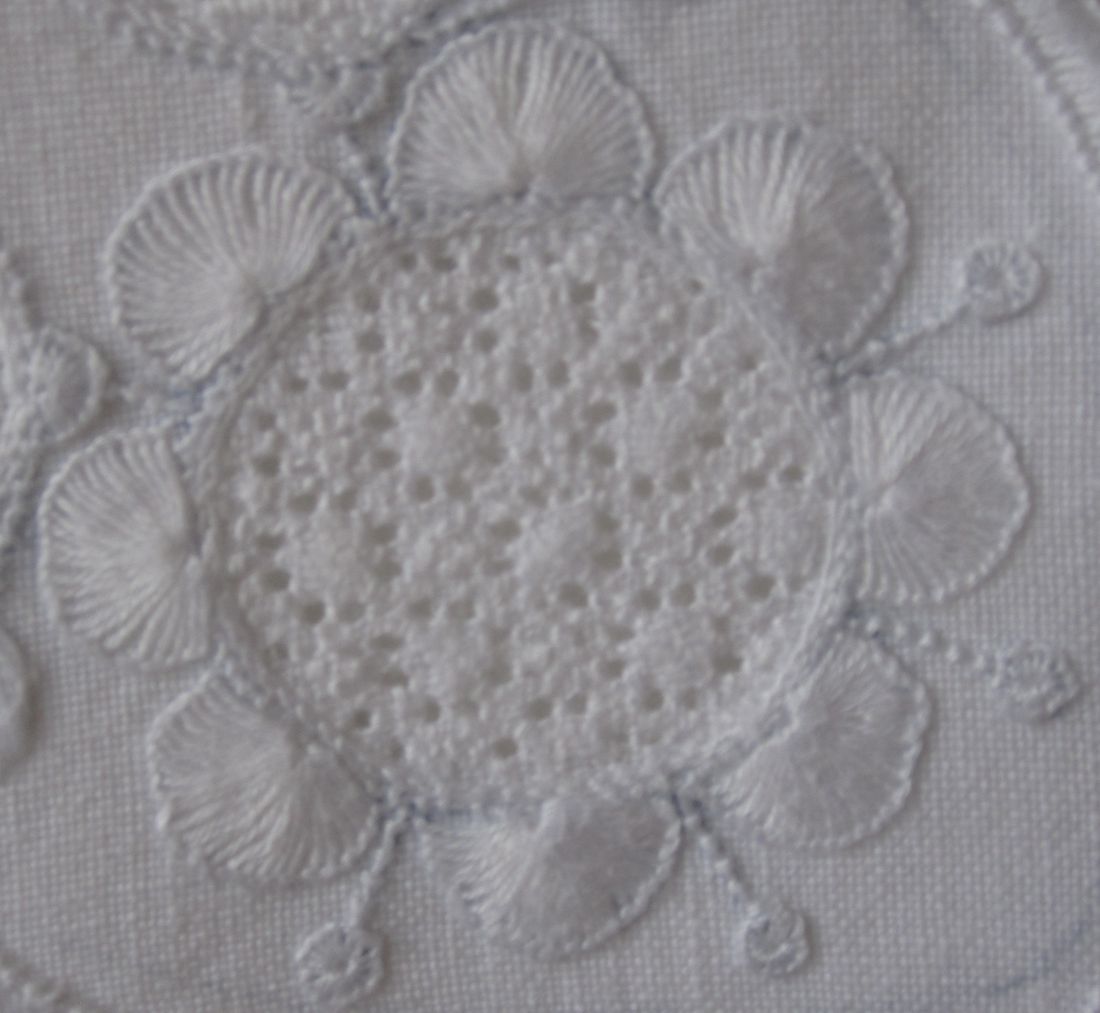
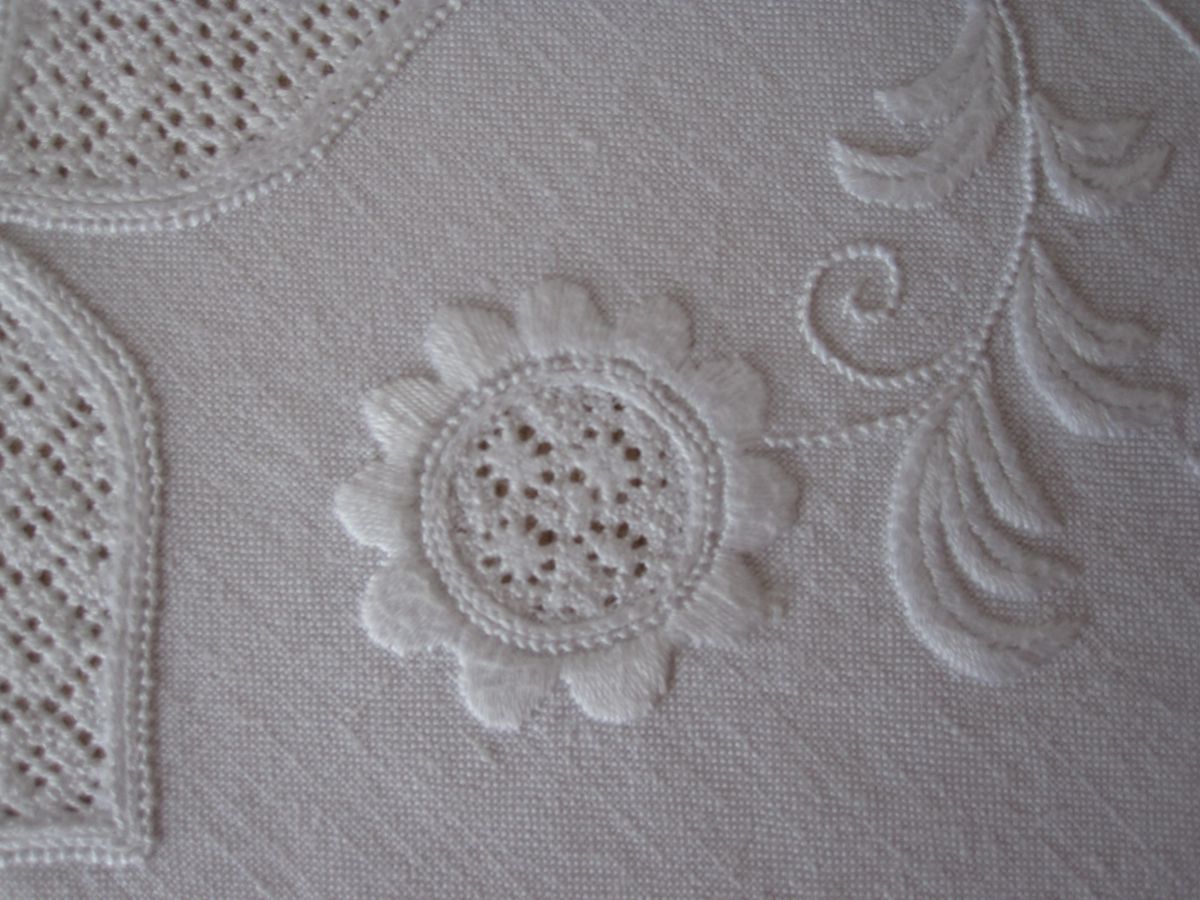
Circle outlined with uniform and evenly distributed half-eyelet scallops. The thread weight is correct, and the stitches have been worked with the appropriate density.
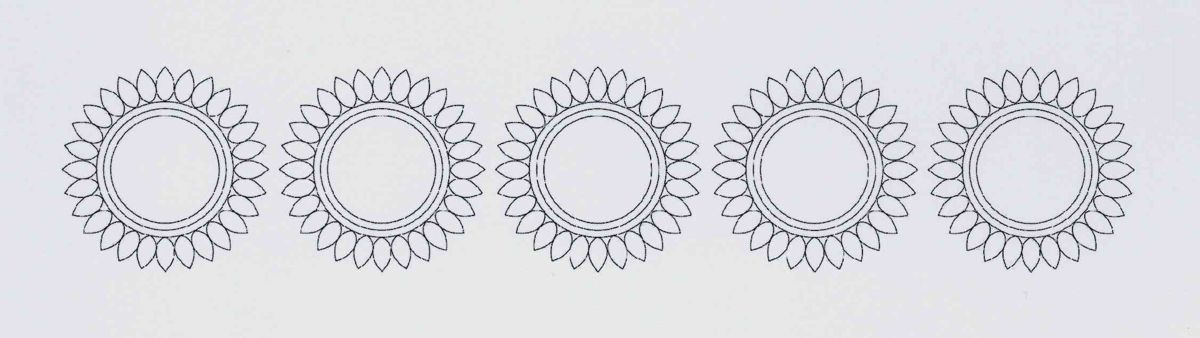
Circles are outlined with scallops of the same size, evenly distributed around the edge of the circle.
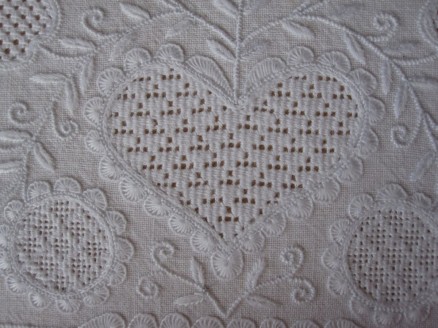
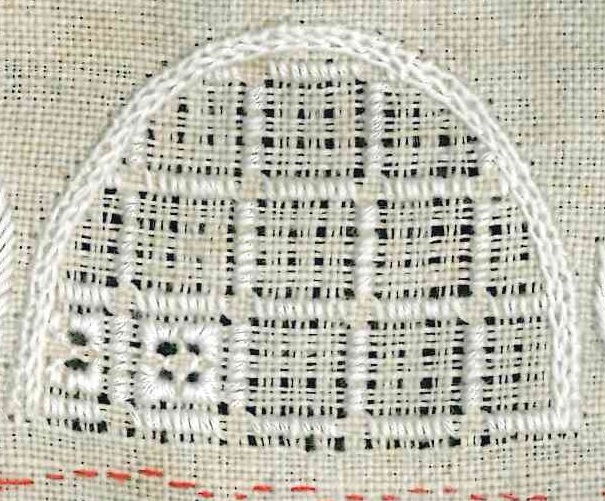
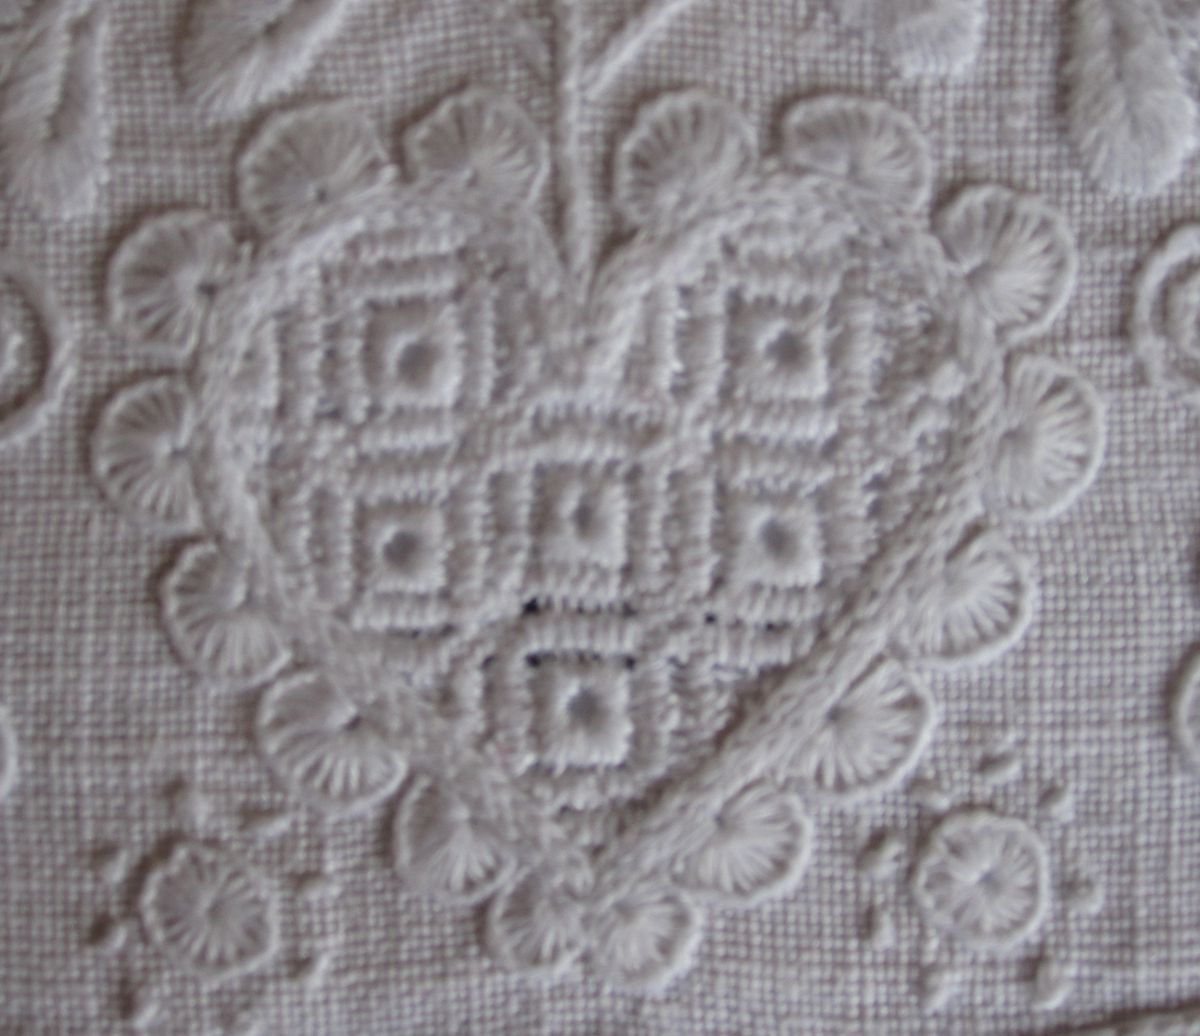
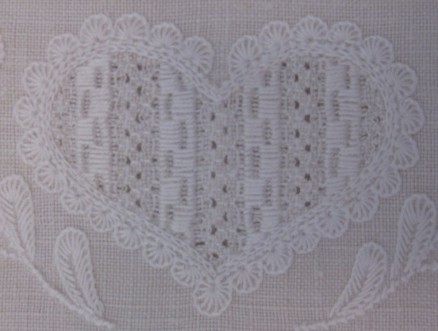
Heart outlined, except for the bottom and top center, with uniform and evenly distributed half-eyelet scallops. The thread weight is correct, and the stitches have been worked with the appropriate density.
Also, hearts are outlined with such scallops. The scallop at the bottom of the heart should be drawn somewhat longer making it look almost teardrop shaped. It is best to start the line drawing here (at the bottom of the heart) and to work to the top in even steps on the right and on the left side of the heart. Meeting at top of the heart, either the scallop spacing needs to be adjusted or they are slanted a little bit.
Heart outlined with half-eyelet scallops. The thread weight is correct with appropriately dense stitches. Some of the scallops should be closer together and the bottom point should have only one scallop.
It does not look very elegant to have two scallops meet at the lower heart point.
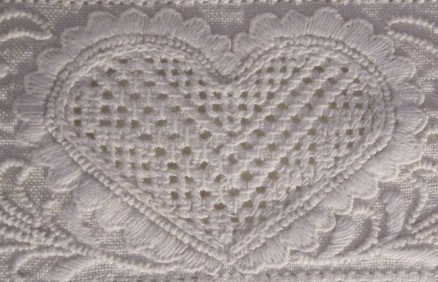
Heart outlined with scallops. The thread weight is correct and the density of the stitches is good. However, the treatment of the scallops at the heart’s lower point is not attractive.
Also, the effect is not harmonious to have scallops becoming smaller at the heart’s lower point.
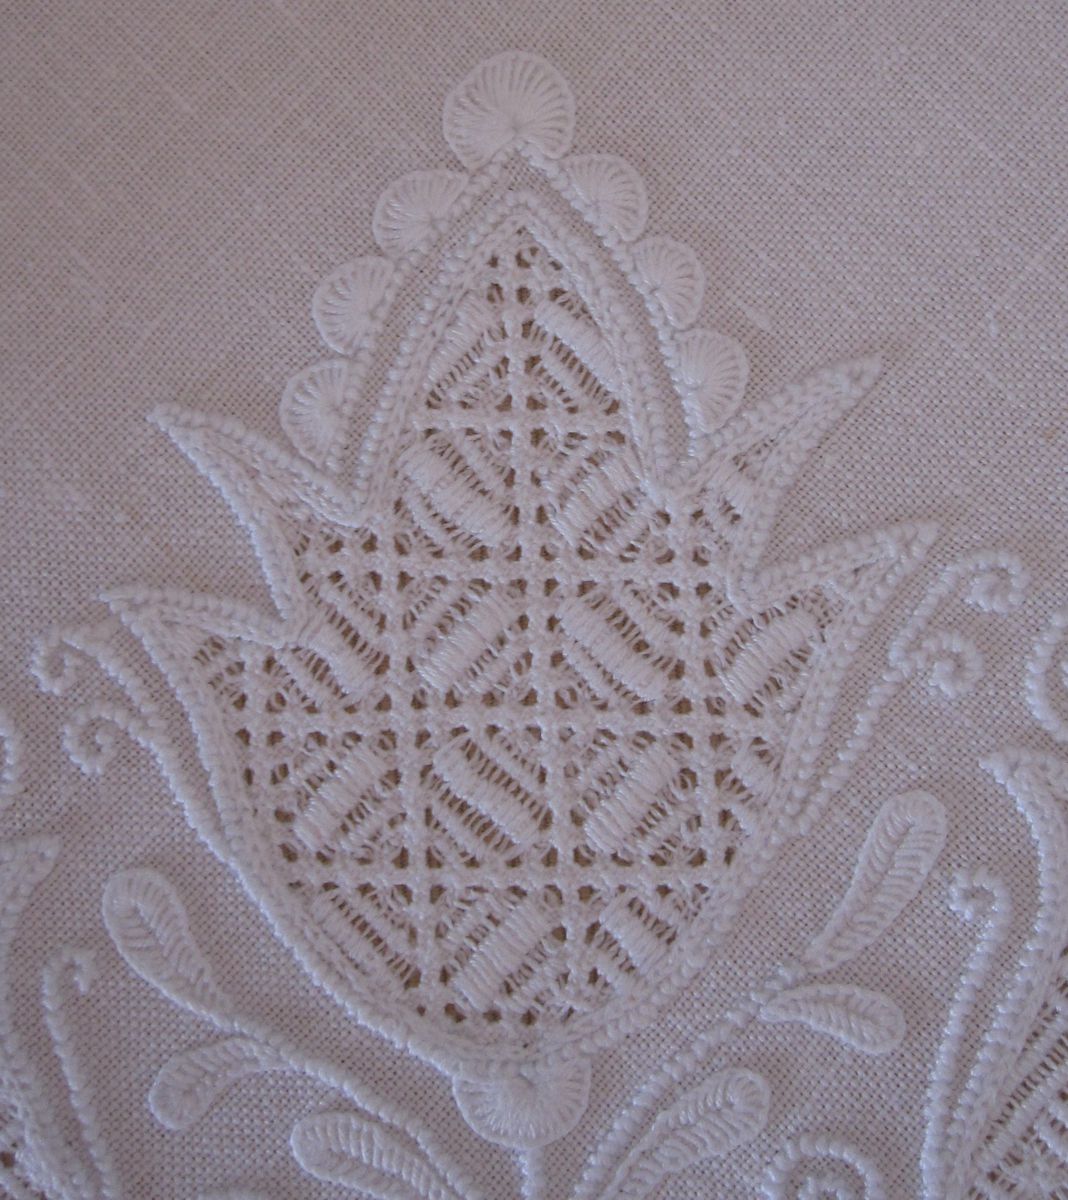
Tulip outlined with scallops utilizing the correct thread weight. The density of the stitches is not consistent. In this example, one can see that the embroiderer had difficulty distributing the scallops evenly – especially along the curved line at the top of the tulip.
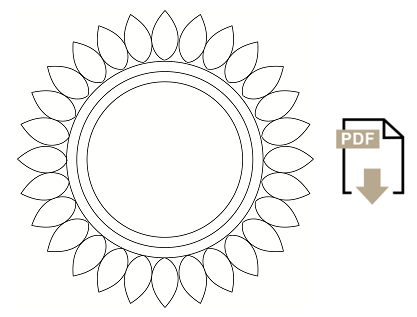
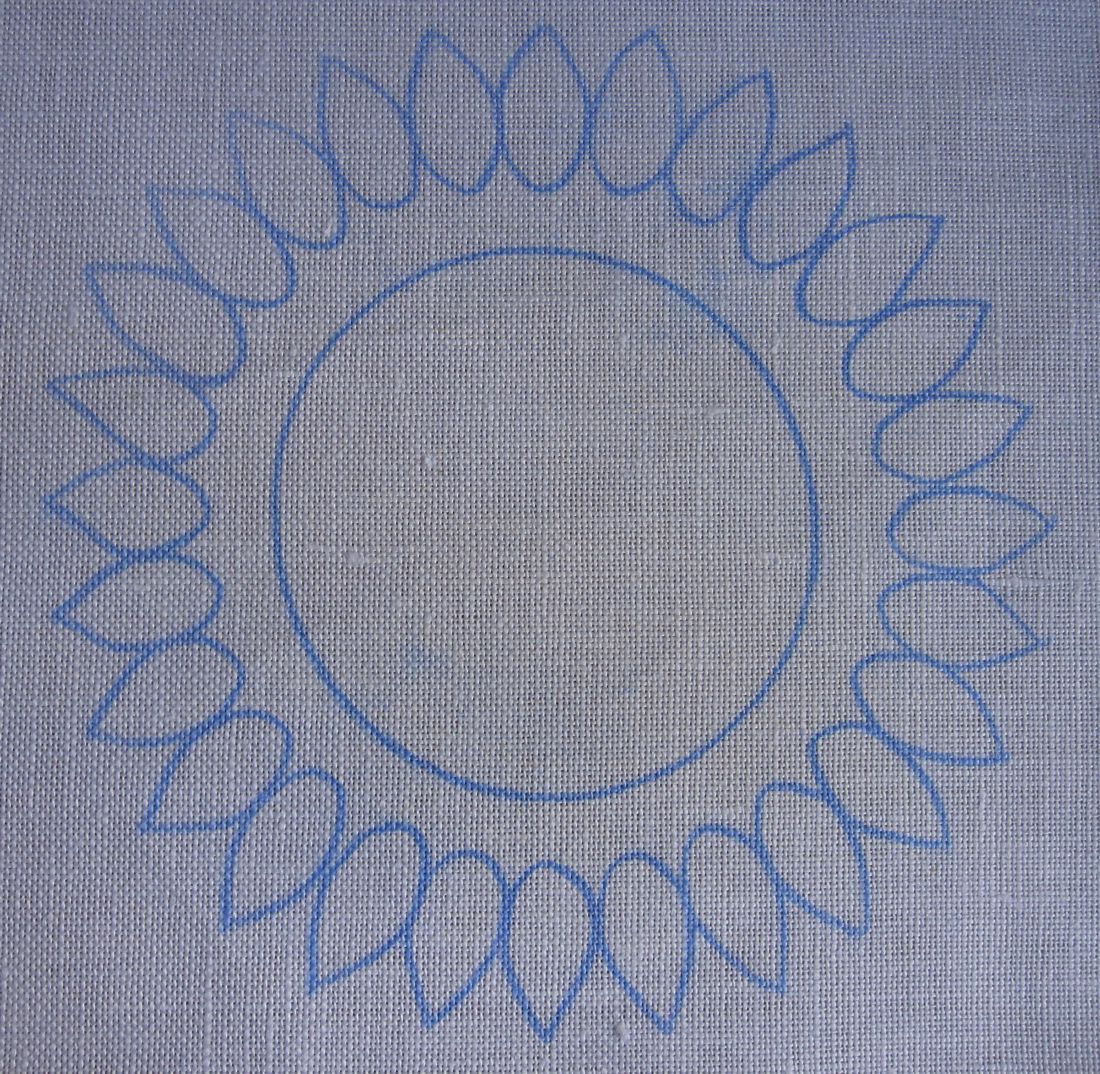
Tulips completely outlined with scallops are rare. It is difficult to distribute the scallops evenly –
especially along the curved line at the top of the tulip.
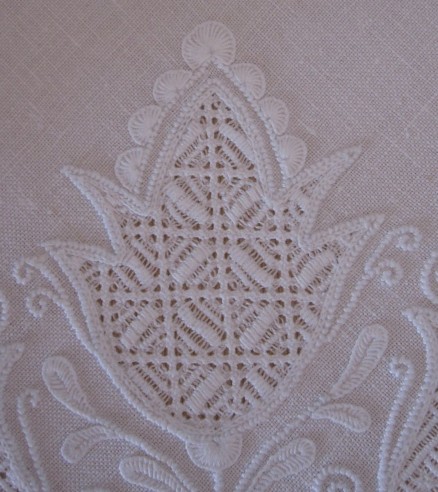
Tulip embellishment with half-eyelet scallops. The thread weight and the density of the stitches are both correct.
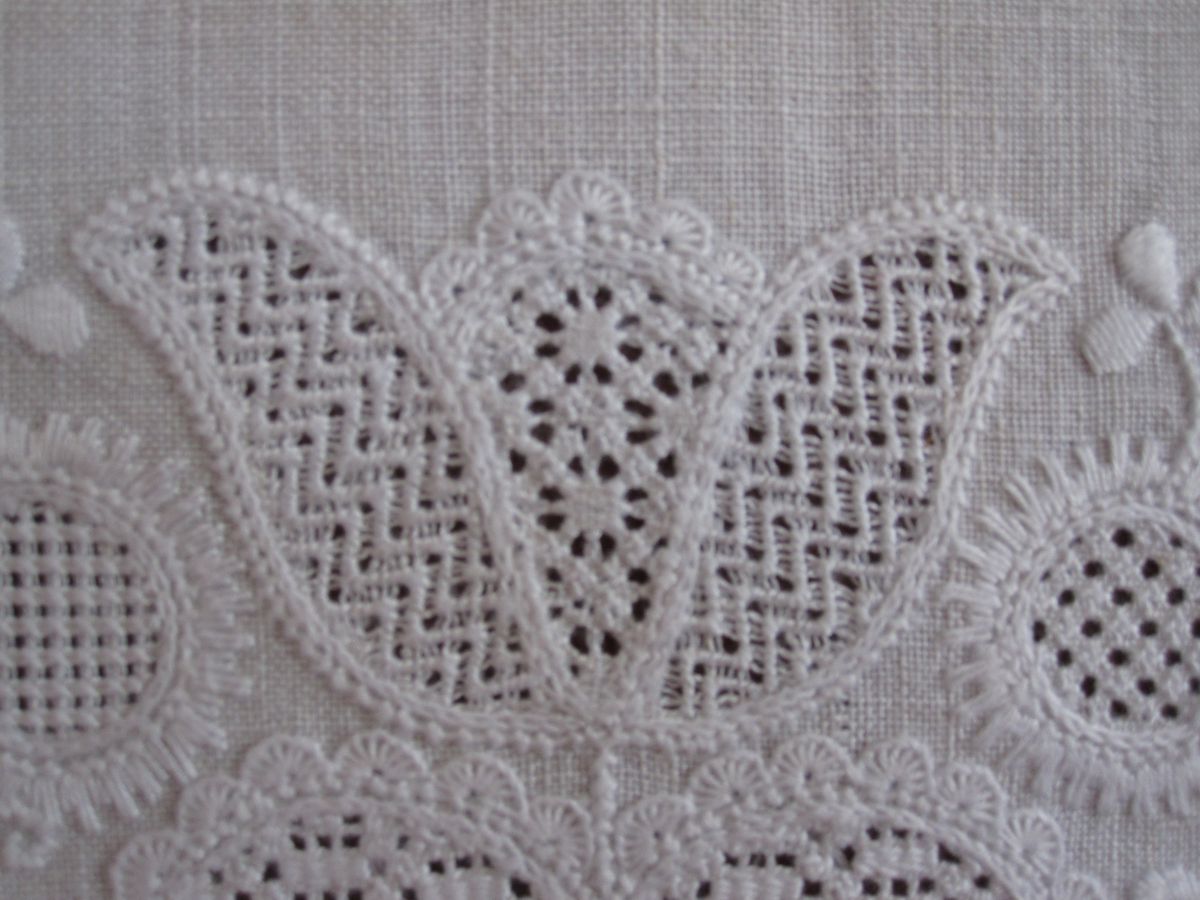
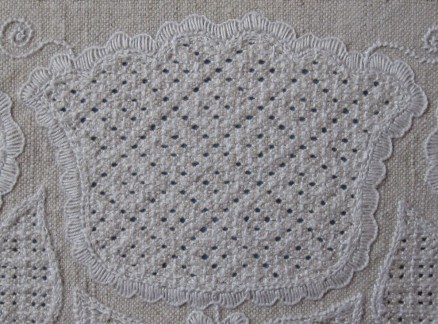
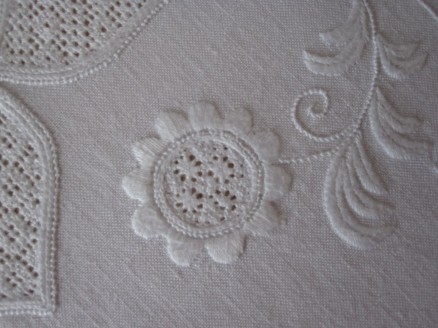
On very large tulip motifs a scallop embellishment along the sides and the bottom is often seen.
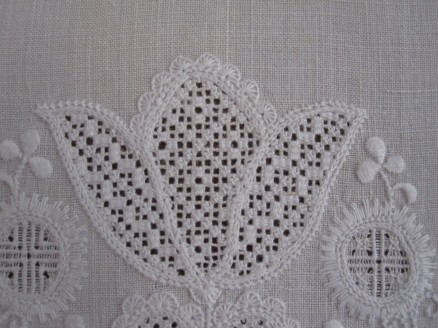
Tulip embellishment with half-eyelet scallops of differing sizes. The thread weight and the density of the stitches are both correct.
Smaller tulip motifs have scallops (if they have them at all) of differing sizes at the top edges,

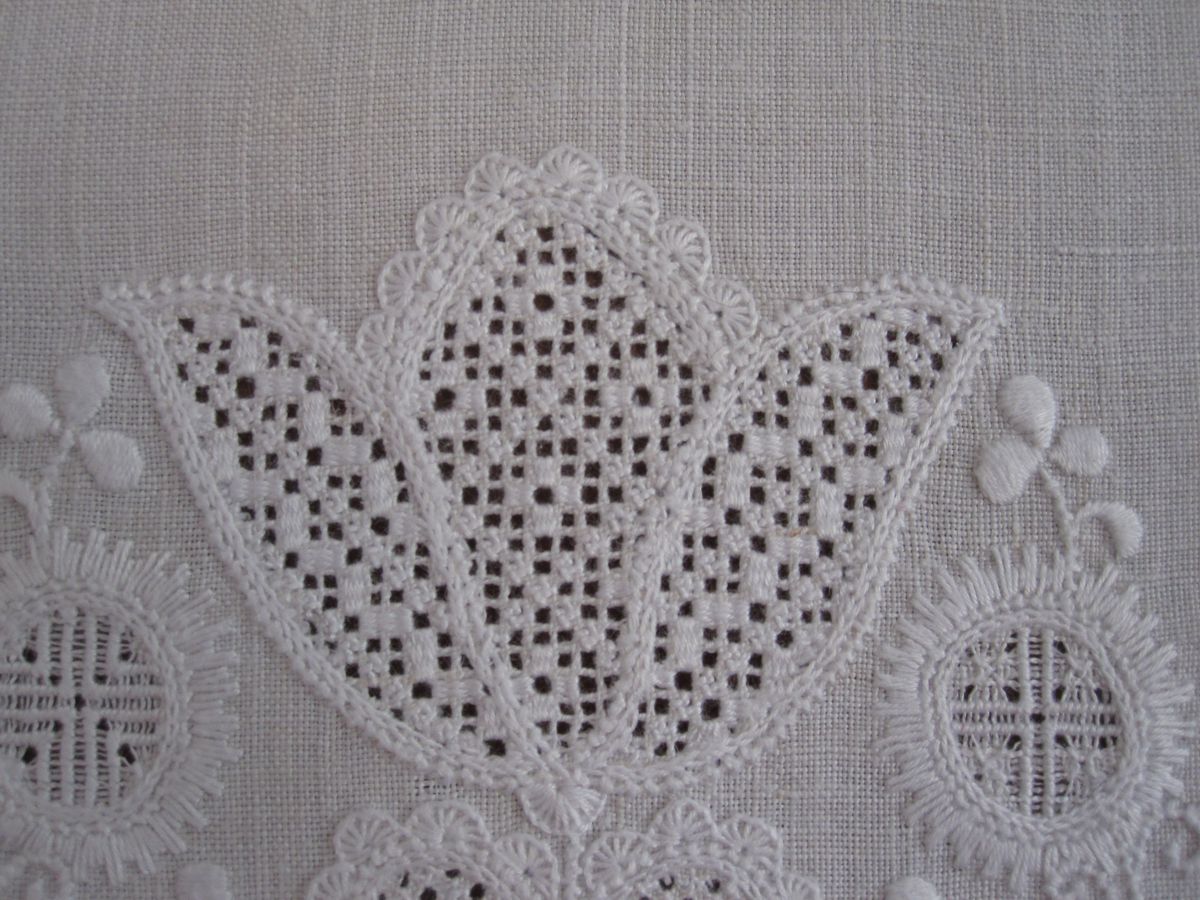
Tulip embellishment with uniform half-eyelet scallops. The thread weight and the density of the stitches are both correct.
and to achieve a more harmonious effect, a single scallop can be placed at the lower center of the tulip.
Tulip embellishment with uniform half-eyelet scallops. The thread weight and the density of the stitches are both correct. However, it would be more aesthetically pleasing to put a single scallop at the center point, rather than having two scallops meet there.
The scallops are worked with Blanket stitches, and the half-eyelet scallop is preferred. Blanket stitch half-eyelet scallops ease the attractive finish.
Heart outlined, except for the bottom and top center, with uniform and evenly distributed half-eyelet scallops. The thread weight is correct, but the density is not. The scallops should have more stitches.
The scallops should be easy to stitch, that means they should not be too small, nor too large.
Scallops with a radius of 1 cm are perfect. Of course, the scallops must be in proportion to the motif – smaller motifs need smaller scallops. However, a scallop’s radius should not be smaller than ½ cm.
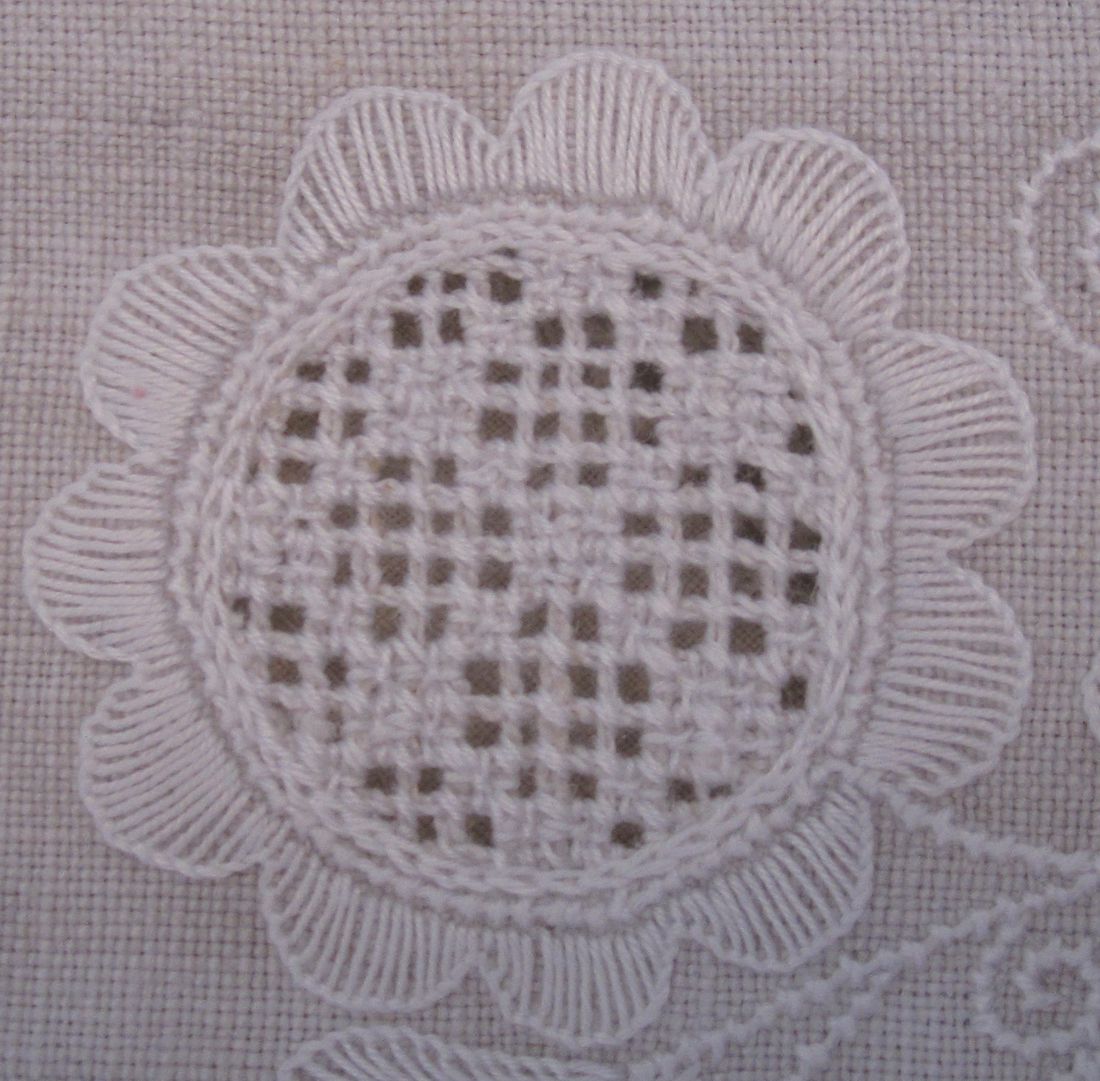
Circle outlined with uniform and evenly distributed half-eyelet scallops. However, they are too large. The thread weight and the density of the stitches are both correct. A larger scallop needs more stitches to become sufficiently covered; it is difficult to get an orderly appearance with so many stitches radiating from the same point.
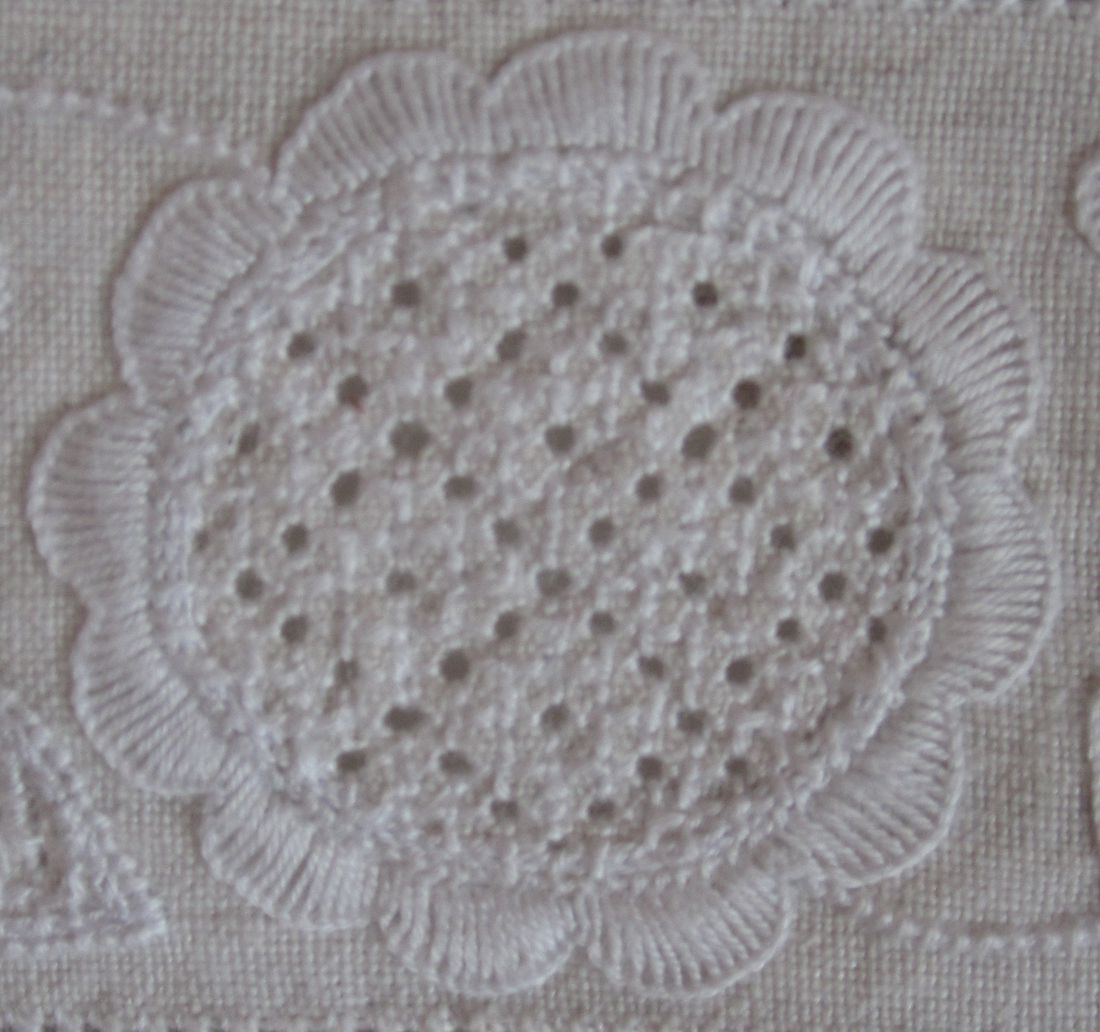
Circle outlined with uniform and evenly distributed half-eyelet scallops. The individual scallops are divided and worked with the appropriate thread weight, and the stitches have been worked with the appropriate density. The additional embroidered parts also utilize the correct thread weight.
Larger scallops can be managed by dividing the individual scallops and embroidering both parts separately.
Circle outlined with uniform and evenly distributed scallops. The scallops have been embroidered using precisely placed Satin stitches.
Sometimes scallops are also worked with Satin stitches. This needs much more practice than embroidering with Blanket stitches.
Circle outlined with uniform and evenly distributed scallops. However, the thread is too thin and the stitch density is not correct.
The thread should not be too thin and the stitches should lie densely together.

Circle outlined with fairly uniform and evenly distributed scallops. The thread weight is correct, but the Blanket stitches could be more dense.