
In the Schwalm handwoven linen was used. Often the small farms did not have wide weaving looms. So, linen with a width of approximately 70–80 cm was common. (Only a few weaving looms were wider, making it very difficult to find old handwoven linen wider than 80 cm today.)
However, at the time, there was a need for wider linen pieces, and this was achieved by joining, in creative ways, lengths of linen. The joins were made either with overcasting stitches to get a solid join or with Plaited Insertion stitches (also known as Interlaced Insertion stitches) to get an elastic and flexible join.
This article deals with the possible ways of making a solid join. It assumes the linen pieces have a selvage on the edges, and it is these edges that should be joined.
First, because it may happen that two pieces, cut from the same linen roll and to the same length, will shrink differently, the linen pieces must be preshrunk by boiling, This ensures the join will not be wavy.
The pieces need to be ironed, and, while ironing, one has to avoid stretching the linen in one or the other direction.
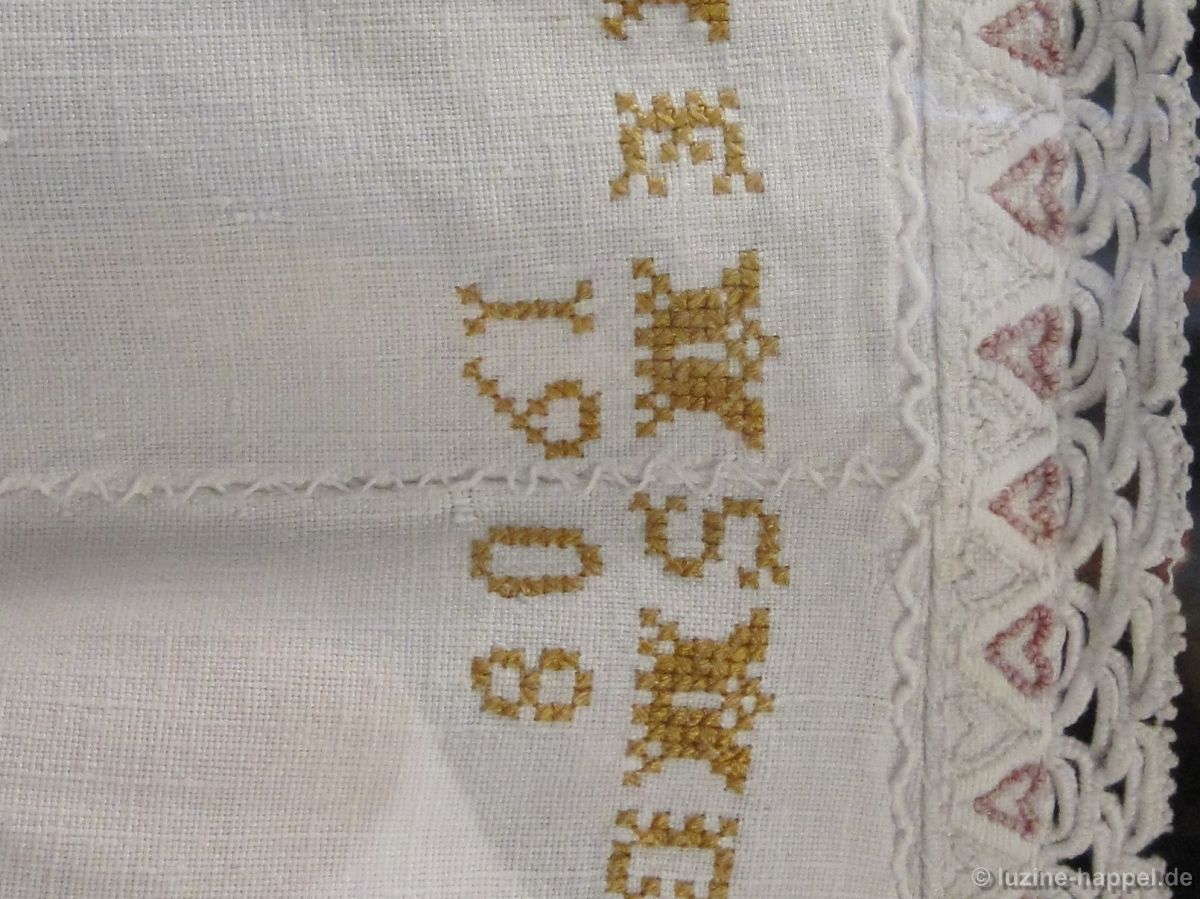
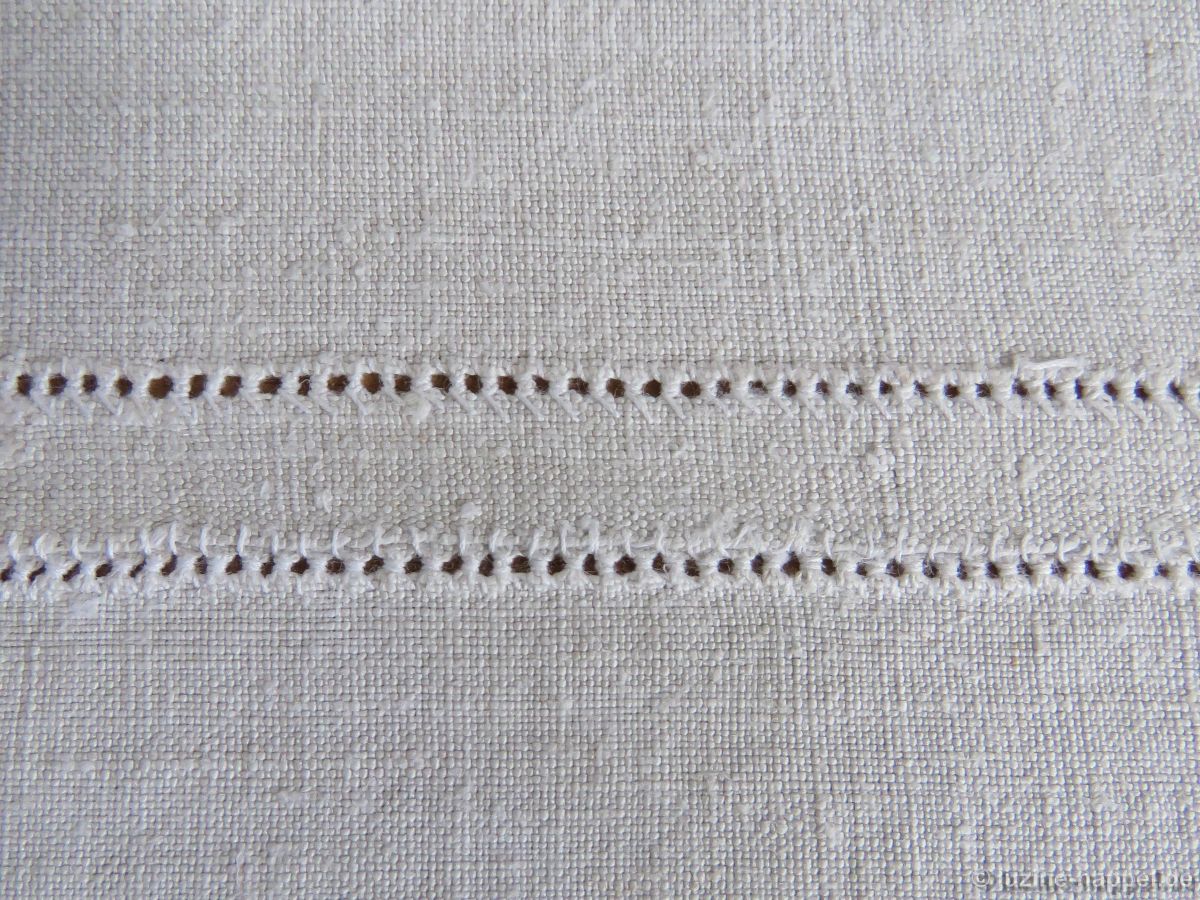
Stitching by hand small overcasting stitches is the simplest way to join the two pieces of linen. The first example shows this method worked on more coarse linen – the top seam shows the front side, the bottom seam the back side.

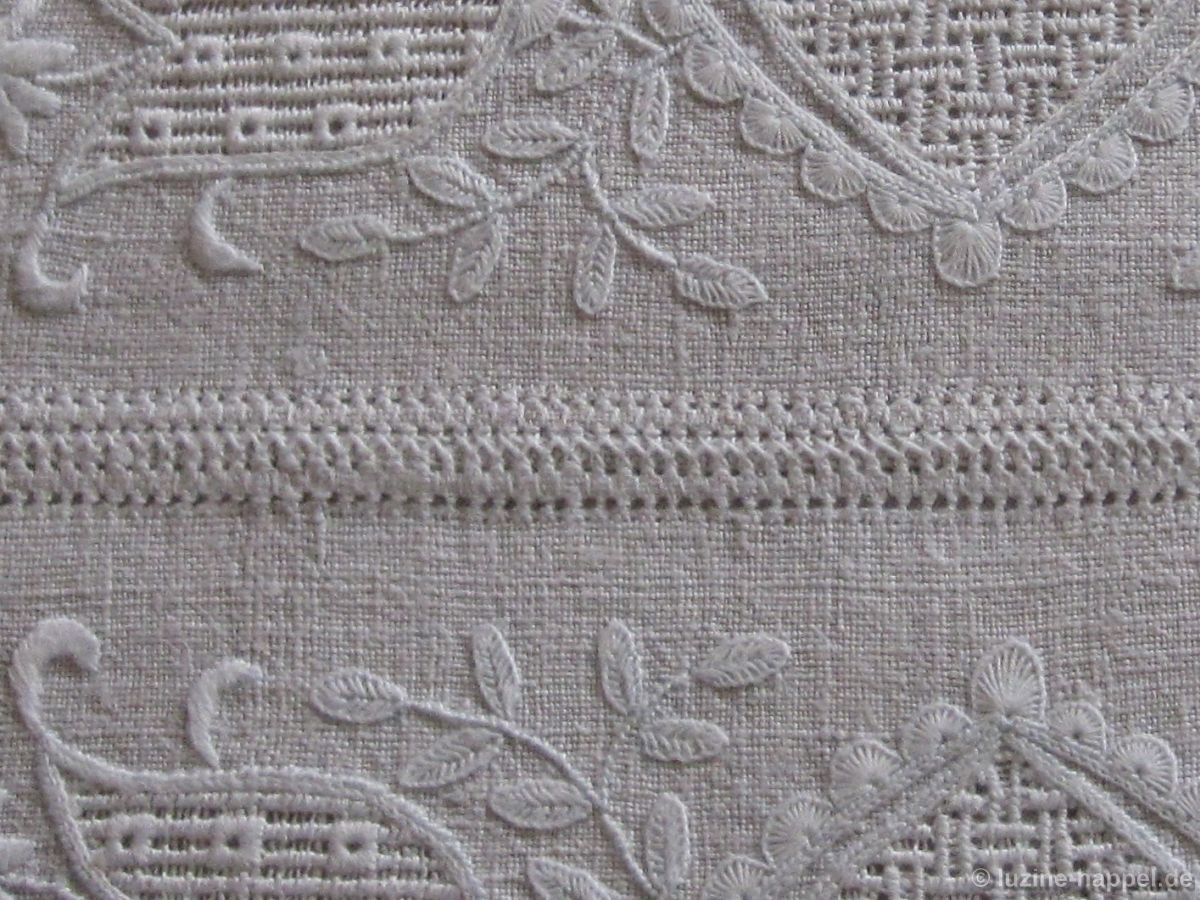
The example below shows this method worked on finer linen – the top seam shows the front side, the bottom seam the back side. This piece is from 1866, making it more than 150 years old. And the seam is still intact.

This method was mostly used for bed coverings, bed sheets, and aprons. For additional decoration on aprons, the seam was sometimes covered with curved lines,
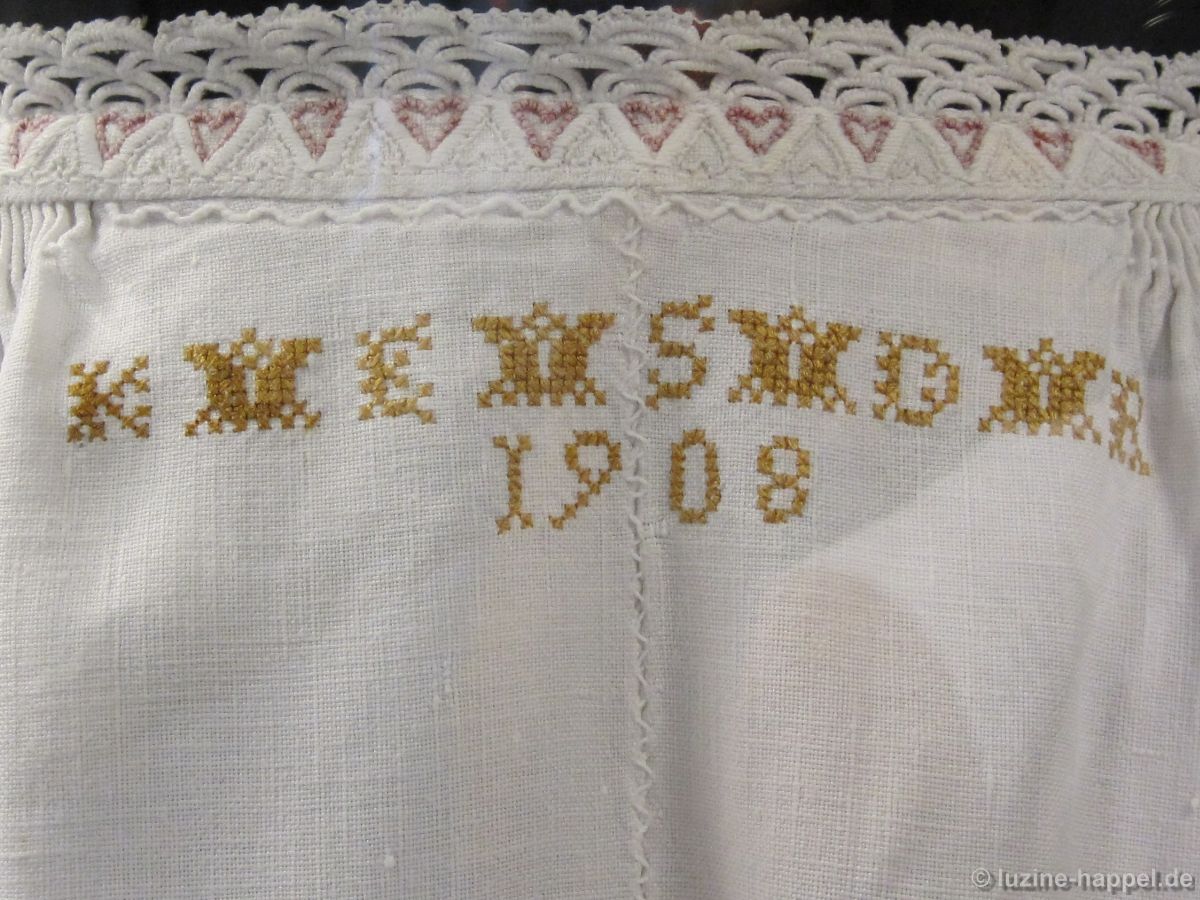
as the enlargement shows.
On contemporary pieces, this method is not often used. I could find one example on an elaborate table linen.
Here the seam was covered with a long stem with leaves and tendrils.

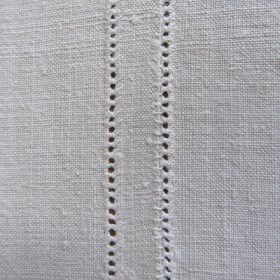
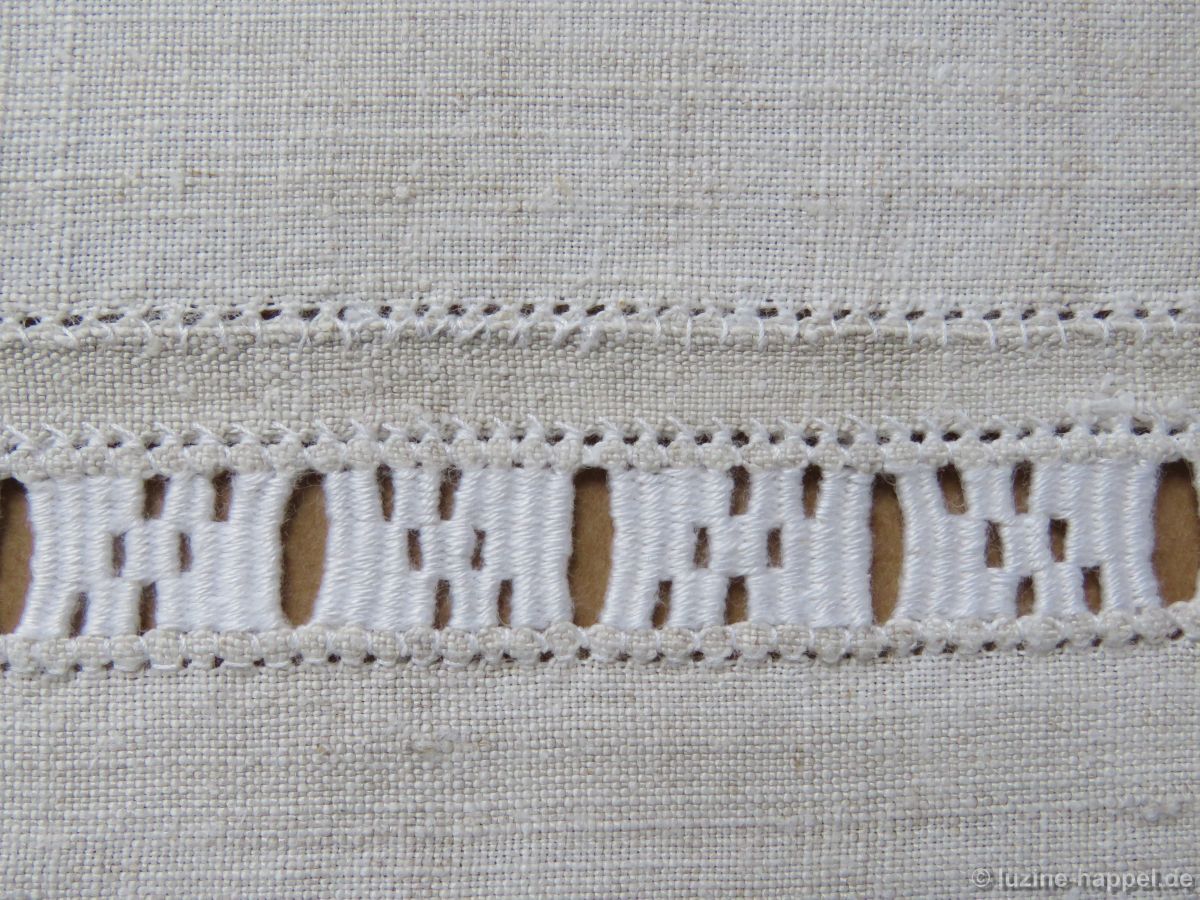
Today, for larger table linens, a double seam is usually worked. A thread is withdrawn along the selvage. The selvages are laid on top of each other and fastened with Antique hem stitches on both sides. Such a seam can remain without further decoration.
However, it can be covered with Herringbone stitches

and further embellished with Four-Sided stitches.
Or a needle-weaving band can be worked on one side.
It is also possible to work needle-weaving bands on both sides of the join.

But in this instance, it is not always easy to establish the same width of the bundles on both sides, which results in the two band patterns not exactly matching.
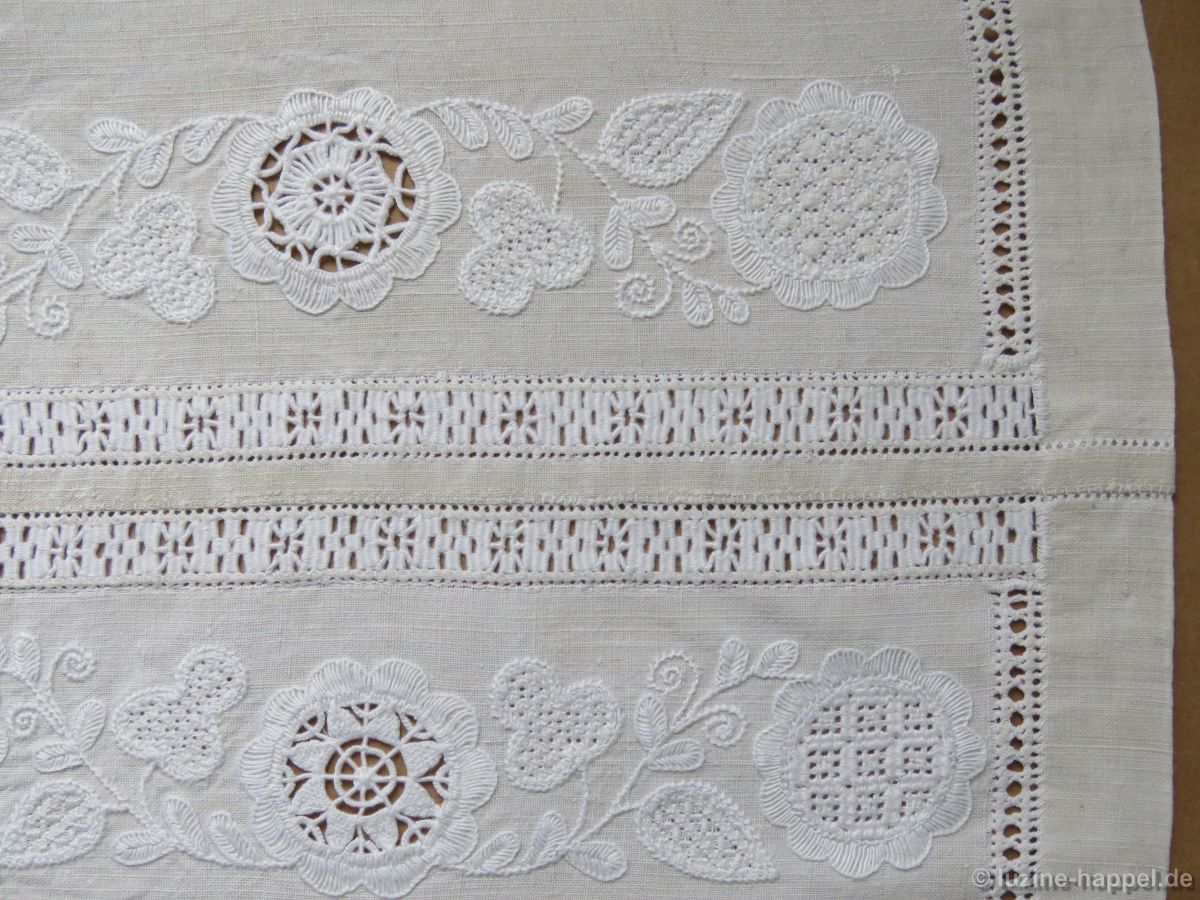
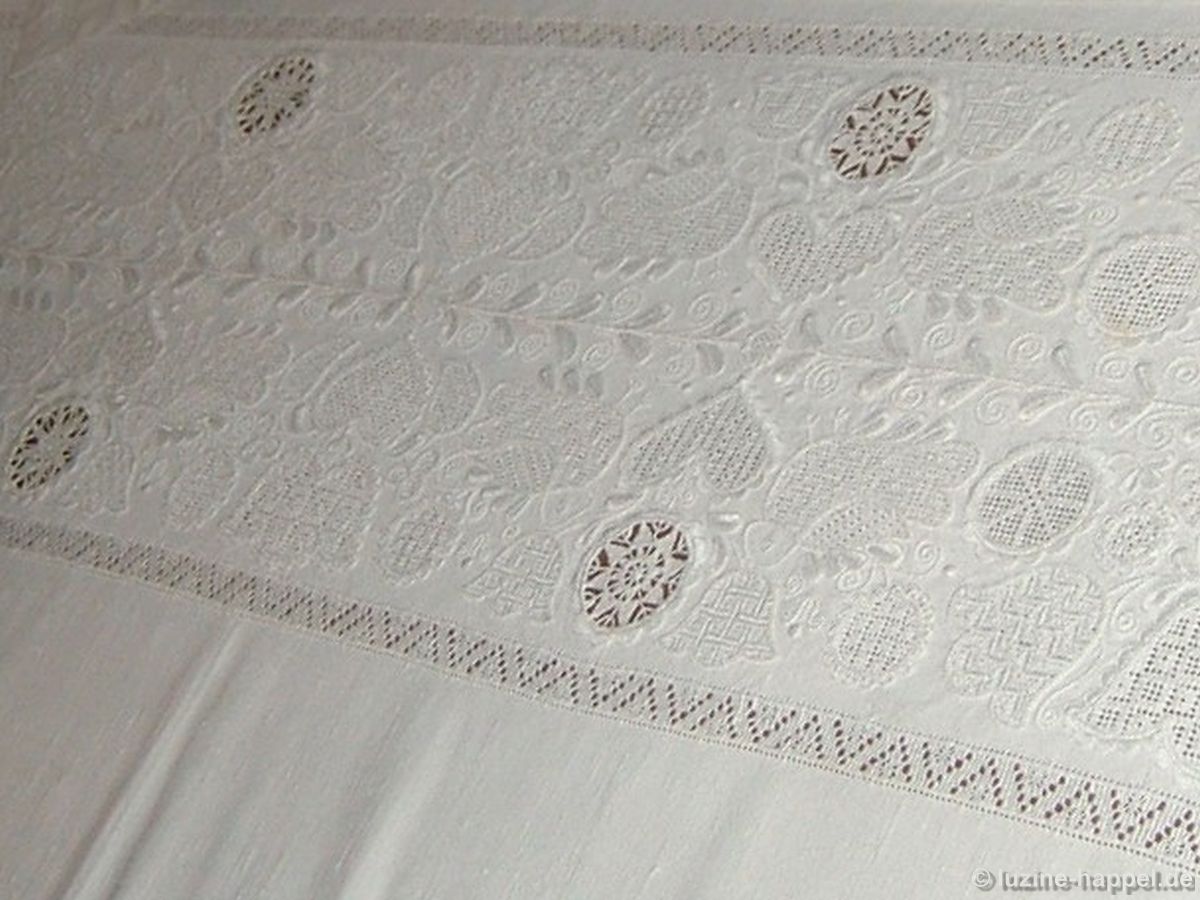
But if one does not eschew elaborate and painstaking work, beautiful decorations can be established along the joined selvages.

In this example, the selvage section was additionally decorated with Herringbone stitches.
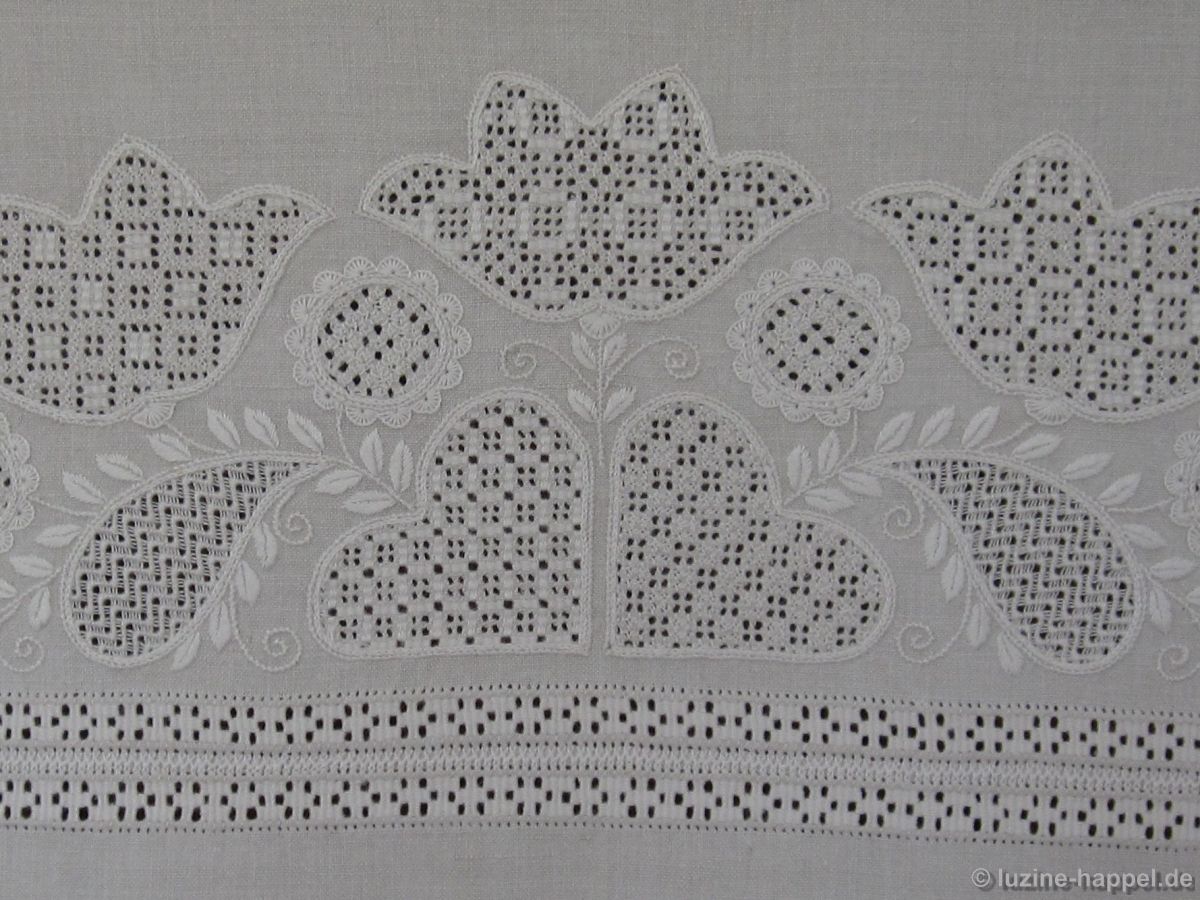
Joining small lengths of linen in this way can establish large pieces with a splendid appearance.
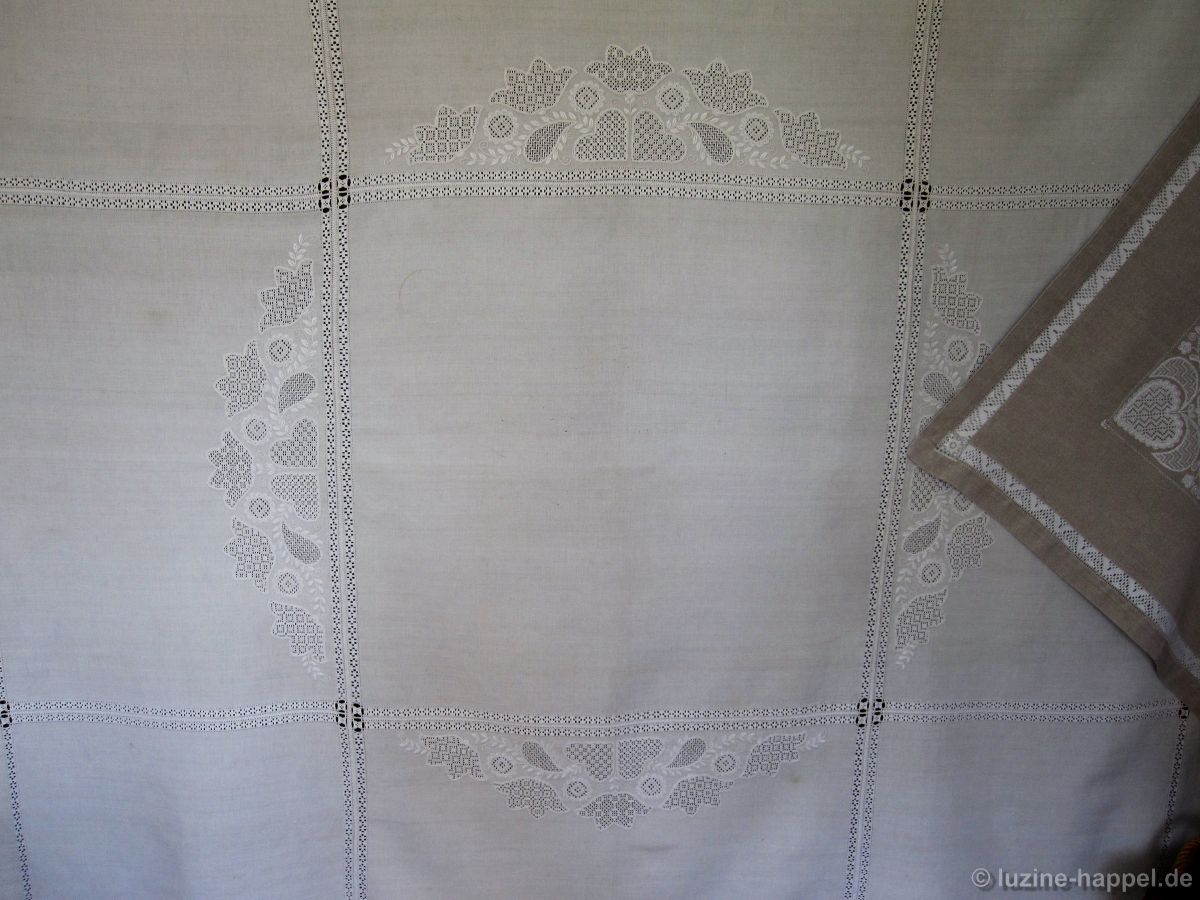
In the above example only three pieces were joined together. The additional decoration was worked to match the seam sections, but without having a seam.

Liebe Frau Happel,
wieder ein sehr schöner Beitrag der Lust macht das Ein oder Andere nach zu sticken. In einigen der Beispiele sind runde Ornamente die vollständig ausgeschnitten und dann wieder gefüllt wurden zu sehen. Vielleicht können Sie hierzu auch einmal eine Anleitung mit Beispielen erstellen.
Viele Grüße
Sylvia Sellmaier
Liebe Frau Sellmaier,
vor Jahren hatte ich schon mal begonnen, die Nadelspitzen-Füllmuster der Schwälmer Weißstickerei zu erklären. Damals kam ein Anna-Heft auf den Markt mit ähnlichem Inhalt. Daher habe ich dieses Thema nicht weiter verfolgt. Es steht aber noch auf meiner Liste abzuarbeitender Inhalte; nur wird es noch eine Weile dauern, bis ich Zeit dazu bekommen. Die Wunschliste meiner Blogleser ist inzwischen schon lang und die Erfüllung der Wünsche braucht Zeit.