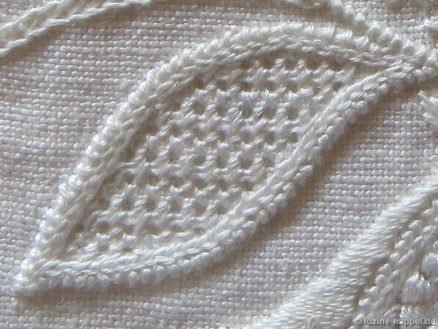
Looking at the stitches of Schwalm whitework embroideries, I discovered a new (to me) stitch. It is yet again another example of Schwalm embroiderers’ ingenuity. I immediately set out to try it; in this article, I will share the results of my efforts with you.
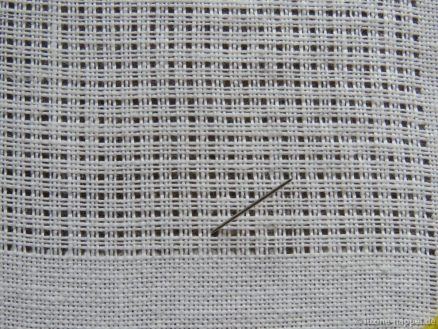
The stitch is worked on a Limet grid – cut 1, leave 3. Similar to the Rose stitch, it is a stitch worked in four steps originating from a center. But this stitch is not worked with Blanket stitches; it is worked with Satin stitches. In addition, it is worked counterclockwise instead of clockwise. I did not find a name for this stitch, so I will call it Easy Eyelet stitch.
Instructions for left-handers can be found at the end of this article.
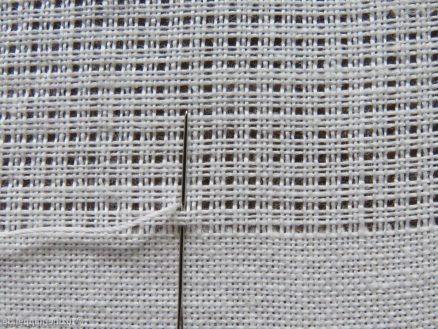
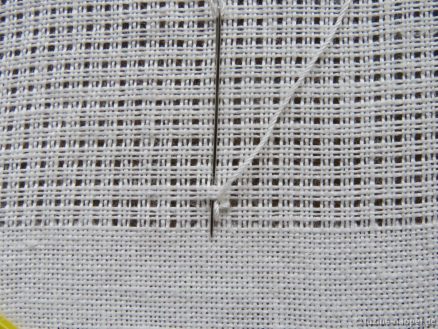
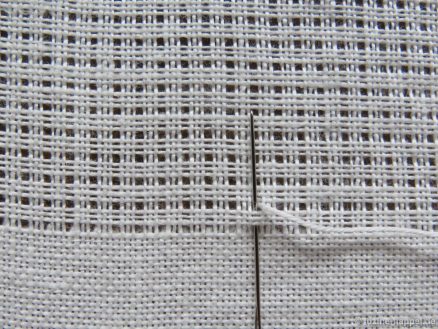
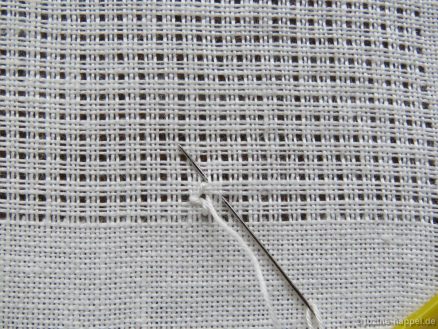
Bring the needle up one square from the bottom (center).
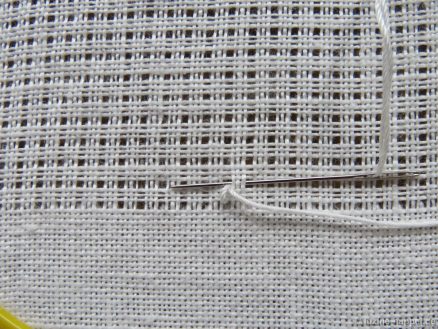
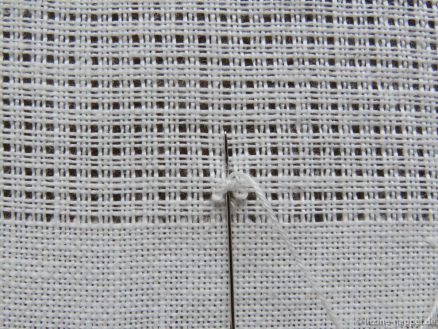
*Cross over one square down, insert the needle and bring it up again in the center hole.
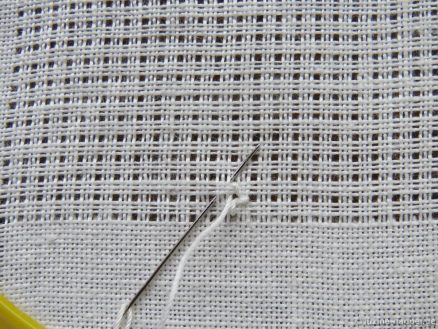
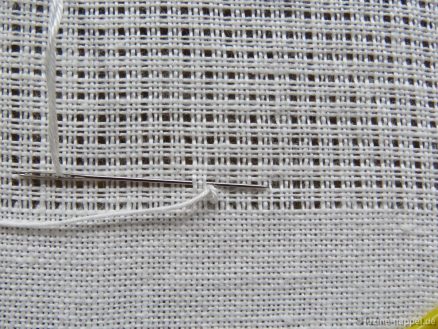
Cross over one square to the right, insert the needle and bring it up again in the center hole. Tighten thread.
Cross over one square up, insert the needle and bring it up again in the center hole. Tighten thread.
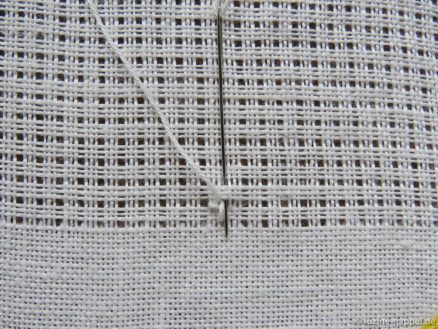
Cross over one square to the left, insert the needle and bring it up in the next center hole – one square diagonally right up.*
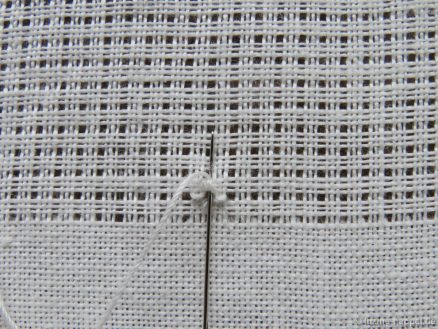
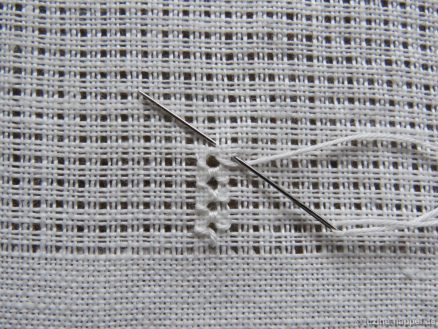
Start working the steps (*) again. The first step of this stitch shares the same space as the third step of the previously worked stitch. (The threads will lie closely next to each other in the same space.)
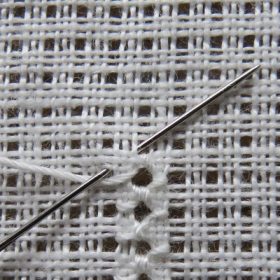
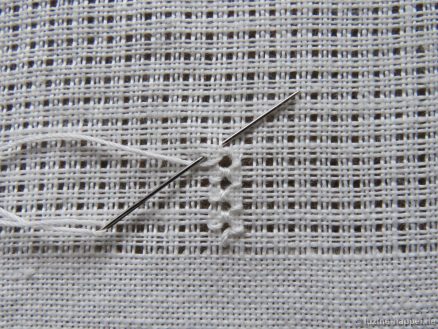
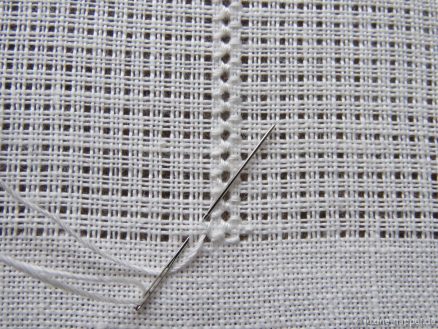
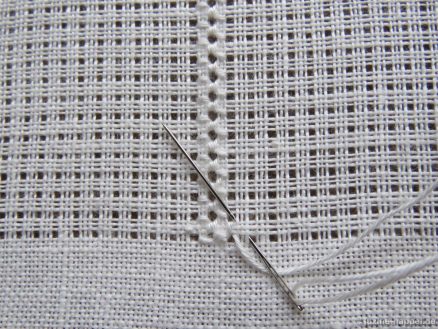
The rows are worked from bottom to top. Each hole of the longitudinal axis is a center of a stitch. Tighten the thread so that a distinct hole is made.
Nice open center holes are established.
One row of this stitch can be combined with rows of other stitches – for example Satin stitch bars – to create beautiful striped patterns.
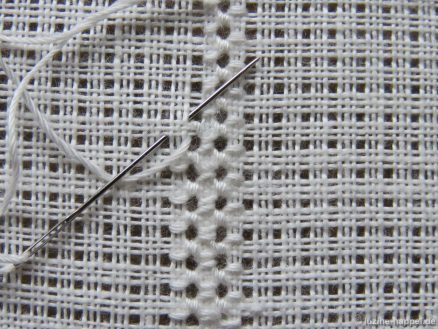
If you want to work a second row, turn the piece 180° and work a second row beside the first.
When working side-by-side rows of this stitch, the working thread will naturally share spaces occupied by previously worked stitches. In these cases, the stitches will lie closely next to each other in the same space.
Two rows of this stitch can be combined with rows of other stitches – for example Satin stitch bars – to create a pattern.
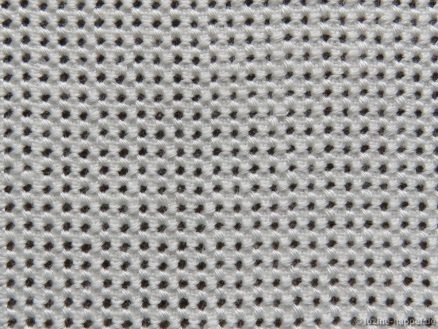
But more rows should not be used. Working row beside row to fill an entire shape establishes the same pattern as Double Crosses – in straight rows/wrong side up (Openwork Pattern Samplers), and this pattern – for filling an entire shape – can be worked much more quickly.
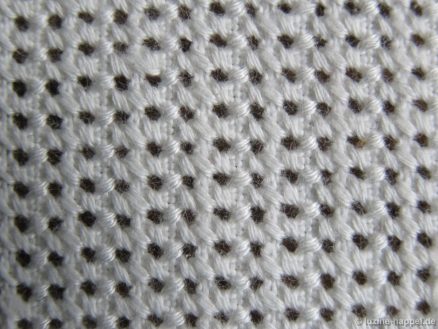
But worked from the back side, the Easy Eyelet stitch can establish a nice pattern for small areas.
The stitches lying alternately straight and at a slant give a unique effect.
Instructions for the left-hander:
*Cross over one square down, insert the needle and bring it up again in the center hole.
Cross over one square to the left, insert the needle and bring it up again in the center hole. Tighten thread.
Cross over one square up, insert the needle and bring it up again in the center hole. Tighten thread.
Cross over one square to the right, insert the needle and bring it up in the next center hole – one square diagonally left up.*
Start working the steps (*) again. The first step of this stitch shares the same space as the third step of the previously worked stitch. (The stitches will lie closely next to each other in the same space.)
The rows are worked from bottom to top. Each hole of the longitudinal axis is a center of a stitch. Tighten thread.
One row of this stitch can be combined with rows of other stitches – for example Satin stitch bars – to create beautiful striped patterns.
If you want to work a second row, turn the piece 180° and work a second row beside the first.


Leave a Reply