

To make a Schwalm cap one needs, beside much patience, skills and some materials: a template for a cap, some linen fabric or other strong fabric, and silk threads in the desired colours. Here a cap matching the green costume is shown.
To be able to show the progress of a faithful reproduction, a traditional cap was unstitched. Photos were taken while reworking; they are now shown in the reverse order.
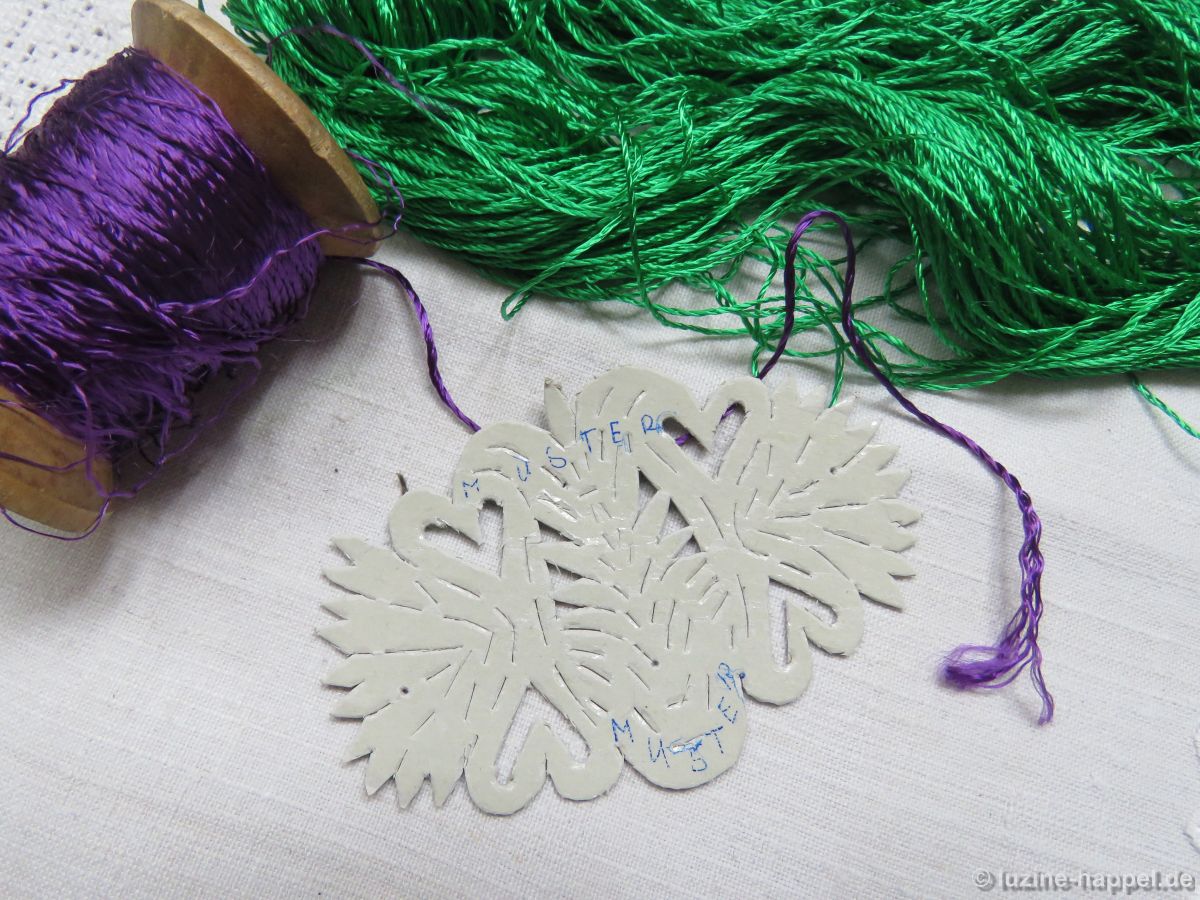
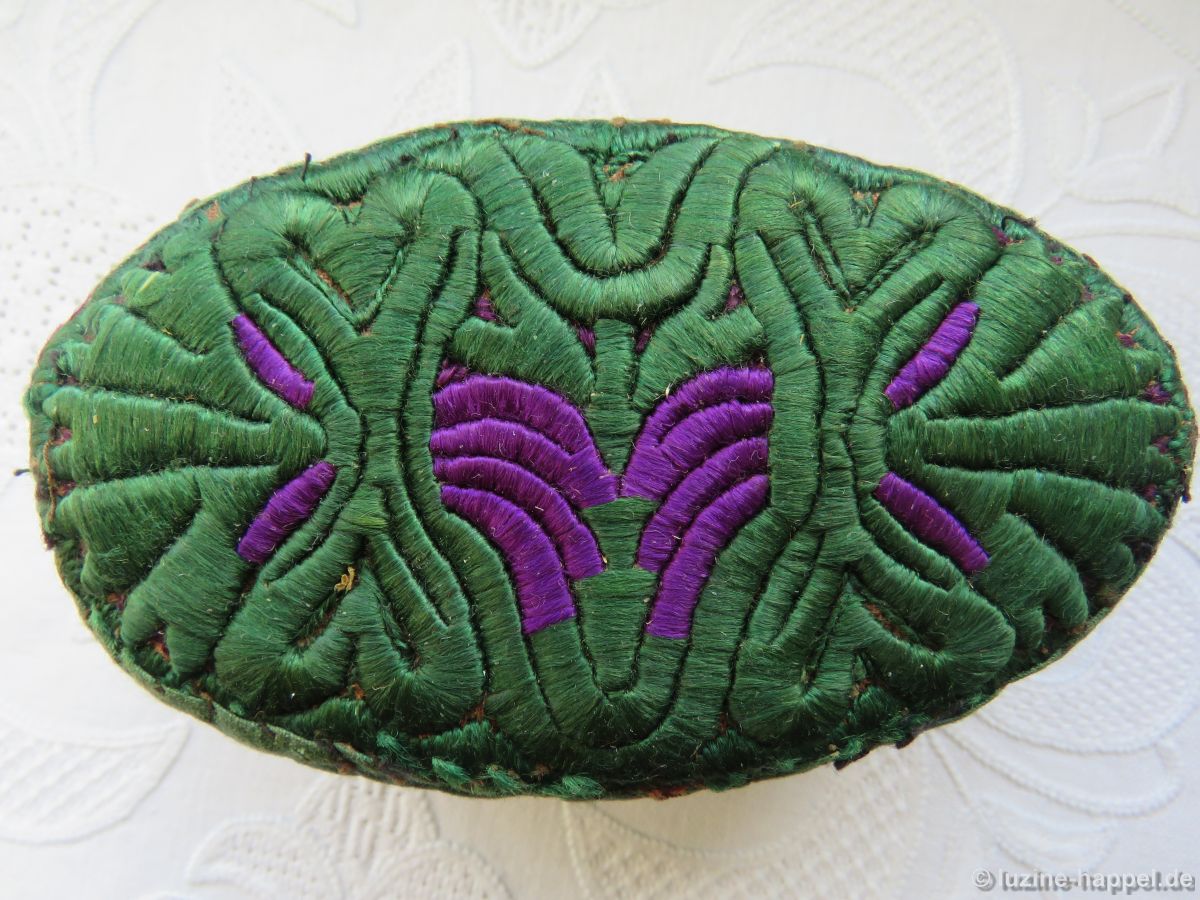
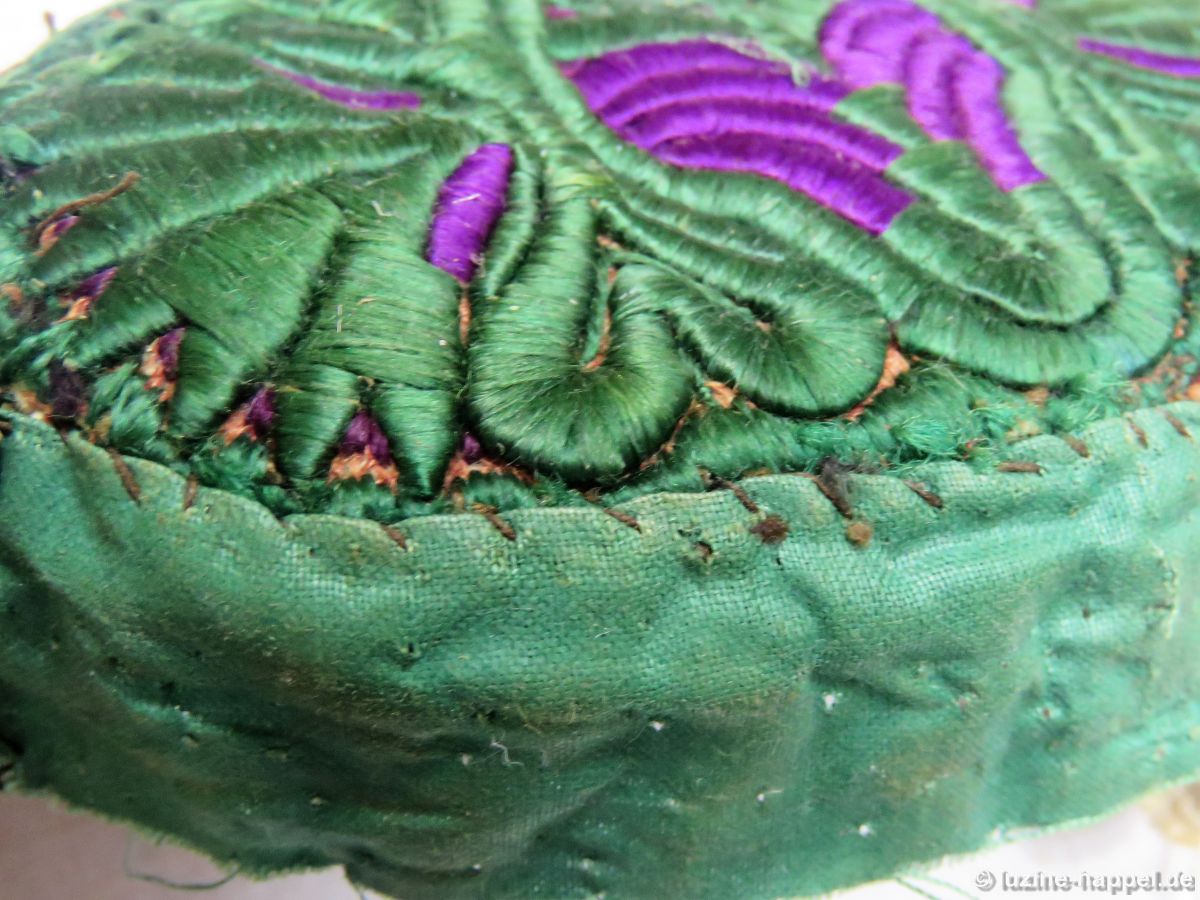
As explained in the article Traditional Craftsmanship – The Colour Embroiderer, the template is secured with some stitches on the ground fabric layers and then embroidered with silk threads. The stitching is dense.
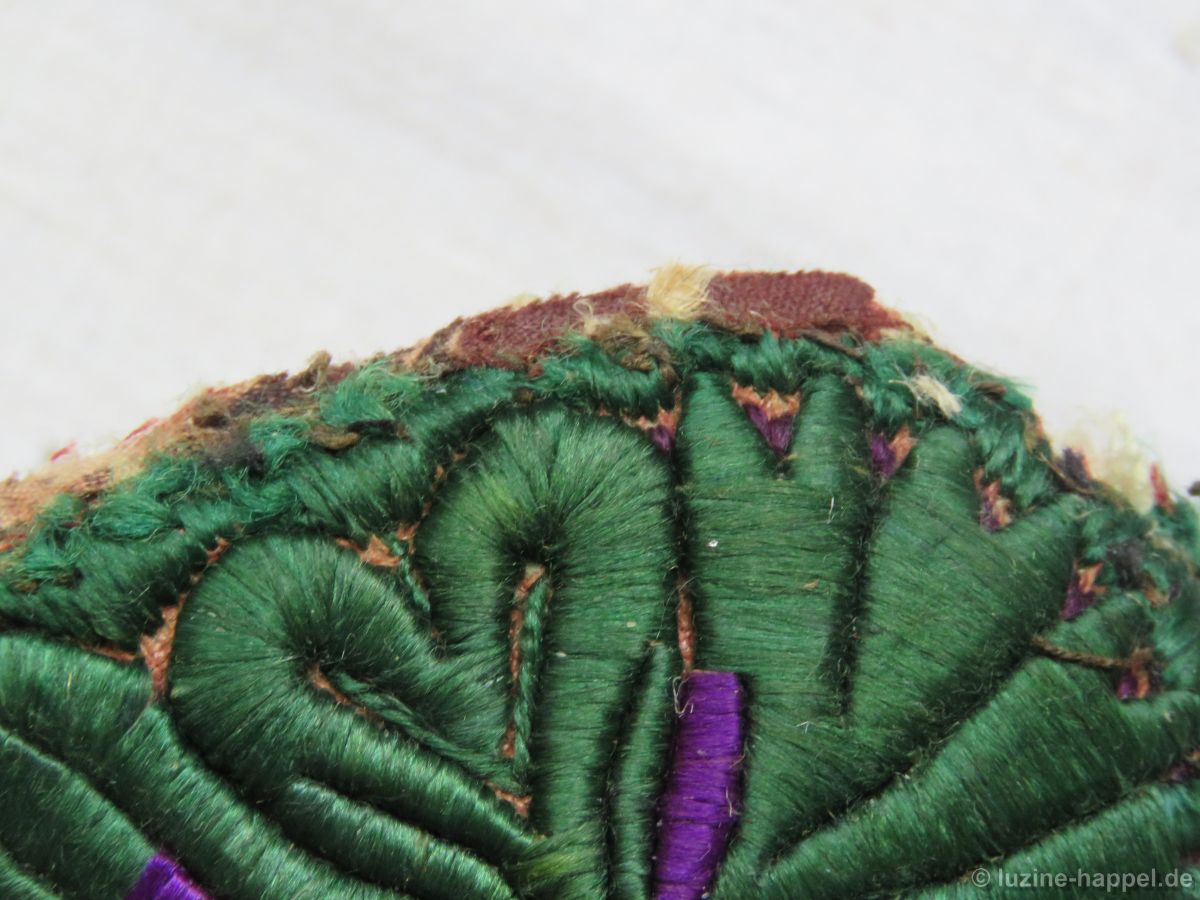
Small remaining parts between the template sections are filled with Satin stitches. Stain stitches in different lengths are also used to cover the edges to establish an even oval shape.
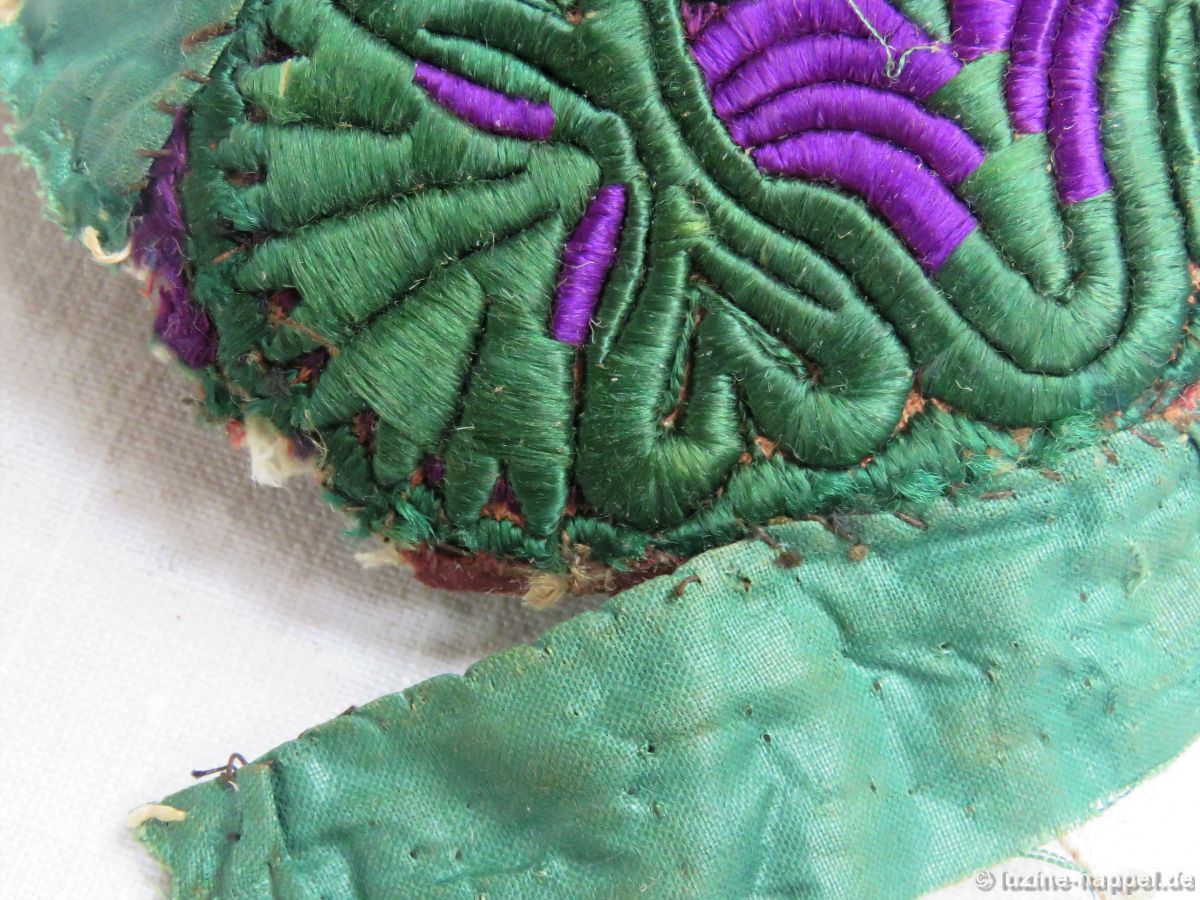
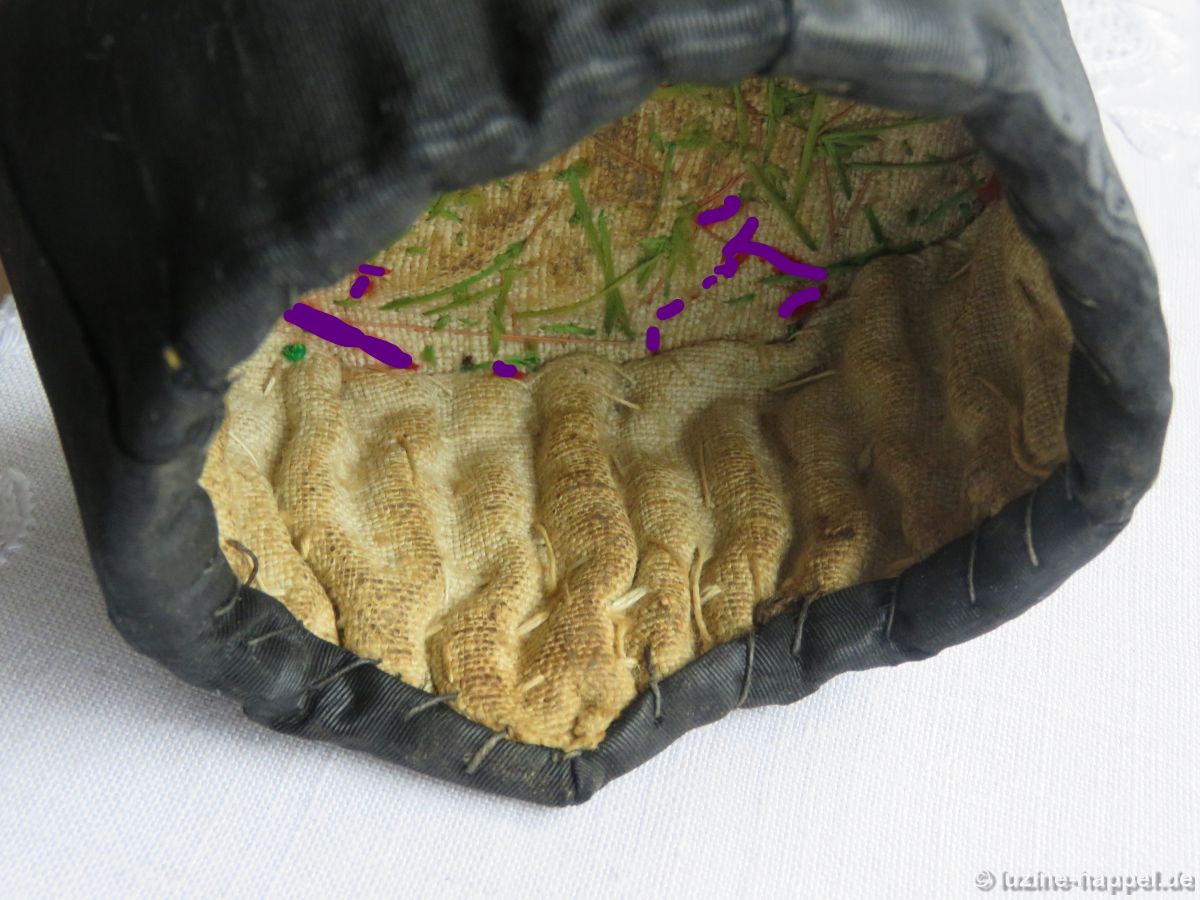
The ground fabric is trimmed closely to the edge stitches.
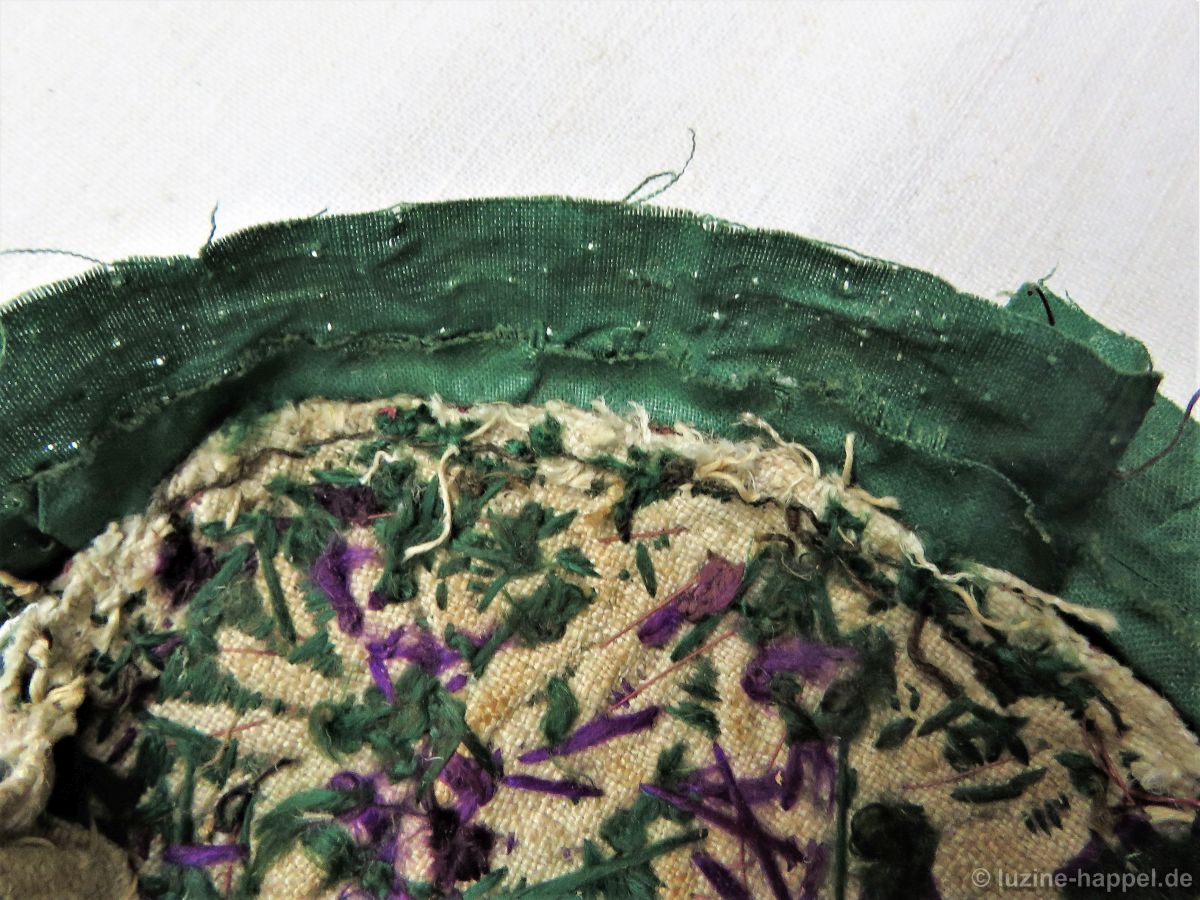
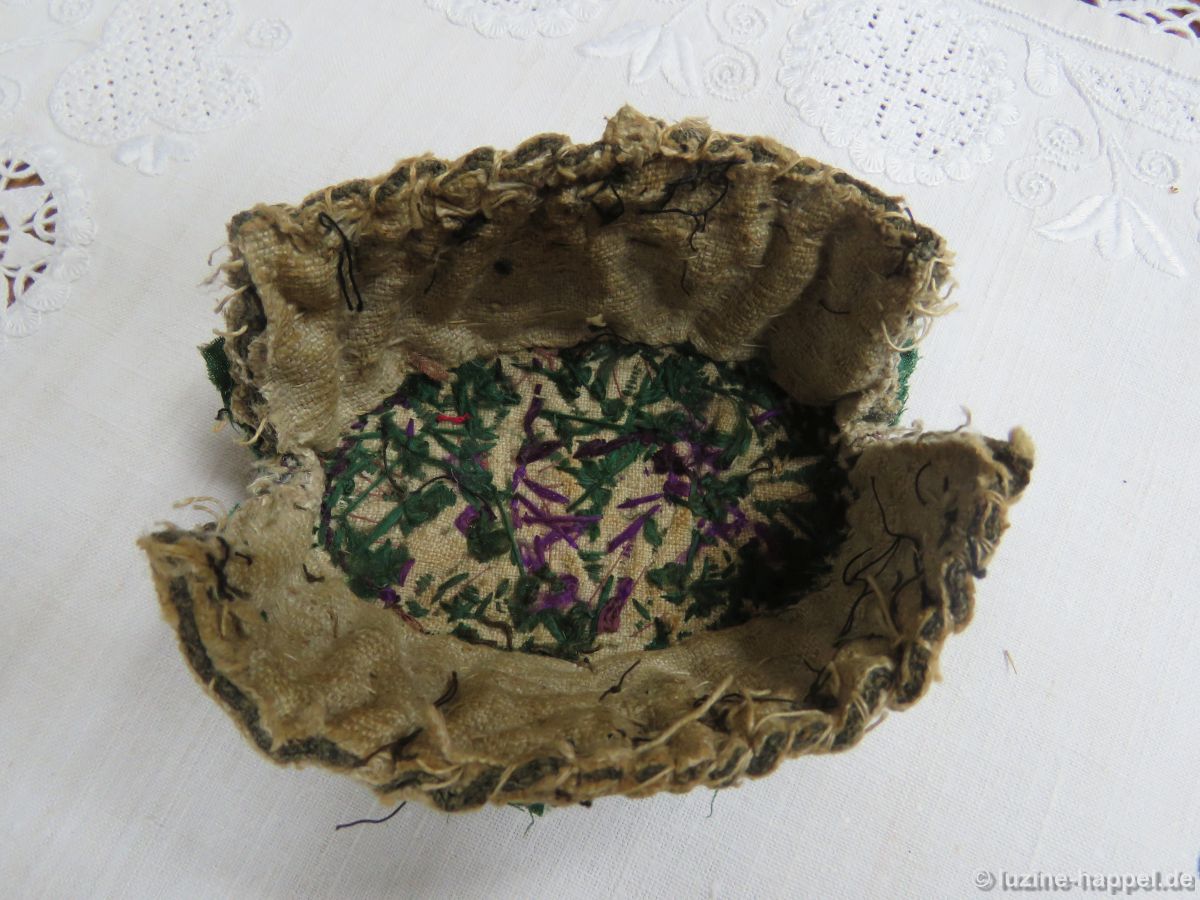
In many caps of the green costume, a green silk fabric or Damest is fitted between the template and the ground fabric – here a red-brown fabric is used as an interlayer.
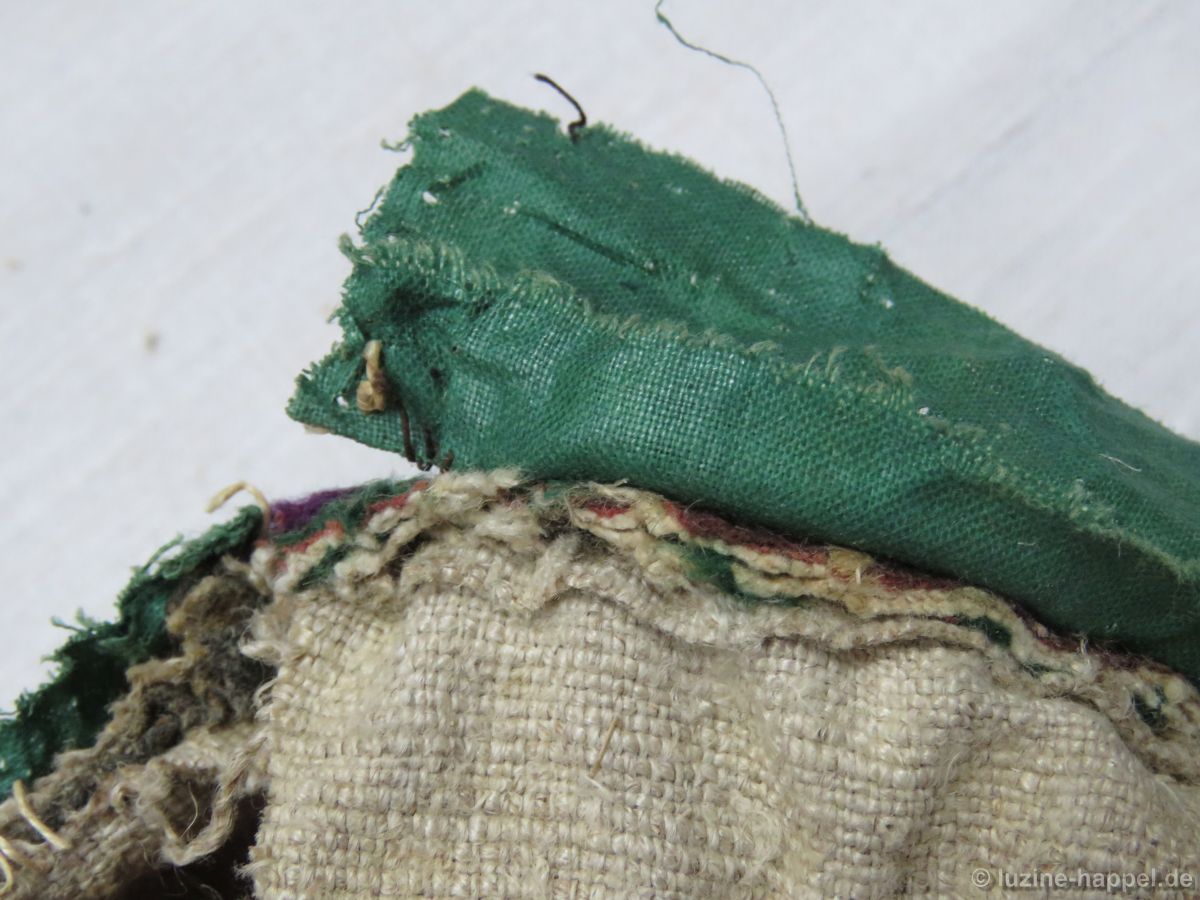
The picture below shows a section of the embroidered cap bottom from the back side.

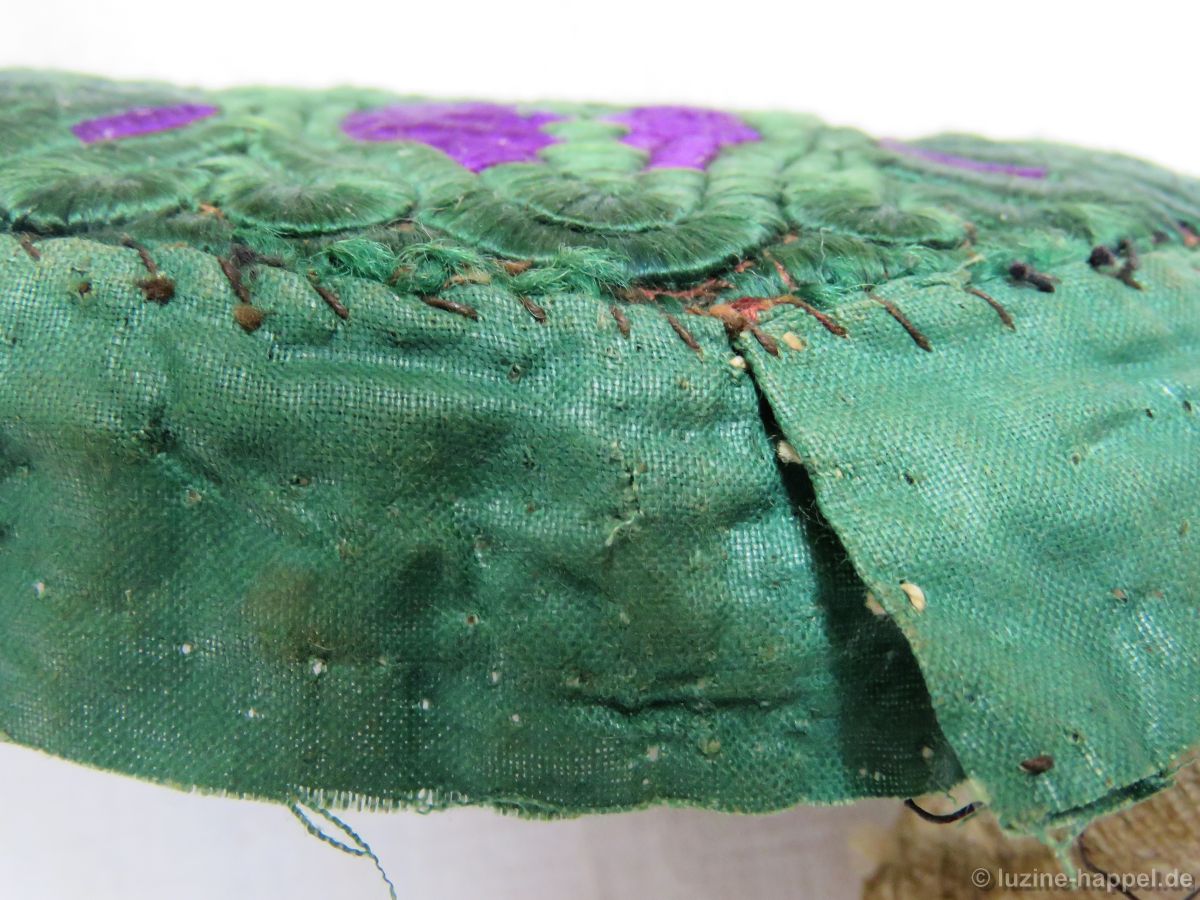
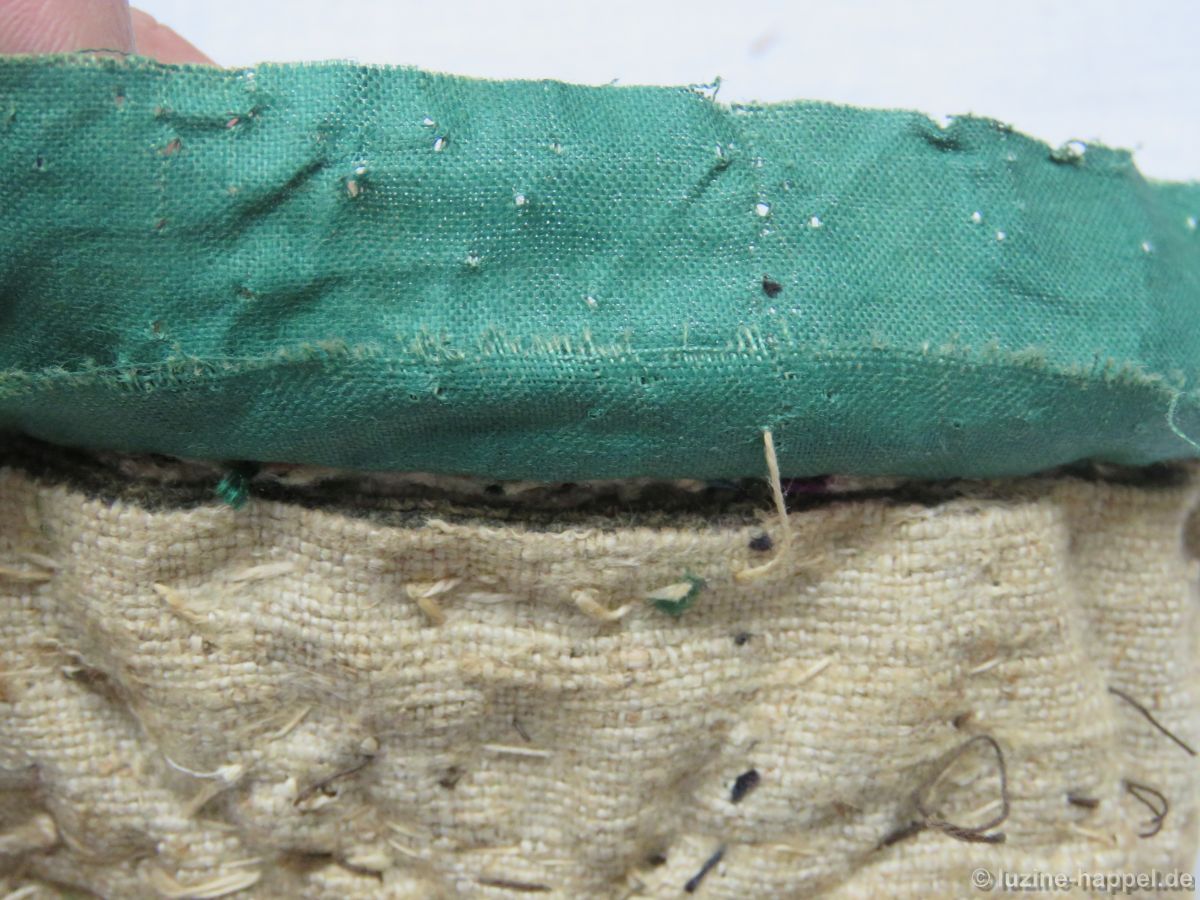
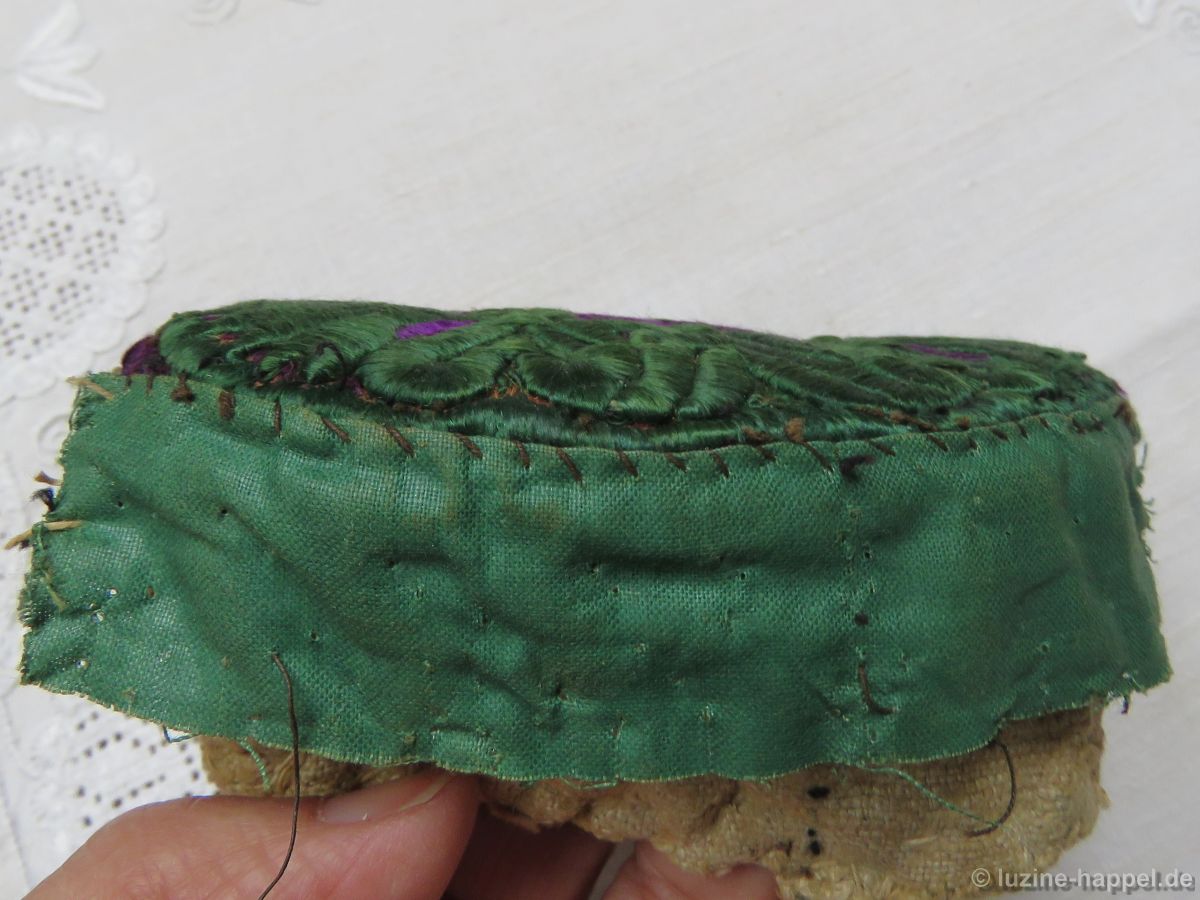
For securing the cap bottom edge, a folded strip of green Damest is fastened with Whip stitches.
The ends of the band are overlapped and sewn together.
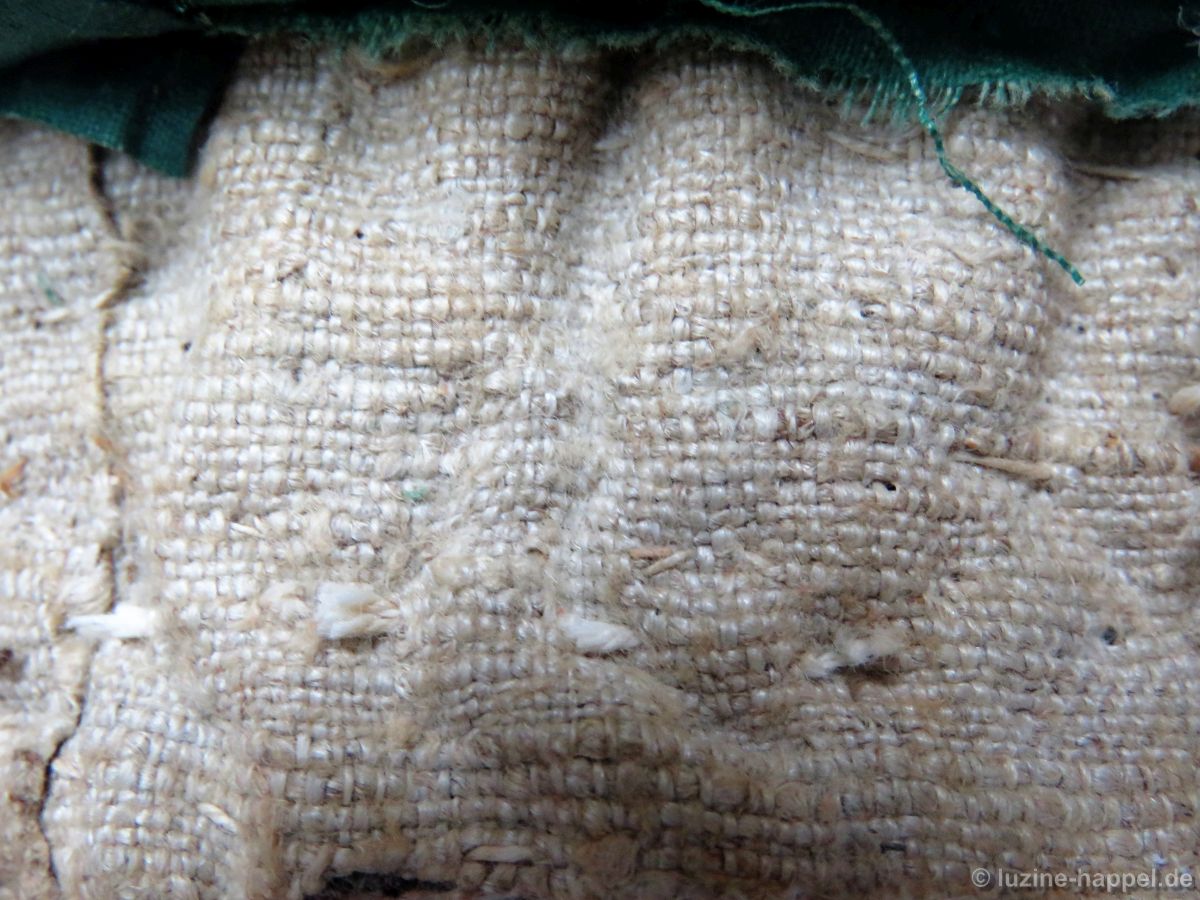
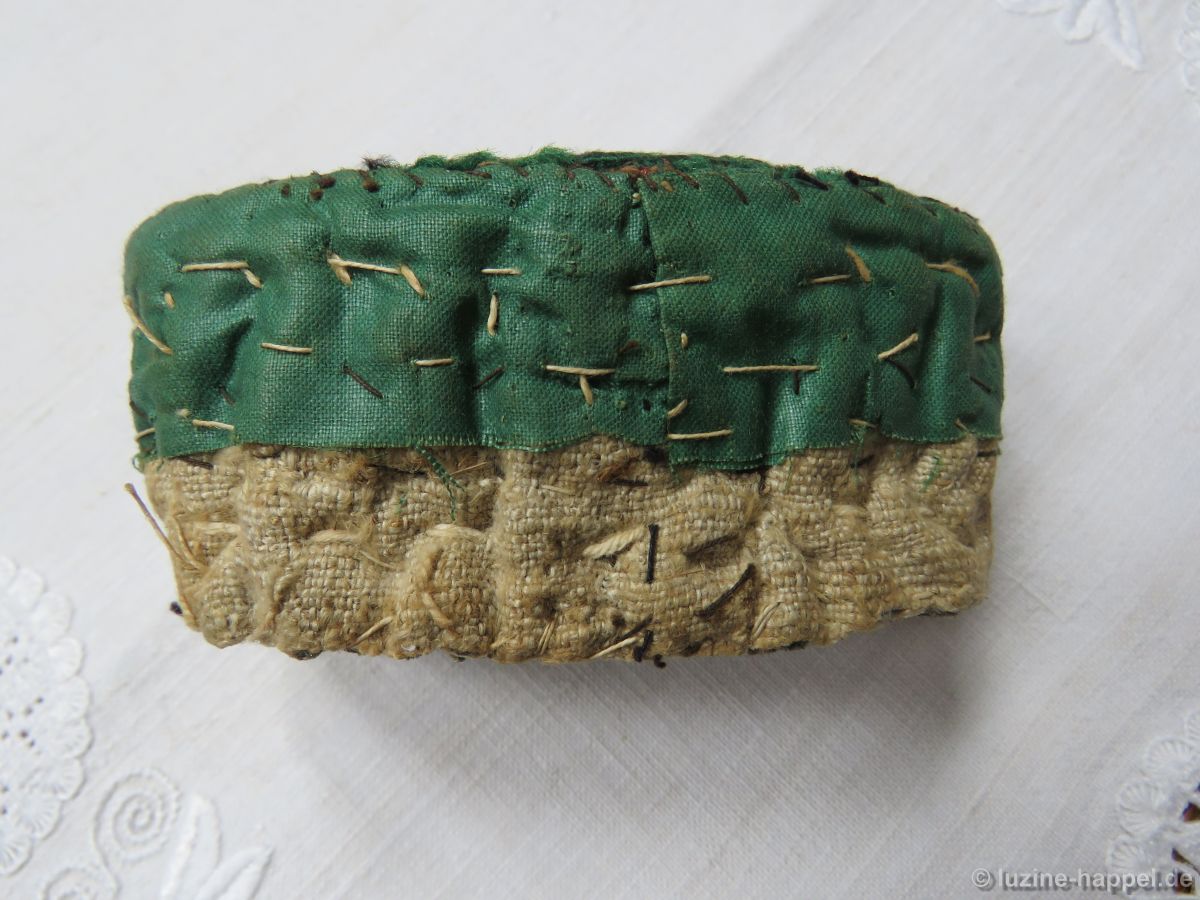
The picture below shows the back of this step.
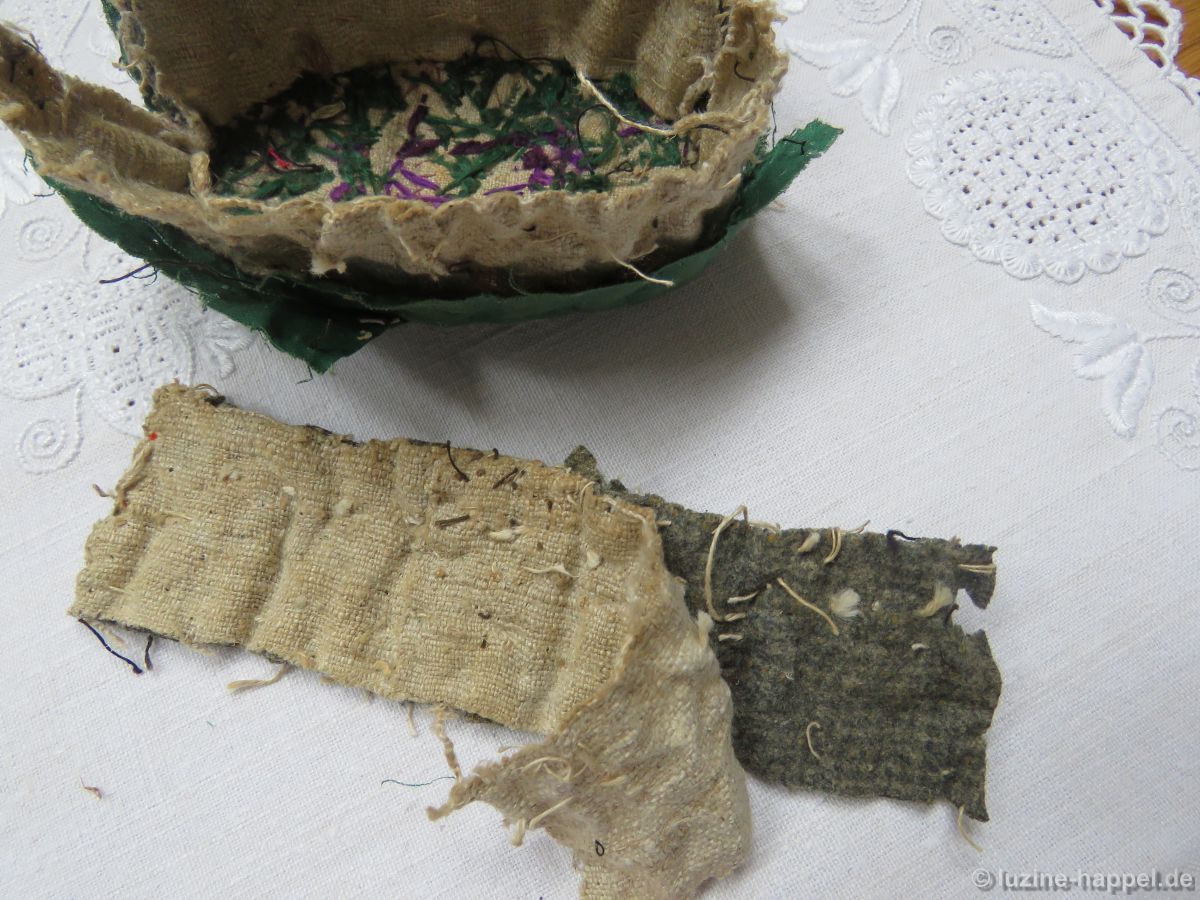
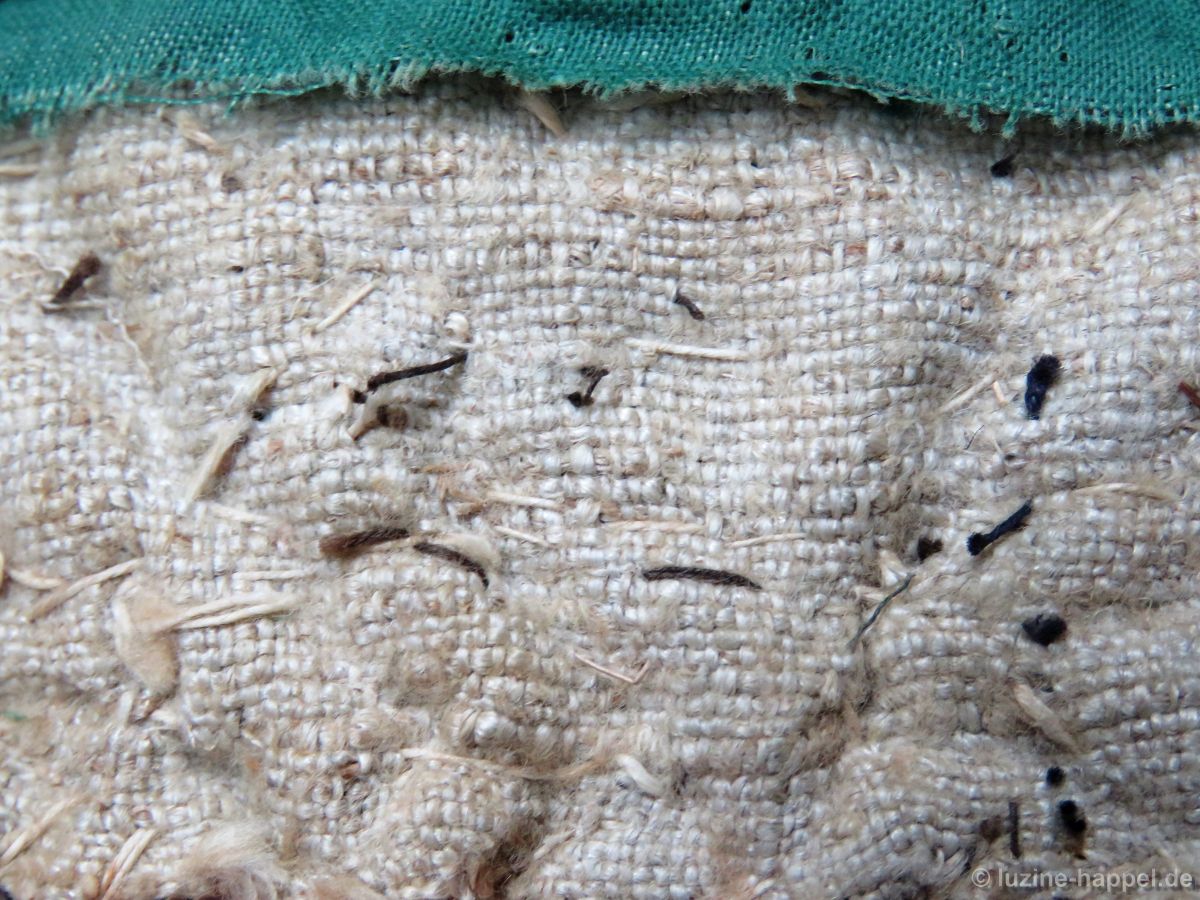
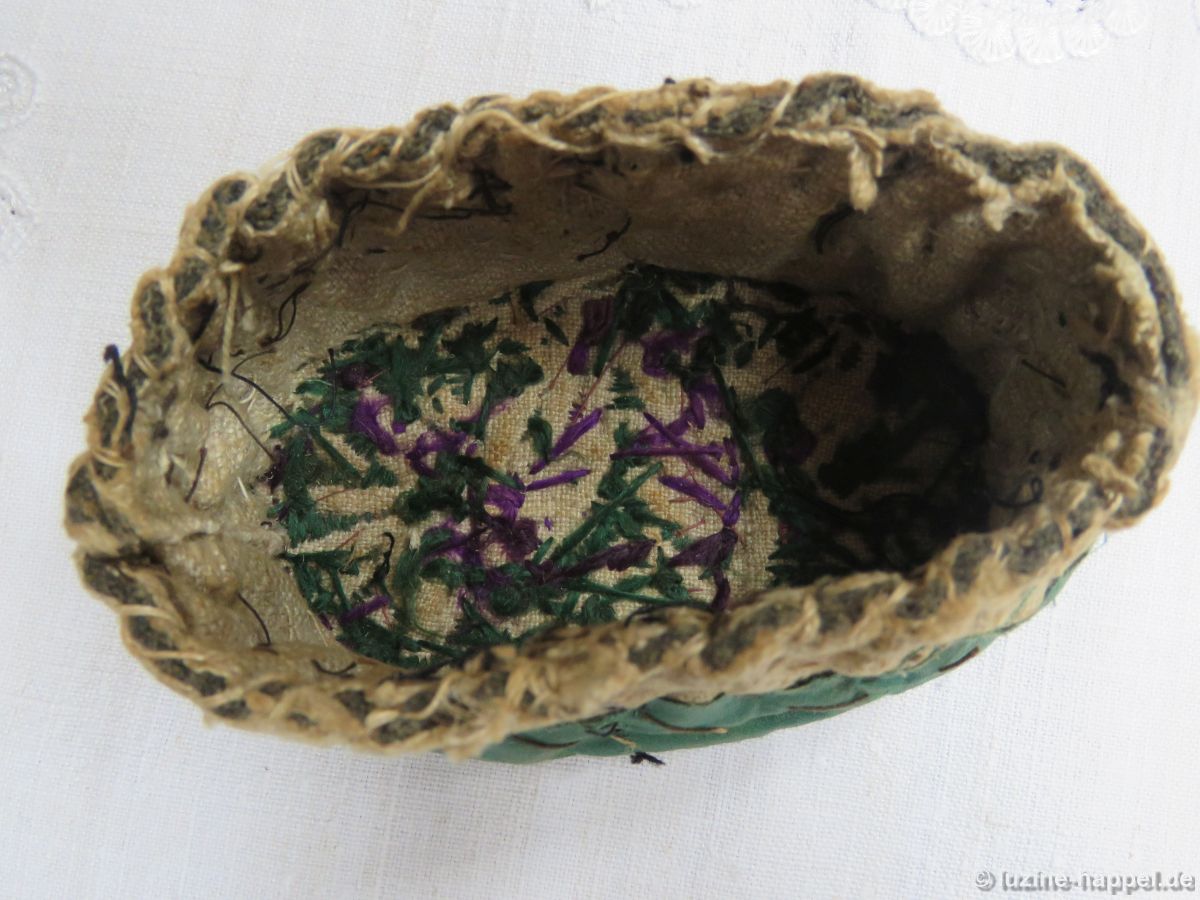
To neaten the inner edge, a coarse linen strip – made of four parts and in the width of the desired height of the cap – is fastened with Whip stitches to the back side of the cap bottom.

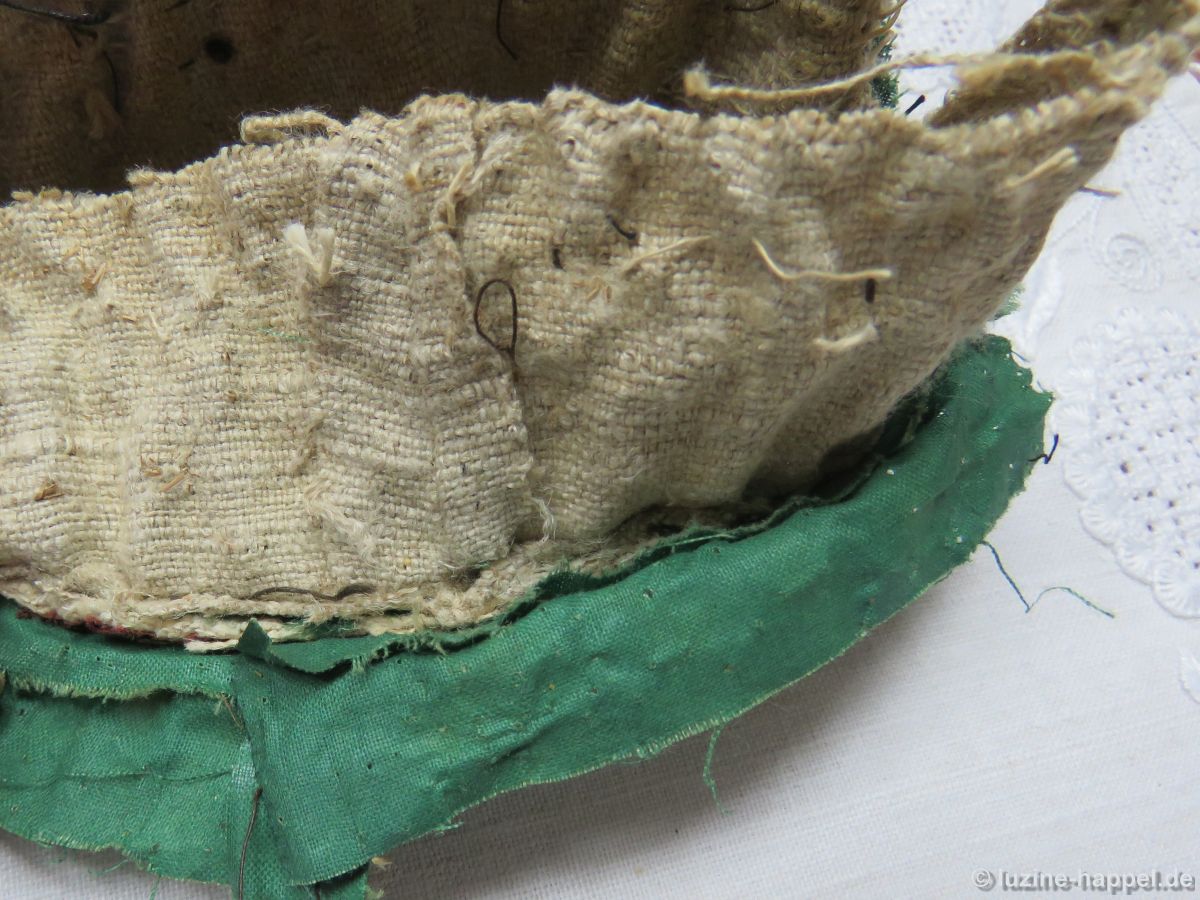
After it is attached, it is then flipped to form the cap sides.
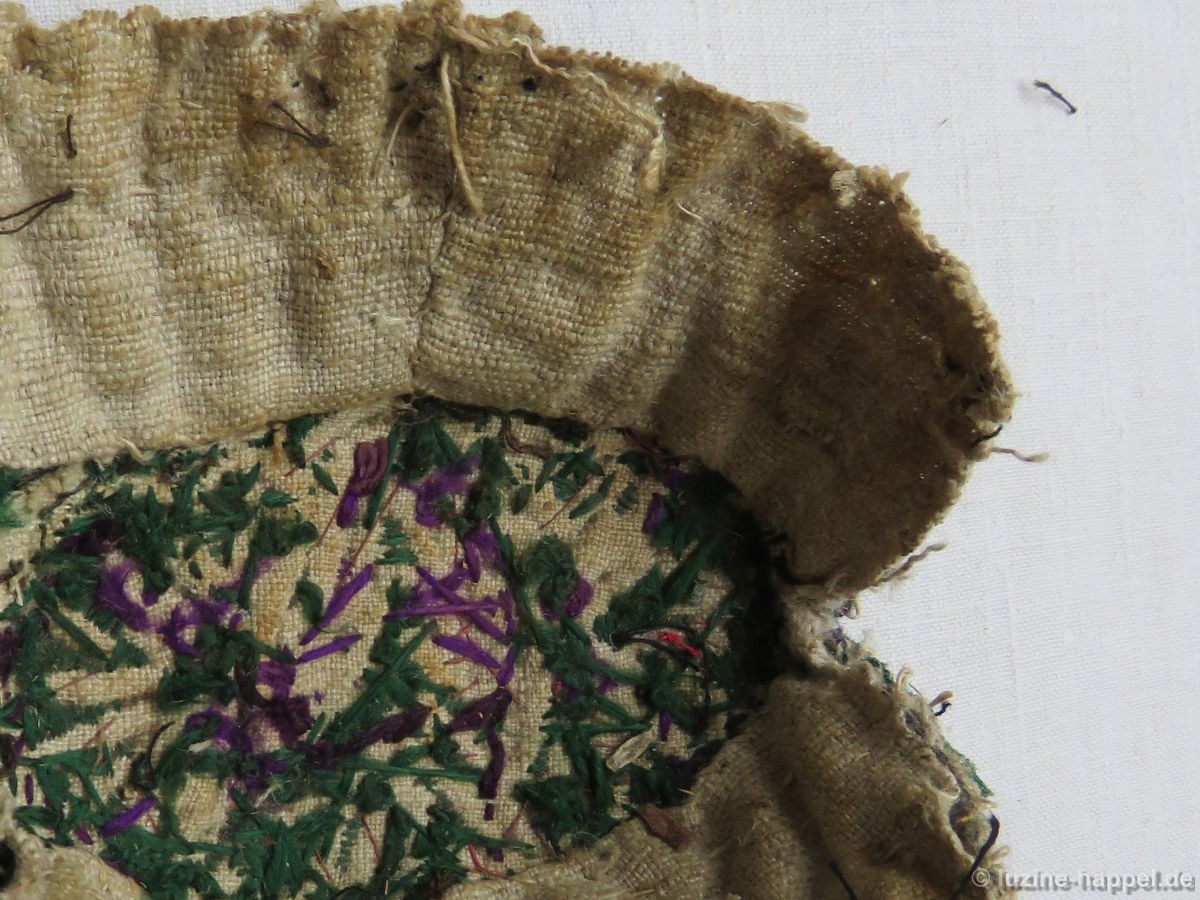
The picture below shows the outside edge.
So that the cap wall gets the needed stiffness, more layers of coarse linen or other coarse fabric are cut to a matching size,
laid against the outer side of the sewn linen strip,
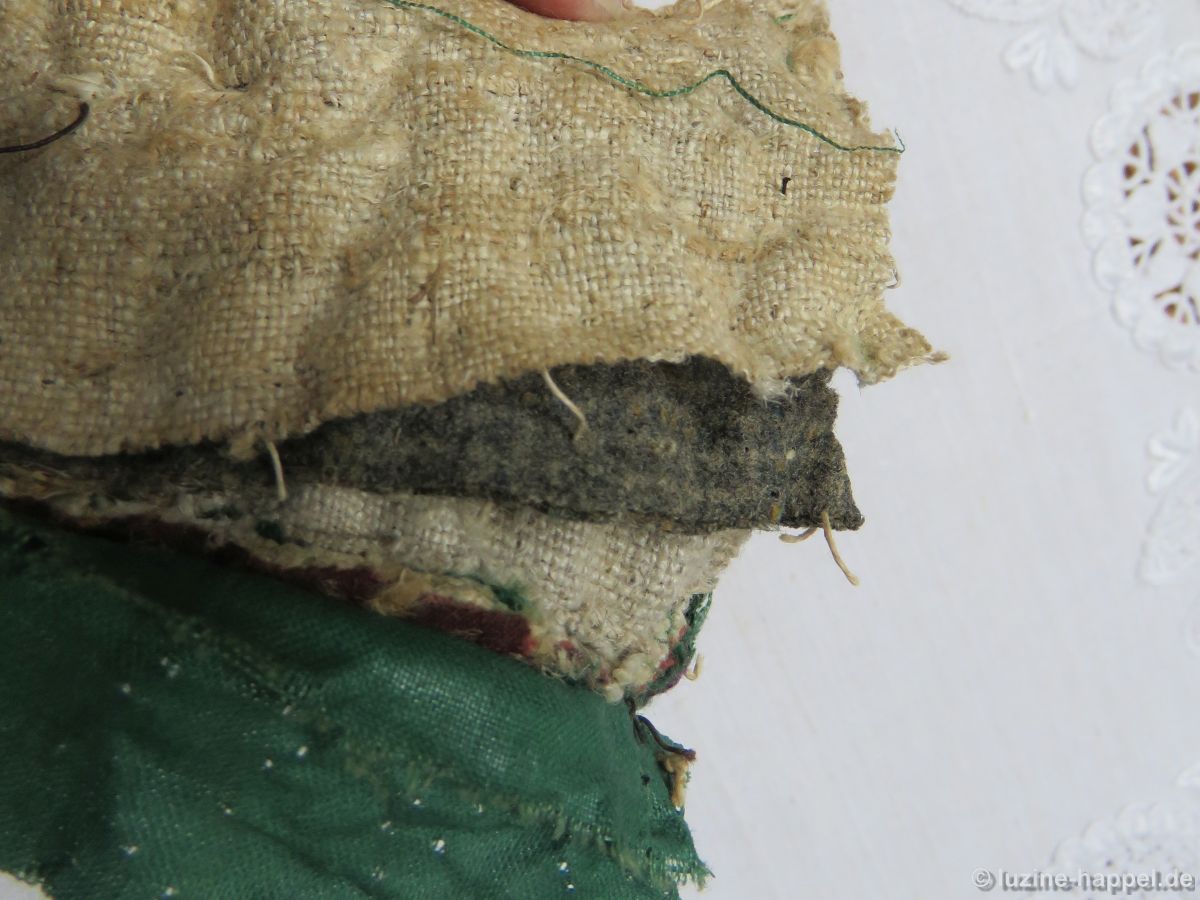
and pushed closely toward the green band.
The layers are sewn together with different rows of Running stitches.
To ease the fabric a little bit so that the cap wall gets its tapered shape, some rows of Running stitches are worked with thick thread at the bottom edge.
The open short sides
are pulled together
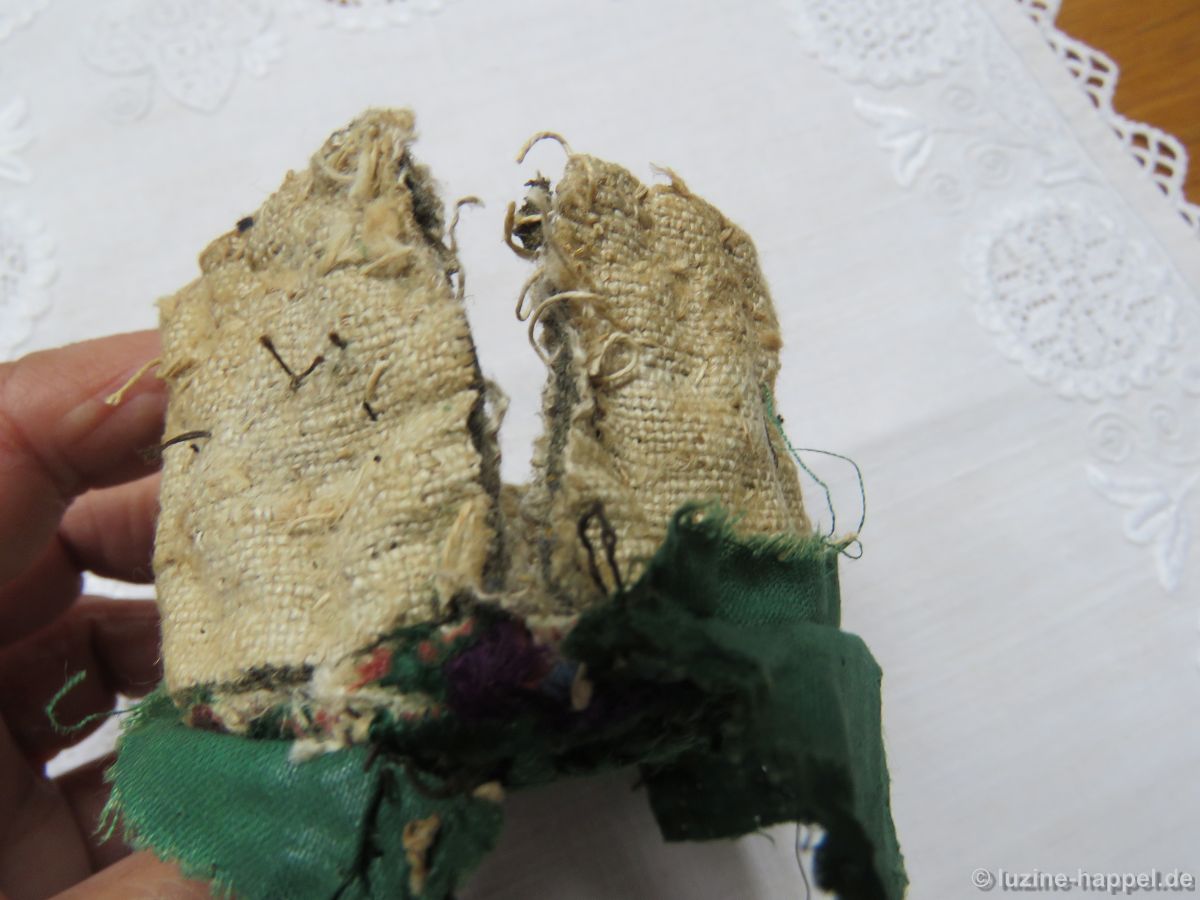
and closed using Whip stitches.

The different layers are held together at the bottom edge with Whip stitches.
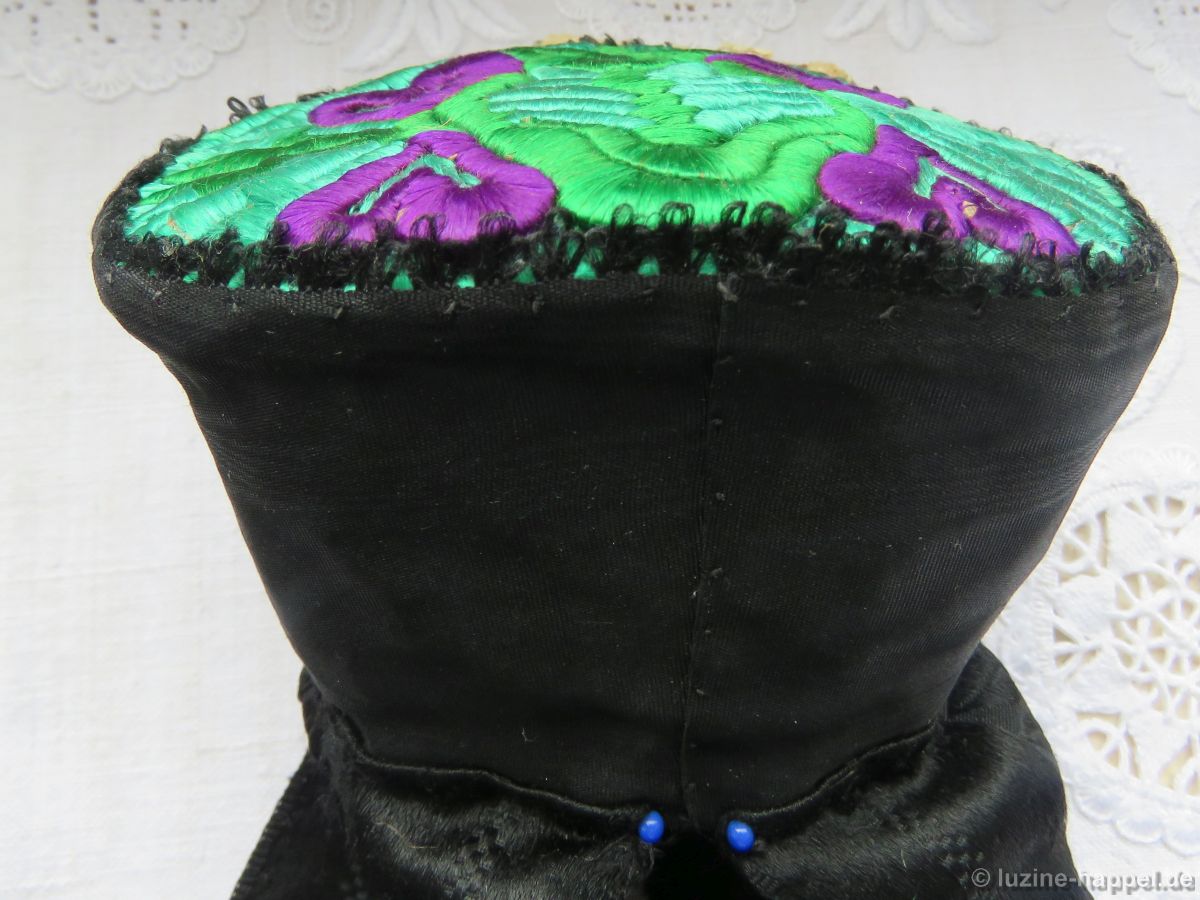
The green band is pulled down,
closed at the sides, and secured to the cap wall with different rows of Running stitches.
The center of one long side at the bottom edge gets a small point. (The point indicates the front of the cap to the wearer.)

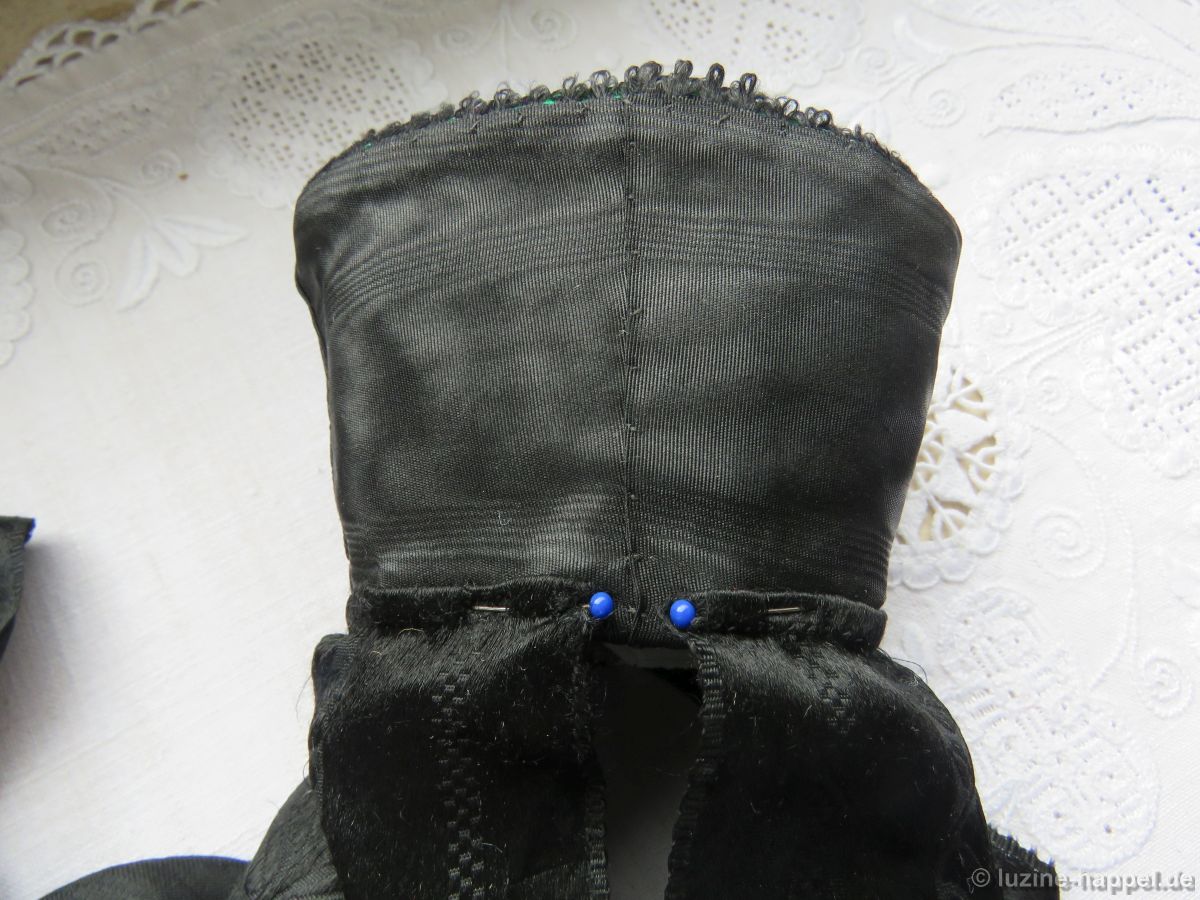
The outside of the cap wall is covered with black silk or – as seen here – with black satin.
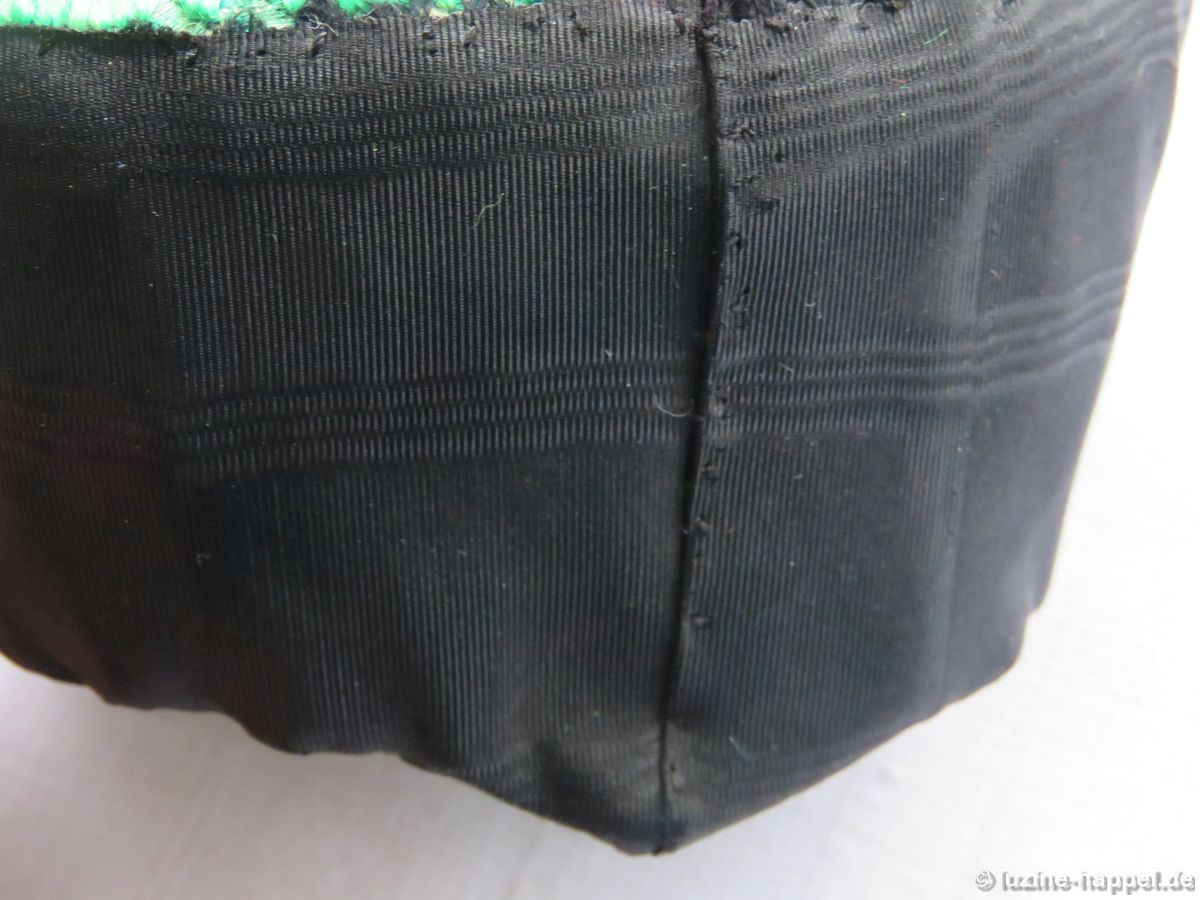
The black cover is made with four parts cut somewhat smaller than the bottom. First they are secured with fine stitches at the edge of the cap bottom.
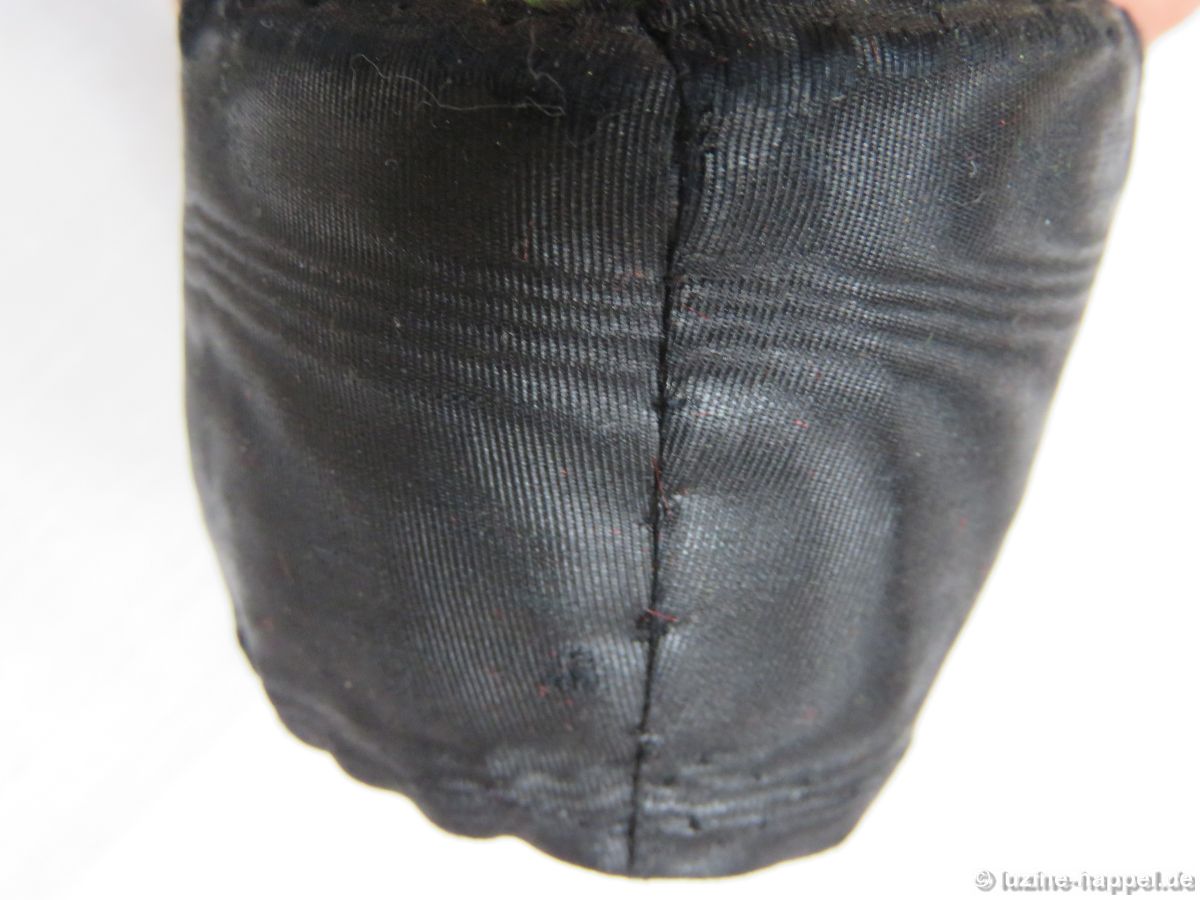
And then – always centered – they are sewn closed at the short
and the long sides.
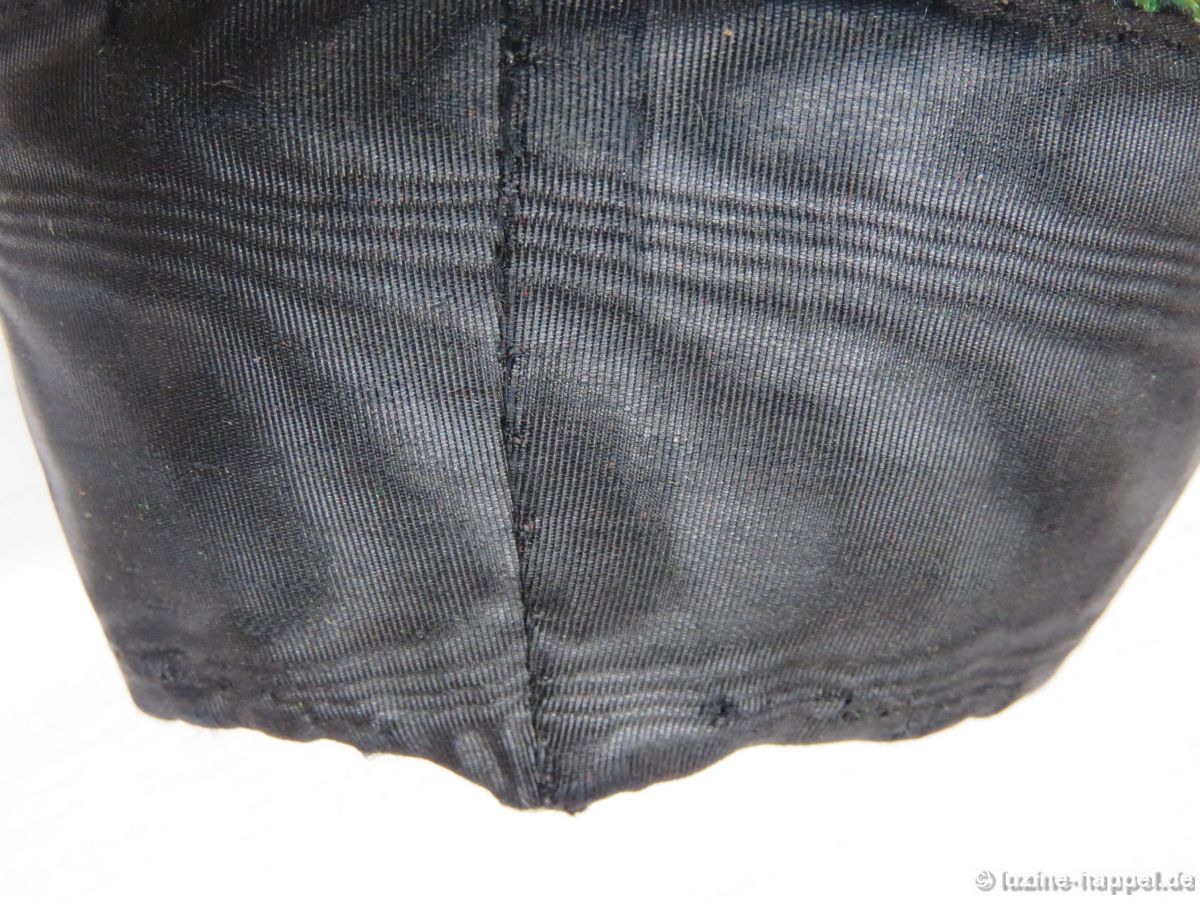
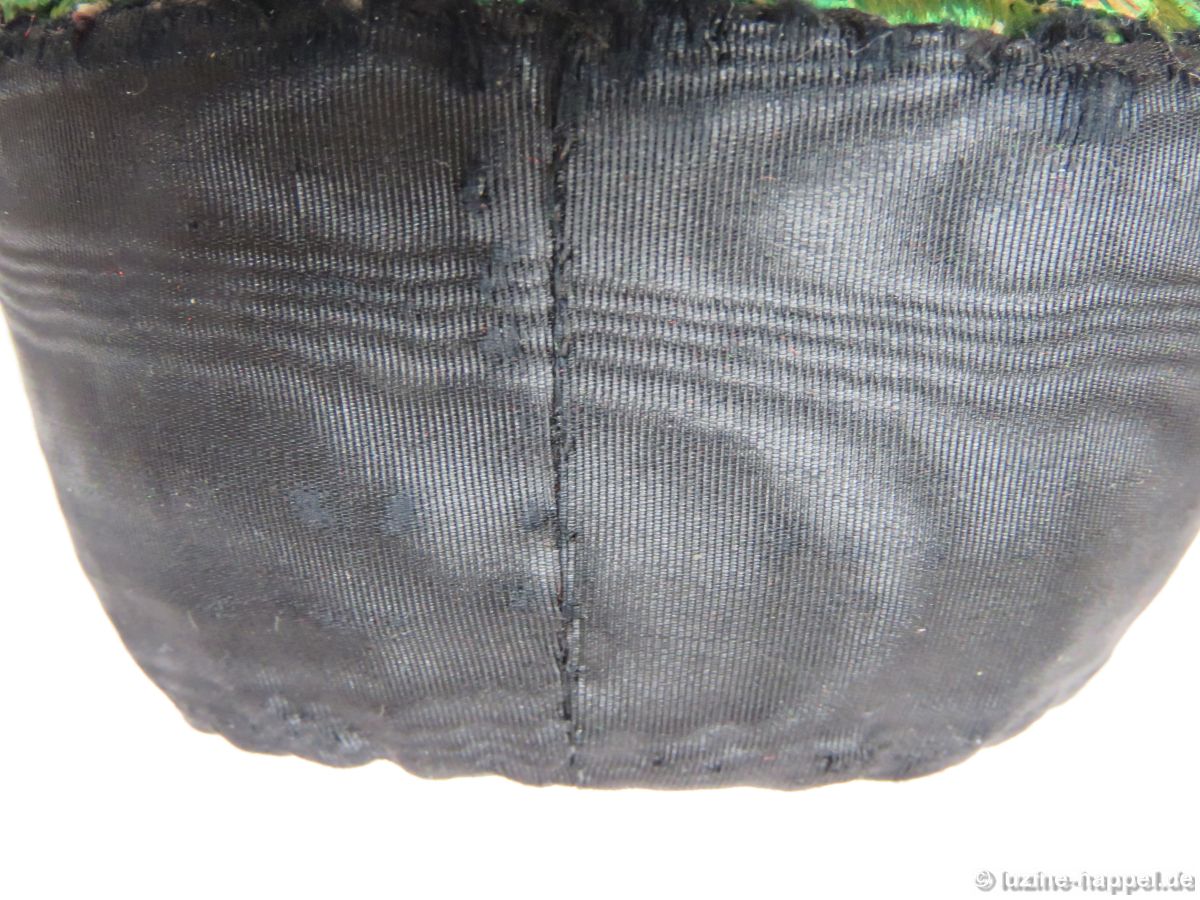
The small point on the one side is made to be especially prominent.
The black fabric is folded inward and secured.
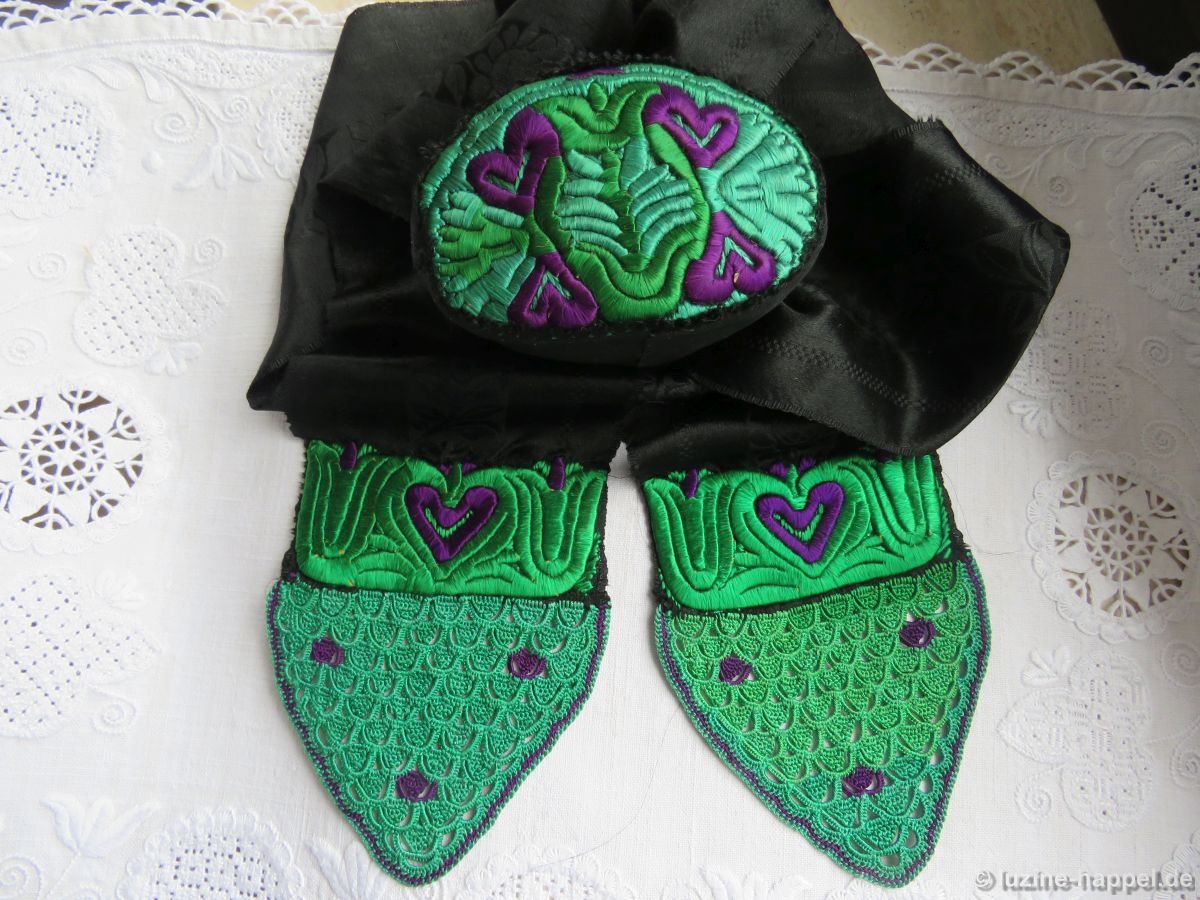
A typical Schwalm cap is finished.
With matching pinned bands, the Kappenschnüre, a decorative ensemble of the Schwalm costume accessories, is established.

Leave a Reply