
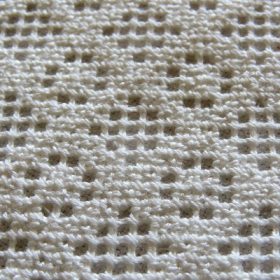
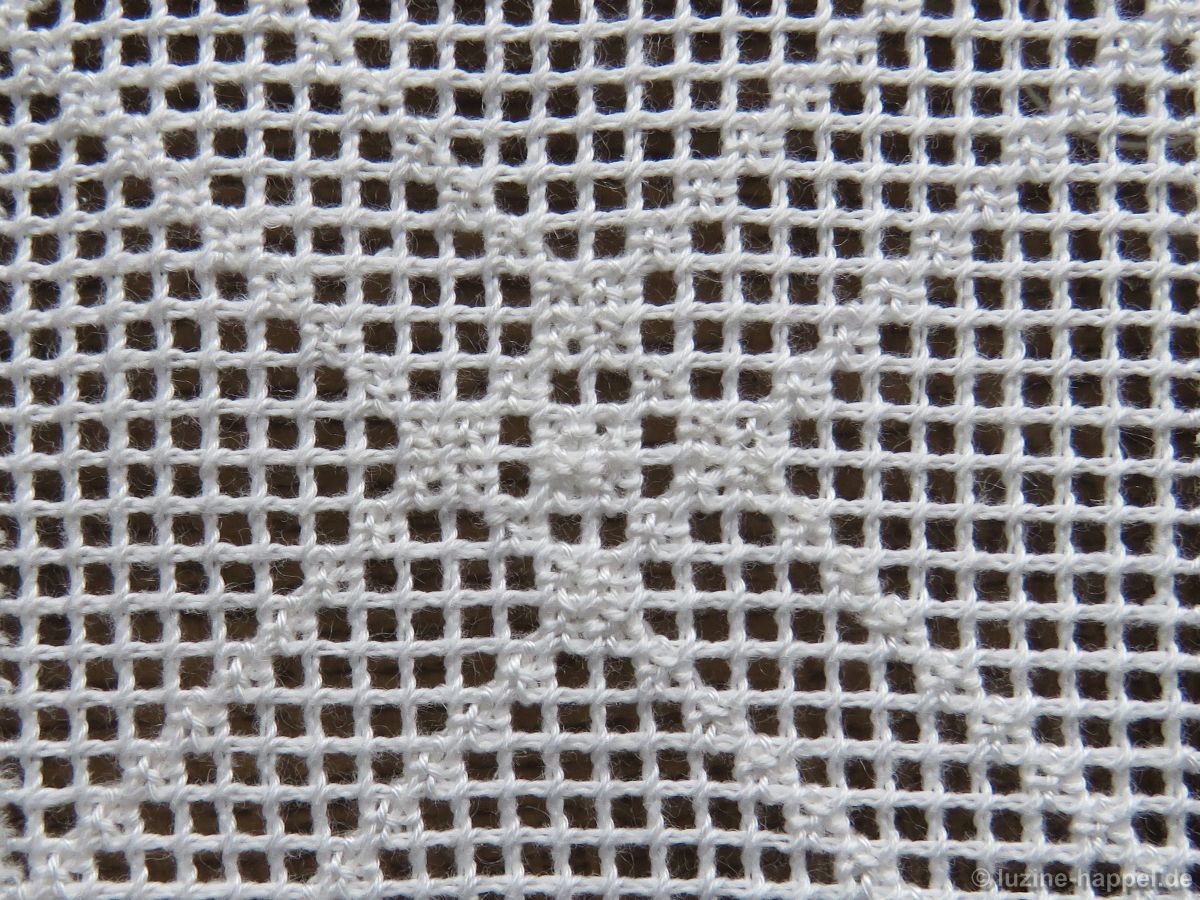
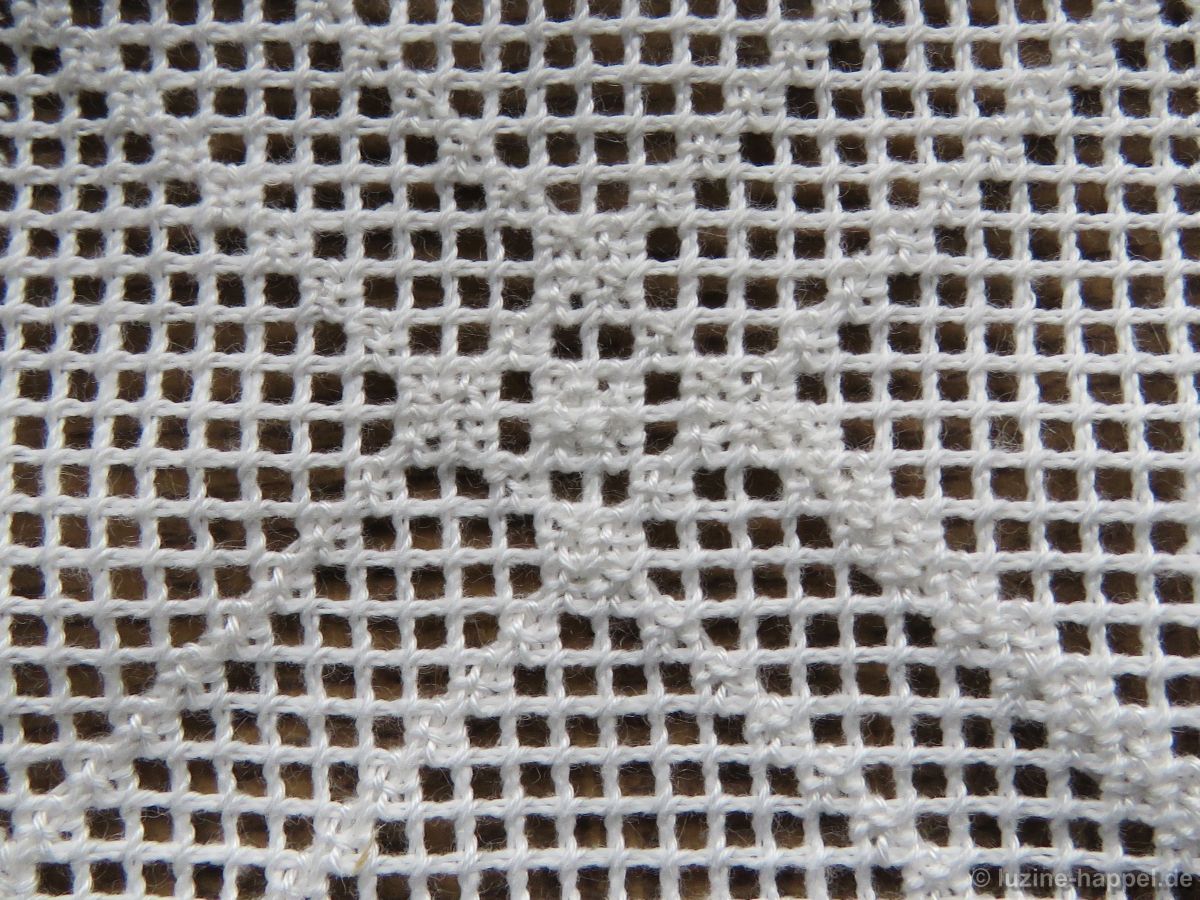
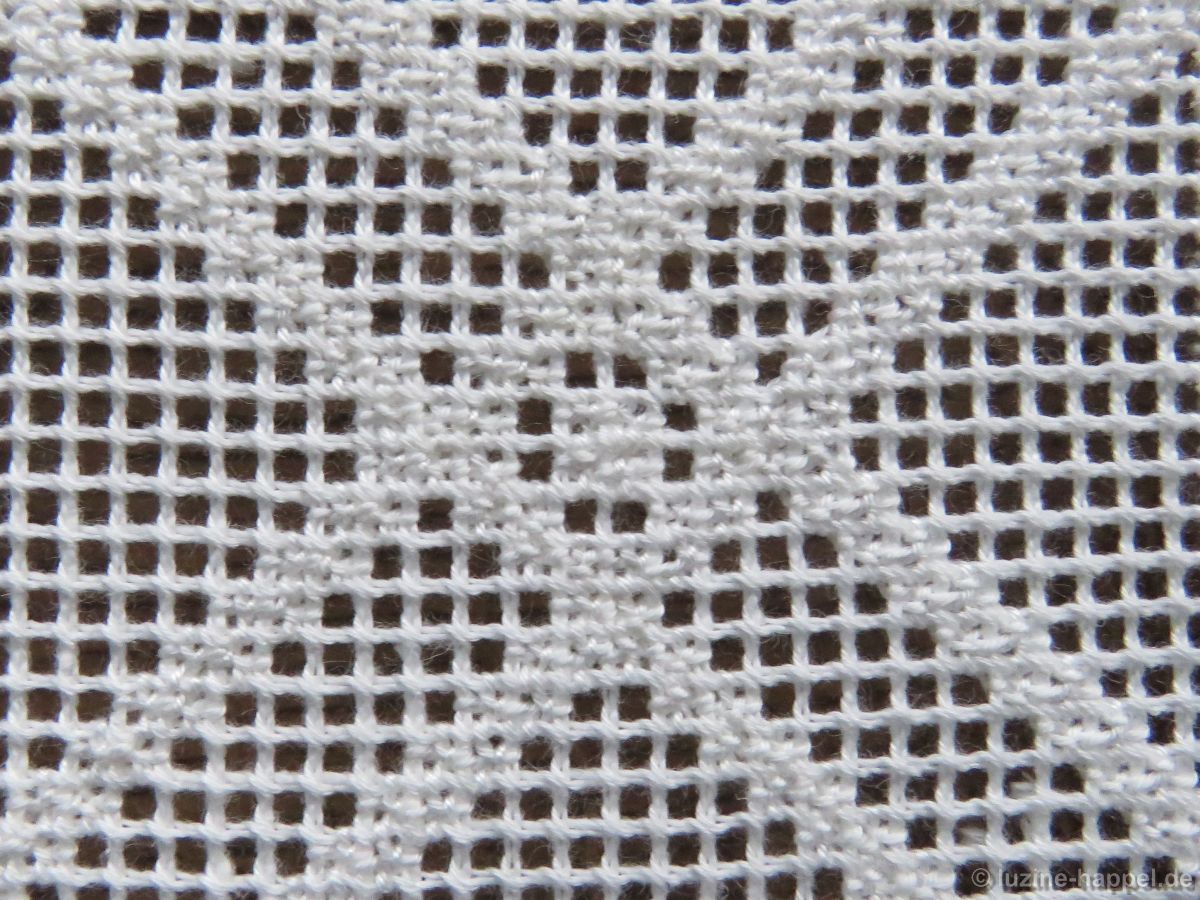
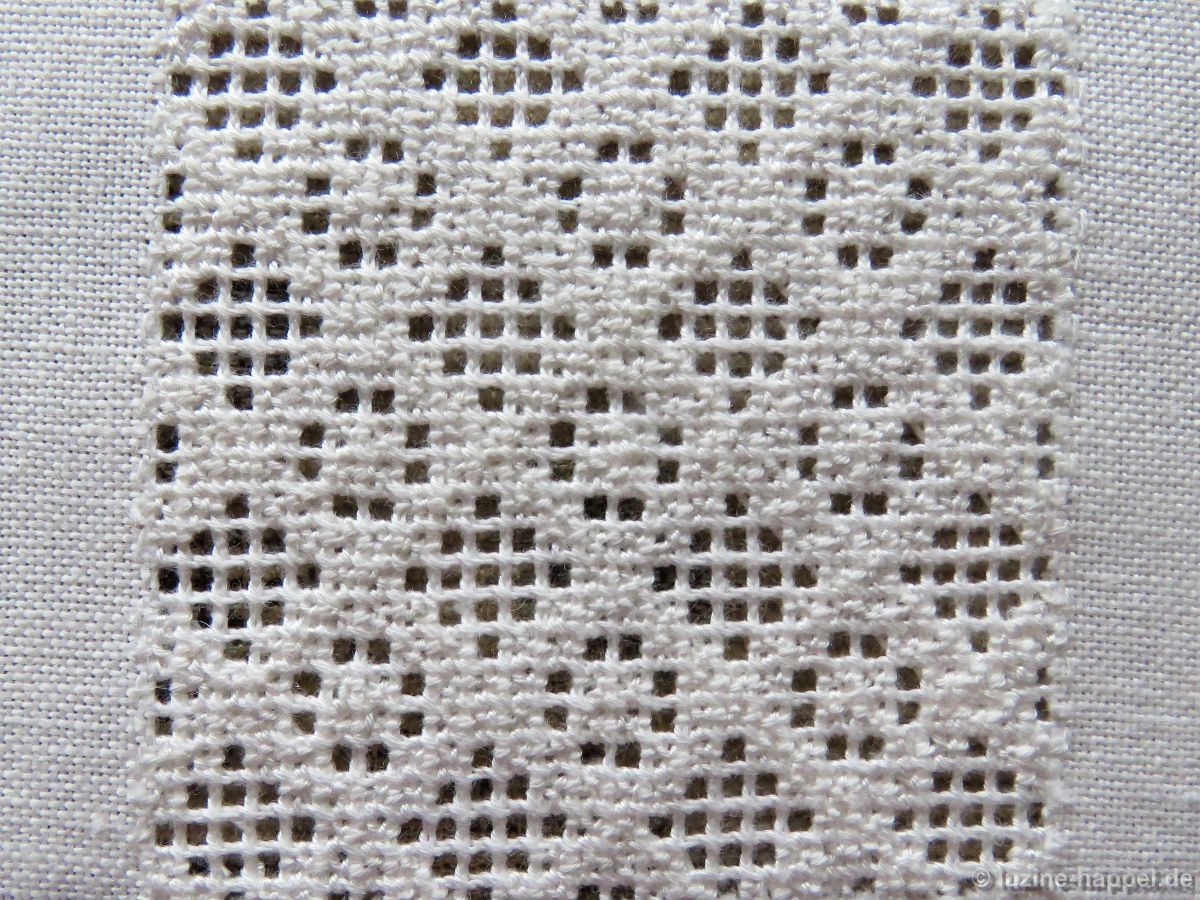
category: openwork filling pattern with Cable stitch grid
linen used: 13.5/cm thread count
threads used: coton à broder No. 30 for the Cable stitches and No. 20 for the Rose stitches
stitches used: Rose stitches
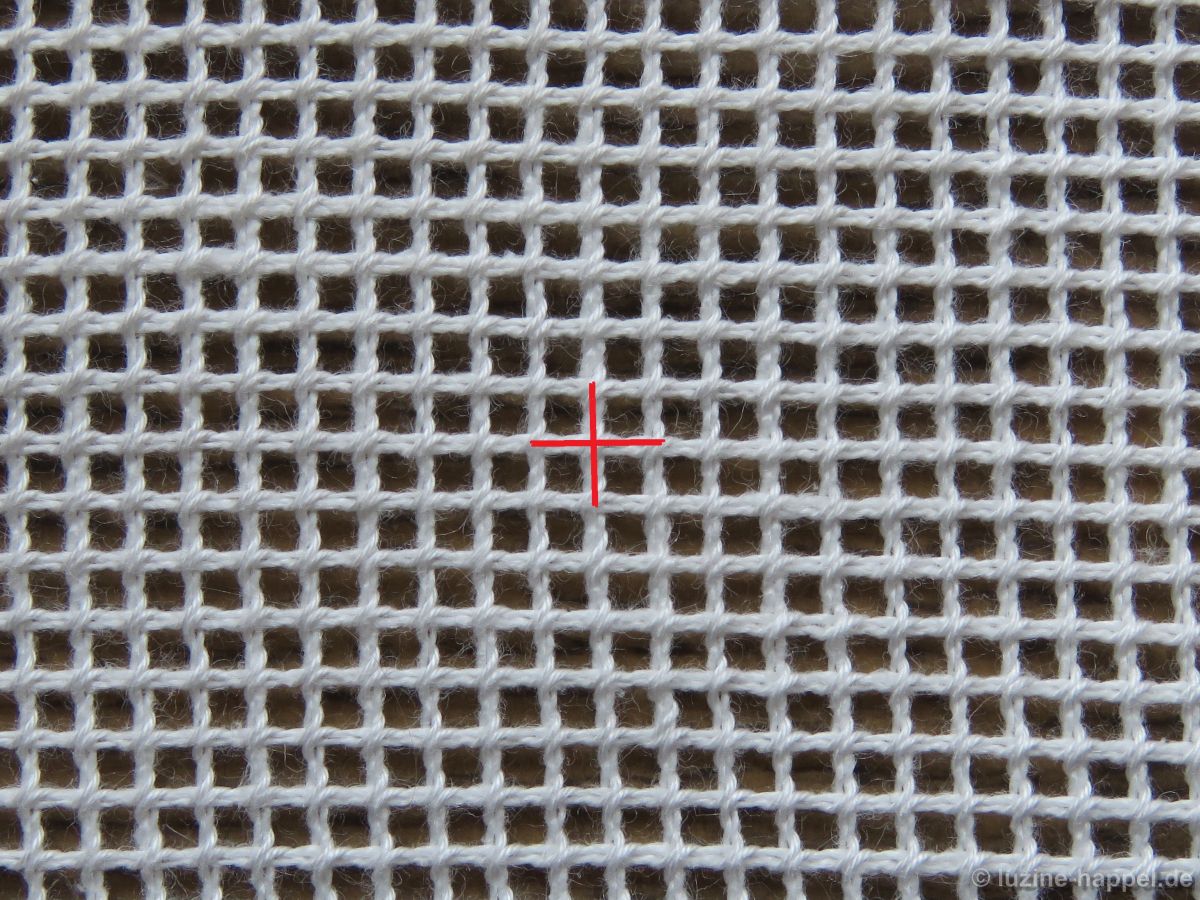
center: intersection of pairs of threads
one pattern segment: 28 threads
First, establish an openwork grid with an intersection of pairs of threads in the center by cutting 2, leaving 2 both vertically and horizontally.
Stabilize the established grid with Single Faggot stitches worked from the back side of the fabric. Please remember that Single Faggot stitch worked on the back side will look like Cable stitch viewed from the front.
Work a square of 2 X 2 Rose stitches around the center intersection – counterclockwise and starting on the bottom right. After completing the square of Rose stitches, bring the needle up in the square diagonal to the lower left corner.
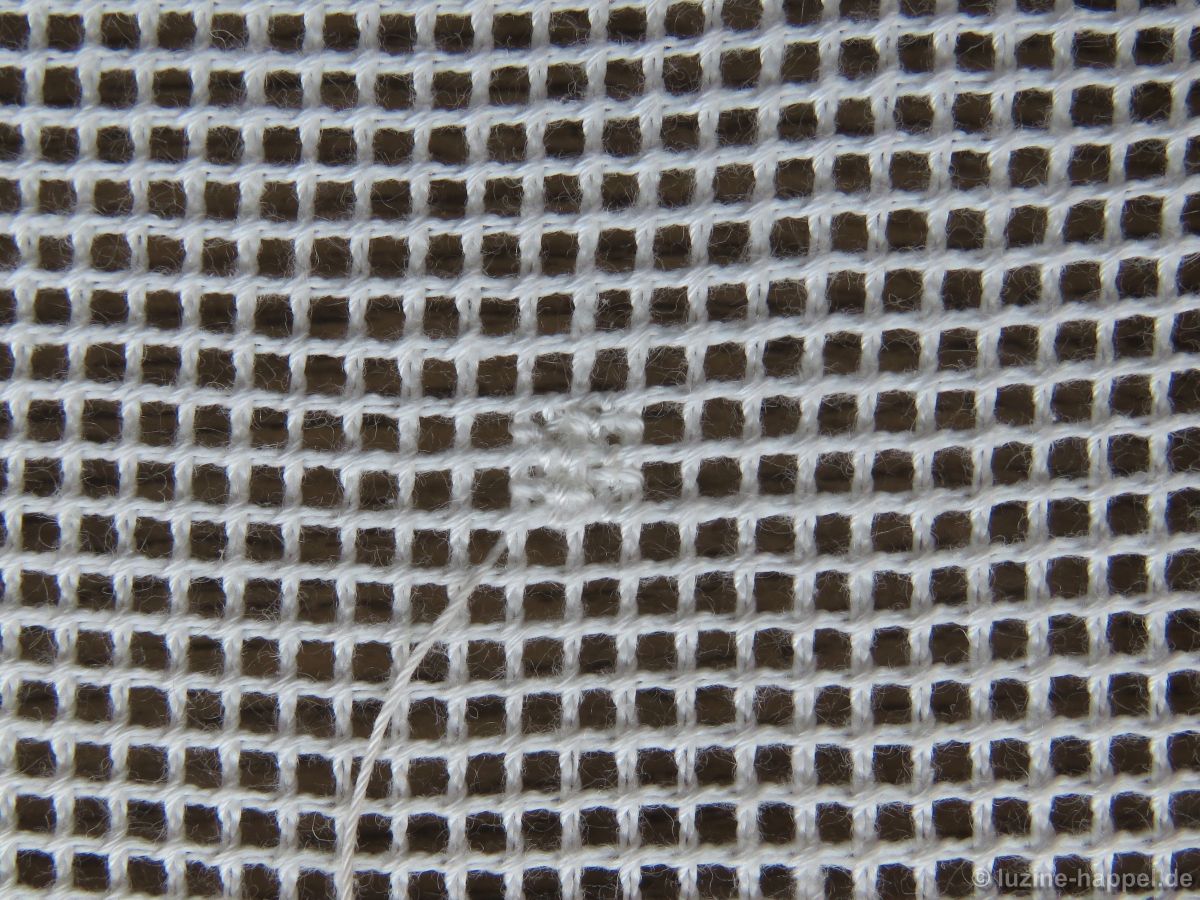
From there work a diagonal row of Rose stitches upward to the left.
Turn the piece and work a second diagonal row parallel and with a distance of five empty squares between – counted in a straight line.

Complete the first row, and work rows of Rose stitches perpendicular to the first and running directly along the corners of the center square.
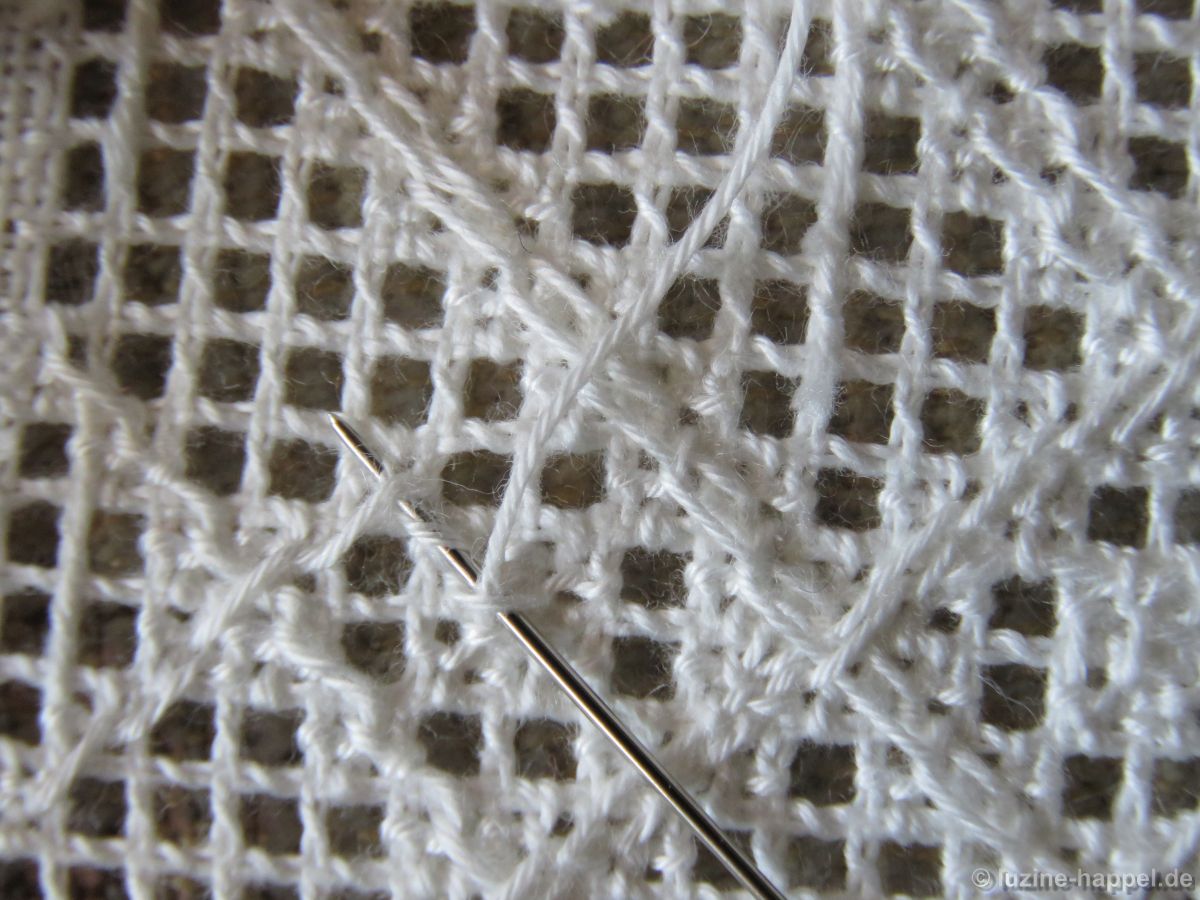
Crossing previously worked rows, slide the working thread on the back through the already established stitches.
Work a second row beside and outward to the first.
Do the same to all four rows.
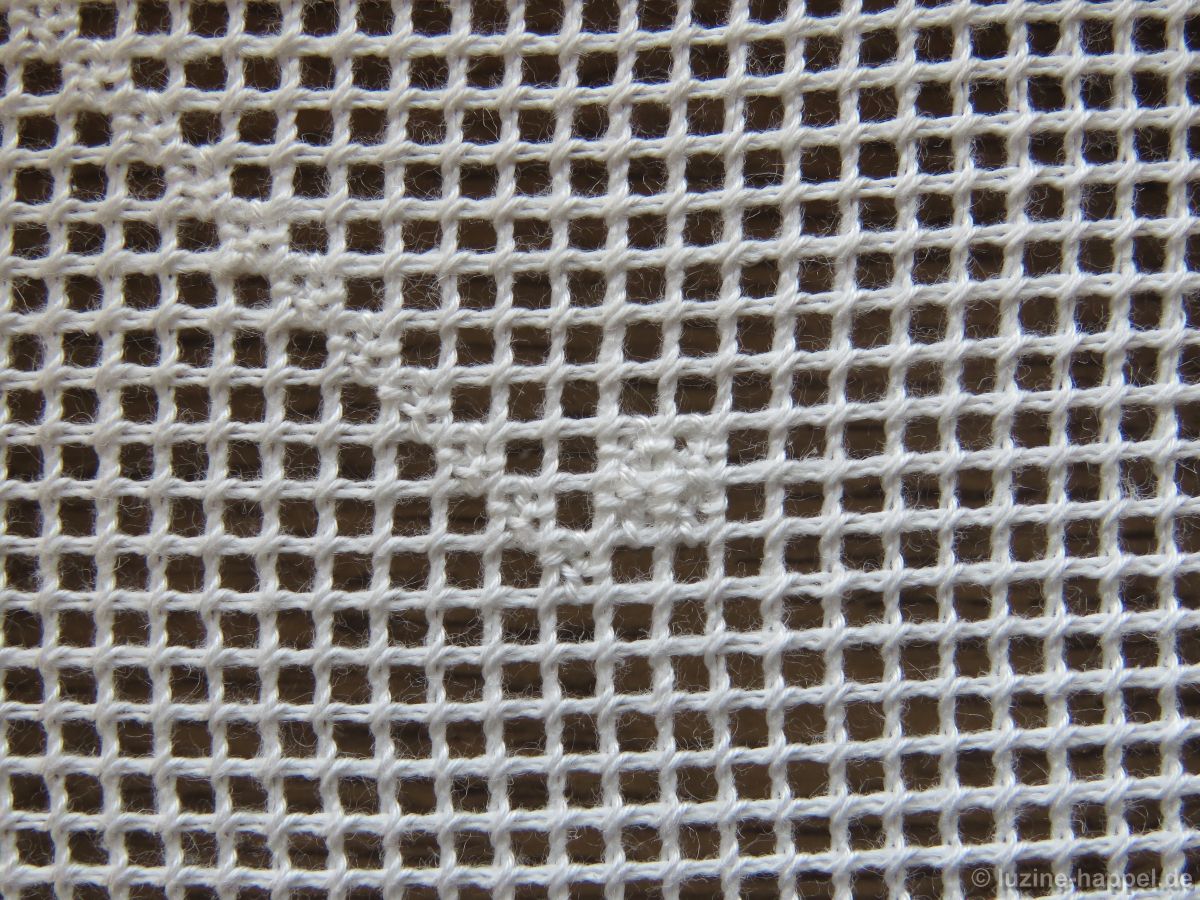
*Work two single rows with a distance of five empty squares between (counted in a straight line) to the right and to the left of one pair of the established rows.
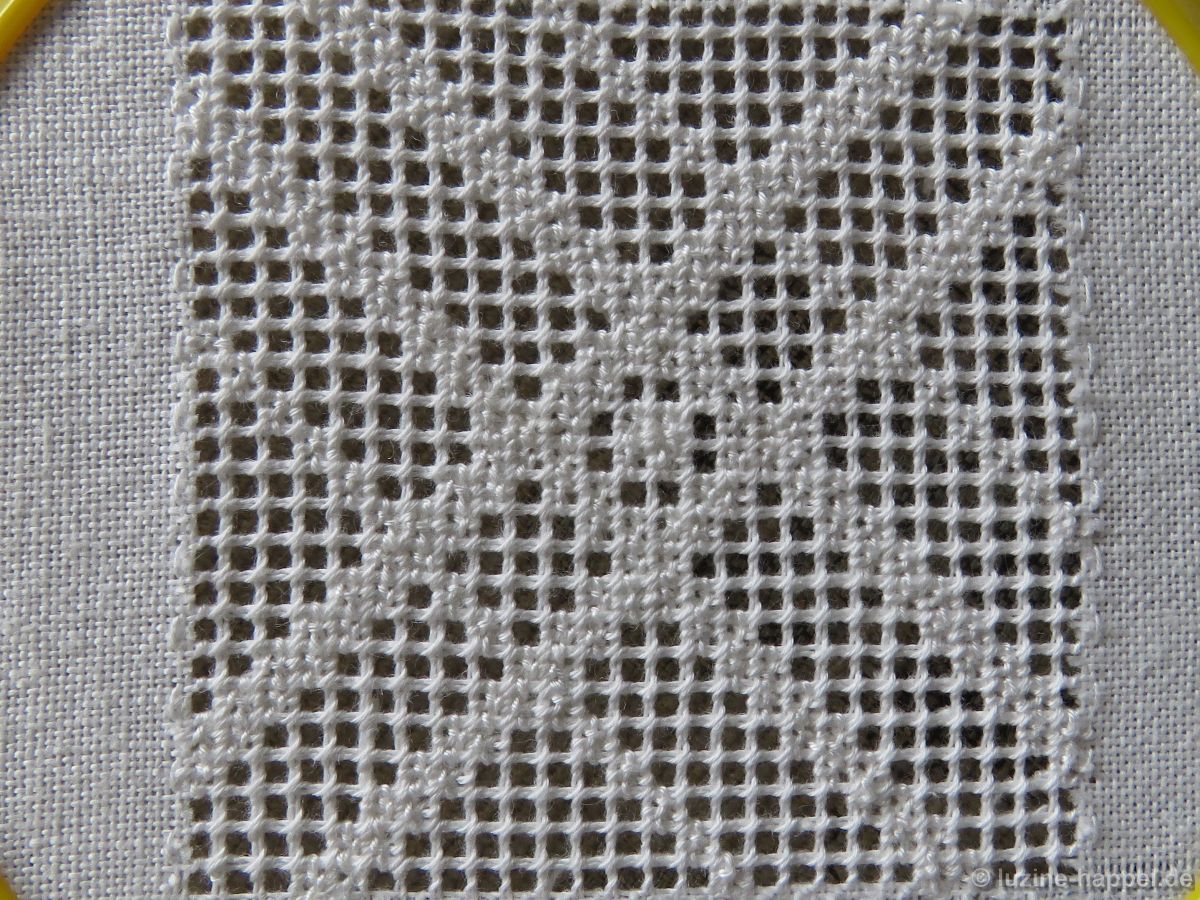
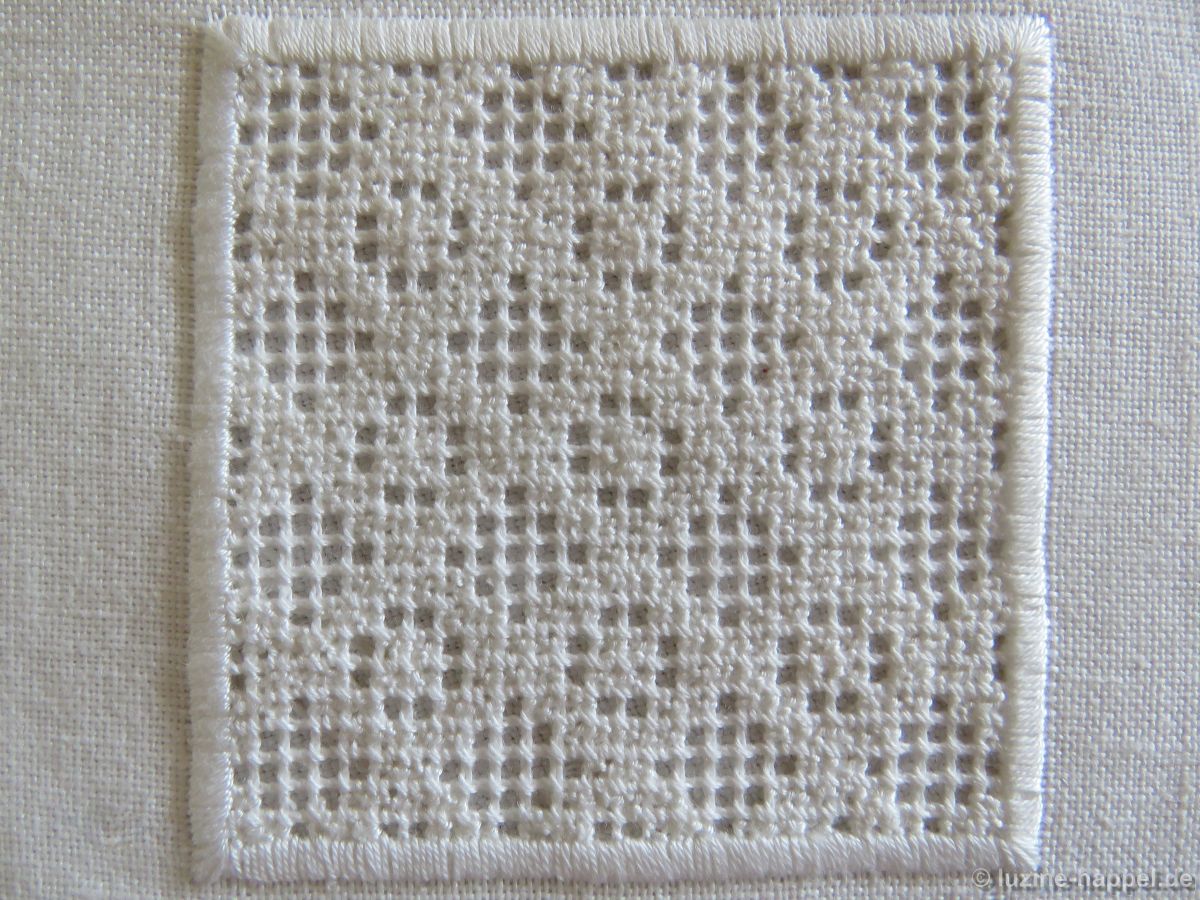
Please note: my sampler square will get an edge border of Satin stitches. Of course, this edge border should normally be worked first – before withdrawing the threads. In this way, the edge border can be worked much more easily, and the working threads of the Single Faggot stitches can be secured there. I was pressed for time when working the steps in preparation to share them with you, and in my haste I skipped this important step. The picture at the end of this article shows the sample with the border. It was very difficult to get the stitches to look nice and orderly! So, please do not follow my example, but take the time to stitch an edge border first.
Start working a single row perpendicular to the just worked row, but this time include working squares of 2 X 2 Rose stitches into the established rhombus sections. Therefore bring the needle up in the square diagonal to the top left

and work a square of 2 X 2 Rose stitches.

On the way back to the Rose stitch row, slide the working thread through the already established stitches.
Continue working the Rose stitch row including a square of 2 X 2 Rose stitches in every second rhombus section.
Do the same on the opposite side.
Work a second row of Rose stitches beside and outward to each of the four rows.*
Continue working the same steps (*)

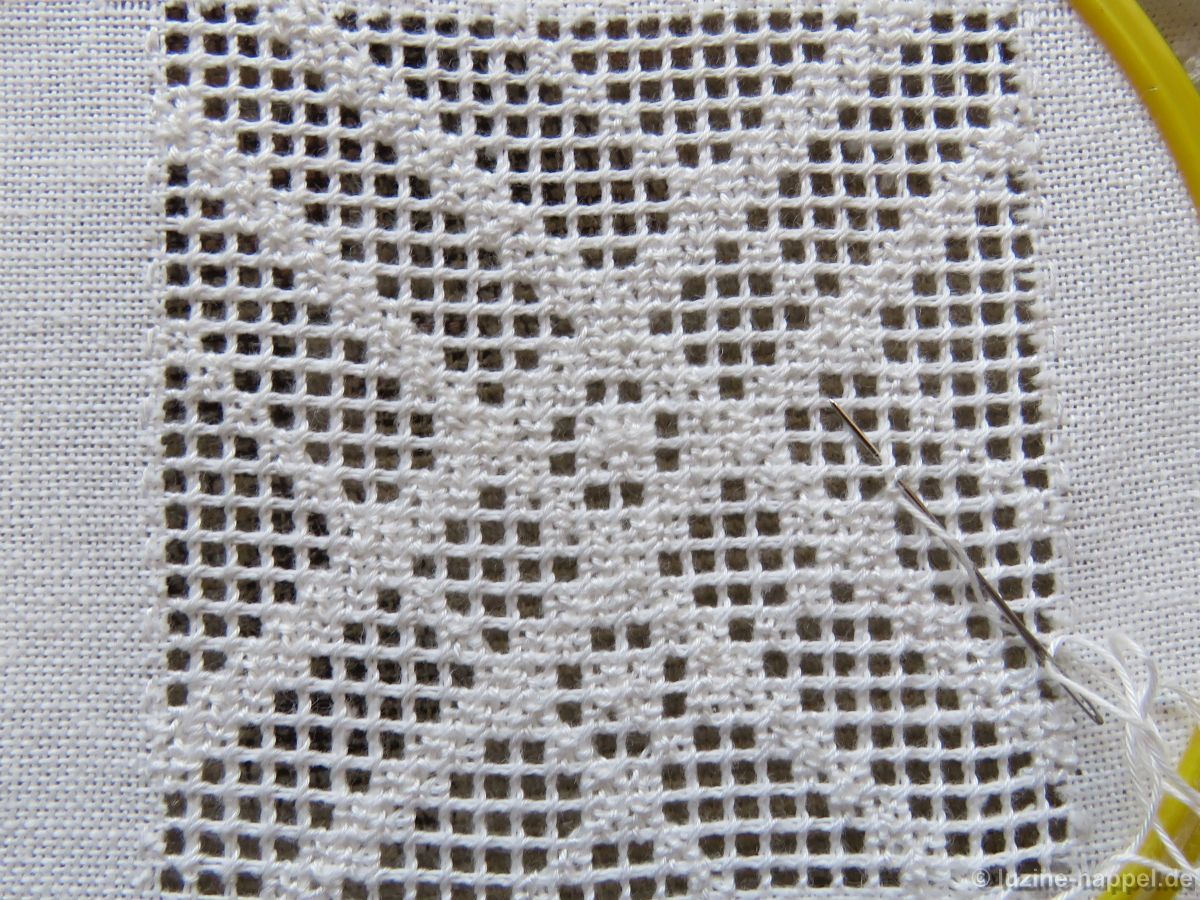
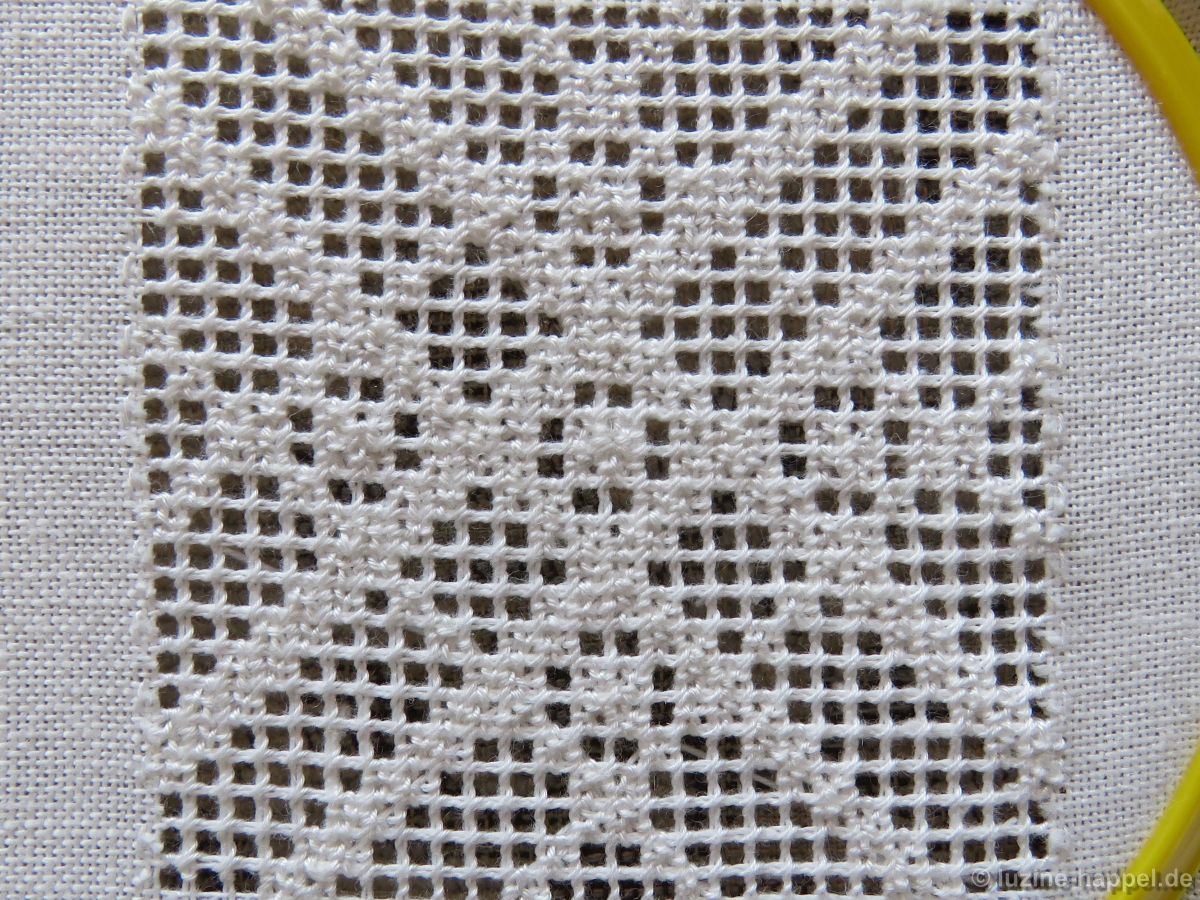
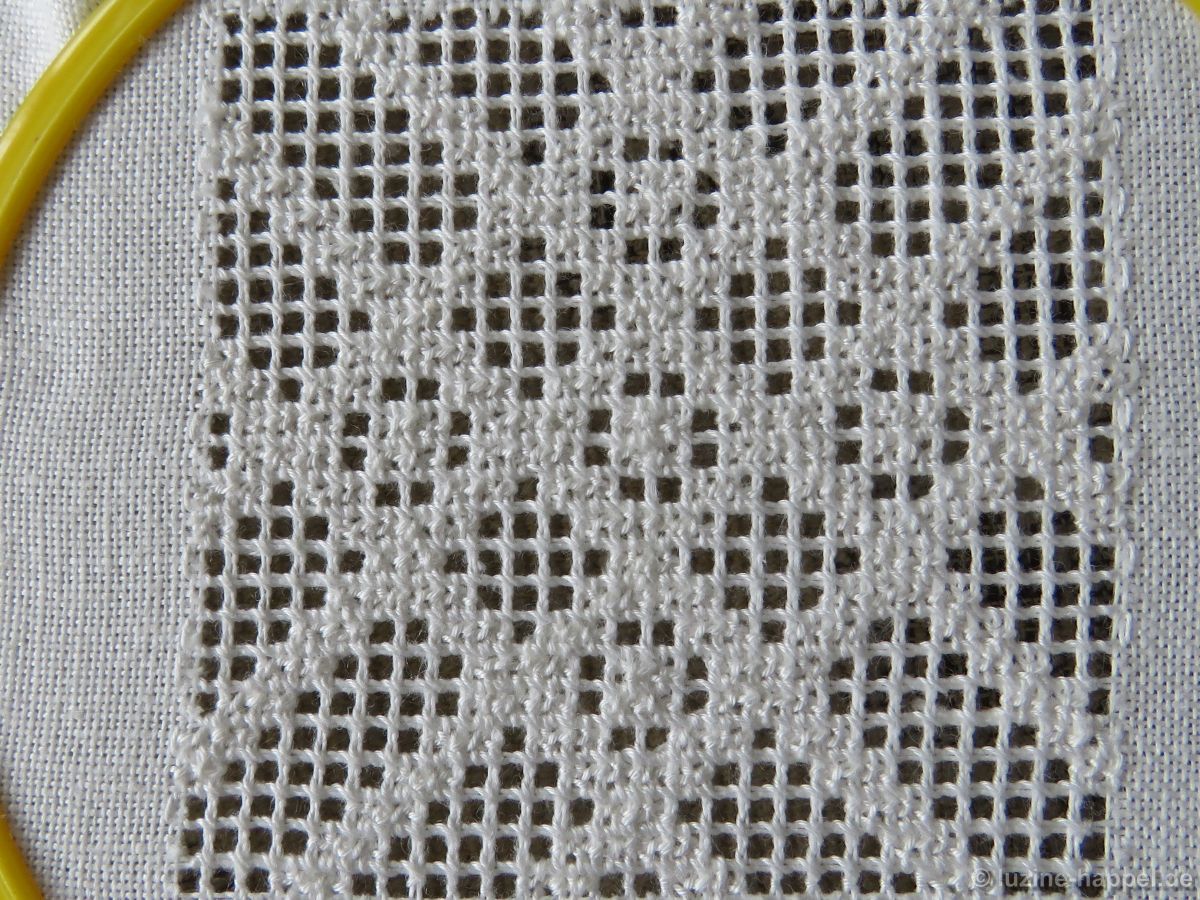
until the entire shape is filled.
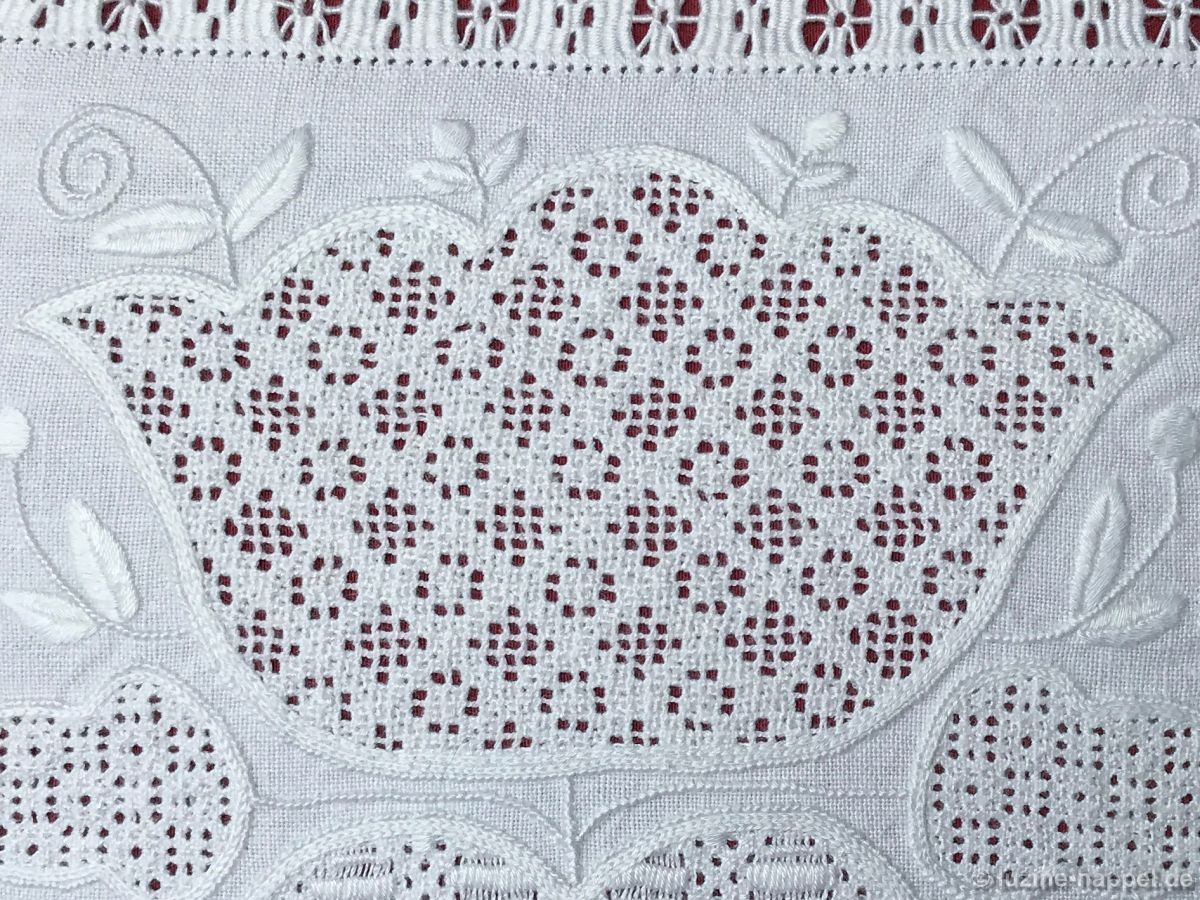
This pattern is especially charming in wider motifs. This motif was embroidered by Sylvia Sellmaier. Thanks to her for allowing to show her work.

Muchas gracias, preciosos y muy bien explicado, ha sido una gran ayuda.
Thank you very much, precious and very well explained, it has been a great help.
Vielen Dank, präziese und sehr gut erklärt, es war eine große Hilfe.
Bienvenido!