
Tall Angel
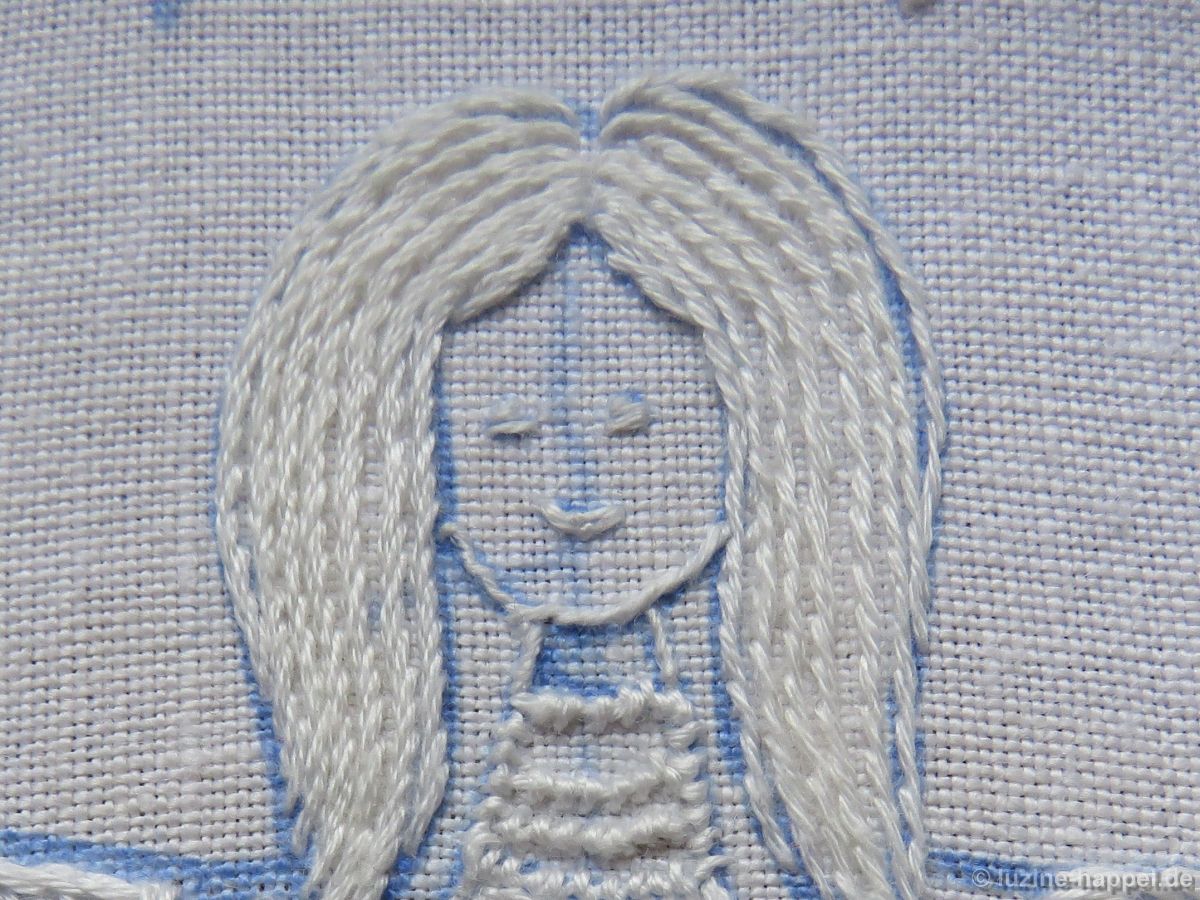
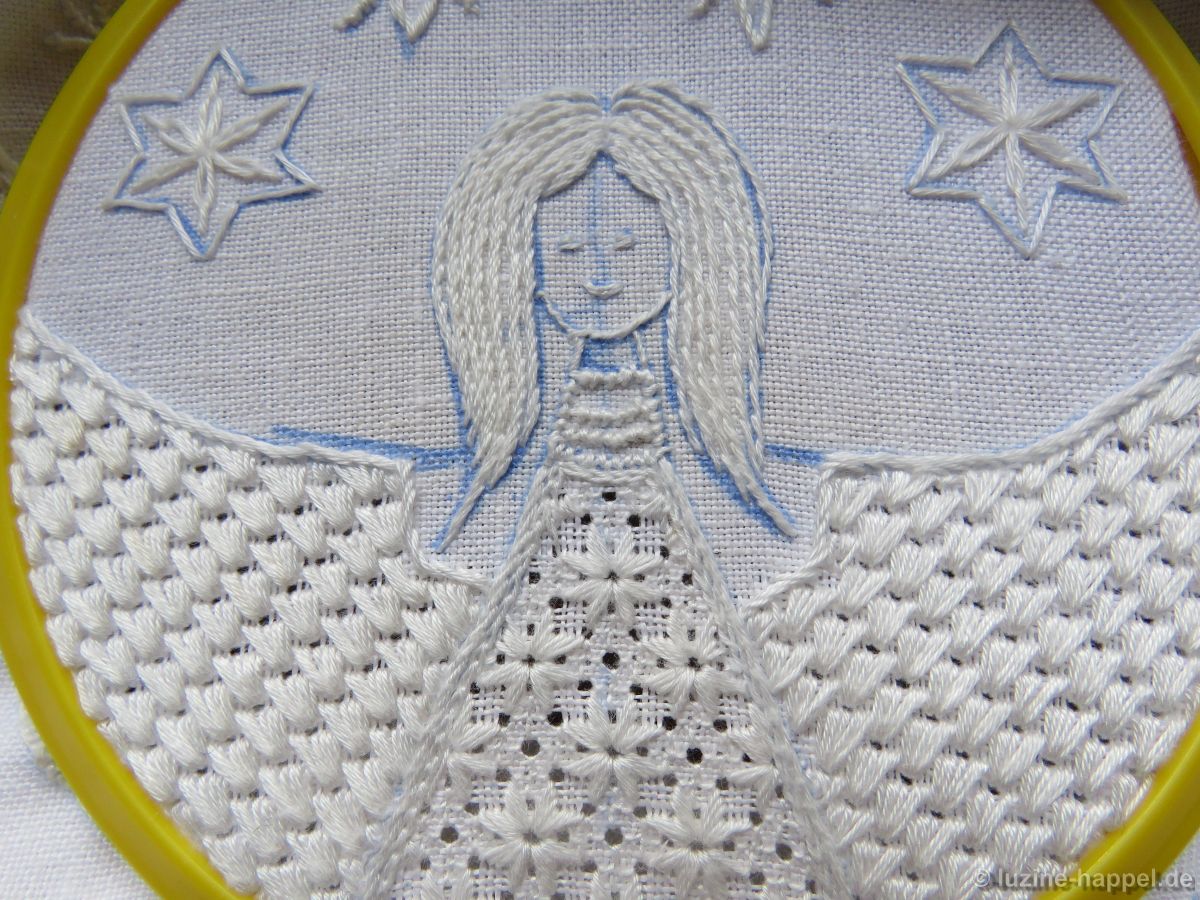
Similar to the little angels, embroidering starts with the hairstyle. The hair in this picture was stitched with wide Stem stitches (2 strands of the 6-ply stranded cotton). It makes sense to start at the top with the middle strand.

Next the facial outline and the neck was worked. The collar of the dress was stitched with Coral Knot stitches.
Many characters of the wreath design have straight or relatively straight edges. These edges allow one to easily and quickly outline the shapes using Stem stitches. In addition to being decorative, Wide slanting Stem stitches have additional functions; they secure the fabric while withdrawing fabric threads and cover the thread ends. Therefore it is not absolutely necessary to work additional Chain stitches next to the Stem stitches at the outlines. So, I decided to use Stem stitches for outlining the shapes (I wanted to have it ready for sharing in the end of November!).Chain stitches would be used only if one wants to use openwork patterns, and if one is not always carefully in thread withdrawing .
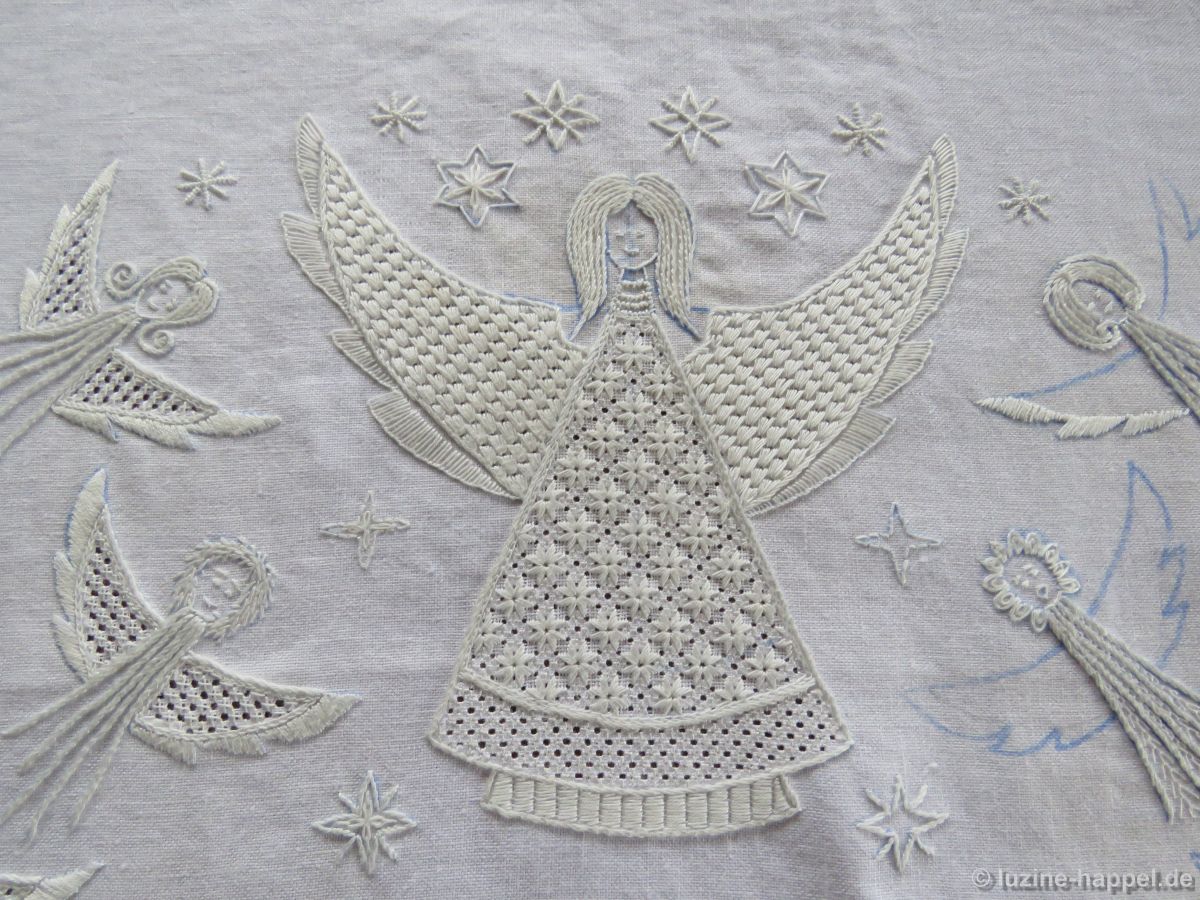
In the design the dress has two tiers at the skirt hem. I decided to delete one to get a somewhat longer effect for the dress.
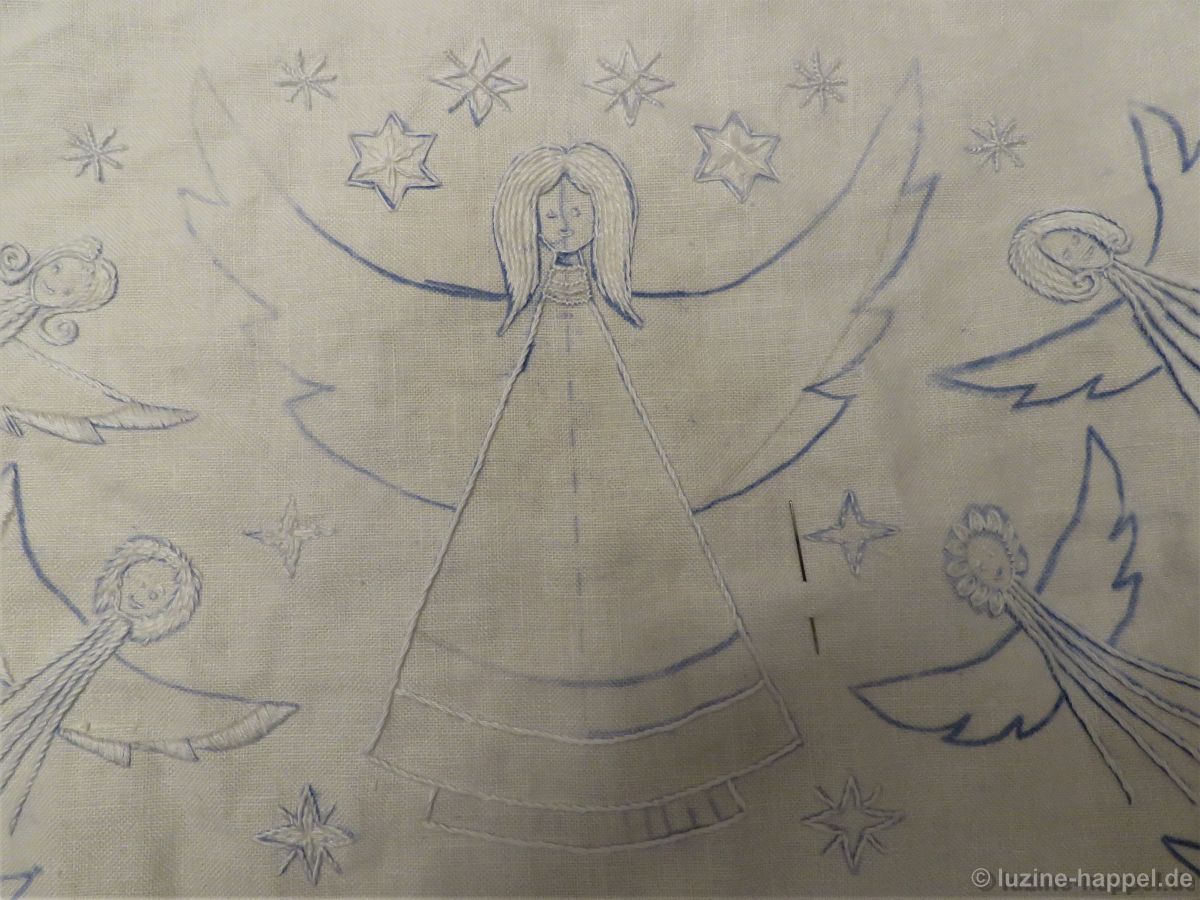
The wings got an alteration similar to the wings of the little angels – a line separating the points from the remaining part of the wing.

This time the points were filled with Blanket stitches (coton à broder No. 20).
So that the filling patterns in both wings can line up, one horizontal thread reaching into both wings was withdrawn. From there the grid was later established.

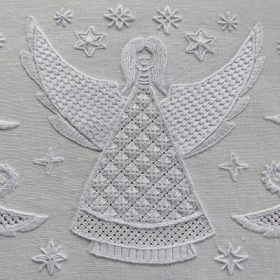
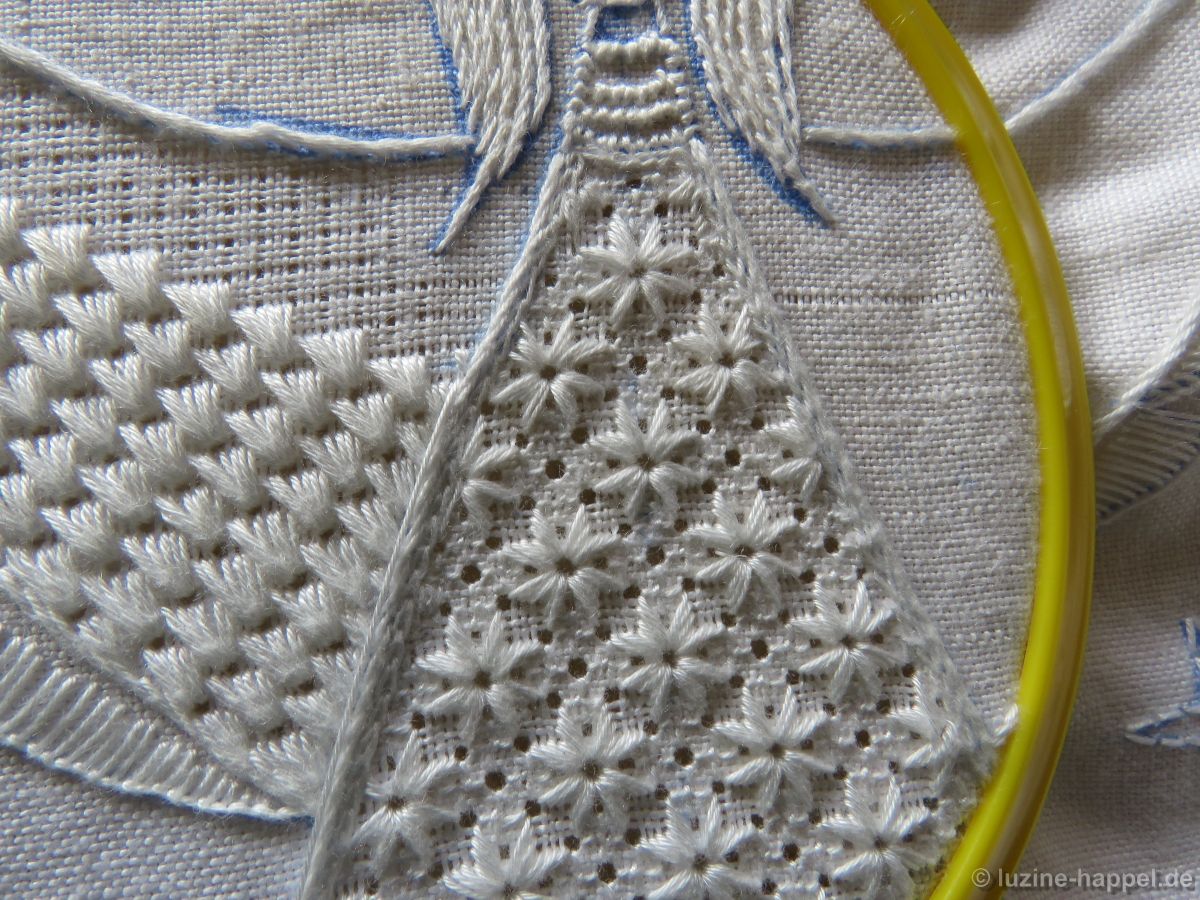
The dress got a star filling pattern (coton à broder No. 30) – Rhombi of Four Rose Stitches and Little Stars (Pattern 15 Stars). The skirt’s hem was embroidered with Rose stitches (coton à broder No. 30).
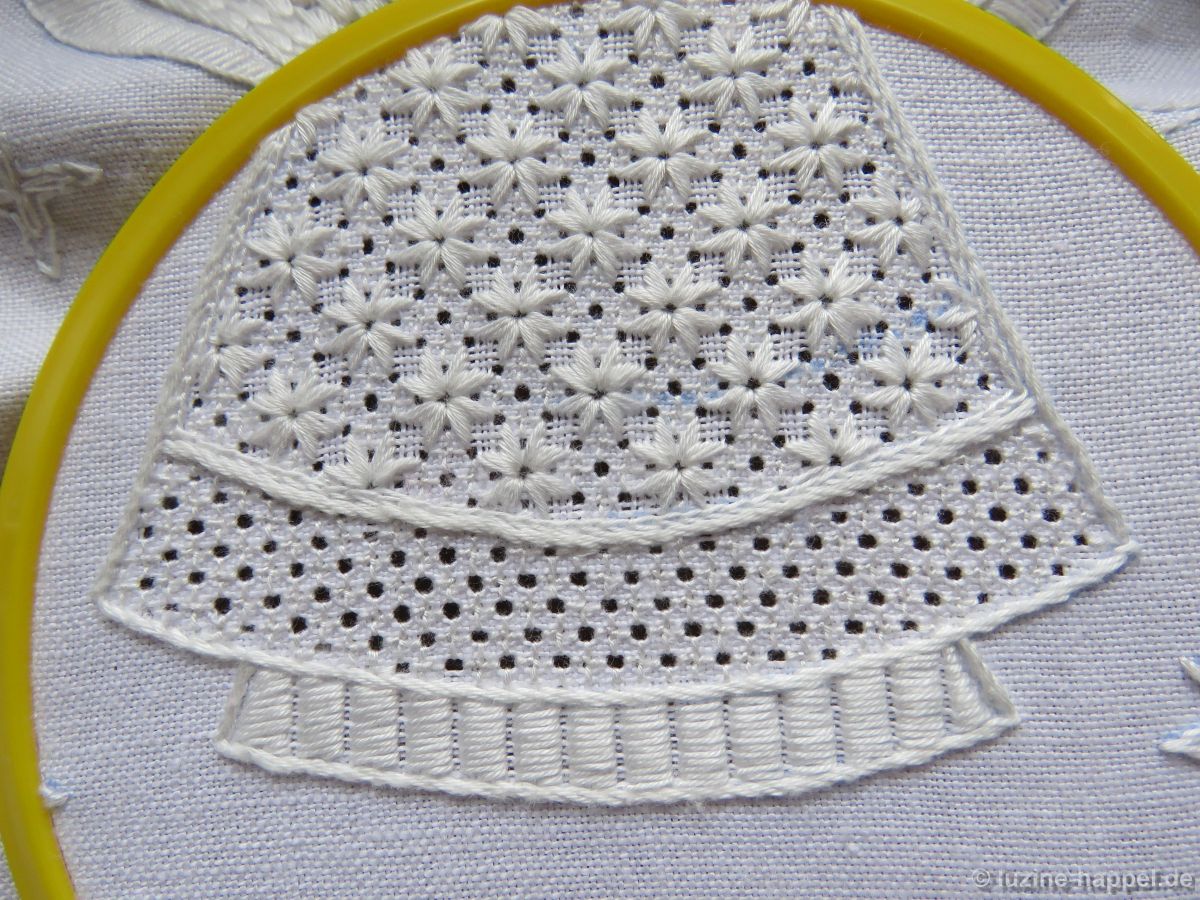
For the underskirt, fabric threads were withdrawn in one direction only and with seven fabric threads remaining between.

The underskirt was embroidered with extra wide Satin stitches (coton à broder No. 16).
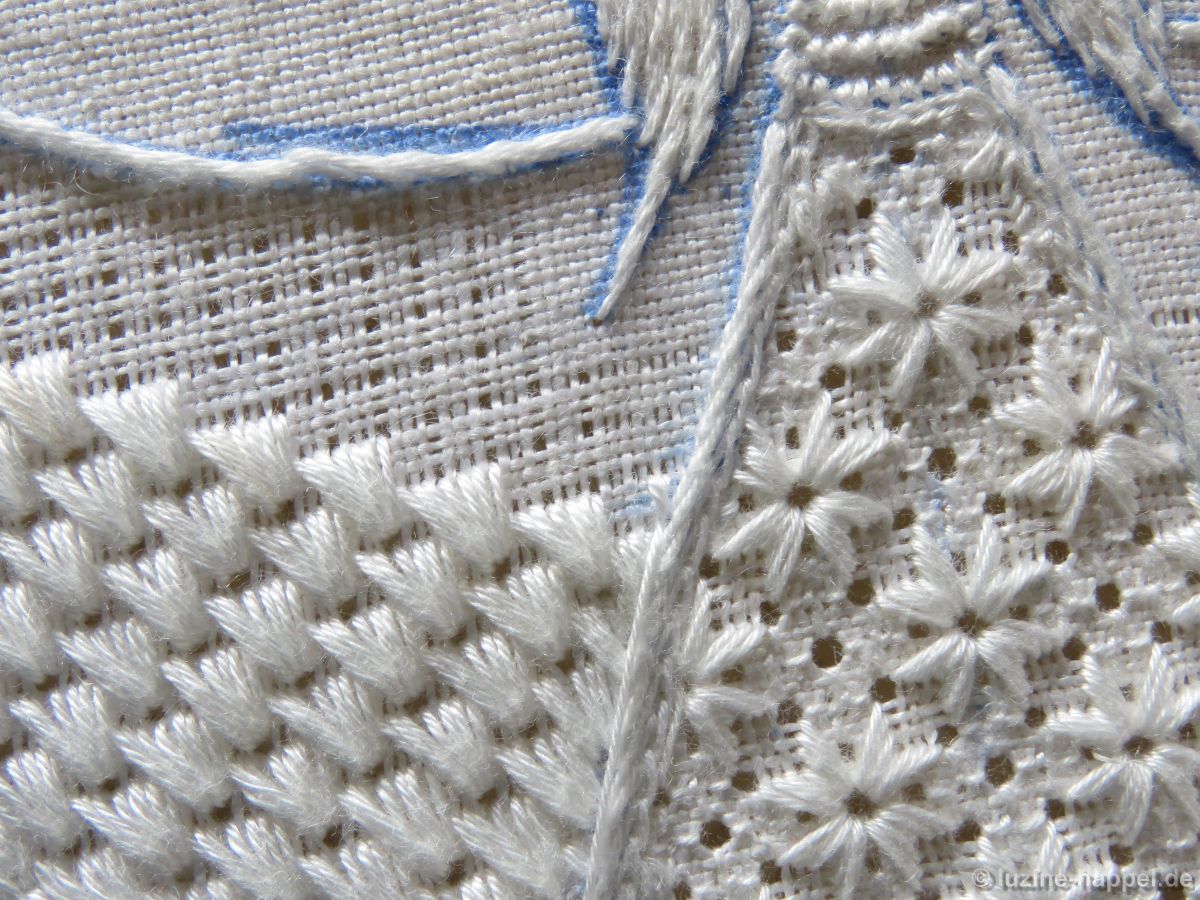
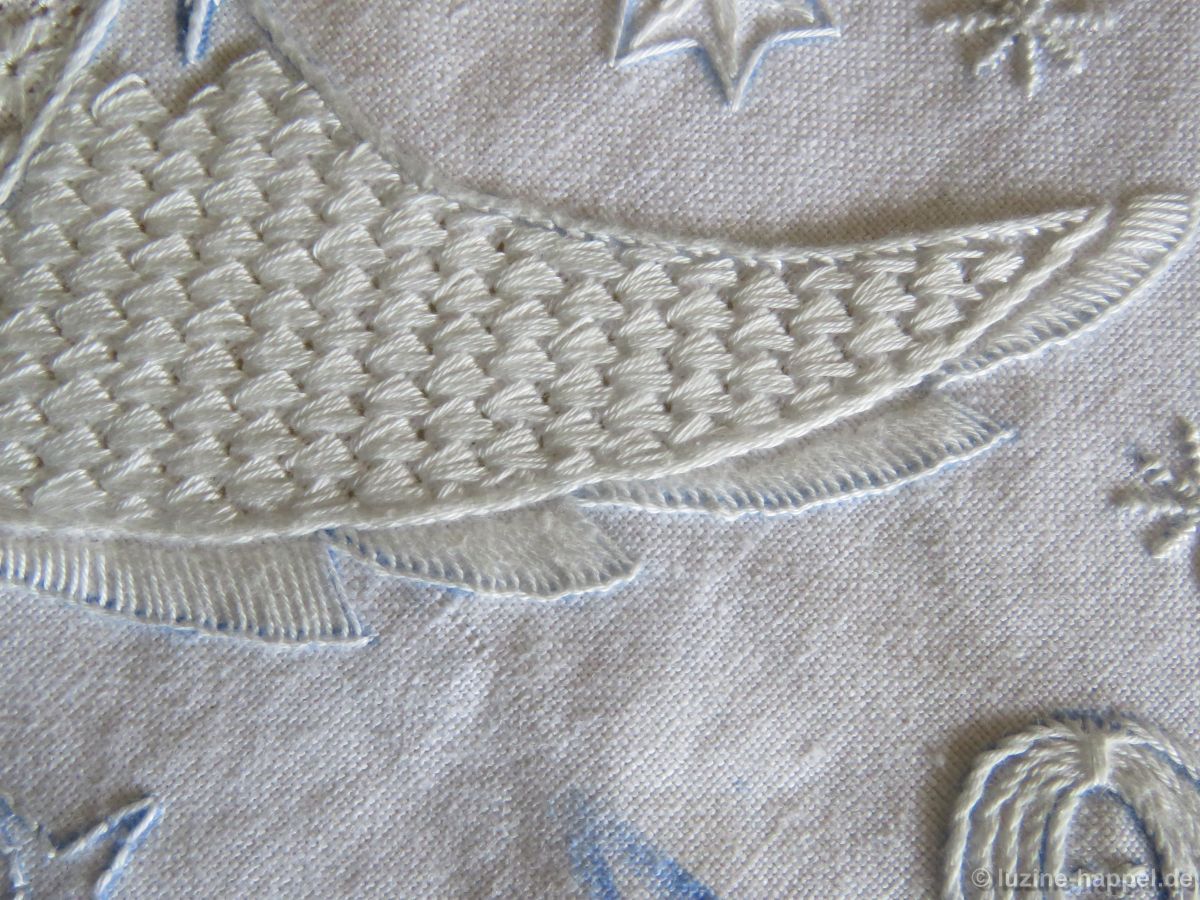
The wings got the Limet filling pattern Scales (Limetrosen I).
This is a very bold pattern. So it is difficult to work it around the hair. So, no fabric threads were withdrawn around the hair. (Using a more modest pattern, it would not be a problem to develop this area.)
In the opposite wing, one must stitch the pattern mirrored as shown in the picture below.
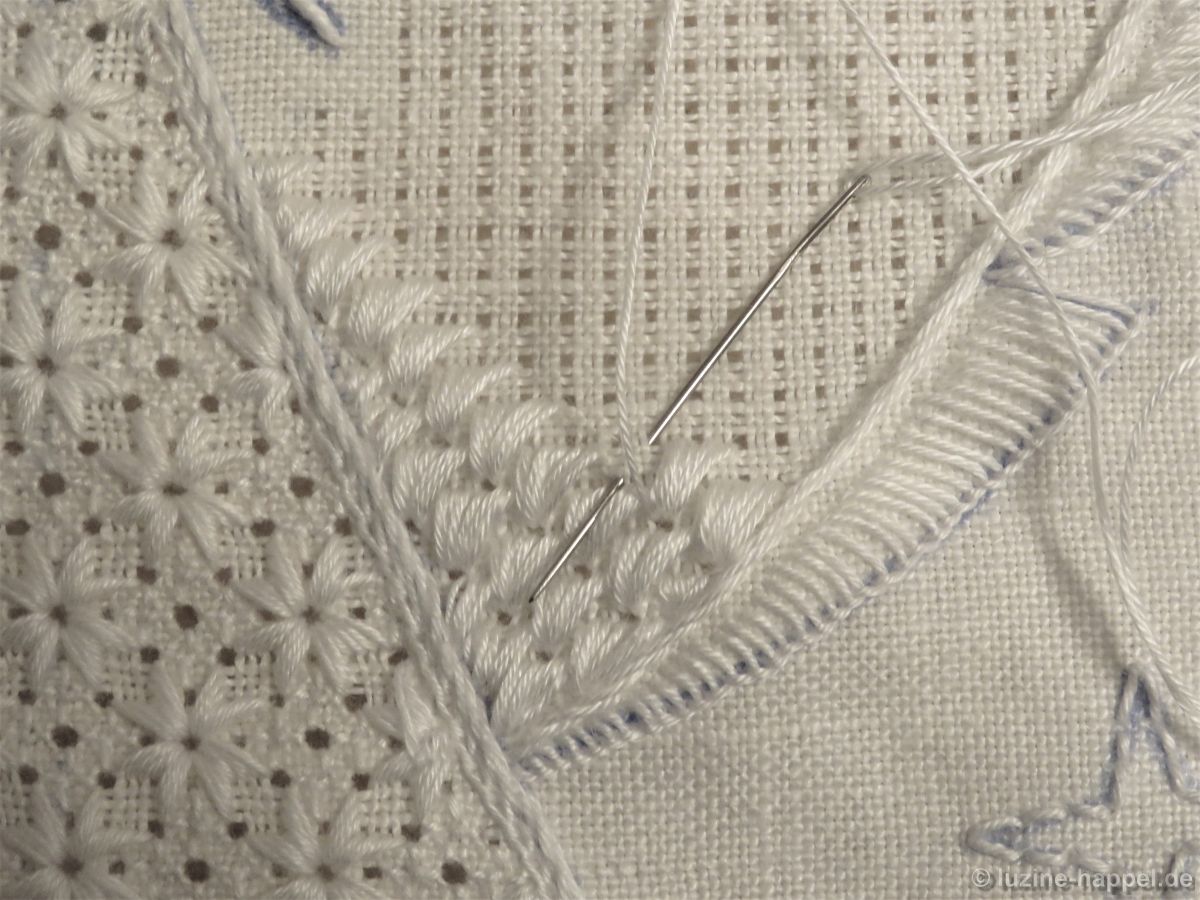
Around the hair section, the pattern was formed as seen in the picture below.
The filling pattern adjusts well to the shape of the wing.
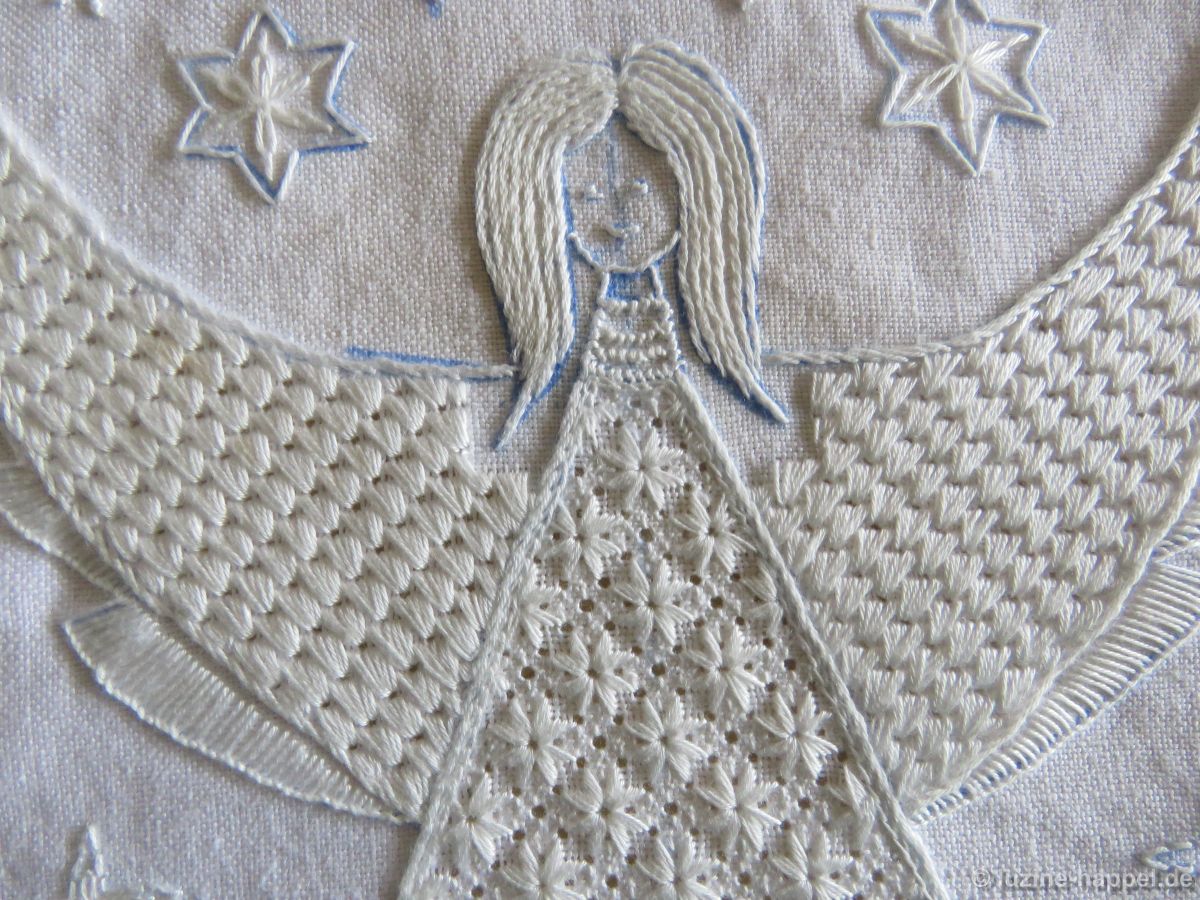
Only the neck section I did not like. So I removed the outline a small step and worked it along the finished pattern.
Once the blue lines are gone, it will look attractive.
Already a major part of the design, the “heaven” with all its stars and angels, is finished.

Leave a Reply