
Global Schwalm Sampler – Update (27)
GSS – Further Considerations for Assembling
The task of assembling the embroideries contributed to the Global Schwalm Sampler and finishing the sampler is now imminent.
I would like you to participate in this process, too.
After publishing my first considerations for assembling, I received many suggestions and valuable tips. Thanks for that!
In the meantime, many more tests were carried out and now the decision has been made.
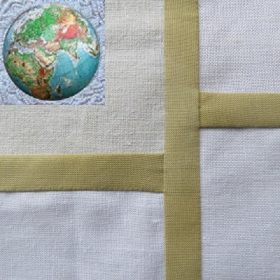
My originally favored variant ( items 6 and 7 seen here) was first refined and then discarded. On the one hand, despite careful work, the meeting points of the connecting lines do not appear clear and “clean.” In addition, both the zigzag and the Herringbone stitches are elastic. It could happen that the hanging cloth warps under its own weight. Another essential point was the calculation of the seam allowances (e.g. if I wanted to arrange several small parts next to a large one).
So the variant shown in item 4 moved back into focus. However, in the meantime I had thought of covering the seam allowances on the back with a strip. But since I didn’t want any visible machine stitches, I thought I’d have to sew the strip on both sides by hand. (The average size of the 92 items is 26.22 cm X 27.04 cm. Since on each item there is a length and width side that requires a strip, this would be 50 meters of strip for the back alone and thus approximately 100 meters of hand sewn seams in all.)
The advice (using a hand seam only on one side of each strip) of an experienced blog reader helped me and encouraged me to use the variant below for joining the individual parts.
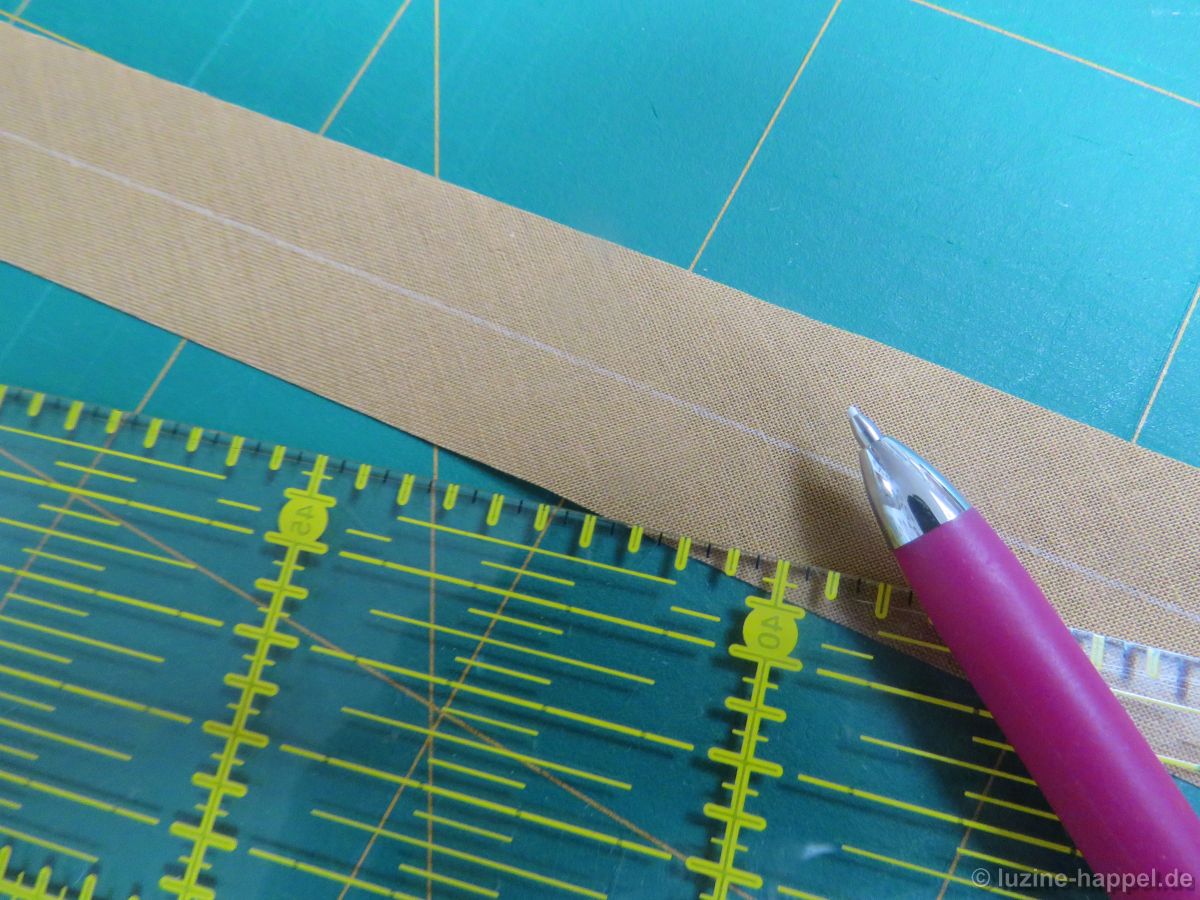
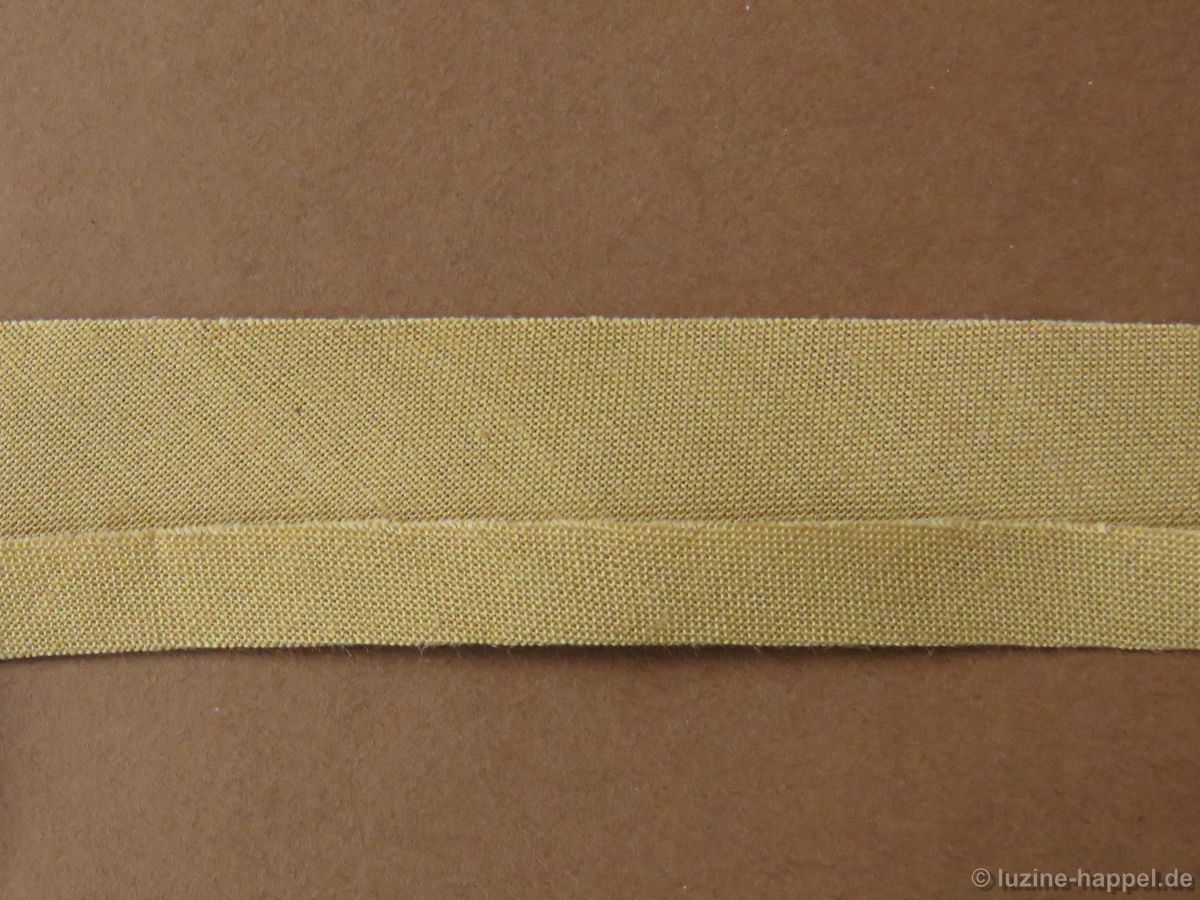
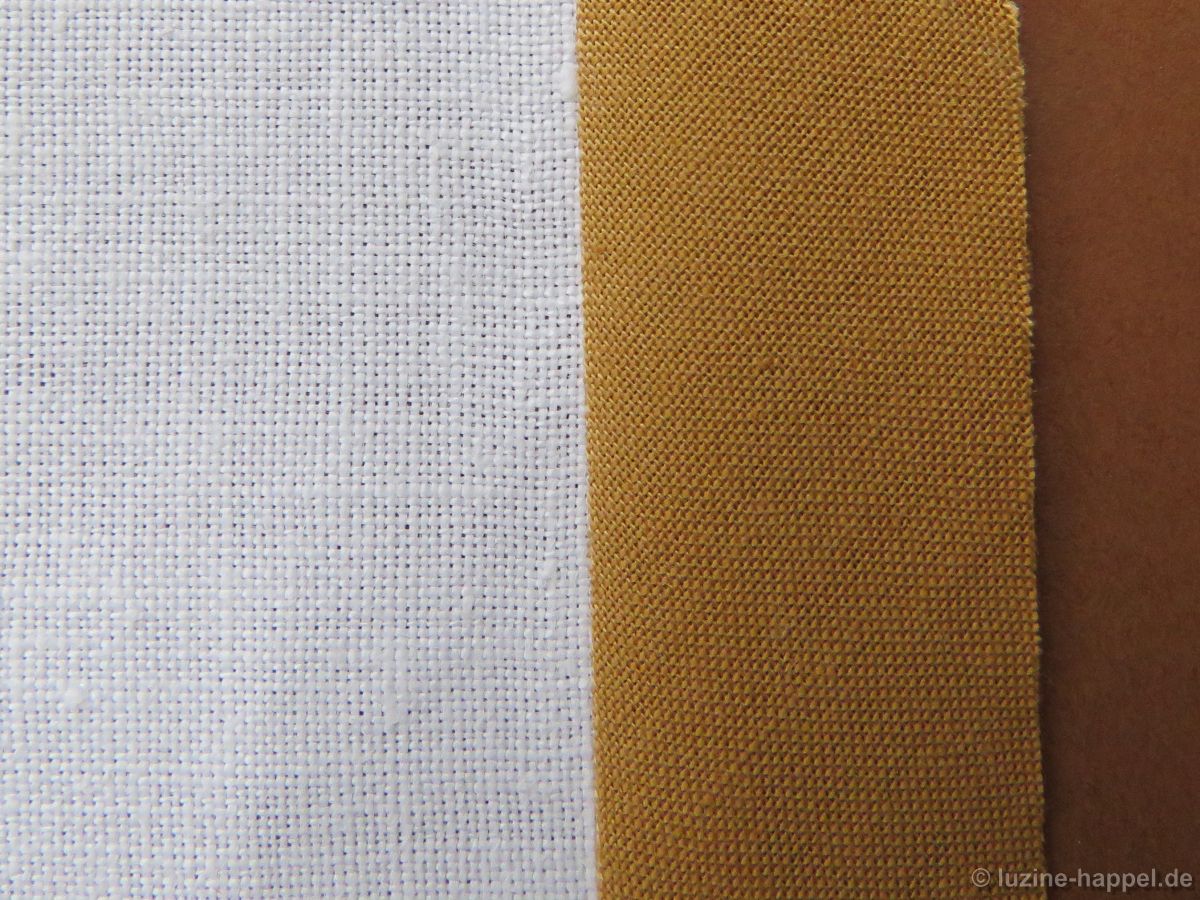
To do this, the strip on the back is first marked along the longitudinal center axis, one long side is placed exactly on the marked line and the fold is ironed. The ironed fold makes sewing by hand later much easier.
The folded strip is placed right side up. The embroidery is then placed over the free edge with the right side up and then a second strip is placed edge to edge with the right side down.
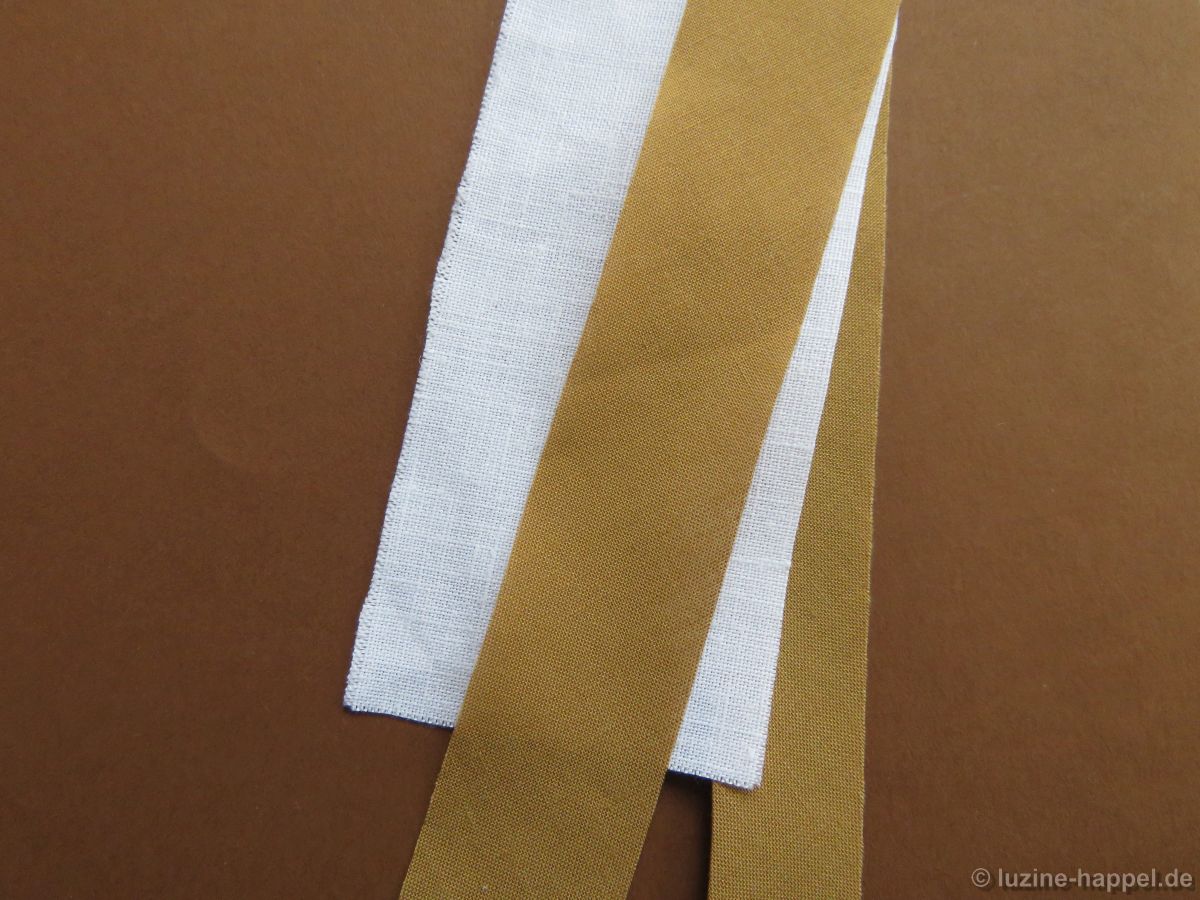
All three are sewn together with the sewing machine.

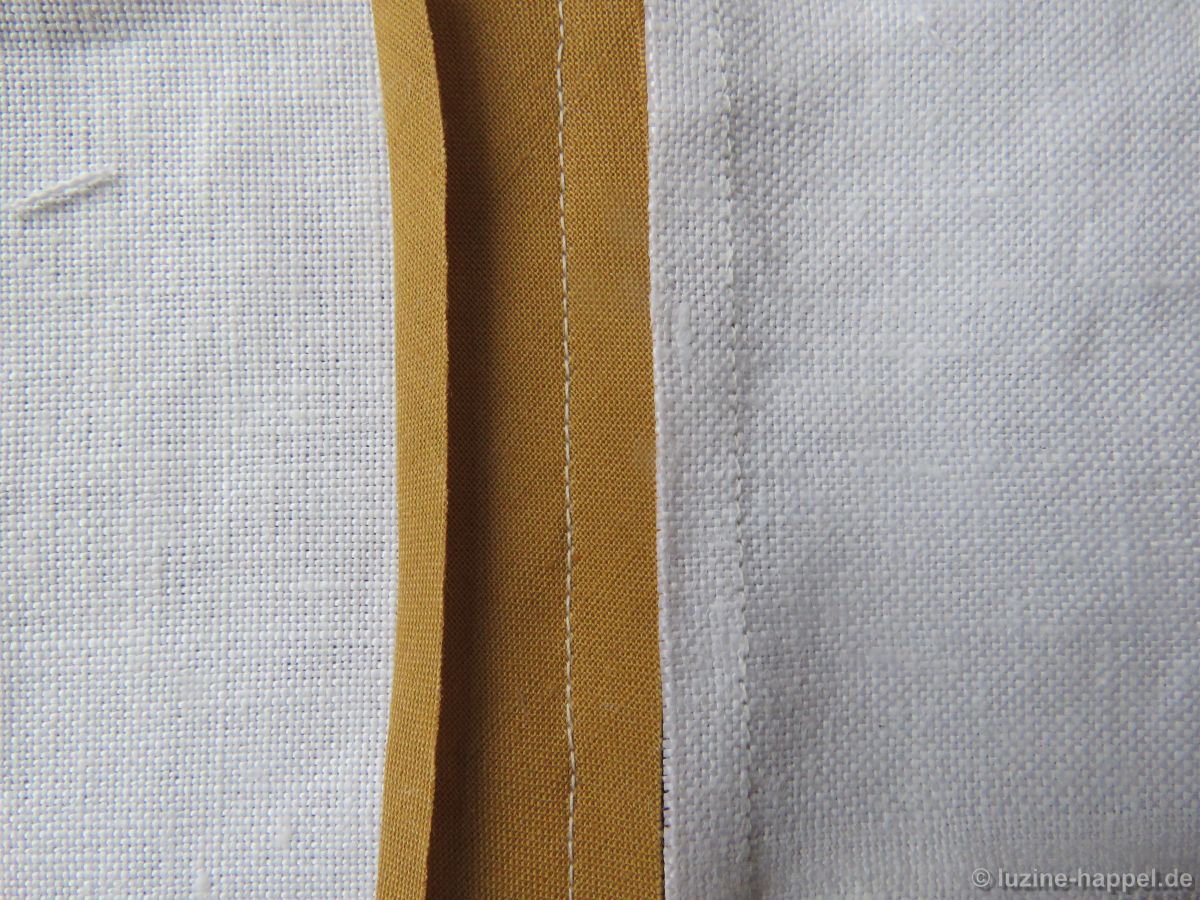
The upper strip is pressed over to expose the right sides of both the strip and the embroidery piece.
The next adjacent embroidery is placed face down, edge to edge, over the front side strip

and sewn together with it.
The seam is smoothed out.

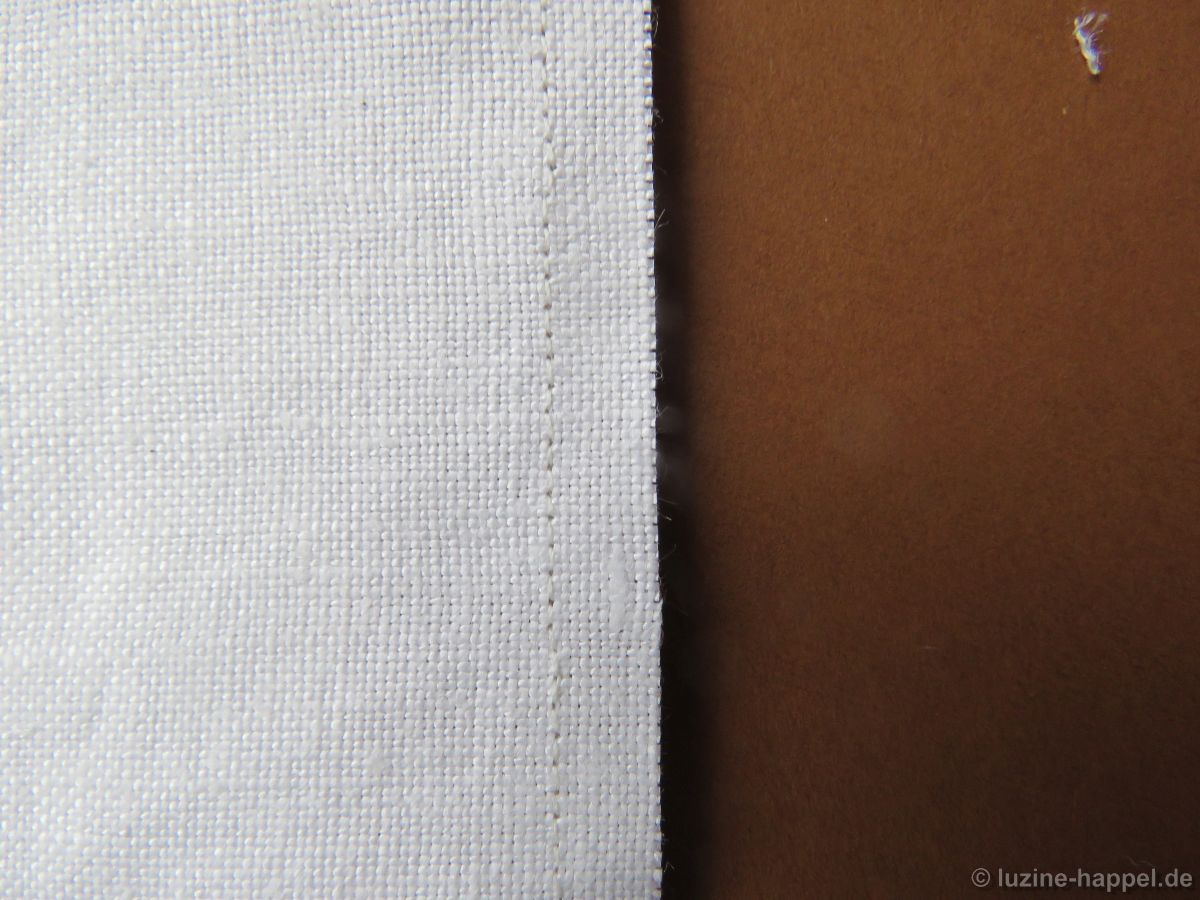
From the back it looks like this:
Now the back strip is folded over to conceal the seam allowances. The seam is smoothed out.
At the end, the back strip is attached to the existing machine stitches with fine hand stitches.
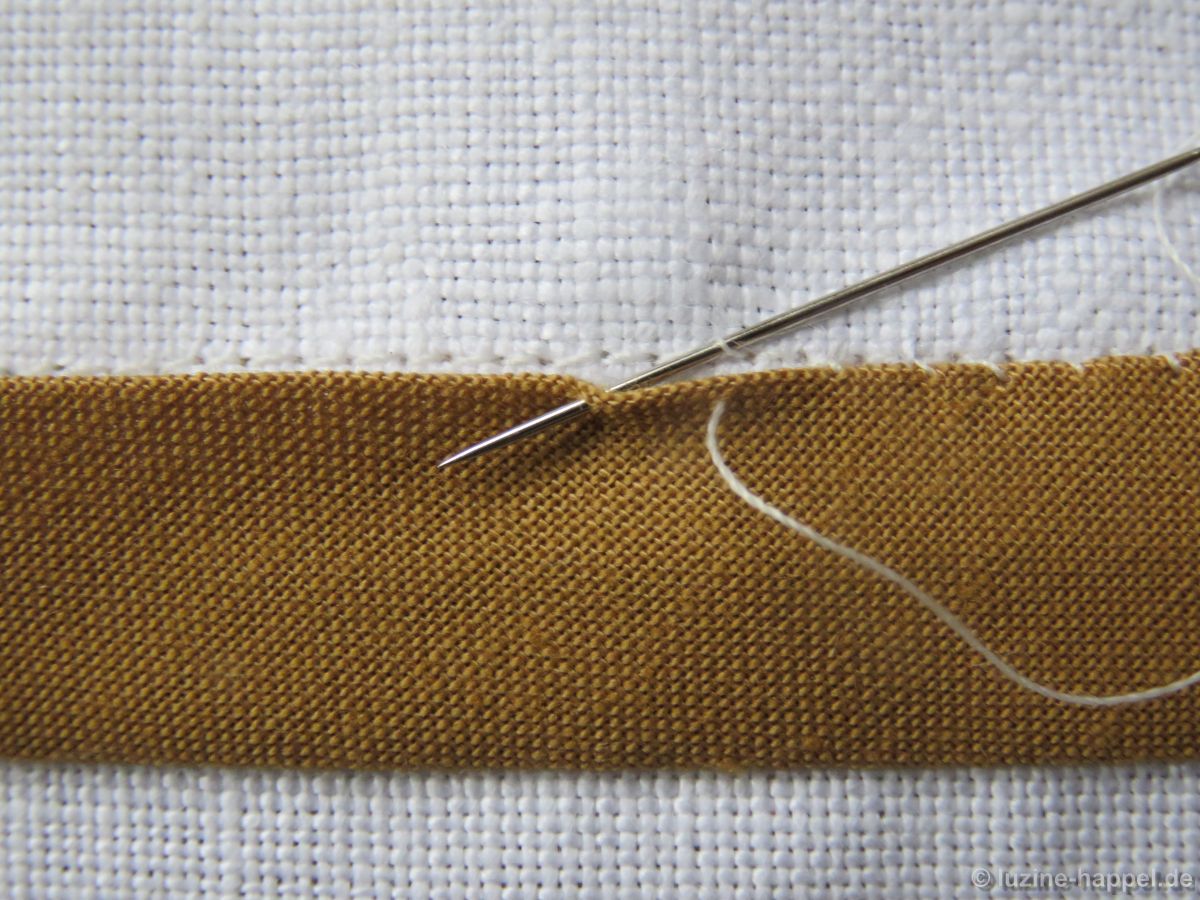
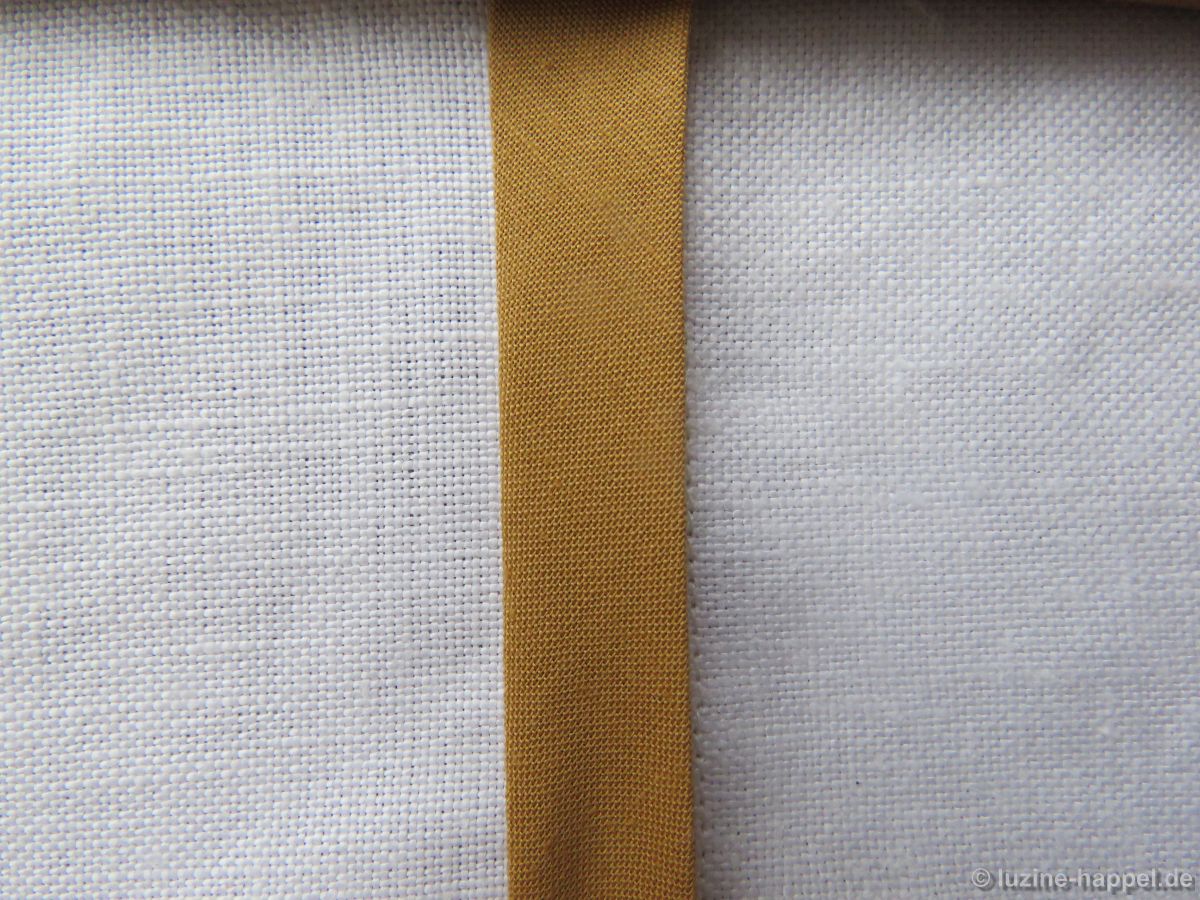
In this way a stable connection is established that does not affect the character of the embroidery – even allowing a view of the reverse side. This strip connection creates both a neat front
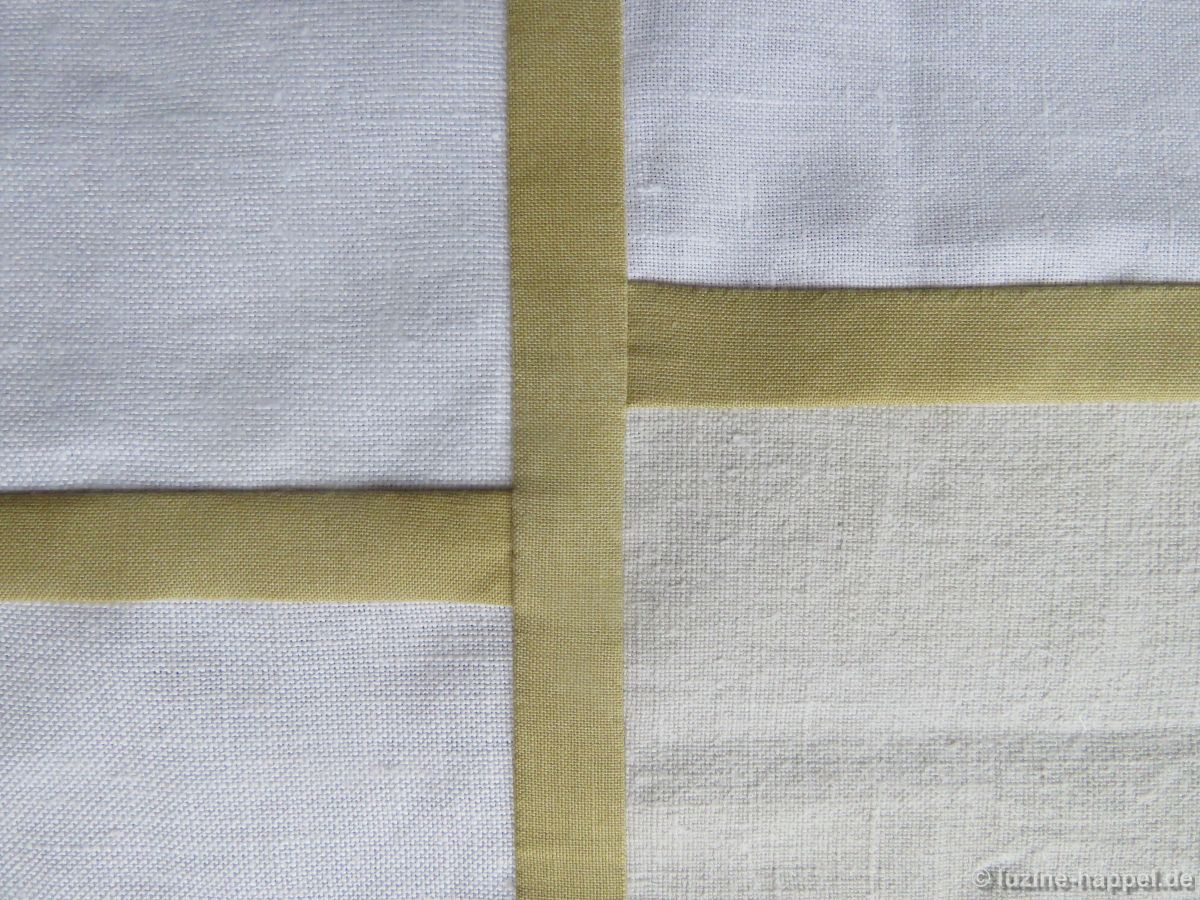
and a “clean” back.

The big advantages are that the pieces can be put edge to edge for puzzling out placement and one doesn’t have to worry about additional seam allowances.

This is an excellent solution and will look beautiful
Thank you, Heather,
I too think it is the best solution for this purpose and will look beautiful.