
Global Schwalm Sampler – Update (31)
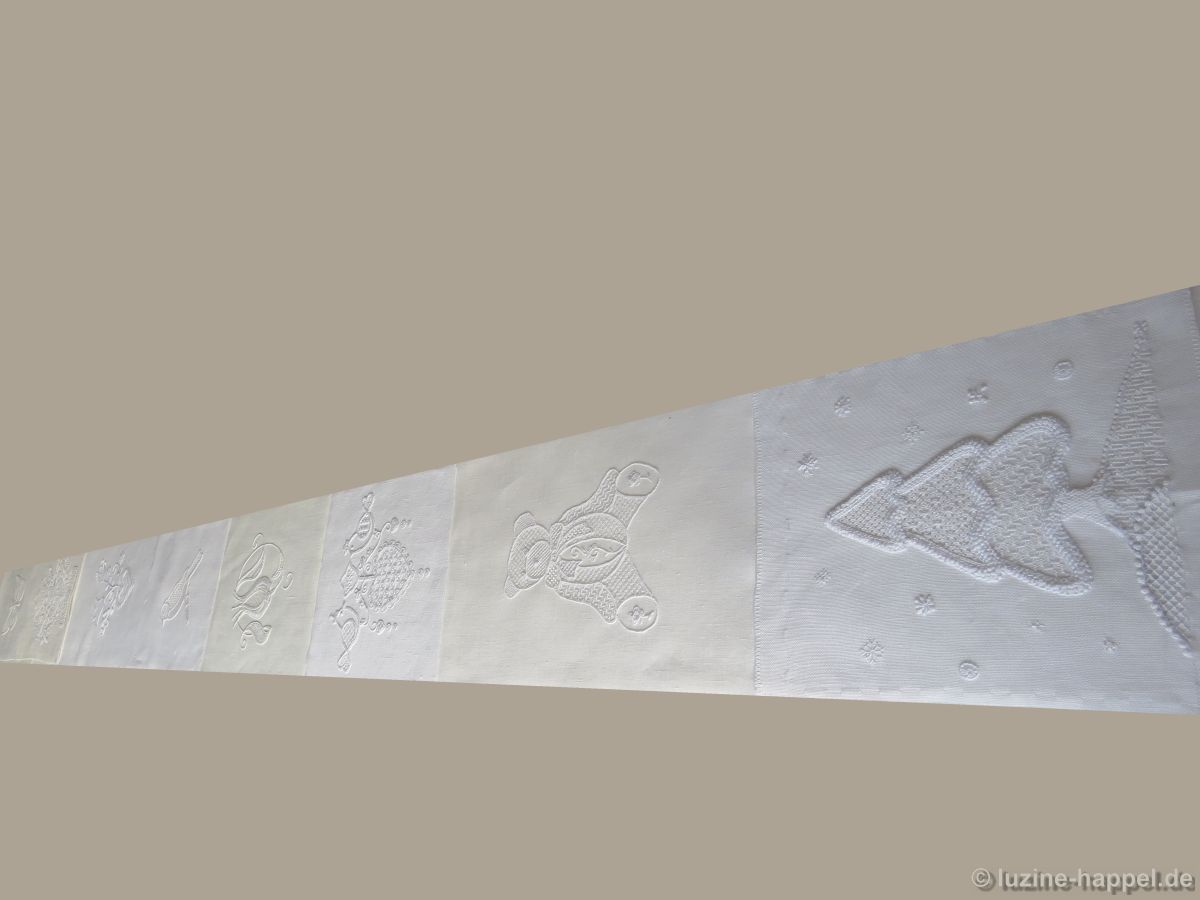
The composition of the new layout provides for a total of 10 columns of embroideries for a length of 1.90 m. As it stands, it will be possible to again arrange all 92 parts into a rectangle without gaps.

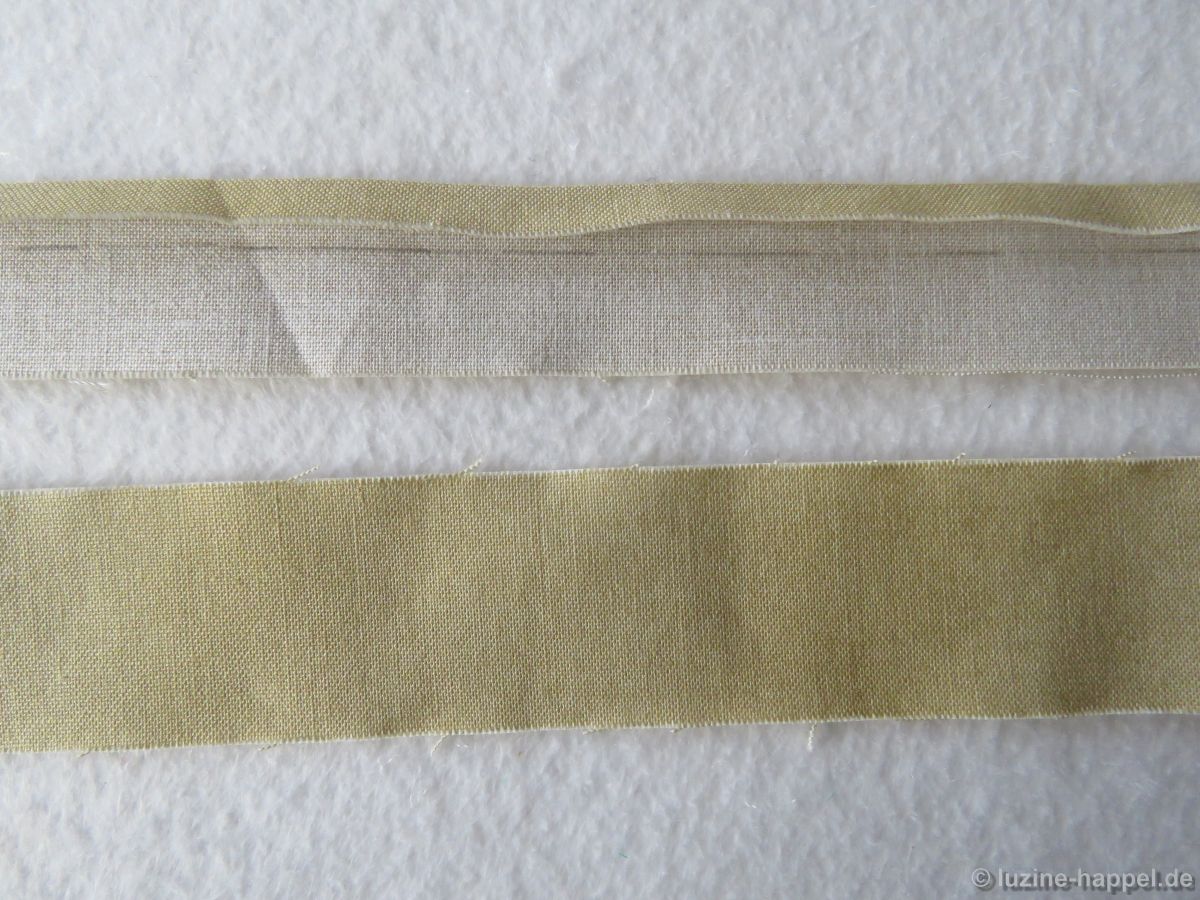
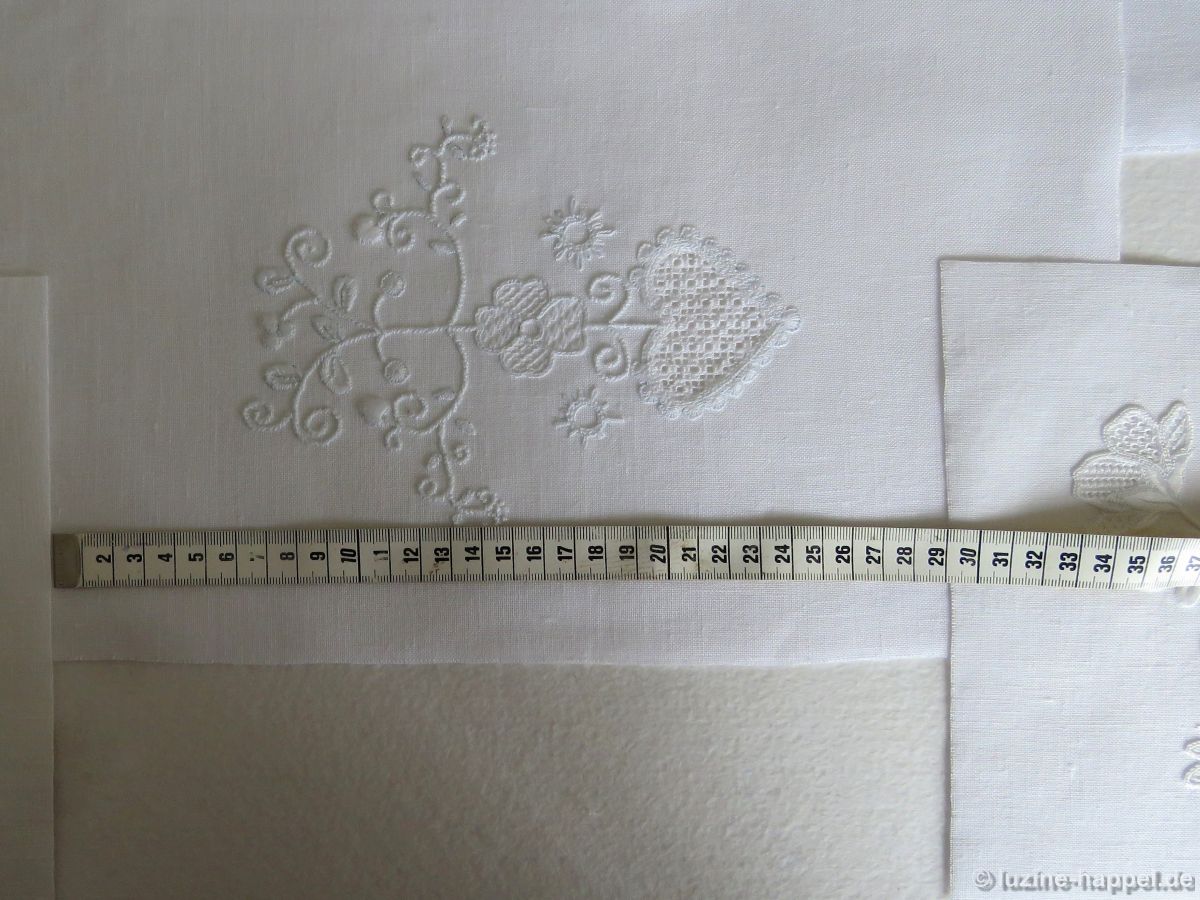
To prepare for the sewing work, the fabric for the connecting strips is briefly boiled in a large pot of clear water to shrink it to its final size. Shrinkage in the direction of the weft is at minimum approximately 3.77 %, in the direction of the warp there is nearly no shrinkage. (If I didn’t pre-treat the fabric in this way and the sampler were washed later, problems could arise.) After drying, it is cut into 3 cm wide strips.
Decisions, which can have far-reaching consequences for the success or failure of the sampler, must be made all the time. For example, some experts have given me different advice on how to cut the connecting strips. I tested both variants and opted for strips cut on the grain of the fabric. These are also slightly flexible, but not as stretchy as strips cut on the bias.
The strips for the backs are marked and receive an ironed fold.
The embroideries intended for one column are laid out.
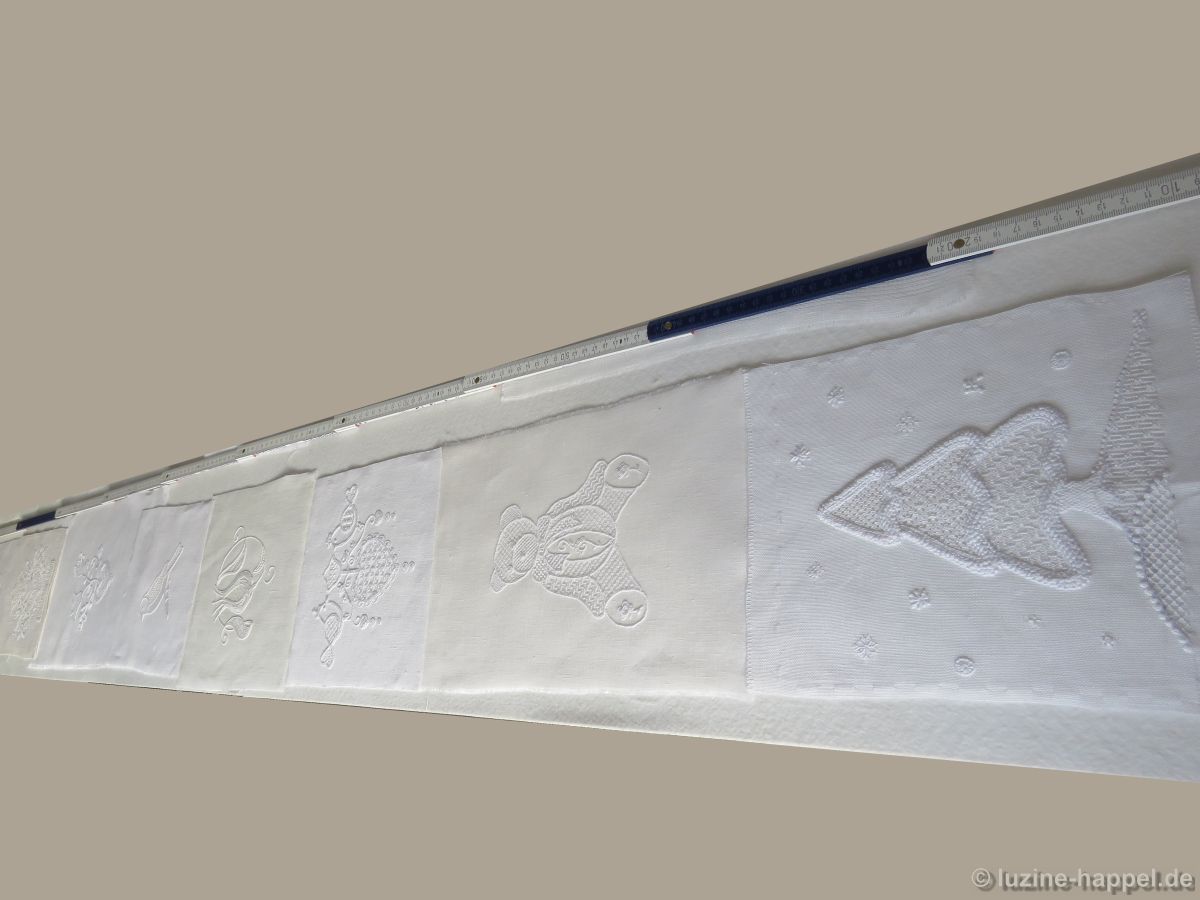
Oriented to the smallest piece in that column, all others are trimmed to the same width.
A rotary cutter removes any existing fringe.

Using scissors, larger fabric overhangs are cut off on the straight of grain.
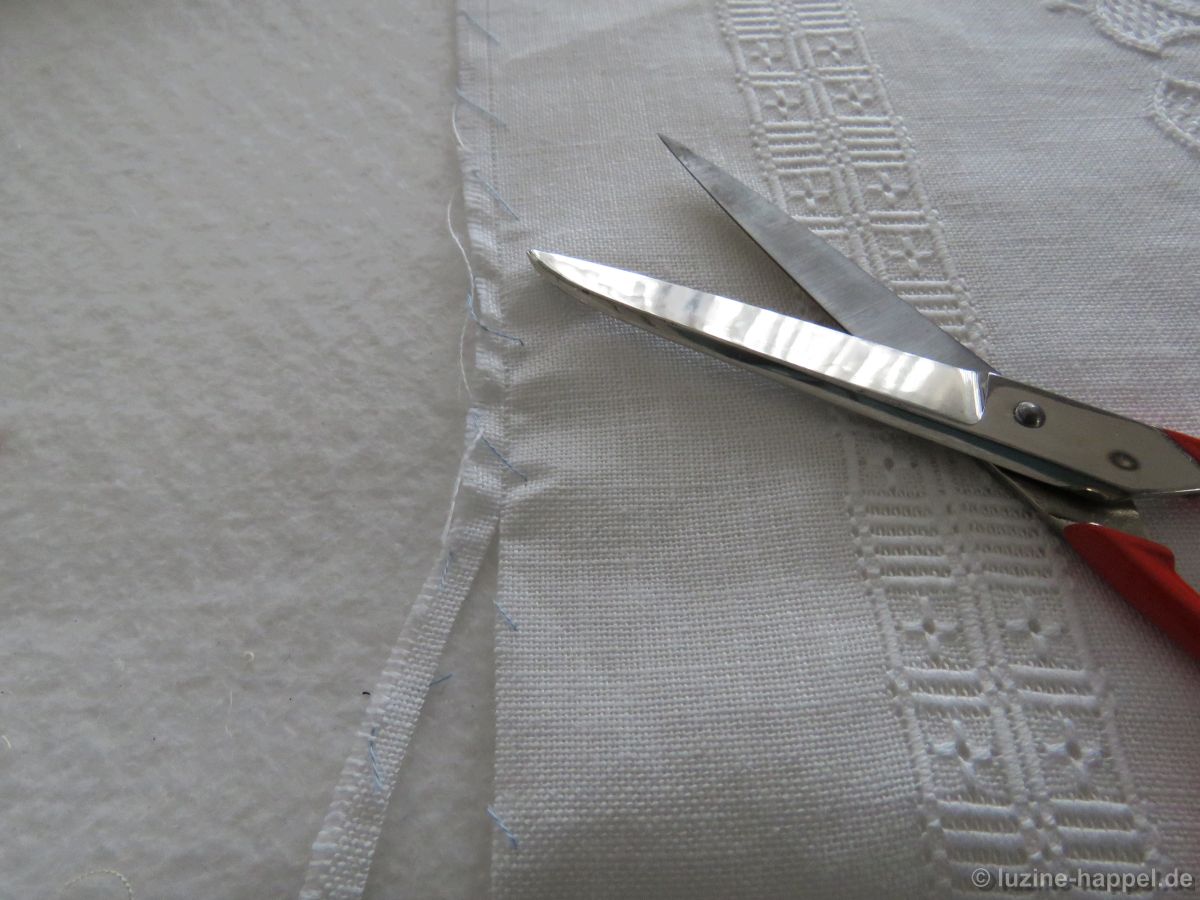
However, there are also pieces in which the embroidery has pulled the fabric too much together. If this cannot be rectified with careful ironing, such edges are straightened using the rotary cutter.

My tabletop was covered with a non-slip base that I had marked at a distance of 1.90 m.
I had to carefully consider from which contribution I can or must take away a small part in order to reach the desired height. This is how I work my way forward piece by piece. At the end, I work on the piece with the largest available balancing margin in order to be able to insert it precisely into the remaining gap.
Once the column is completed in the desired width and length, the order of the motifs is checked again. Later I will also consider how the horizontal connecting strips of the adjacent column line up. For the layout to be attractive, these should either line up exactly or with a clear gap. If everything is to my satisfaction, the sewing work begins.
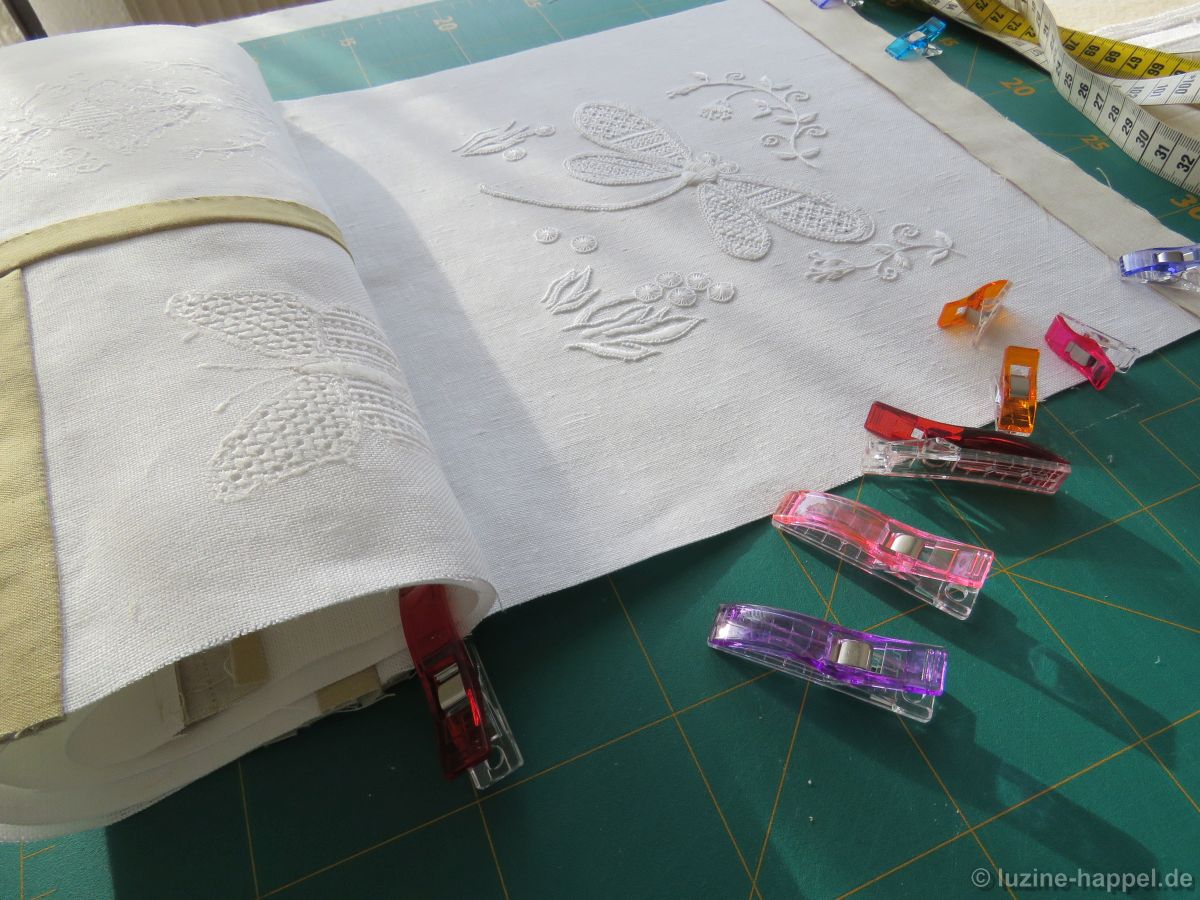
Instead of pins, I used small and large Wonder Clips to hold the sewn and rolled-up parts of the column. In this way, the fabric is easier to handle and creases can be largely avoided. And yet the iron is always at hand.
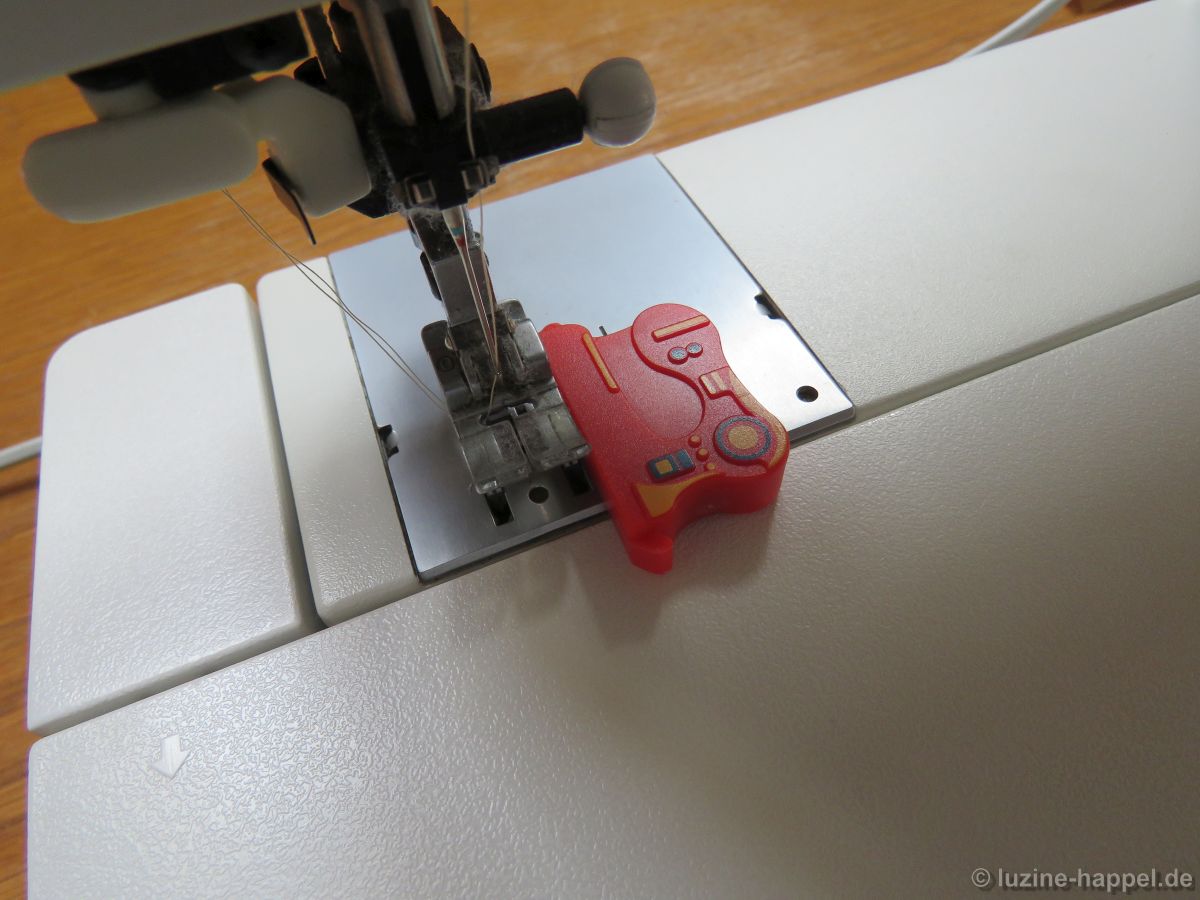
A magnetic seam guide has also served me well.
As a result, the seam allowances (when pressed toward the connecting strip) lie almost perfectly next to each other.

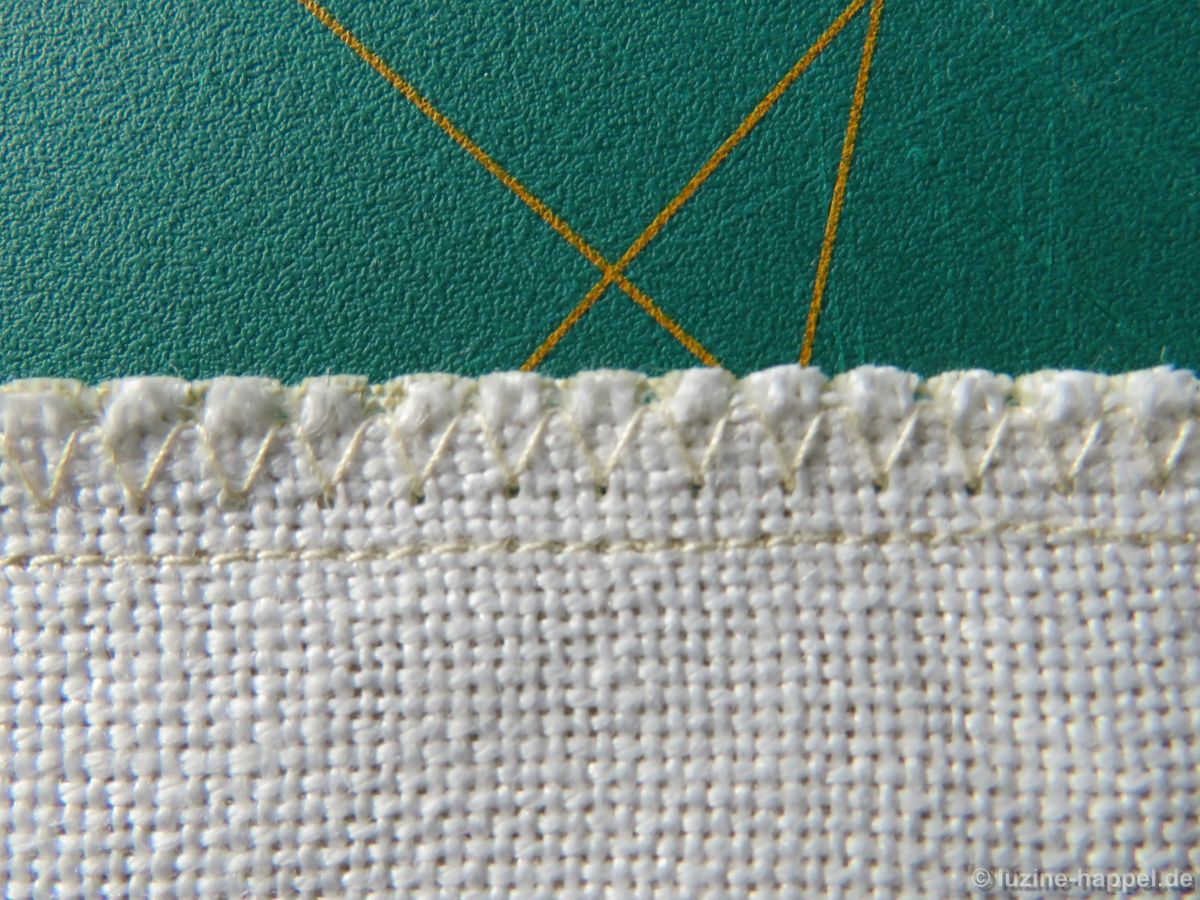
I sew with tiny stitches – stitch length 1.8. Coarse or loose fabrics are additionally secured with zigzag stitches that join it again to the connecting strip.
(After a nightmare of seeing the linen fabric pulling away from the seam, I can attest to the construction’s tear resistance – the selected method is absolutely firm and can only be damaged by raw force!)
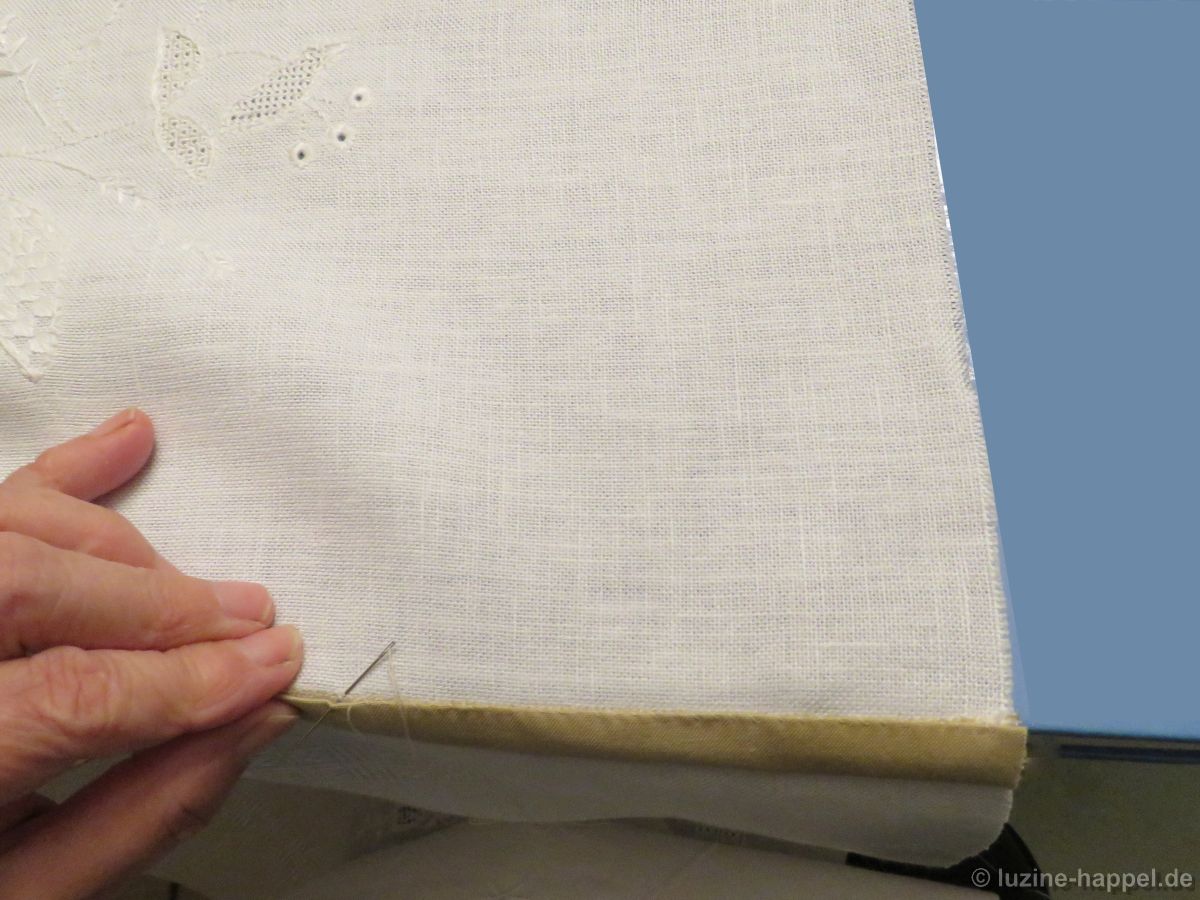
In order to crease the fabric as little as possible, I work the hand-sewn seam at the edge of the table.
This is made more tedious because the small sewing machine stitches to which I want to attach the connecting strip are often sunk deep between the fabric threads.

To spare my back, I put a thick book on the edge of the table to lift the work up a little.
After 8 hours of concentrated work, the first column was finally completed – the result was to my satisfaction!

I cleared one week’s obligations from my calendar and asked my dear fellow human beings to let me work undisturbed. I had hoped that I would be able to completely sew the inner part of the sampler in that period of time. But now I don’t think that’s going to be enough time.
To be sure, at first I was anxious, hesitant, cramped, and also a little too squeamish to start this work. I measured everything ten times because under no circumstances could there be a mistake in cutting. Pieces were minimally moved, and seams were ripped out when they were not 100% straight.
Now I’m a bit more relaxed and the work will be easier. But the finished column was a simple and narrow one. Wider columns with more complicated divisions will follow.
I will continue to report.

Leave a Reply