
Filling Pattern – No. 555
category: Limet-Filling pattern
linen used: 13.5/cm thread count
threads used: coton à broder No. 20
stitches used: Diagonal Four-Sided stitches
center: intersection of withdrawn thread lines (in other shapes or motifs: longitudinal axis = withdrawn thread line)
one pattern segment = 8 threads
While embroidering the filling pattern No. 554, I got the idea to create a pattern using diagonal Four-Sided stitches only – one more pattern for smaller shapes.
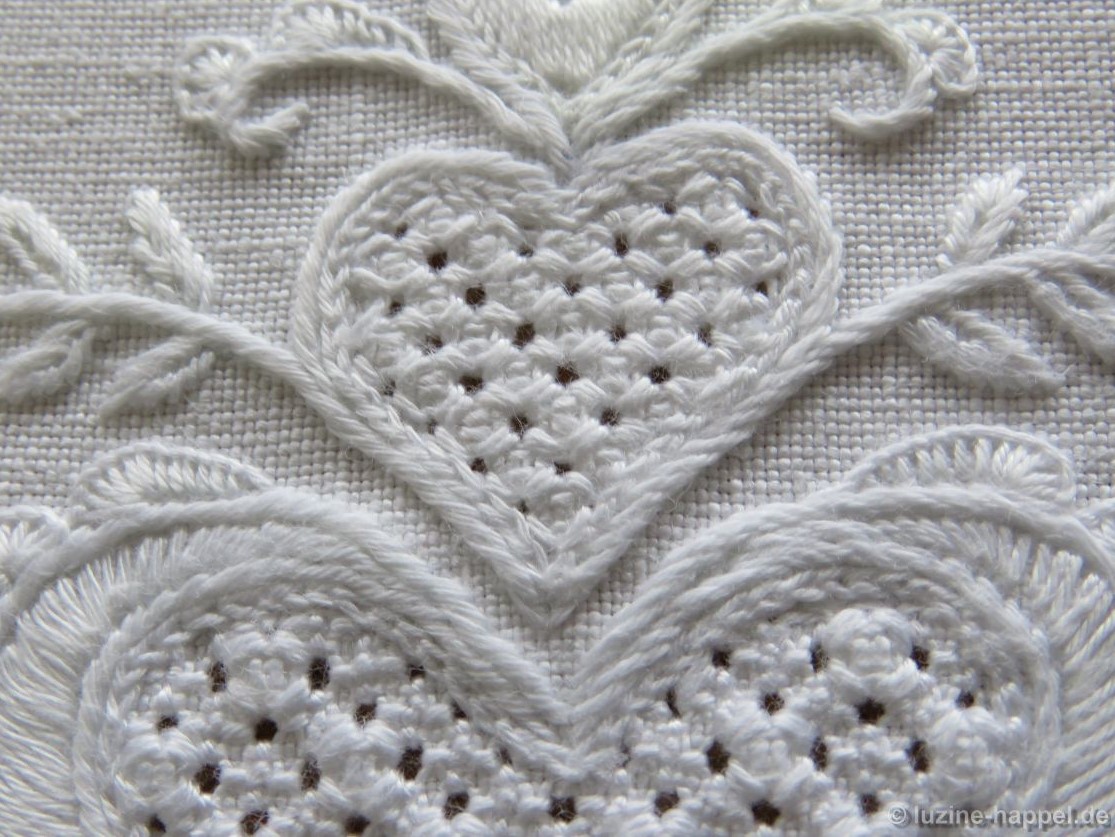
The filling pattern shown here is a practice exercise only. You can see it used in a shape at the end of this article.
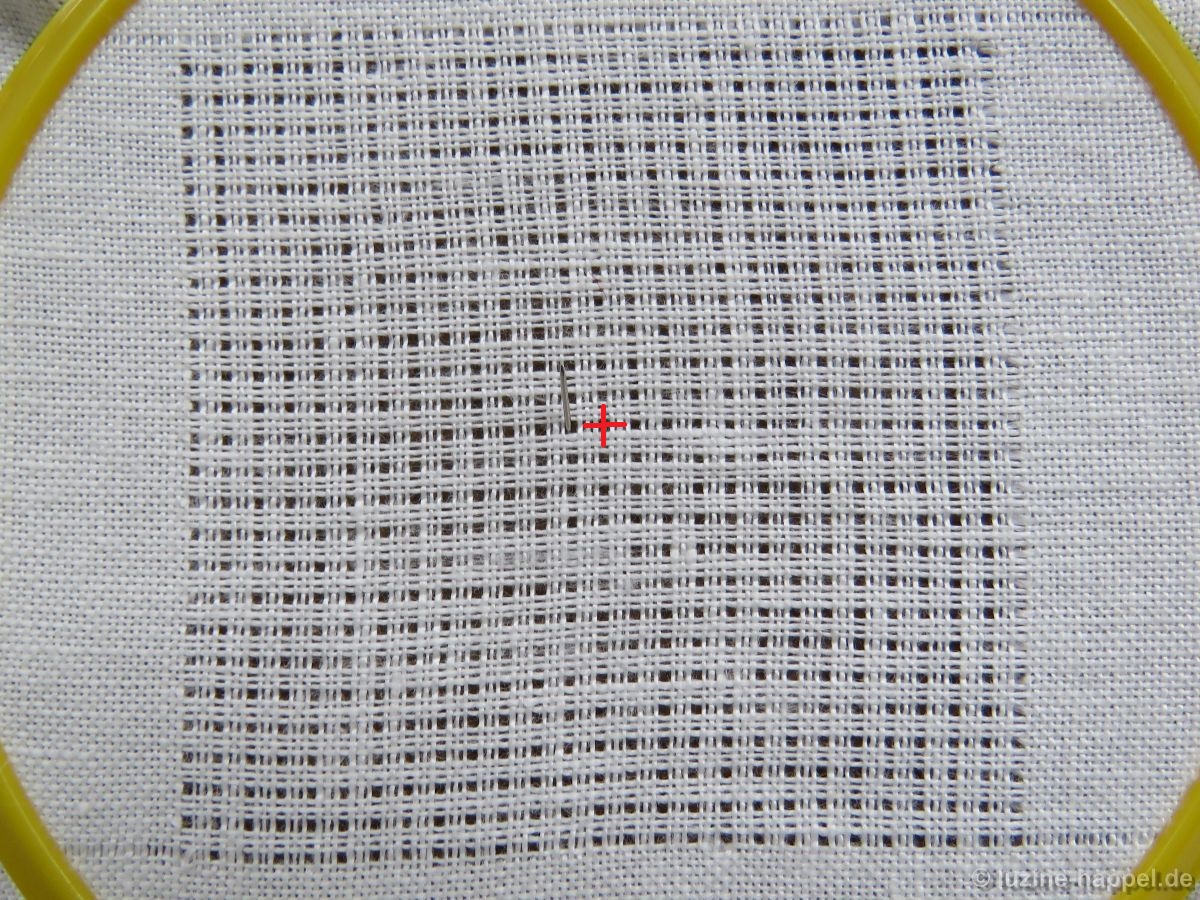
First, establish a Limet grid with an intersection of withdrawn thread lines at the center by alternately cutting 1, leaving 3, vertically and horizontally.
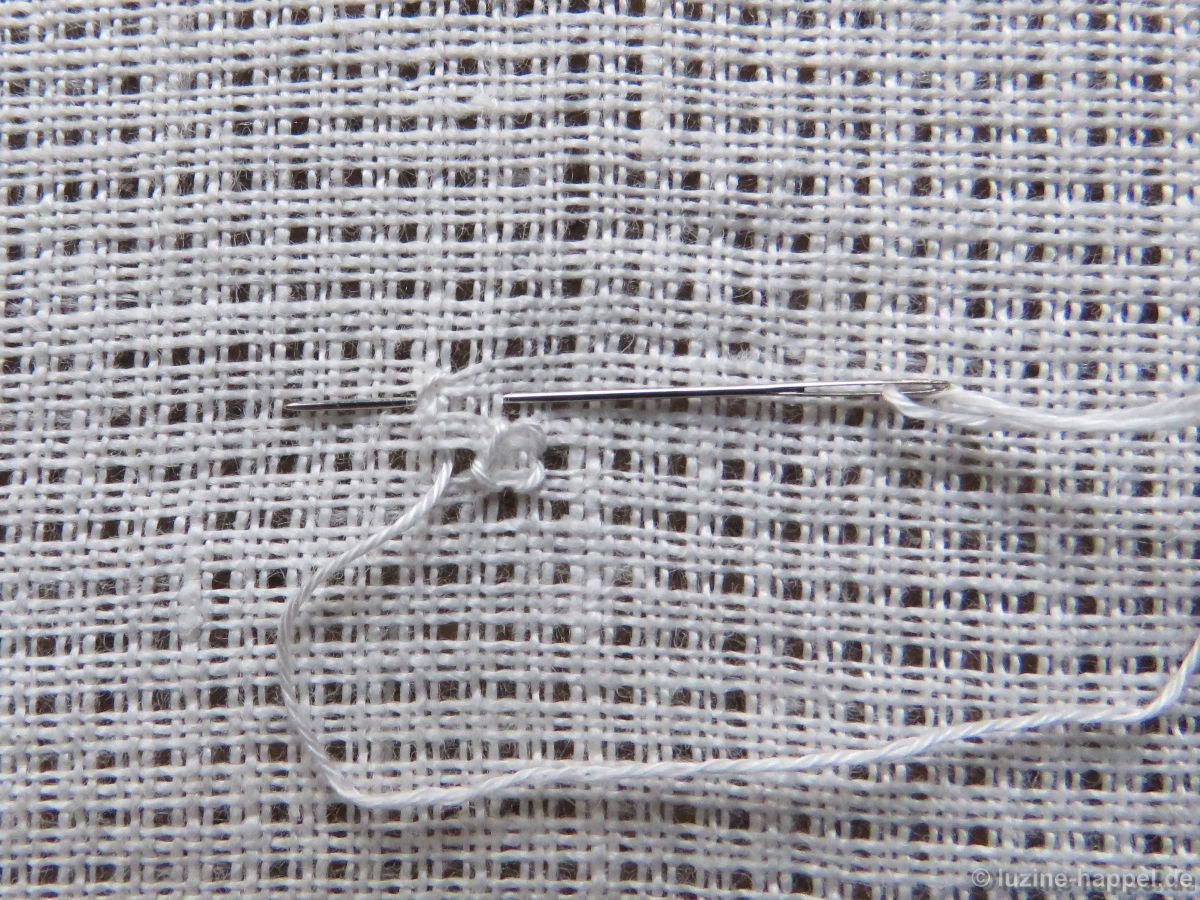
Mark the center point. Bring the needle up in the next hole left of the center. From there start to work a Four-Sided stitch in a diagonal row – as a rhombus around the center point.
Therefore, *travel one square diagonally right up, insert the needle and bring it up again two squares downward.
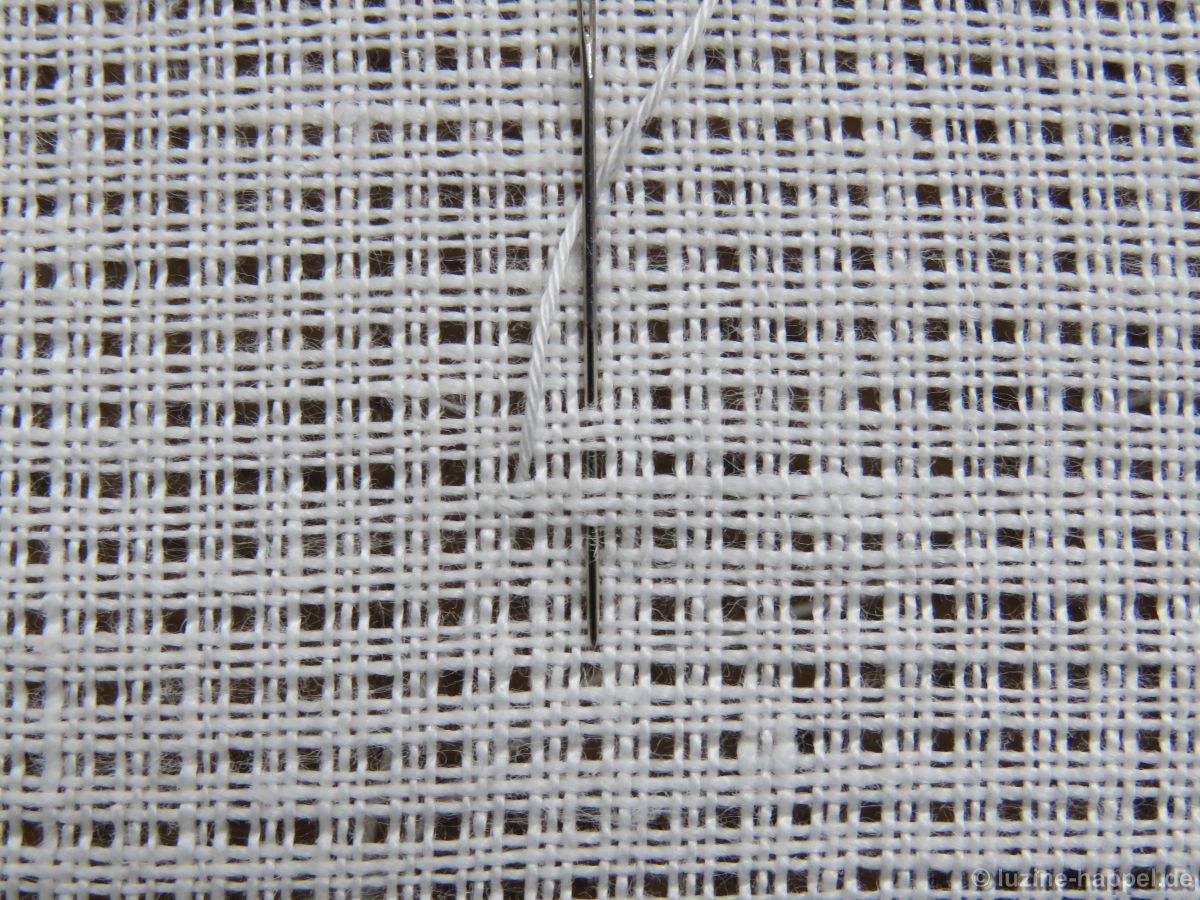
Travel one square diagonally right up, insert the needle and bring it up again two squares to the left.

Travel one square diagonally right down, insert the needle and bring it up again two squares upward.
Travel one square diagonally right down and insert the needle.
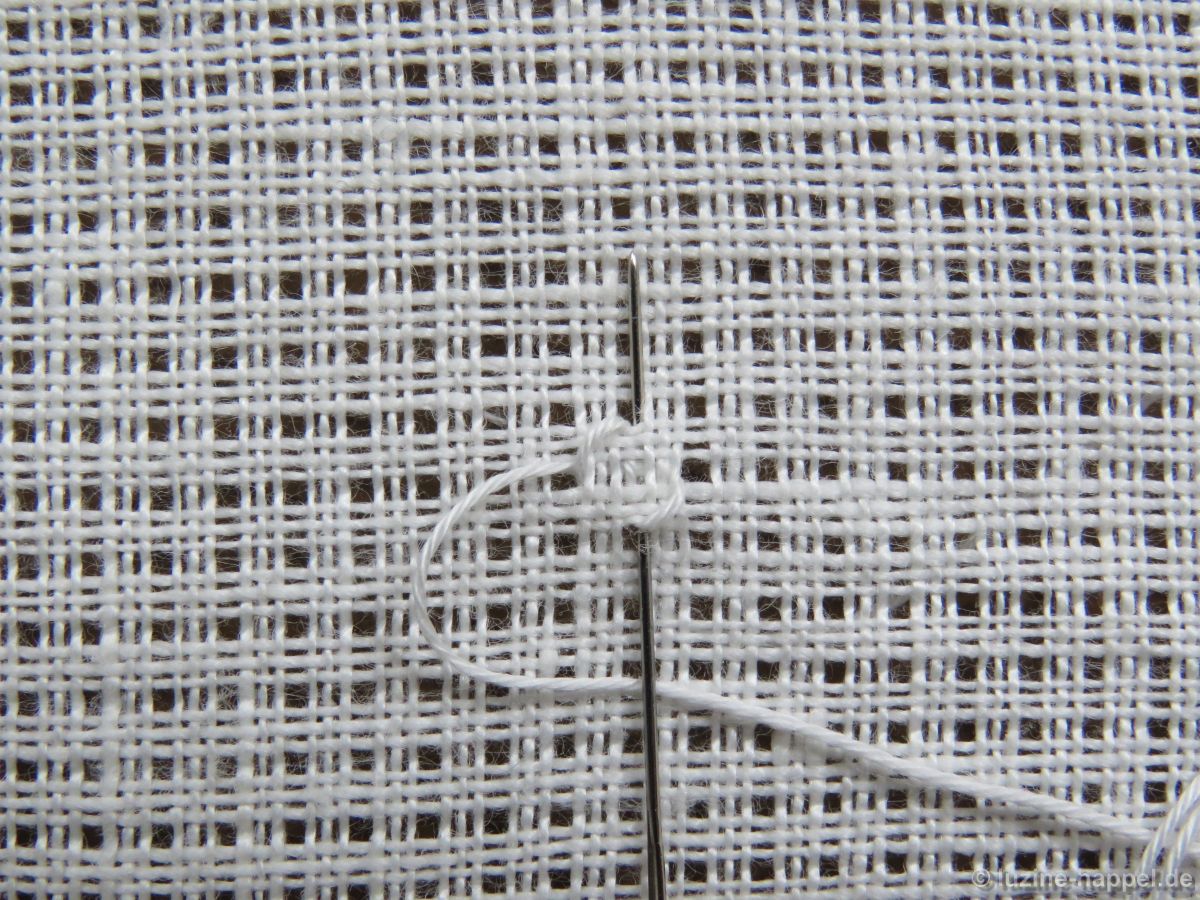
In this way and always tightening the working thread, a prominent stitch sequence is established.
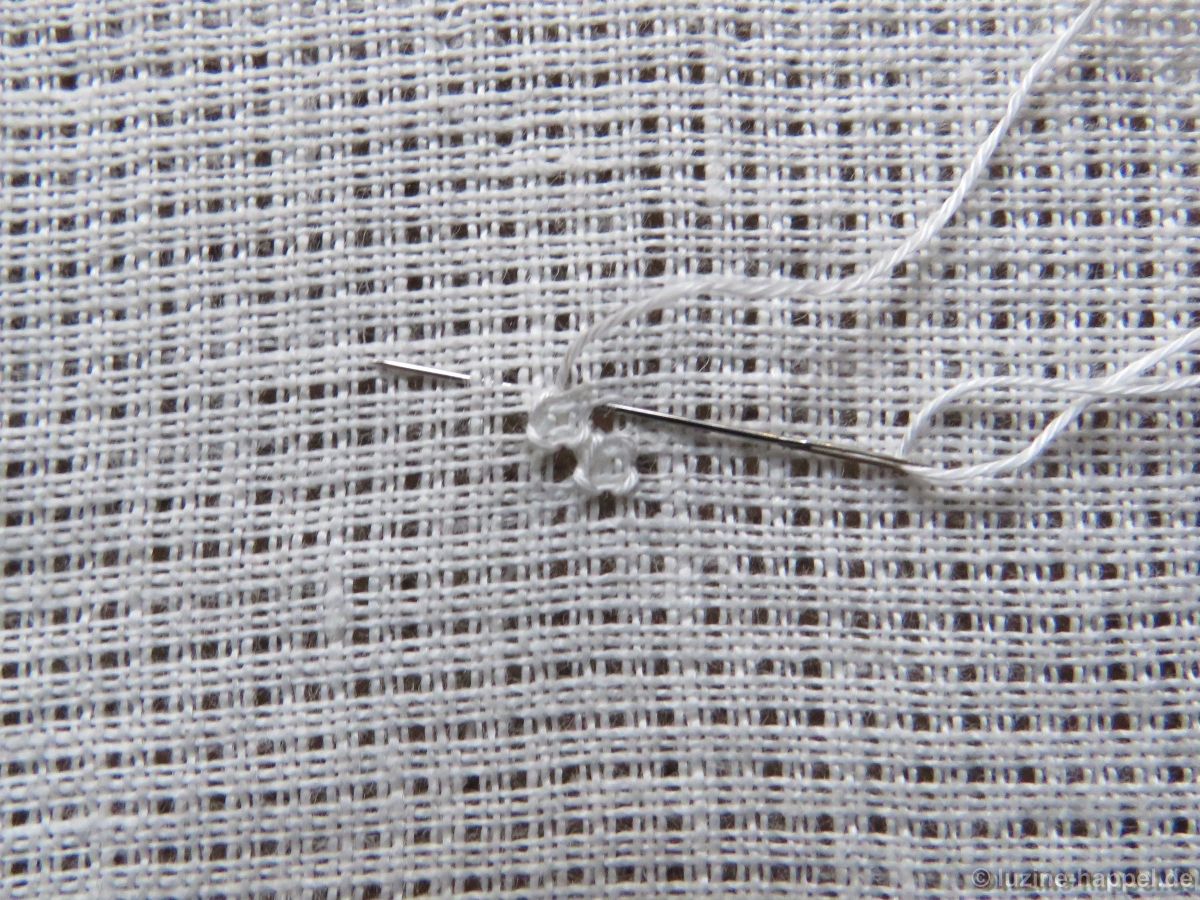
This time it is not necessary to work the Four-Sided stitch twice. By working these stitches side by side to the next, in the end all four sides of the stitch will be doubled.
So, after the fourth stitch, insert the needle and bring it up one square up and three squares to the left to work from there the next diagonal Four-Sided stitch in the established way.

So that the holes keep well defined and open, please make sure to catch all the working threads on the back with the stitches.


Work diagonal Four-Sided stitches up to the end of the row.
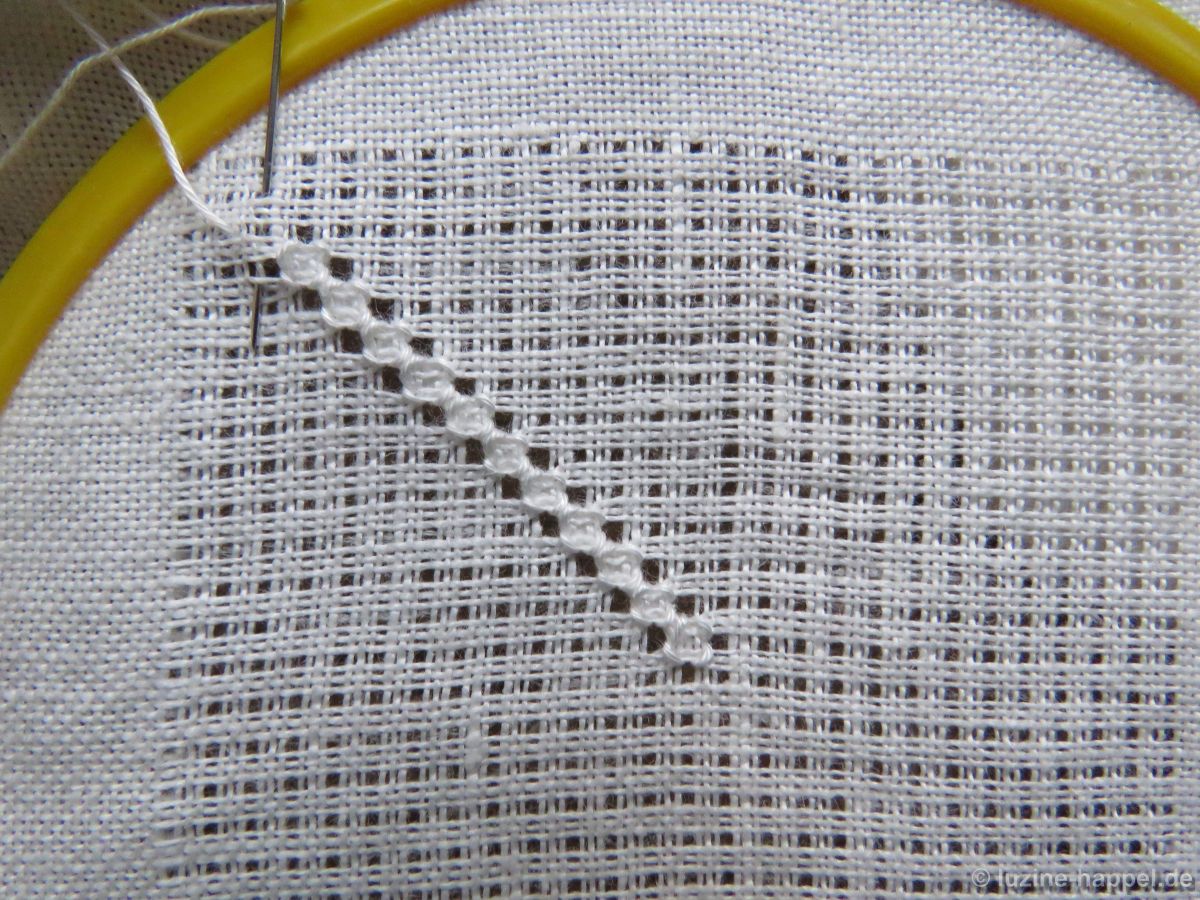
Try to always keep the same tension to establish an even structure throughout the entire pattern.
Turn the piece and then work a next row of diagonal Four-Sided stitches beside.

Work row beside row until the entire shape is filled. Make sure that you always turn the work so that the rows are oriented from bottom right to top left.
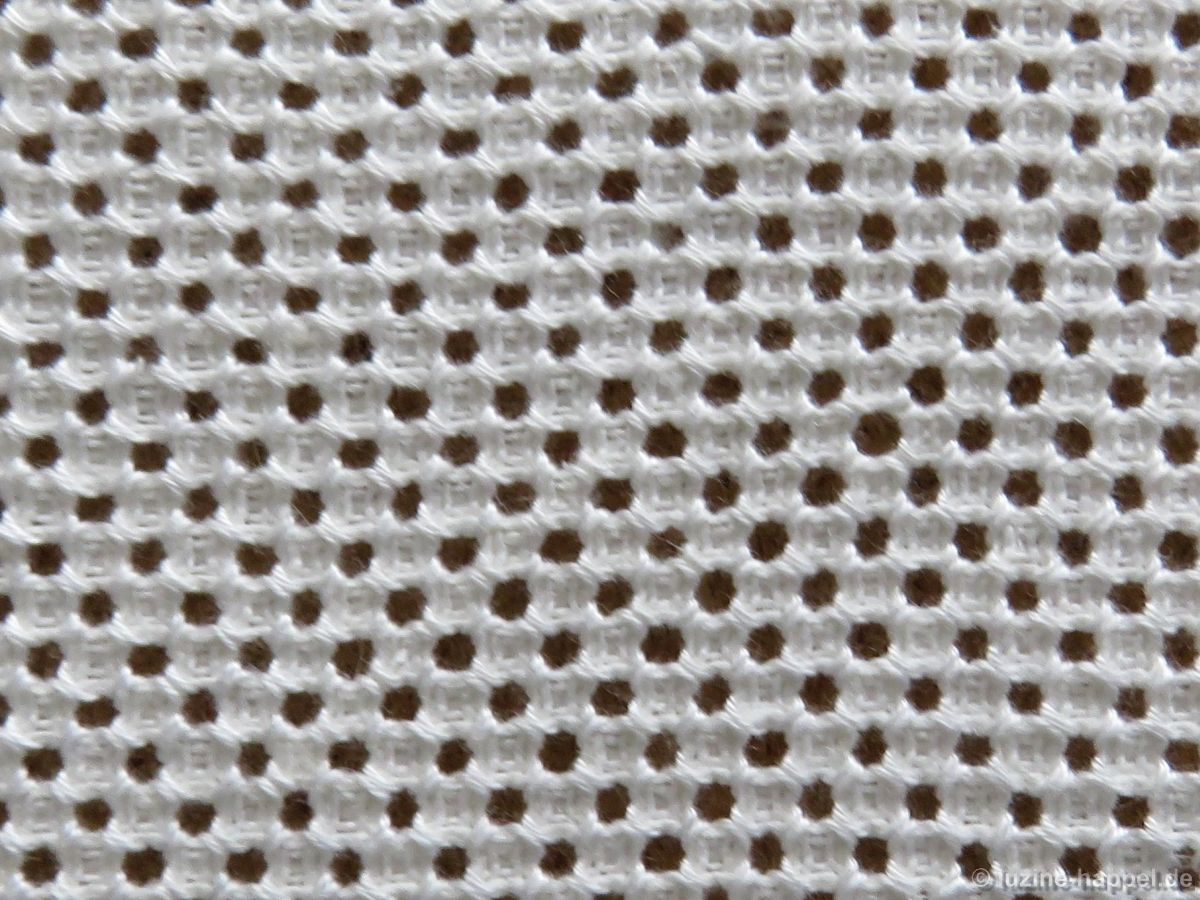
Once the entire shape is filled, a pattern is created which, viewing from the top, looks similar to other patterns with same sized segments.
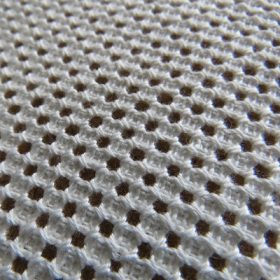
But the side view shows another structure.
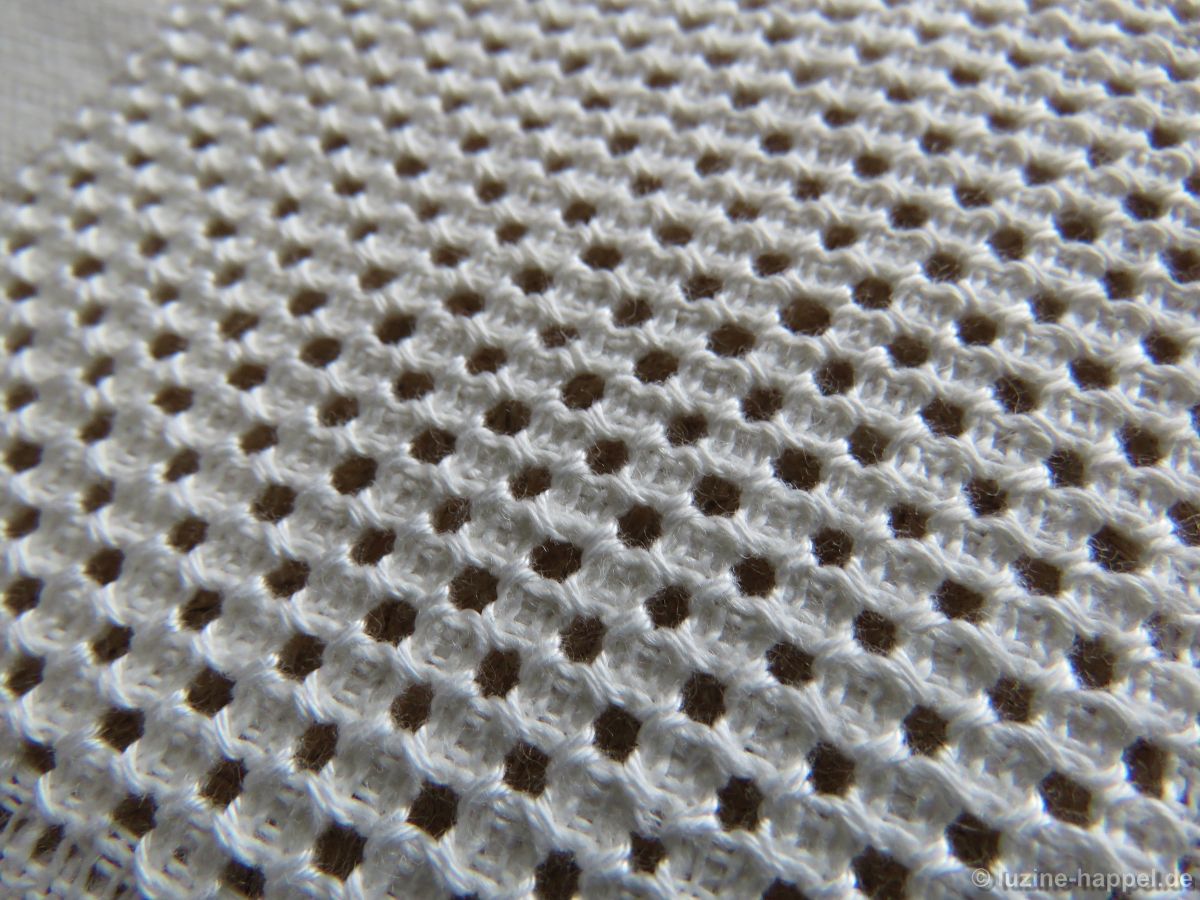
After boiling and ironing the pattern develops its full charm.

Merci Luzine pour votre magnifique travail..C’est du bonheur de vous lire à chaque fois…
Danke Luzine für deine wundervolle Arbeit … Es ist jedes Mal eine Freude, die Blogpost zu lesen …
Thank you Luzine for your wonderful work … It is a pleasure to read you every time …
Merci pour ce magnifique motif que je fais faire en échantillon et merci aussi pour les explications si claires et détaillées
Thank you for this beautiful pattern that I have made as a sample and thank you also for the clear and detailed explanations
Vielen Dank für dieses schöne Muster, das ich als Probe angefertigt habe und danke auch für die klaren und ausführlichen Erklärungen