
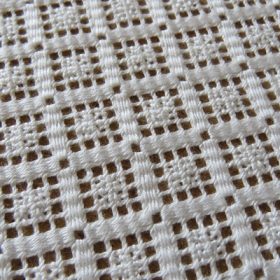
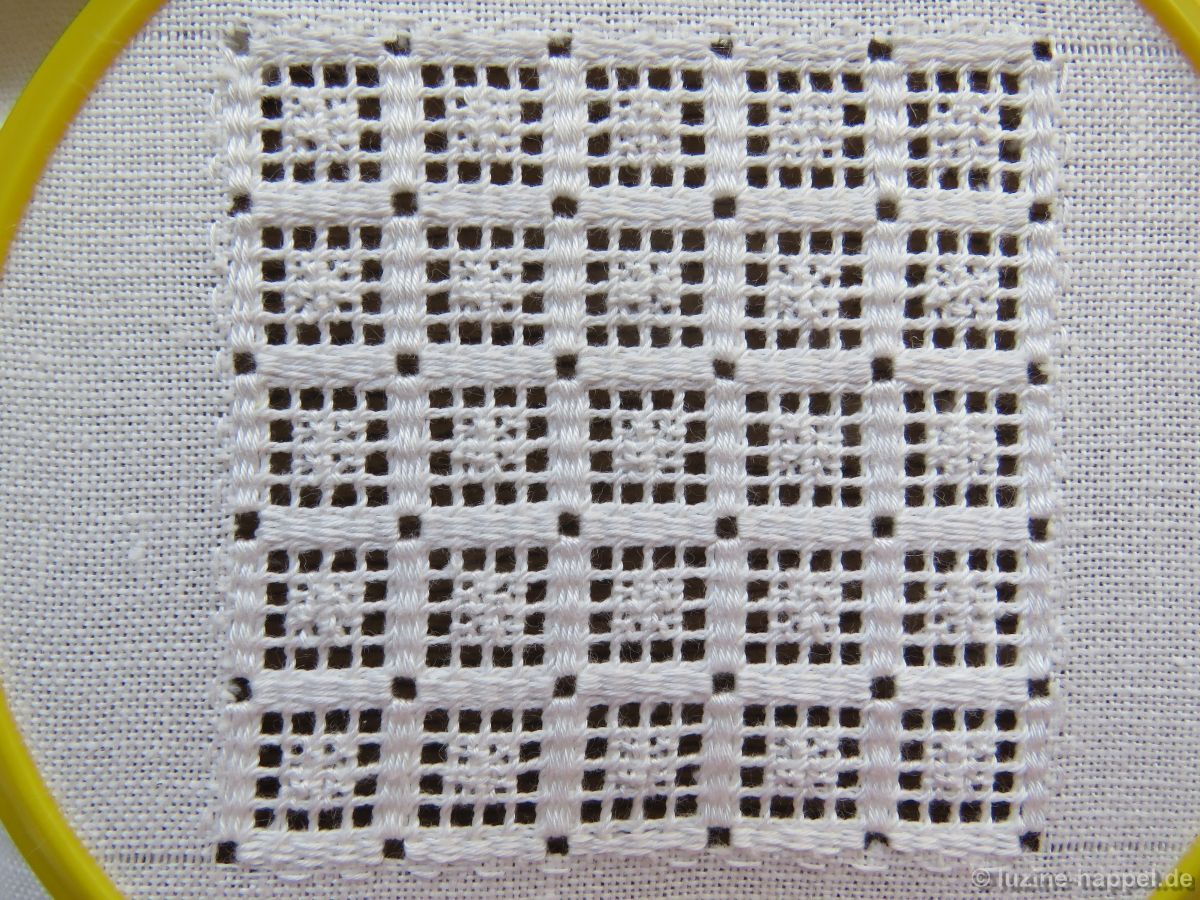
Filling Pattern – No. 557
category: openwork filling pattern with Cable stitch grid
linen used: 13.5/cm thread count
threads used: coton à broder No. 30 for the Cable stitches and No. 20 for the Needle-weaving and the Rose stitches
stitches used: Needle-weaving and Rose stitches
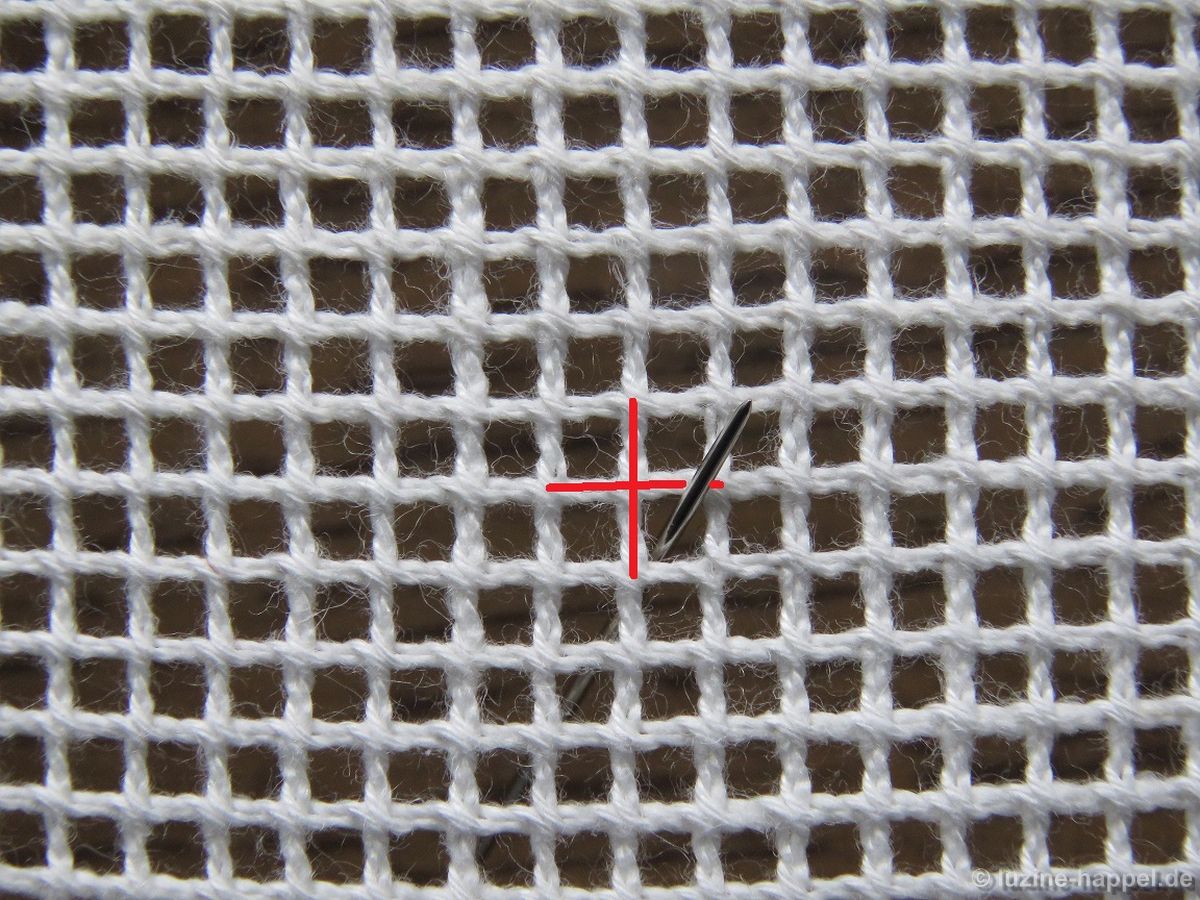
center: intersection of pairs of fabric threads
one pattern segment: 20 threads
The filling pattern shown here is a practice exercise only. You can see it used in a shape at the end of this article.
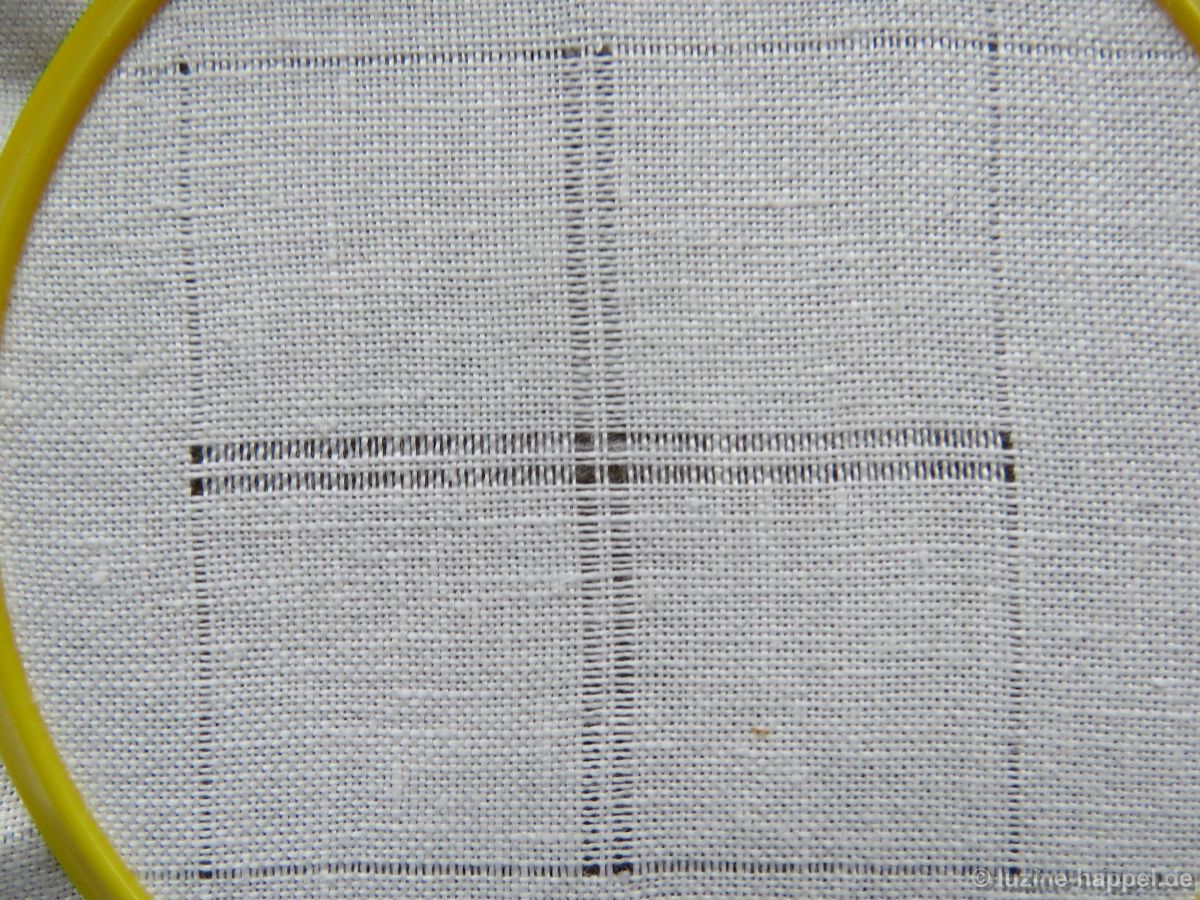
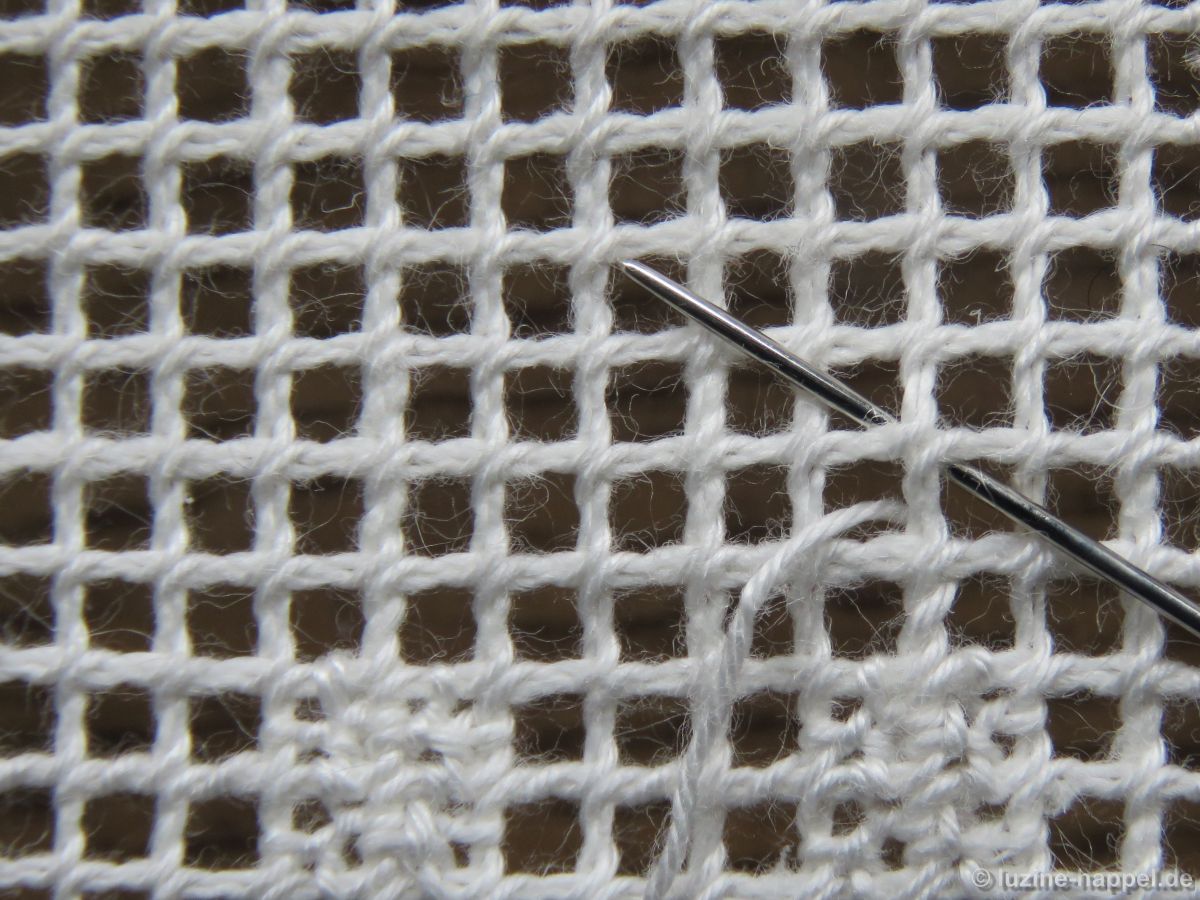
First, establish an openwork grid with an intersection of pairs of threads in the center by cutting 2, leaving 2 both vertically and horizontally.

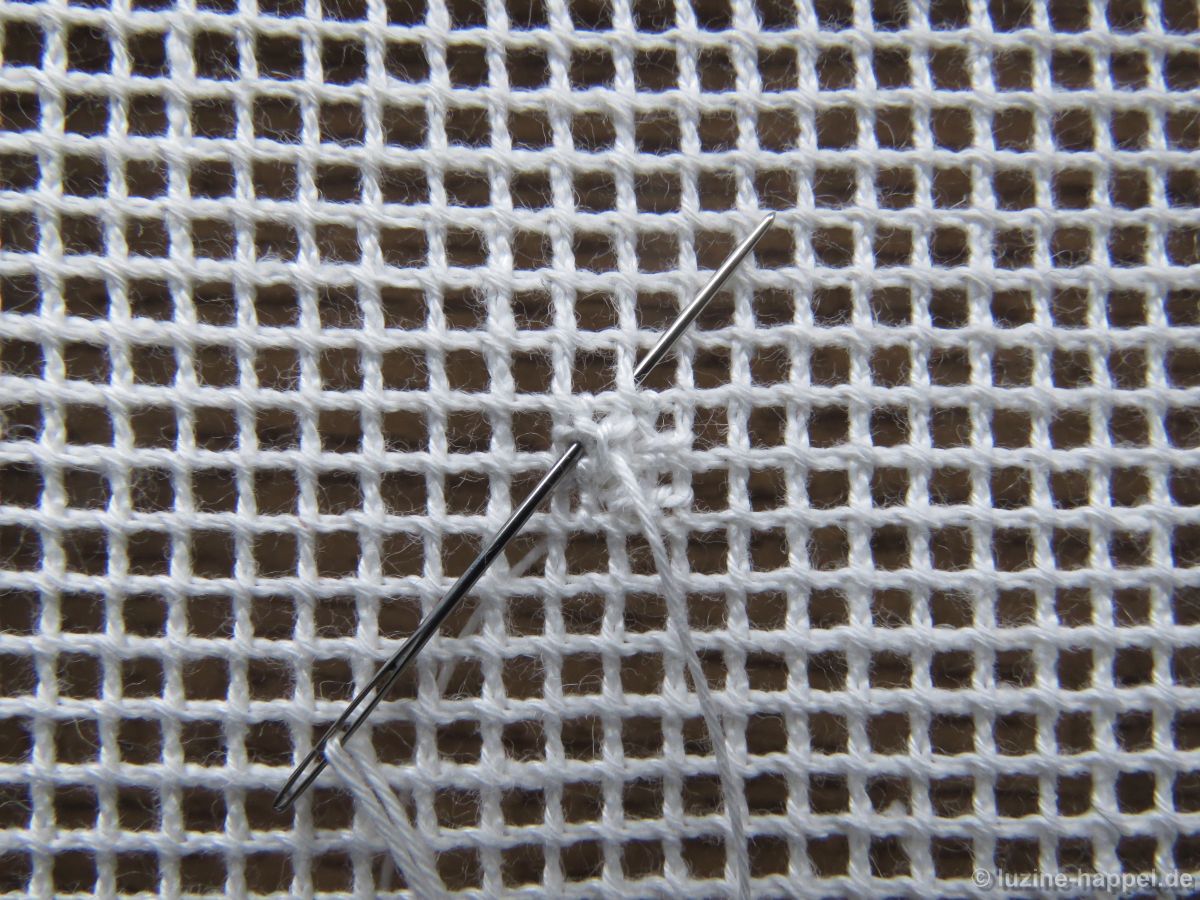
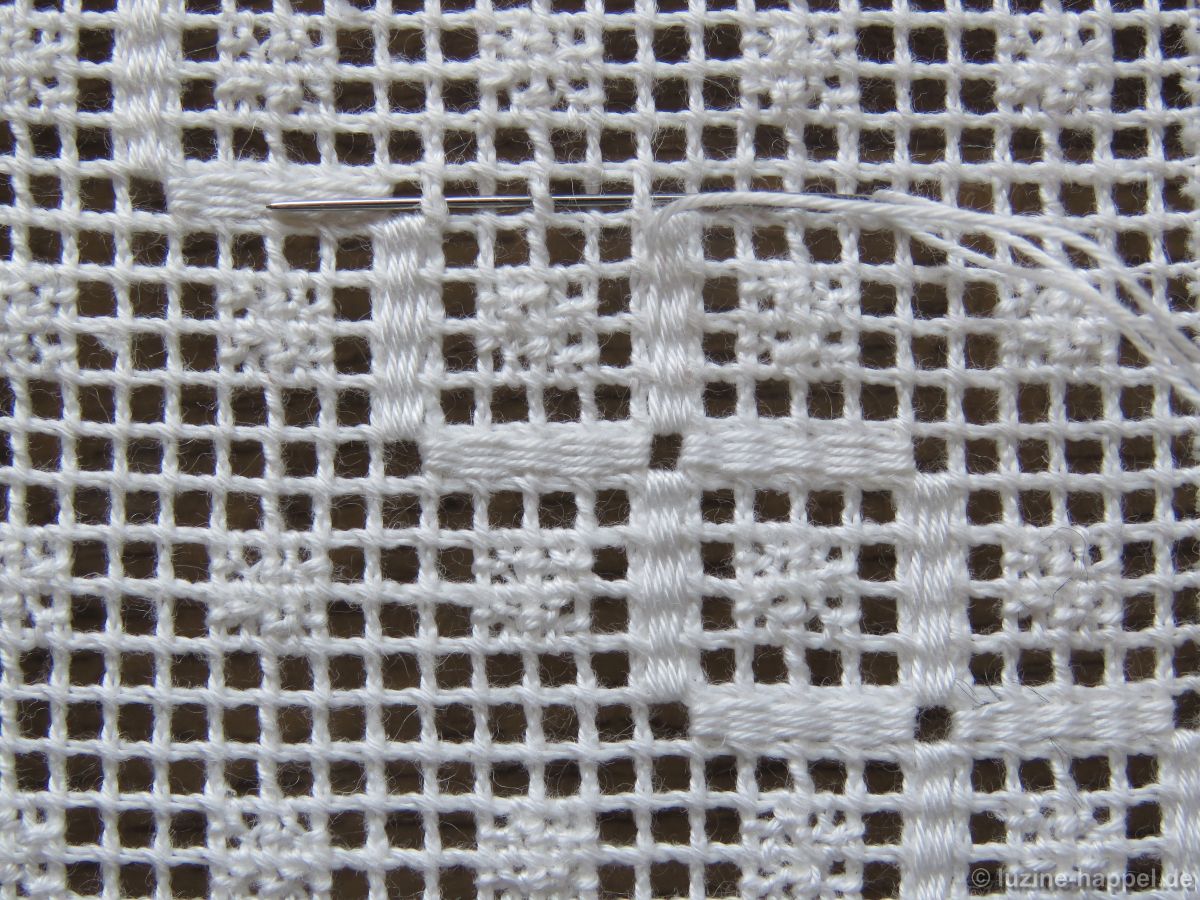
Stabilize the established grid with Single Faggot stitches worked from the back side of the fabric. Please remember that Single Faggot stitch worked on the back side will look like Cable stitch viewed from the front.
It is best to start by working with the Rose stitches. This makes traveling from one pattern area to the next easier.
So, work a square of 2 X 2 Rose stitches around the center intersection – best to start on the bottom right,
continuing top right,

bottom left,

and top left.
From there you move on to the next pattern area – a square of 2 X 2 Rose stitches above the first and with a distance of three empty squares between. Traveling is done by wrapping around the bundled fabric threads. So that they are nearly invisible, the wrapping stitches should run in the same direction as the Cable stitches. So, keeping this in mind, after completing the square of Rose stitches, bring the needle up either in the top right square or in the top left square to wrap once around the bundled fabric threads each square
to bring the needle up the fourth square on the top right to start the next square of 2 X 2 Rose stitches in the established way.

Work a next row of 2 X 2 Rose stitch squares with a distance of three empty squares between beside.
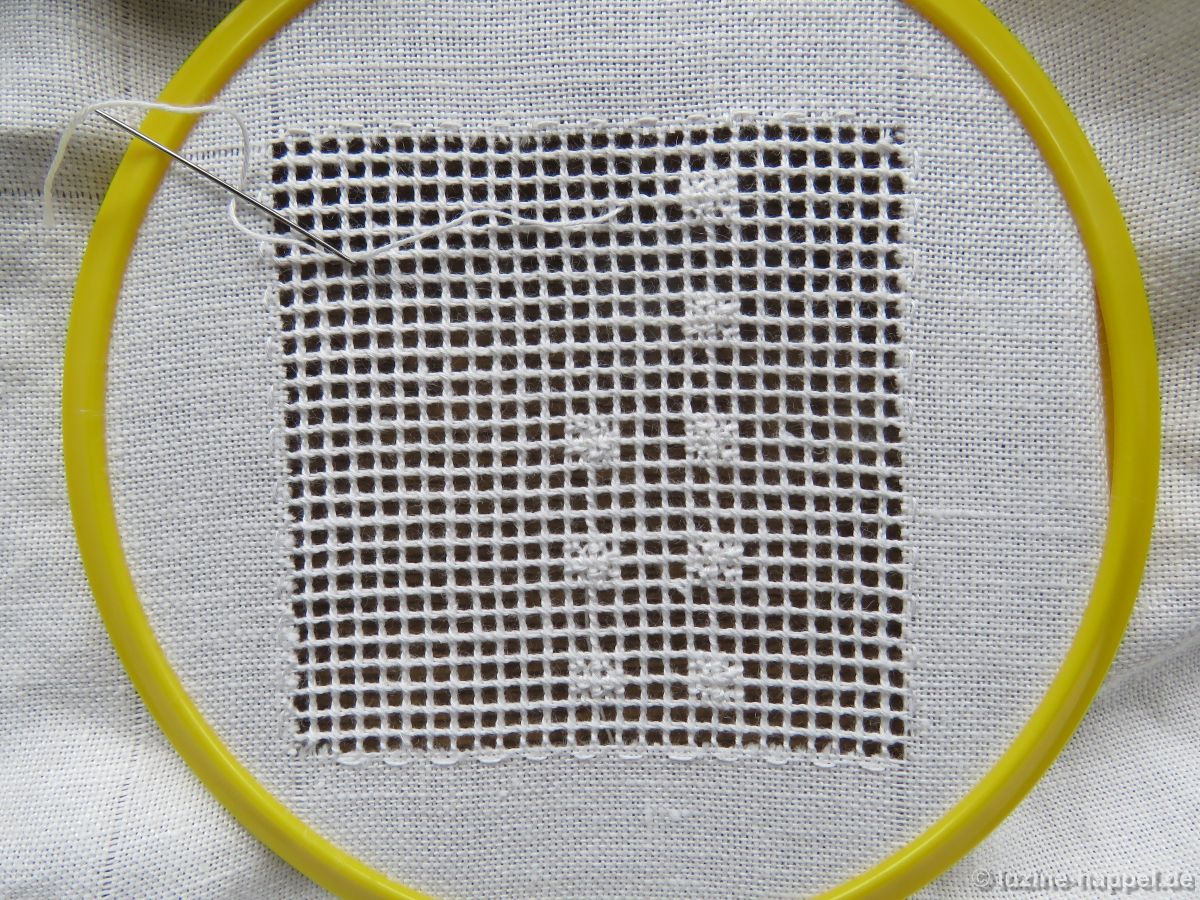
Continue working in the same way, until the entire shape is filled.

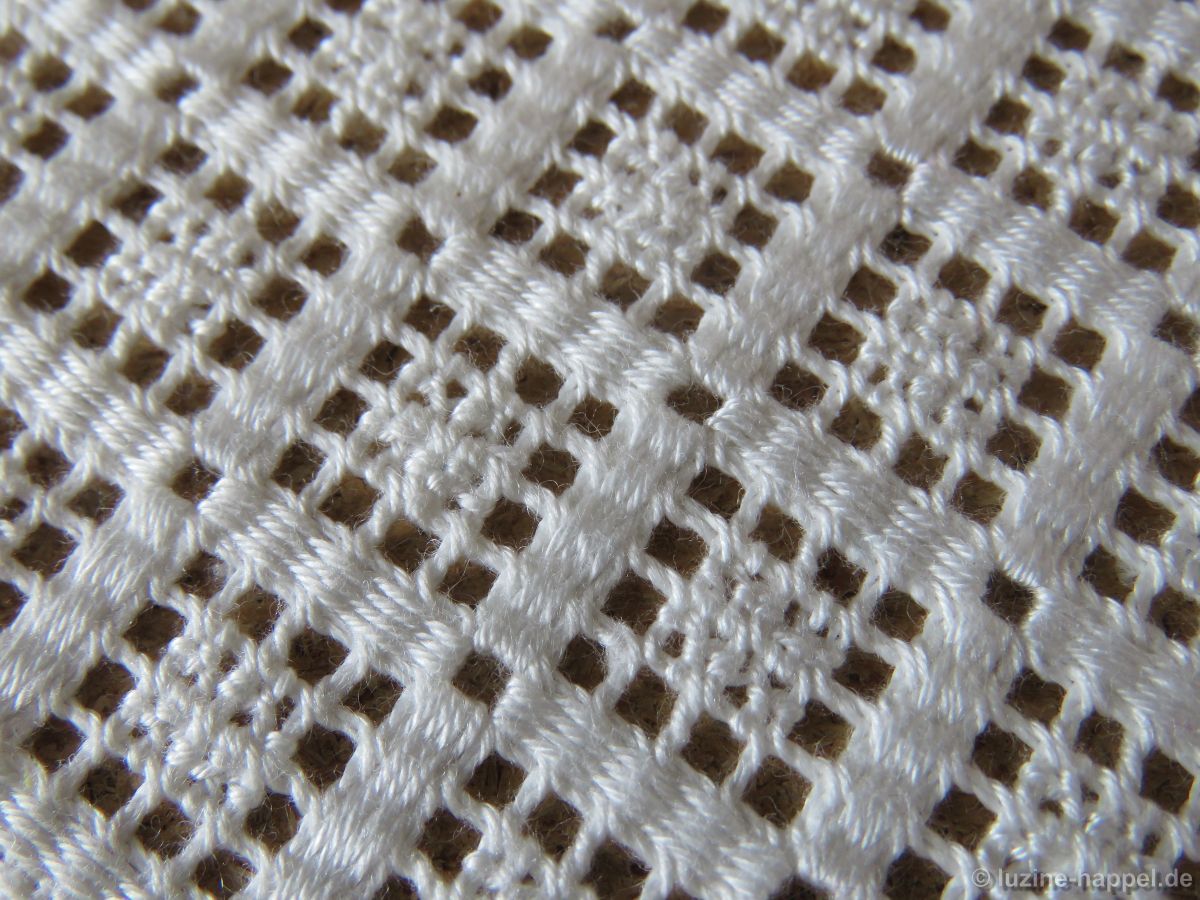
Now work Needle-weaving stitches over four squares in a stair-step manner between.
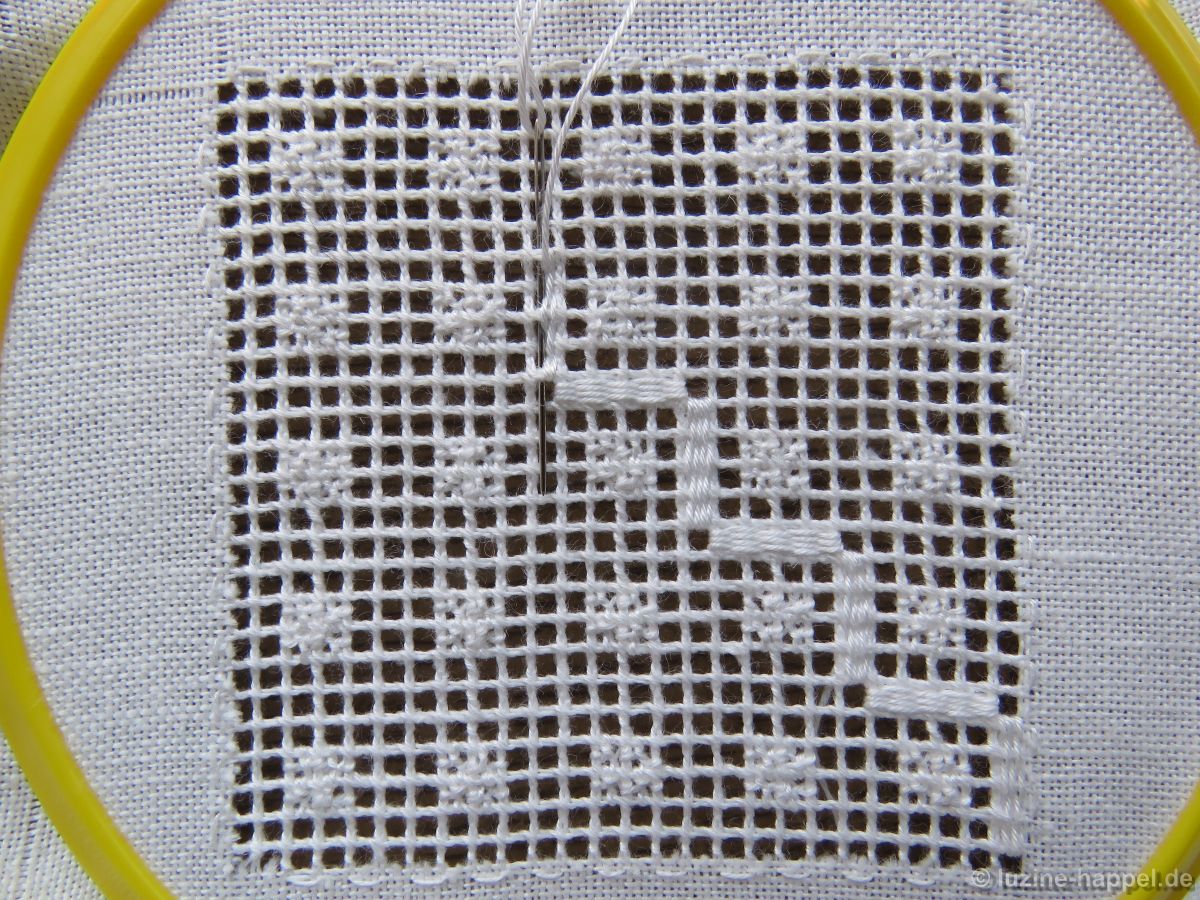
Of course, change the direction of the stitches with each step.
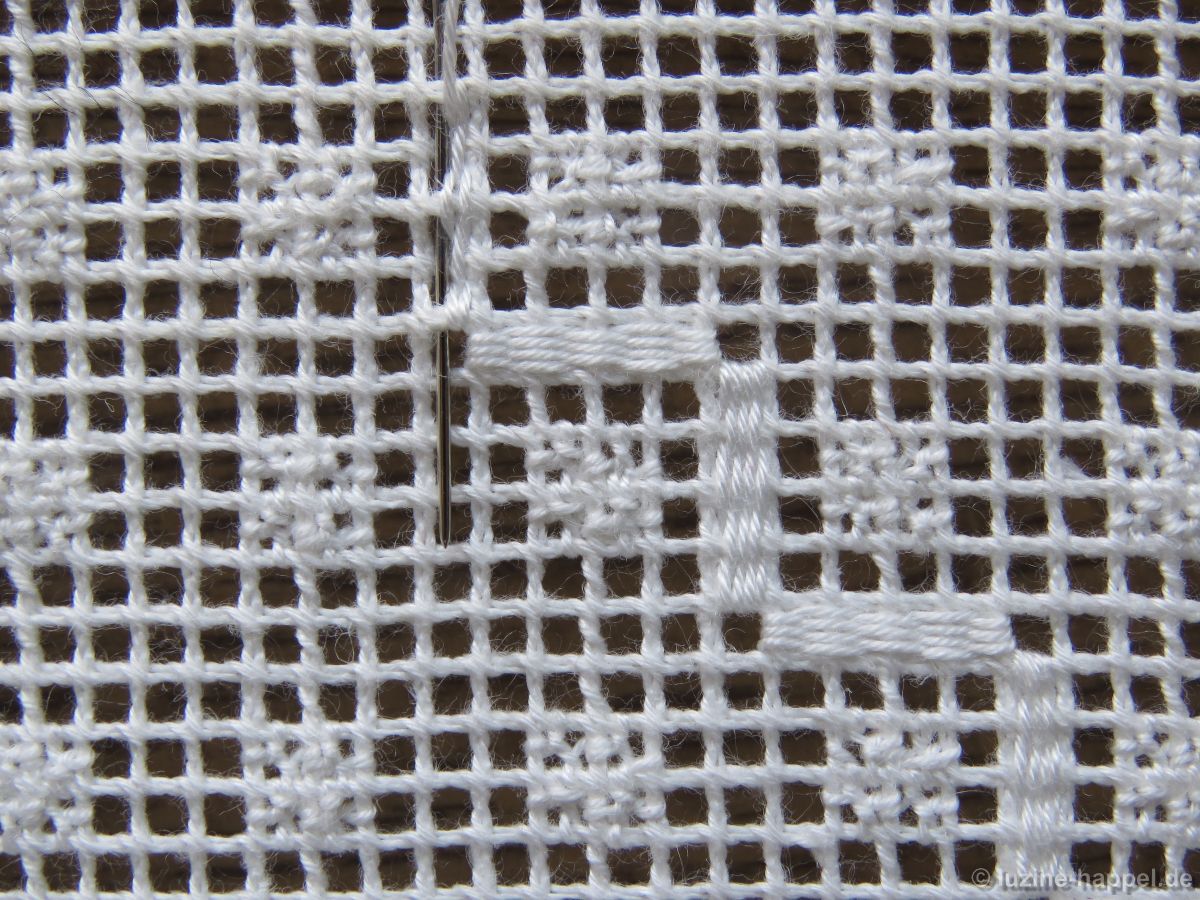
Work continuing rows always mirrored to the previous ones
until the entire shape is filled.
After boiling the clusters of Rose stitches lose their shine.
Two variations are to use only Rose stitches or only Needle-weaving stitches. This would change the appearance a little bit.
I discovered this pattern on an elaborate tea cloth while visiting an exhibition of contemporary Schwalm whitework in 2019.

At the time this pattern caught my eye because of the nice contrast between the matte appearance of the Rose stitches and the shiny appearance of the Needle-weaving stitches.

A very interesting stitch. I like it’s bold contrast with the finer stitches in the smaller tulips around it.