
The formation of Schwalm outline designs has already been described in the article The Arduous Work of Designers.
There are several ways to transfer such patterns to linen, such as direct drawing with non-permanent pens and a light source, tracing with blue carbon paper, or ironing on with an iron-on pen. Another option is to transfer using a stencil and powdered paint. The necessary, very time-consuming preparatory work is worthwhile if the pattern is to be duplicated.
Here now the steps from the pattern on paper to the printed design on linen are reported.
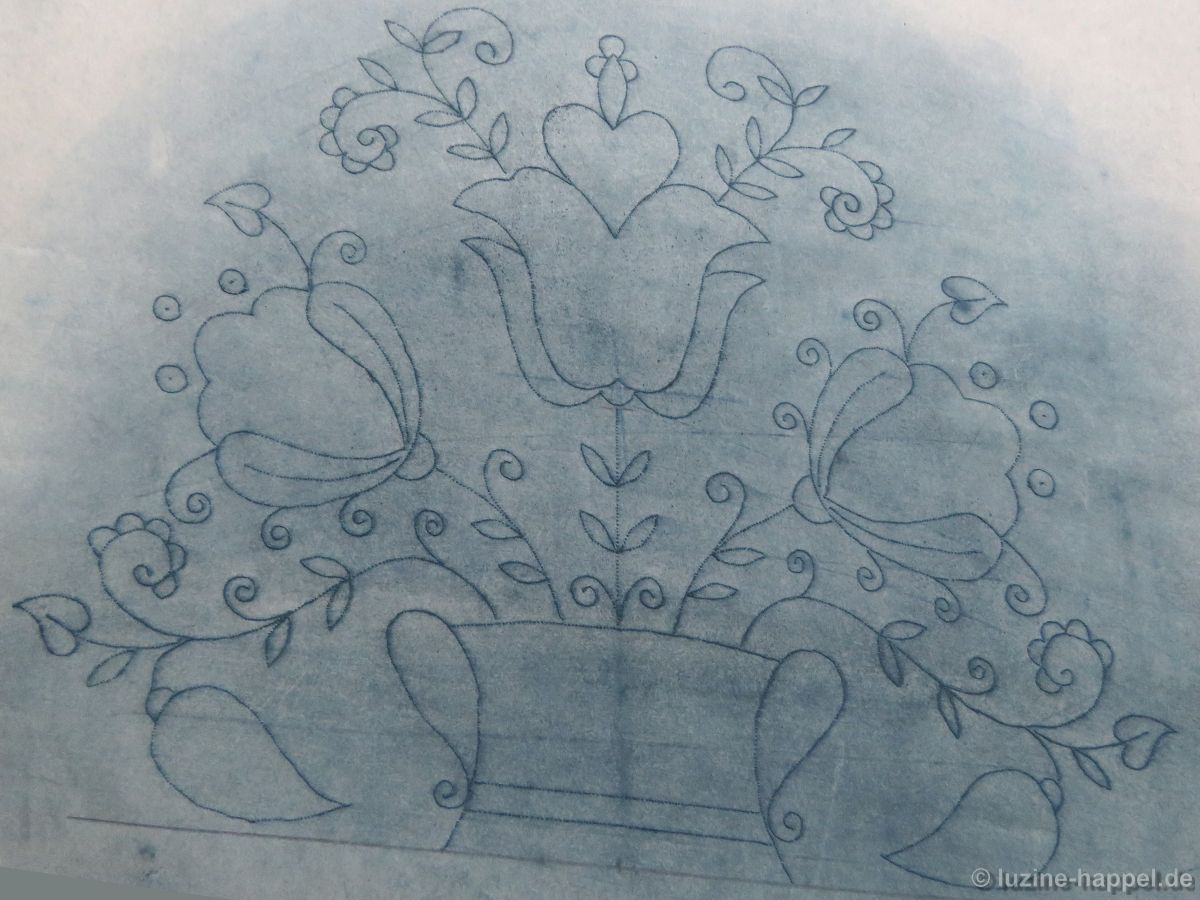
The final drawing of the pattern is done on thin transparent paper with a grammage of 35/40. Special transparent 90 g architect’s paper serves as a carrier for the resulting stencil.
The final drawing is placed on a firm but not entirely rigid base (e.g. desk pad). If the pattern is not axisymmetric, the drawing must be placed back side up. The architect’s paper is laid over the drawing and secured against slipping.
Using a pointed, very thin needle, carefully prick hole next to hole along the lines with a steady hand. Up to 15 stitches per centimeter are necessary to achieve even lines in the end. If the needle is too thick, the edges of the backing paper will fray and the spaces between the holes could tear open.

With larger patterns, you have to take breaks from time to time in order not to strain your eyes and hands.
Pricking the foil with a sewing machine is not advisable. The sewing machine needles are usually too thick, larger paper would buckle.
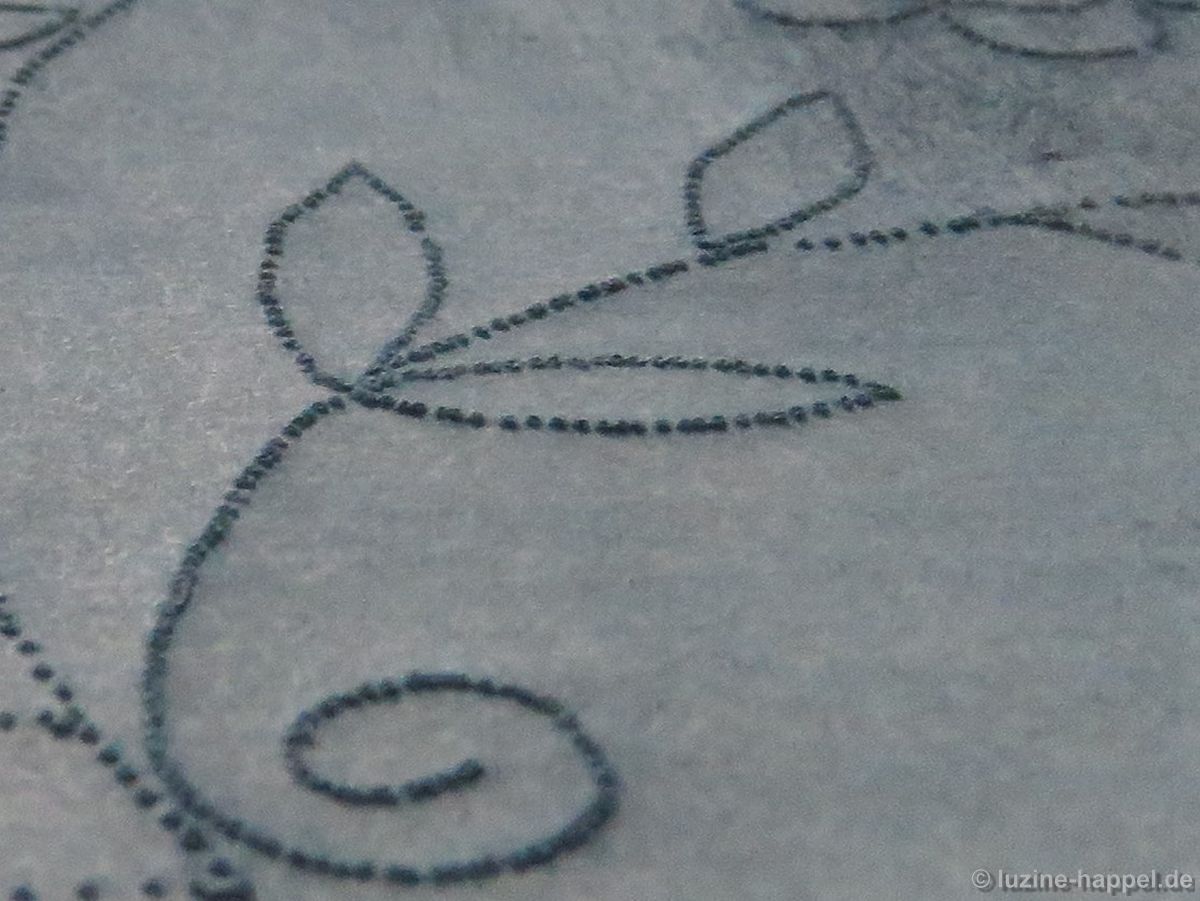
When the stencil is finished (shown here after several uses), the linen can be prepared. It is cut to the desired size. For some patterns, threads have to be drawn in with colored sewing thread for marking in order to be able to set the pattern exactly. For other patterns, small pencil marks will suffice.
A large table top is fit up with two layers of smoothly ironed bed linen. These absorb a lot of the blue colour after a short time. Heavy weights – here blocks of marble – are laid out ready.

The linen is spread out on the table, aligned and smoothed out.
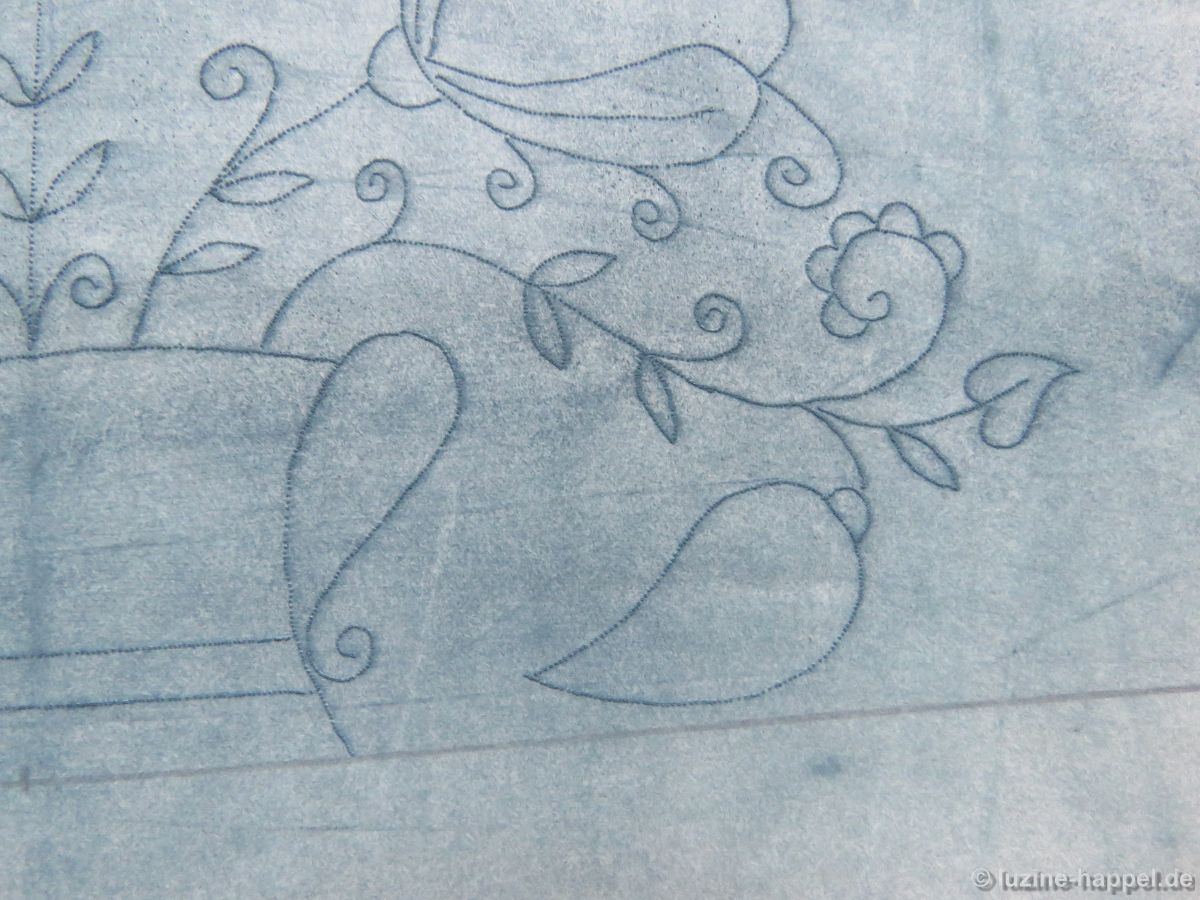
The stencil is placed – with the back side up – on the prepared linen and secured with the weights to prevent it from slipping. Here you can clearly see the raised edges of the pricked holes.
A mineral powder, the composition of which I do not know exactly, is in a flat container. (In any case, the powder contains talc and mineral, non-chemical laundry blue.)
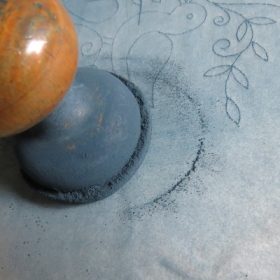
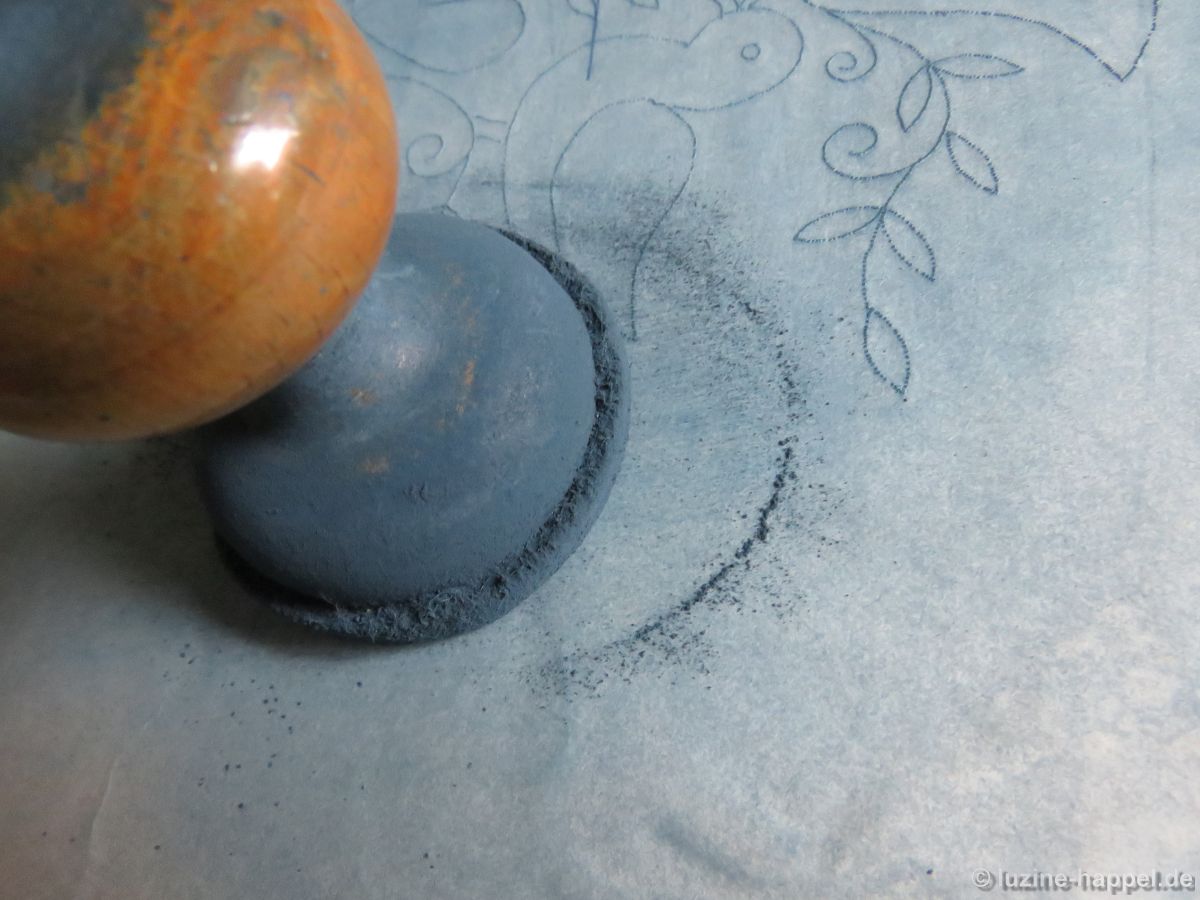
A stamp with a thick layer of felt is dipped into the powder. Excess powder is shaken off.

The stamp is moved over the lines with light pressure. Since you cannot check the result in between, it takes some experience to know how often to rub over the lines.
The stencil is carefully removed, excess powder is poured back into the container.
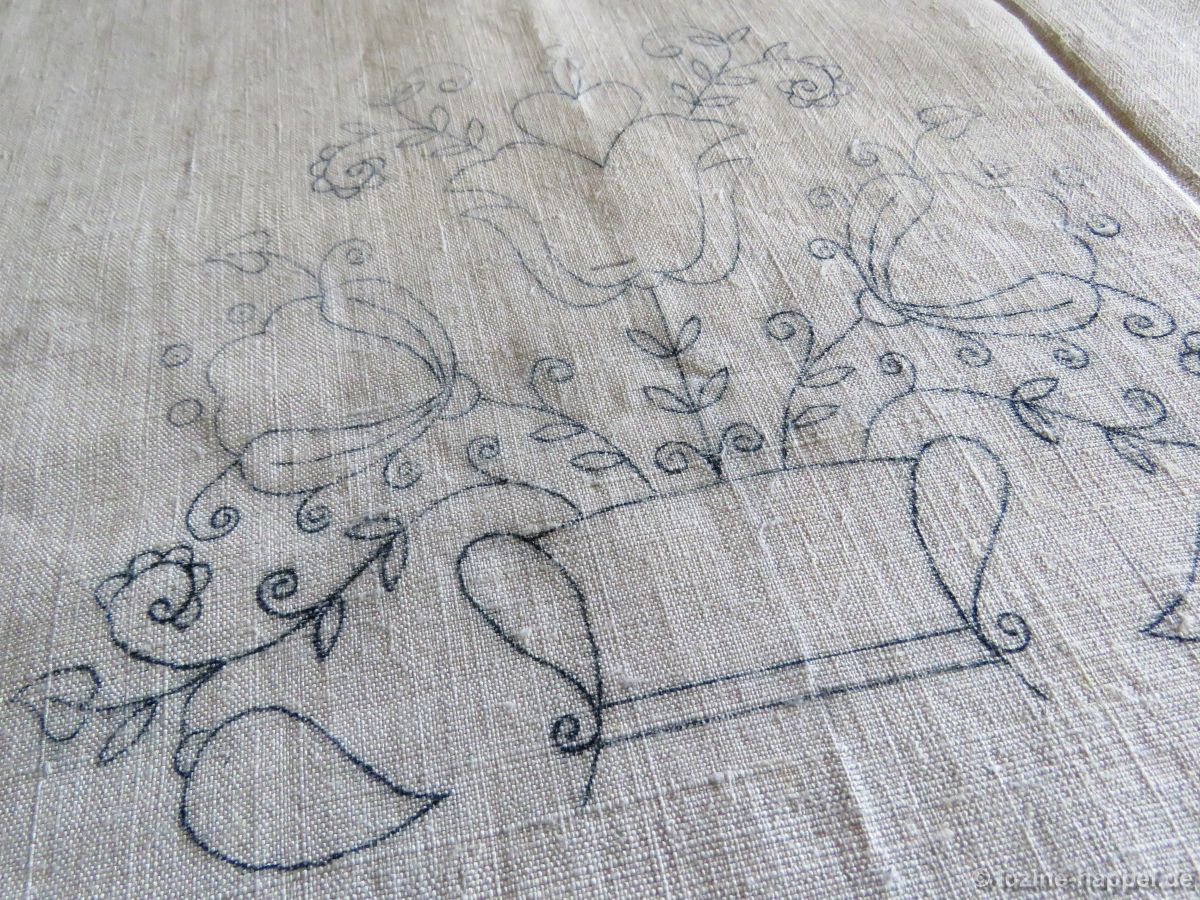
The fine powder that was pressed through the pricked holes now lies in a line on the linen.
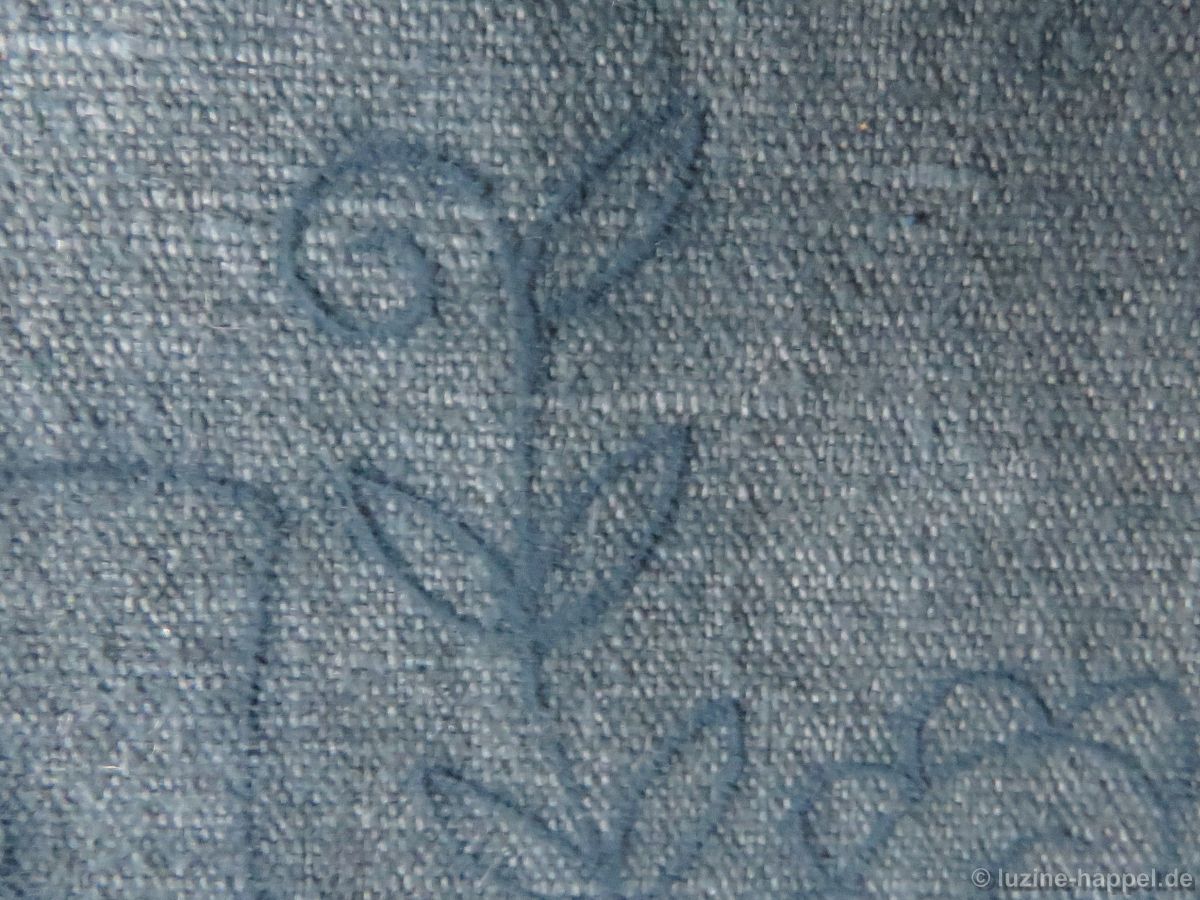
These powder lines are sprayed with alcohol to fix them. The piece of linen stays in place until dry.
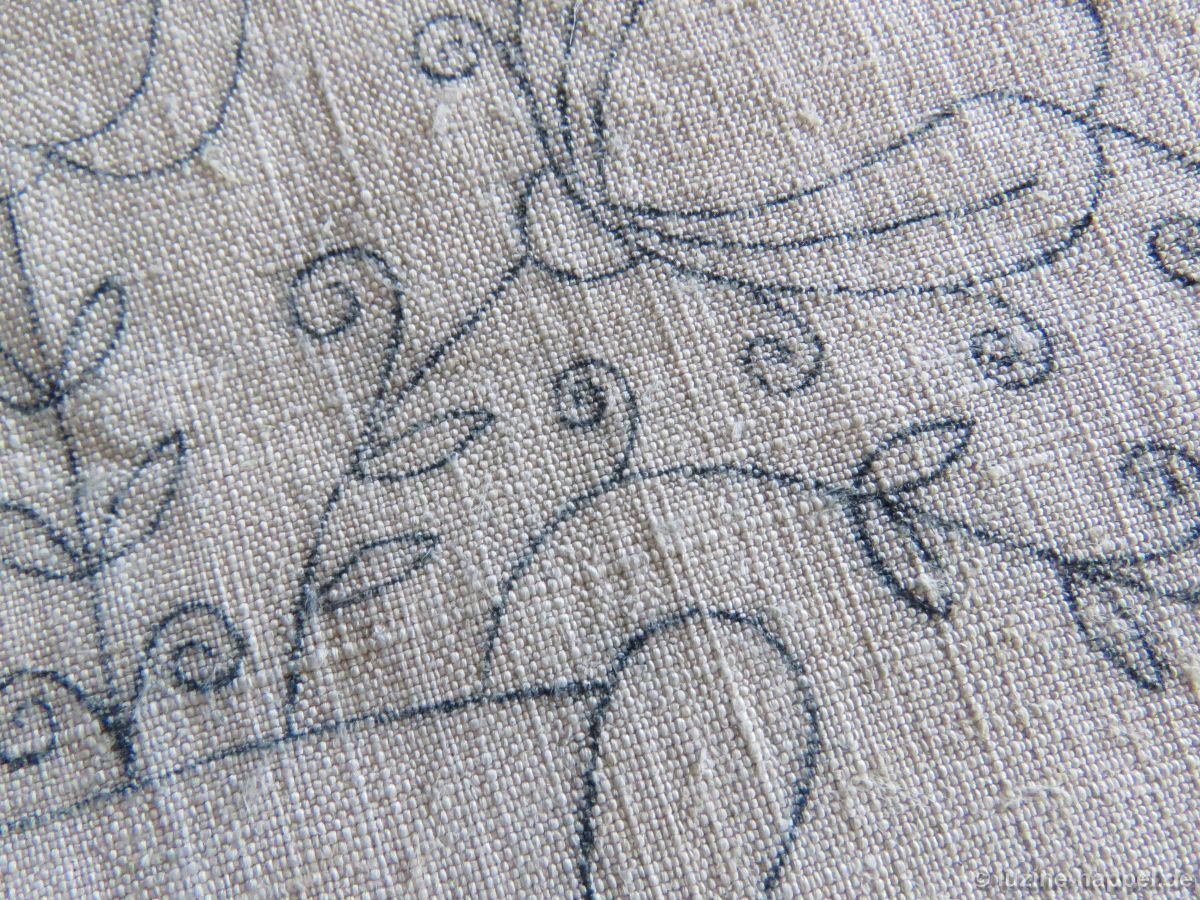
The densely perforated lines of the template resulted in fine, even and long-lasting outlines that are easy to embroider with.
Unfortunately, the composition of the colour powder has changed, making it lately difficult to wash out the lines. If another recipe were found, one could fall back on the huge existing treasure trove of templates. Stencils that have been the result of decades of painstaking work – large and small, densely arranged and loose patterns, strict or more fancy arrangements – there is something for every use and every taste.

Leave a Reply