

A word on my own behalf:
As you will surely have noticed, I have lost my English editor. Thank you Joey for years of professional support and great cooperation. Now I have to manage on my own. Nevertheless, I really hope that my texts are somewhat understandable.
Filling Pattern – No. 564
category: Limet-Filling pattern
linen used: 13.5/cm thread count
threads used: coton à broder No. 20
stitches used: Rose and Cable stitches
center: intersection of withdrawn thread lines (in other shapes or motifs: longitudinal axis = withdrawn thread line)
one pattern segment = 48 threads
In Schwalm whitework, it is common to embroider opposite or diagonally opposite motifs with the same filling pattern. However, experienced embroiderers, who have a very large treasure trove of patterns at their disposal, also like to use different but similar filling patterns.
The two following photos show two opposite corners of a tablecloth. One main tulip was decorated with Filling Pattern No. 563,

the opposite one with filling pattern No. 564 shown in the following. This pattern is similar, but with a segment width of 48 fabric threads a little more spacious.

Further examples for the different arrangement of the same or similar filling patterns can be found here:
Variety of Schwalm Whitework
Pretty Contemporary Schwalm Table Cloth
A Framed Schwalm Sampler (images 3 and 4)
Transition from Early to Later Schwalm Whitework (1) (image 1)
Early Schwalm Whitework – A Gorgeous Table Runner (image 1)
Traditional Schwalm Bodice (B) (image 1)
But now to the pattern itself.
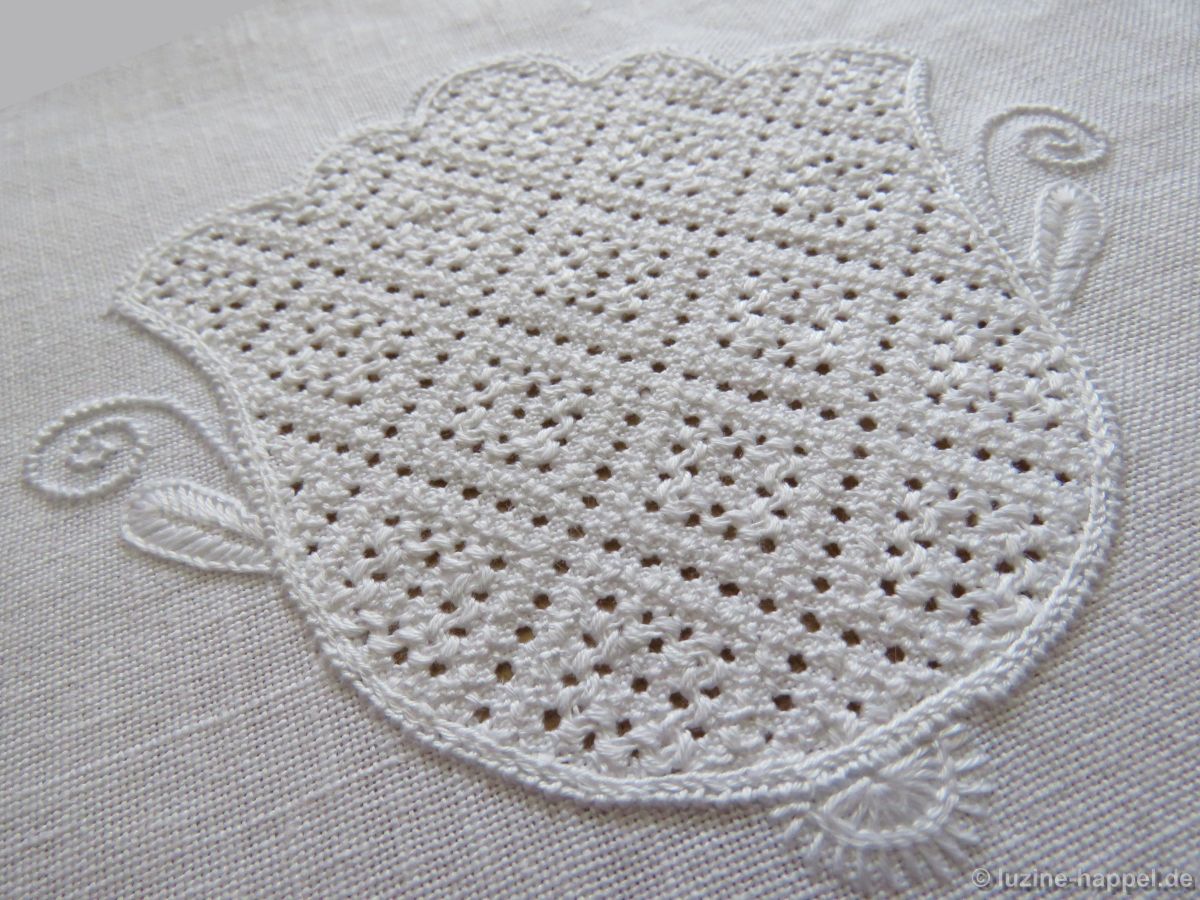
The filling pattern shown here is a practice exercise only. You can see it used in a shape at the end of this article.
First, establish a Limet grid with an intersection of withdrawn thread lines as center by alternately cutting 1, leaving 3, vertically and horizontally.
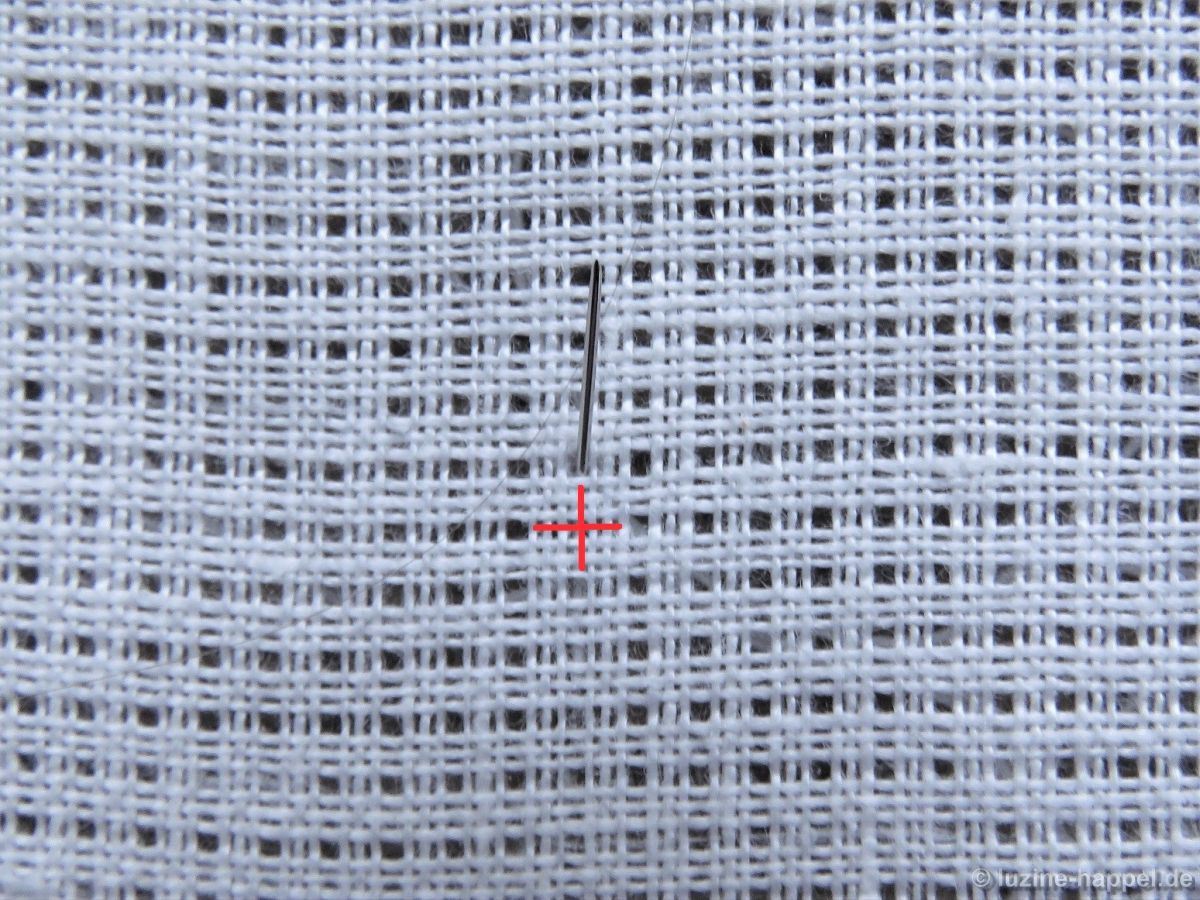
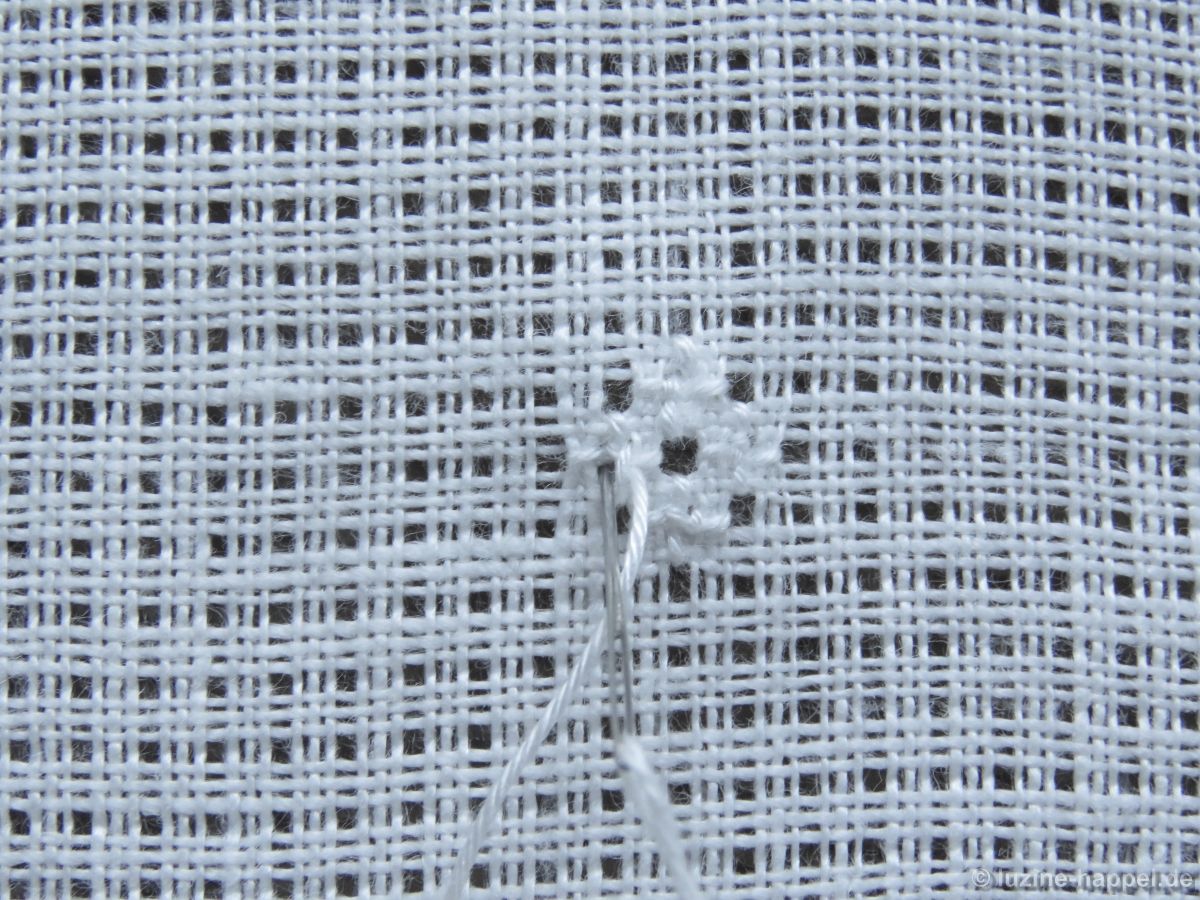
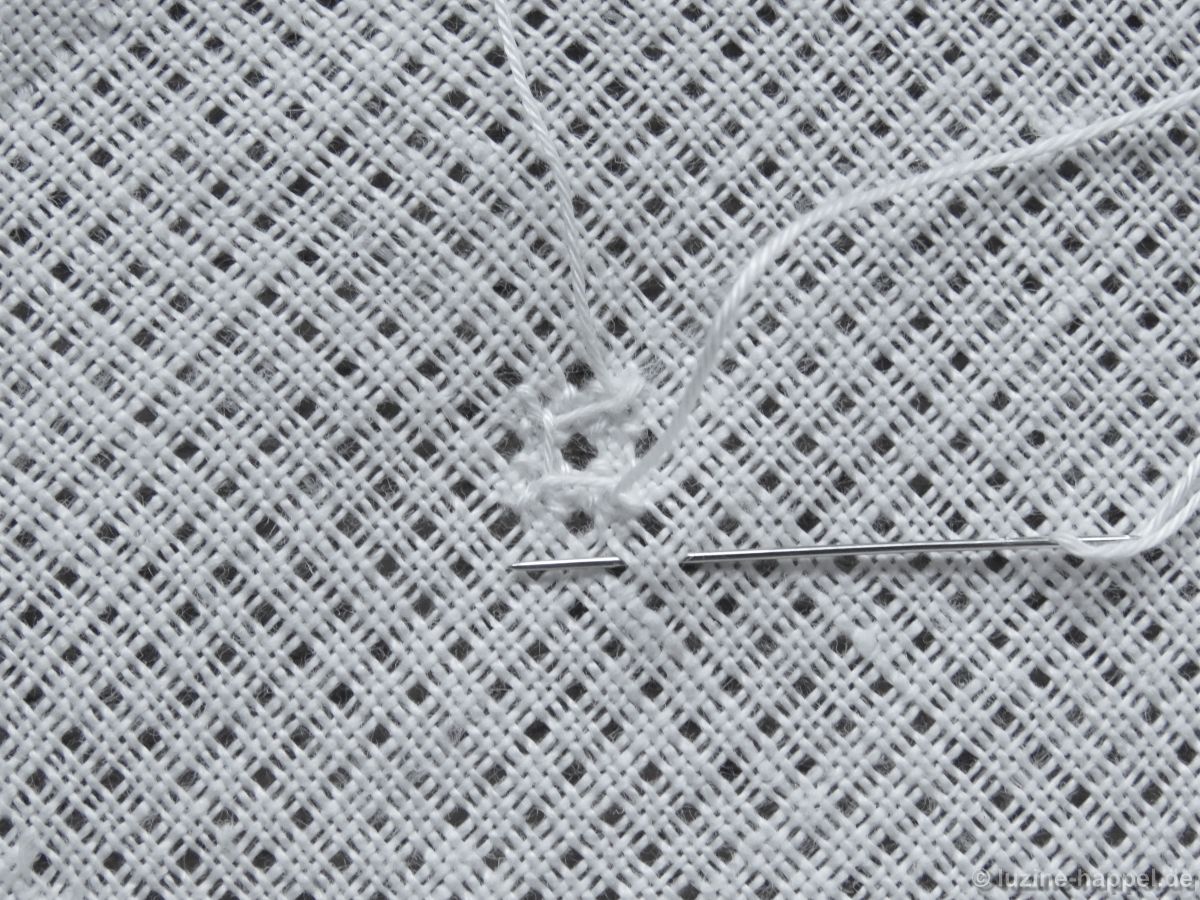
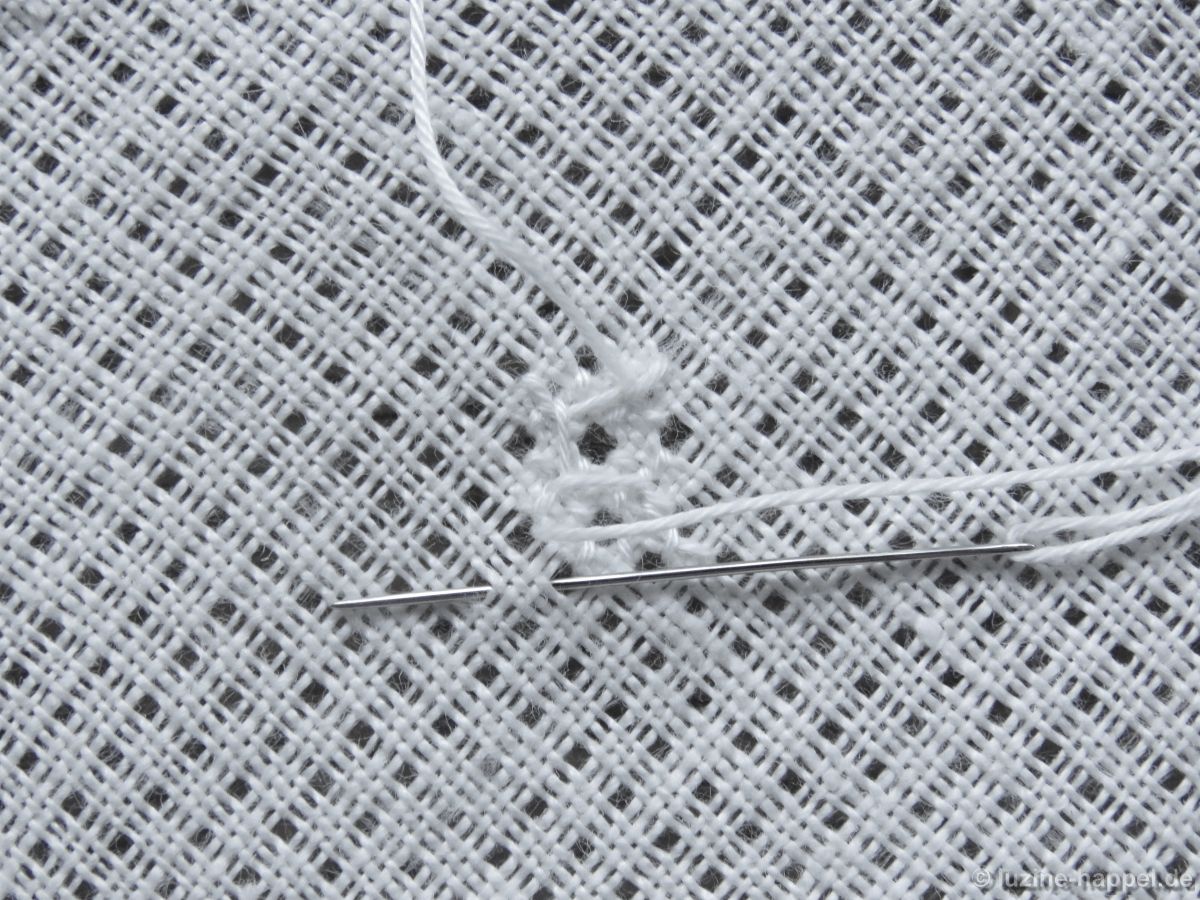
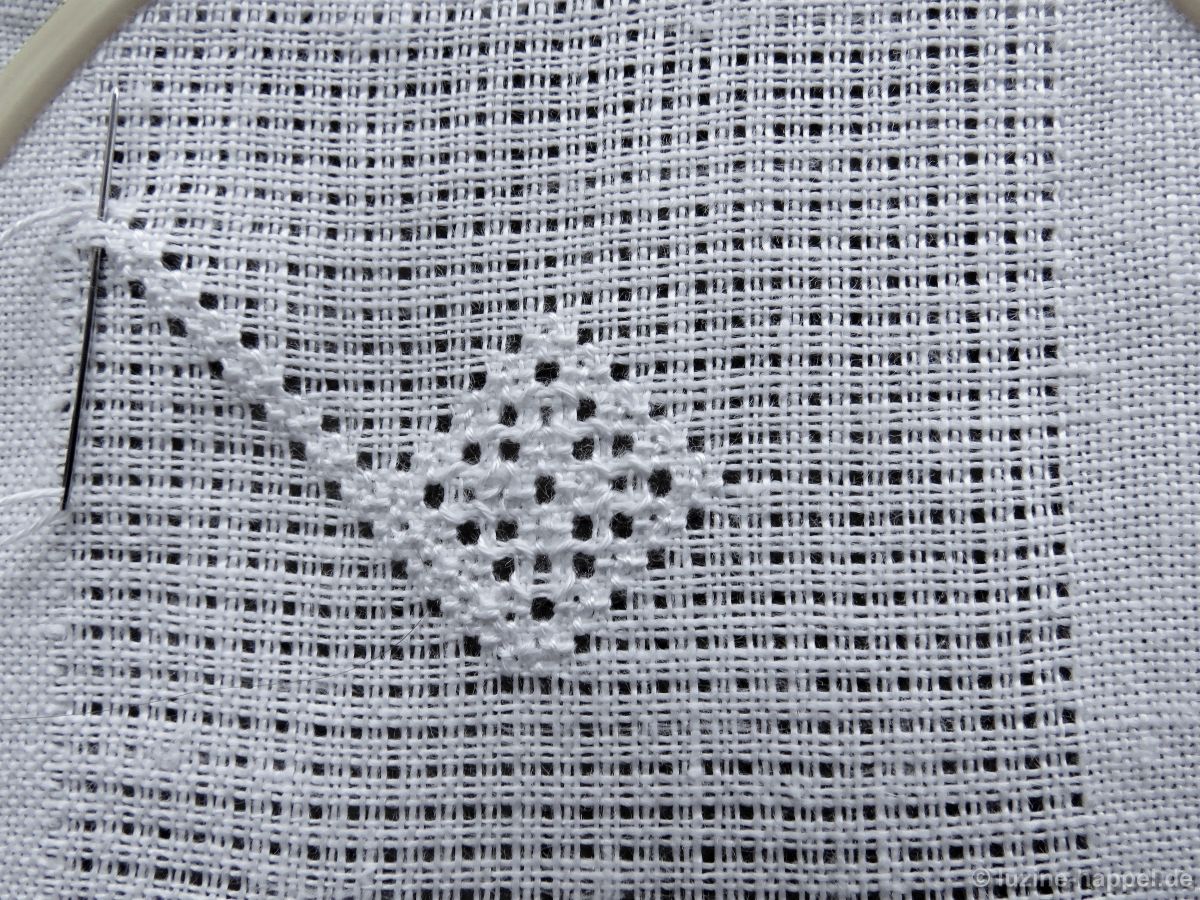
Bring needle up 1 square above the center and work a Rose stitch from there. Three more Rose stitches, each equally spaced, are worked around the center point.

After completing the fourth Rose stitch, the needle remains on the back.
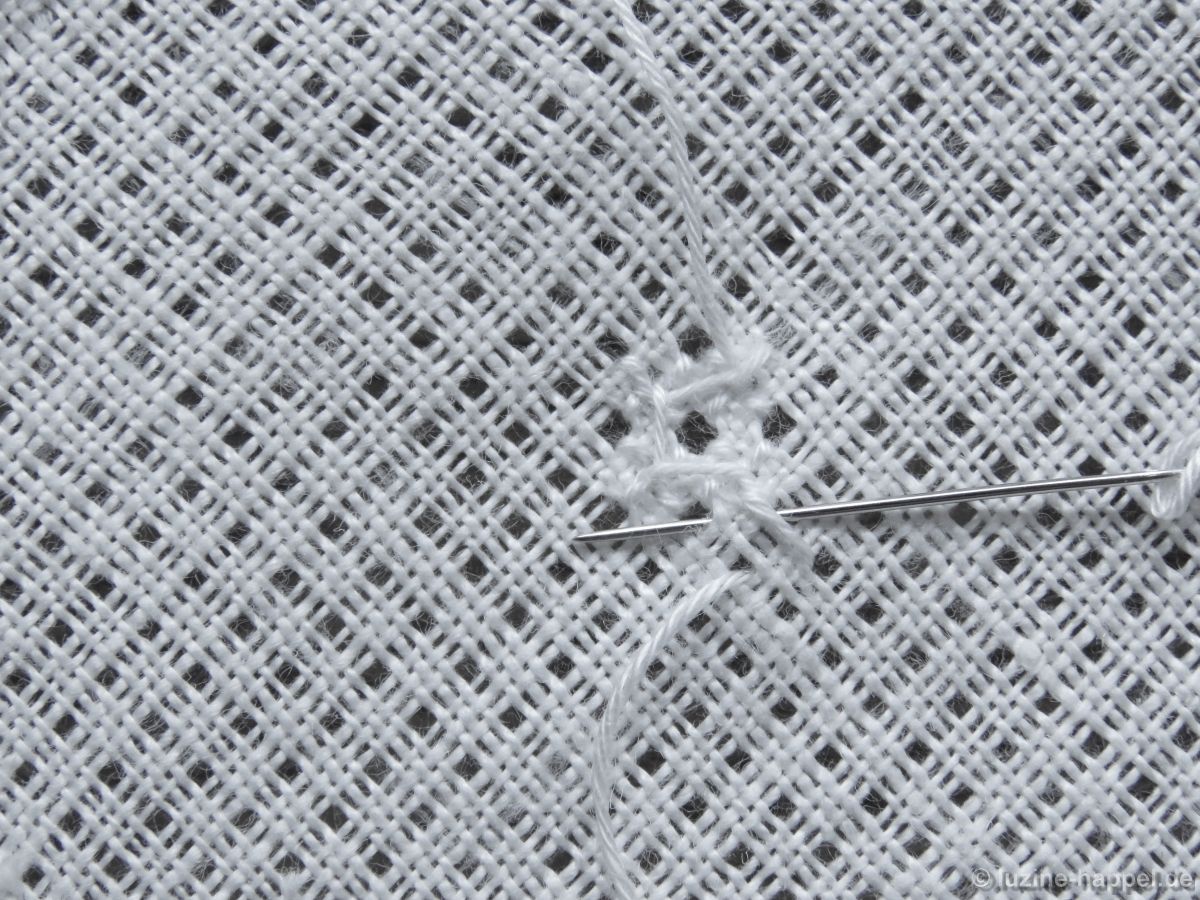
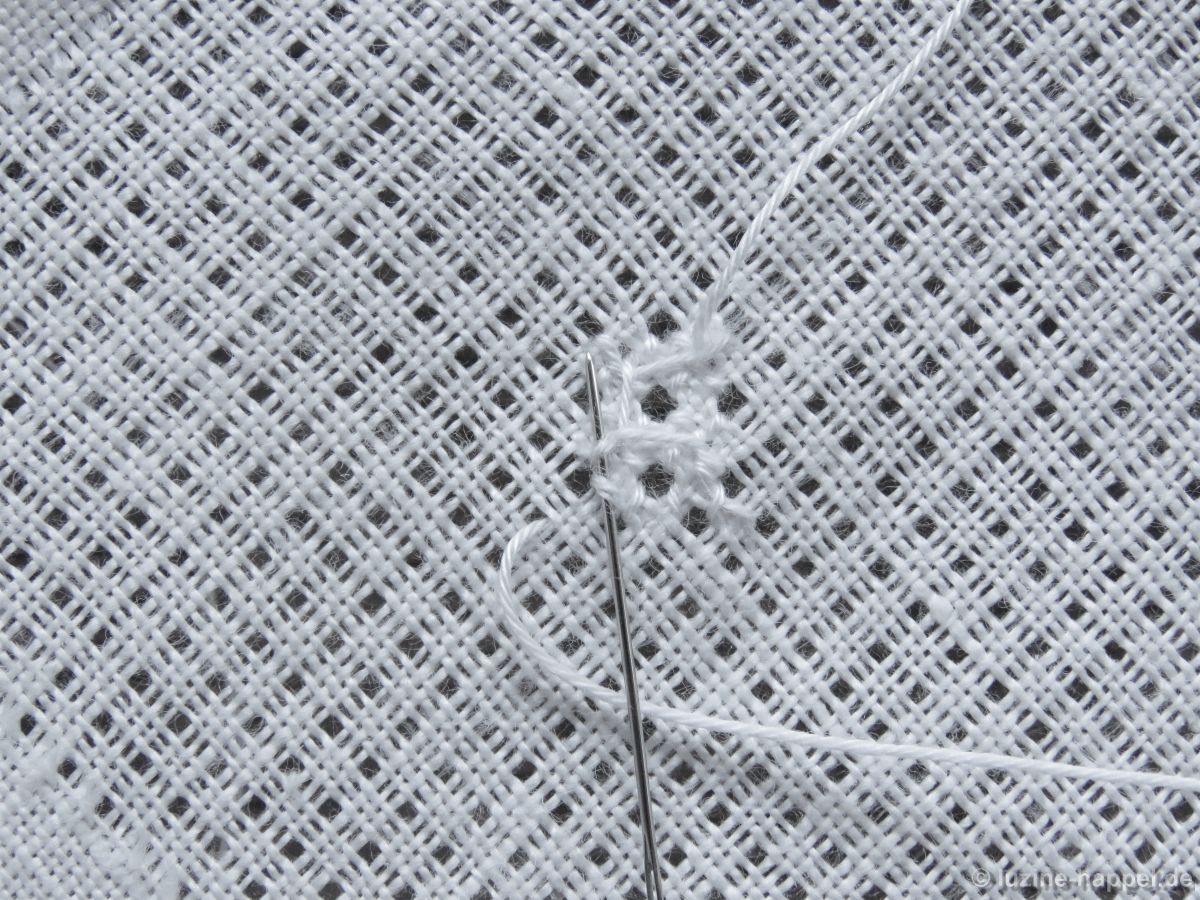
The work is turned. From the last Rose stitch, cross 1 square to the right, insert
and rotate the work 45° clockwise.
The next stitches are embroidered from the back.
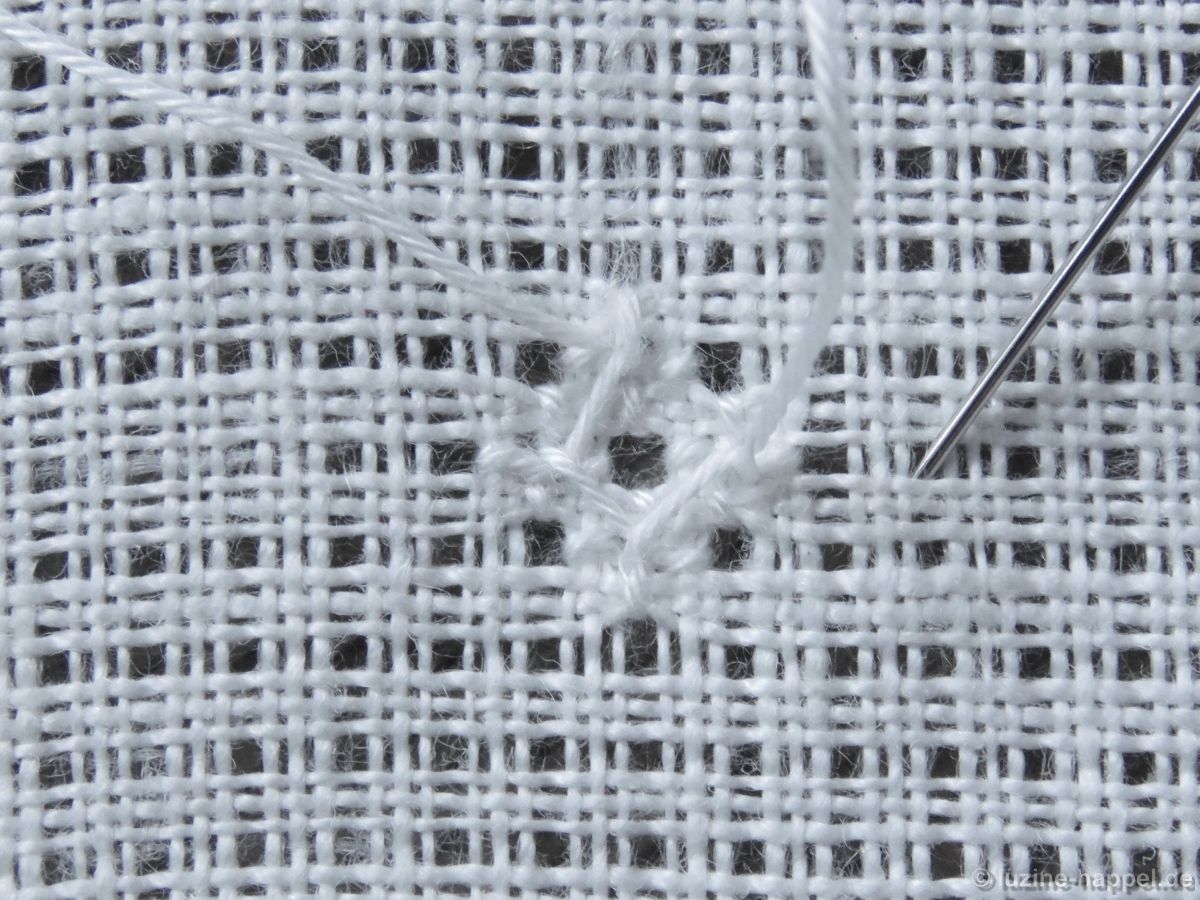
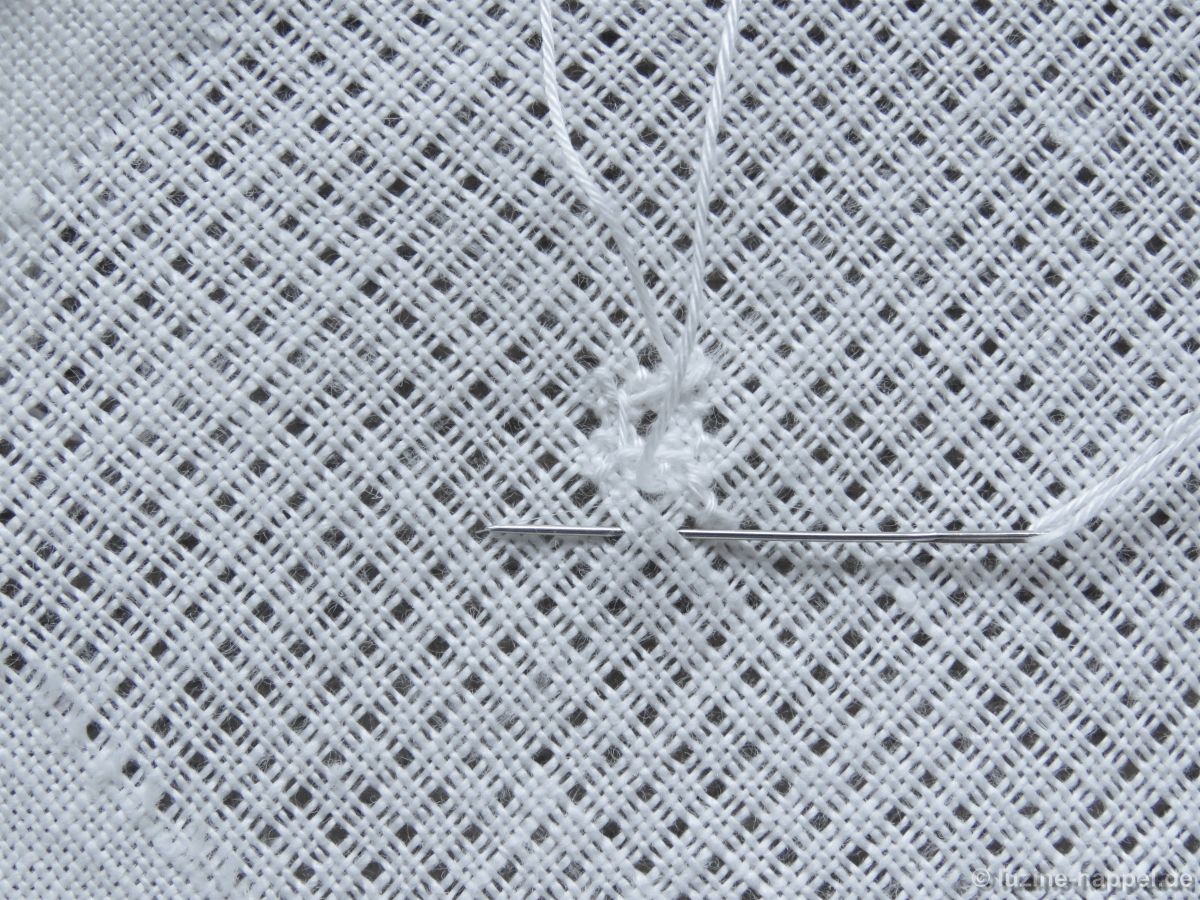
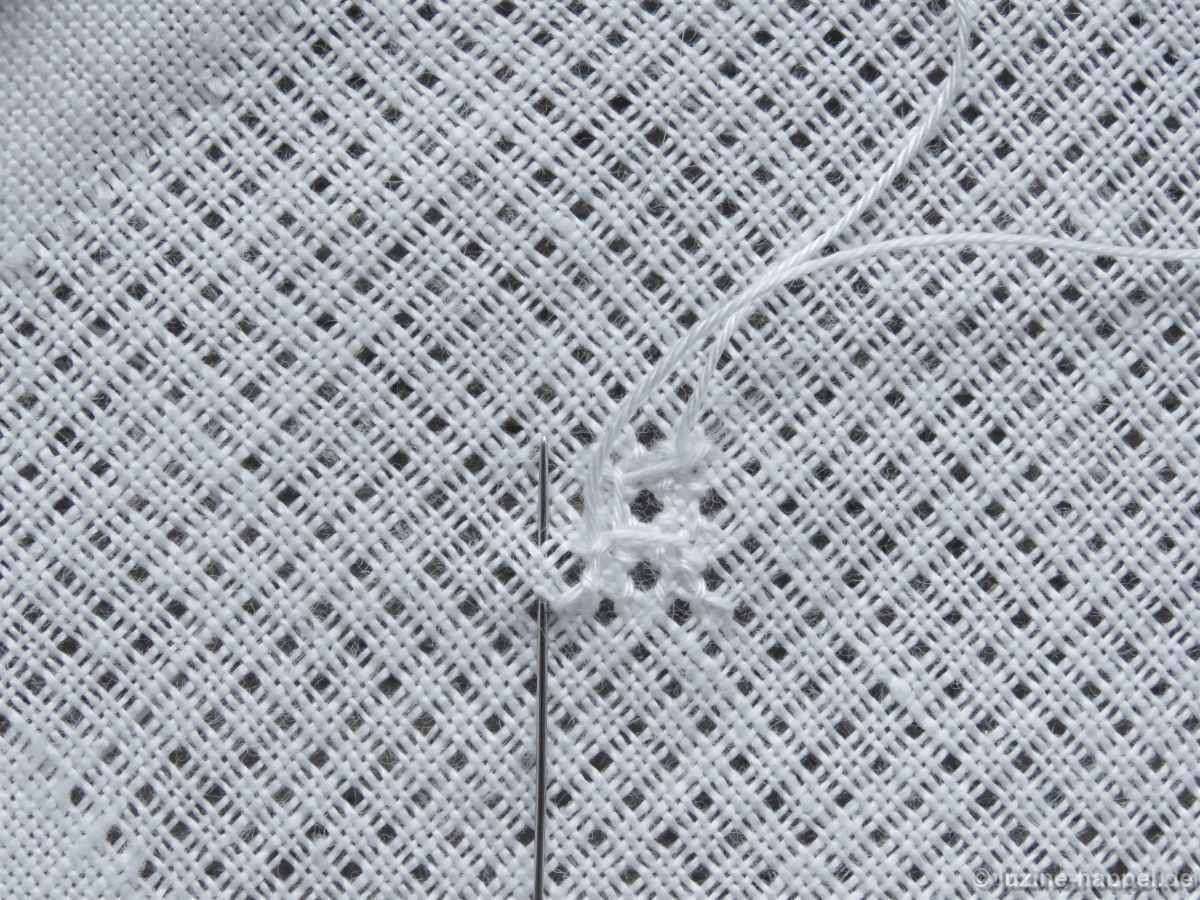
Now work 20 Cable stitches around the Rose stitches – five on each side. To do this, you cross 1 square diagonally to the left and bring needle up.
From the emerging point, move the needle diagonally to the top right, insert in the next hole and bring it up in the next one to the left. It is important that you also catch the working thread that runs from one stitch to the next. Always take care to keep the holes between the stitches well defined and open. As a result, the pattern appears clear and sharply defined in the end.
From the emerging point, move the needle diagonally to the bottom right, insert in the next hole and bring it up in the next one to the left.
From the emerging point, move the needle diagonally to the top right, insert in the next hole and bring it up in the next one to the left.
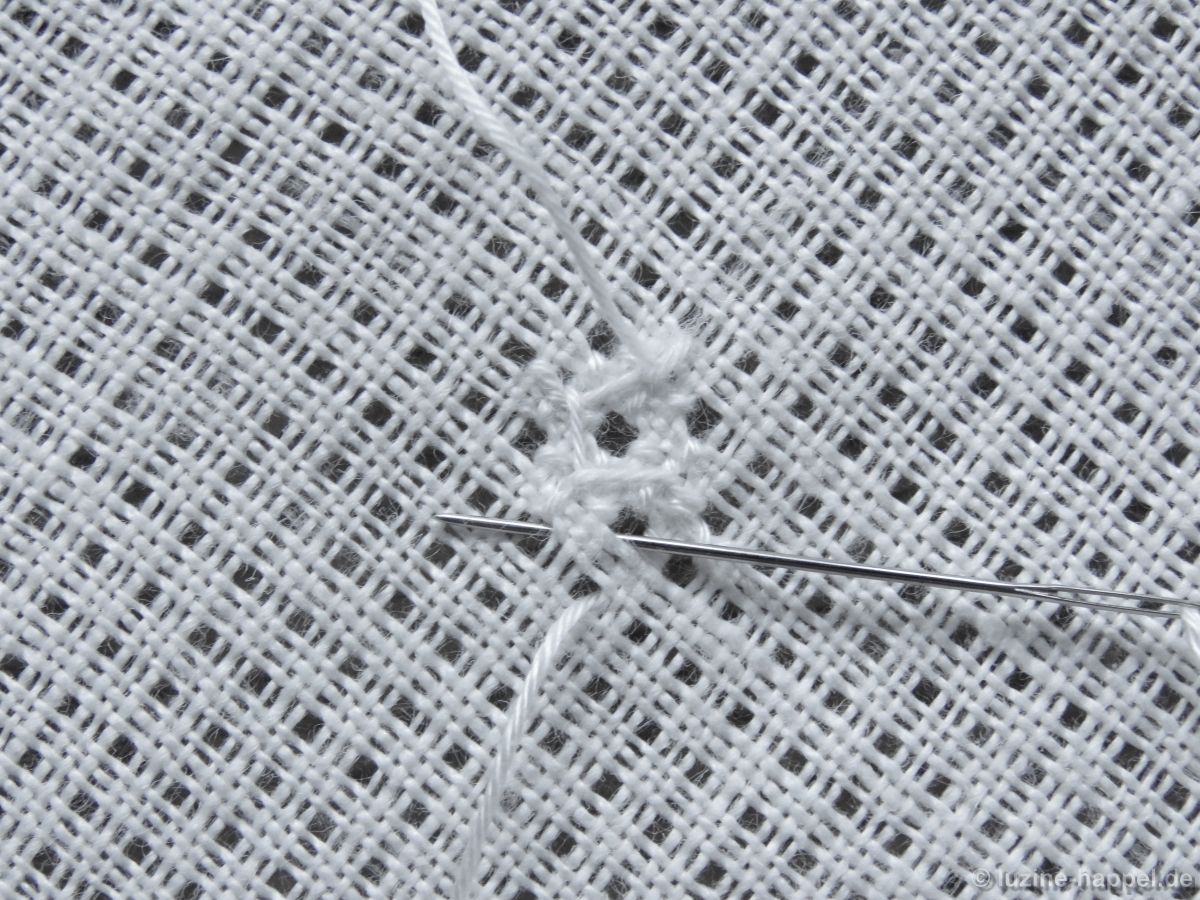
From the emerging point, move the needle diagonally to the bottom right, insert in the next hole and bring it up in the next one to the left.
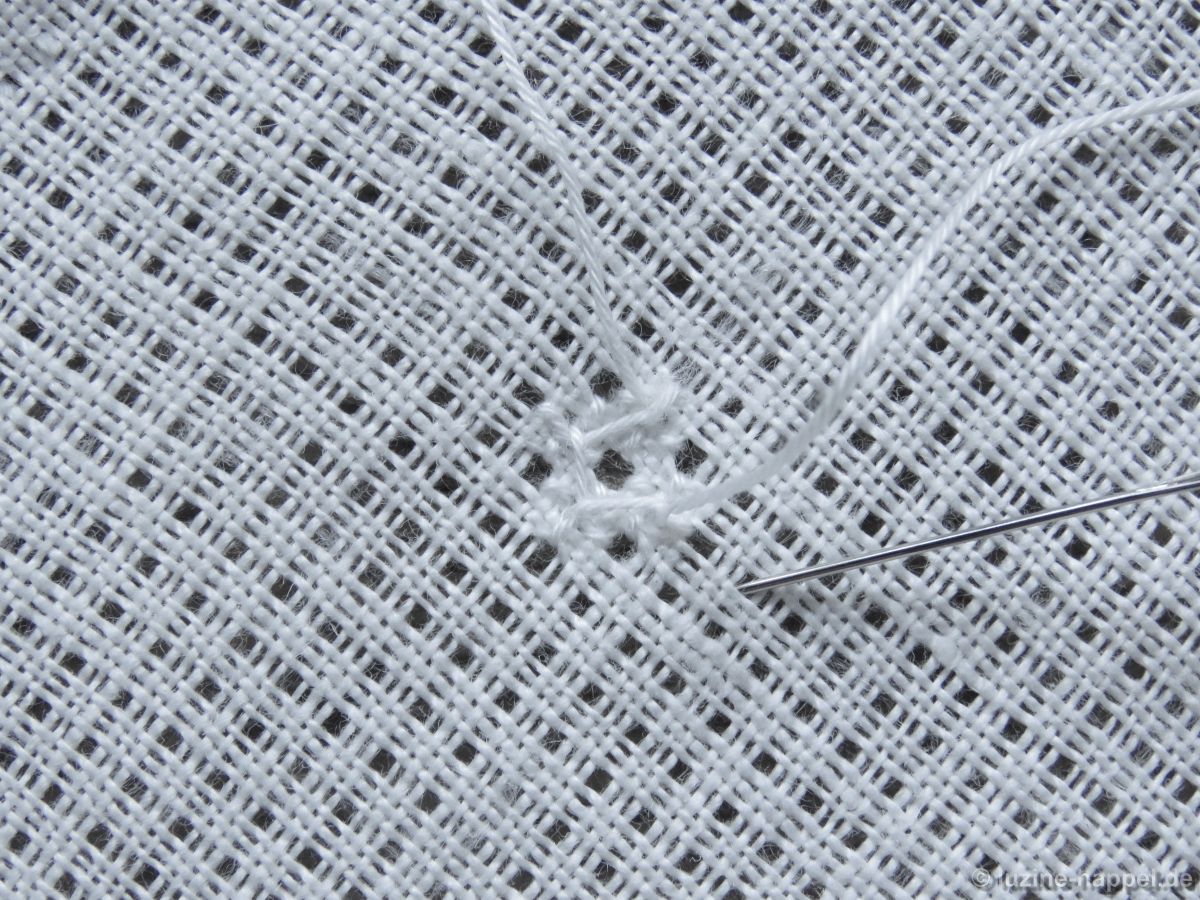
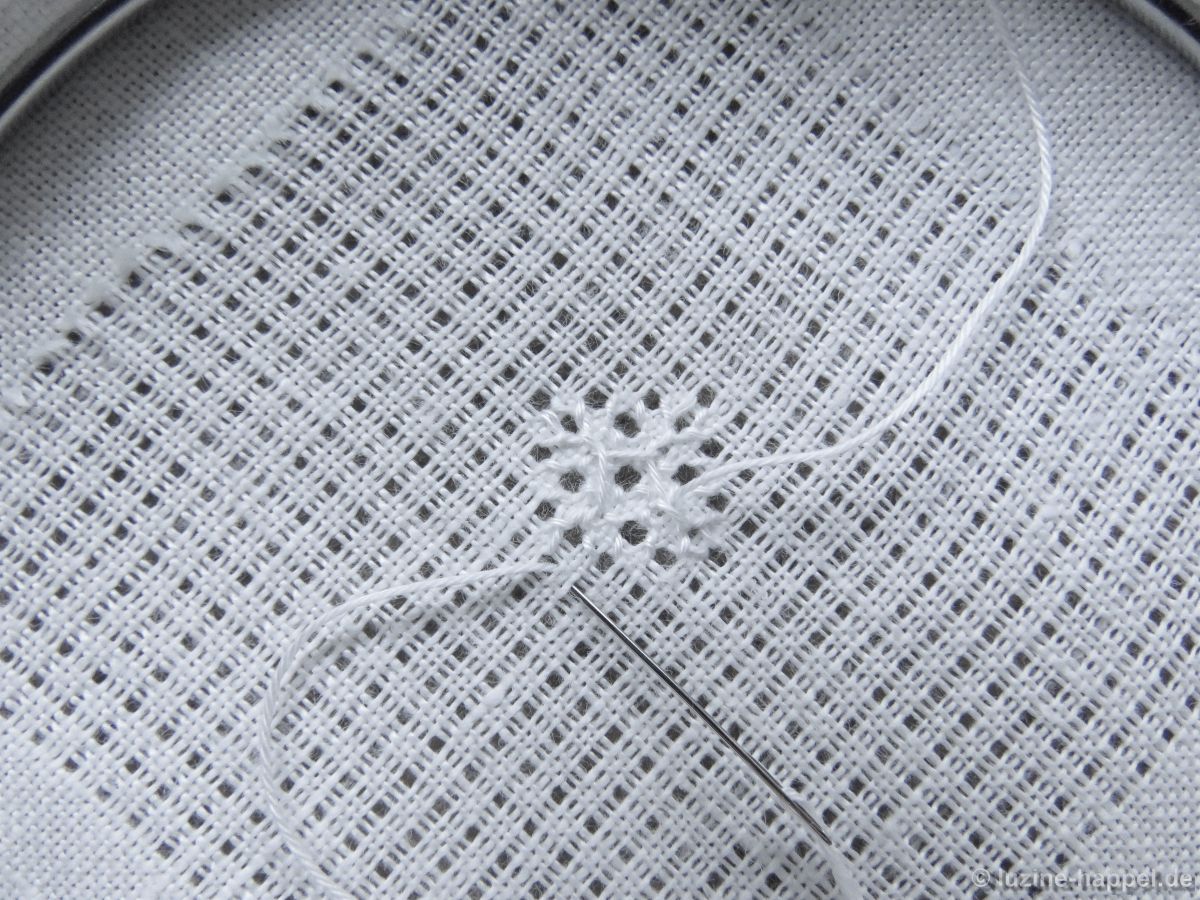
The 5 Cable stitches of the first side are finished. The three remaining sides are processed in a similar way. However, since you have to insert directly at the last emerging point, the working thread must be passed under the existing stitches (the thread that runs from the penultimate to the last Cable stitch and a leg of a Rose stitch) so that the holes remain open.
You can then return to the last emerging point and embroider 5 Cable stitches from there in the established way. It makes sense to turn the work so that you can move the needle always horizontally from right to left.
After completing the twentieth Cable stitch, the round is closed. From the emerging point, move the needle diagonally down to the right, insert the next hole there,
turn the work and continue embroidering on the front side again. The current emeriging point is the center of the first Rose stitch

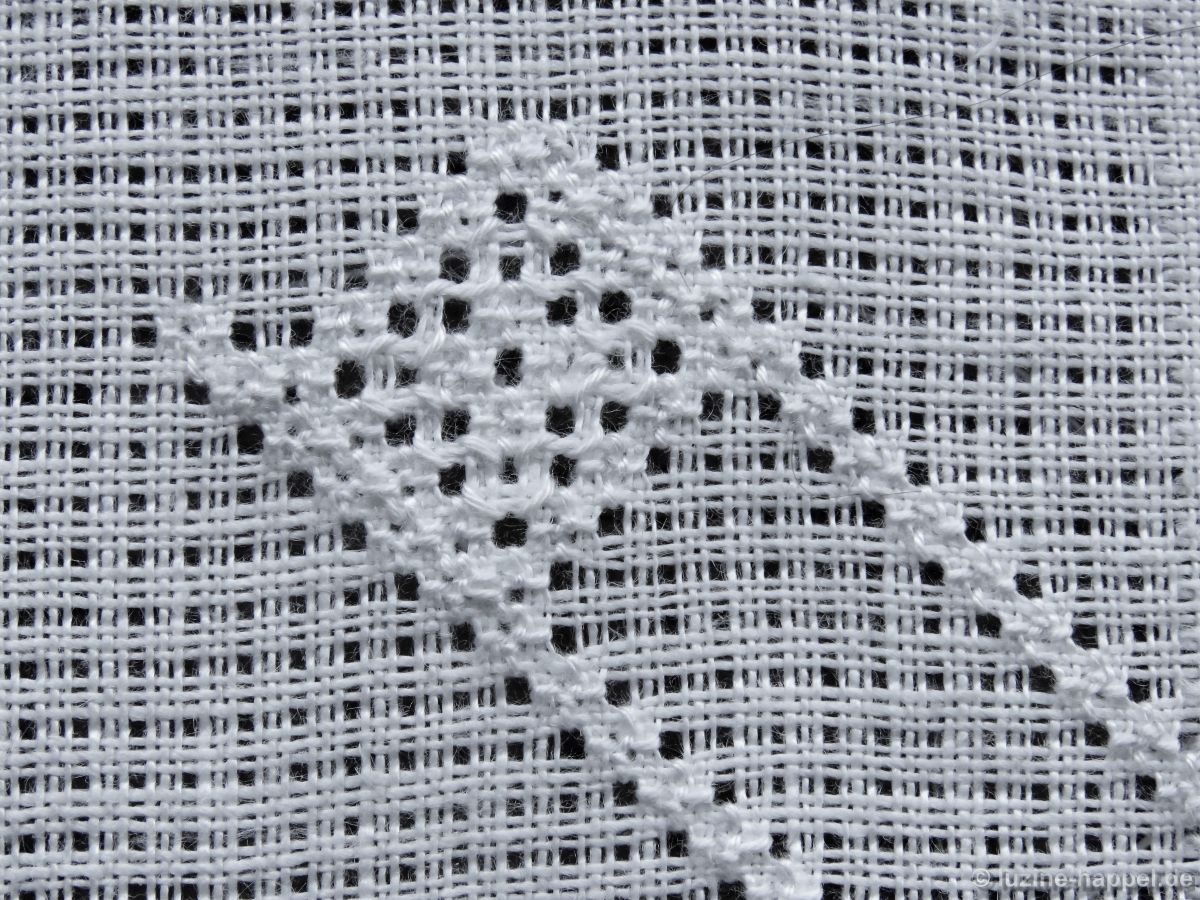
A total of 16 Rose stitches are worked around the Cable stitch rhombus.

With the center section complete, it now makes sense to create the Rose stitch grid for the entire pattern.
From the center of the last Rose stitch, move the needle 1 square to the left, bring it up and from here work a diagonal row of Rose stitches to the edge. These stitches intertwine into the Rose stitches of the middle section.
Parallel to this and at a distance of 9 free holes – seen on a horizontal line – between the centers of the Rose stitches of both rows, another Rose stitch row is embroidered along the middle part.
Two further rows of Rose stitches are worked crosswise.

One further Rose stitch row is embroidered next to the existing ones outwards.
The grid is completed with double rows of Rose stitches across the entire shape.

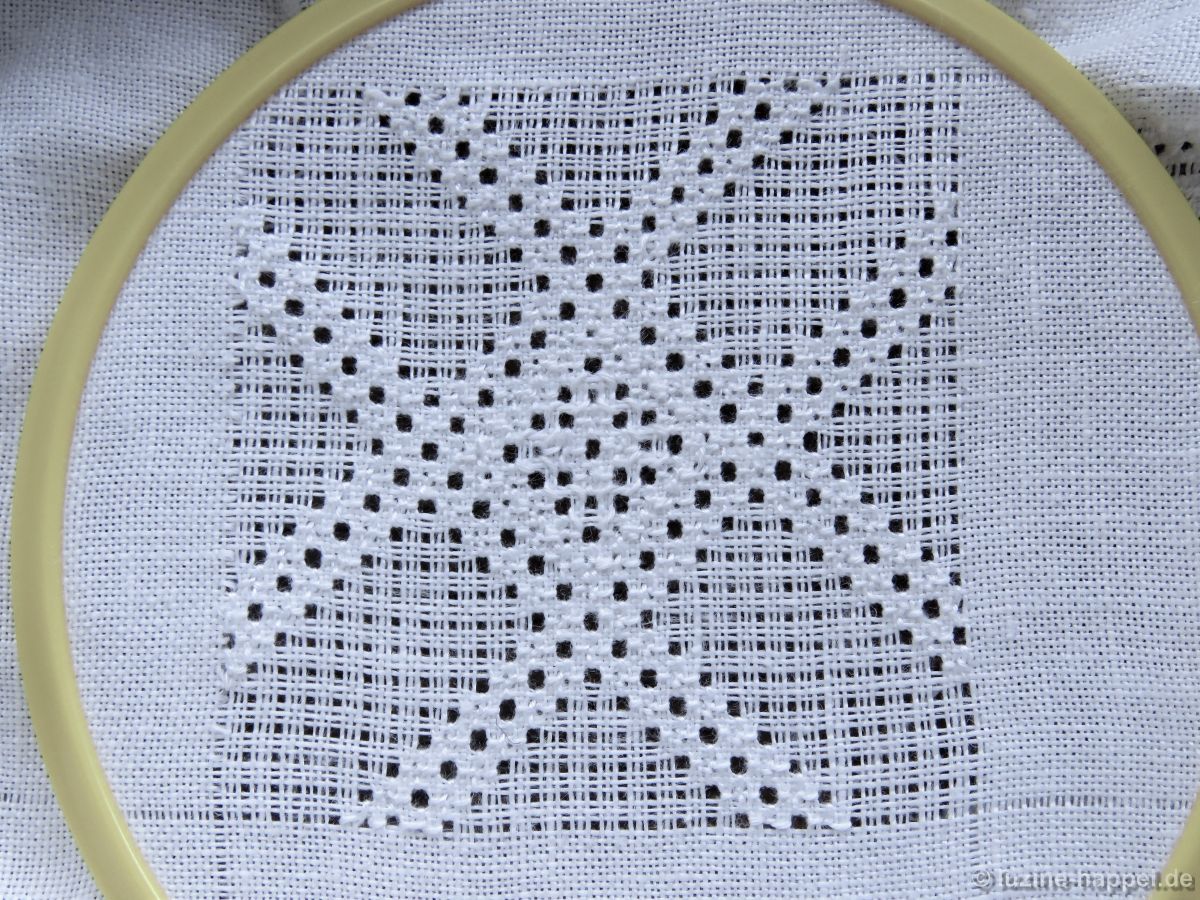
The cross formations of the 4 Rose stitches in the middle are first embroidered in the remaining spaces, then the Cable stitches from the back and the remaining Rose stitches from the front again.
If all remaining spaces of the grid are filled, the following picture is presented:

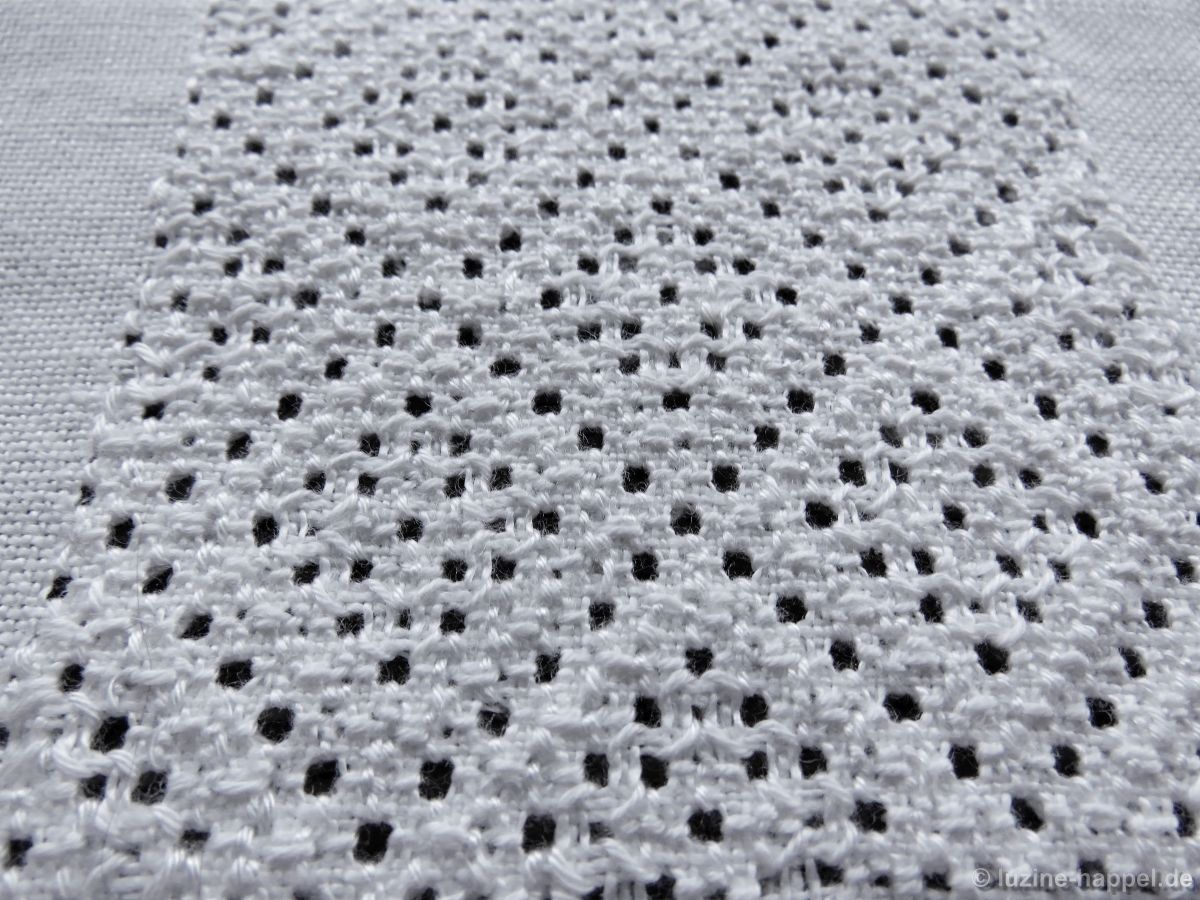
I don’t think the Cable stitches are prominent enough.
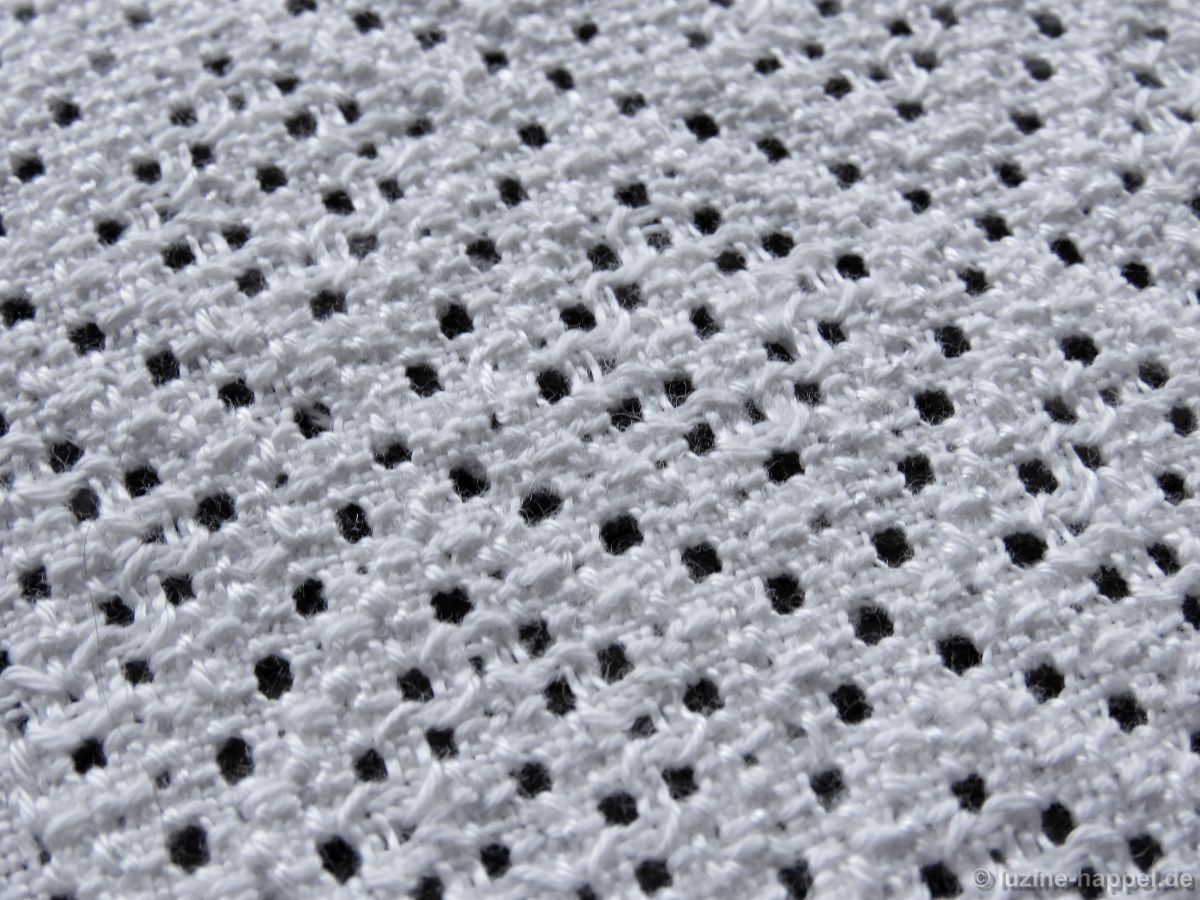
So I worked two rounds of Cable stitches instead of one when filling the tulip motif.
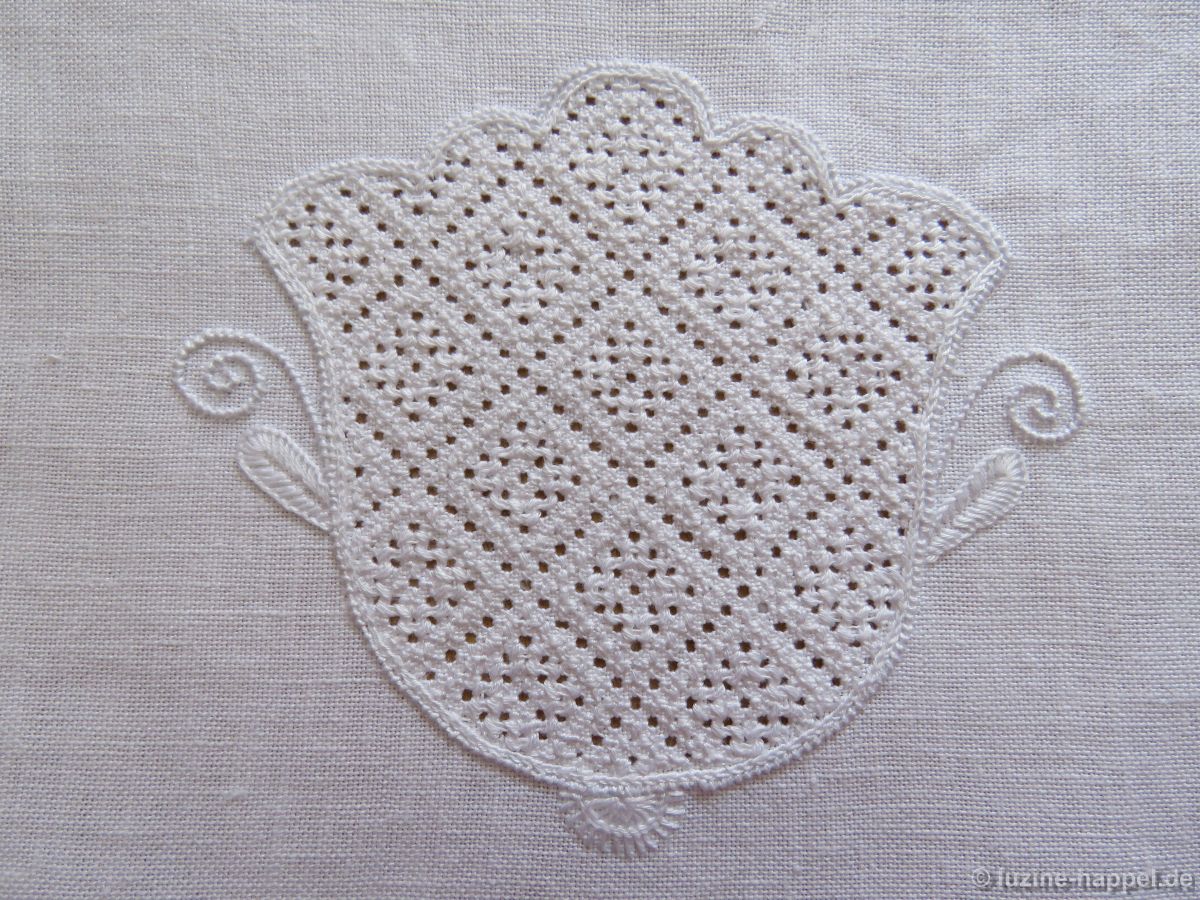
After laundry, the contrast between the flat Rose stitches and the raised Cable stitches is clear.

Leave a Reply