Schwalm Band (2)
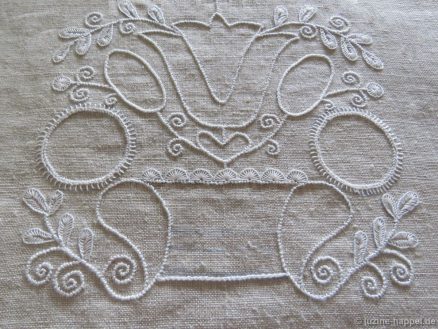
Preparatory work of section 5 of the outline design.
As you will notice, I experimented a bit with stitches and thread sizes as the project progressed. My descriptions are intended to serve as suggestions only. Of course you can work many things differently. I would be happy to see a few pictures of your creative work at the end.
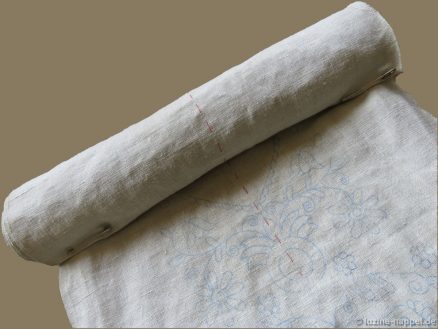
So that the fabric is easier to handle when embroidering and the outlines are not too exposed to light, I roll up the upper part and secure the roll with two safety pins.
The heavy linen is initially quite stiff. Only after I had embroidered it in my hands for about ten hours did it become pleasantly soft.
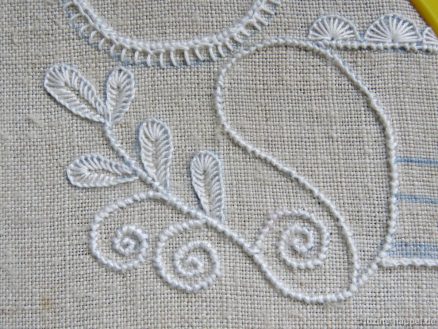
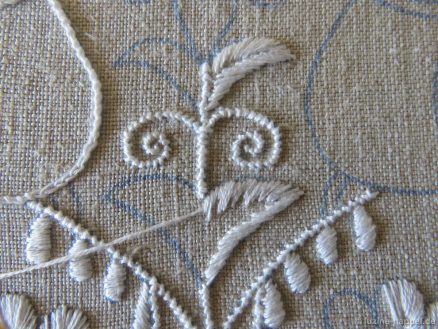
As is common practice, all outlines are first embroidered to avoid fading as much as possible. I start at the bottom and embroider the Coral Knot stitches there. Since I want this to be distinctive, I use coton à broder thread No. 16. You could also choose coton à broder No. 20.
Due to age and also because of the heavy and stiff linen, my stitches no longer turn out evenly. The strong magnifications make this mercilessly clear. Nevertheless, I show the pictures. Not all embroiderers are perfect, and they should be encouraged not to give up.
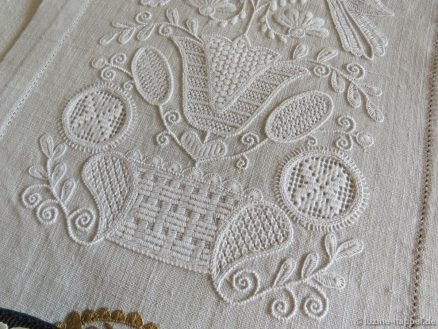
In addition, the finished embroidery looks completely different after washing, as a “look through the keyhole” shows.
During many hours of past embroidery, I have found that it takes my hands about half an hour to “warm up” and allow even stitches. So during this time I try to place stitches where they will later be bordered by other stitches, like at the top of the basket. Surrounding stitches soften the irregularities of the Coral Knot stitches.
My tip: Always start larger tendrils with a new thread so that you don’t have to secure inside the tendril and start again . Short thread ends can be used for short stems etc.
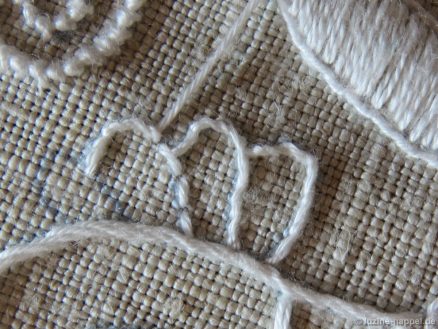
I embroider the rounded leaves and the half-eyelet scallops on the upper edge of the basket with coton à broder No. 25 – you could also choose No. 20.
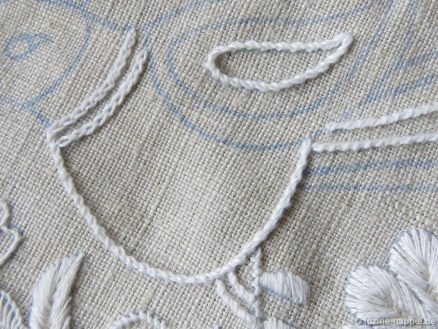
I embroider the bottom edge of the basket with wrapped Chain stitches using coton à broder No. 20. I leave the division lines of the basket ignored for now – you can still embroider them if you know how you want the pattern to be designed.
I actually wanted to surround the circle with 2short-2long, but there wasn’t enough space. So I chose eyelash stitches and embroidered with coton à broder No. 20.
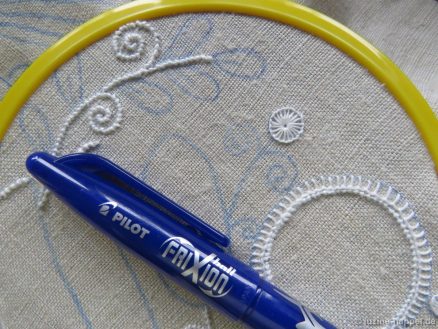
If it happens that an outline fades too much, I have the Pilot Frixion pen on hand to trace. I have now observed the reaction of the pens on the linen over several years and have not noticed any discoloration. Some of my blog readers who use the pen frequently also didn’t notice any negative effects.
For the single Blanket stitch eyelets I also use coton à broder No. 20.
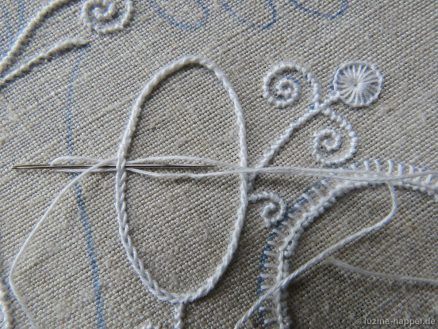
The oval should have a distinctive border that is as even as possible. Therefore, I create the outline with coton à broder No. 20 and wrapped Chain stitches. The bottom of the basket is also embroidered in this way.
The small heart and the tulip are given an outline using Coral Knot stitches.
This means that – after approx. 6 hours – all the preparatory embroidery in Section 5 II has been completed.
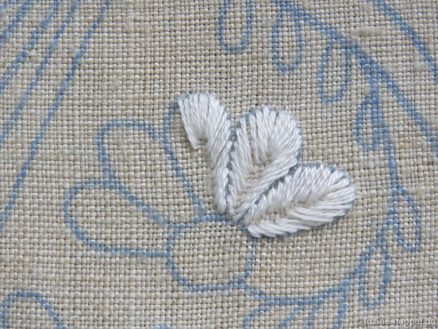
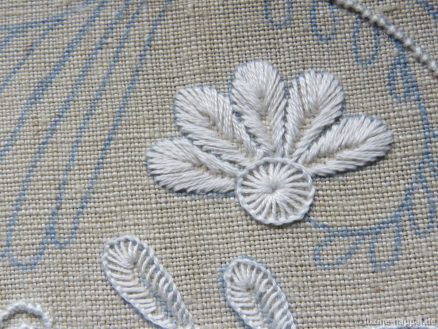
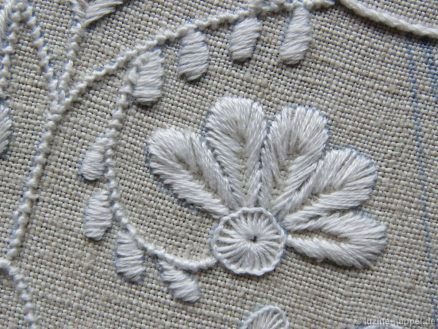
I provide the wide petals of the flowers with an imaginary center line and embroider them with satin stitches using 2 strands of 6-ply stranded cotton.
The corresponding small circle is embroidered as Blanket stitch eyelet with coton à broder No. 20.
The smaller leaves were worked undivided with 2 strands of 6-ply stranded cotton.
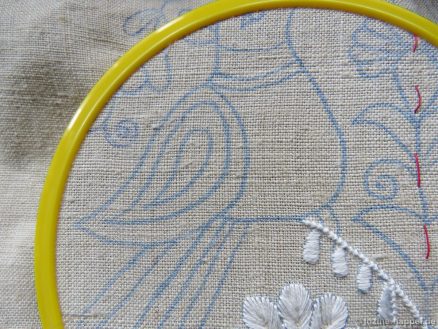
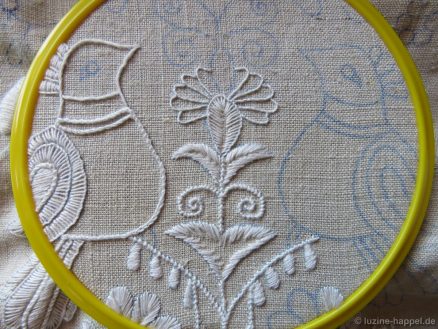
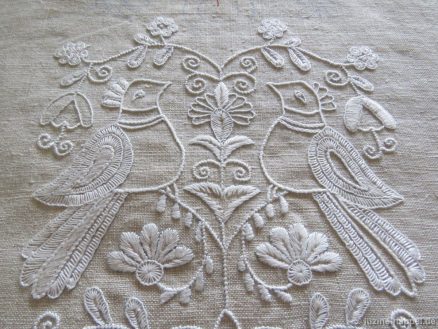
How should the bird be embroidered, how should the tail feathers be designed? For example, you could leave out the dividing lines in the wings, making room for a filling pattern.
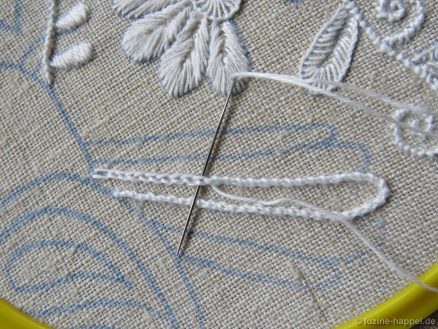
But I choose a different version. To create a few distinctive lines, I use wrapped Chain stitches using coton à broder No. 20.
I use this to create the middle tail feather
and embroider the inner wing part, the legs, the belly outline and the ruff. Depending on your taste, you can also leave out the wrappings on the neck brace.
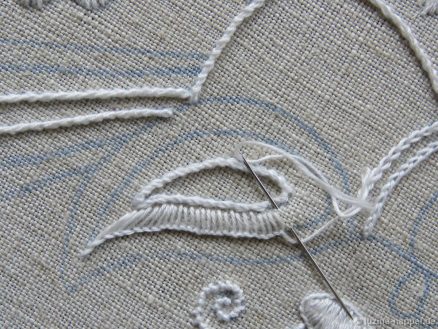
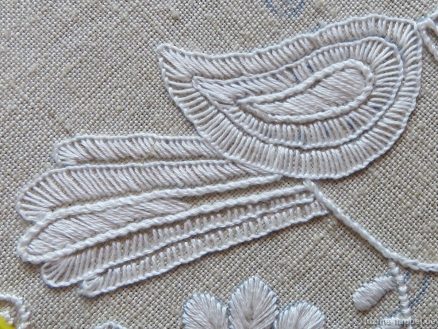
Starting at the tip of the wing, Blanket stitches (coton à broder No. 20) are embroidered around the line of wrapped Chain stitches. The inclination of the stitches is adjusted to the curve. Then the outer wing edge and the remaining tail feathers are embroidered in the same way. The middle tail feather and the inner part of the wing are filled with Satin stitches (2 strands of 6-ply stranded cotton).
In the close-up, the patterning done looks a bit rough. But I think that the type of embroidery will fit well into the overall picture.
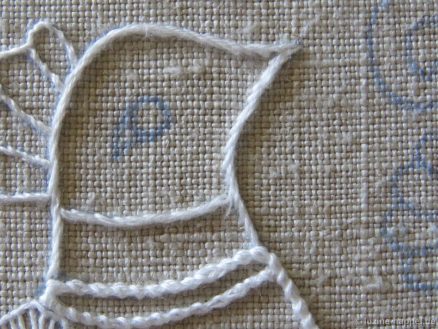
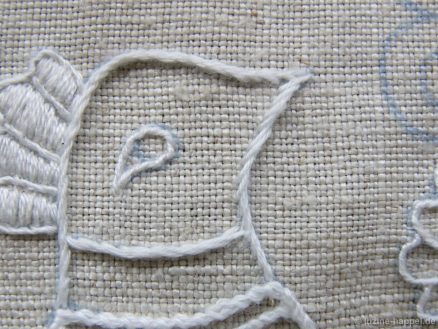
Coton à broder No. 25 and wide Stem stitches surround the bird’s head, wrapped Back stitches around the comb.
If you finish embroidering the comb arches individually and start at the bottom, you can clearly separate them from each other.
The comb parts are filled with satin stitches using 2 strands of 6-ply stranded cotton.
The eye also initially receives a border made of wrapped Back stitches. I’m thinking about putting a small Blanket stitch eyelet or a Satin stitch point as the inside eye.
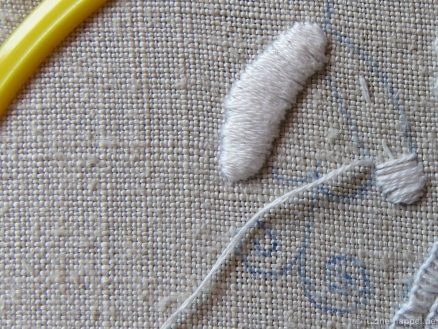
For the outer petals of the flower next to the bird I want to use one-piece Satin stitch. To do this, I first surrounded the outline with Backstitches and filled the inside with Chain stitches. With this underlay, I embroidered the petal. It seems too massive to me. On the next attempt I embroidered Satin stitches without underlay, but they didn’t turn out very neatly at the edge.
So I ended up embroidering a border with wrapped Back stitches (coton à broder No. 25) and filling the inside surfaces with Satin stitches (2 strands of 6-ply stranded cotton). This way the edges were even and the filling didn’t look too bulky.
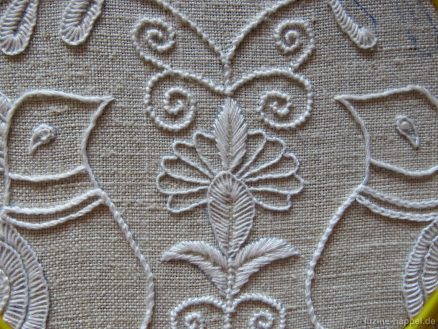
For short lines that need to be embroidered exactly with Coral knot stitches, like the arches of the heart shape here, I use coton à broder No. 20. This makes the lines finer and more precise.
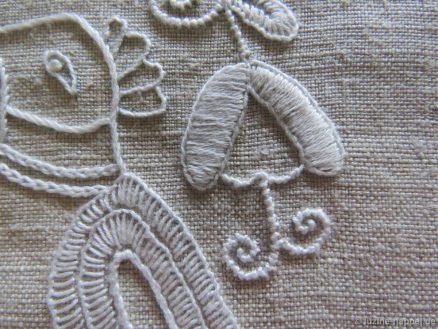
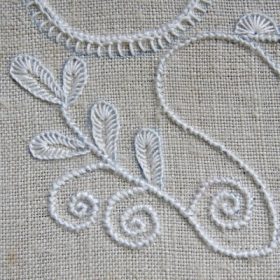
I embroidered the similar leaf elements between the bird bellies once with and once without a center line. Using 2 strands of 6-ply stranded cotton, long-and-short stitches were embroidered with a wide free leaf center for the larger leaves and with a narrow center leaf axis for the smaller leaves.
The calyx of the carnation was designed like a rounded leaf, the narrow petals similar to the bird’s comb with wrapped Back stitches (coton à broder No. 25). They should remain unfilled.
The middle petal was decorated as a divided leaf with Satin stitches.
I embroidered a small Blanket stitch eyelet in the left bird’s eye and a Boullion knot with 3 wraps in the right one. I like this version better.
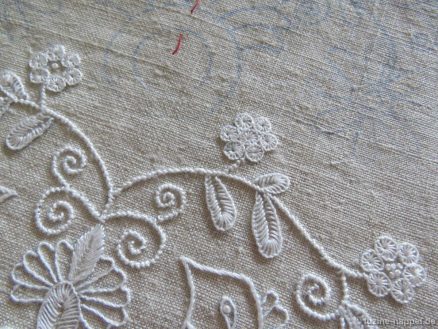
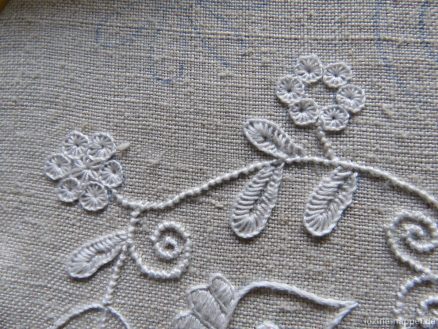
The final consideration for completing the preliminary work of the second section belongs to the centers of the small flowers. Blanket stitch eyelets (coton à broder No. 25) decorate the surrounding petals; another Blanket stitch eyelet in the middle would be conceivable.
I tried a version – on the left in the picture below – with Daisy stitches. One or more Boullion knots – on the left and on the right in the picture above – would probably look best.
With the design of the little flowers, the preparatory work for Section 5 I has already been completed – another nine hours were spent with embroidery fun.
Schwalm Band – Outline Design
Schwalm Band (1) Design Transfer


Wonderful!
Thanks, Mary,
And look forward to the blog posts with the filling patterns and of course to the finished piece – it will take several blog posts to reach the end result.
Yes, you are right – it is wonderful.